I’ve given you so many DIYs for weddings, babies, parties… the list goes on! But I haven’t really touched on home improvement. Well, for my next few posts, you’re in luck! 2 years ago, my husband and I bought our first home. It was perfectly updated with the latest finishes, but I wanted to make it chic, and give it “our” touch.
One of the first things I tackled in our new home (and the one that has also taken the most time) was the accent decor. There’s so much space to cover, and each nook and cranny needs to be meticulously planned. Some spaces are easier than others, which is why accent decor is an ever evolving process in our home. I still have walls I am deciding what best goes there – 2 years later!
If you know me (or can tell from my posts) I am kind of obsessed with pictures. OBSESSED. I absolutely love pictures and art. What better way to decorate your house than with the things you love, right?
My loves for pictures started in middle school. Realizing you could capture so many fun memories all with a simple snap, and relive your most fun moments over and over again was an amazing thing.
I began to start scrapbooking, to save my memories in a unique way. I still have my books from high school and college stored in my upstairs closet, filled with stories from what seem like a lifetime ago.
As I got older, I realized all those memories were just sitting in a dark closet, only to emerge when prompted by an old friend or family member. Plus, I didn’t have as much time to spend scrapbooking. But that didn’t stop me from still trying to capture precious moments in photos.
My fascination with scrapbooking turned into a love of framed photography. My most cherished memories, hanging on the wall for all to see. Most importantly, for me to stare at and remember those memories daily. And putting those memories in matted frames that highlighted the beauty in the photos, made them almost like hanging pieces of art. It was like having my own large scrapbook canvas that would be visible for all, and not just sitting in my closet.
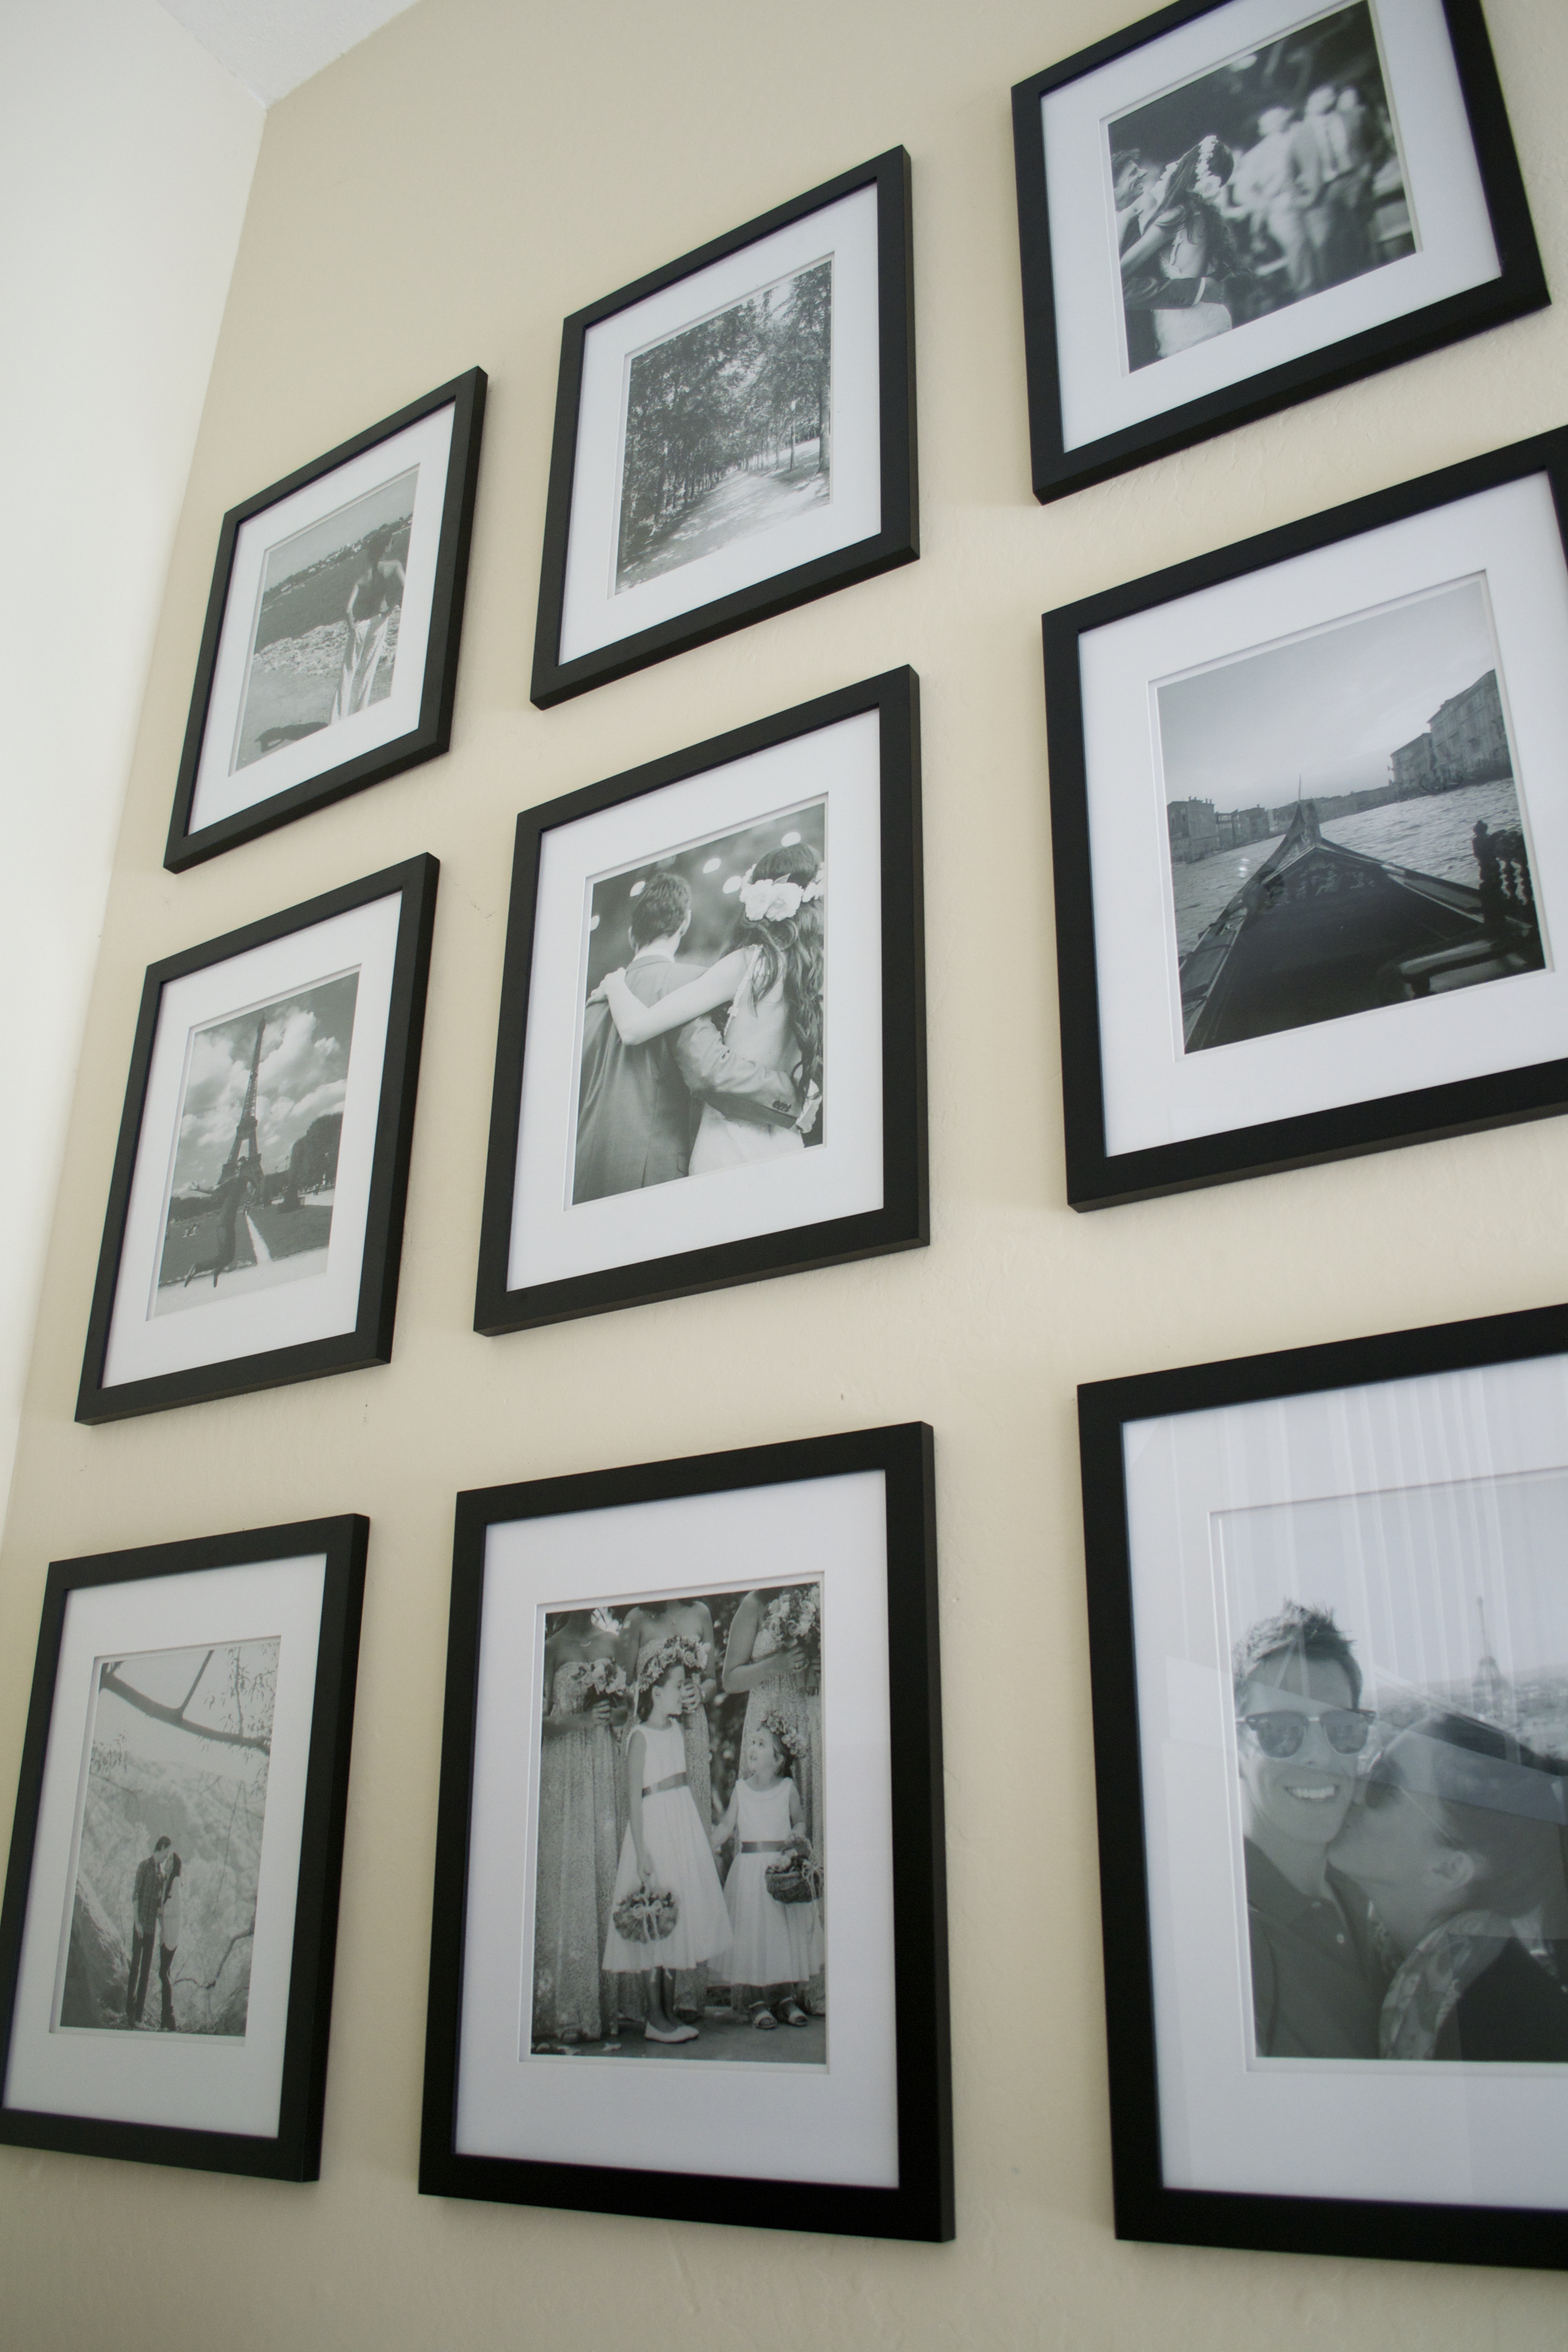
My Obsession with the Gallery Wall
So let’s talk gallery walls for a second. Gallery walls are the EASIEST way for you to get a bunch of your favorite memories and art up on your walls, all in one place, for you to reminisce on as you walk through you home. And for others to stare at, and get a glimpse into your personal world.
They are incredibly great talking pieces if you like to entertain. There is most likely a great story behind each and every one of your pieces, and when put together in a thoughtful gallery wall, can walk others through a great life’s tale.
My husband, on the other hand, detests my love of pictures. He thinks I have too many frames, too many pictures, and would prefer traditional art. Fair judgement, if I was a klepto, or if I actually did go overboard with no rhyme or reason. But each time I do add a frame to our walls, it’s not without careful planning, consideration, and style judgement.
This is what is the most important thing to remember when putting a gallery wall (or multiple gallery walls) in your house. You want them to be a reflection of you, while at the same time, not looking cluttered or haphazard. You need to have a specific motif and style when planning your wall, and you need to stick to it.
Below, I show you how to plan a perfect gallery wall, how to hang your photos, and a few different styles you can use as inspiration.
Steps to Create A Perfectly Symmetrical Gallery Wall
The Necessary Supplies:
- 9-12 Same Size Frames (I used 16×20″ black frames, matted down to fit 11×14″ pictures)
- Measuring tape
- Hammer
- Nails
- Marker
- Step Stool
Step 1:
- Figure out if you want your fames to hang vertically, or horizontally.
Step 2:
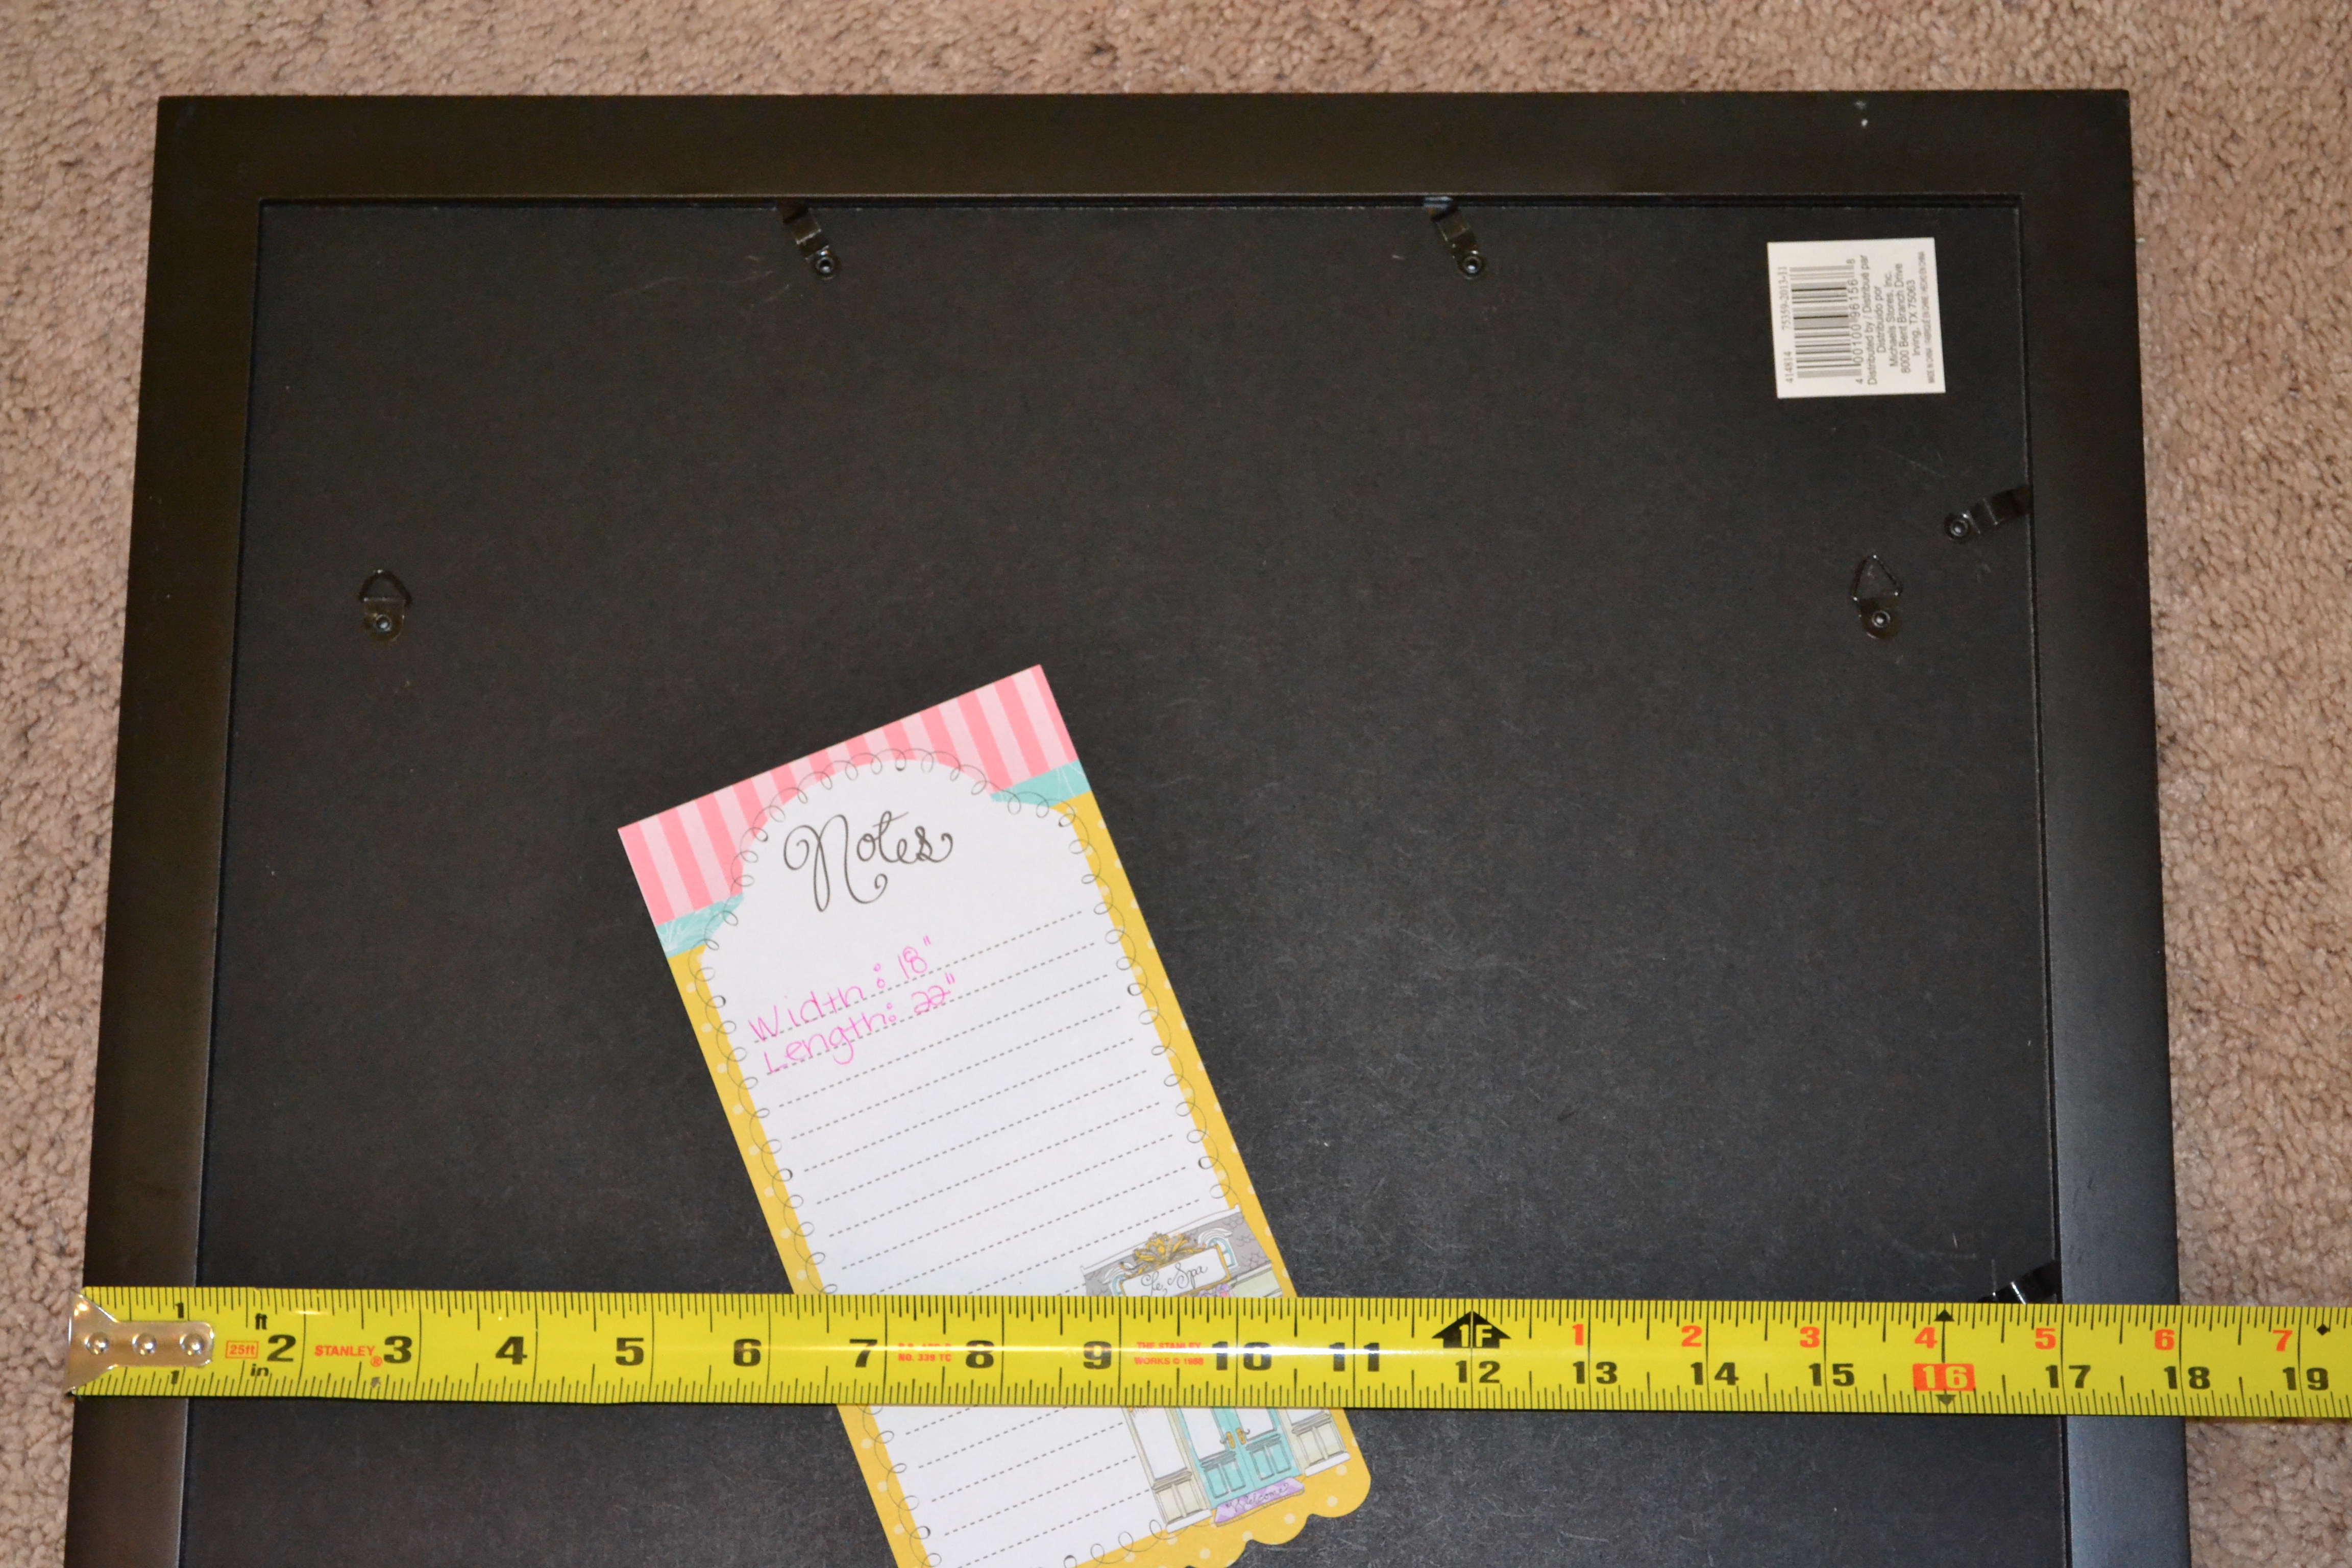
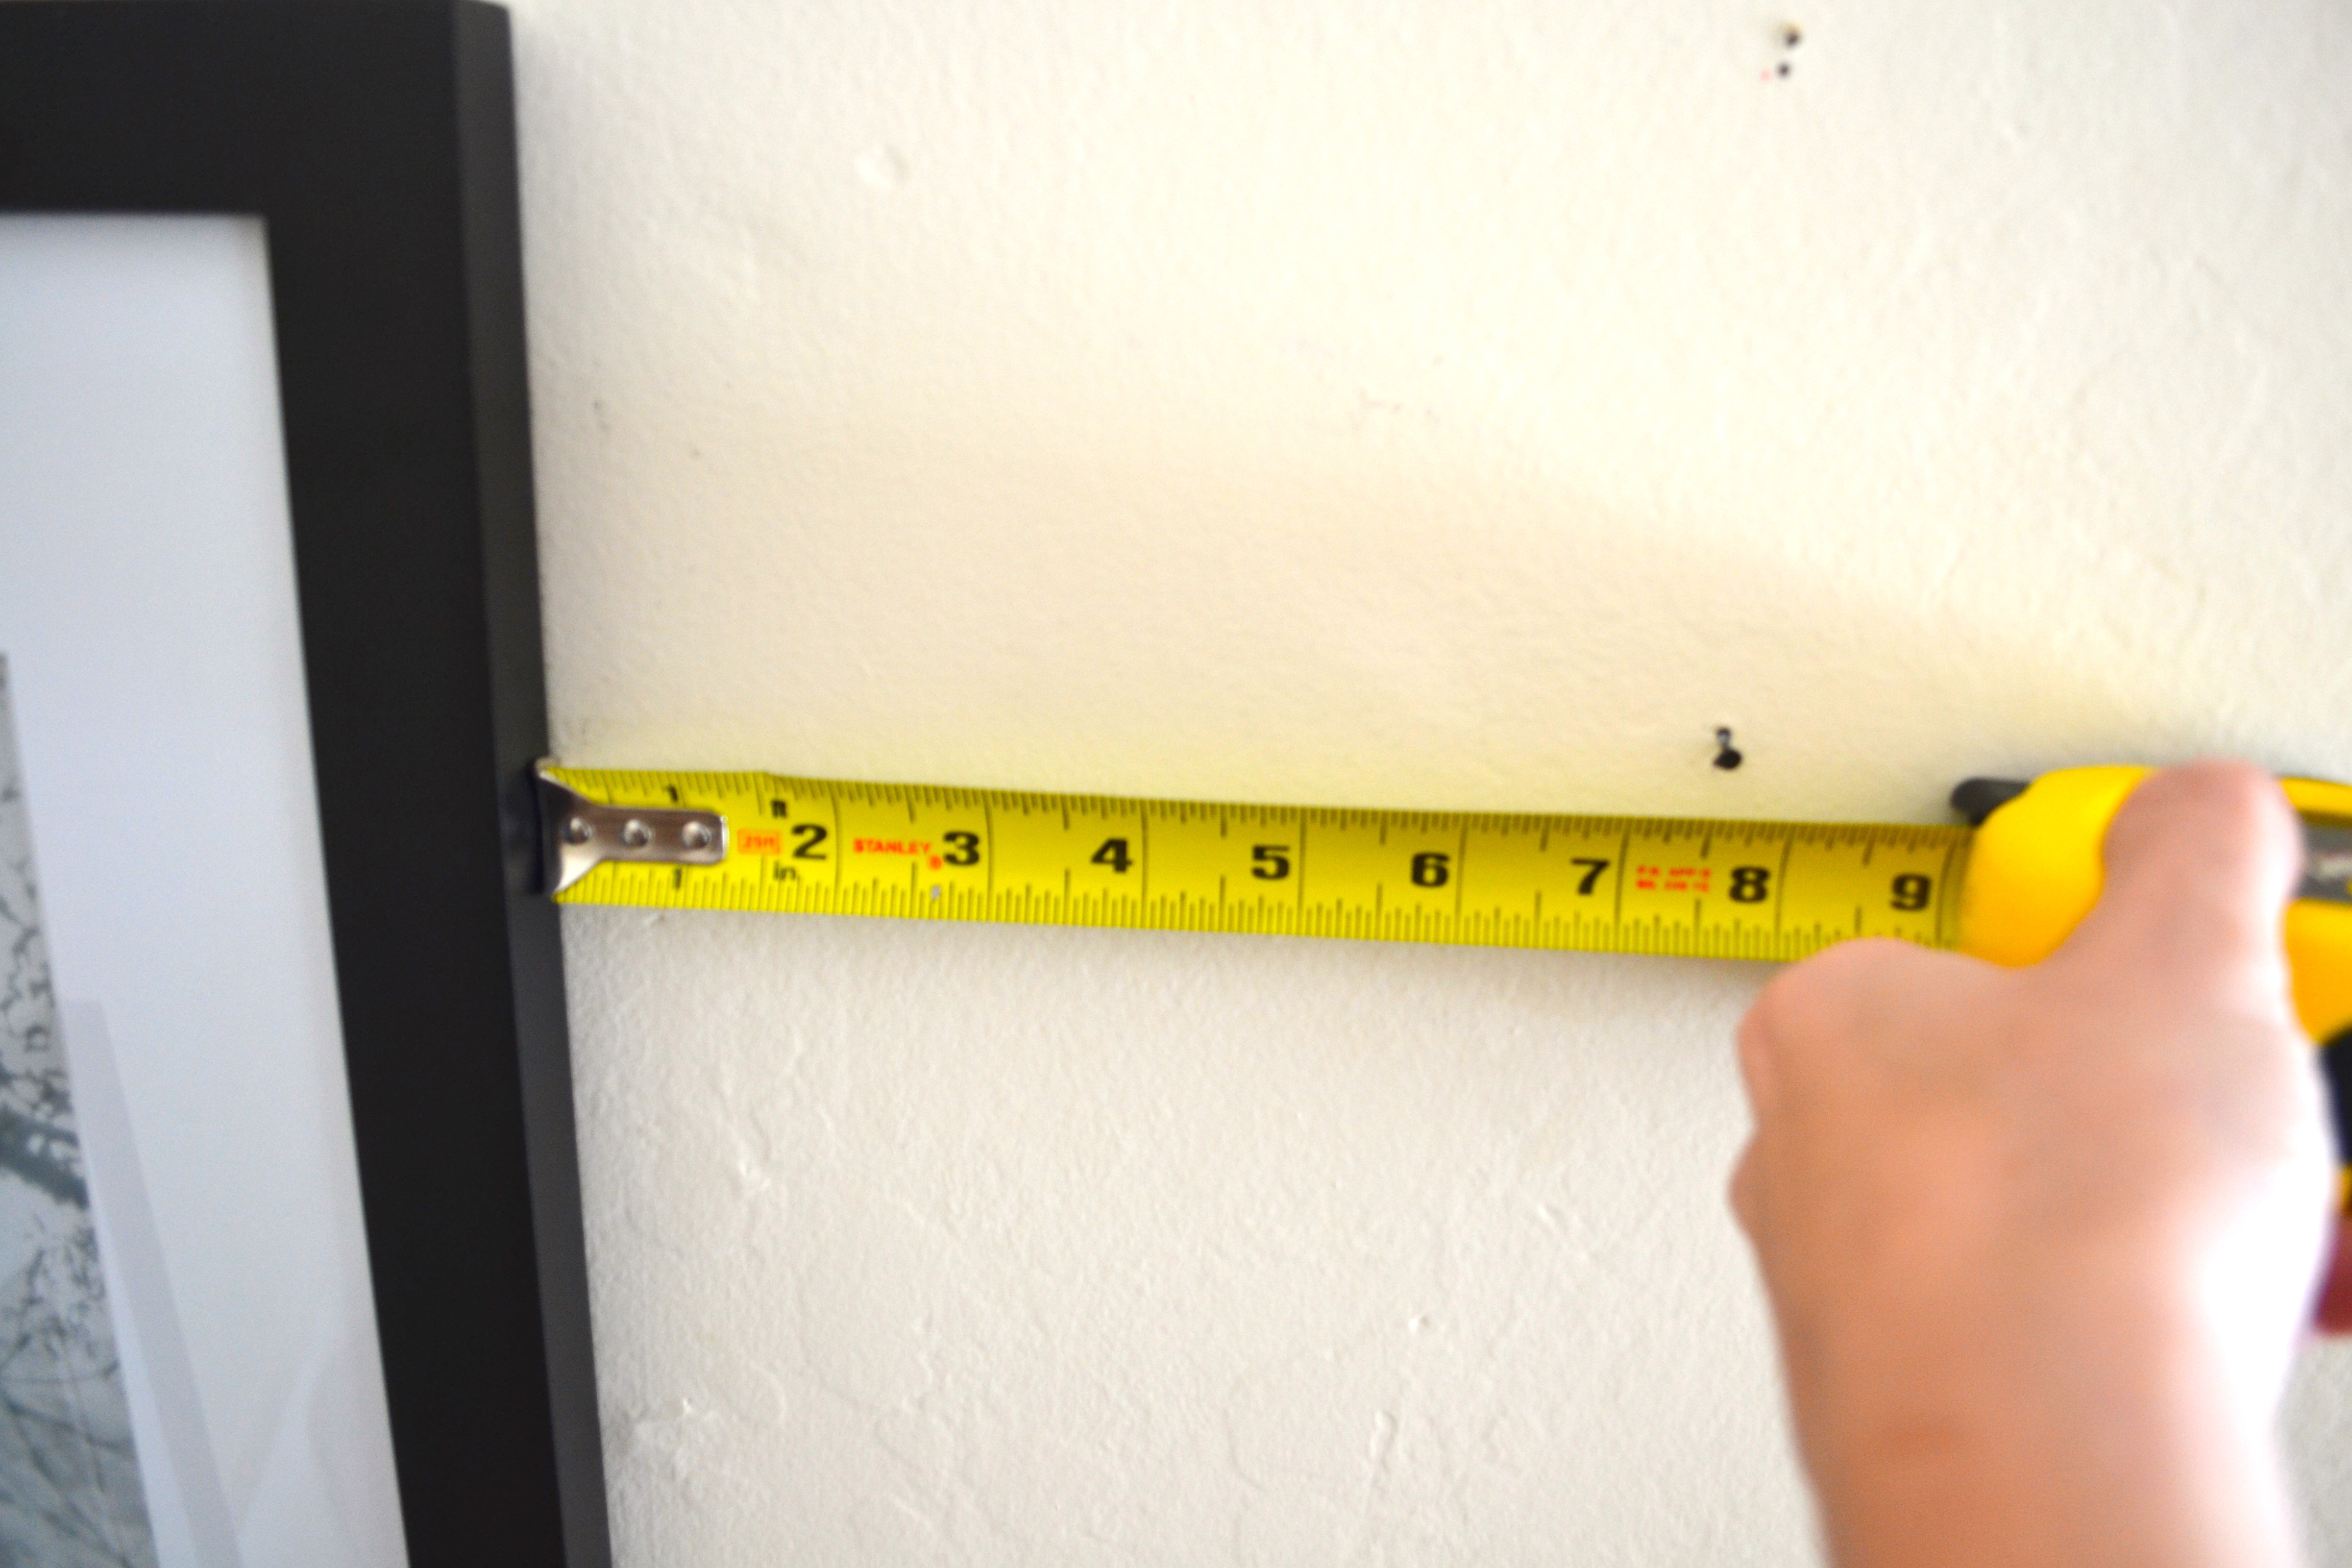
- Measure the back of one frame, both vertically and horizontally. Write down those numbers
- Also record how far each piece of mounting hardware is from the sides of the frame. If there is only one, you’ll divide the total width by 2. If there are two, make sure you measure how far each is from the side of the frame to the center of each piece of mounting hardware.
- Write it down.
Step 3:
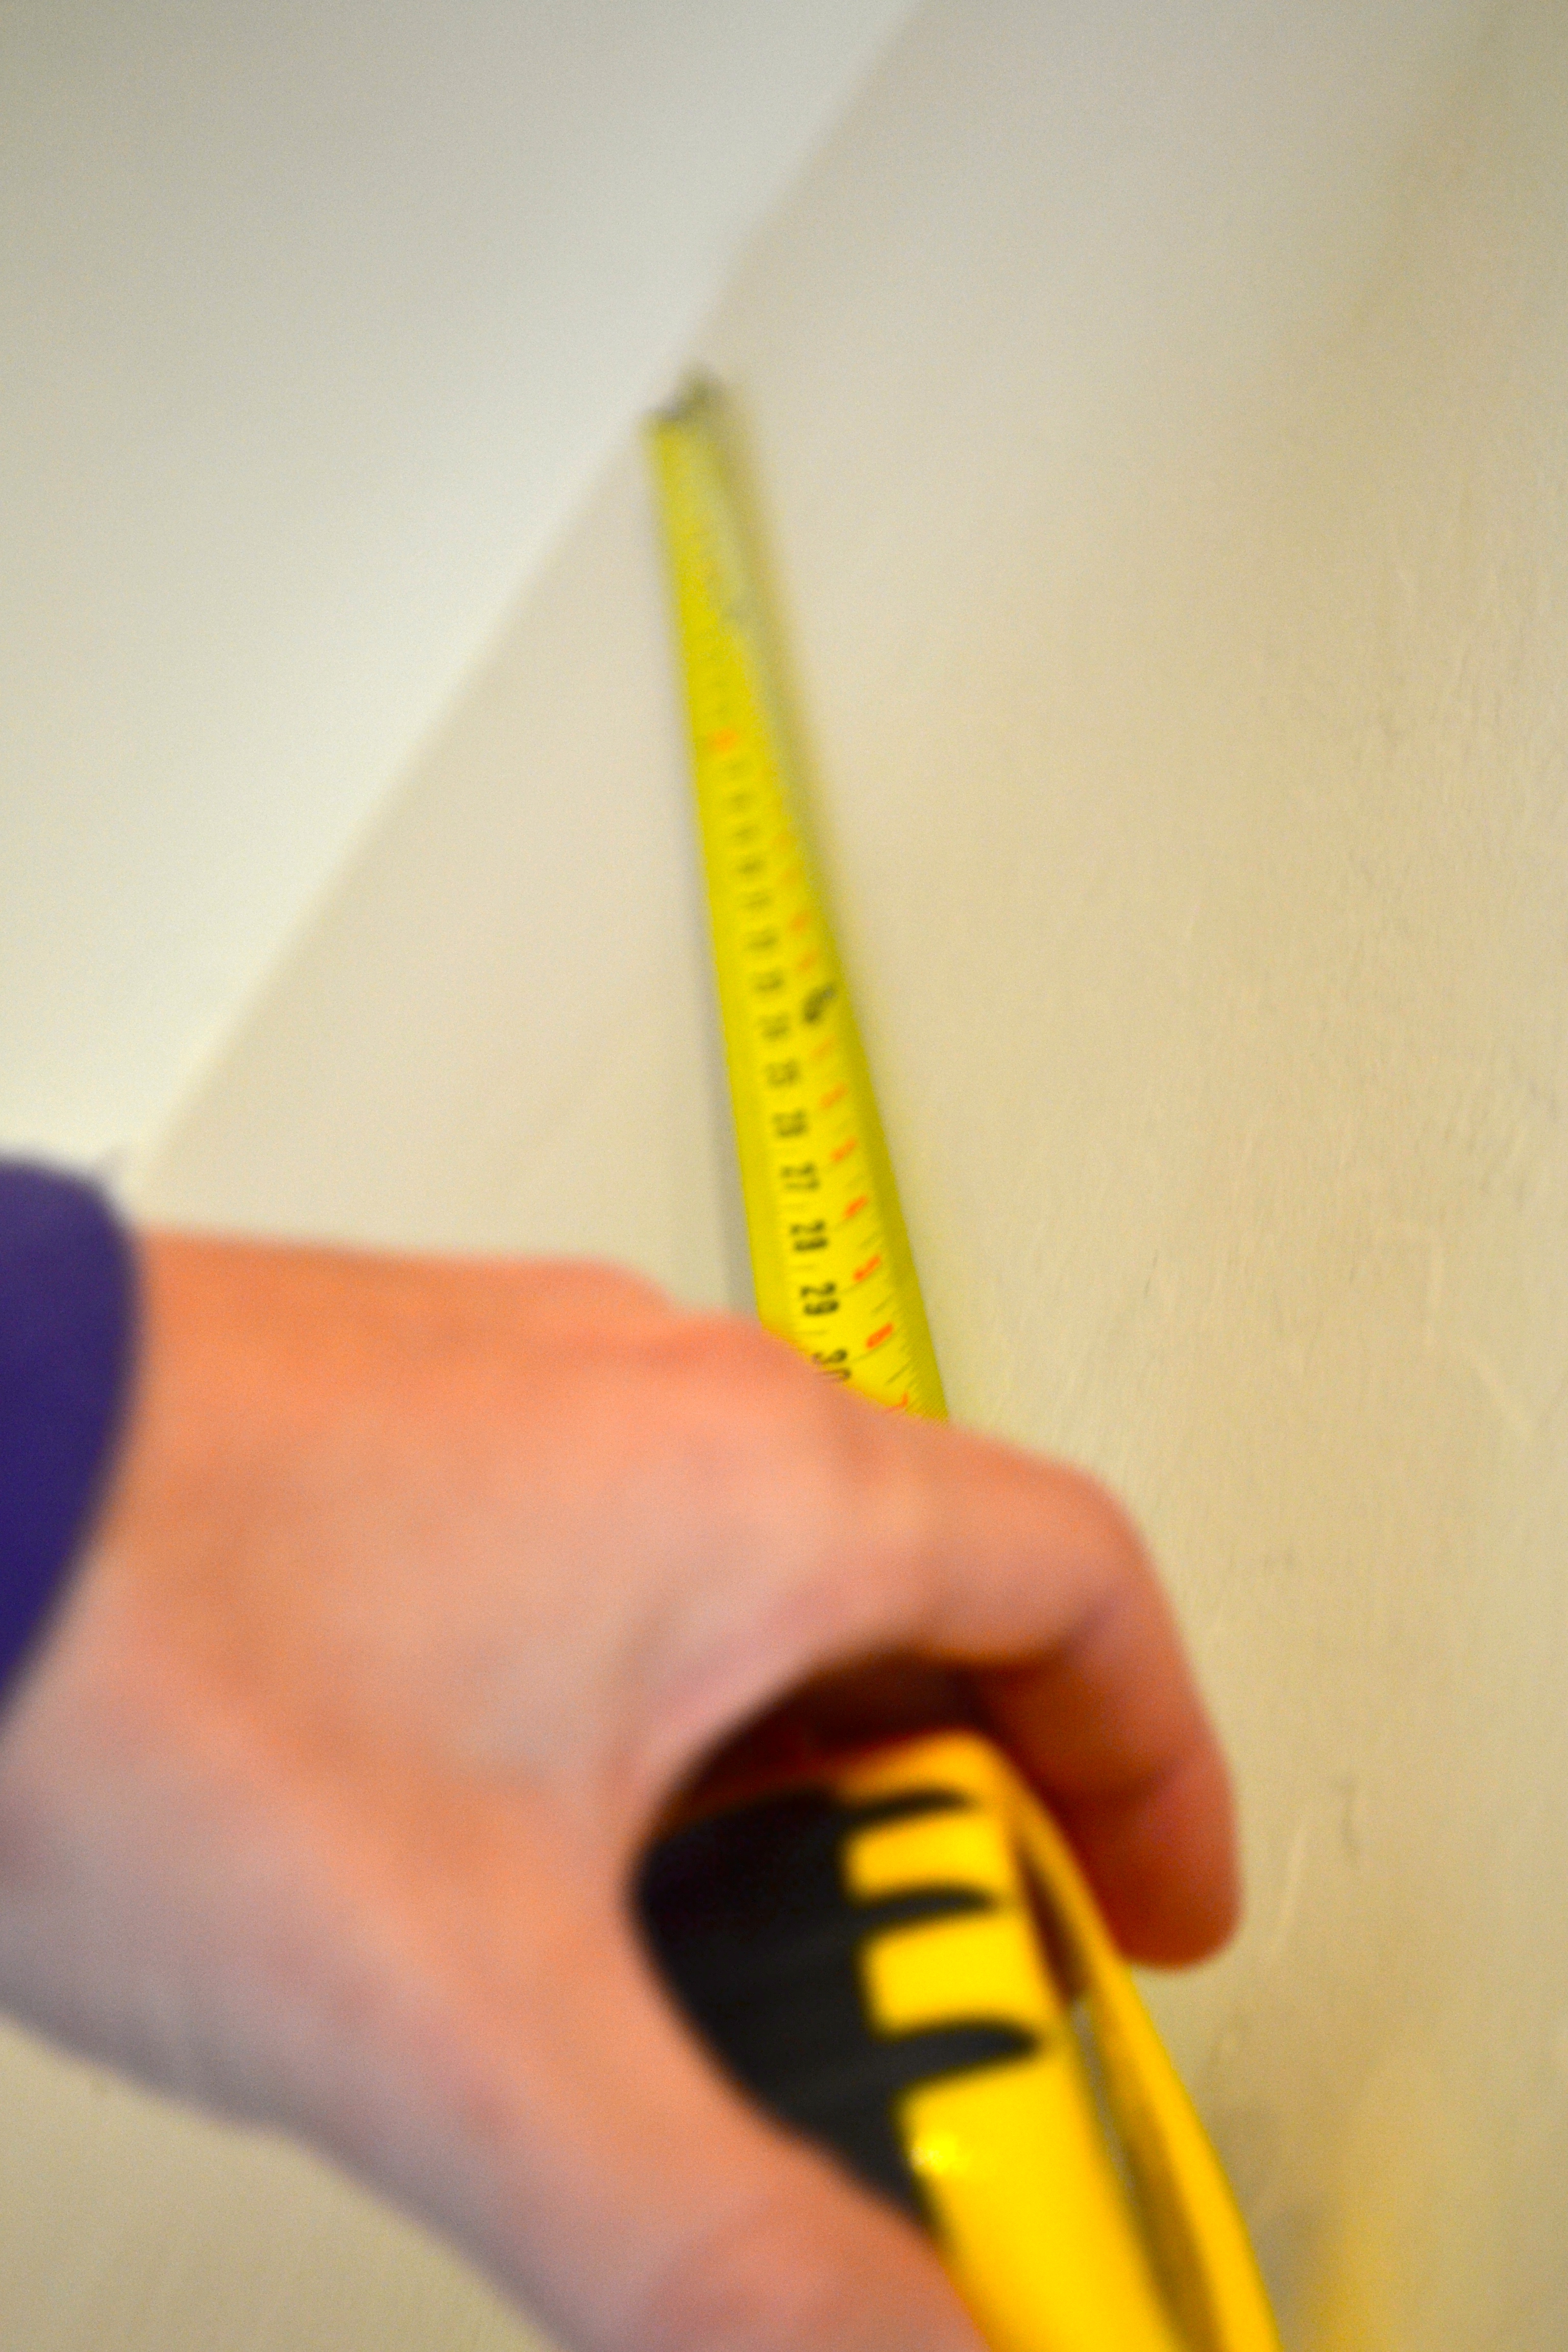
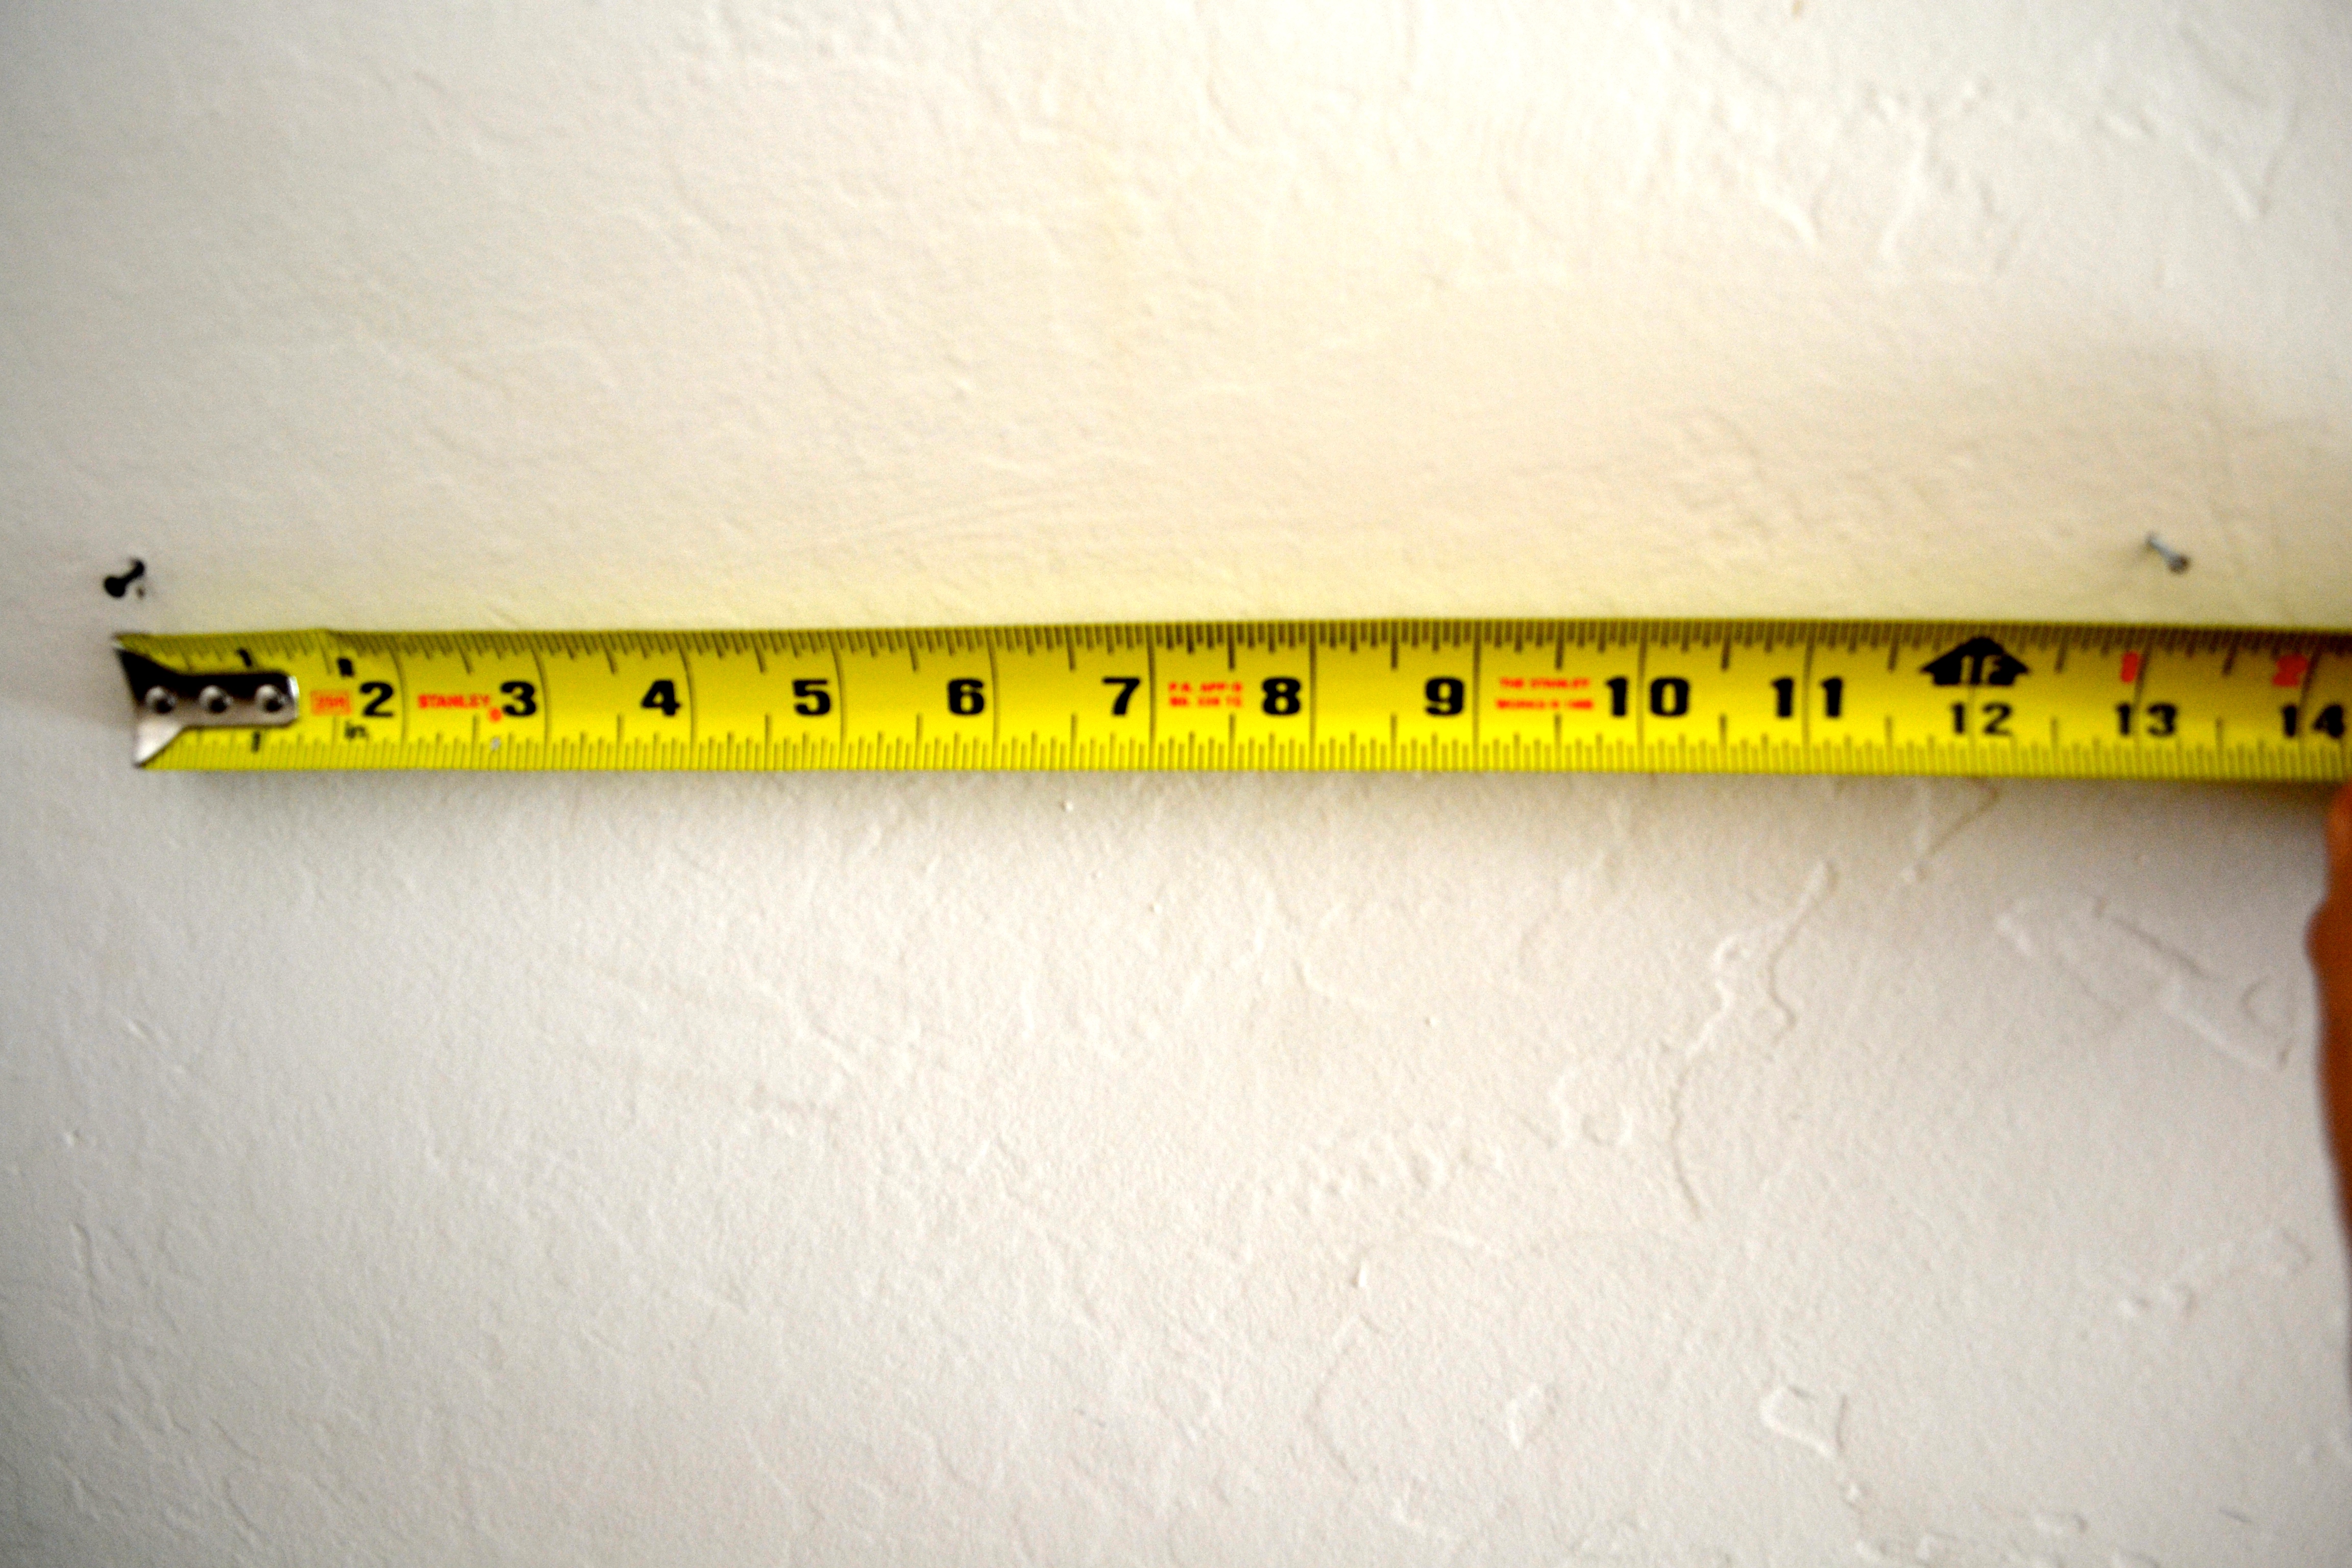
- Measure your wall width wise. Write down the measurement.
- Take the horizontal measurement you took of the back of your frame in the last step, and multiply it by as many frames as you will have in one row (I had 3 frames in 1 row, so I multiplied 18×3 to get 54).
- Now, take the measurement of the entire wall, and subtract the combined horizontal measurement of 1 row of frames. That is the measurement of the free space on the wall. Write it down.
Step 3:

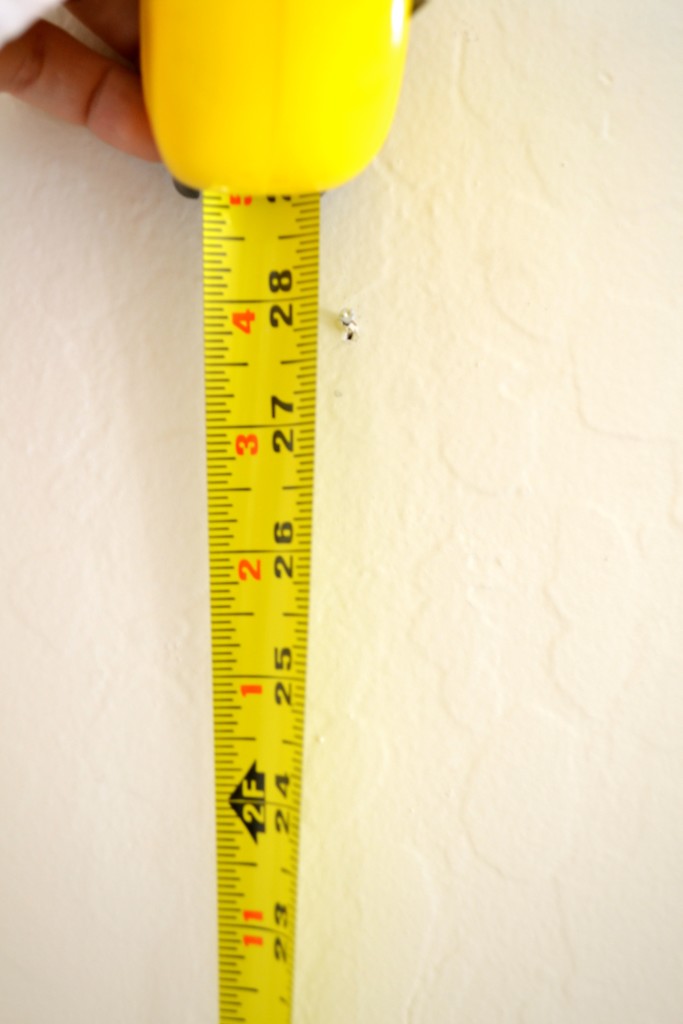
- Decide how far off the ground you want your first row of pictures to start (I wanted mine to hang vertically, and be about 21″ inches above the floor boards on the back of my stairwell).
- Now, take that number, and add your vertical frame measurement to it.
- My frame was 16×20″ (hanging vertically), and I wanted my first row to start 5″ above the floor boards. So my final measurement was 25″ (get it?).
- Make a mark with your pen.
Step 4:
- Take the measurement of the free space on the wall you got in Step 2, and divide it by 4 (if you have 3 frames in 1 row).
- If you have 2 frames in 1 row, only divide by 3. If you have 4 frames, divide by 5, and so on. You want to divide the total amount of free space by how many spaces are between each frame and on the sides of the gallery wall.
- This is how much space you will have around each frame on the wall.
Step 5:
- Take that number you got in step 4, and add to it the length of how far each piece of mounting hardware is from the edge of the frame (you should have written that number down in step 2).
- My mounting hardware was 2.5″ away from the side of the frame, and my free space number around each frame was 5″, so my “hanging number” was 7.5″.
- PERFECT! Now you have your “hanging number”.
Step 6:
- Go to the place you marked with your pen in step 3. This will be the line along where you’ll hammer your first set of nails into the wall.
- Take your “hanging number” and measure that far from the side of the wall (7.5″ in my case). Make a mark.
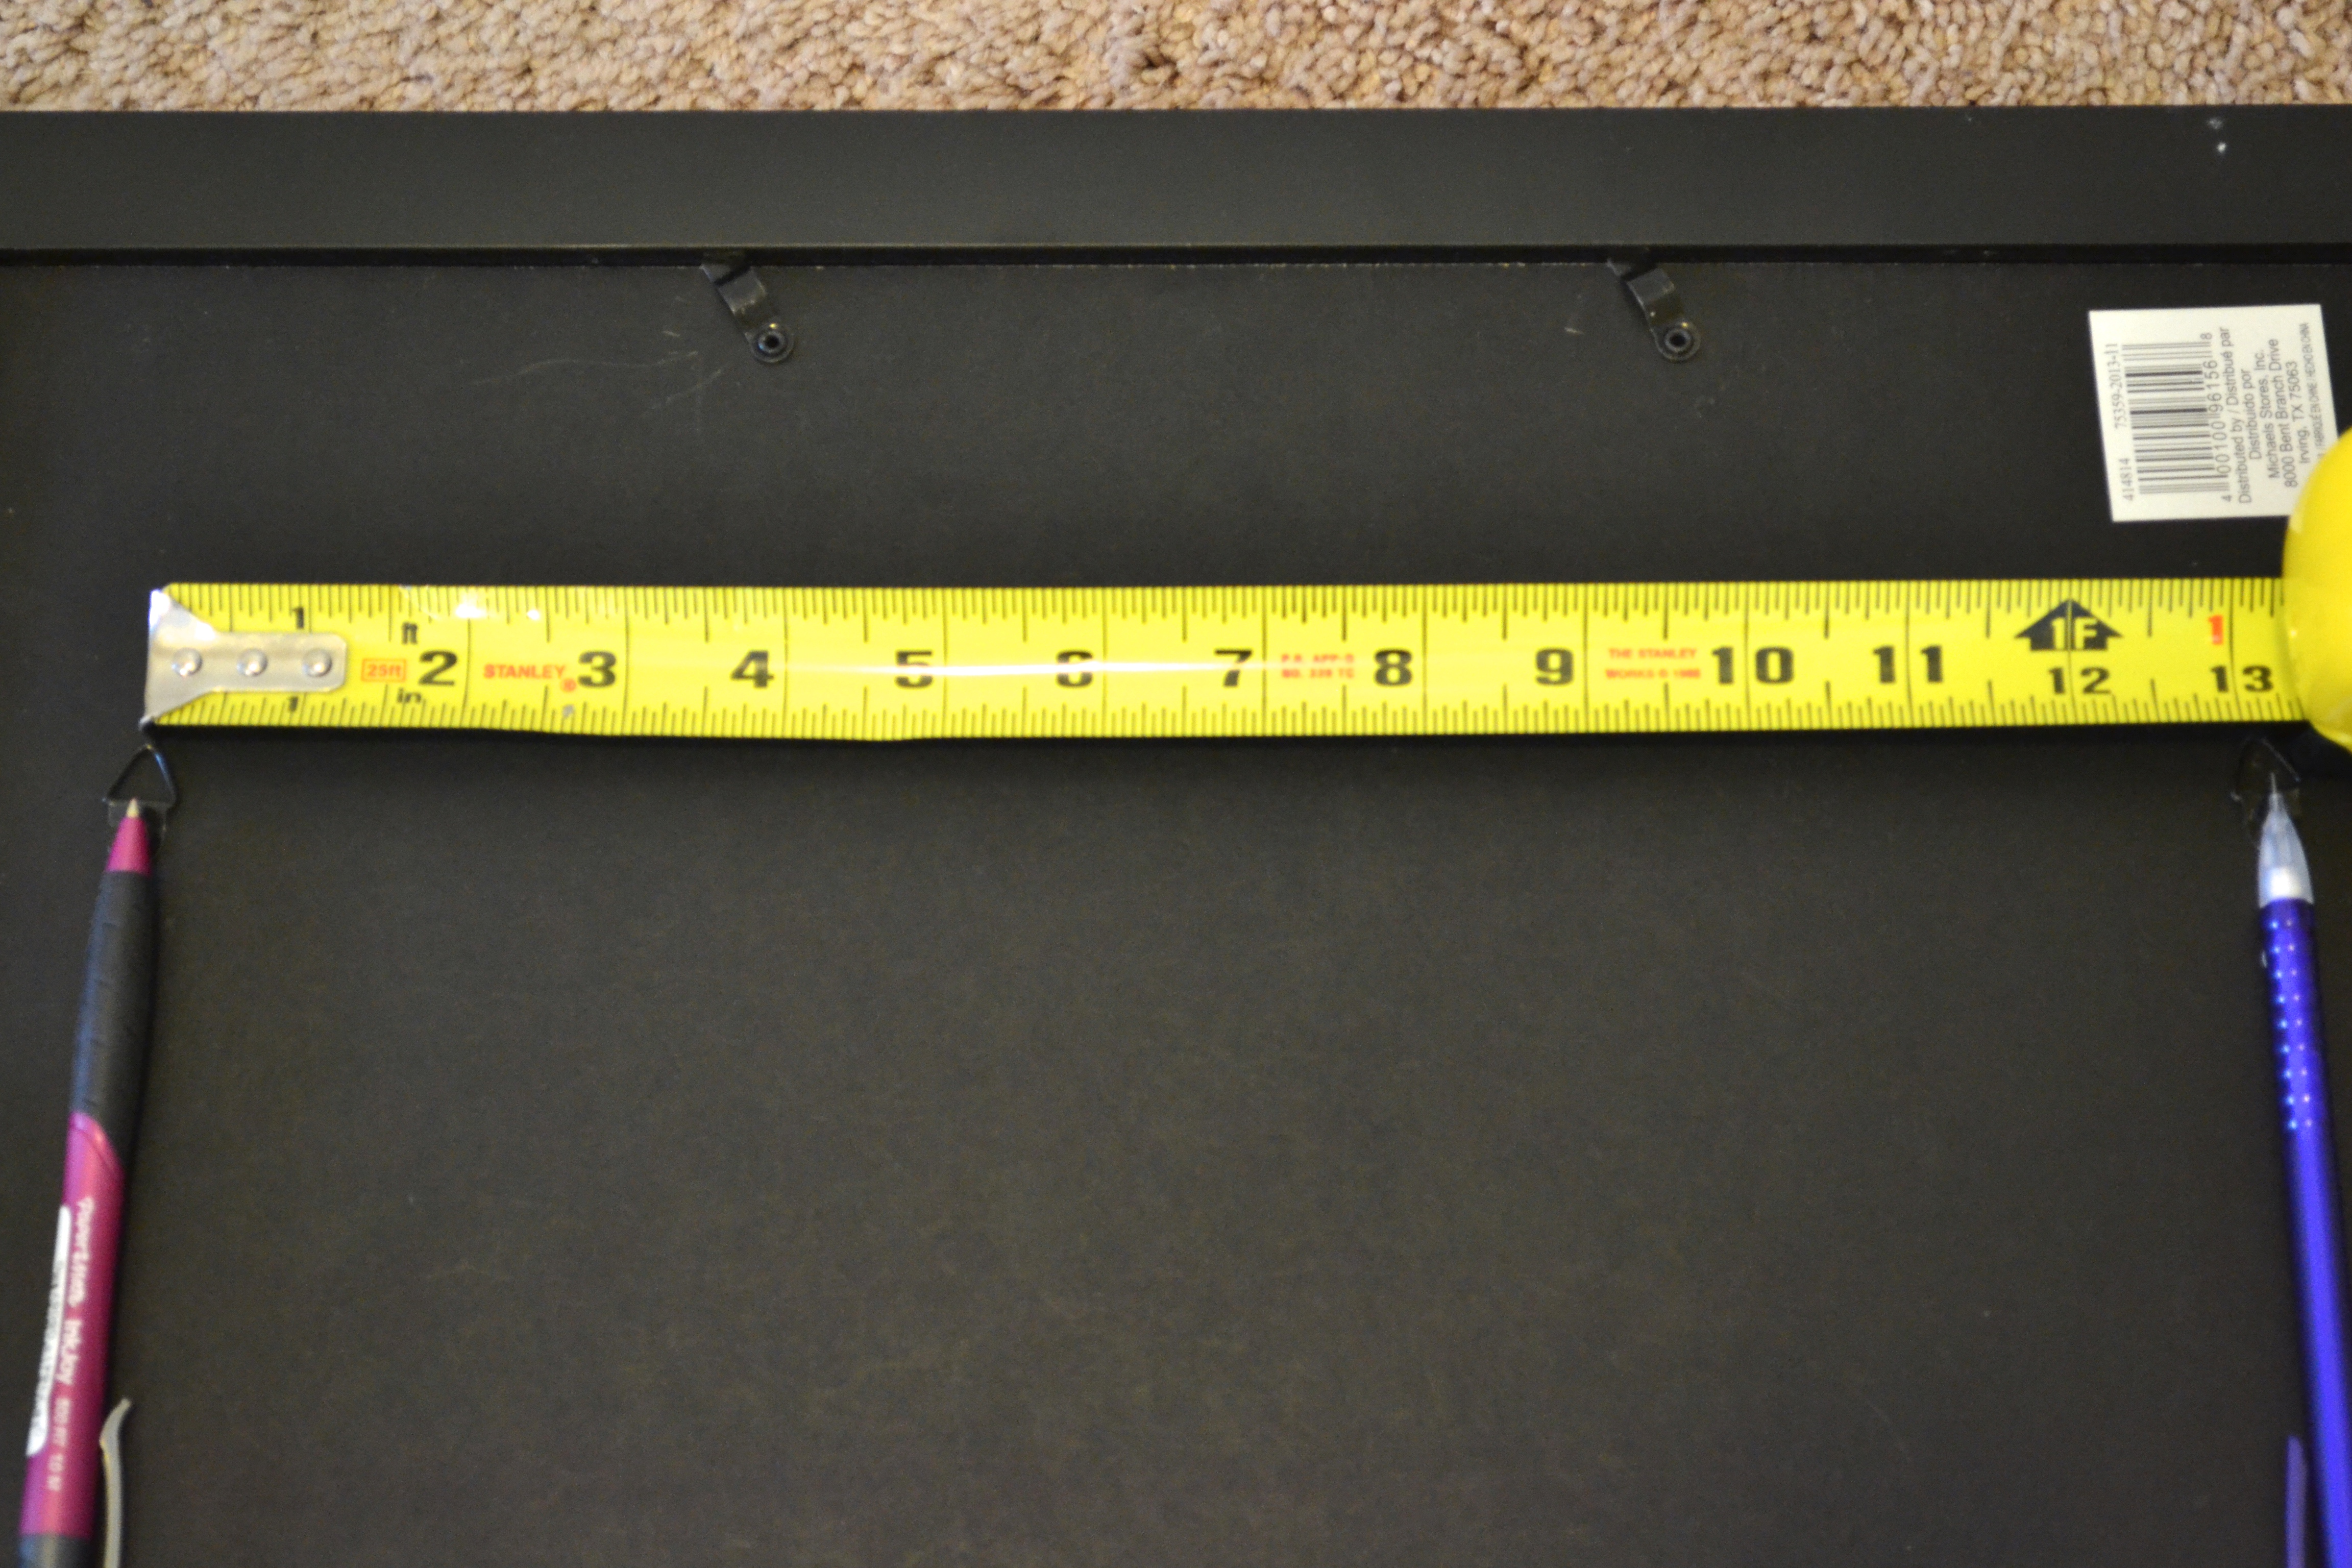
- If your frames have 2 pieces of mounting hardware, measure from that mark to where the center of the second piece of hardware will fall, and make another mark (mine were 13″ apart).
- Now, hammer a nail in where that mark is (or those marks are).
- Hang your first frame
Step 7:
- Repeat all of step 6, but instead of measuring from the side of the wall, begin your measurements from the side of your first hung frame.
- Repeat for as many frames as you have in that 1 row.
Step 8:
- Now, take these frames off the wall.
- Decide how much space you want in between EACH ROW of pictures (I wanted 6″).
- Take the vertical measurement of the back of your frame (that you wrote down in step 2) and add whatever number it is that you want in between your pictures.
- For me, my frames measured 22″ tall, and I wanted 6″ between each row, so I came out with 27″ for my “vertical spacing”.
Step 9:
- Measure 27″ above your nails of the first row, and mark the spots directly 27″ above the nails.
- Hammer nails into the spots you just made on the wall, to create your second row.
- Repeat this as many times for as many rows as you have.
- You will most likely need a step stool for the upper rows, just to make sure the nails are positioned properly.
Step 10:
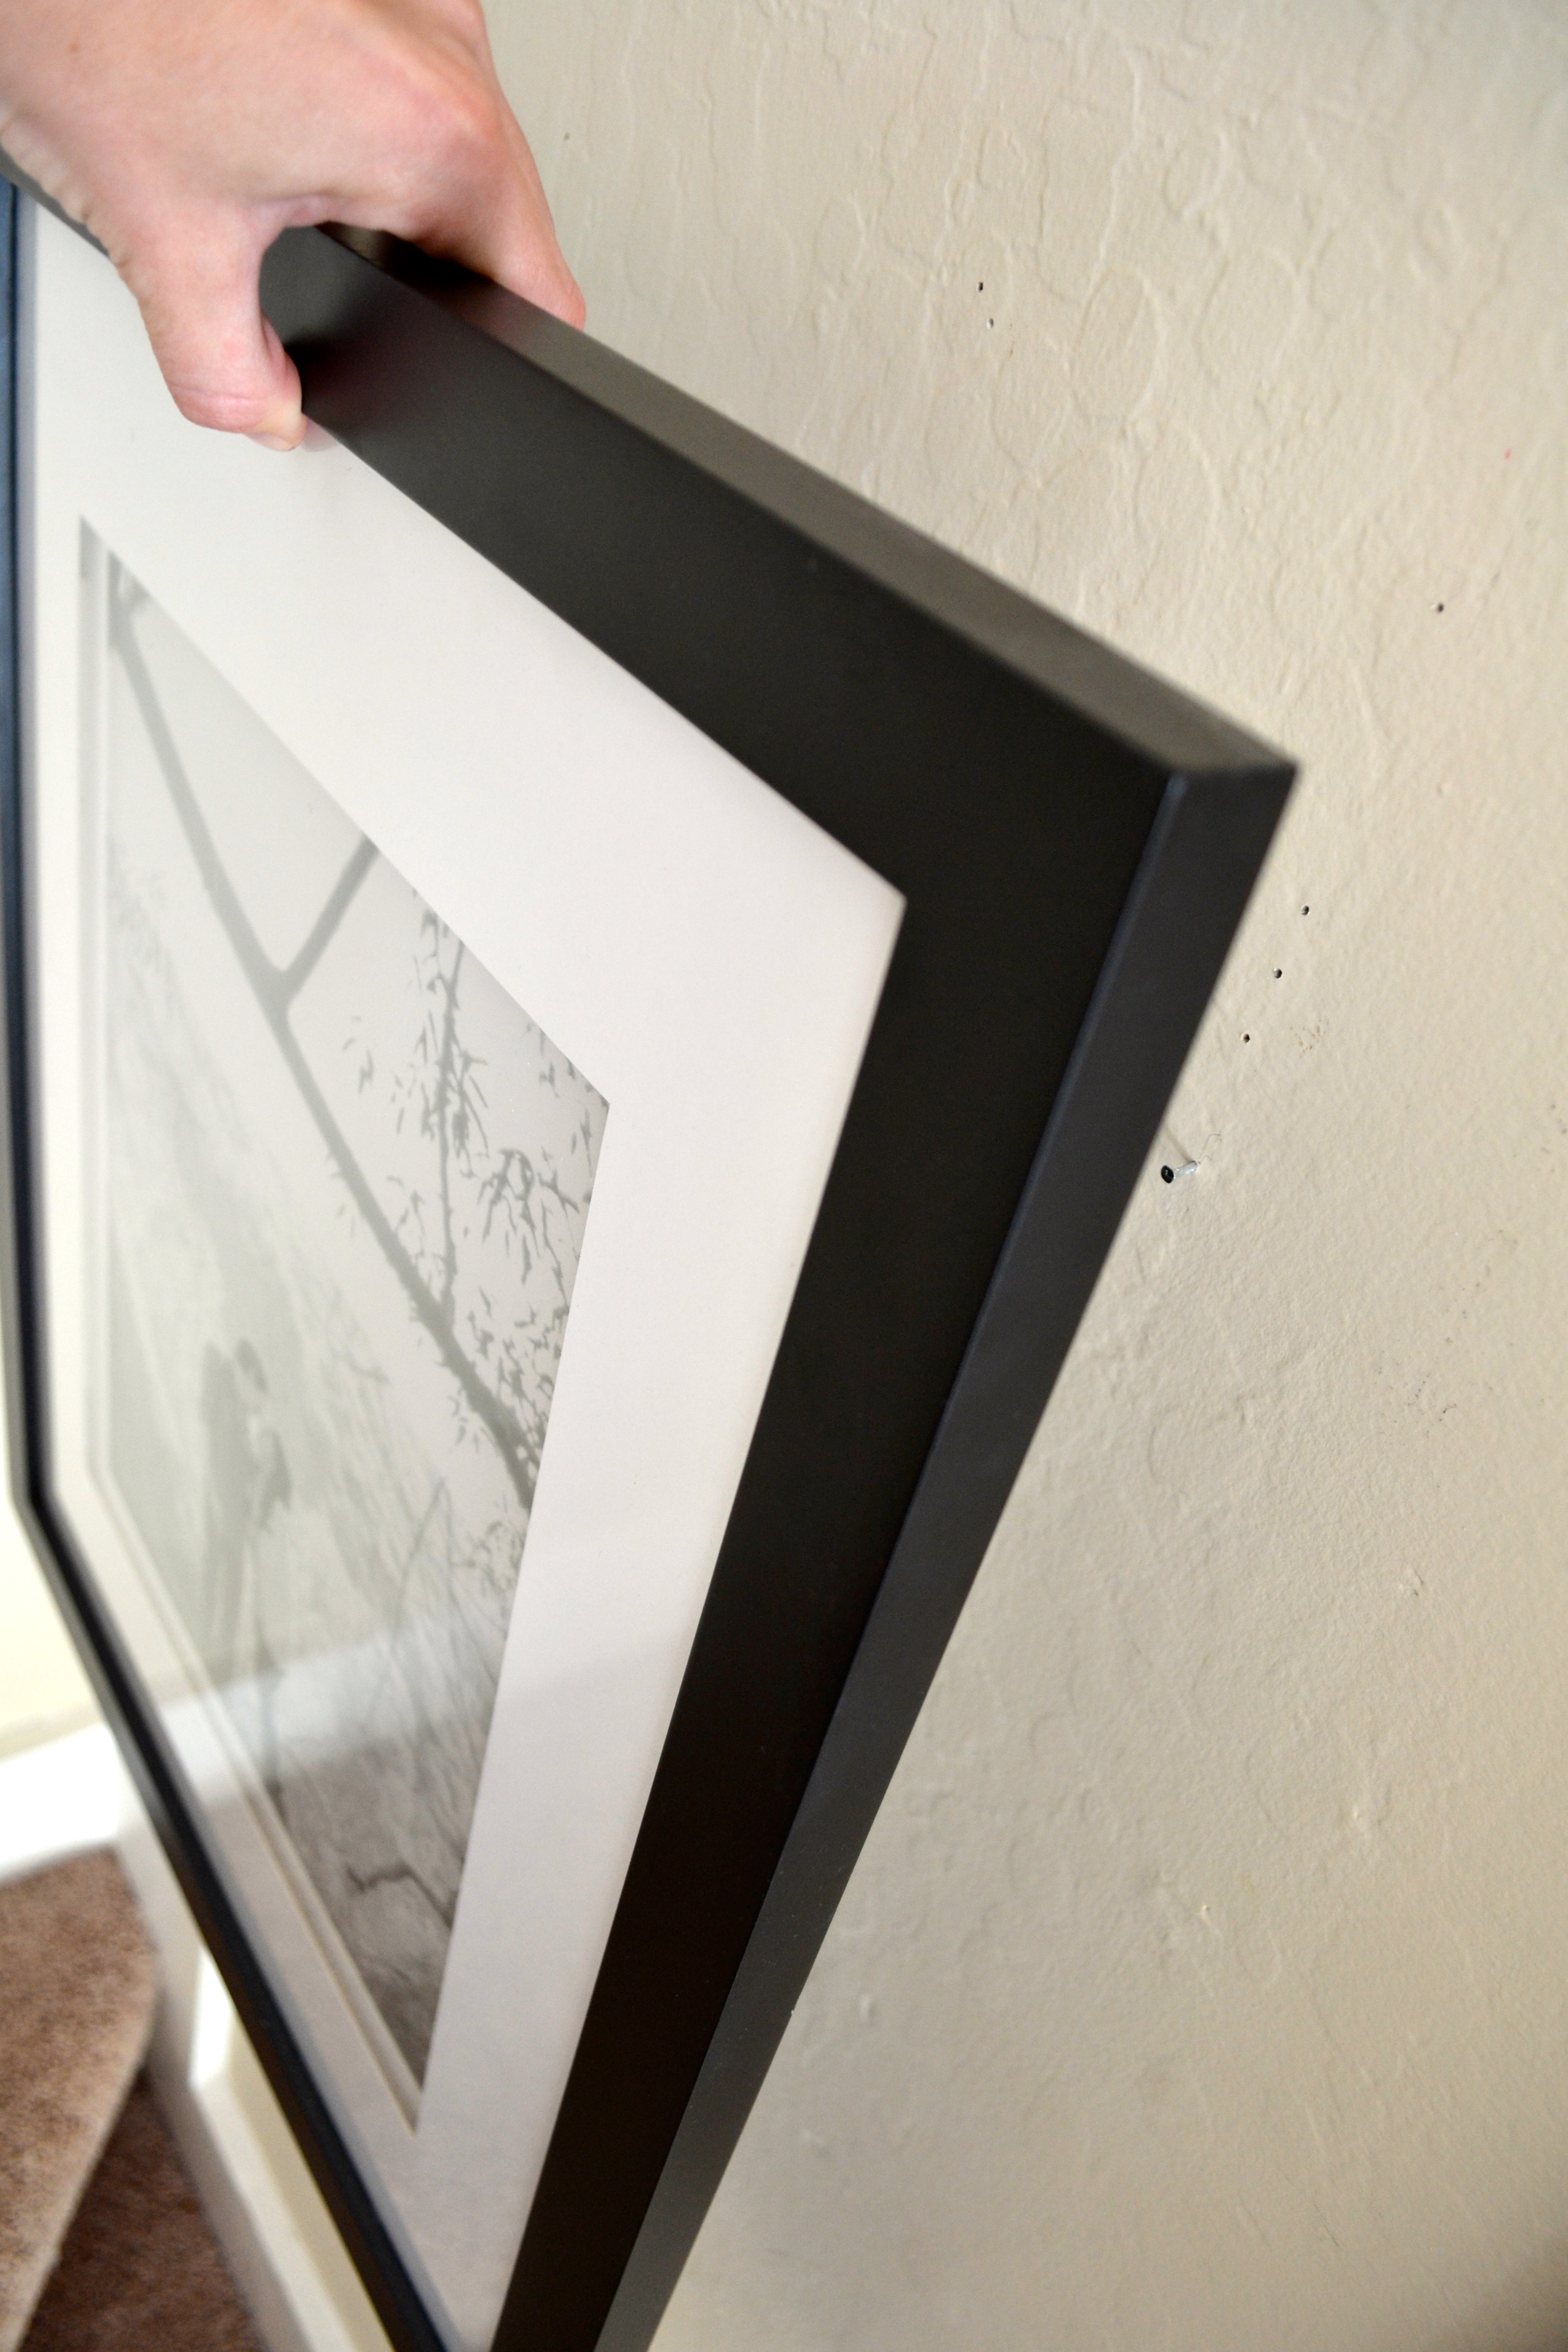
- Put all the pictures into their places on the newly hammered nails.
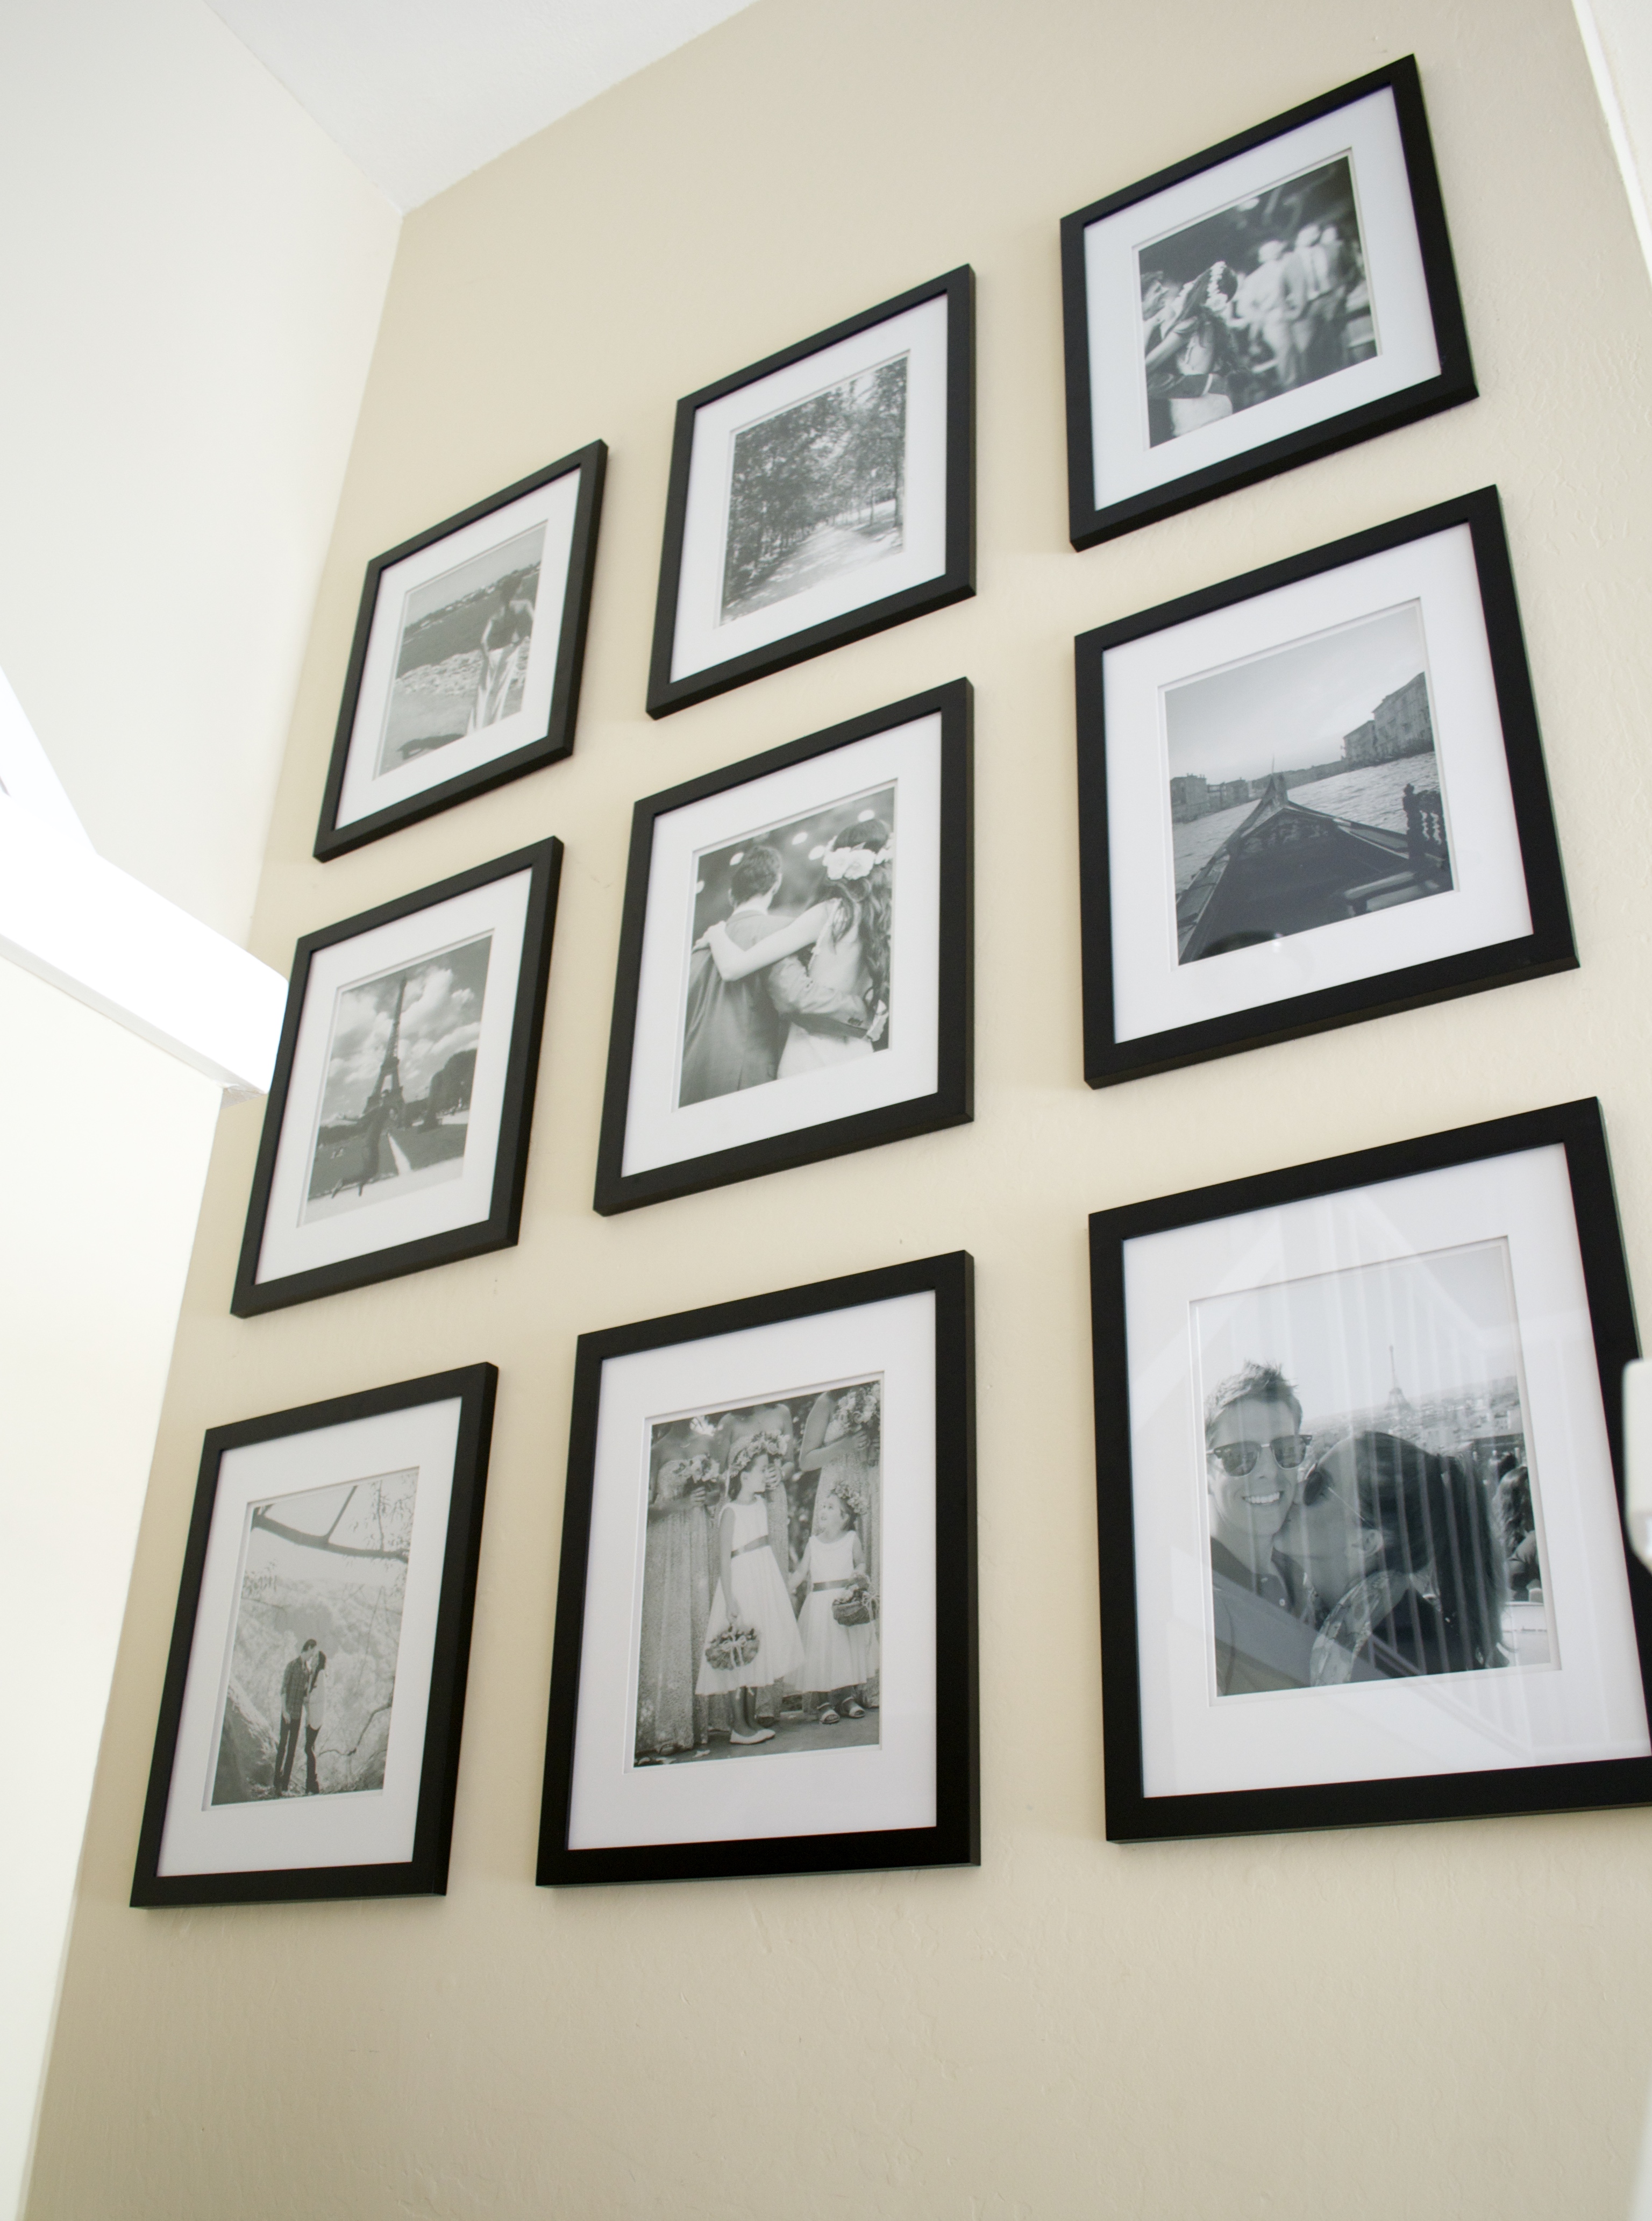
SURPRISE! They hang perfectly, and are perfectly symmetrical on your wall. Great finish to a day of DIY.
Ways to Make a Simple Gallery Wall Special
There are so many other ways you can design a gallery wall. I, for one, have a more asymmetrical design in my bedroom, using different sized and colored picture frames.

If you’re looking for something like this, hang tight. I’ll post later how to get this look. But I just love the chic look of a completely uniform gallery wall. It brings such a sophistication into any space, while still allowing your personality to come through in the pictures.
I did mine in entirely black and white, and I LOVE IT. But if you’re looking for something with a bit more flare, try using all white frames (with white mats) and pictures in color. It brightens up any room, and brings the focus to your pictures, and not the frames themselves.
Trust me, this project is a LOT easier than you think. In total, it takes about an hour or two to finish the wall (once you have all your supplies). If I can do it, so can you 🙂
Here’s a quick recap of everything you’ll need to DIY:
- 9-12 Same Size Frames (I used 16×20″ black frames, matted down to fit 11×14″ pictures)
- Measuring tape
- Hammer
- Nails
- Marker
- Step Stool
I am looking to make a symmetrical gallery wall in our hallway but I would like to use horizontal and vertical pictures. Would you recommend square prints??