Oh my gosh! A Disney post. If you’re anything like me, your love affair with Disney began at birth. I’m not even kidding. Since I’ve been a tiny girl, I’ve been convinced I’m secretly a disney princess and that the birds or the flatware will begin talking to me one day.
No, I am NOT crazy. I just think it’s the Disney fantasy most Disney fans buy into. It’s the magic of the cartoons that makes you light up inside, and make you feel like a kid again. Who doesn’t love that feeling? I’d be hard pressed to find someone who could argue with that statement.
So when my husband asked me what I wanted to do for my birthday this year (the big 3-0!) I quickly responded that I wanted a weekend trip to Disneyland. Disneyland at 30, and with no kids?!?! Heck yes. Disneyland at any age. It’s the happiest place on earth, and who doesn’t want to be the happiest they can possibly be on their birthday? So, much to my husband’s chagrin, he humored me and went along with my fantasy disneyland birthday trip.
Well, the weekend started off great, for both of us. Margaritas in Downtown Disney. Sweet! Travis was beginning to think this trip wasn’t going to be as crazy as he had originally imagined…
That was until – after 2 margaritas – I immediately wanted to go shopping in the Disney shops. As if Disneyland wasn’t already my fantasy mecca, I was 2 margaritas deep, and I wanted to buy EVERYTHING in sight! And Travis wanted to shoot himself.
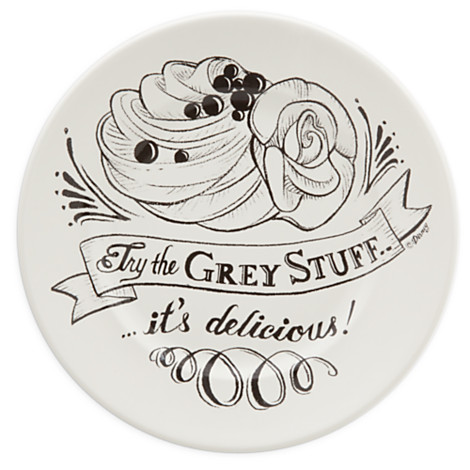
Not 5 minutes into the first store and I spotted the CUTEST dishes I had ever seen. They were grey and printed on them in black they had a line from Beauty and the Beast, “Try the Grey Stuff, It’s Delicious!”. I was convinced I had to have these dishes. I clearly had never seen anything as adorable as these were, and they would make the perfect addition to the next dinner party at our house.
For one reason or another, Travis was able to talk me out of my tipsy, spur of the moment purchase. But days later, I couldn’t quite get these dishes out of my head. I was no longer tipsy, but I still desperately wanted them.
I immediately went online to try and find them. I looked everywhere, and the only place they are for sale online is at the official disney store website. Not bad at a mere $13 per plate. But me, being the crazy DIY person I am – decided I wanted to try and make them myself.
Not that I was against paying the money at all – I actually think $13 is fairly reasonable for Disney merchandise. However, I missed the boat getting my souvenir at the park. So getting that exact one didn’t quite have the same appeal. And, I was in the crafting mood!
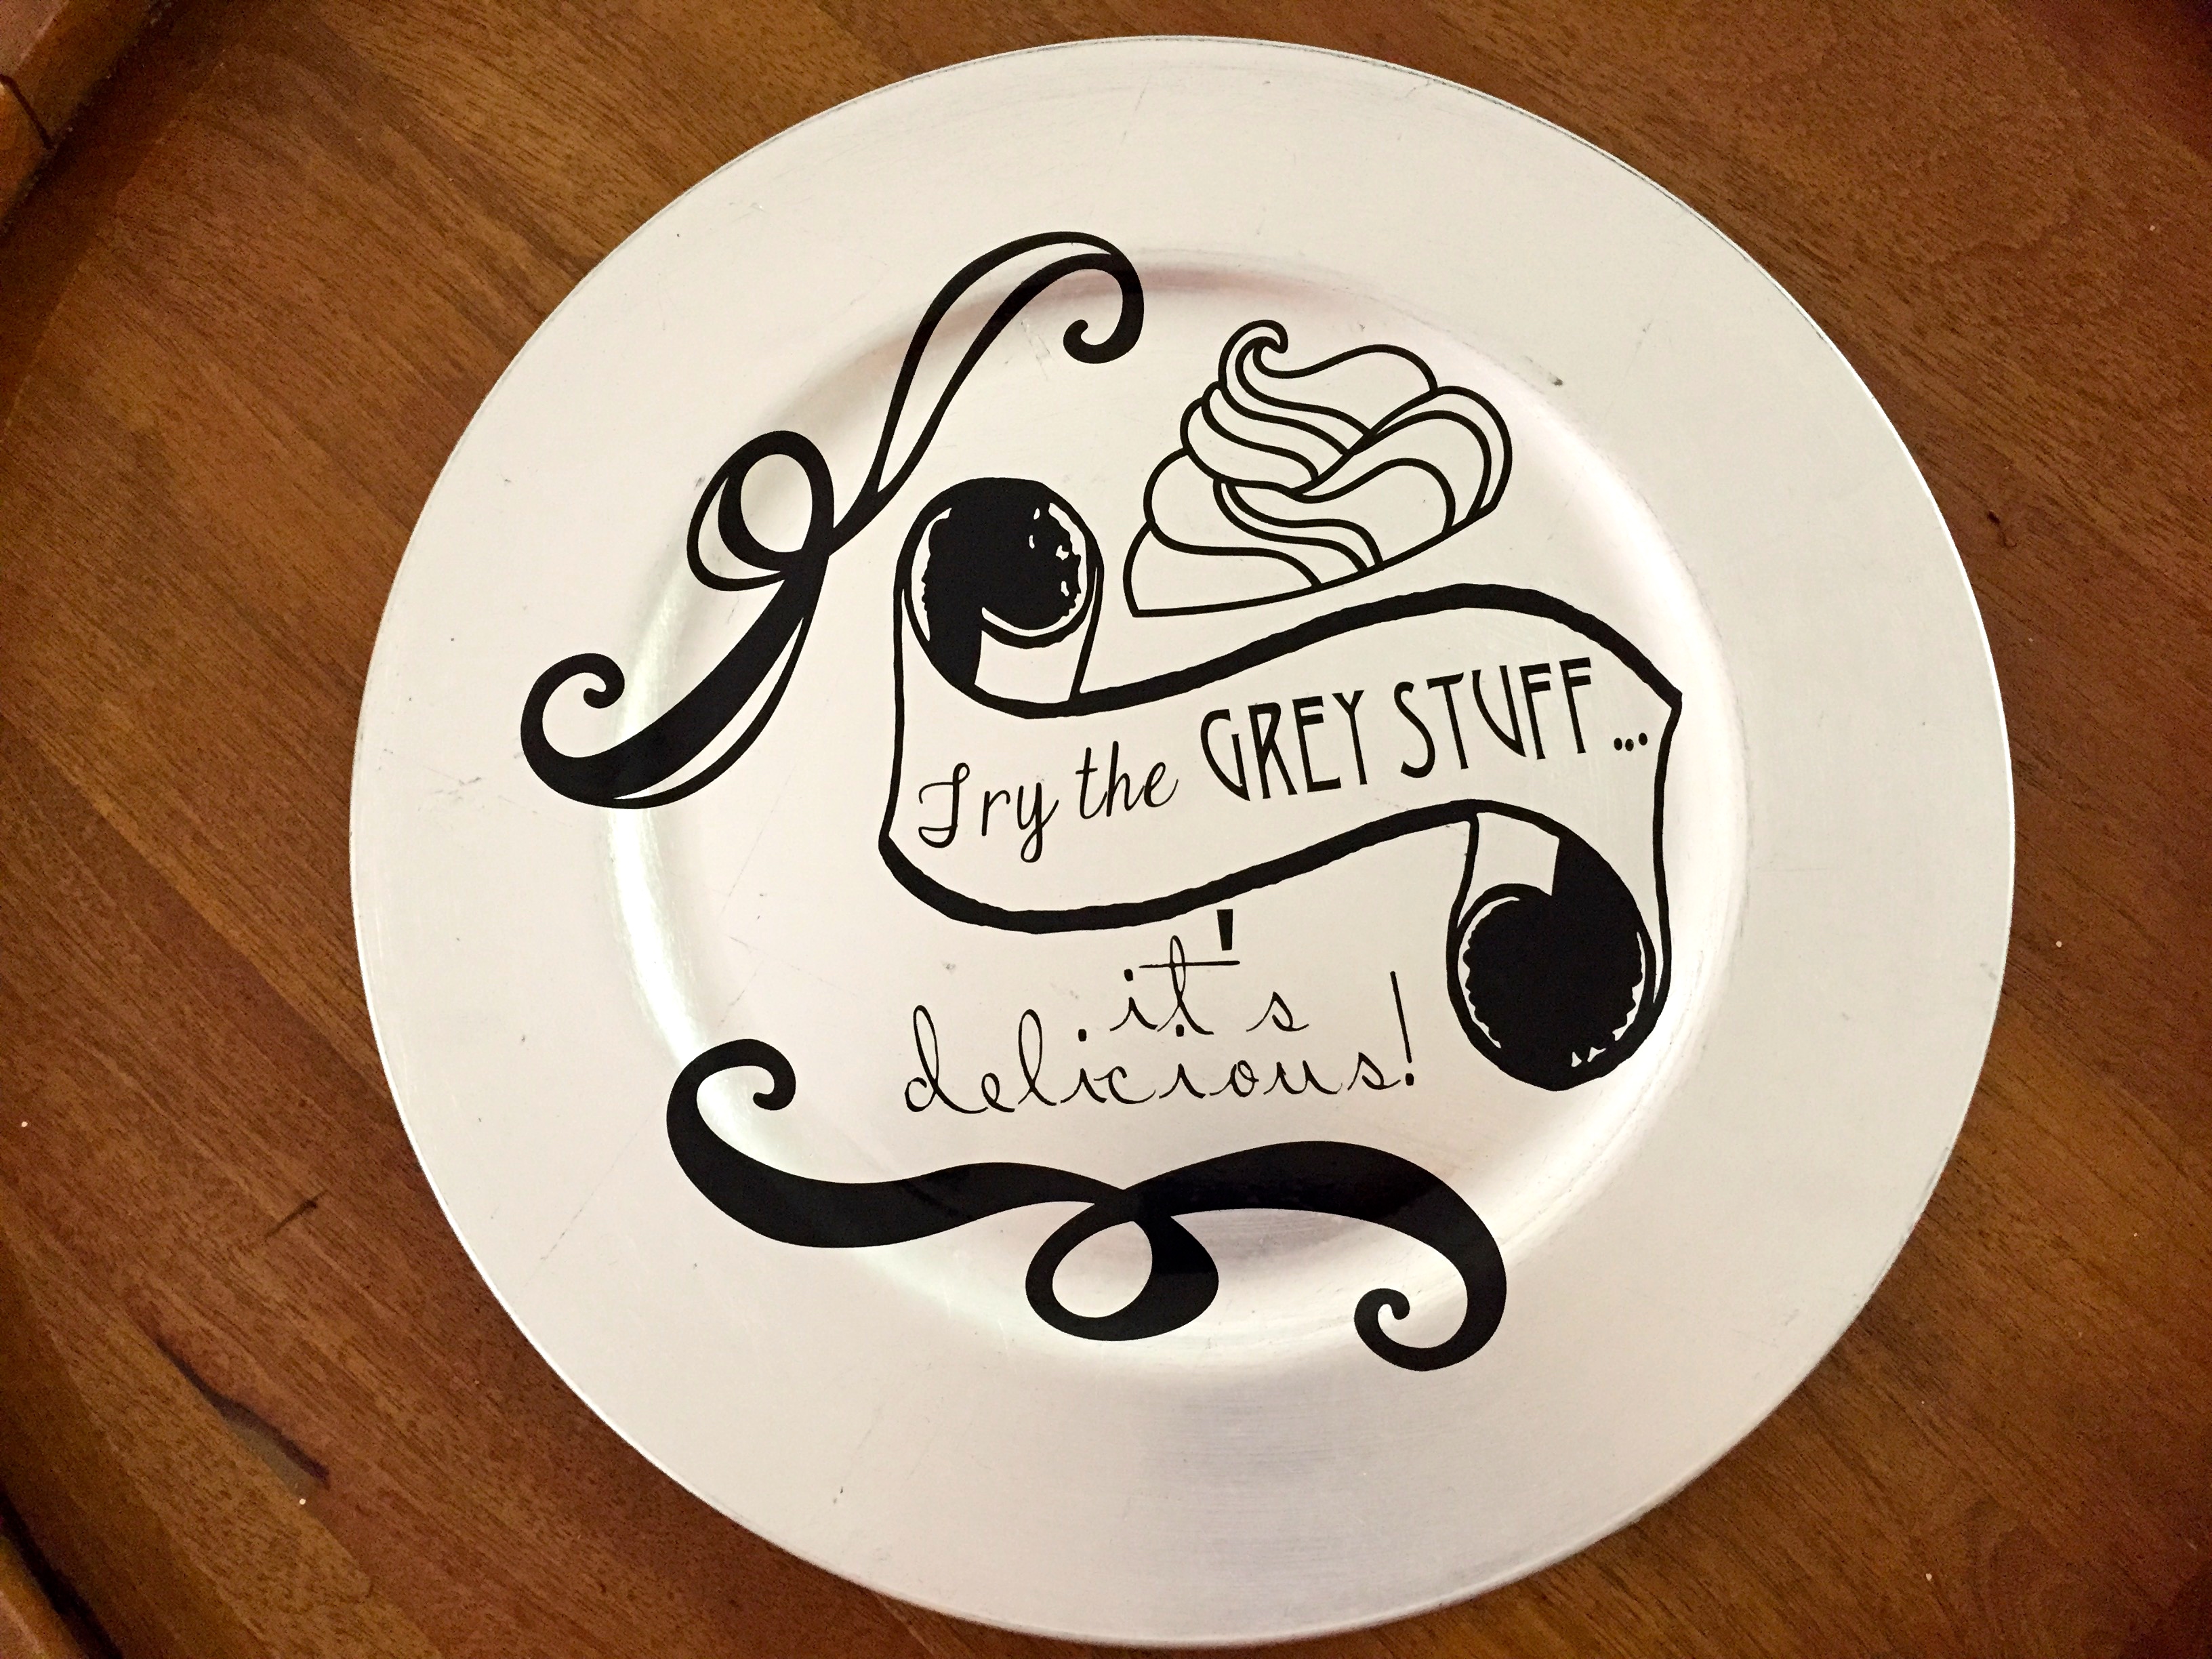
And what do you know… I was able to also realize a huge SAVINGS by DIY. With all the supplies needed, each plate was only $2.50! So I was able to make a set of 5 for what 1 would have cost me at Disneyland. Woo hoo! And I made them full dish and serving plate sizes instead of a side dish! They’re really easy, too (if you have a cutting machine).
See below for full step by step instructions and all the supplies you’ll need to DIY.
Steps to Make Beauty and the Beast “Try the Grey Stuff” Dinnerware
The Necessary Supplies:
- Silhouette Cameo Cutting Machine (or similar cutting machine)
- If you don’t have one of these, unfortunately, you won’t be able to DIY these plates 🙁
- Grey Round Charger or Square Serving Tray
- Smooth Black Vinyl
- Clear Vinyl Transfer Tape (to ensure proper vinyl placement)
Step 1:
- Design your plate in whatever design program you have on your computer. There is NO need to reverse (or mirror) your image for this tutorial. Leave it as is!
- My design is available for download for free here if you want to use it.
- PS- There is no need to design your plate exactly how you want it to look. Just make sure you can fit every design you want on your plate onto your vinyl. You can reposition them later (this is what I did).
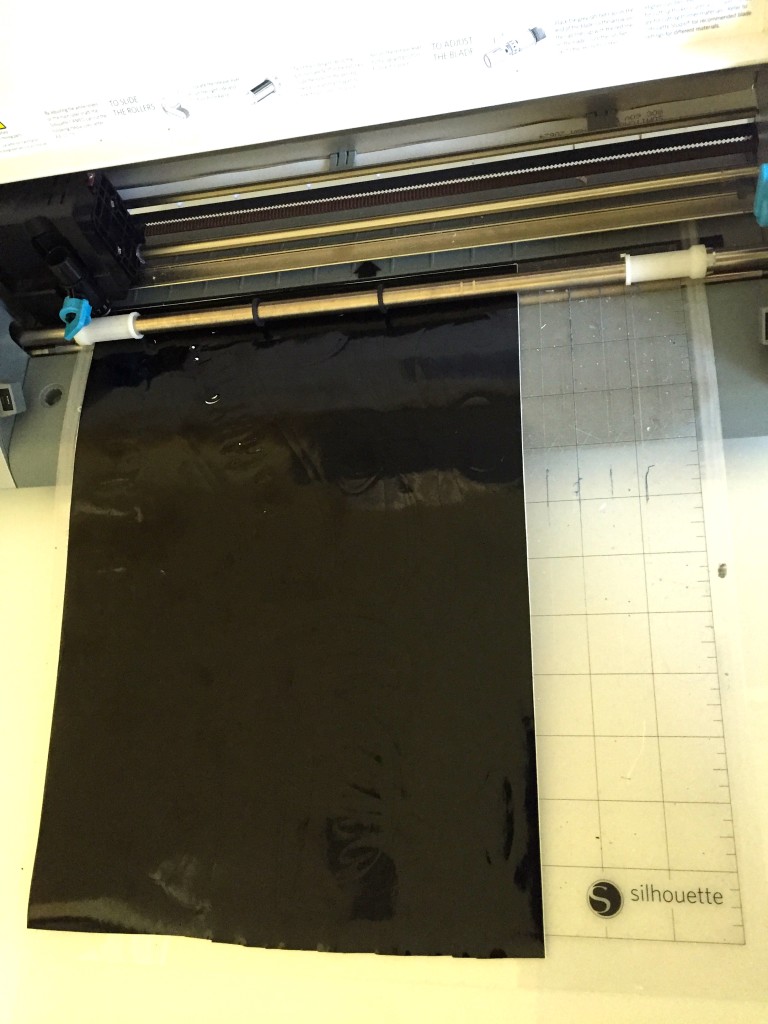
- Once you’ve finished designing your plate, load your vinyl (vinyl side up) into your cutting machine, and send your design to your machine to cut it out.
Step 2:
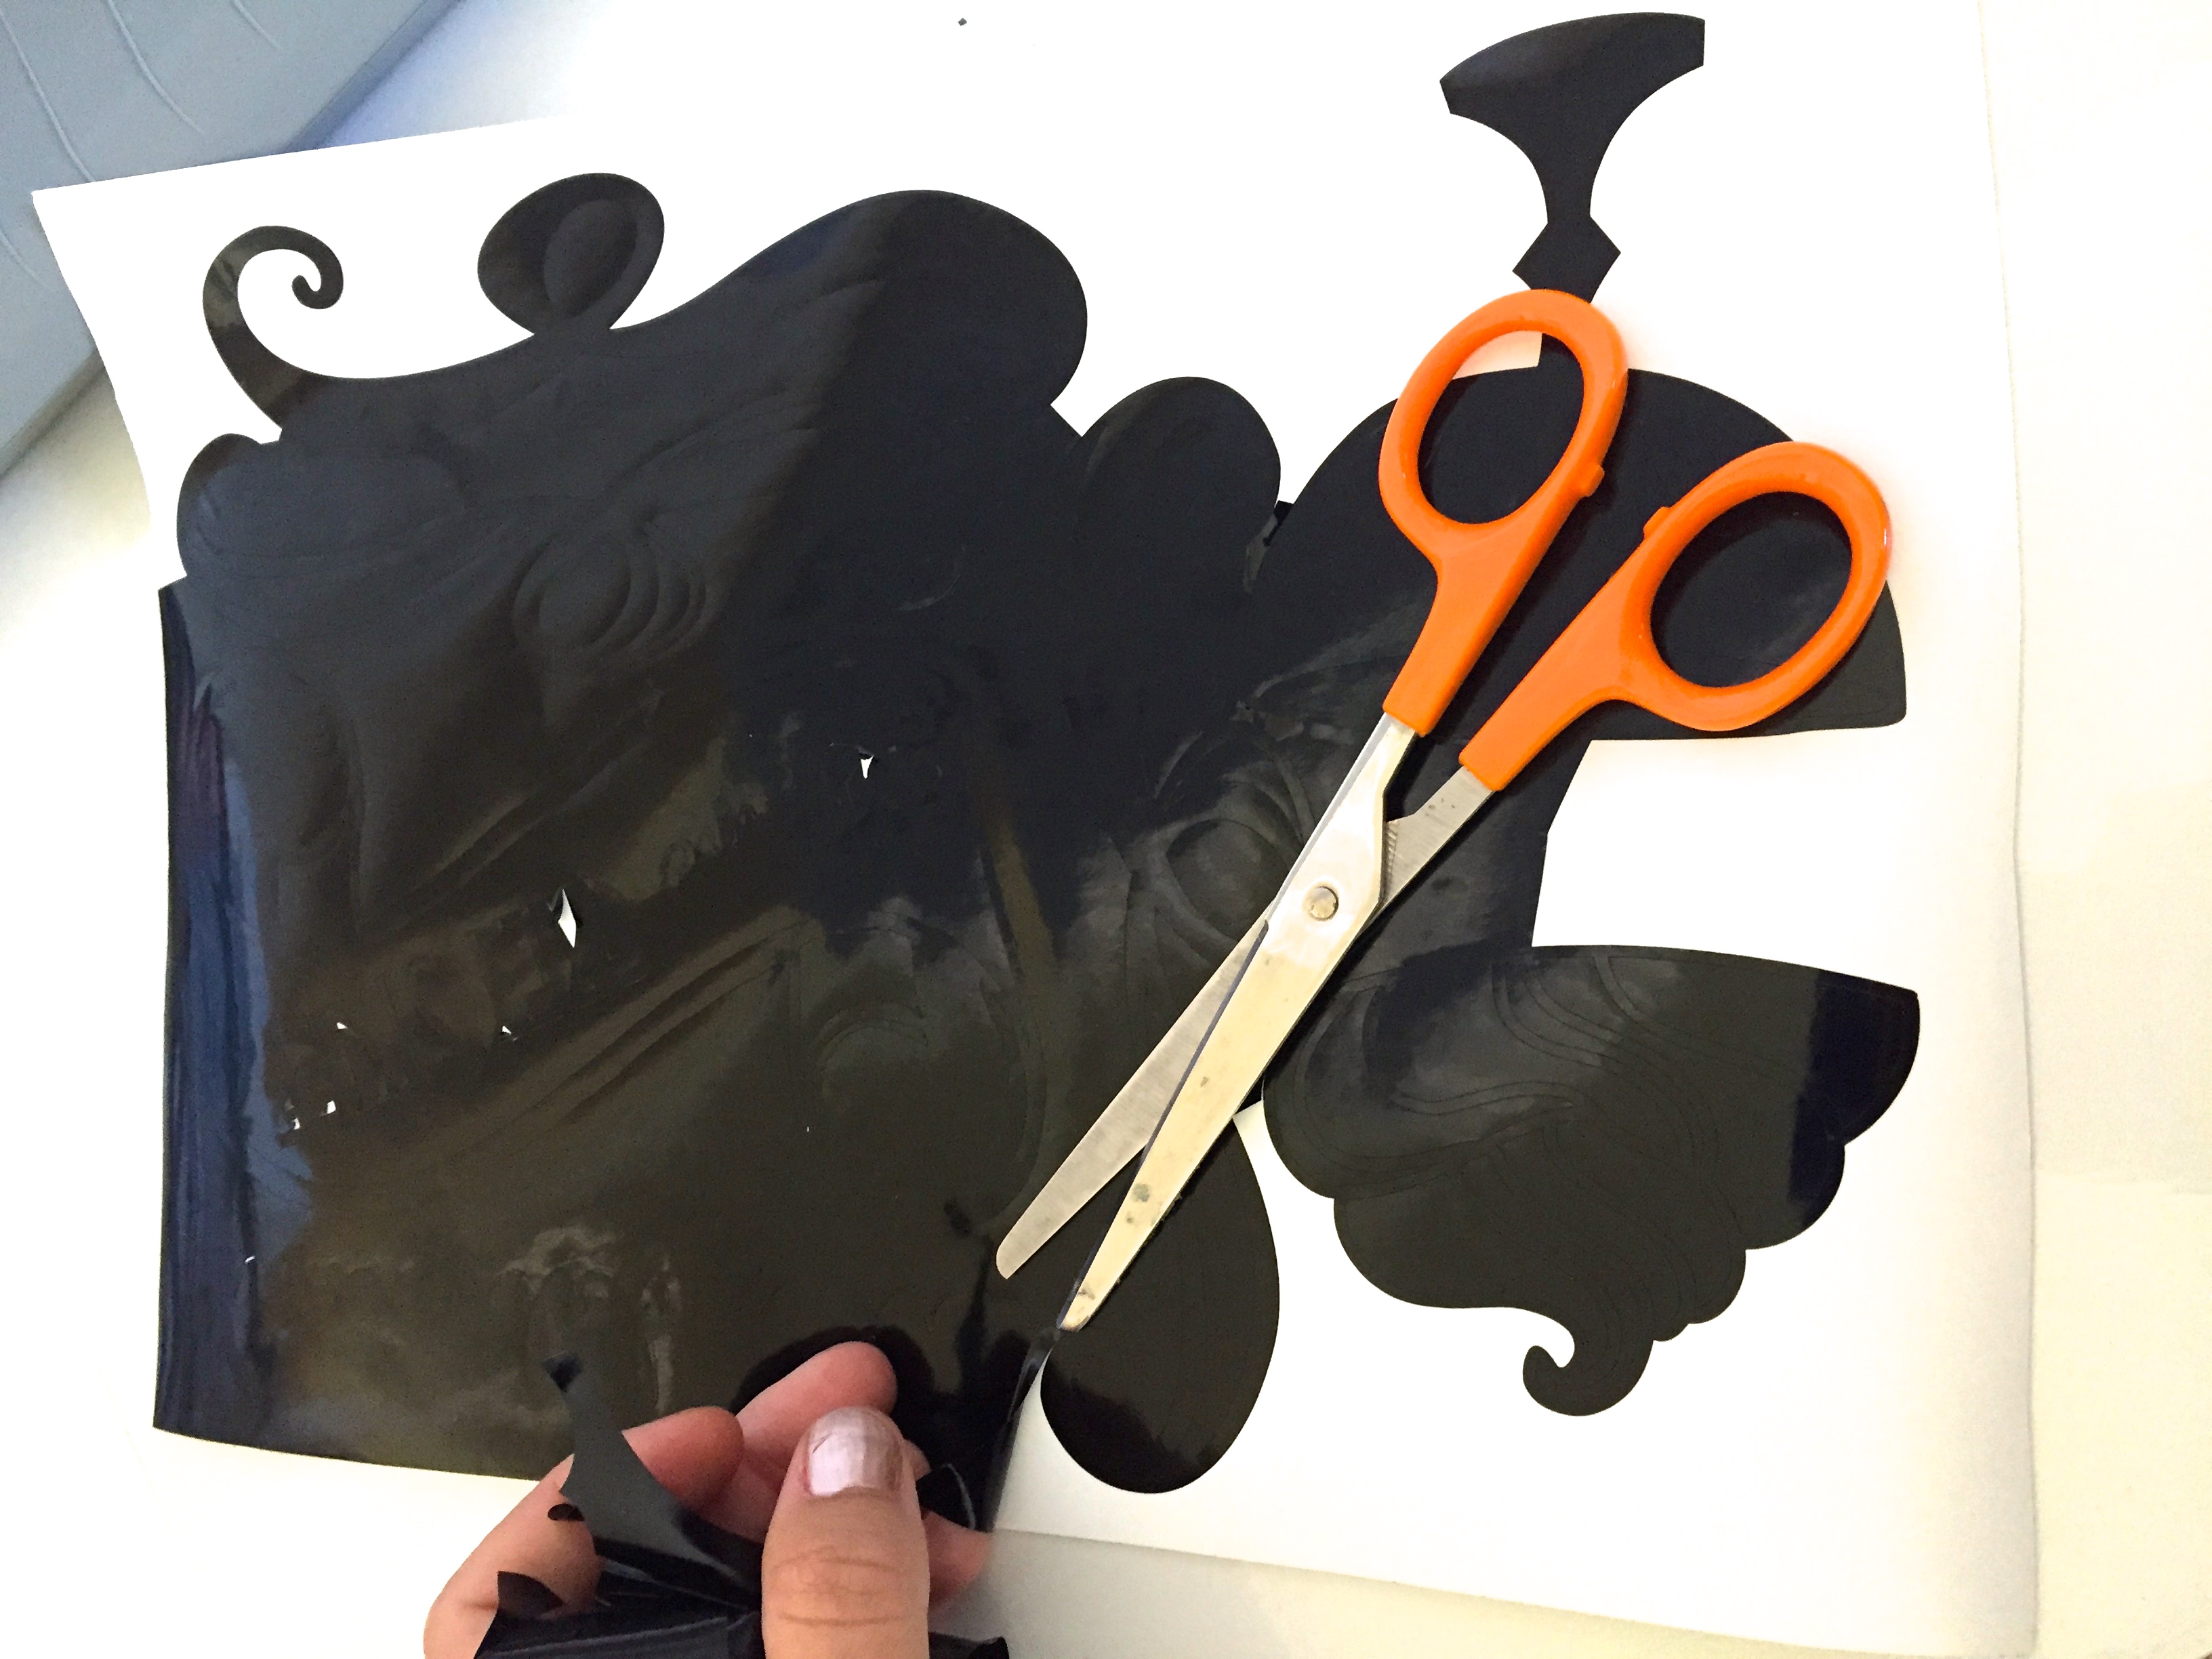
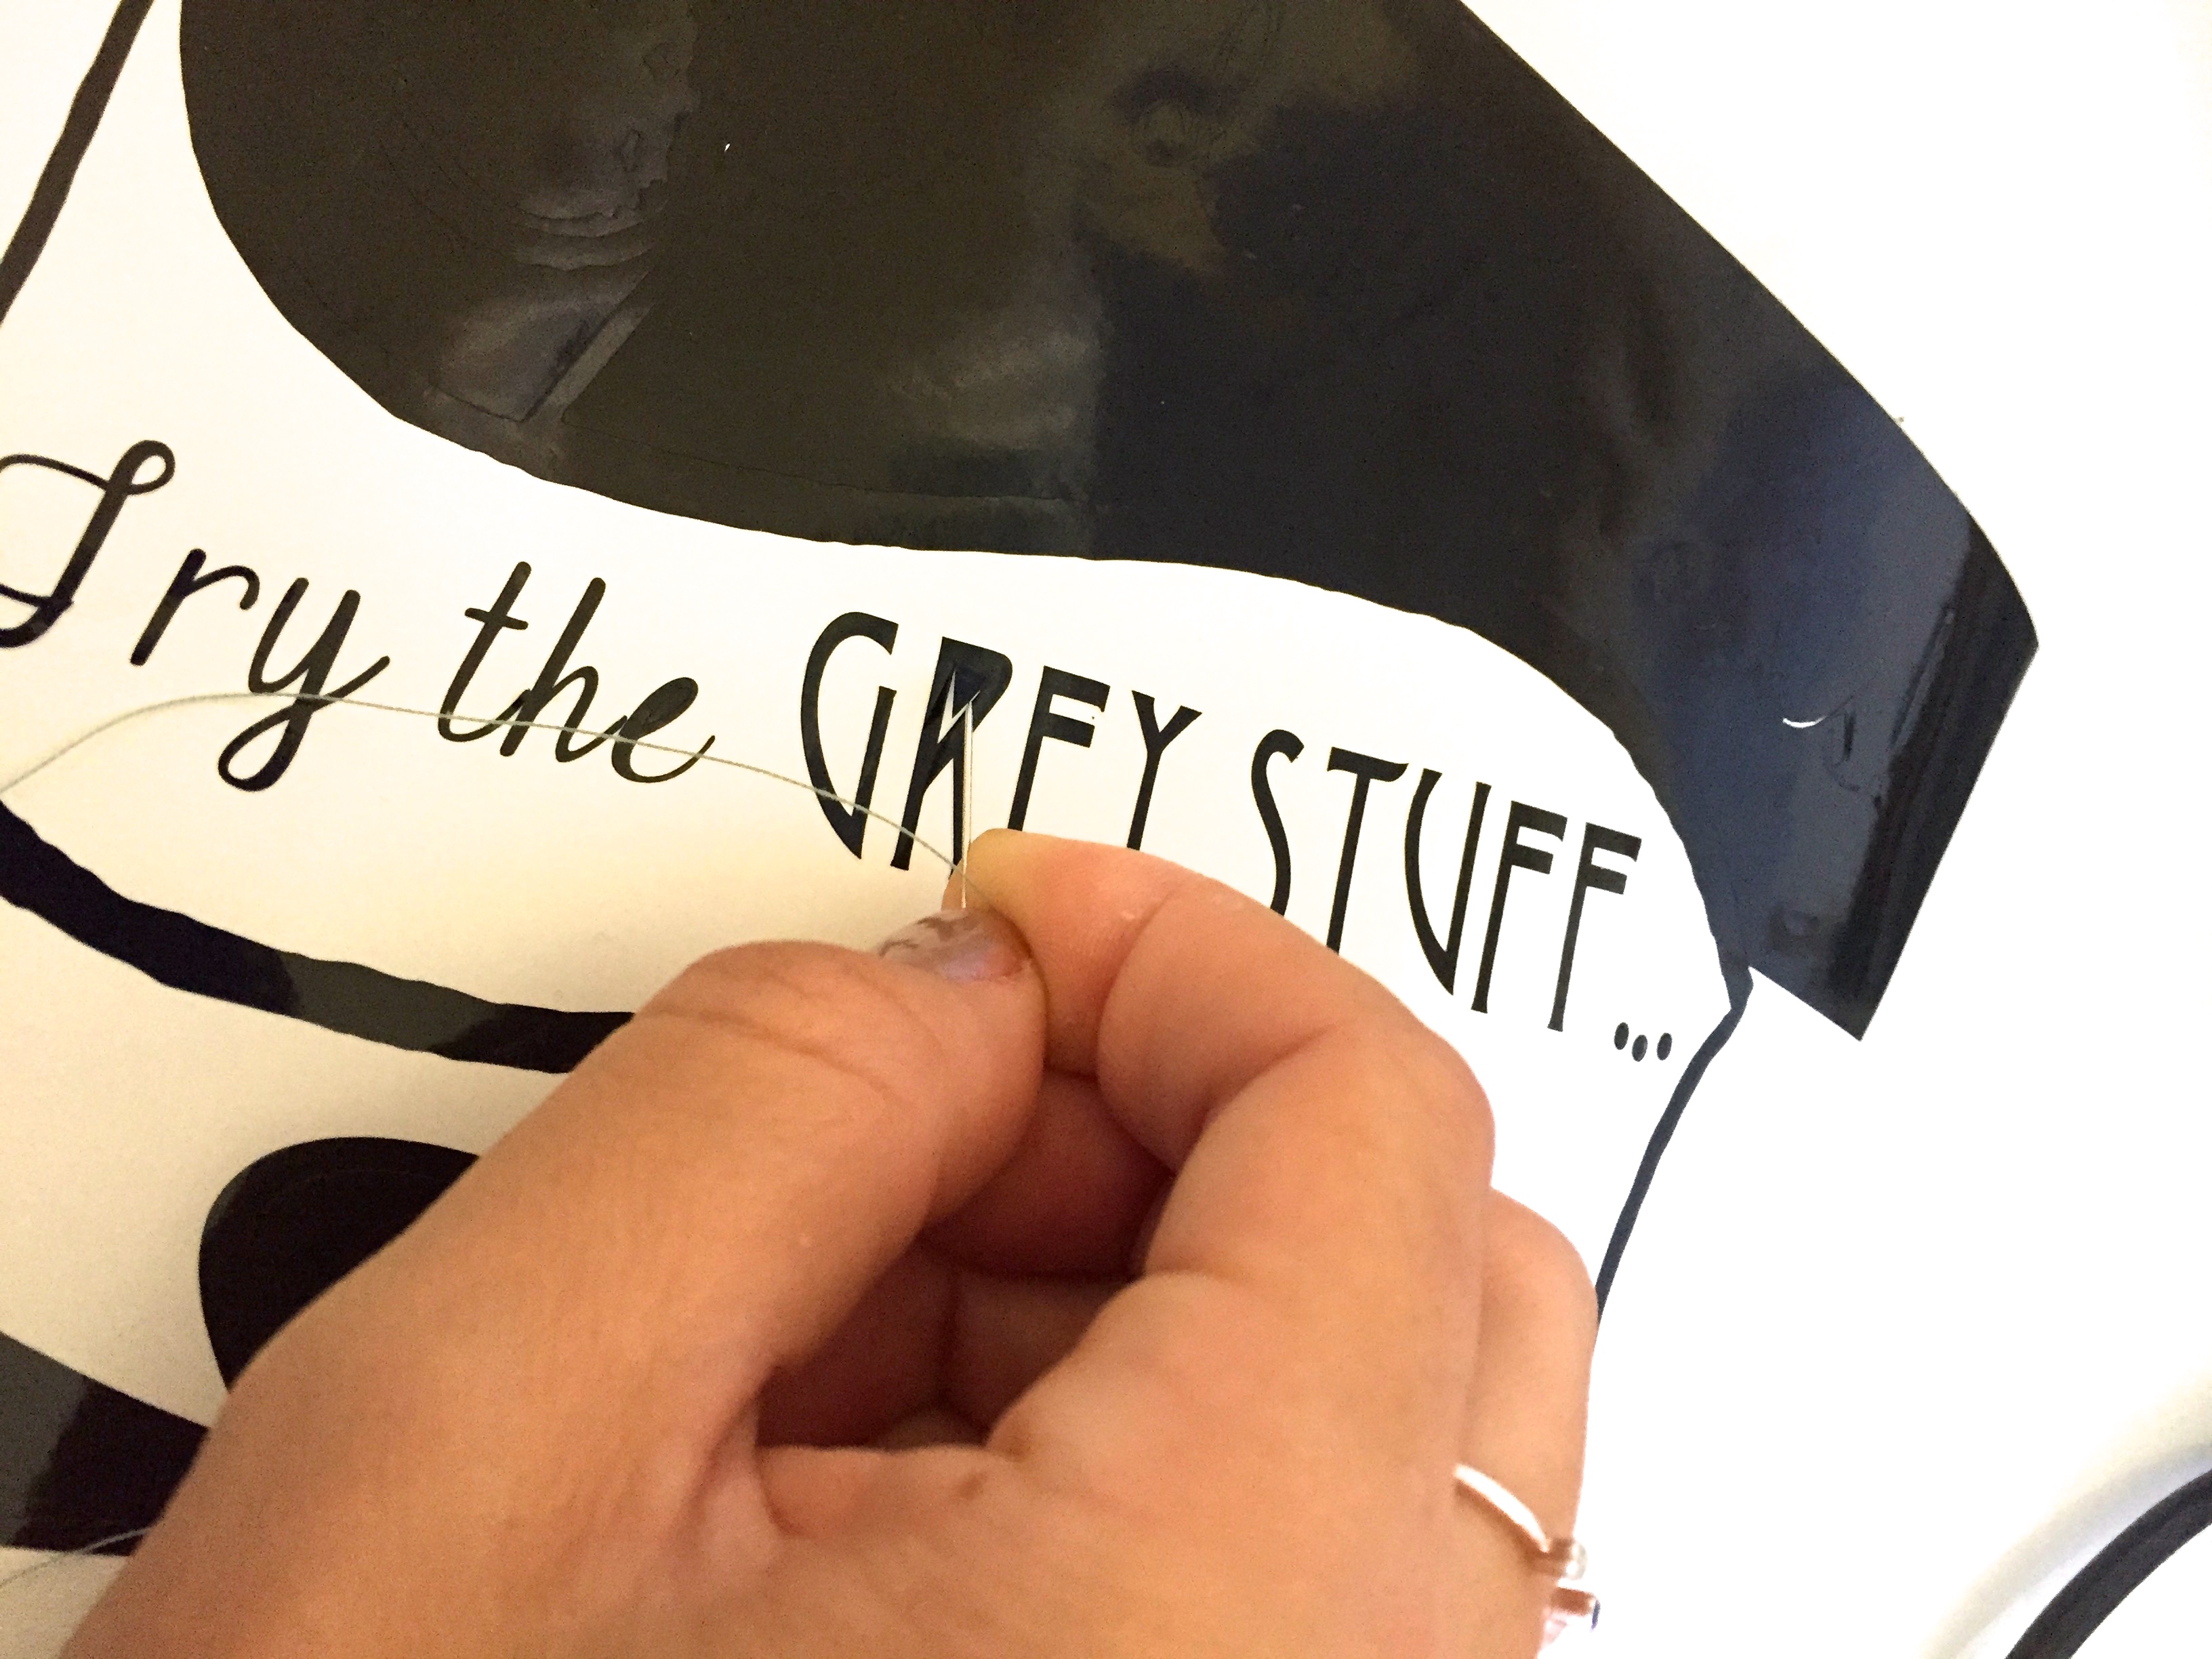

- Once everything is cut, remove the excess vinyl from around your cut design.
- A pro tip – when there are small pieces and letters – use a needle to help remove delicate pieces of vinyl from around your tiny parts.
Step 3:
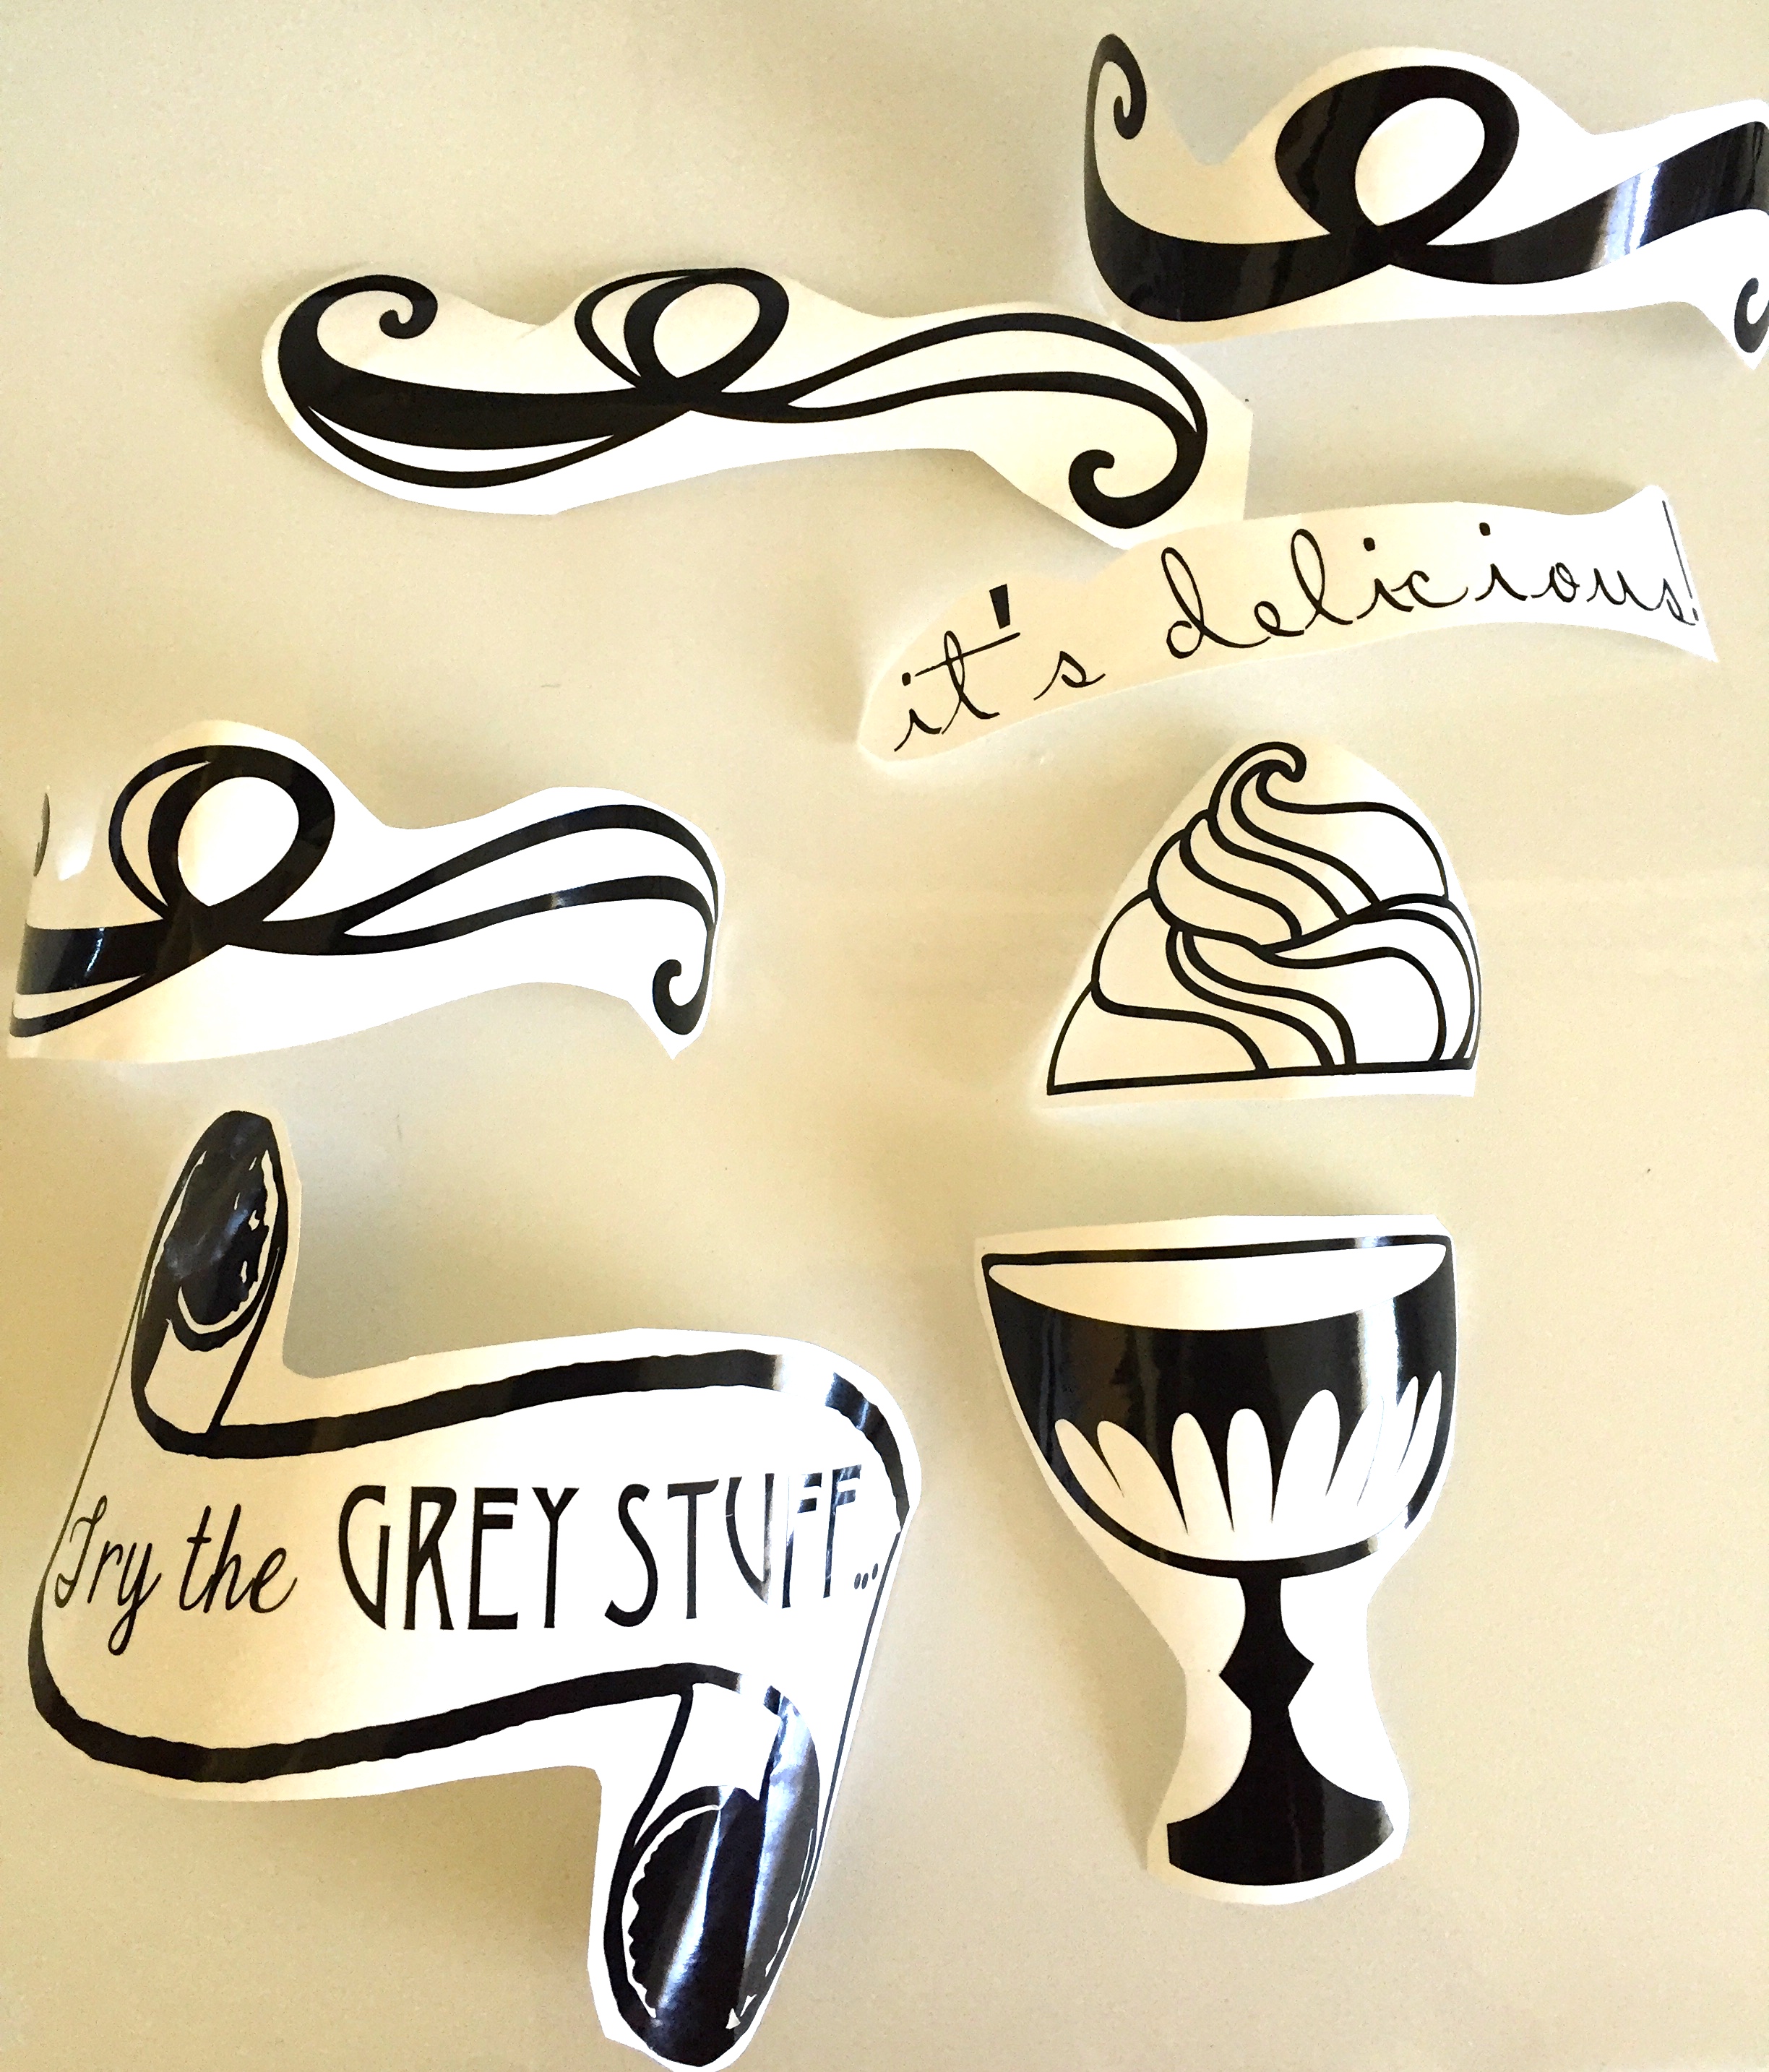

- When all the excess vinyl has been removed, cut out each design individually (to enable placement where you want it on your plate).
- If you’ve designed your plate so it looks EXACTLY as you want it to on your plate, and everything is in it’s exact place, you can skip this last part.
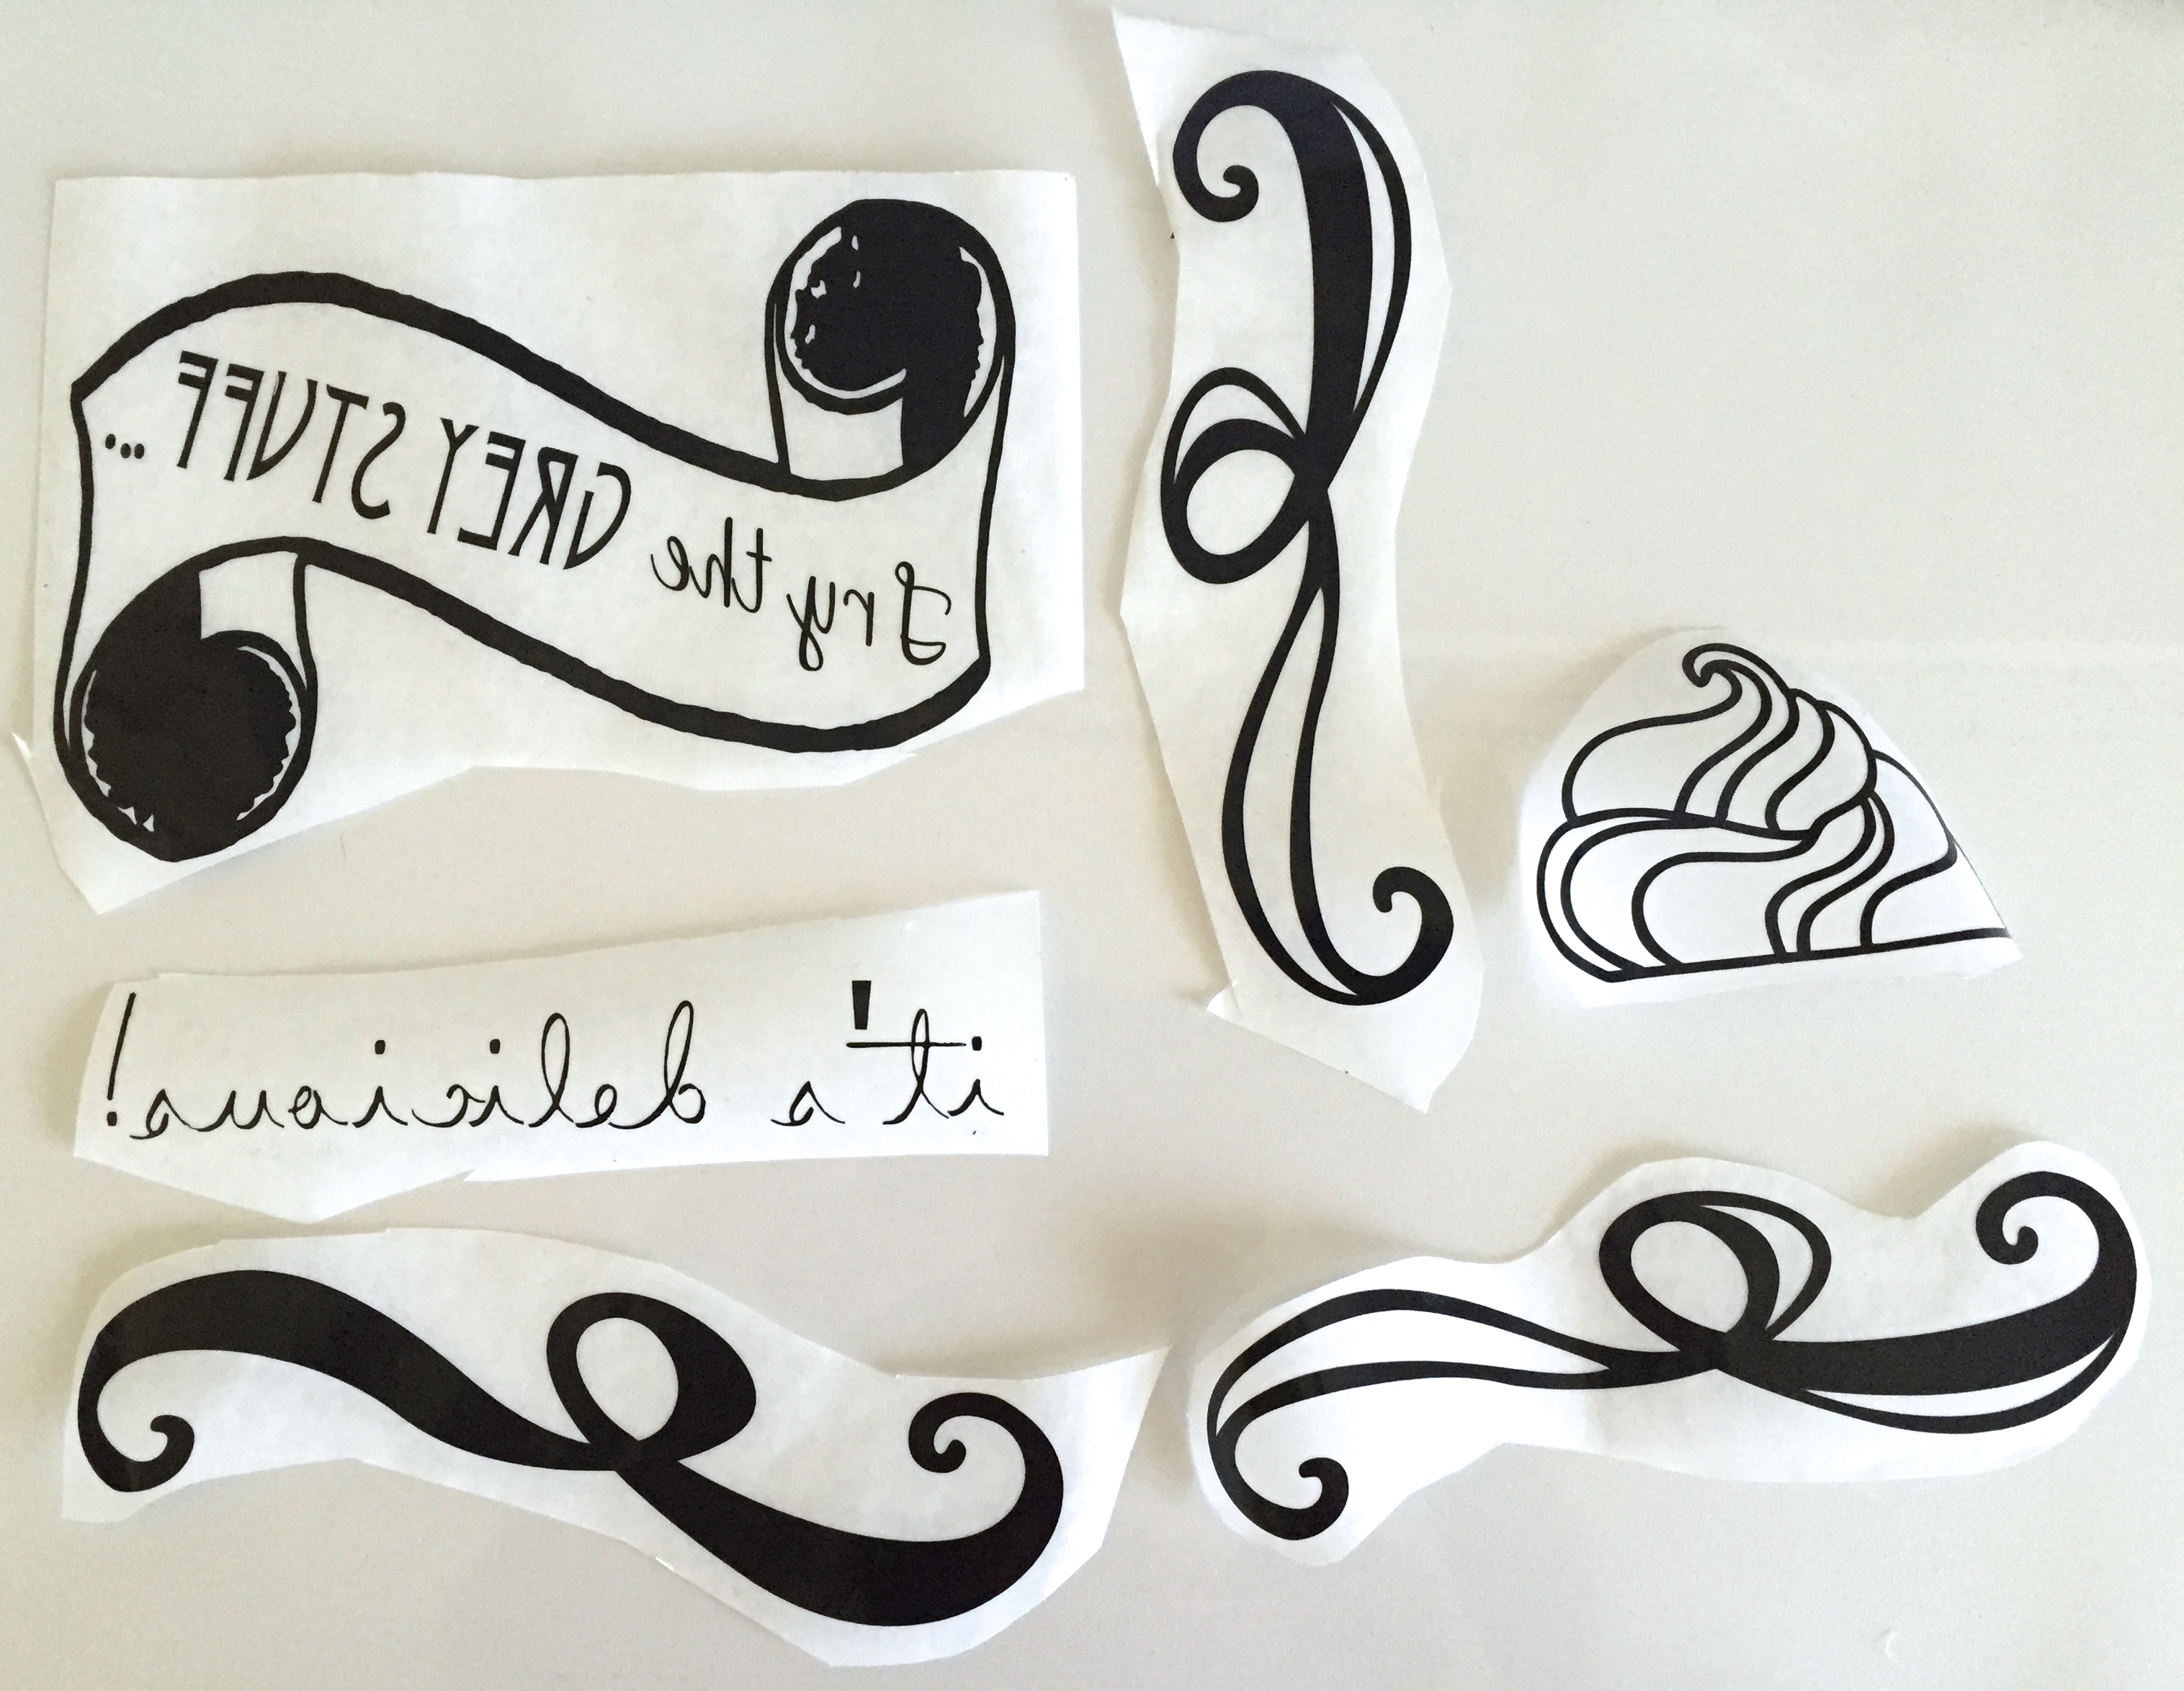
- Then, place each piece FACE DOWN onto your vinyl transfer tape.
- Again, cut around each piece as it’s attached to the transfer tape. Then, once every piece is cut, remove the backing from the vinyl (so it’s now a reverse image, and the sticky part of the vinyl is exposed).
Step 4:
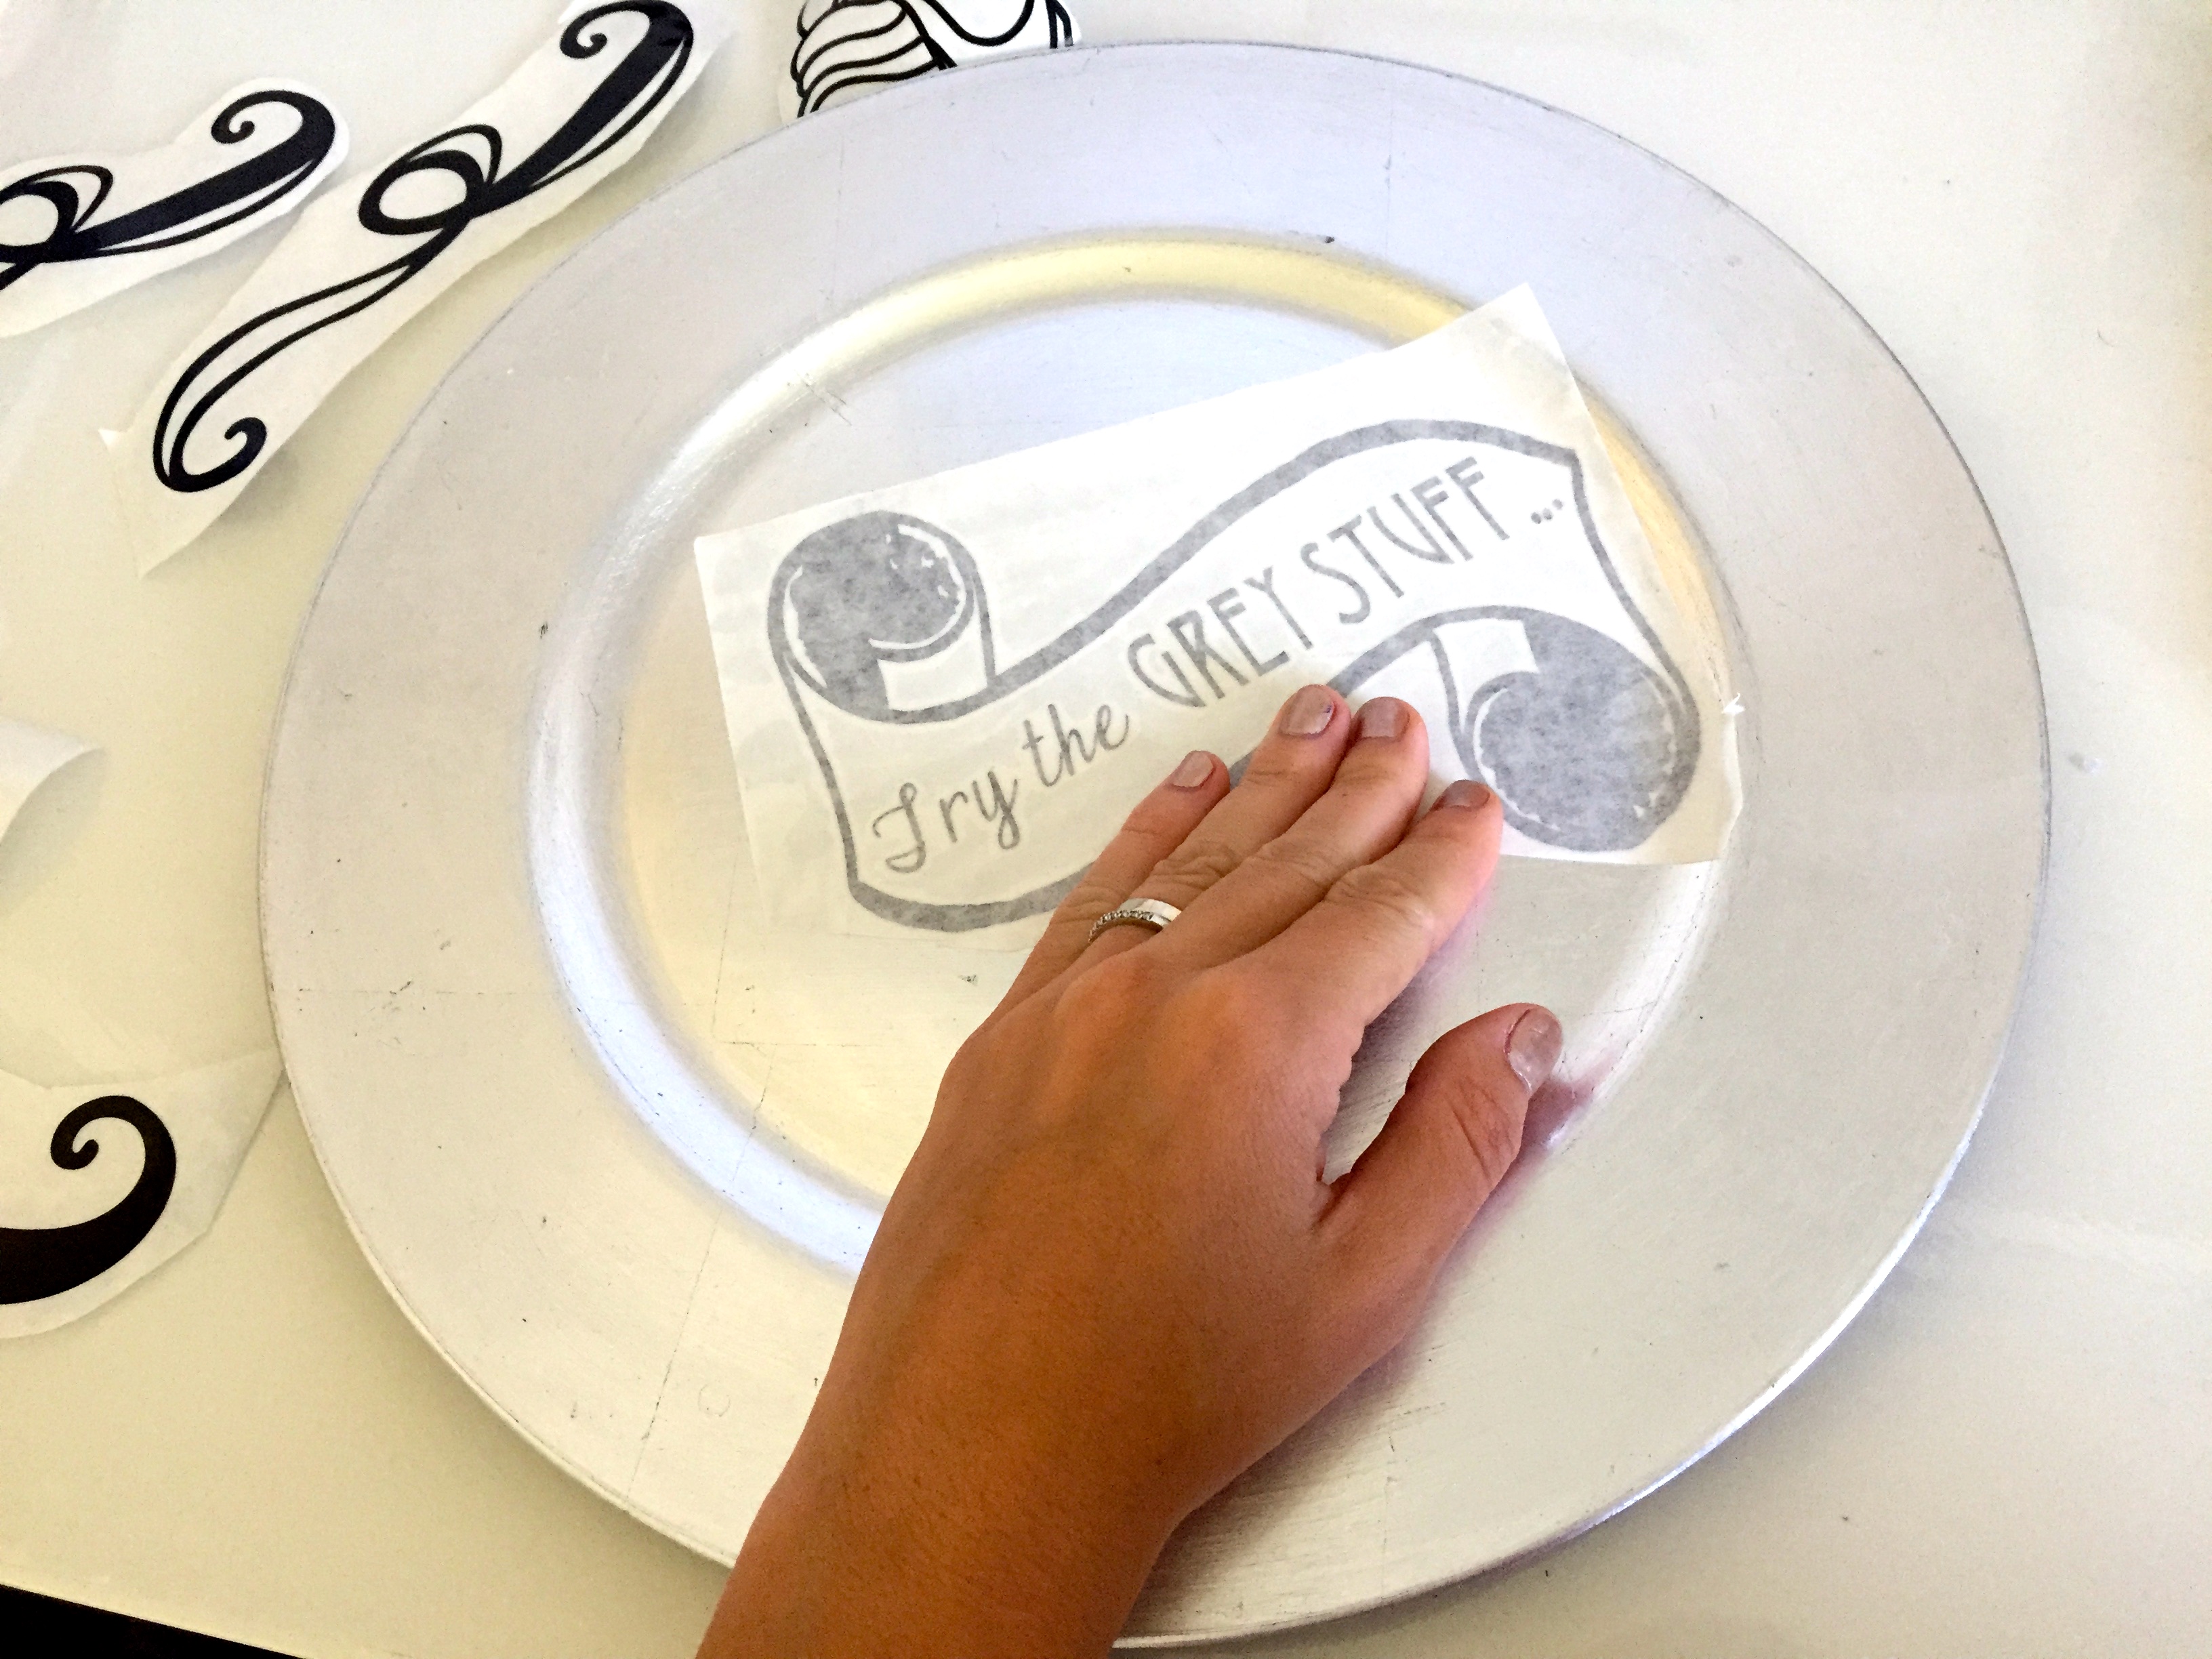
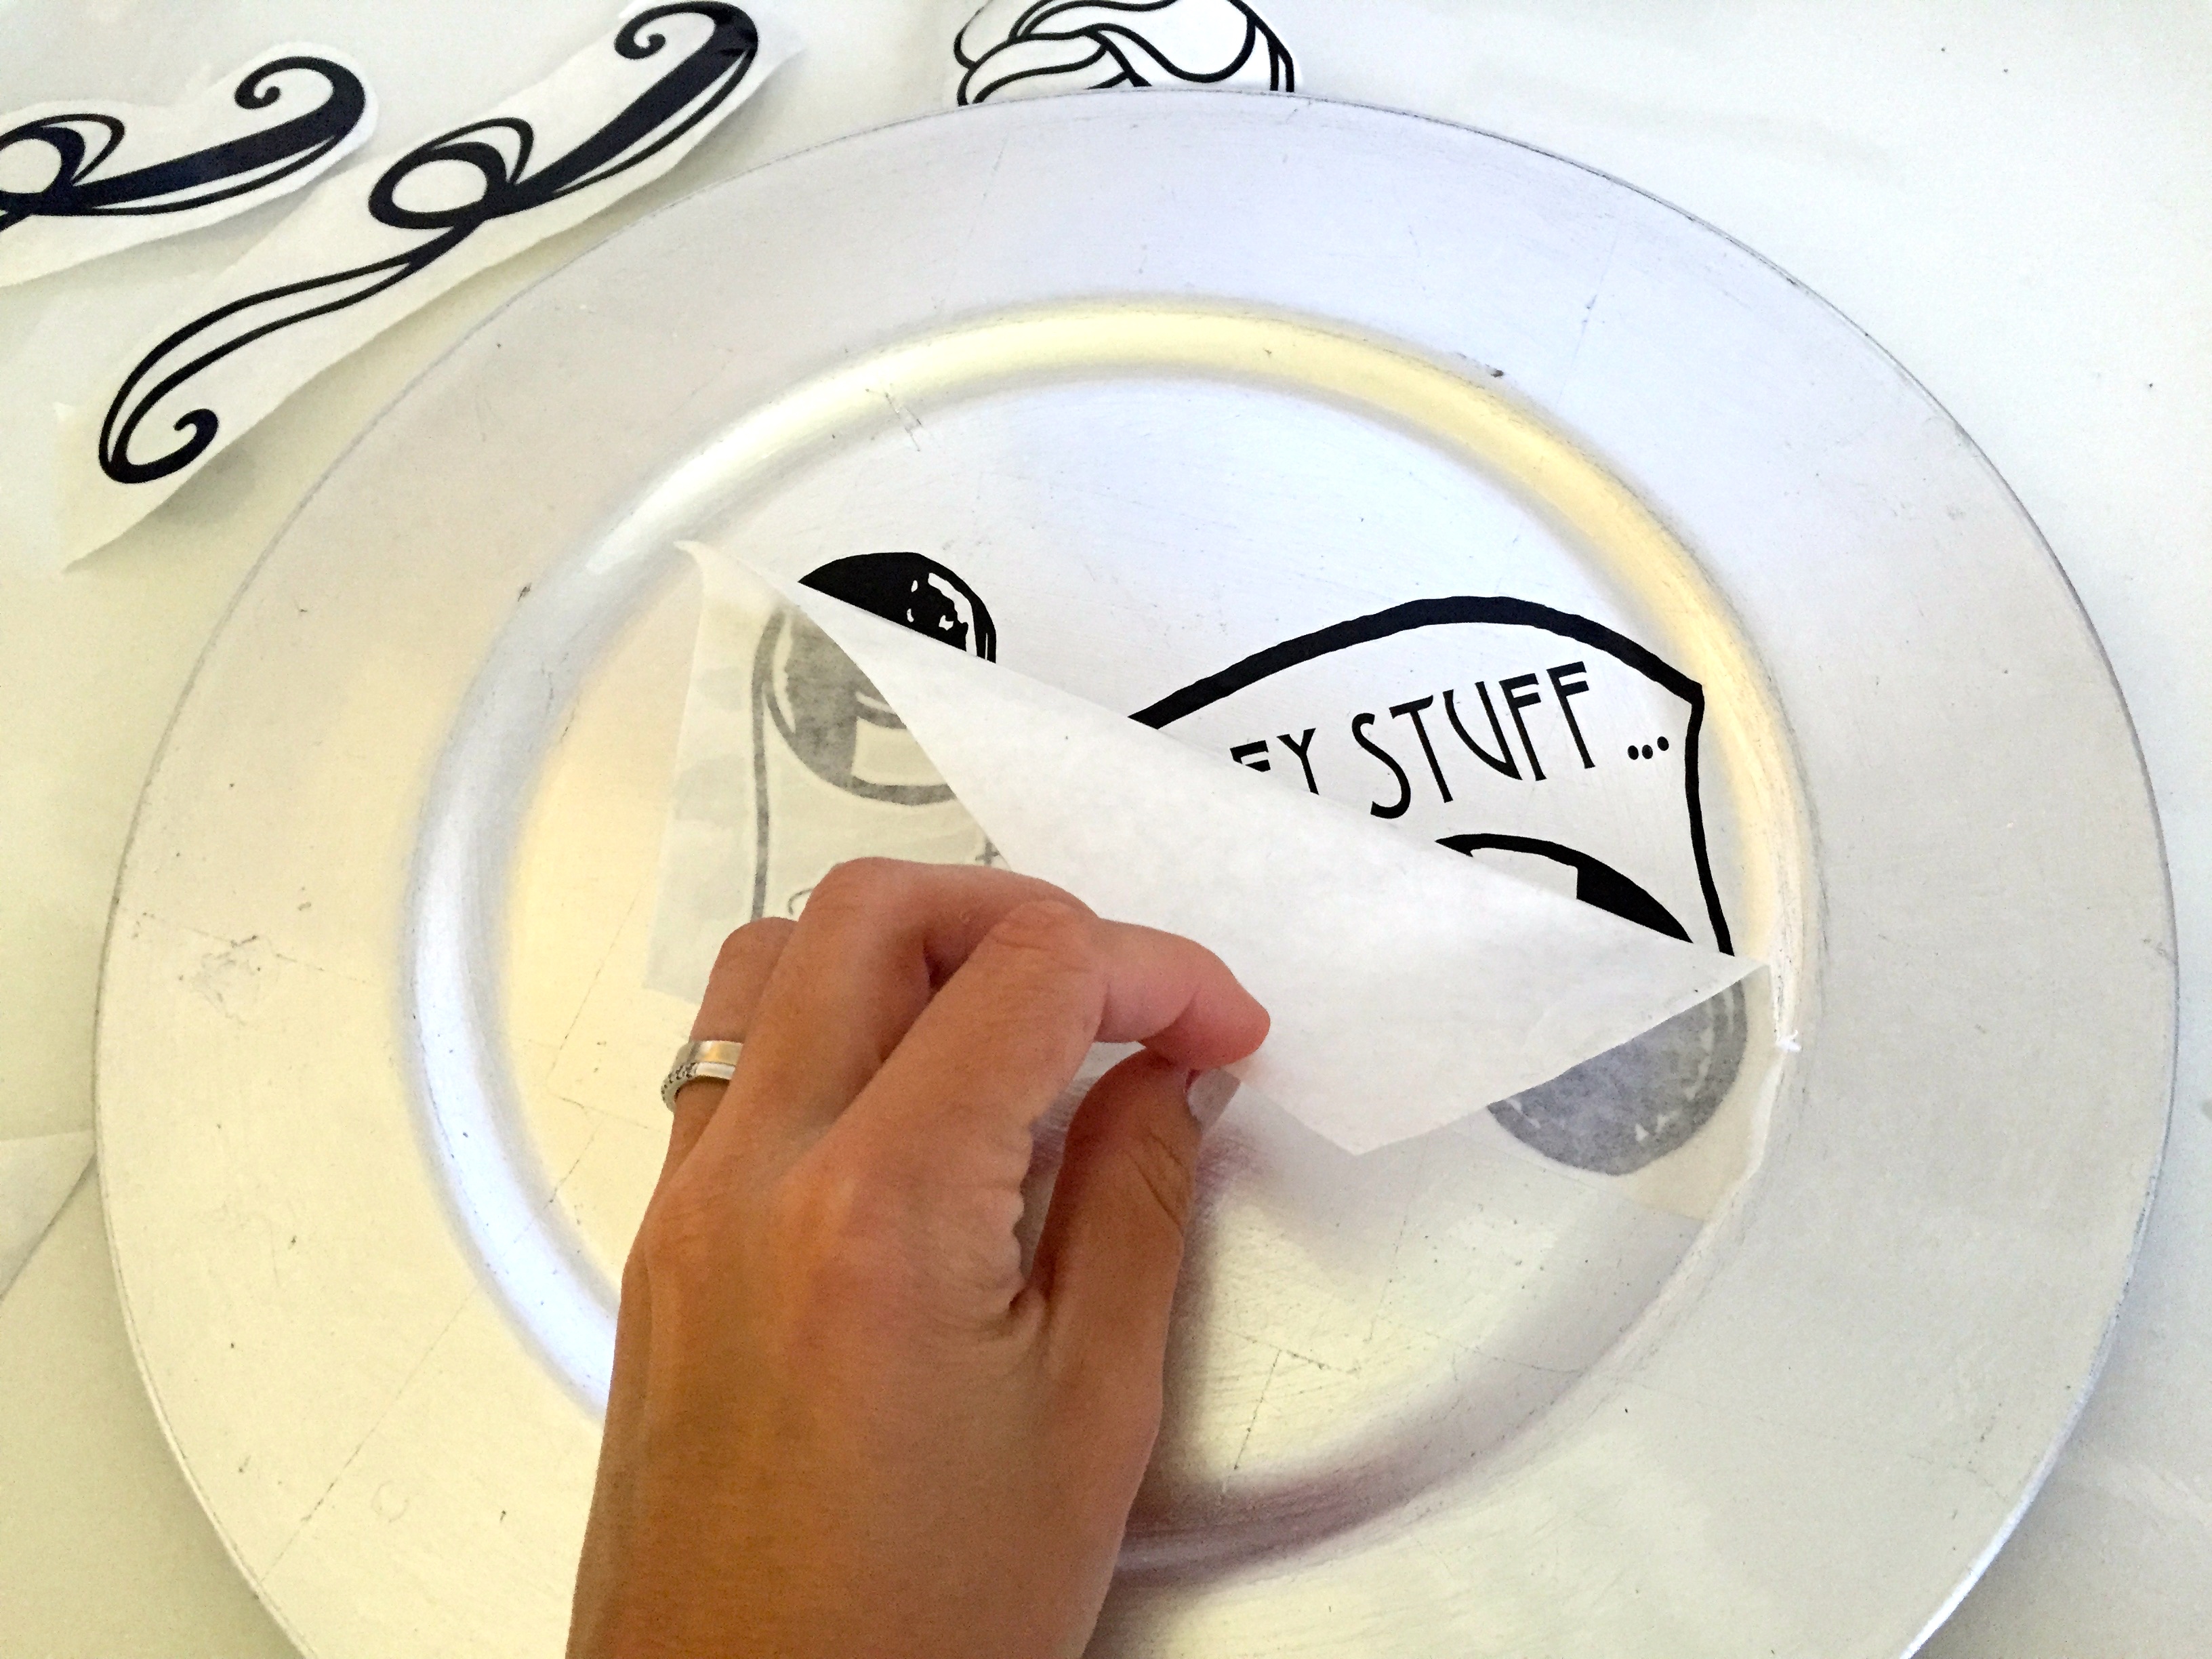
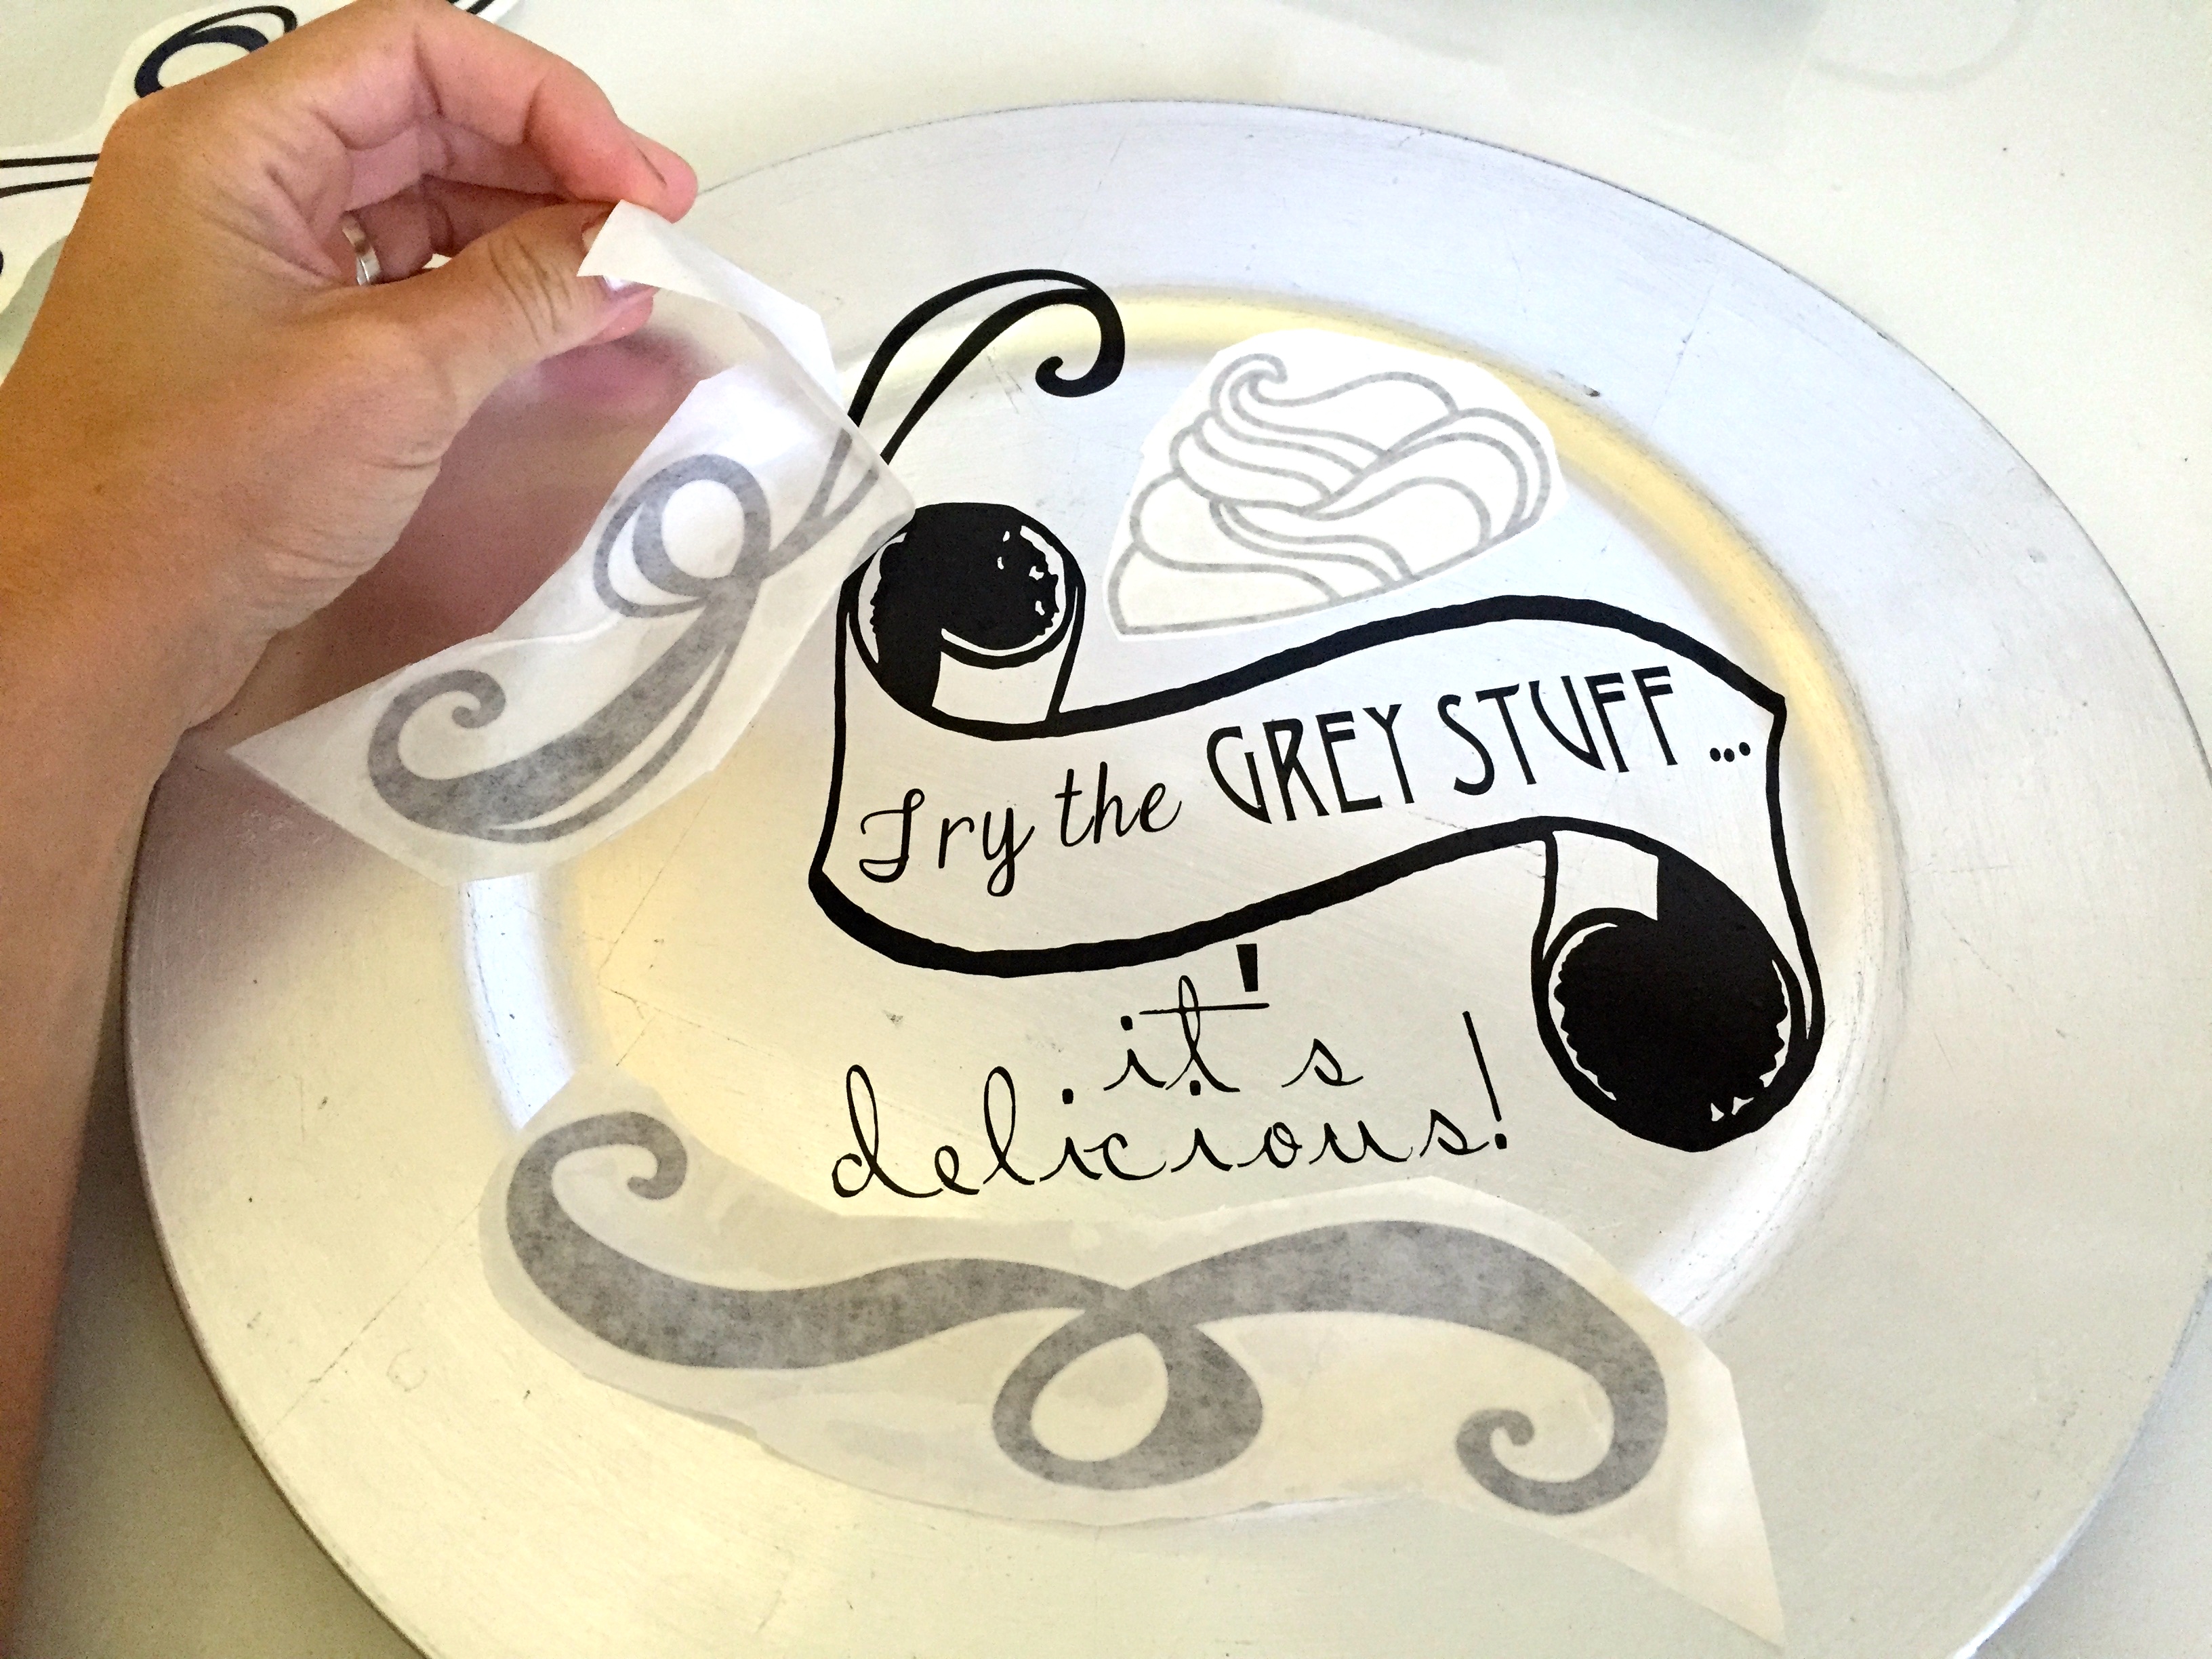
- Finally, place each piece (sticky side down) on your plate EXACTLY where you want it to be.
- I suggest doing this one at a time, to ensure proper placement and so everything looks symmetrical.
- Once you place it on your plate, run your fingers over the top of the transfer tape to ensure the vinyl is stuck to the plate well. Then, peel off the transfer tape.
- Repeat this for every piece of your design until your plate is finished.
Voi la!
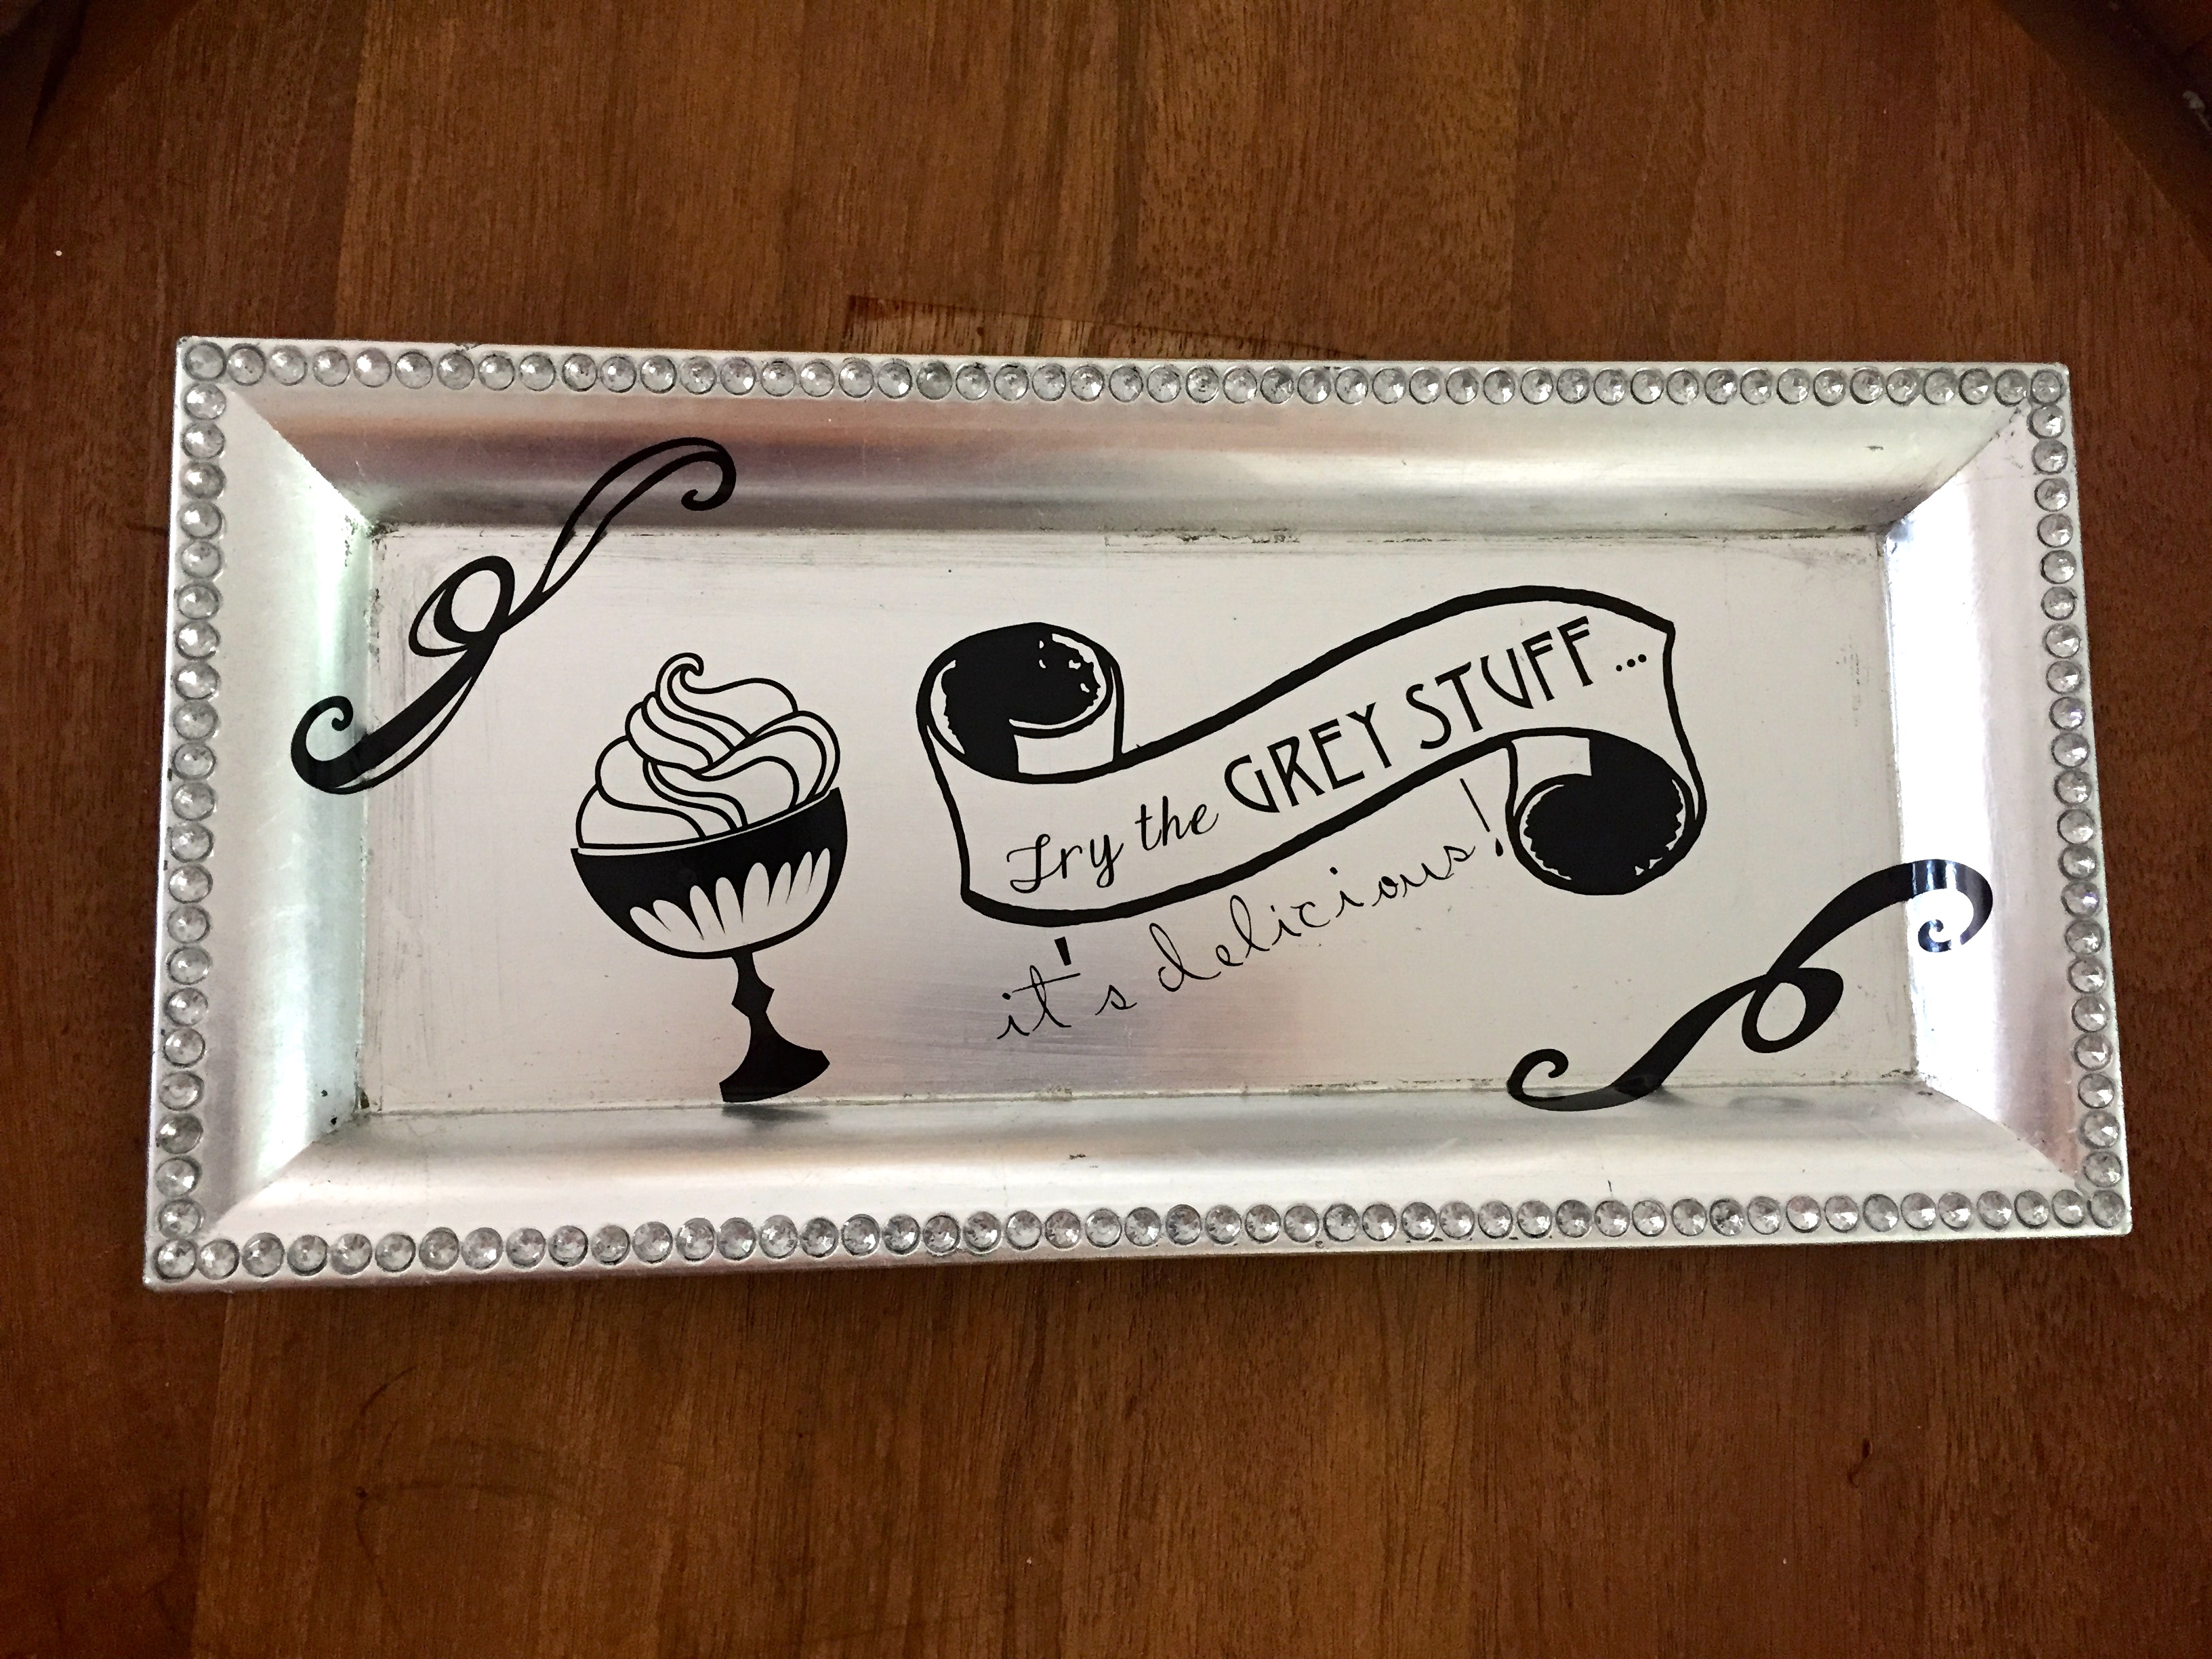
Adorable, right? I wish I had an excuse to host a dinner party so I can see the reaction on my guests faces when they get to the bottom of the cheese plate 😉 Hmmm… maybe I just gave myself another theme party idea. My mind is wondering…
And just in case you’re wondering… these are definitely NOT dishwasher safe. Although the vinyl is permanent, the heat of the dishwasher will ruin the adhesive. So if you want to keep your plate in great condition for a long while, make sure to hand wash… always!
Anyway, if you’re feeling rushed and don’t want to DIY, these plates will be up in my Etsy shop soon enough (and while you’re over there, you might as well go and check out all the amazing Disney-themed shirts I’ve been adding lately. They go hand in hand with my Disney obsession. And judging by the fact that you’re reading this post, you’ll probably be interested in seeing them, too!)
But the whole point is to inspire you to DIY. And if I have – YAY!! Here’s a quick recap to give you everything you’ll need to make this adorable plate at home:
- Silhouette Cameo Cutting Machine (or similar cutting machine)
- If you don’t have one of these, unfortunately, you won’t be able to DIY these plates 🙁
- Download my design for free here.
- Grey Round Charger or Square Serving Tray
- Smooth Black Vinyl
- Clear Vinyl Transfer Tape (to ensure proper vinyl placement)
Leave a Reply