A few weeks ago I wrote about my fun DIY shirts I made for my 30th birthday weekend. Because, let’s face it, who doesn’t want something special for their birthday?? And being the bargain hunter that I am, I decided that making my own special shirts would be much cooler, and way more inexpensive, than buying them straight from Etsy.
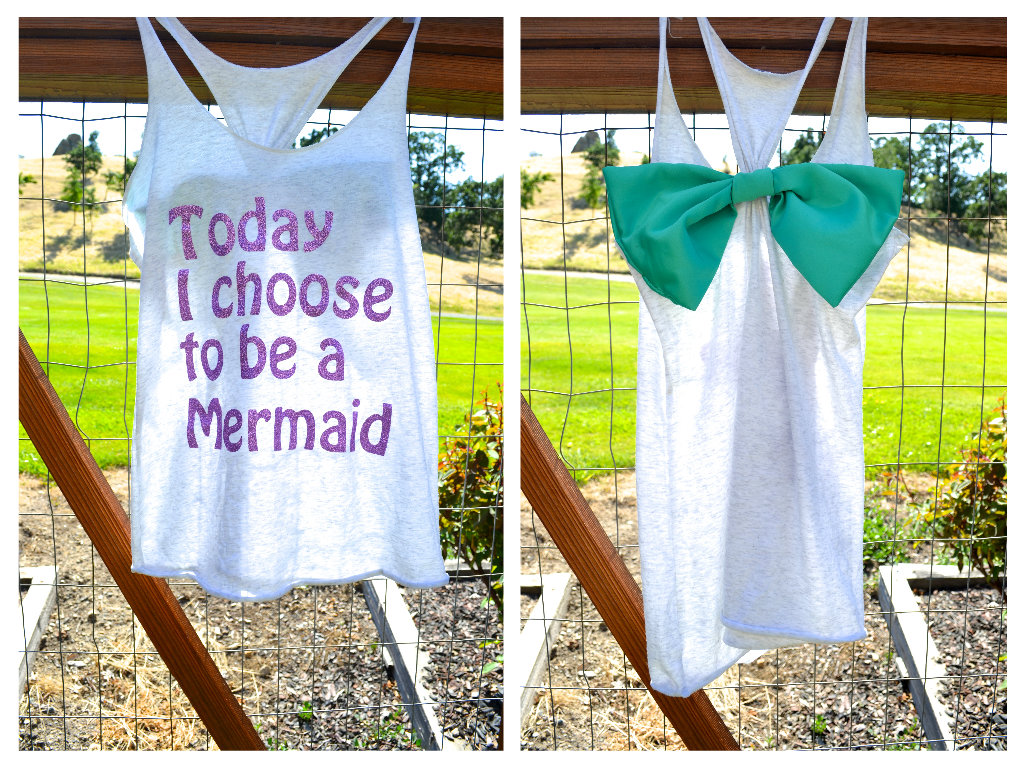
My first idea was to make a Little Mermaid inspired shirt. I was headed to Disneyland, and I wanted something with a hint of a Disney theme, but not too childish. I found these shirts that were my inspiration for my own DIY shirt. They read ‘Today I choose to be a mermaid”. Perfect. I would make mine in glitter purple (the color of Ariel’s sea shells). But it just needed a bit more…
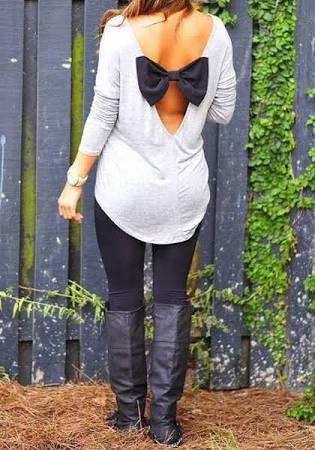
I knew exactly what I wanted – a green bow on the back of my razorback shirt. You know what I’m taking about? Those cute shirts and dresses that have a bow on the back that just make them adorable? Kind of like this:
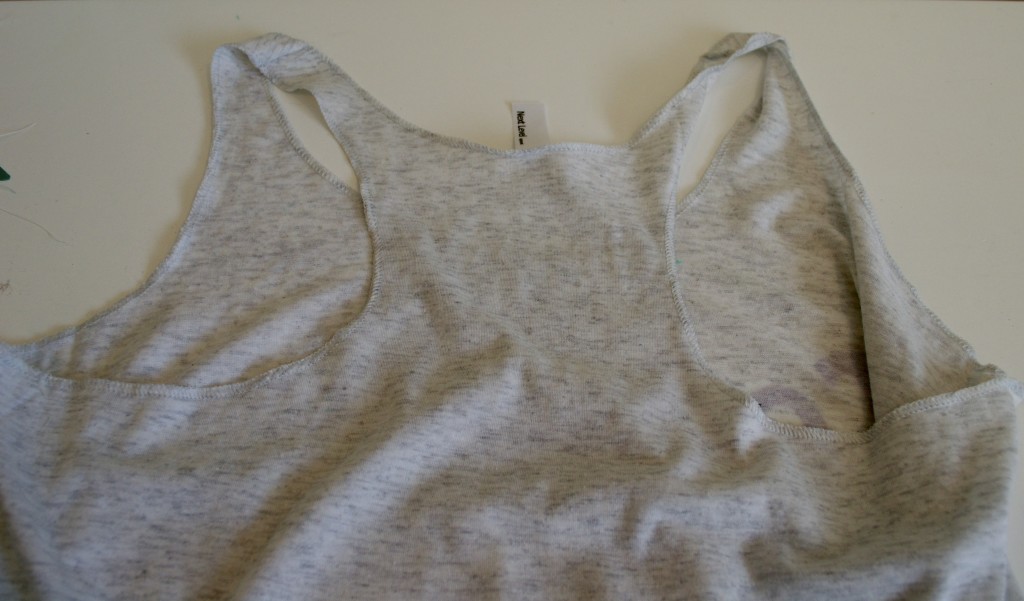
However, the shirt was a plain white razorback. No bow, no frills, no nothing. It was a great canvas for my lettering, but it needed to be spruced up.
I’m sure you have those shirts sitting in your drawers. The plain staples that work well under something else, or can only really work as gym clothing. Well, I’m here to show you how to add a cute little bow on the back of any razorback/low back tank or dress.
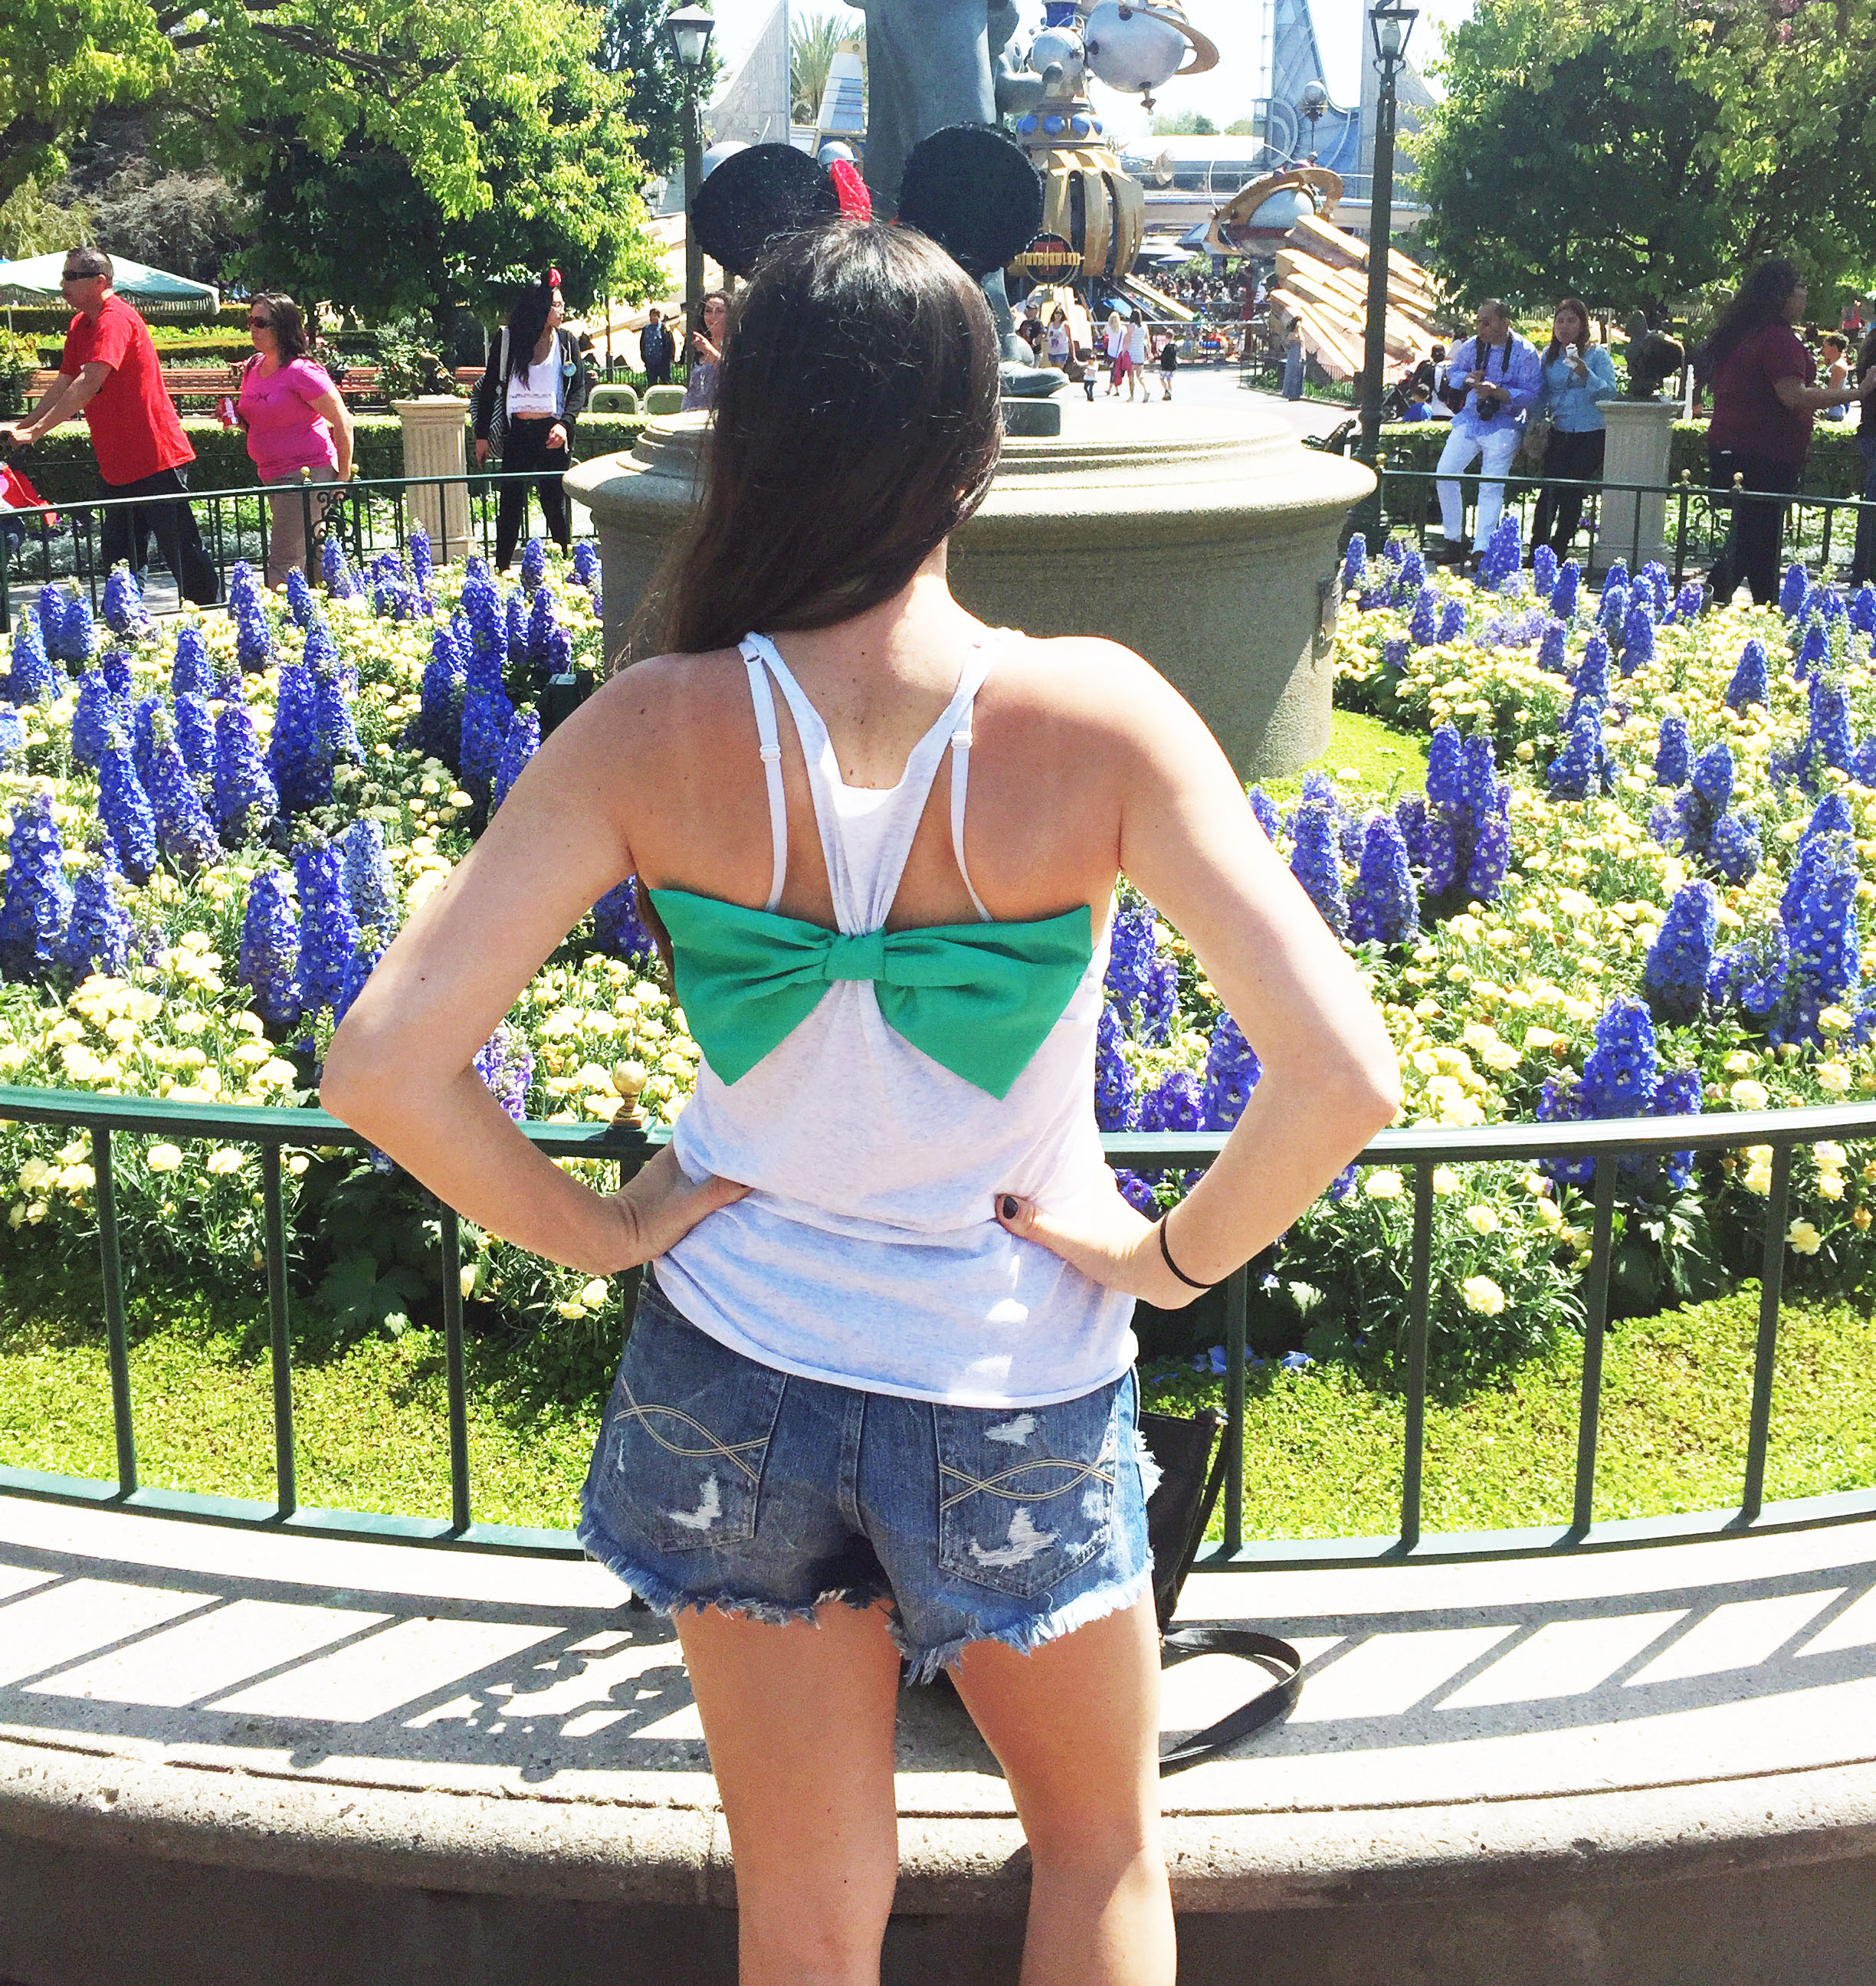
When I added my green bow (mermaid tail color) to the back of my shirt, it made all the difference. My shirt went from kind of cute, to to-die-for original. I can’t tell you how many people complemented me throughout Disneyland that day, asking me where I got it.
Below, I five you all the necessary supplies and tools you’ll need to create your own DIY bow back shirt.
The Steps to Make A DIY Bow Back Shirt
The Necessary Supplies:
- Razorback Tank or Razorback Dress
- 1/3 yard of any color fabric (I used green taffeta)
- Needle and Thread
- Sewing Machine
- If you’re not a sewer, just use heat transfer tape and iron the seams together when I instruct you to sew or use a needle and thread. All the stitches are linear, so if you press the fabric together (with the heat transfer tape in between) you’ll get the same result!
Step 1:
- Cut a rectangle out of fabric the size you want your bow to be.
- I made mine 12″ across by 7″ high.
- Place the fronts of each rectangle of fabric towards each other and sew all the edges together in your sewing machine, stopping at the last 2″ without sewing.
Step 2:
- Take your rectangle and turn the fabric right side out.
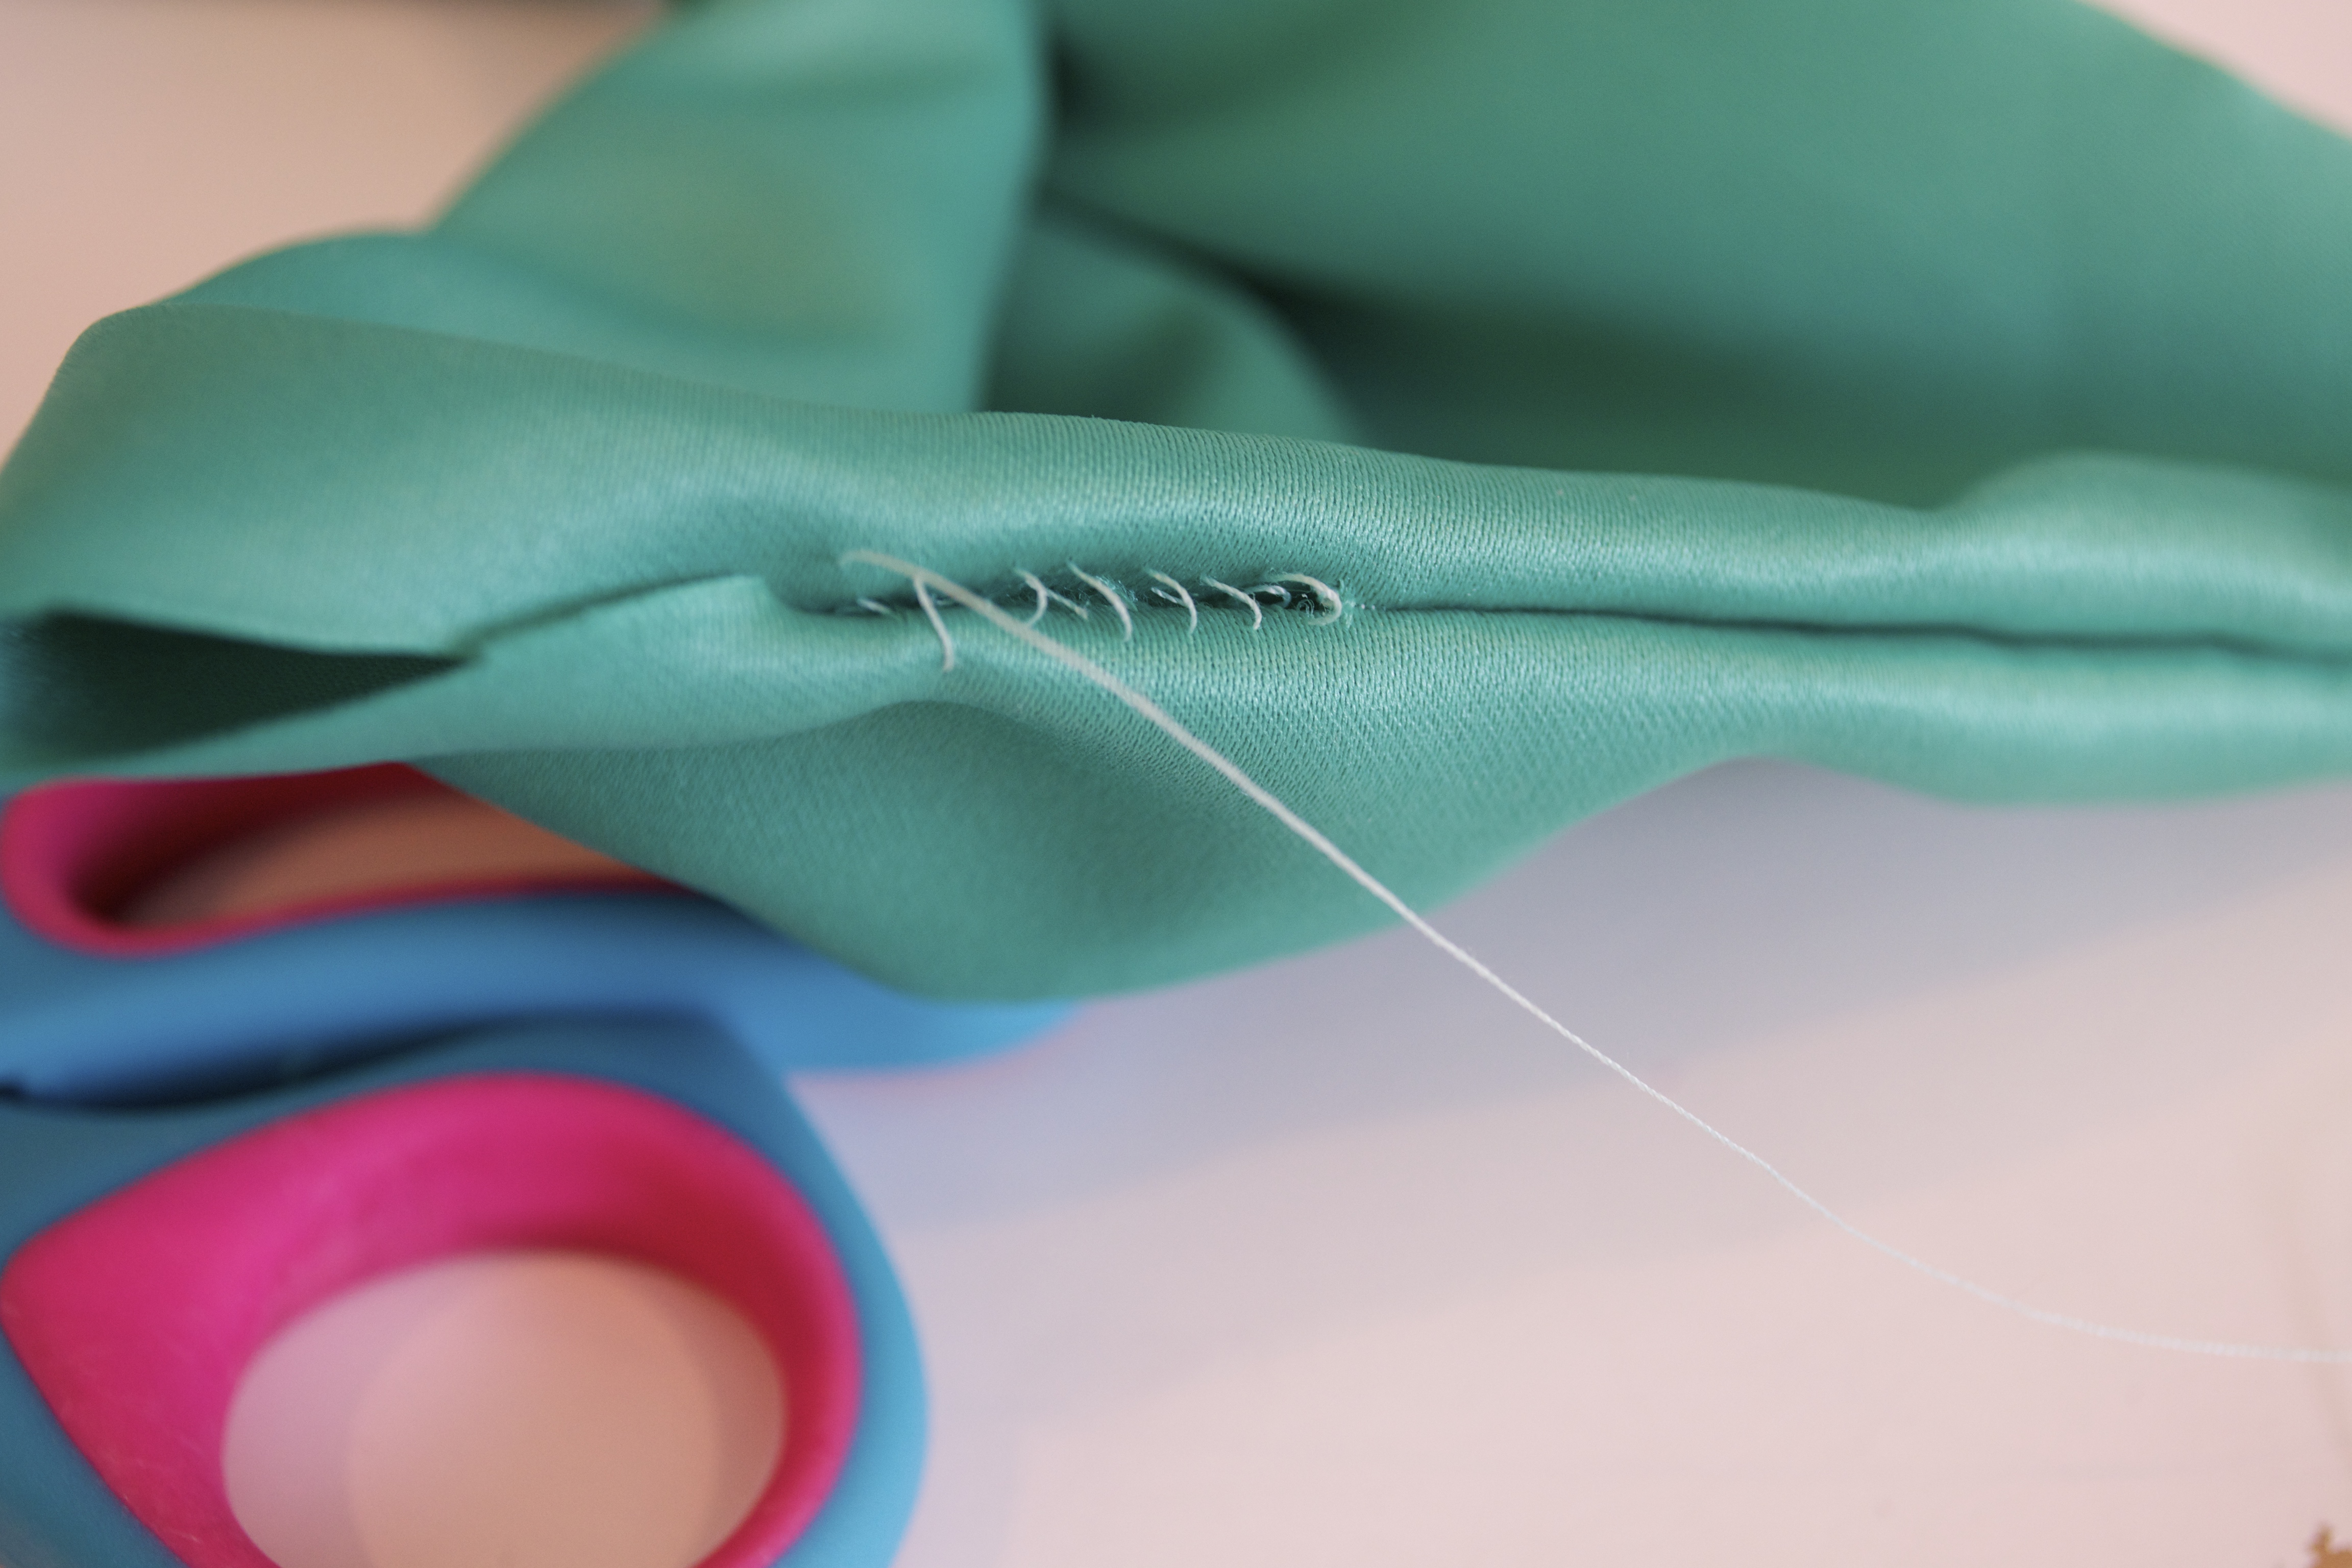
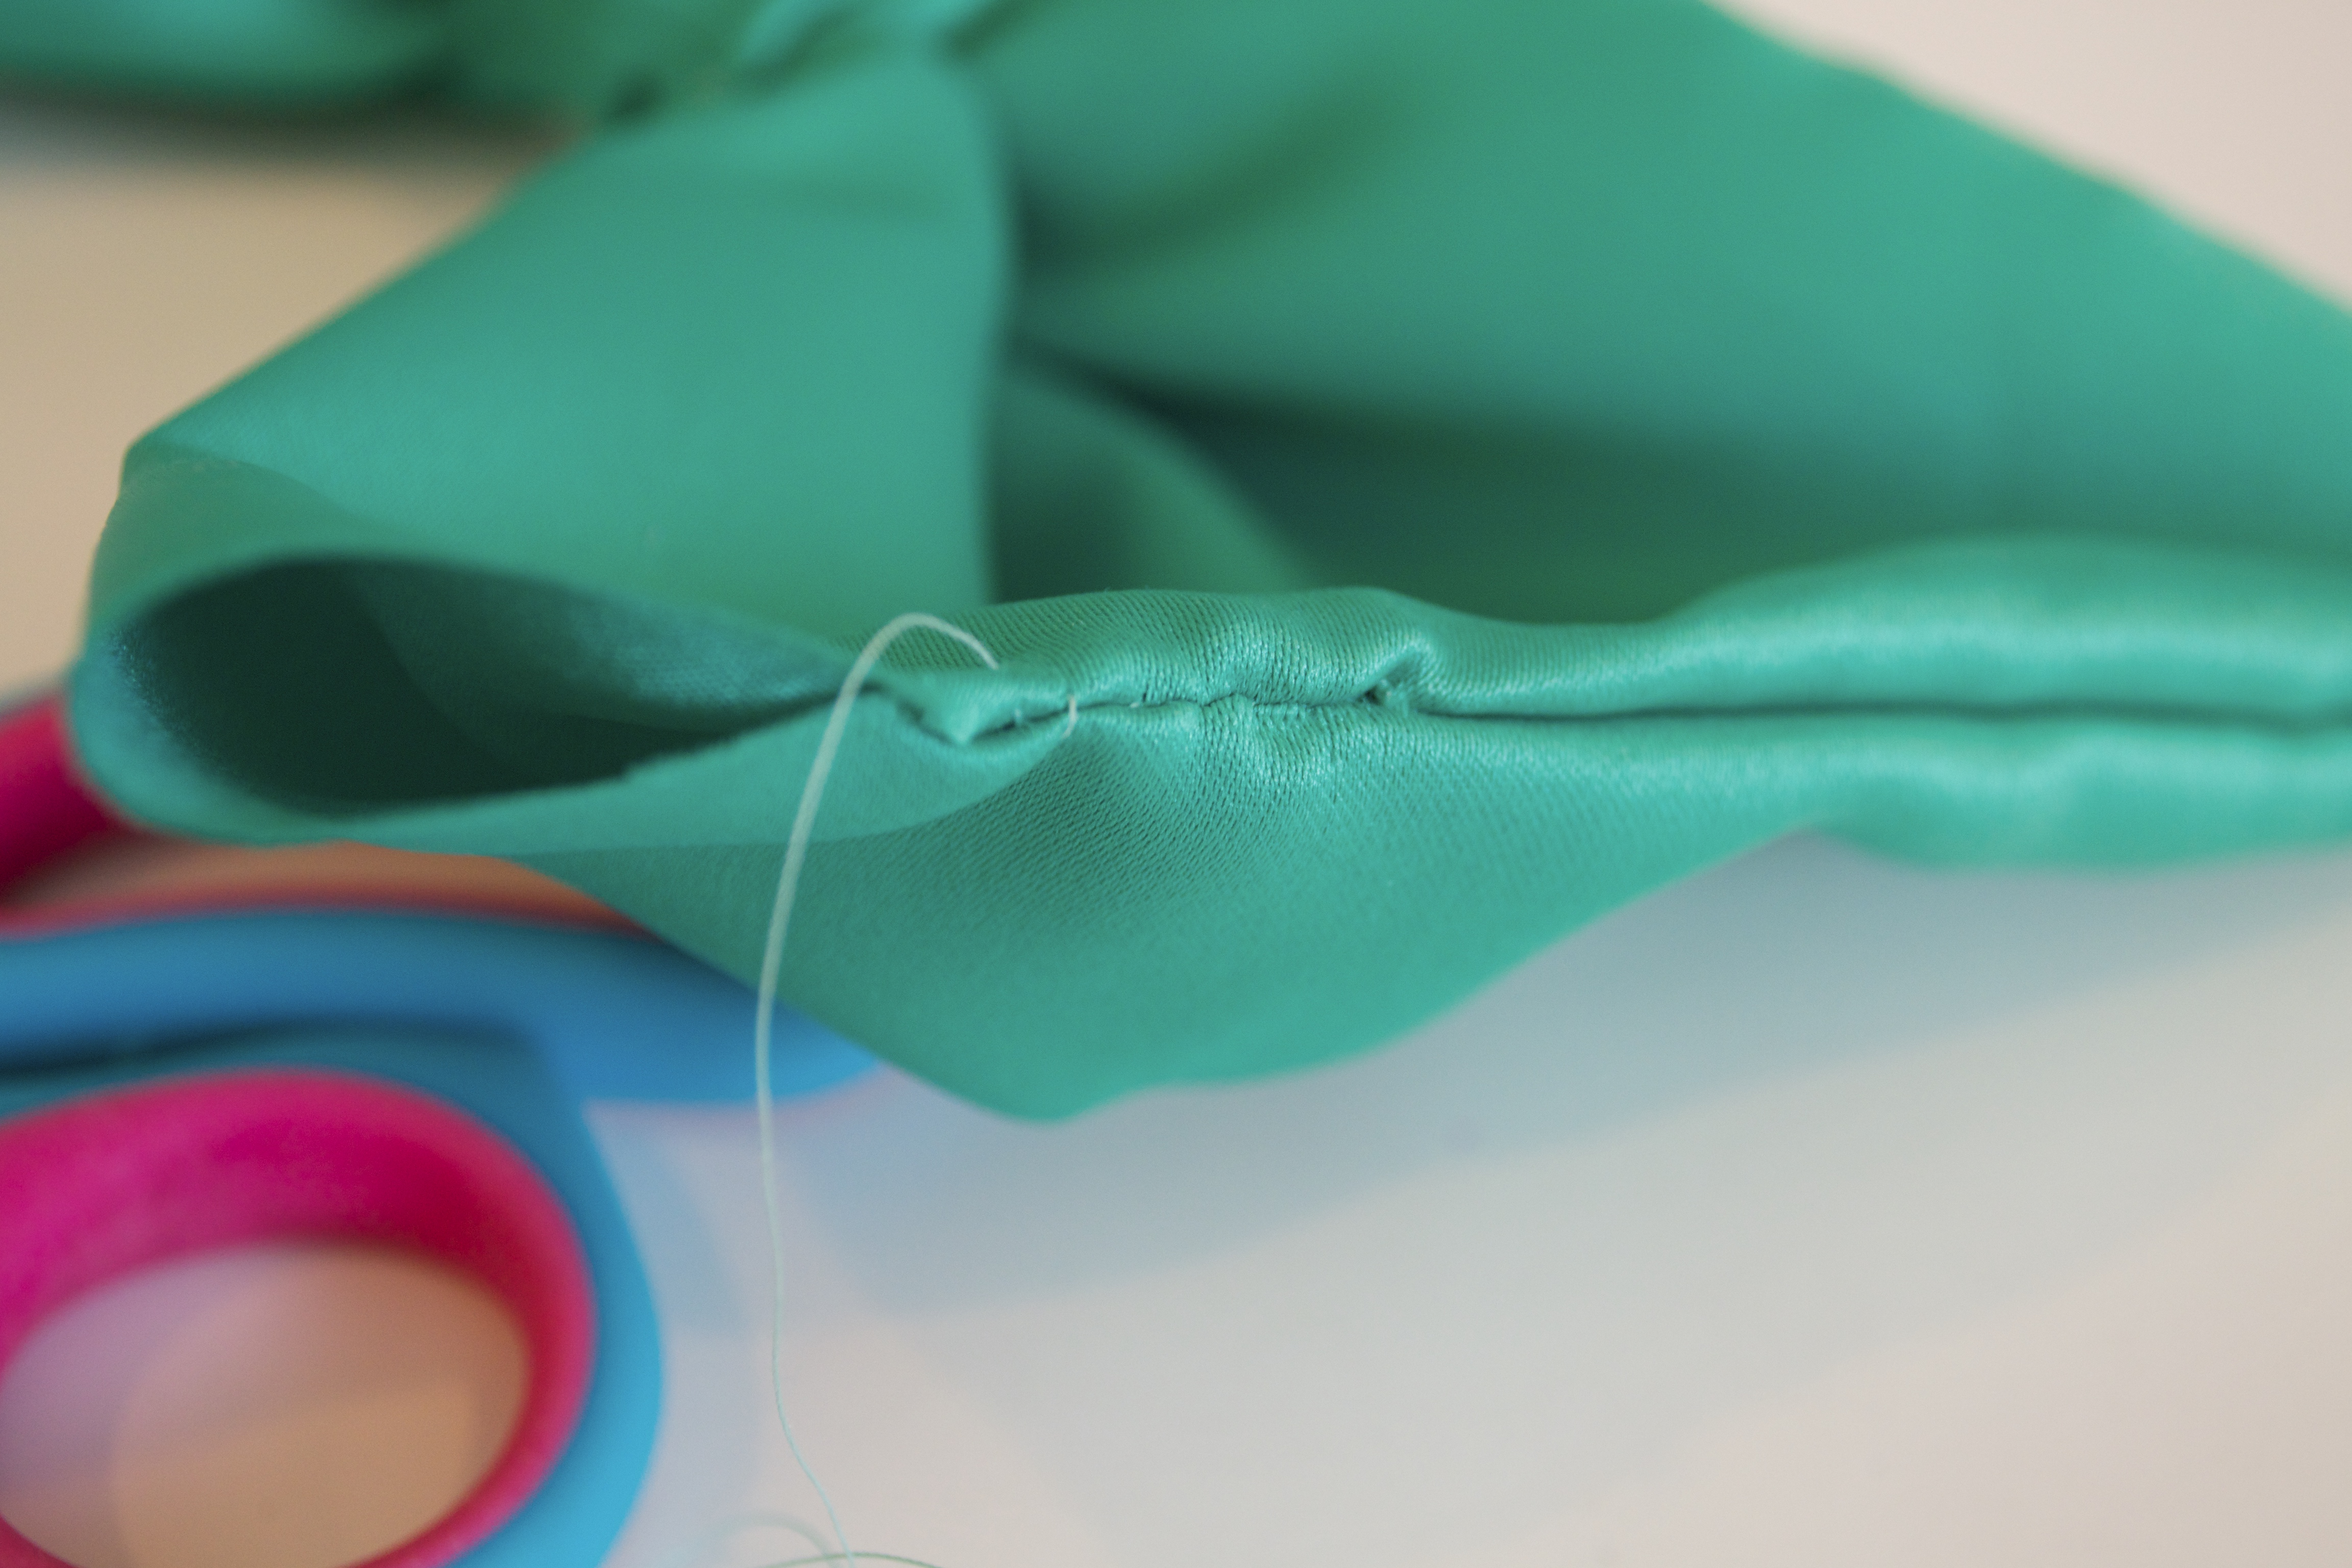
- Continue sewing the last 2 inches together with a ladder stitch (my favorite to finish off any seam).
- To do a ladder stitch, turn the edges of the fabric inside, and use your needle and thread to sew loops connecting them together. Only after an inch of sewing, do you pull the loops tight. This will ensure the fabric inverts on itself, leaving a perfect seam.
Step 3:
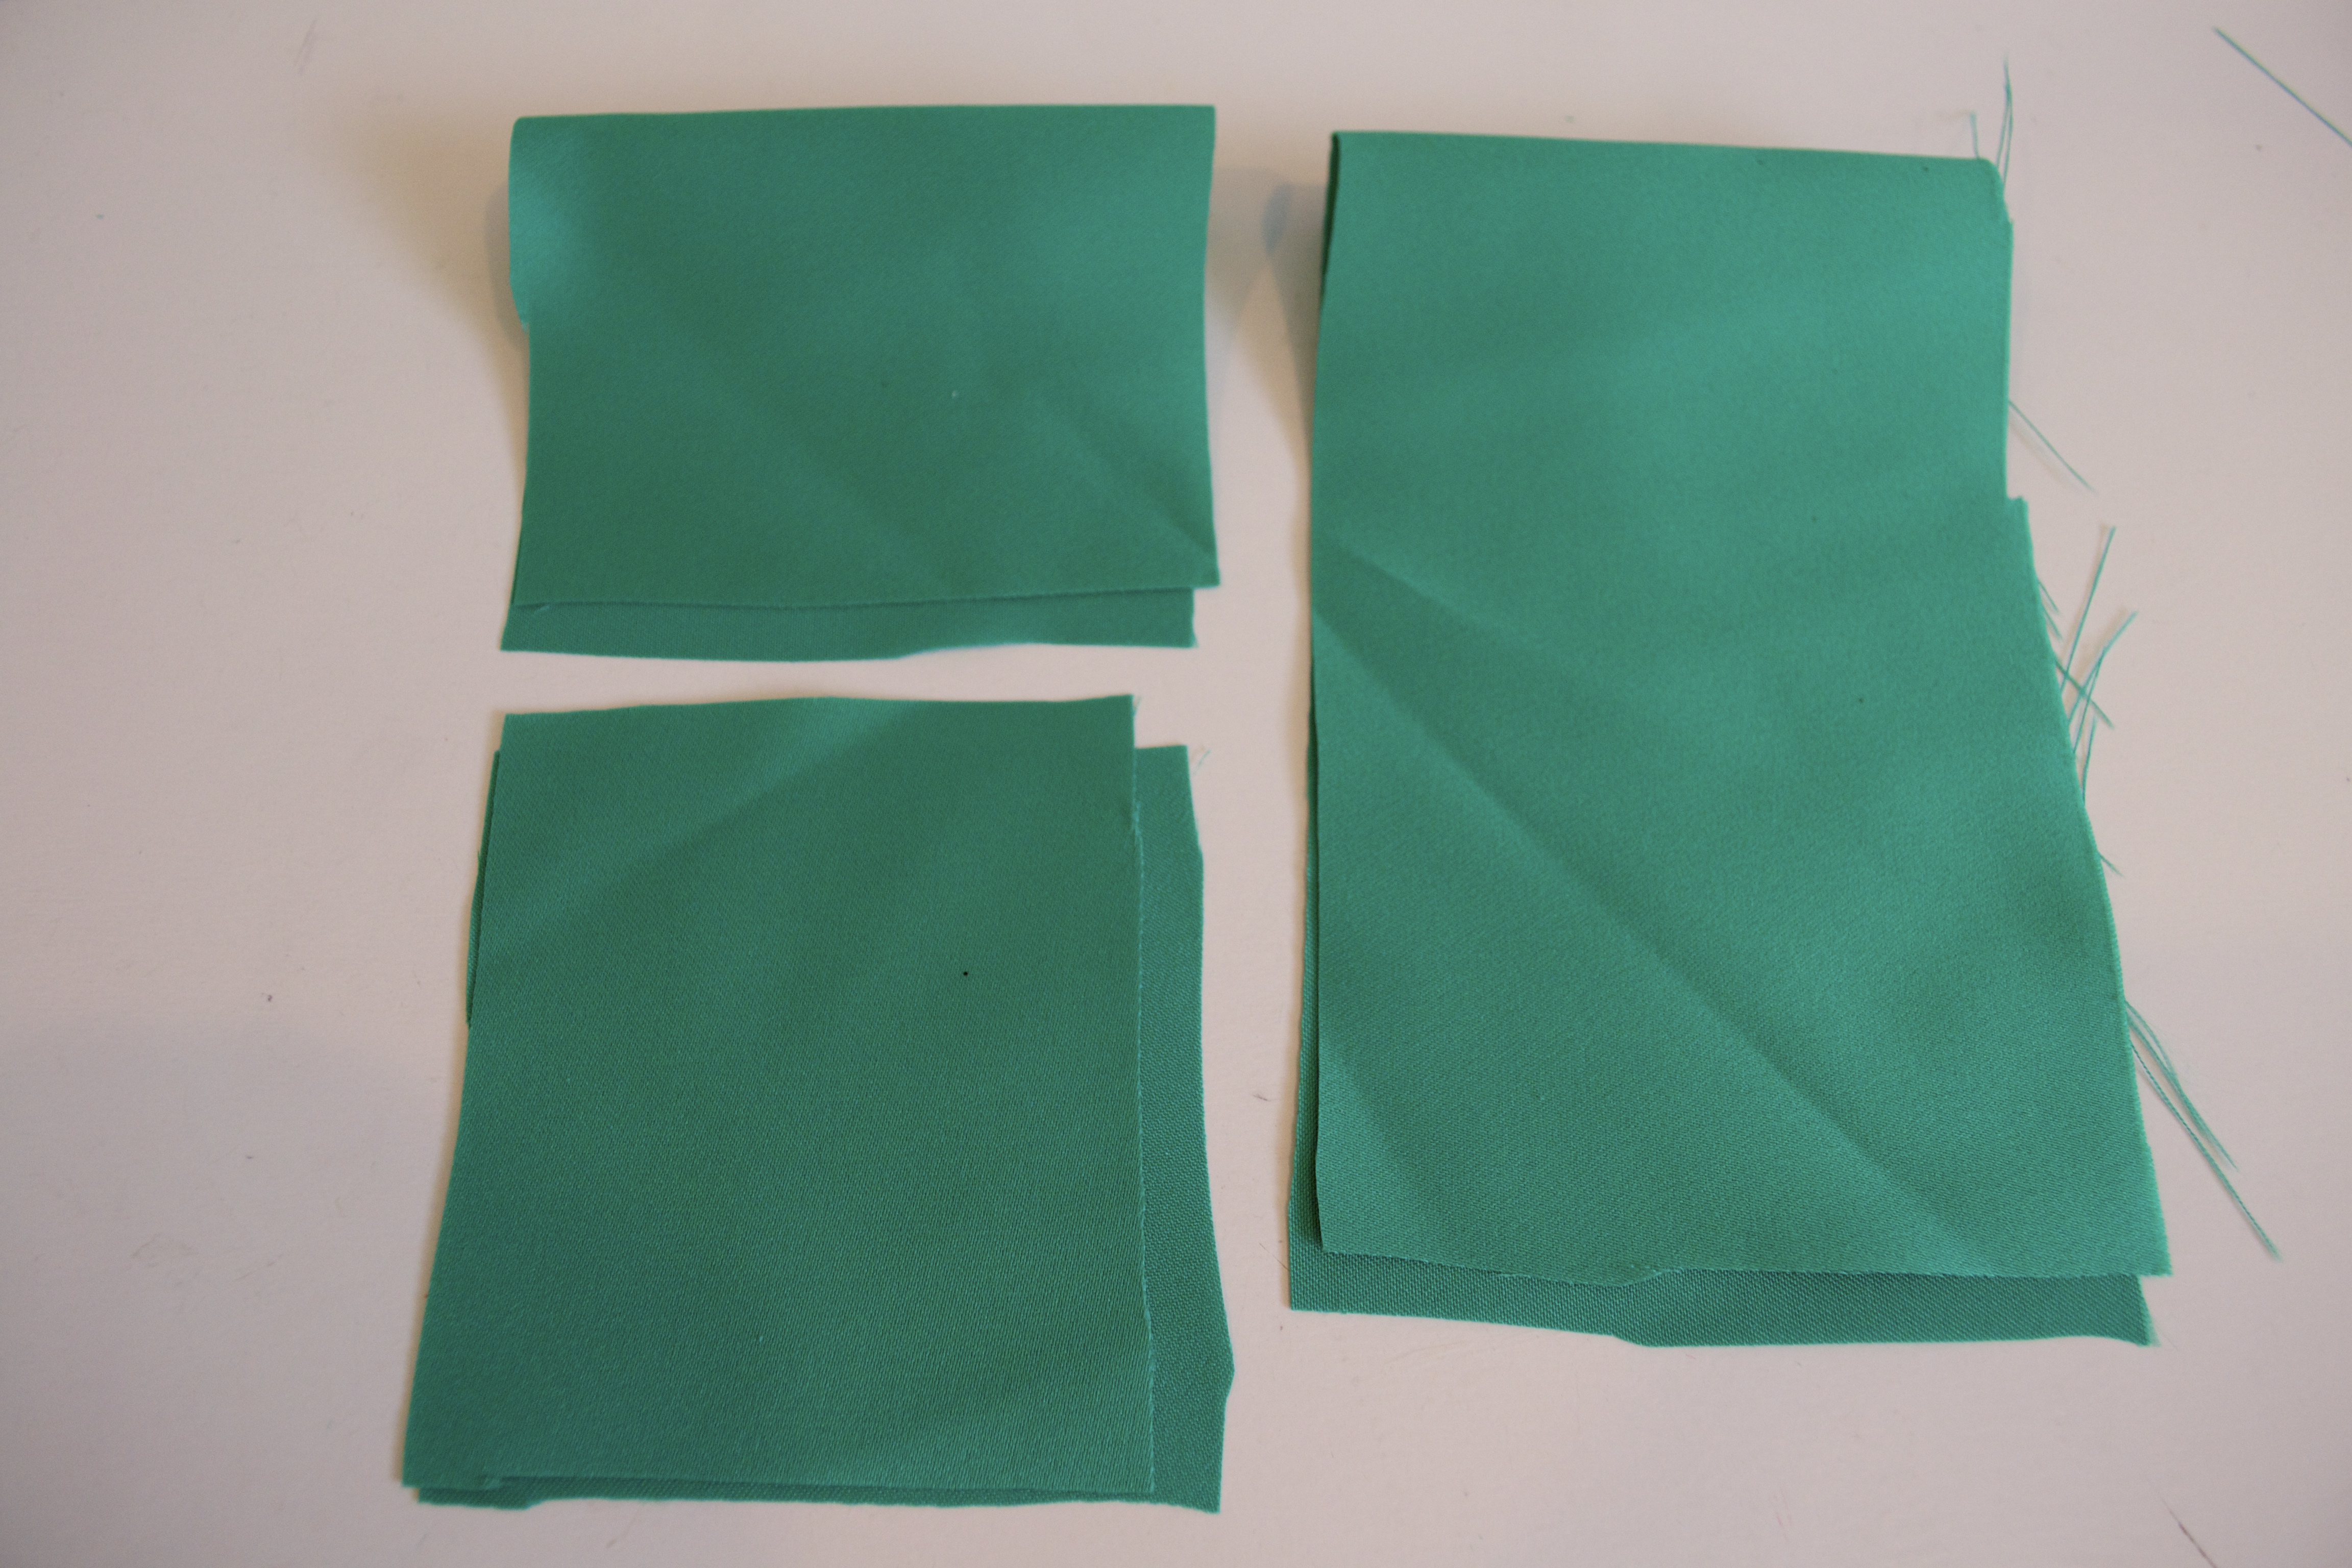
- Cut another 2.5×3″ rectangle out of your fabric. Turn the fabric so the fronts of the fabric are facing each other, and run through your sewing machine so that you make seams along the long sides of the rectangle (leaving the short sides open).
- Then, turn the fabric right side out.
Step 4:

- Cut another piece of fabric out (doesn’t matter how long or wide it is, but I cut mine about 1×4″.
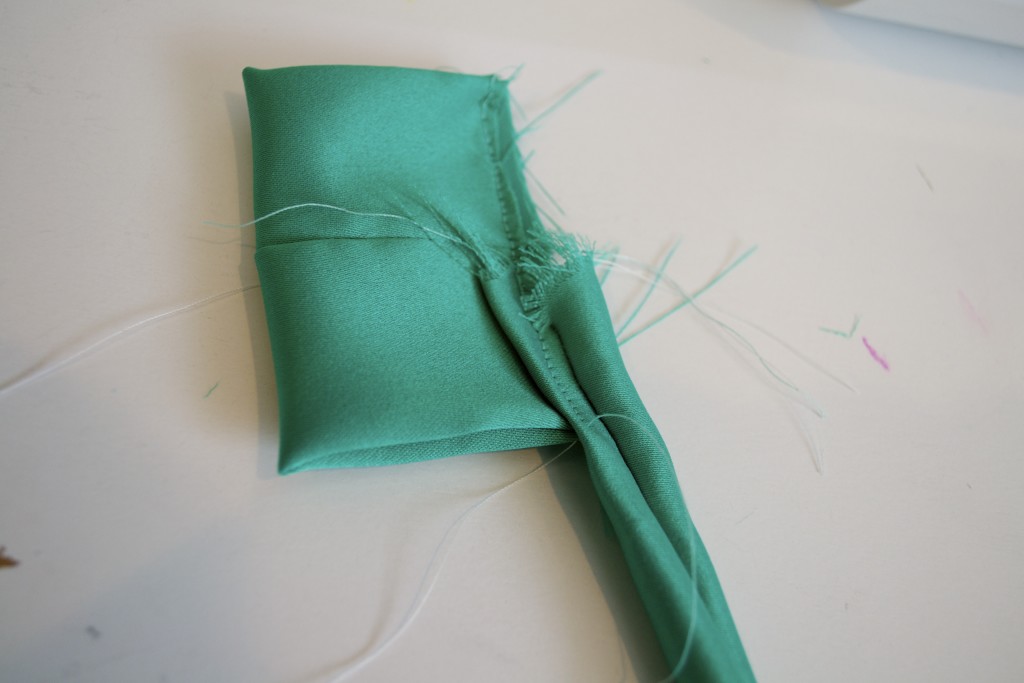
- Take your small rectangle, and put the 2 un-sewn sides together under your sewing machine. Then, take you 1×4″ piece of fabric, and place it on top of those sides.
- Now, sew the 2 un-sewn sides together, along with the 1×4″ piece of fabric, to make a complete loop with a piece of fabric hanging out (refer to the pictures above for reference).
Step 5:
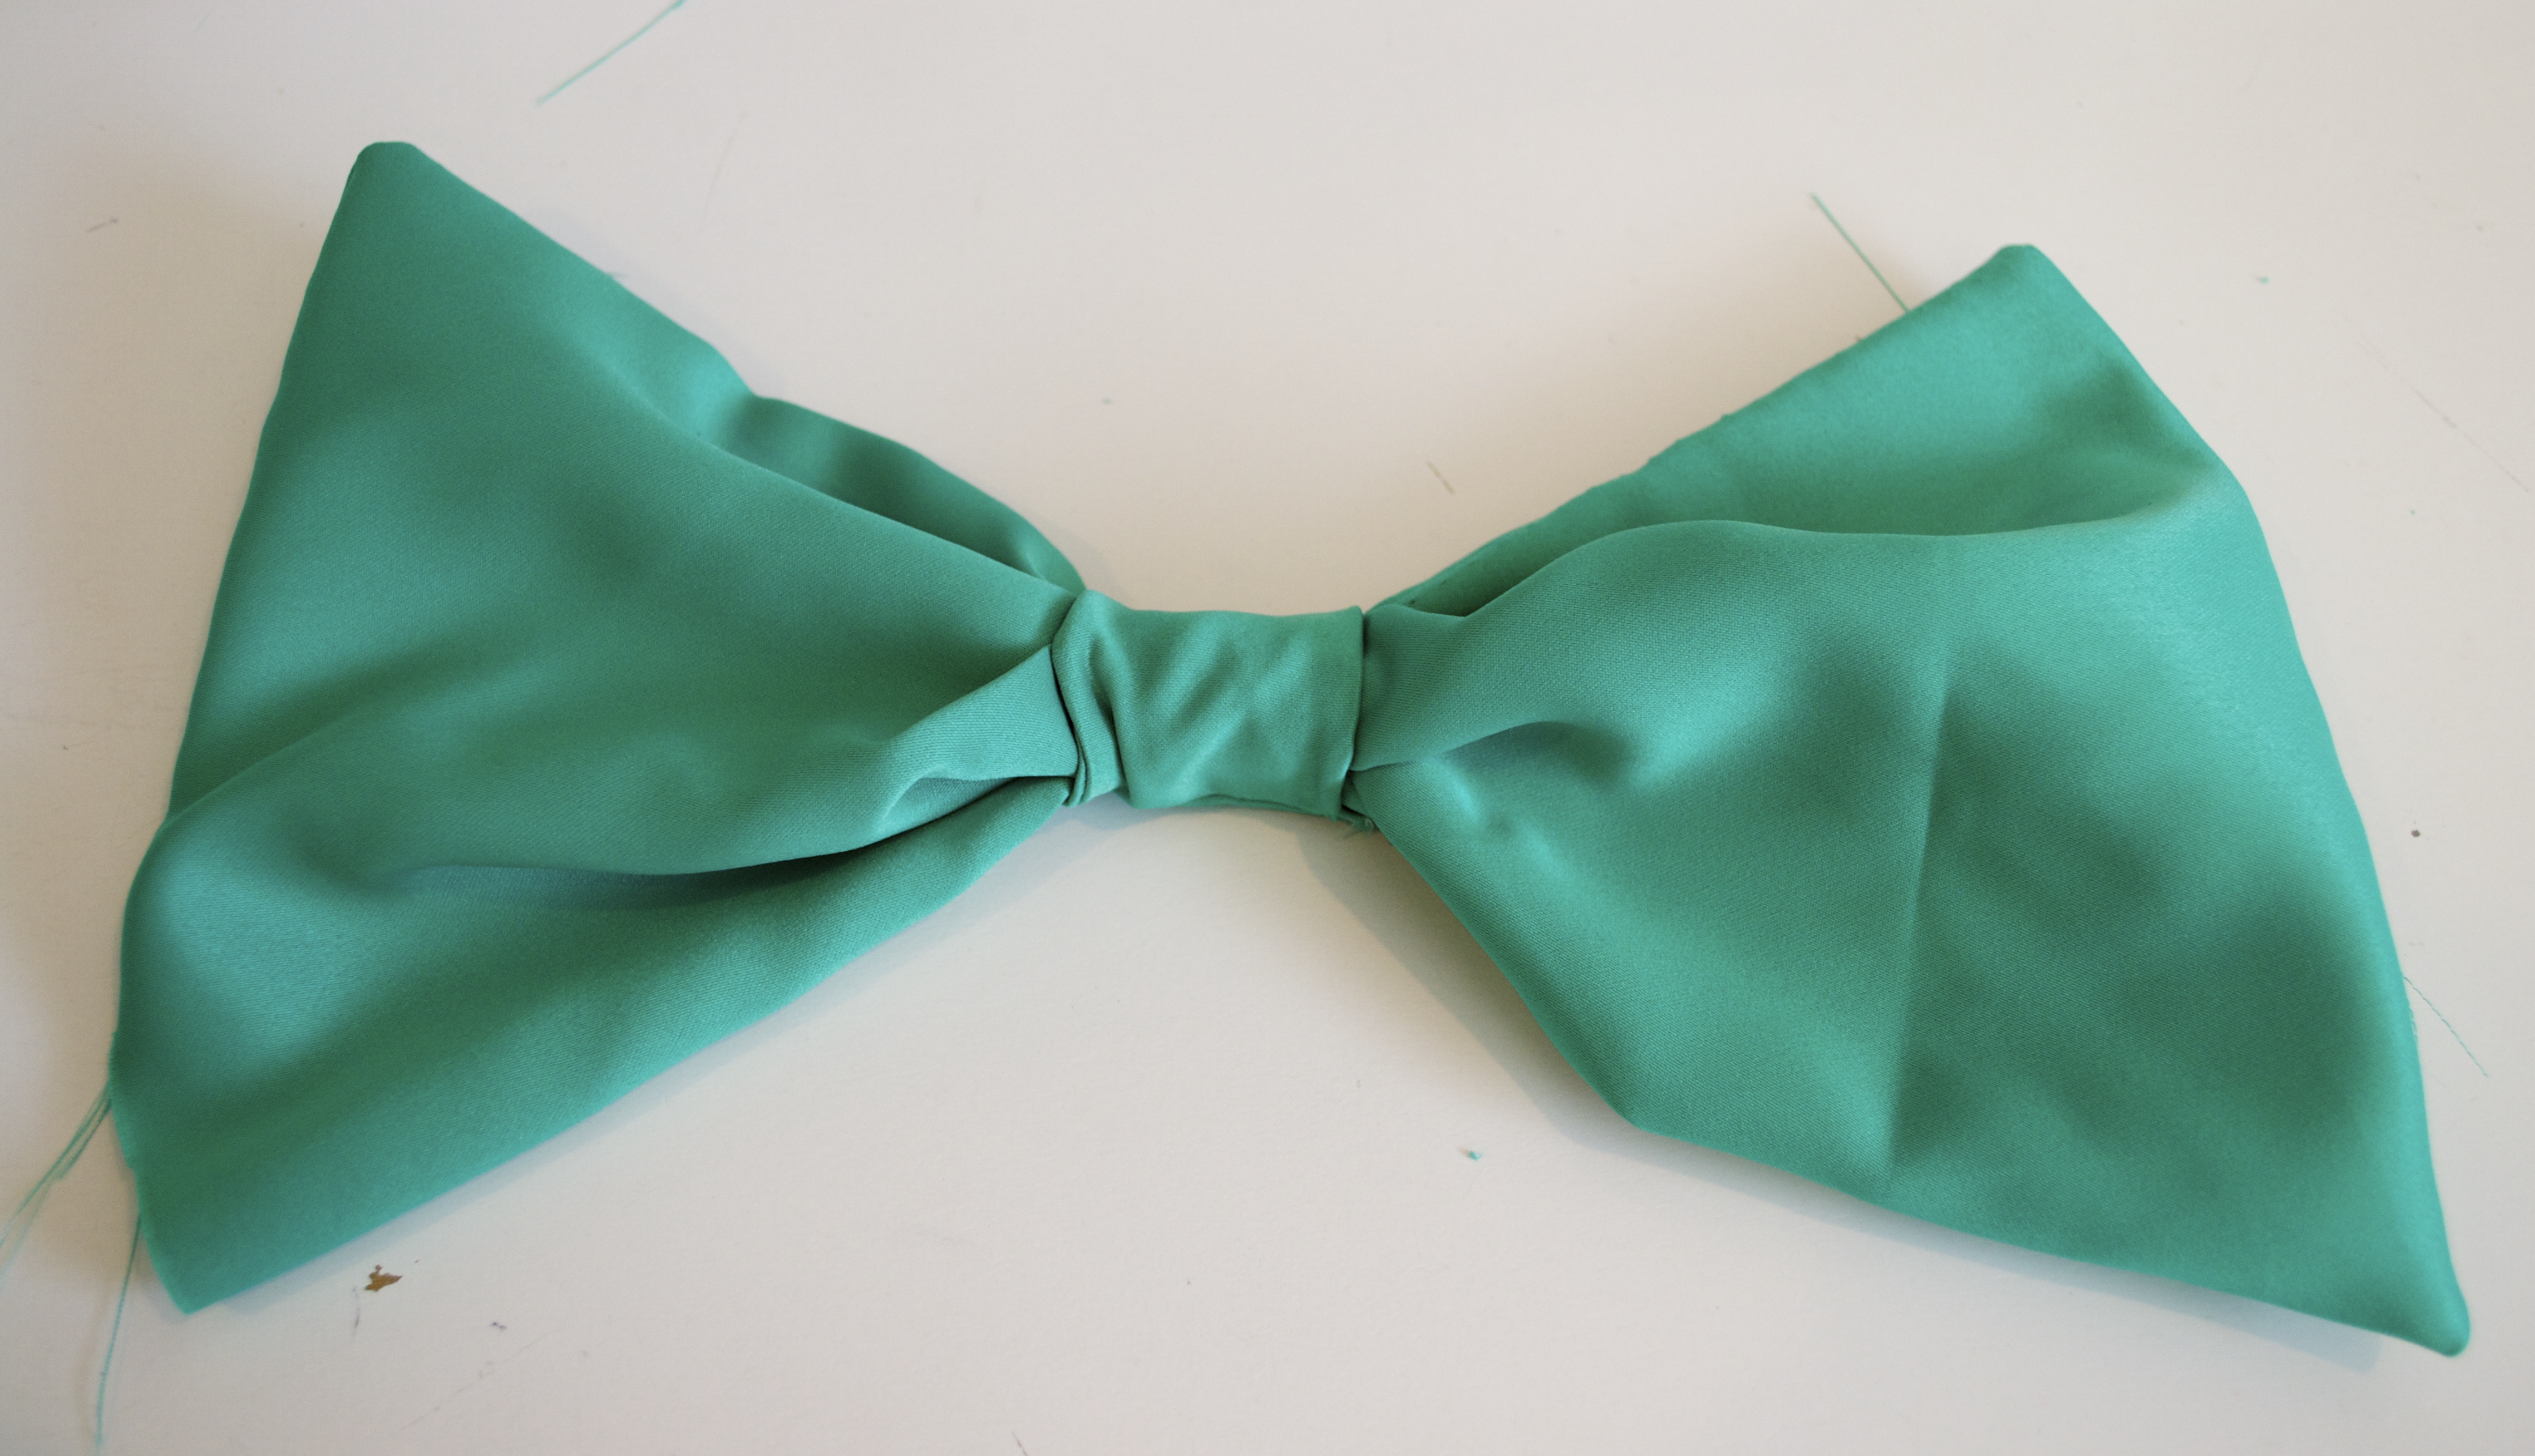
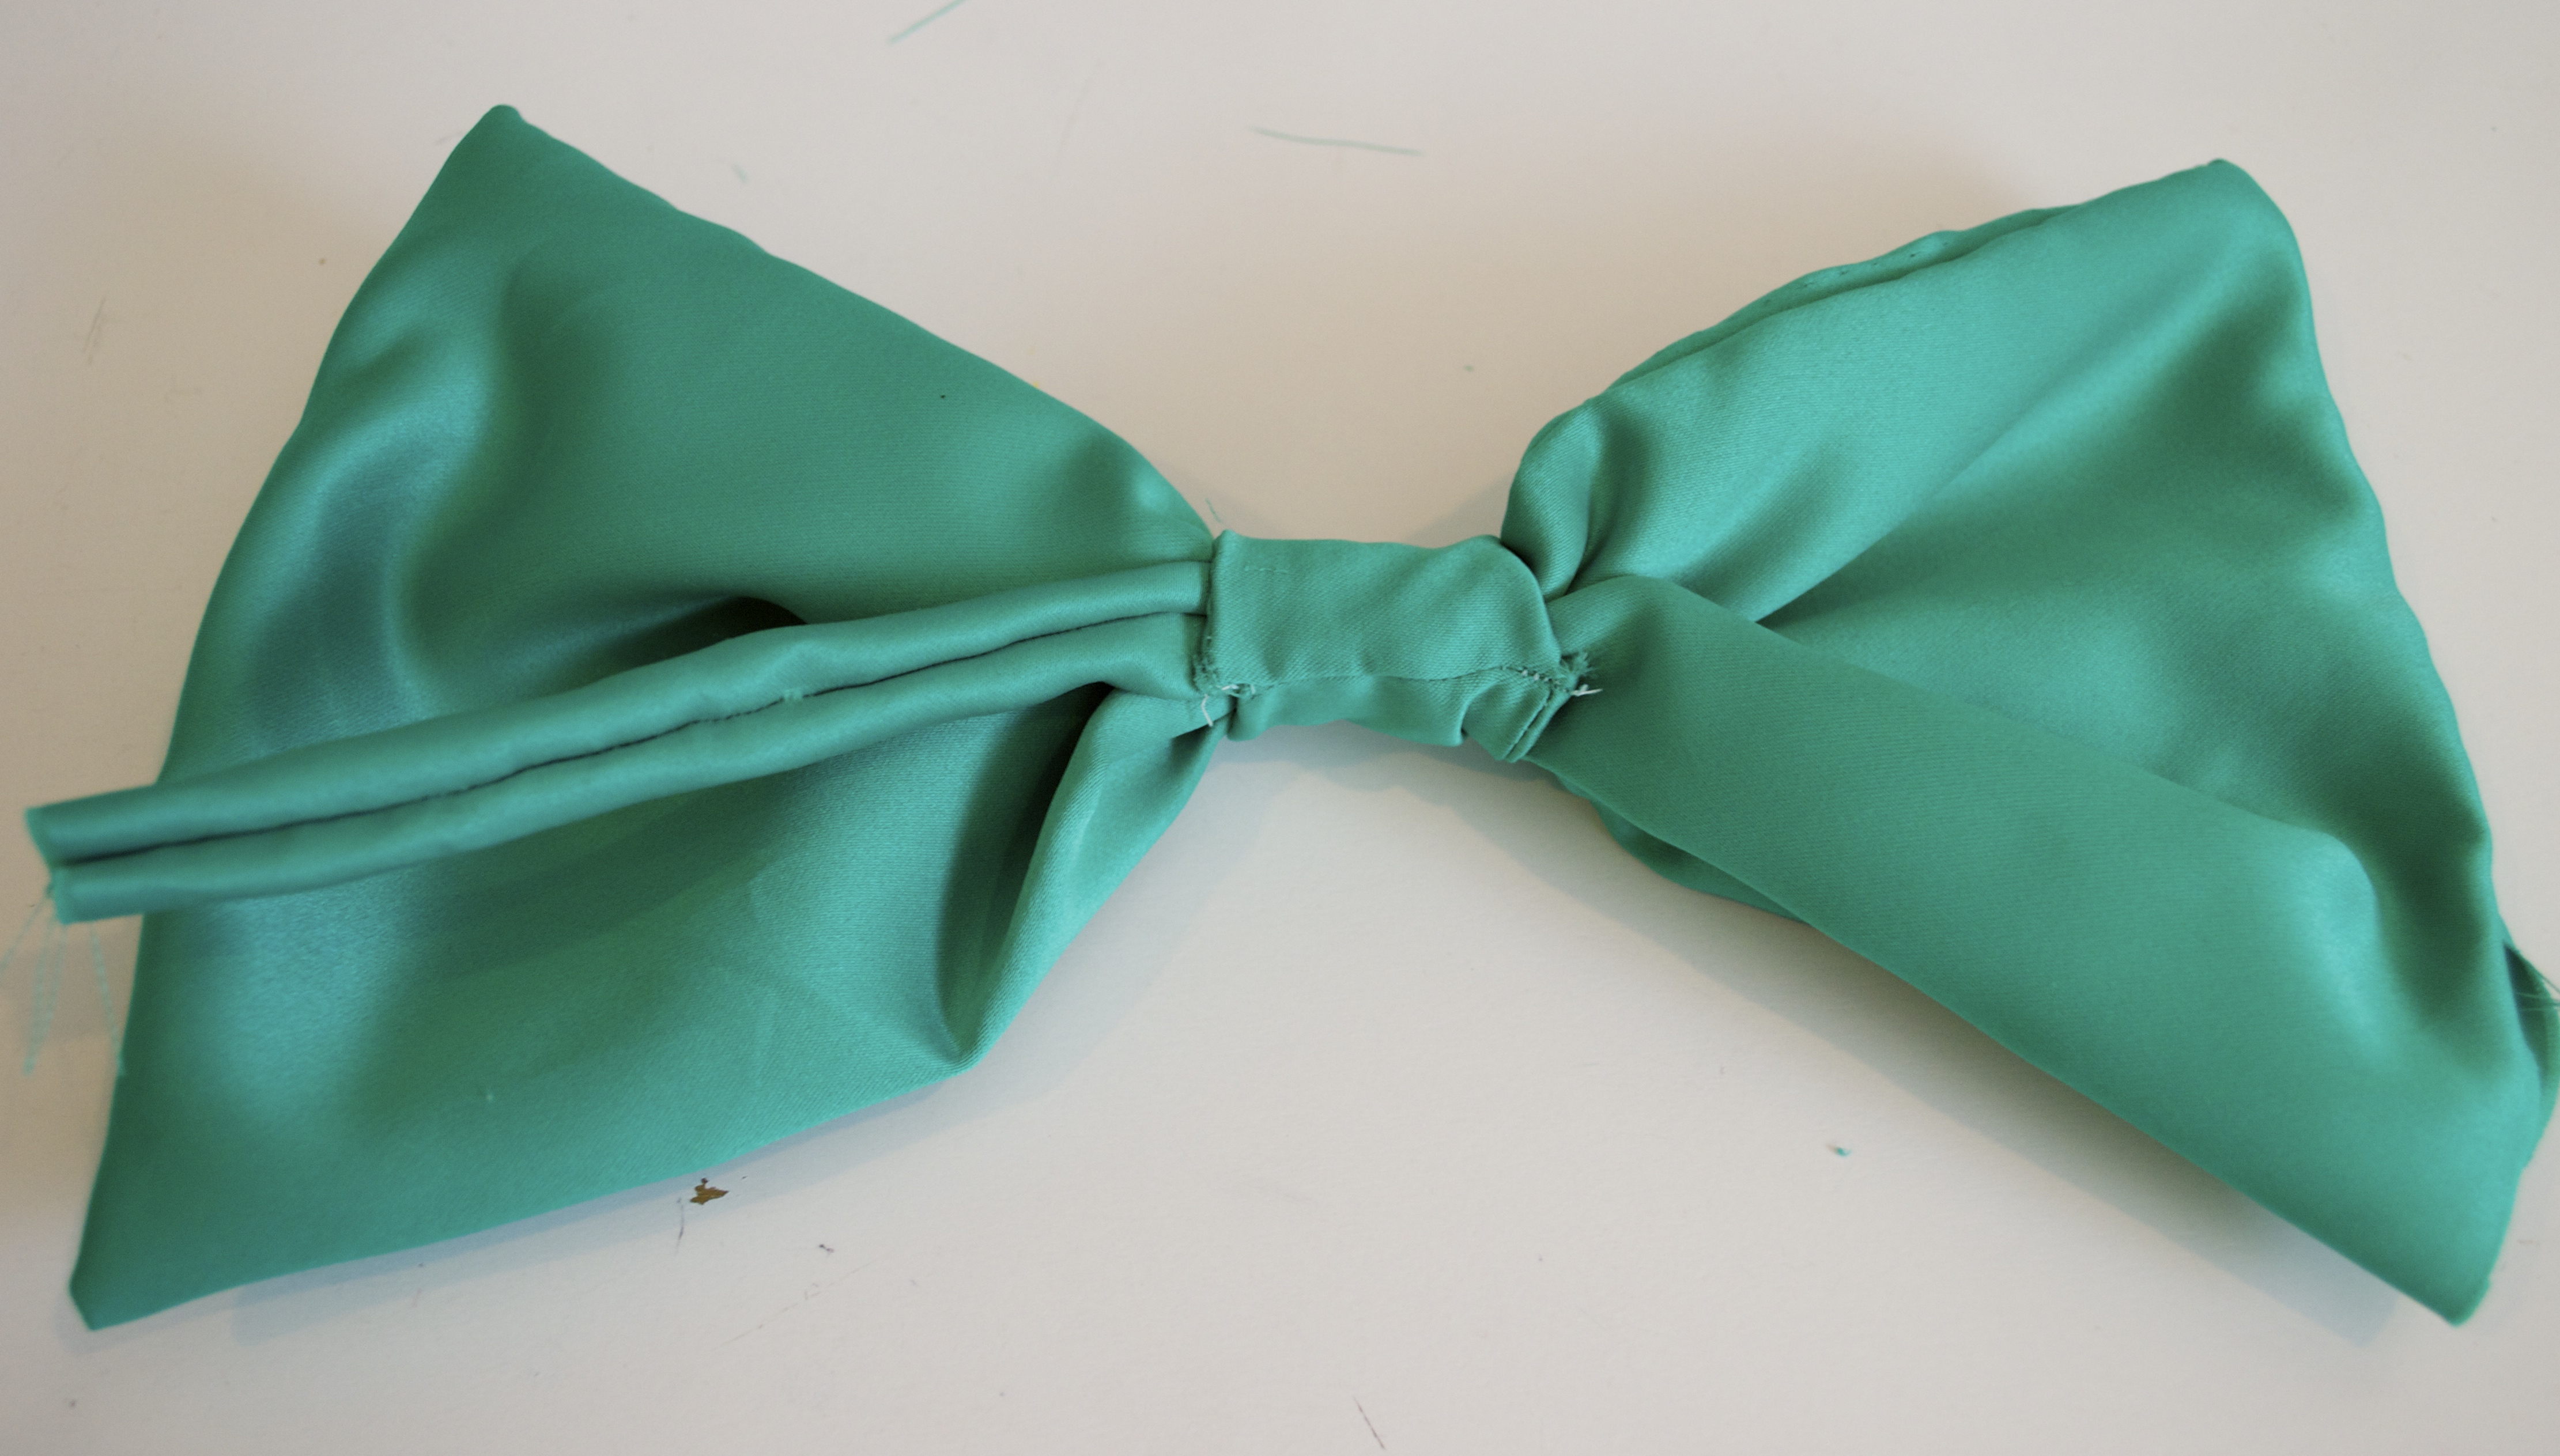
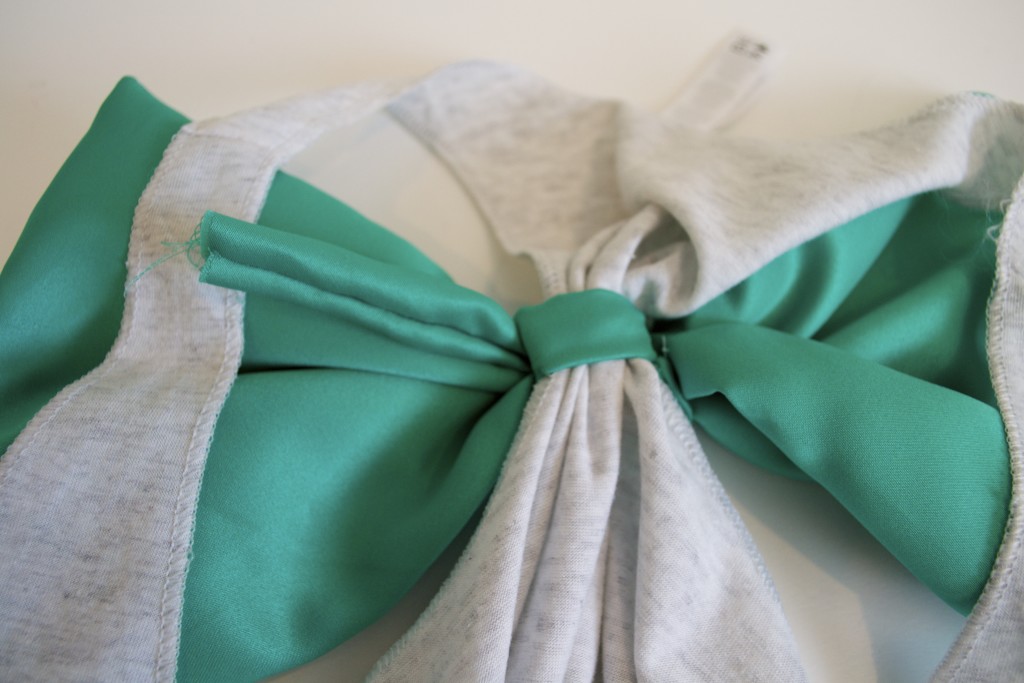
- Take the loop that you just made and feed your big bow piece through it, stopping the loop in the middle of the bow (and making sure the pice of hanging fabric is in the middle of the back side of your bow).
- Your bow is complete! Now, you just need to attach it to your tank top.
Step 6:
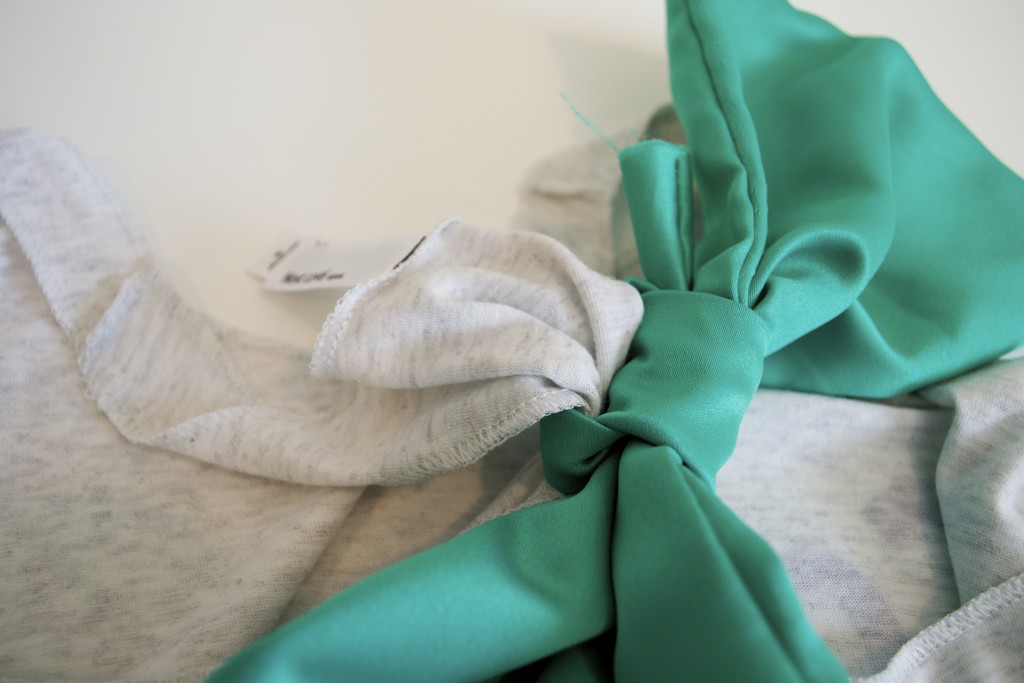
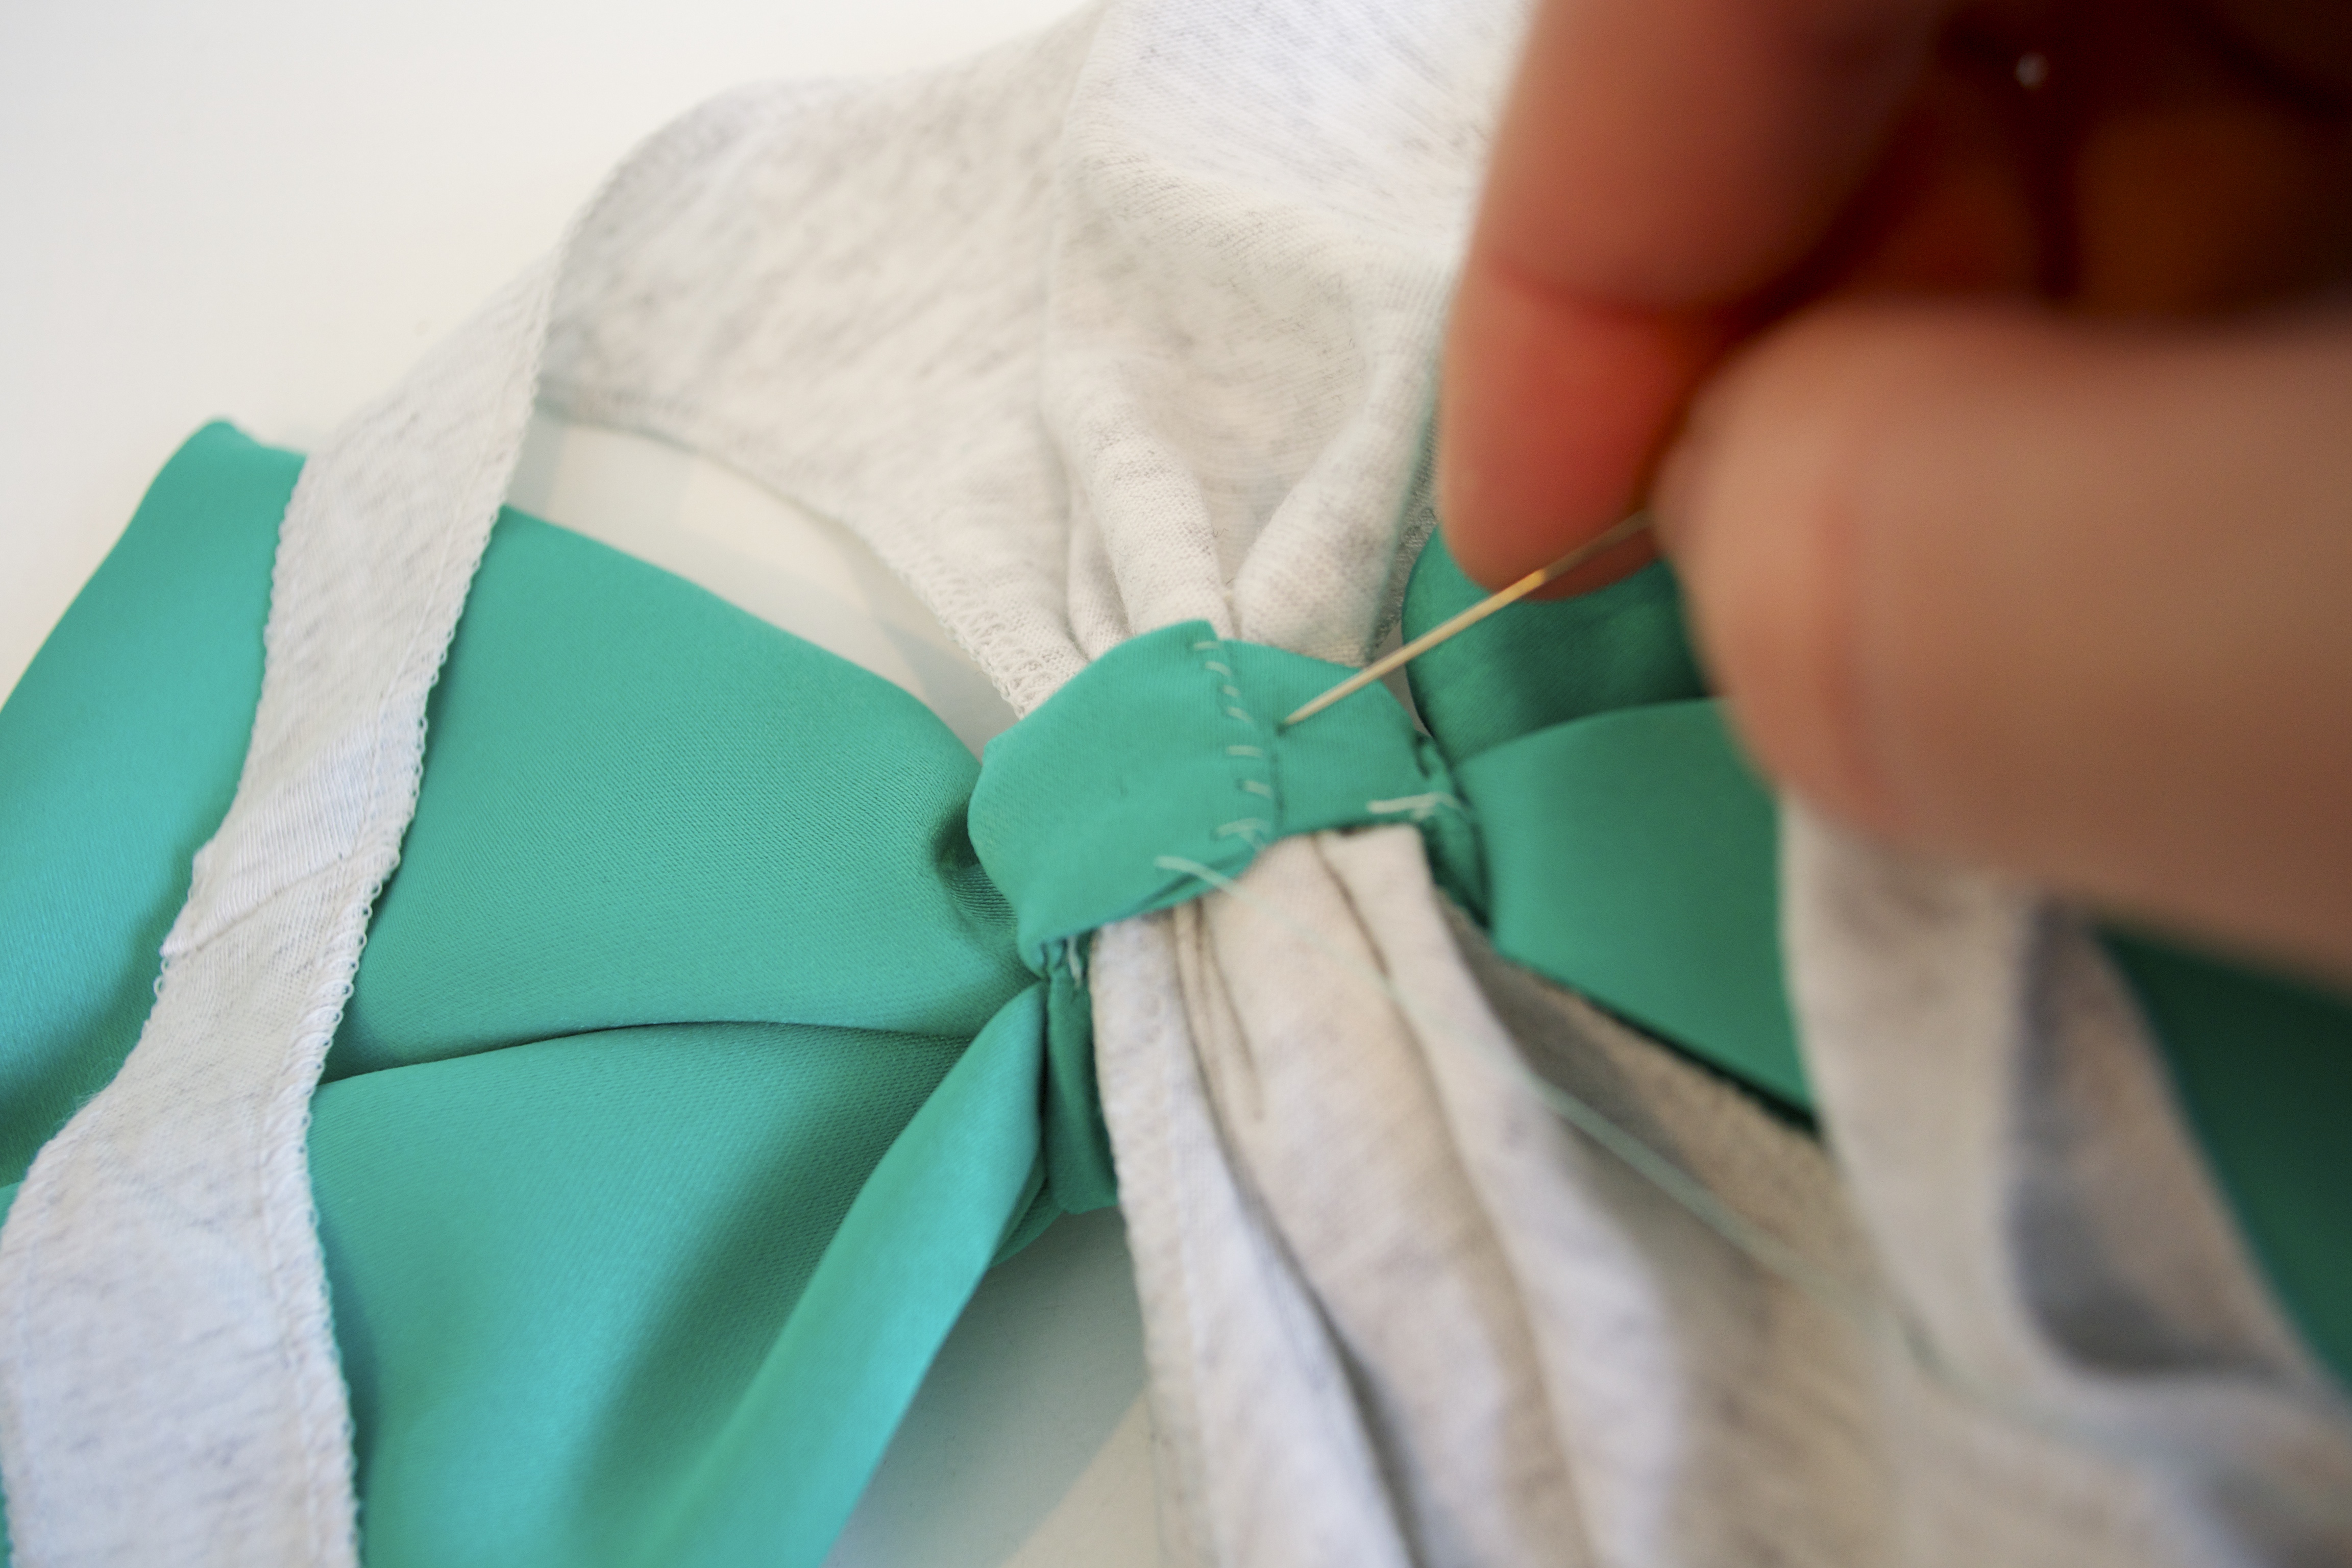
- Take the pice of hanging fabric and wrap it around the middle of the razorback part of your tank top. Loop it through the bow loop.
- Then, take your needle and thread, and attach the fabric you just wrapped around to the inside of the bow loop.
Step 7 (optional):
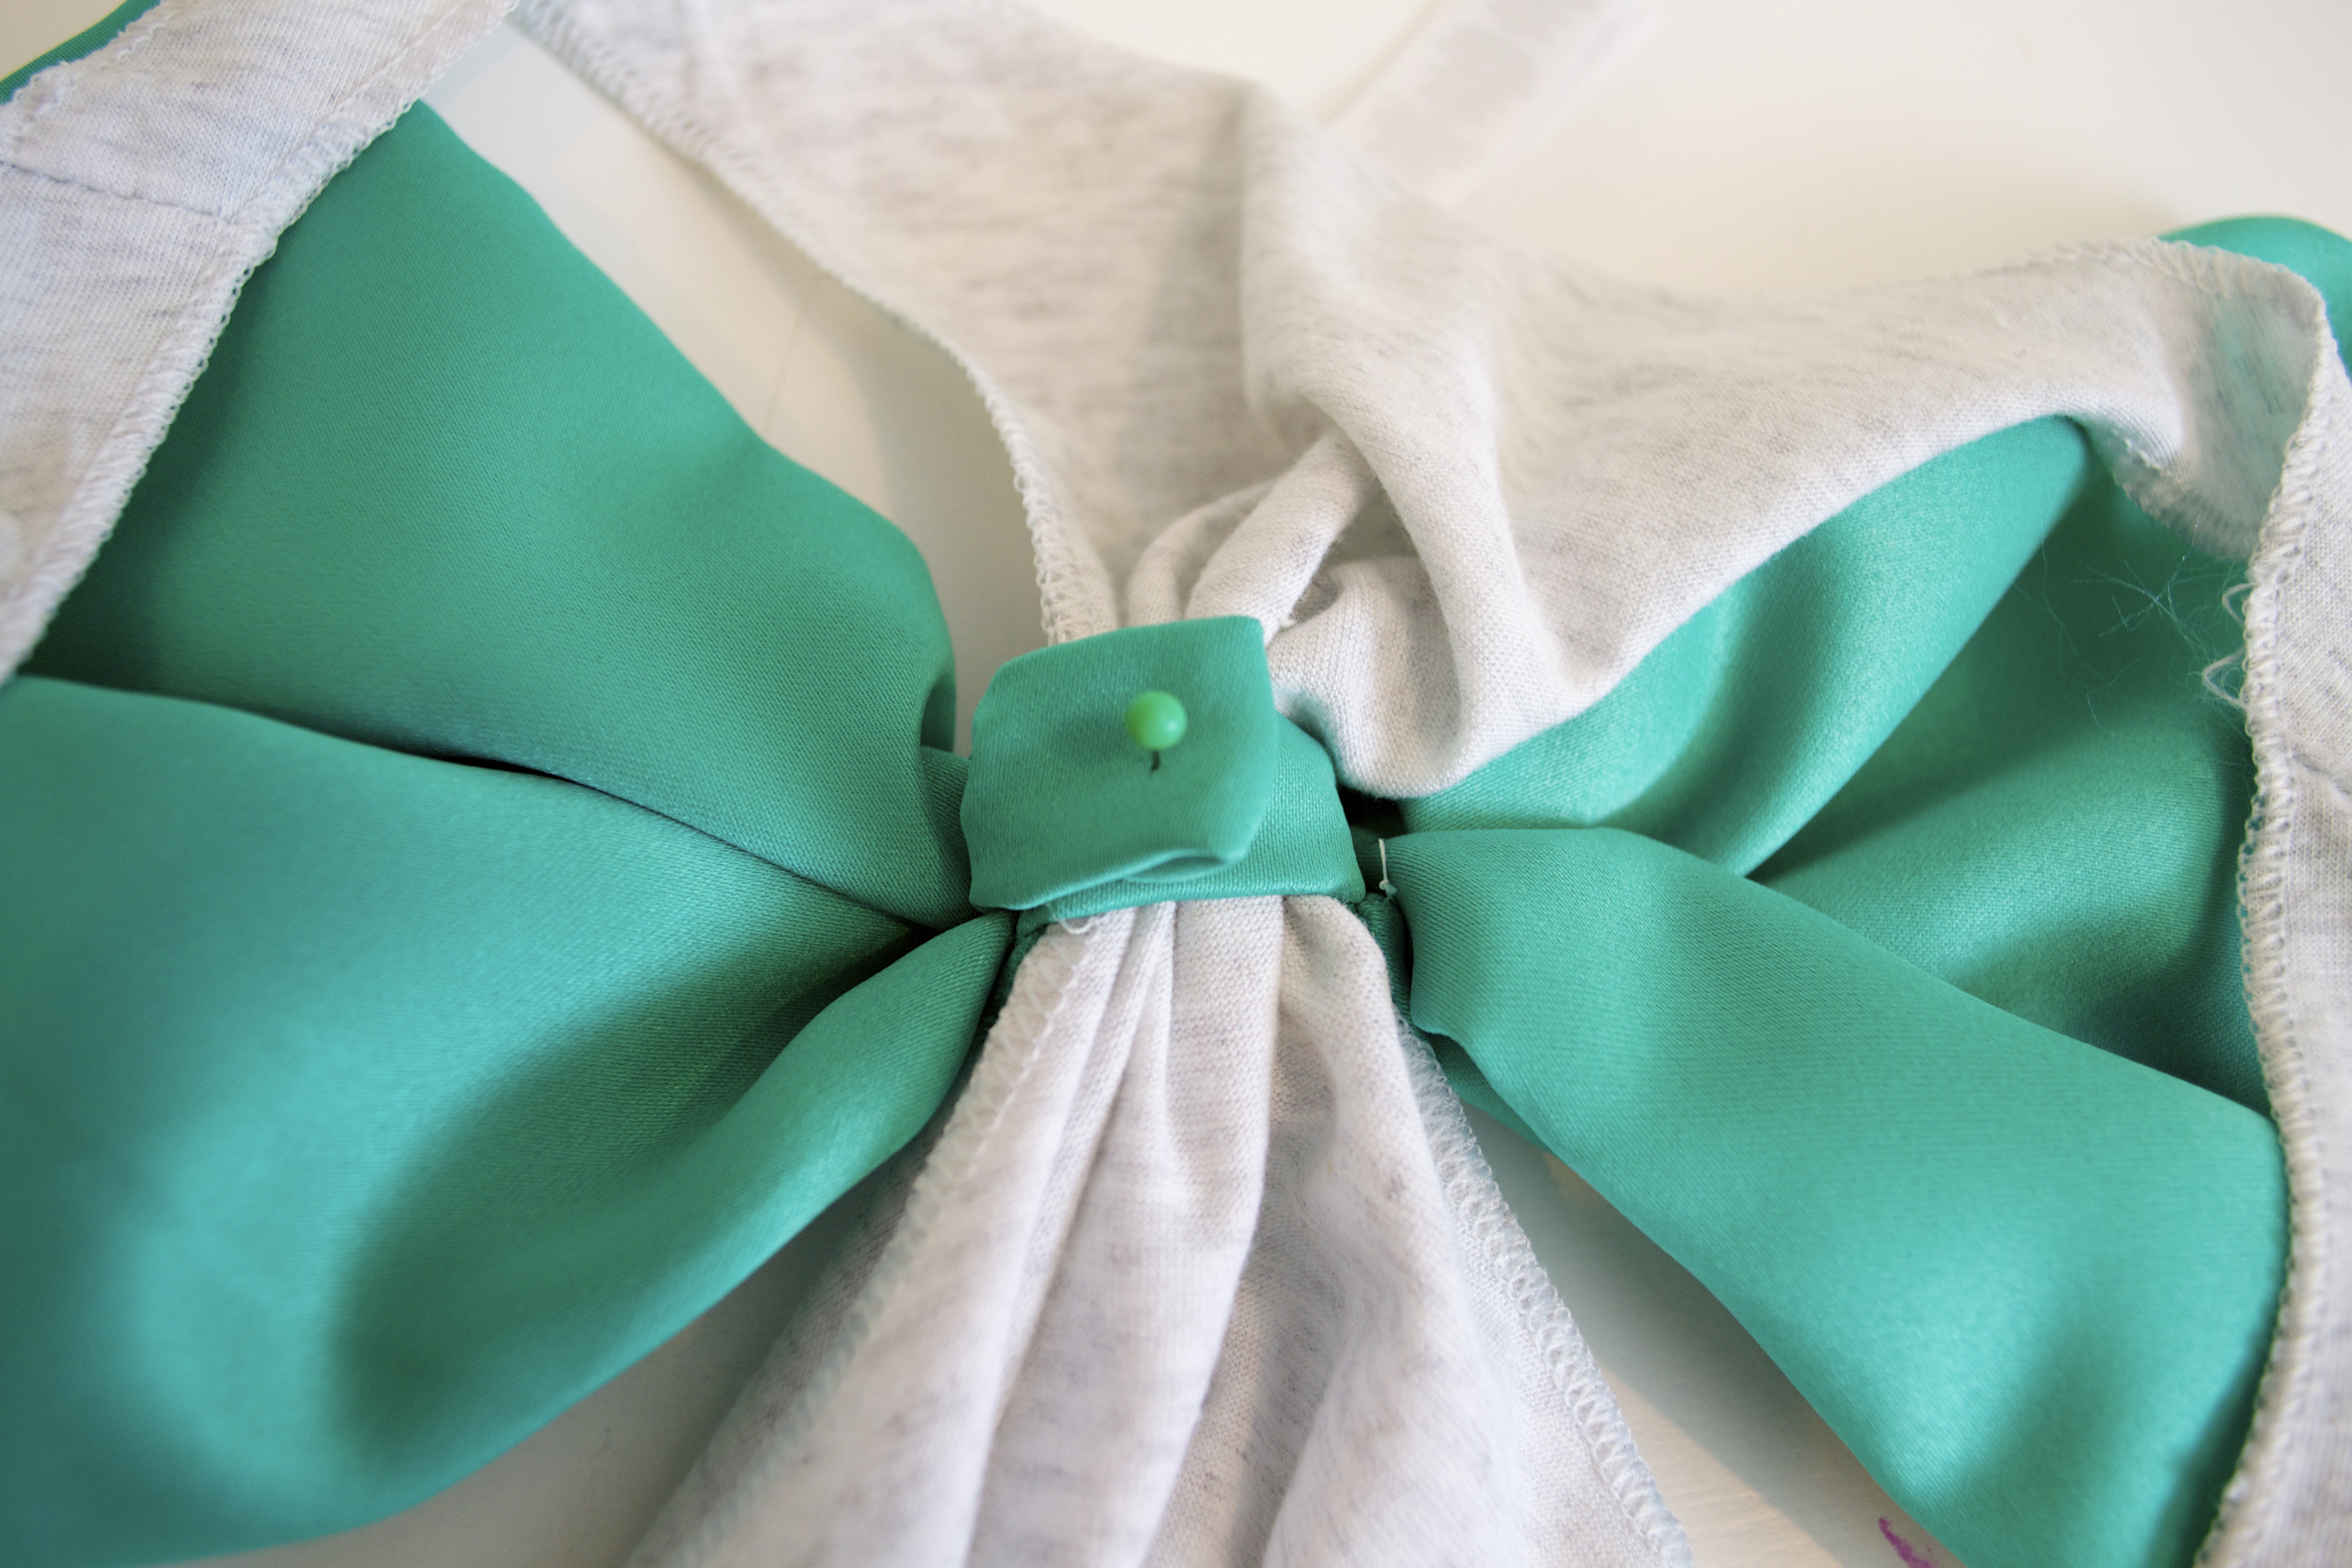
- Depending on how large you made your bow, or what fabric your bow is made out of, you may want to take your needle and thread and make small stitches at the top of the bow edges to the top of your tank top. This is just to make sure the bow doesn’t droop when you walk.
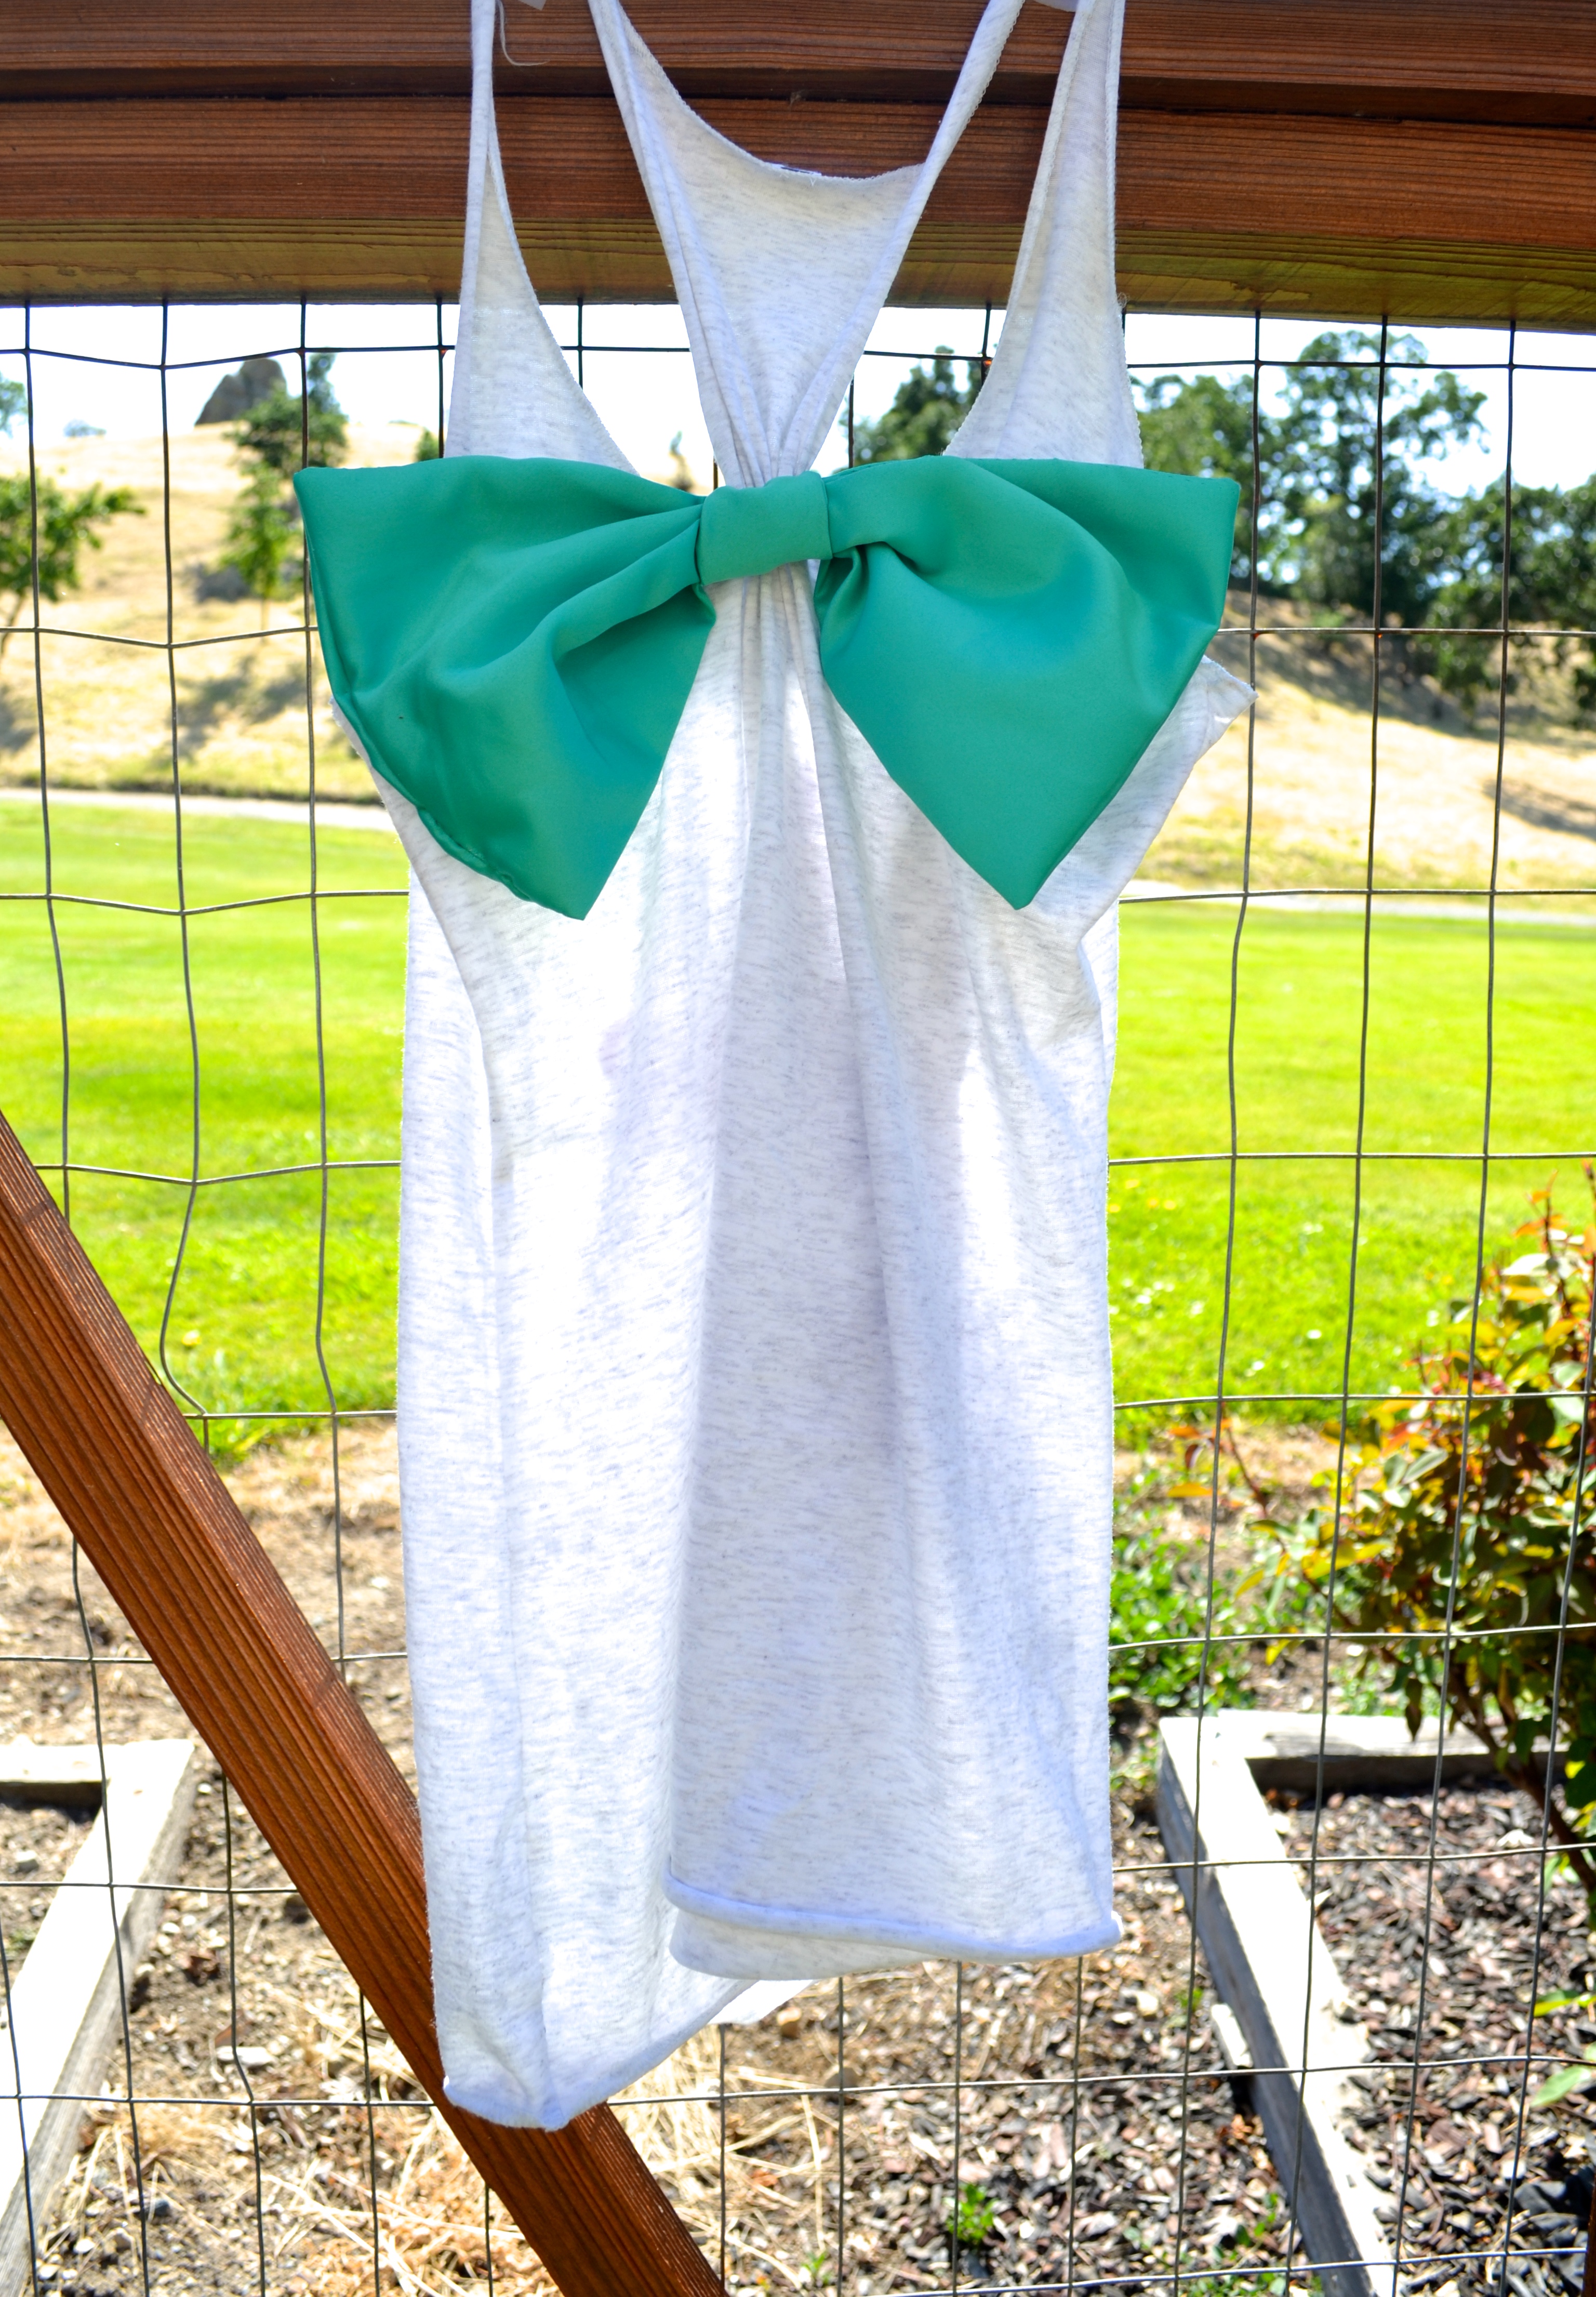
Ta da! And there you have it. Your very own DIY bow back shirt.
Now, I have to admit, some of these directions may seem confusing. They really aren’t. If they start to confuse you, just look at the pictures and do exactly what you see. Sometimes, reading the steps just confuses you more and makes things seem way more complicated then they actually are 🙂
And honestly, this bow technique works for SO MANY THINGS! I’ve shown you how to make headbands this way, and just the other day, I showed you how to make adorable tote bags with this technique. The options are really endless, if you can perfect the bow making skills above.
But once again, if you don’t have time, I have this exact bow back shirt in my store that you can buy immediately (I can even make one customize for you!). But hopefully, I’ve inspired you to DIY. If that’s the case, here’s a recap of everything you’ll need:
- Razorback Tank or Razorback Dress
- 1/3 yard of any color fabric (I used green taffeta)
- Needle and Thread
- Sewing Machine
- Heat transfer tape (if you want to do it the “no sew” way)
Leave a Reply