Tell me if this sounds familiar to you? You’re on your computer searching Etsy (or whatever your favorite site for unique clothing is) and you have something specific in mind for your next event/party/whatever. You find what you’re looking for, and it’s either just a LITTLE bit off from the vision you had, or it is PERFECT and it’s way too expensive.
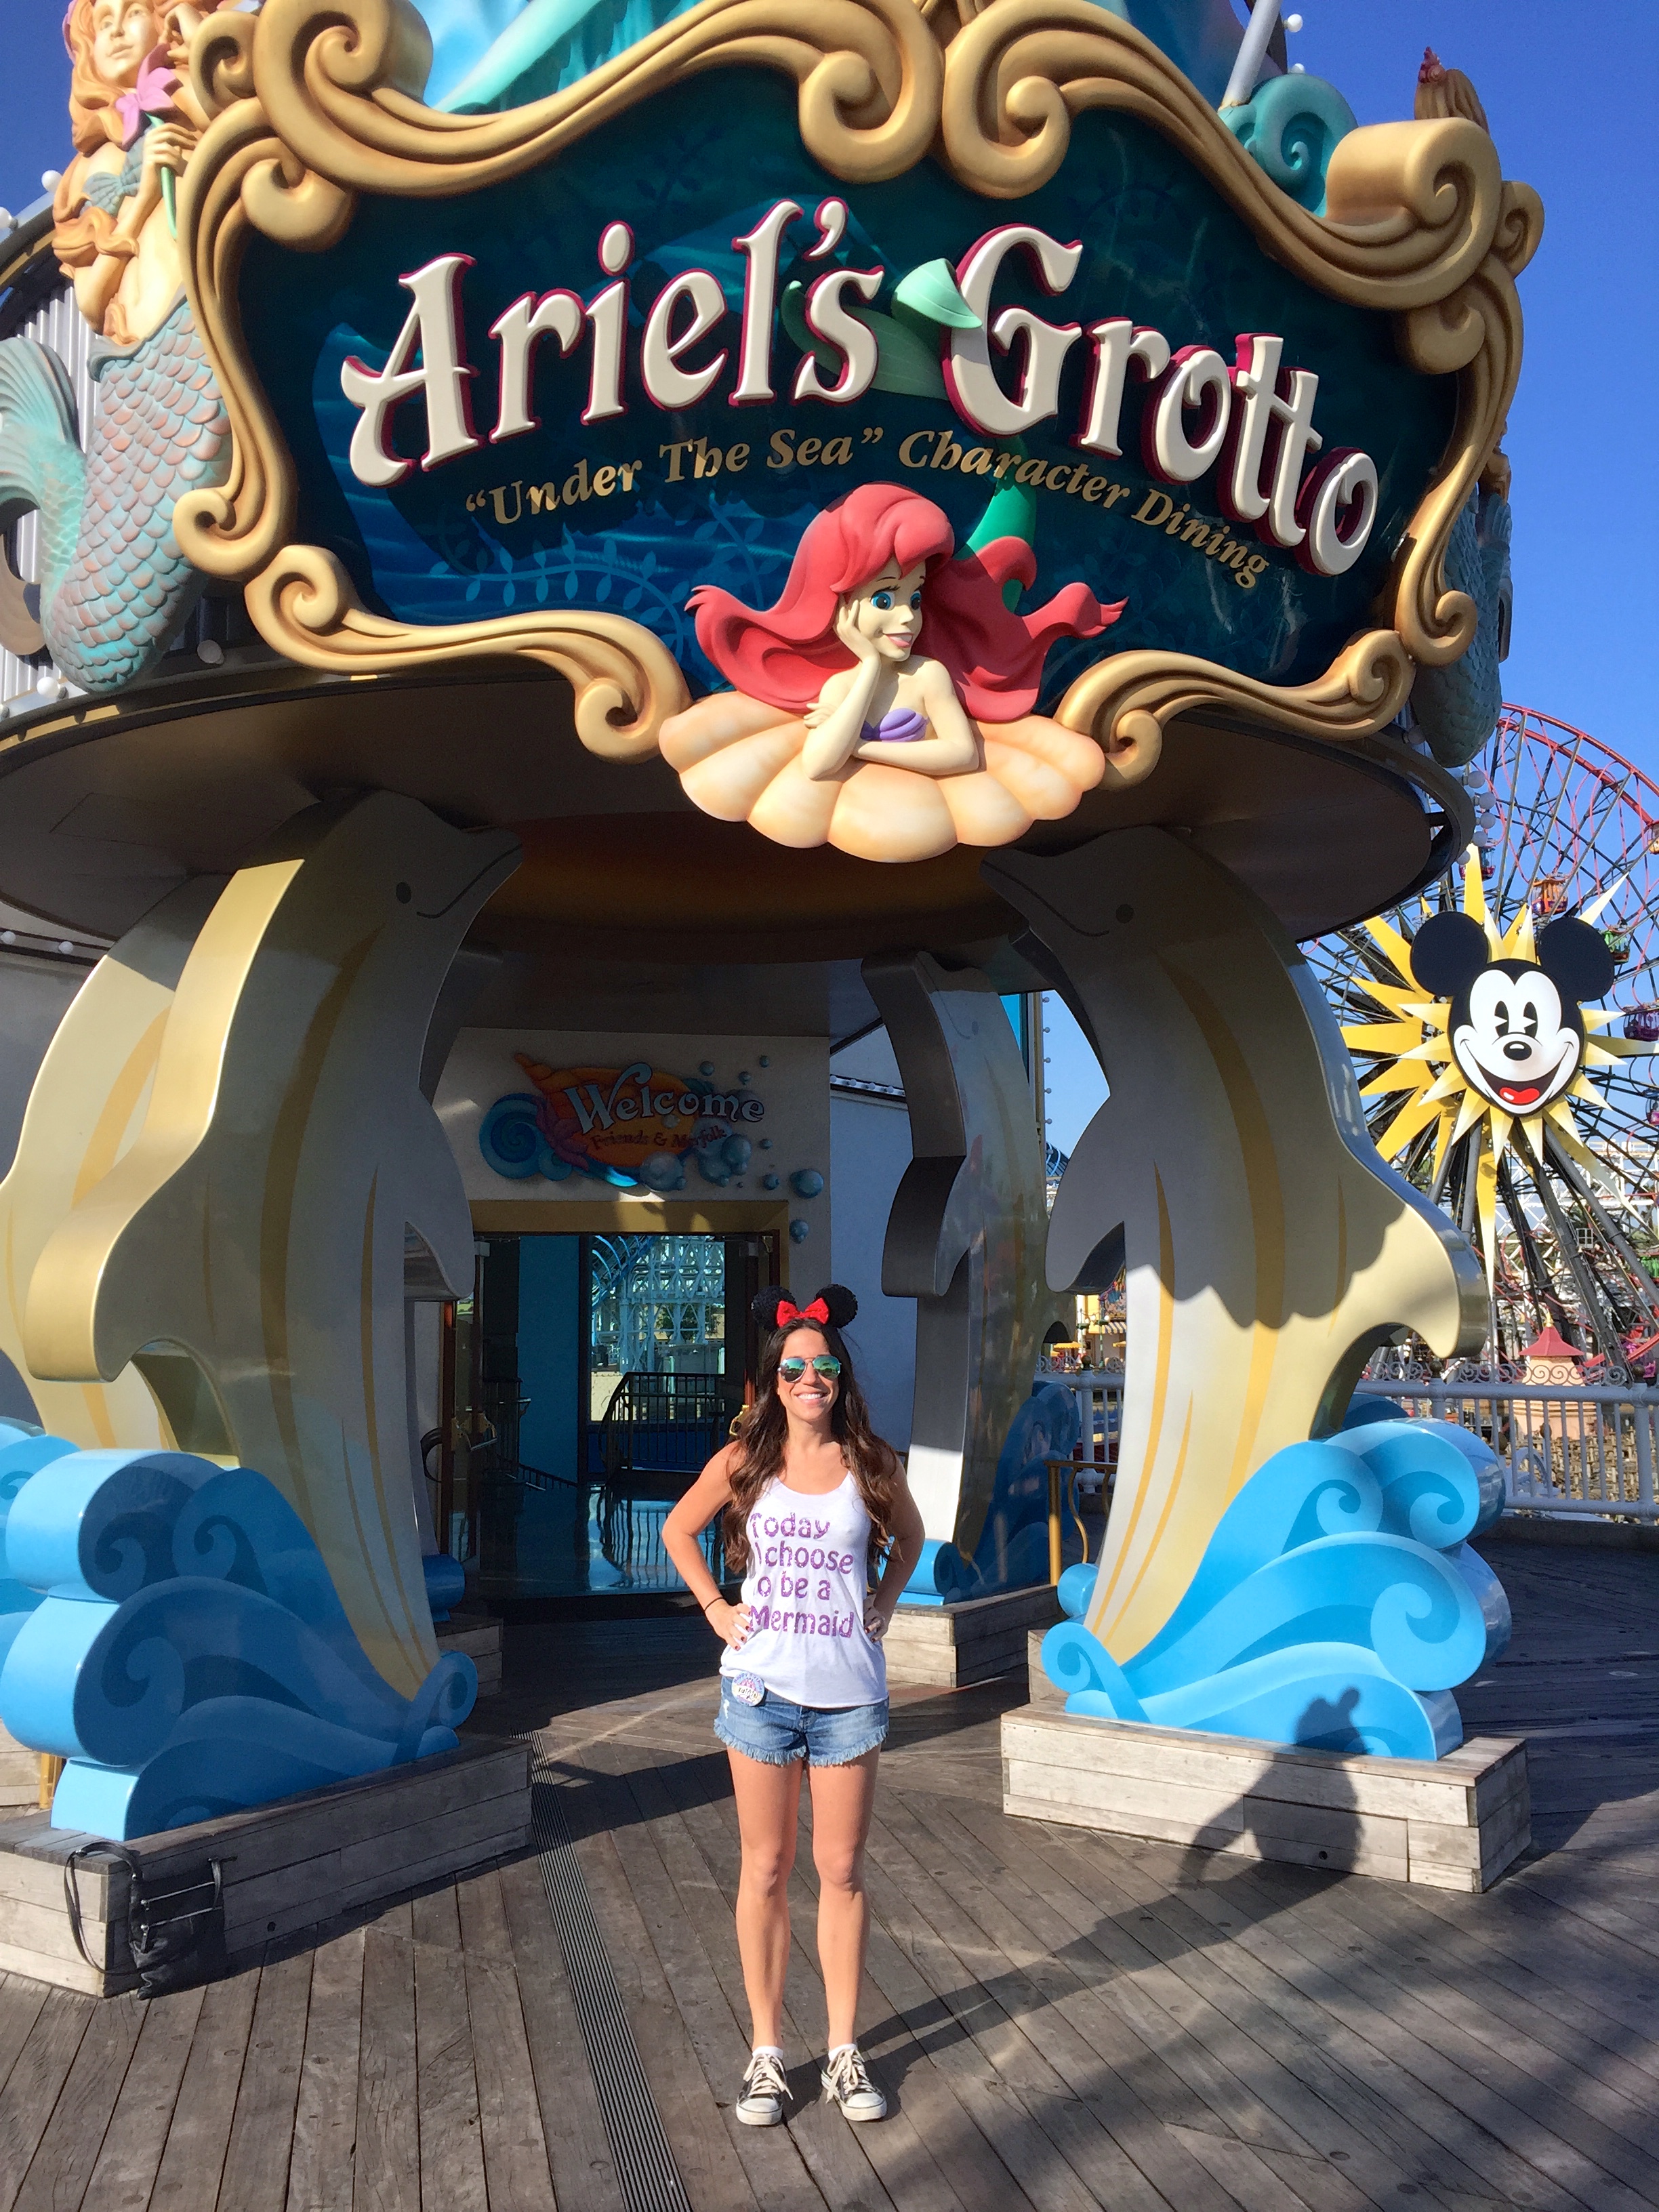
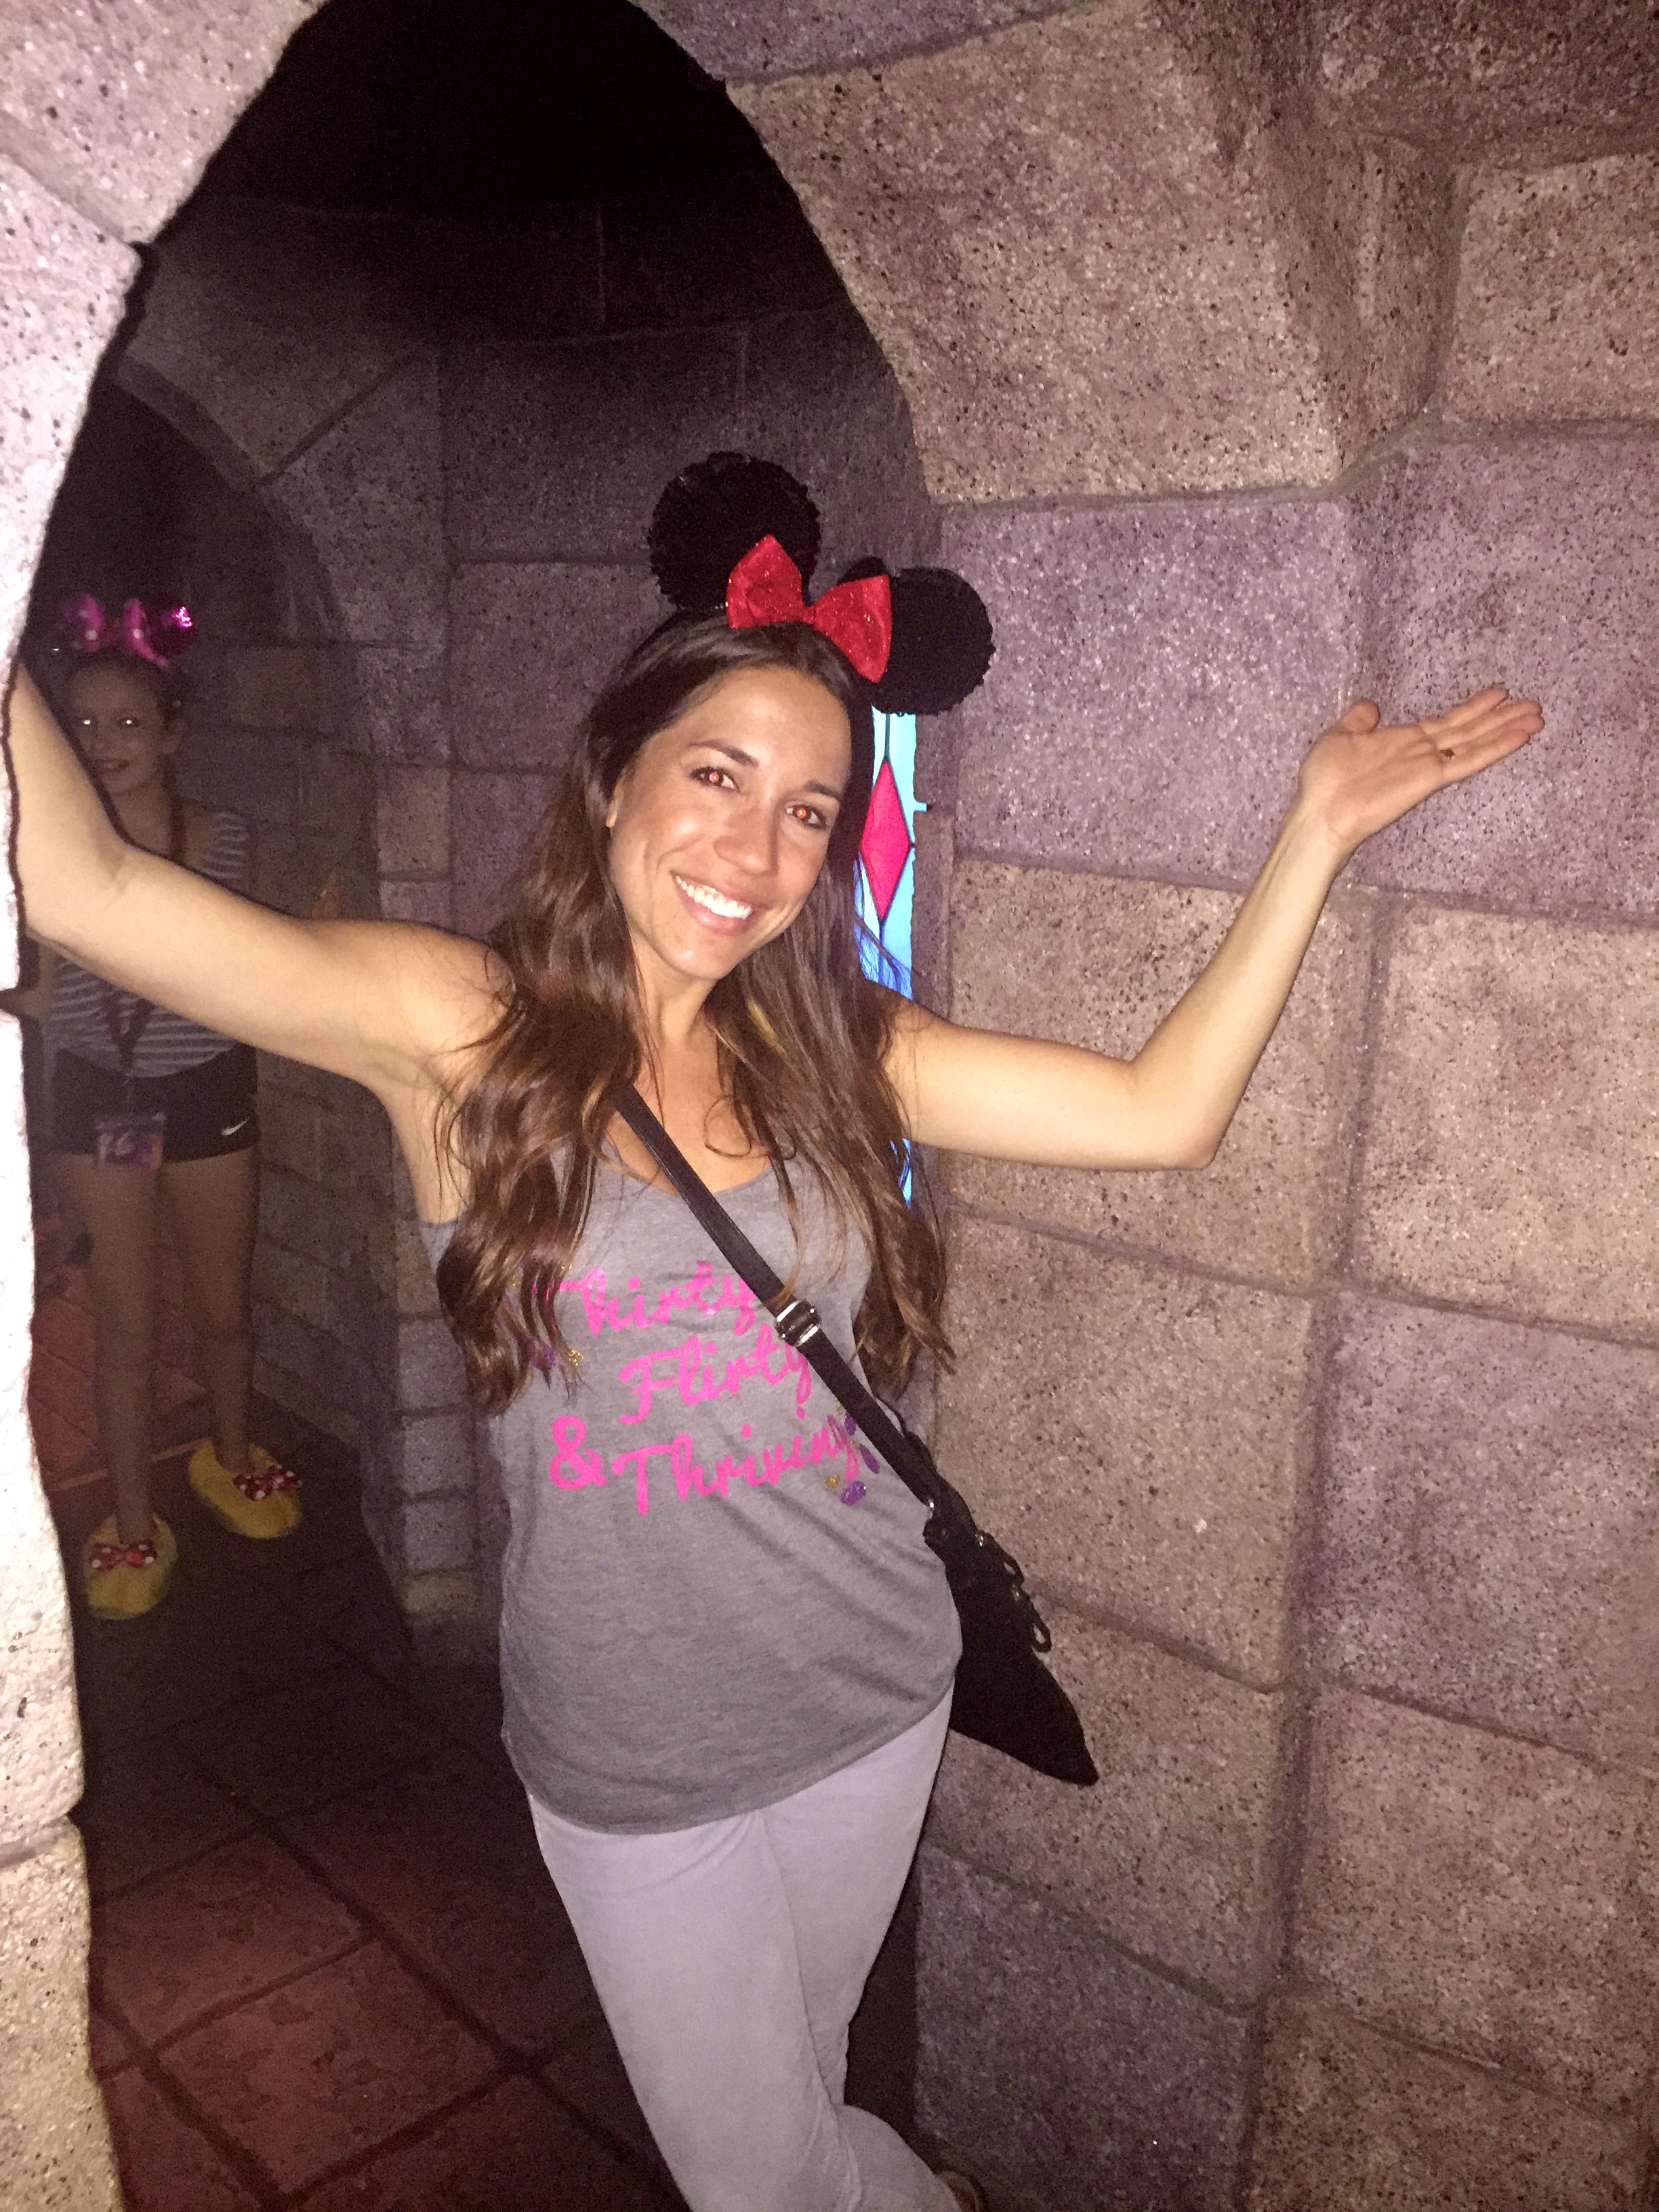
I know this feeling all too well, which is probably one of the underlying reasons why I decided to DIY more stuff. Most recently, I was looking for a couple fun shirts to wear for my 30th birthday. Travis and I were planning a trip to Disneyland (yes I am a 5 year old and I want to go to Disneyland for my 30th birthday- shoot me). Anyway, we were planning our trip and I thought it’s be fun to get some shirts that were special for the occasion.
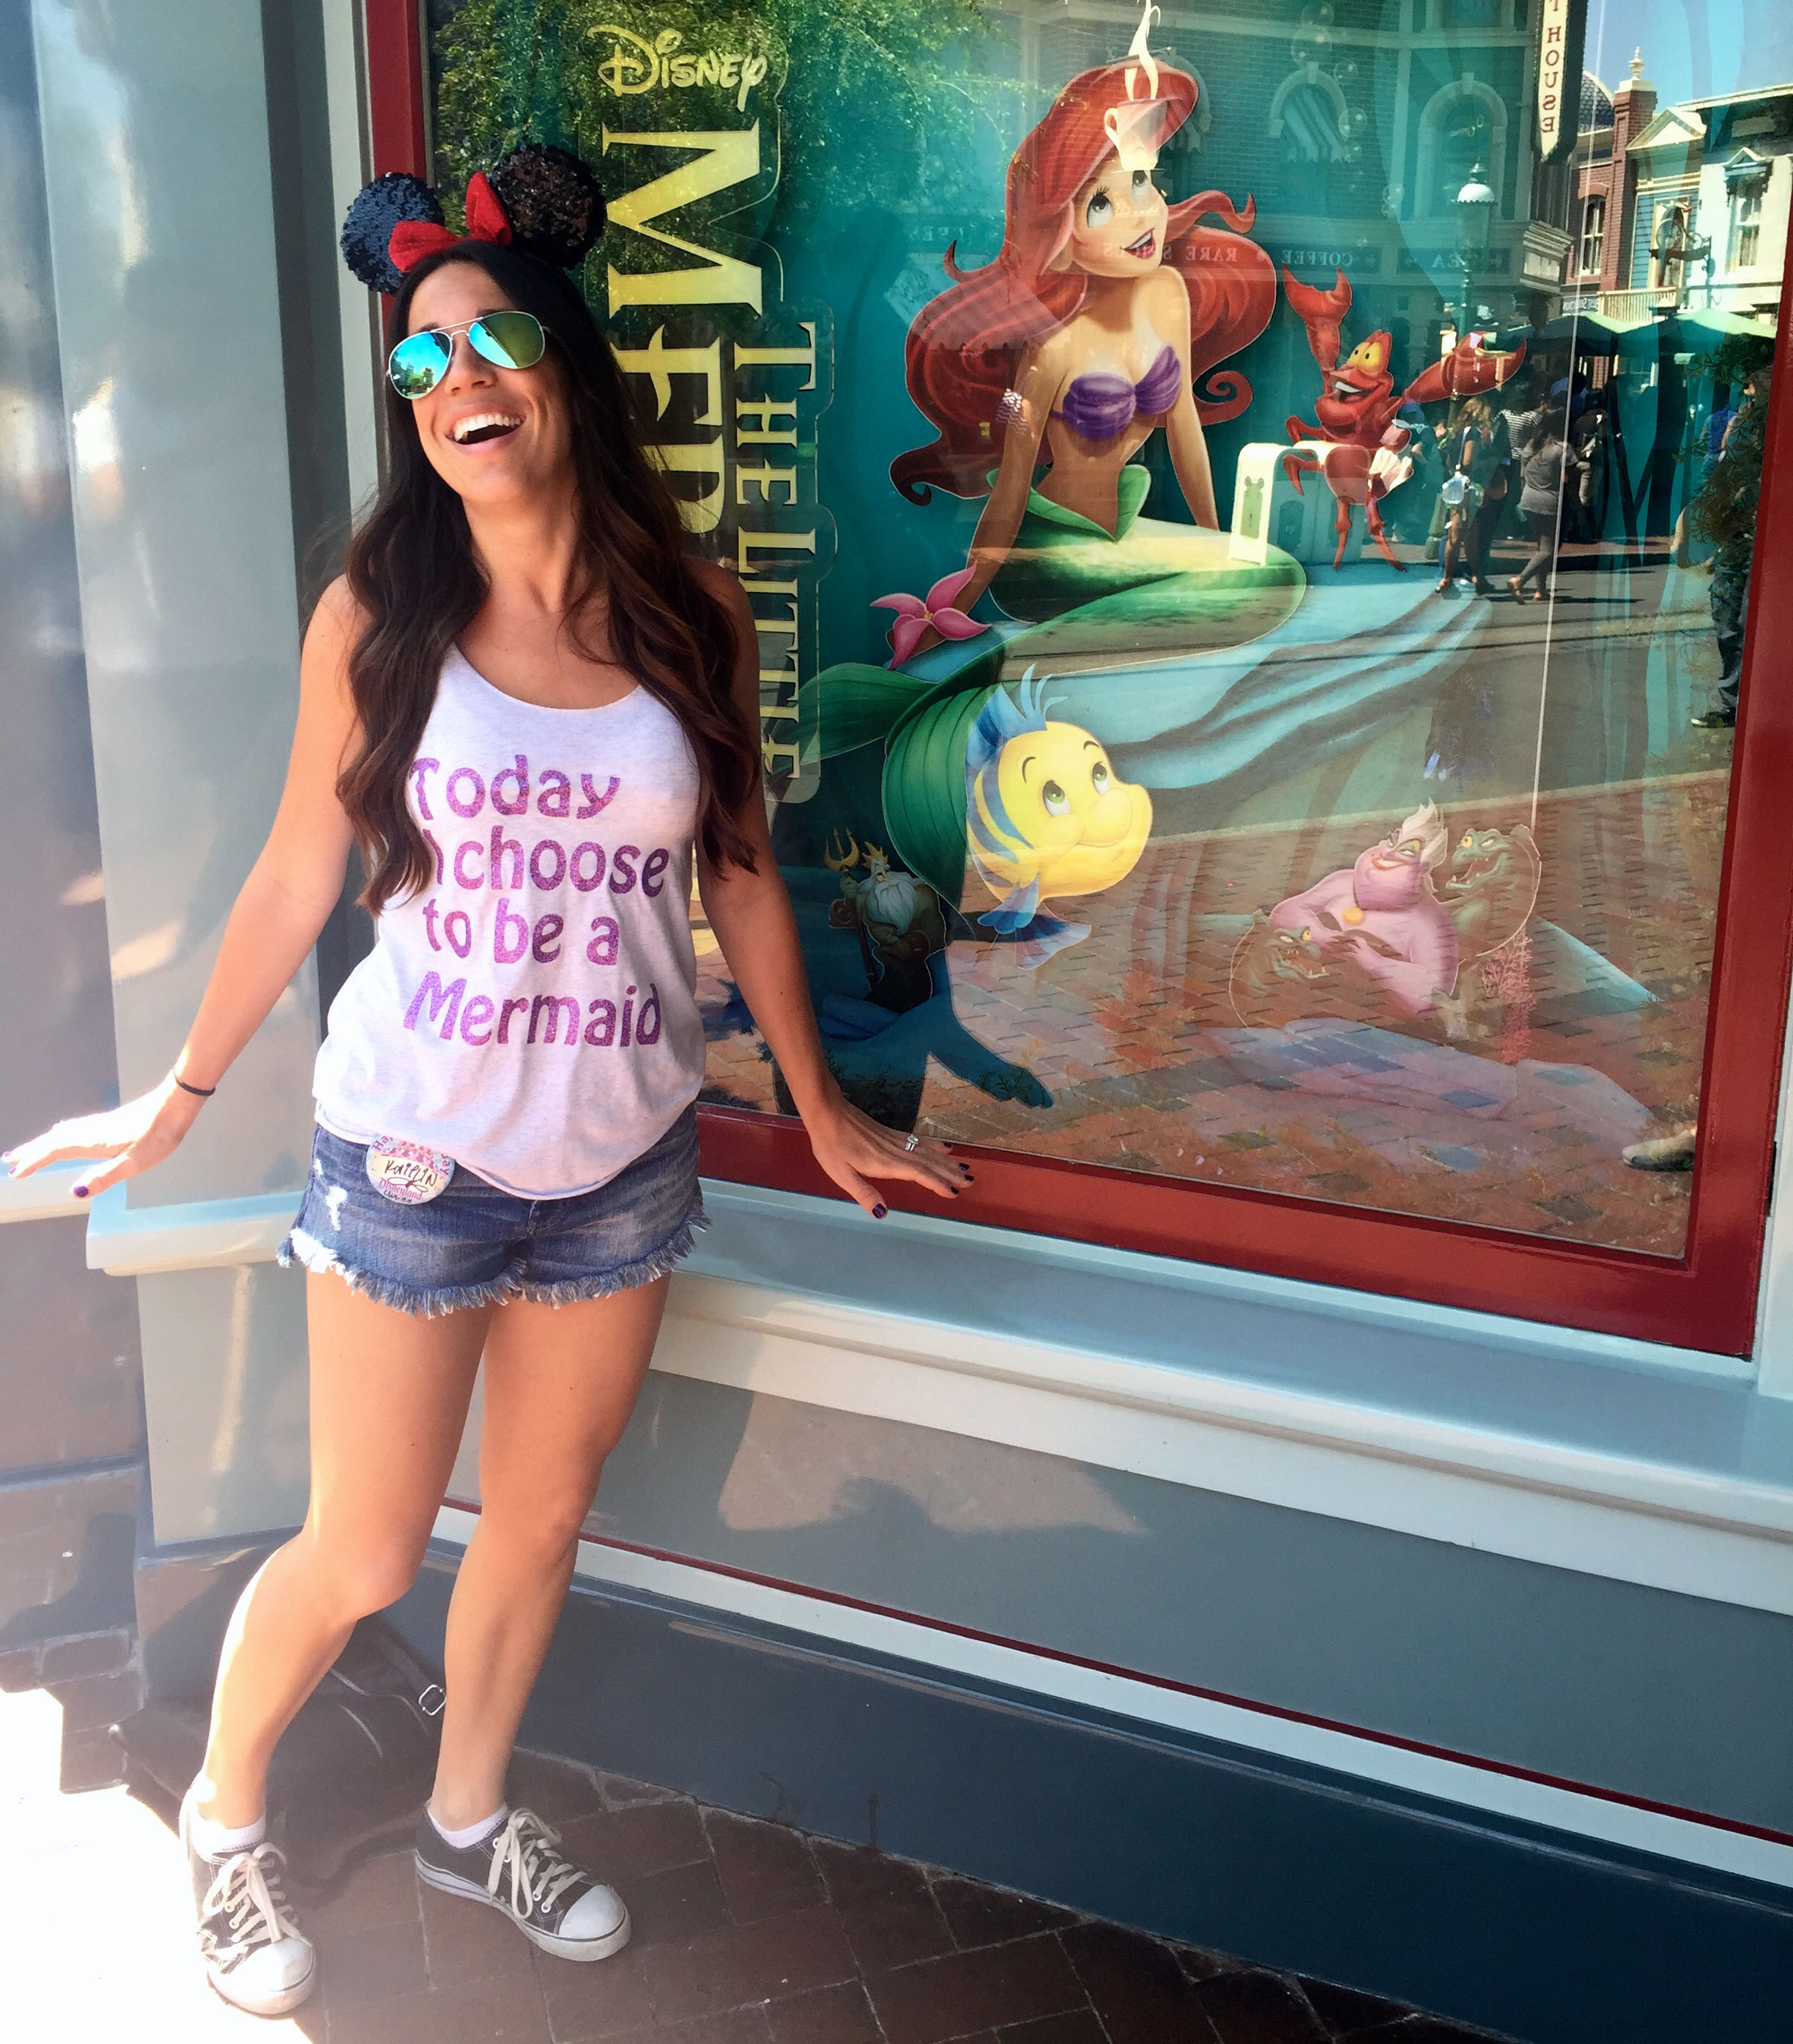
I had in my mind a vision of Ariel from The Little Mermaid (don’t ask me why) so I went on Etsy and started searching for mermaid shirts. I found ones that I loved that said “Today I choose to be a Mermaid”. Simple, yet fun. But they were plain (black on white) and were going to cost me $30 for a regular shirt.
Now, I have no problem paying $30 for something unique, but these just didn’t seem worth the money. Plus, I figured it would be easy enough to do this myself, at home. And, they would be even more special because they would be made by me, for my day. Perfect.
After everything was said and done, I was SO HAPPY with the result:
Below are all the supplies you’ll make your own DIY shirt. I must warn you in advance. I used my Silhouette Cameo cutting machine to cut out the specific fonts and designs I wanted. This tutorial is do-able without one, but much more difficult. If you’re planning on making any more than a couple DIY shirts, I would highly recommend investing in some sort of die cutting machine (see my review on my Silhouette Cameo for an overview of the capabilities).
Steps to Make Your Own DIY Shirt
The Necessary Supplies:
- Silhouette Cameo
- or Plastic Stencils (if you don’t have a Cameo or want to invest in one)
- Heat Transfer Vinyl
- I used Glitter Lavender, Glitter Gold, and Pink for these shirts
- Any heat transfer vinyl (no matter what brand) will work in any die cutting machine.
- Simple Razorback Tank Top (SUPER cheap- Under $7 each!!!)
- Iron
- Ironing Board (or stiff cardboard)
- Dish Towel
Step 1:
- Decide what you want your shirt to say, what design you want it to have, and how large you want it.
- Mock it up in your Silhouette Cameo design studio (or whatever program you have for whatever die cutter you’re using)
- If you’re using stencils, skip to step 2.
Step 2:
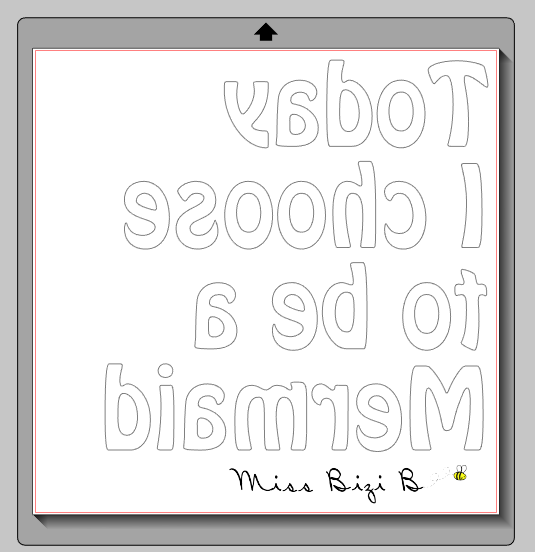
- Take the design you’ve made in your studio, and reverse it.
- Set your cutter settings for vinyl, and press cut.
- Note: The vinyl says not to use a cutting mat. I found this DID NOT work for me. So I used a cutting mat, set my settings to cut card stock (not vinyl), and set my cutting blade at a 4 (instead of the recommended 2). It worked PERFECTLY!
- If you’re using stencils, stencil your design onto the CLEAR PLASTIC side of the vinyl with a sharpie. DO NOT reverse the design. Then, cut it out.
Step 3:
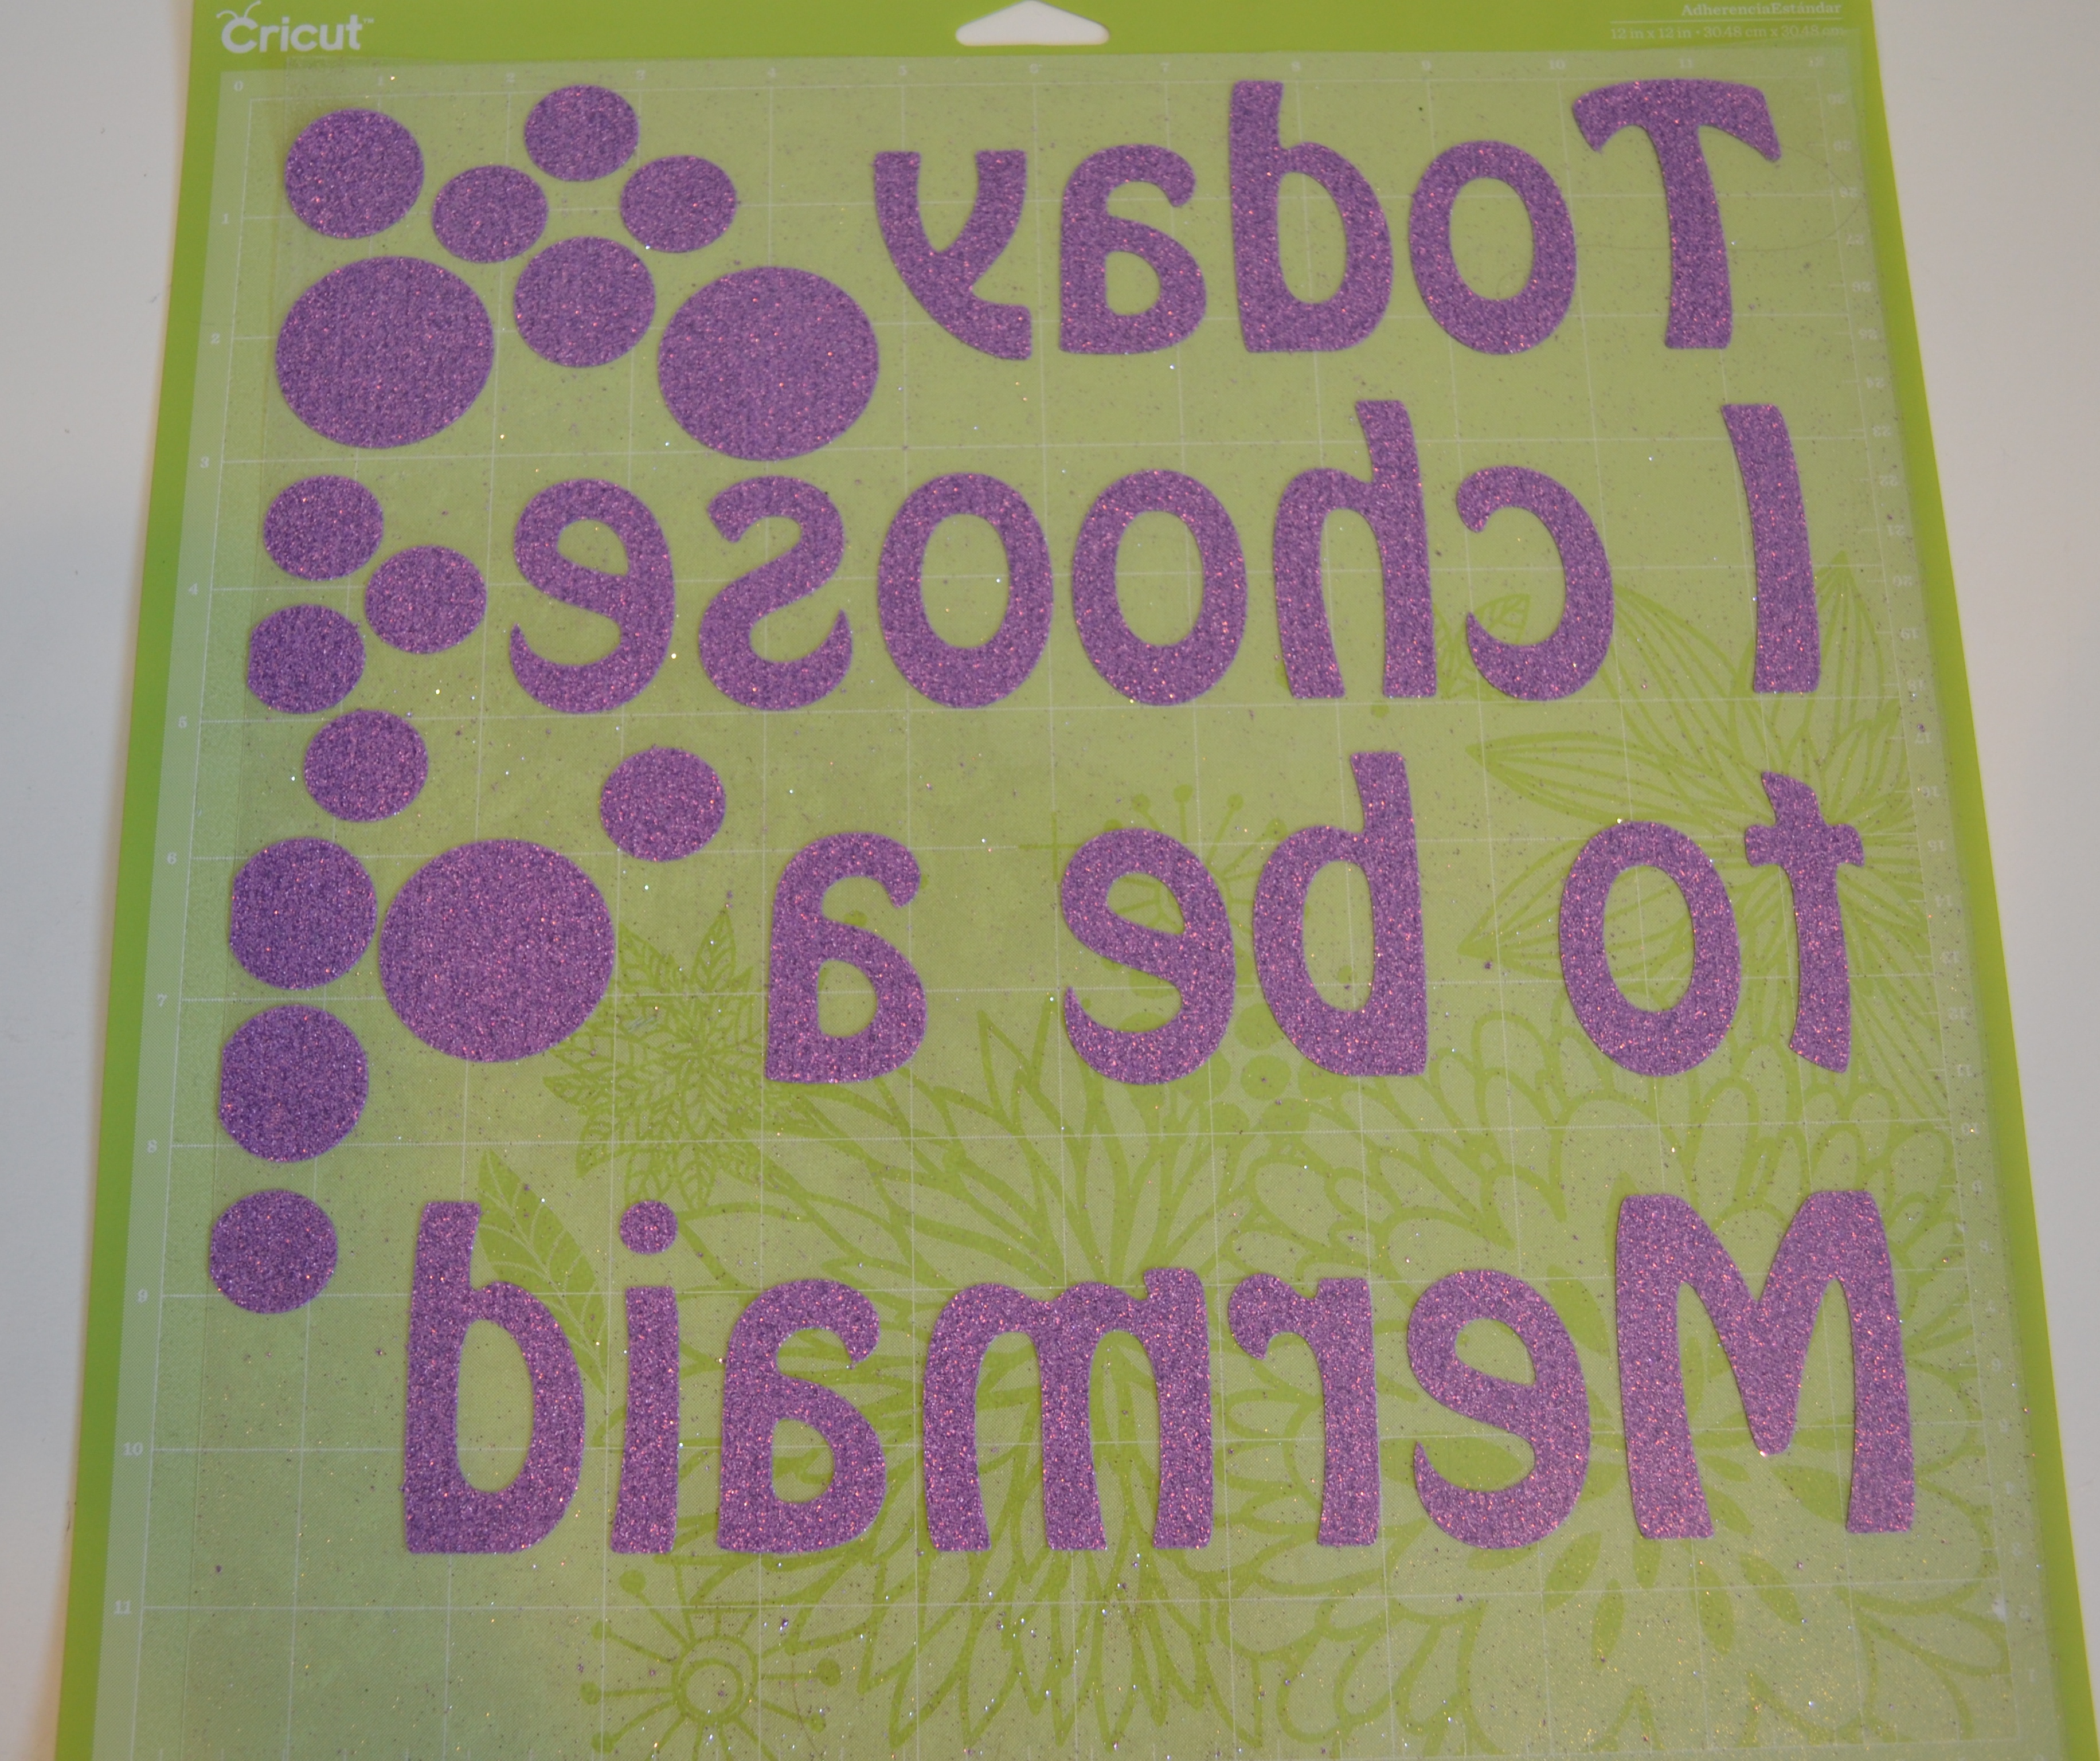
- Remove all the excess vinyl material from the clear plastic, leaving only your cut design.
- If you’re using stencils, there will be no need for this, as your designs will be cut out individually.
- In my design, I added some circles to use on another shirt, and cut them out from the lettering – so I had only the lettering and plastic over the lettering that I wanted on my shirt.
Step 4:
- Take your shirt and place it on your ironing board (or place your stiff cardboard in the center of the shirt in between the two sides).
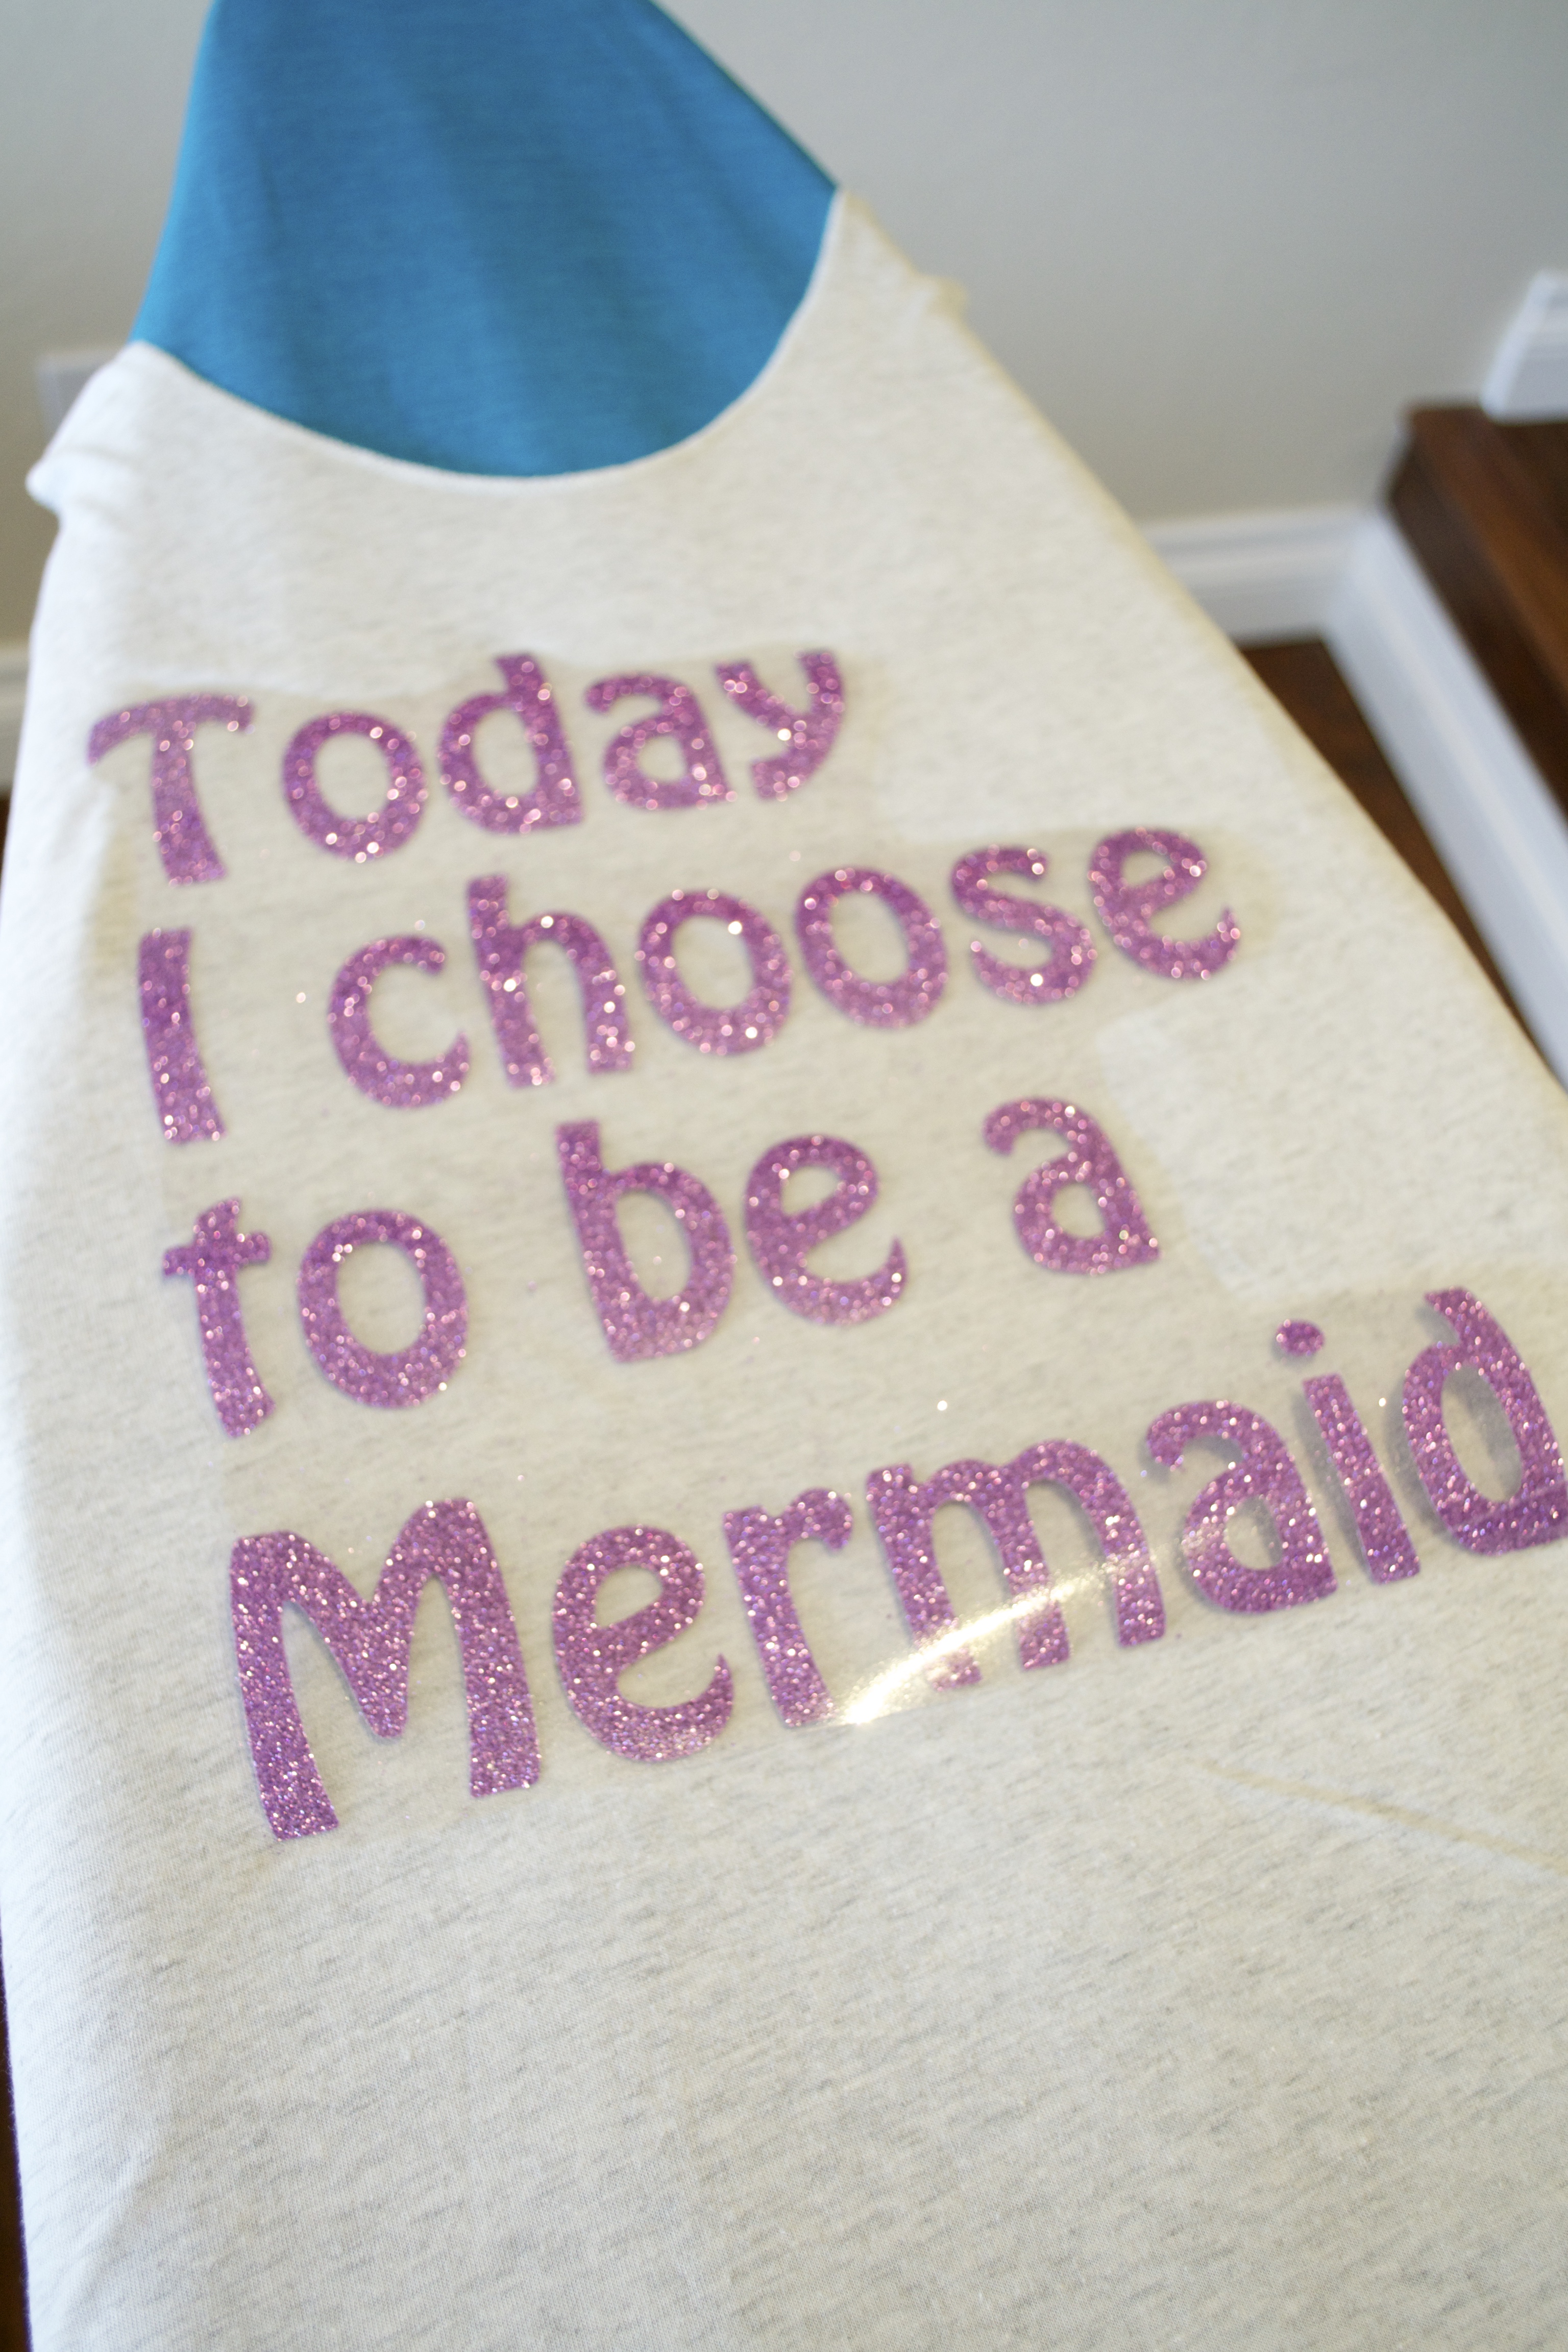
- Take your design (it should still be on the clear plastic) and place it (vinyl side down) onto your shirt.
- It should look right side up instead of reversed.
Step 5:
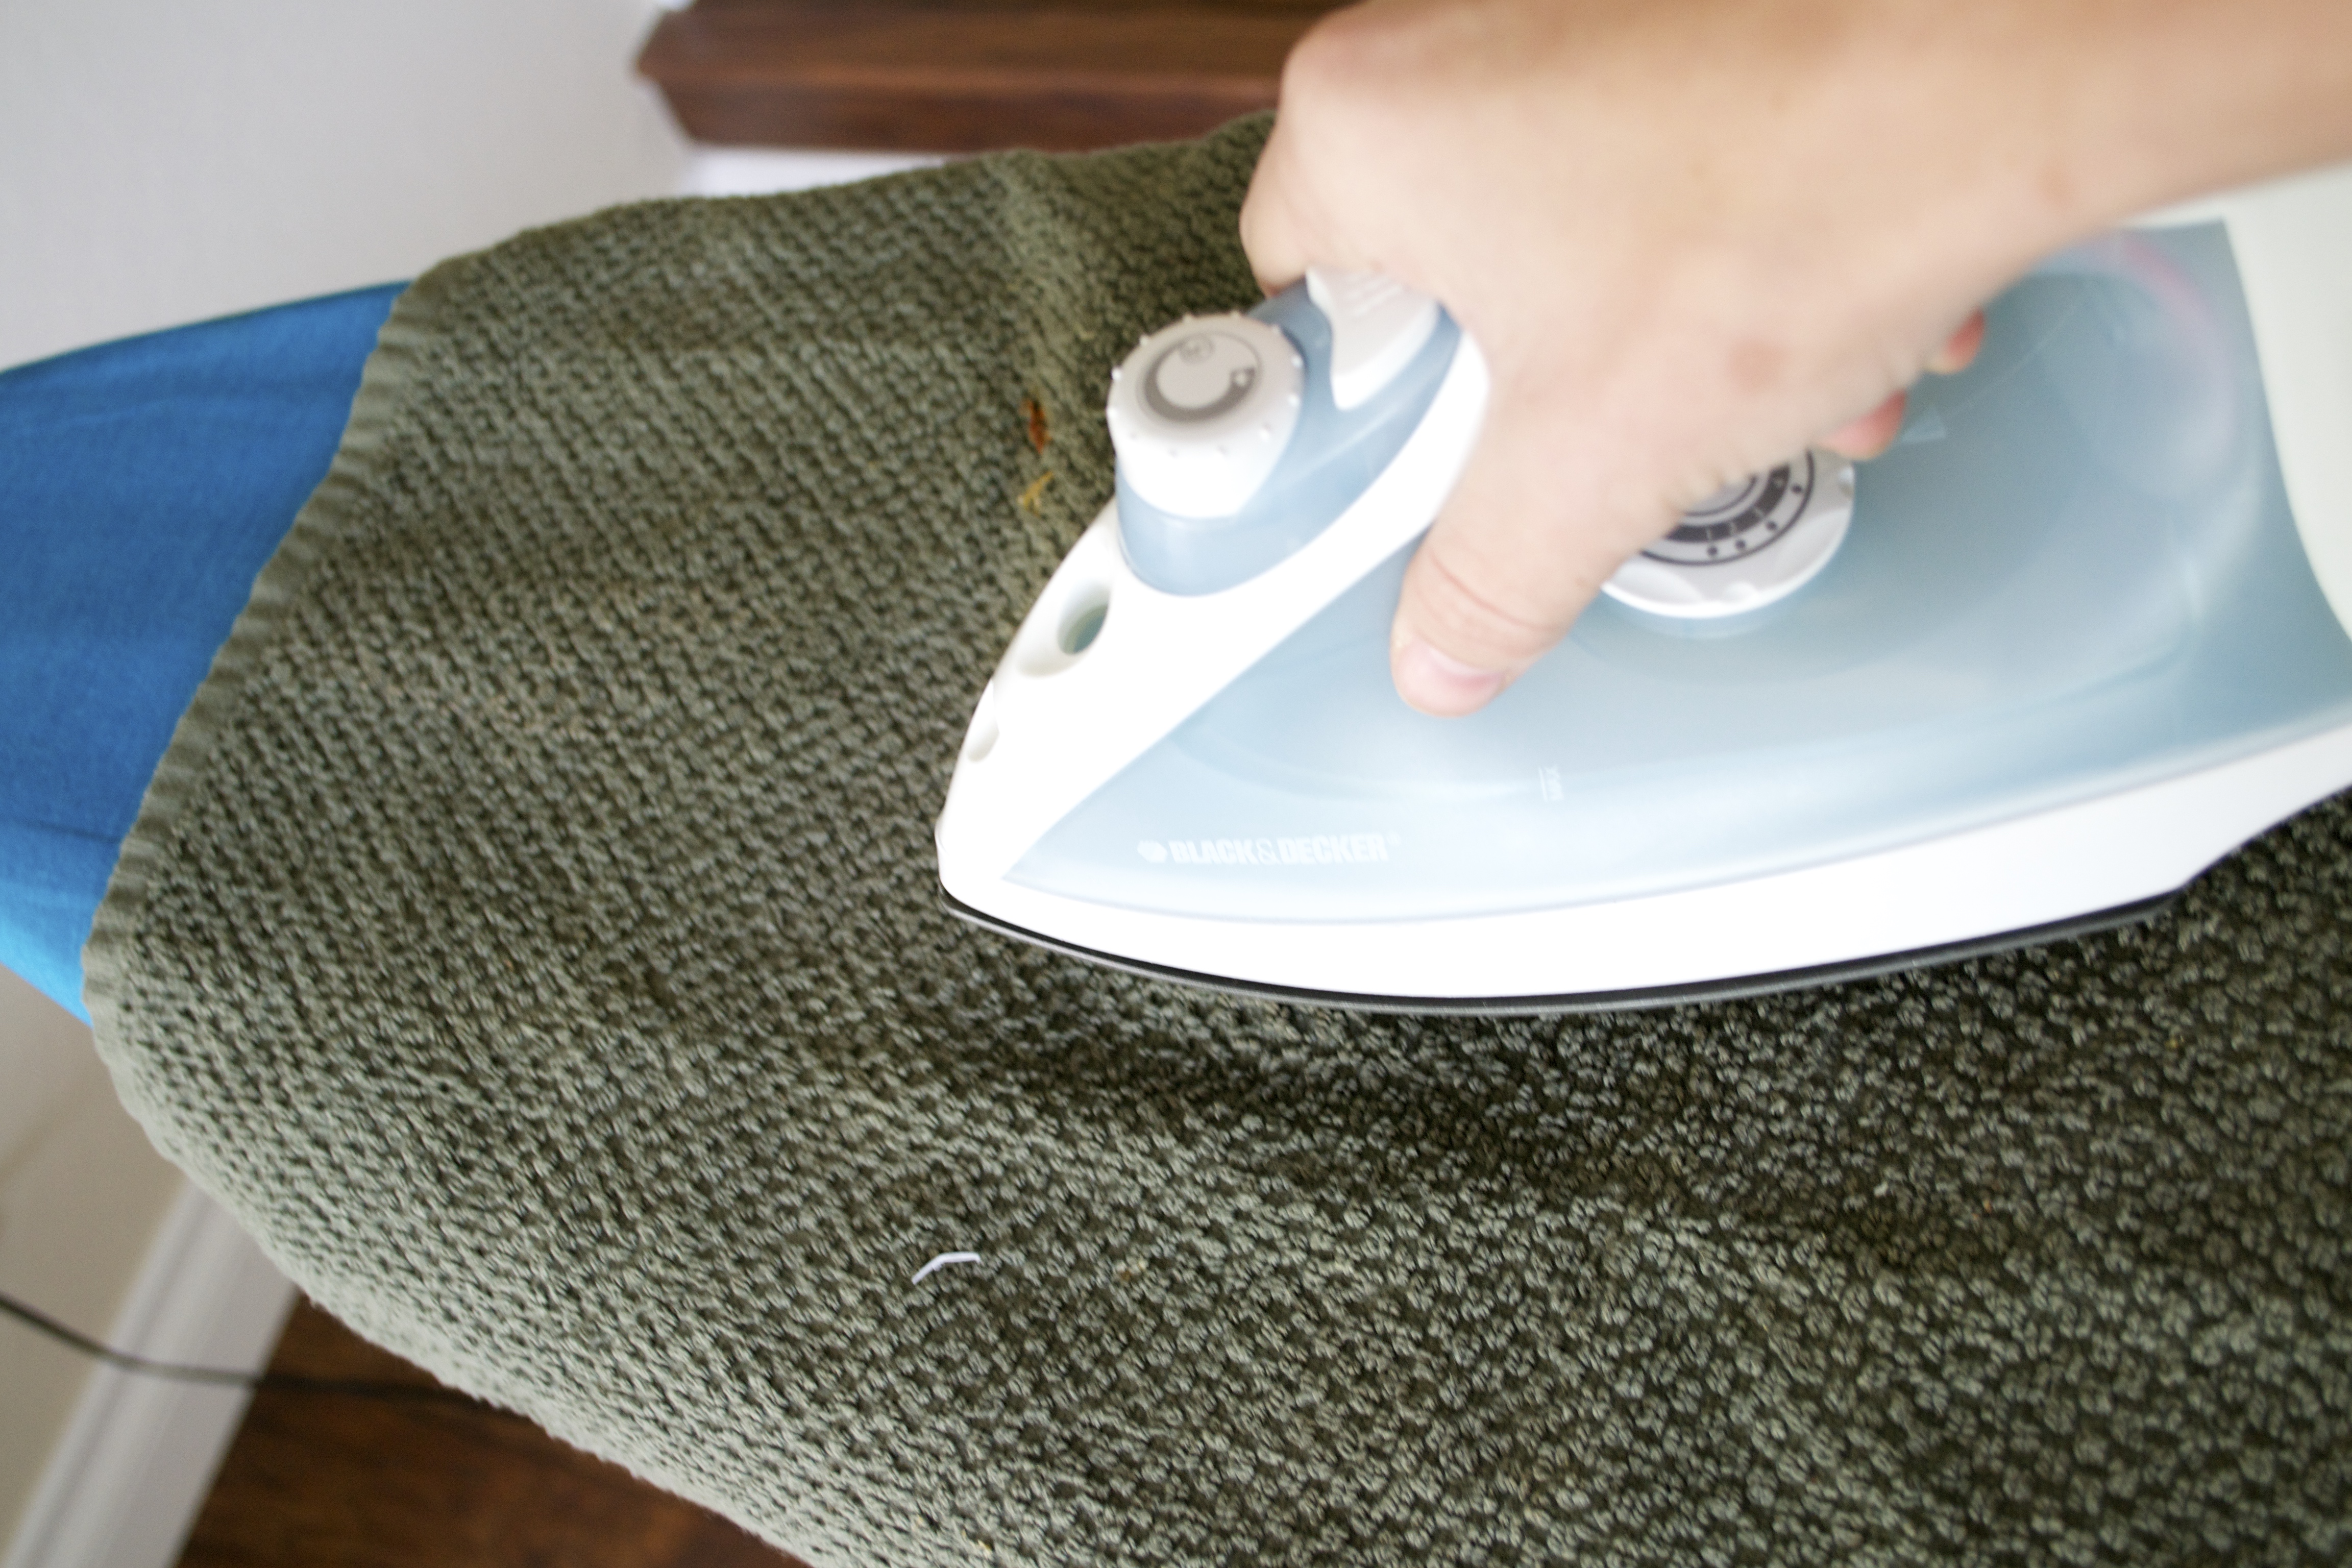
- Place your dish towel (or paper towel) over your design, and begin to apply heat with your iron.
- Make sure the iron is not set to steam, or not on the highest heat setting, or it can wrinkle or burn the vinyl.
- Also, make sure not to leave the iron in one place for too long, for the same reason.
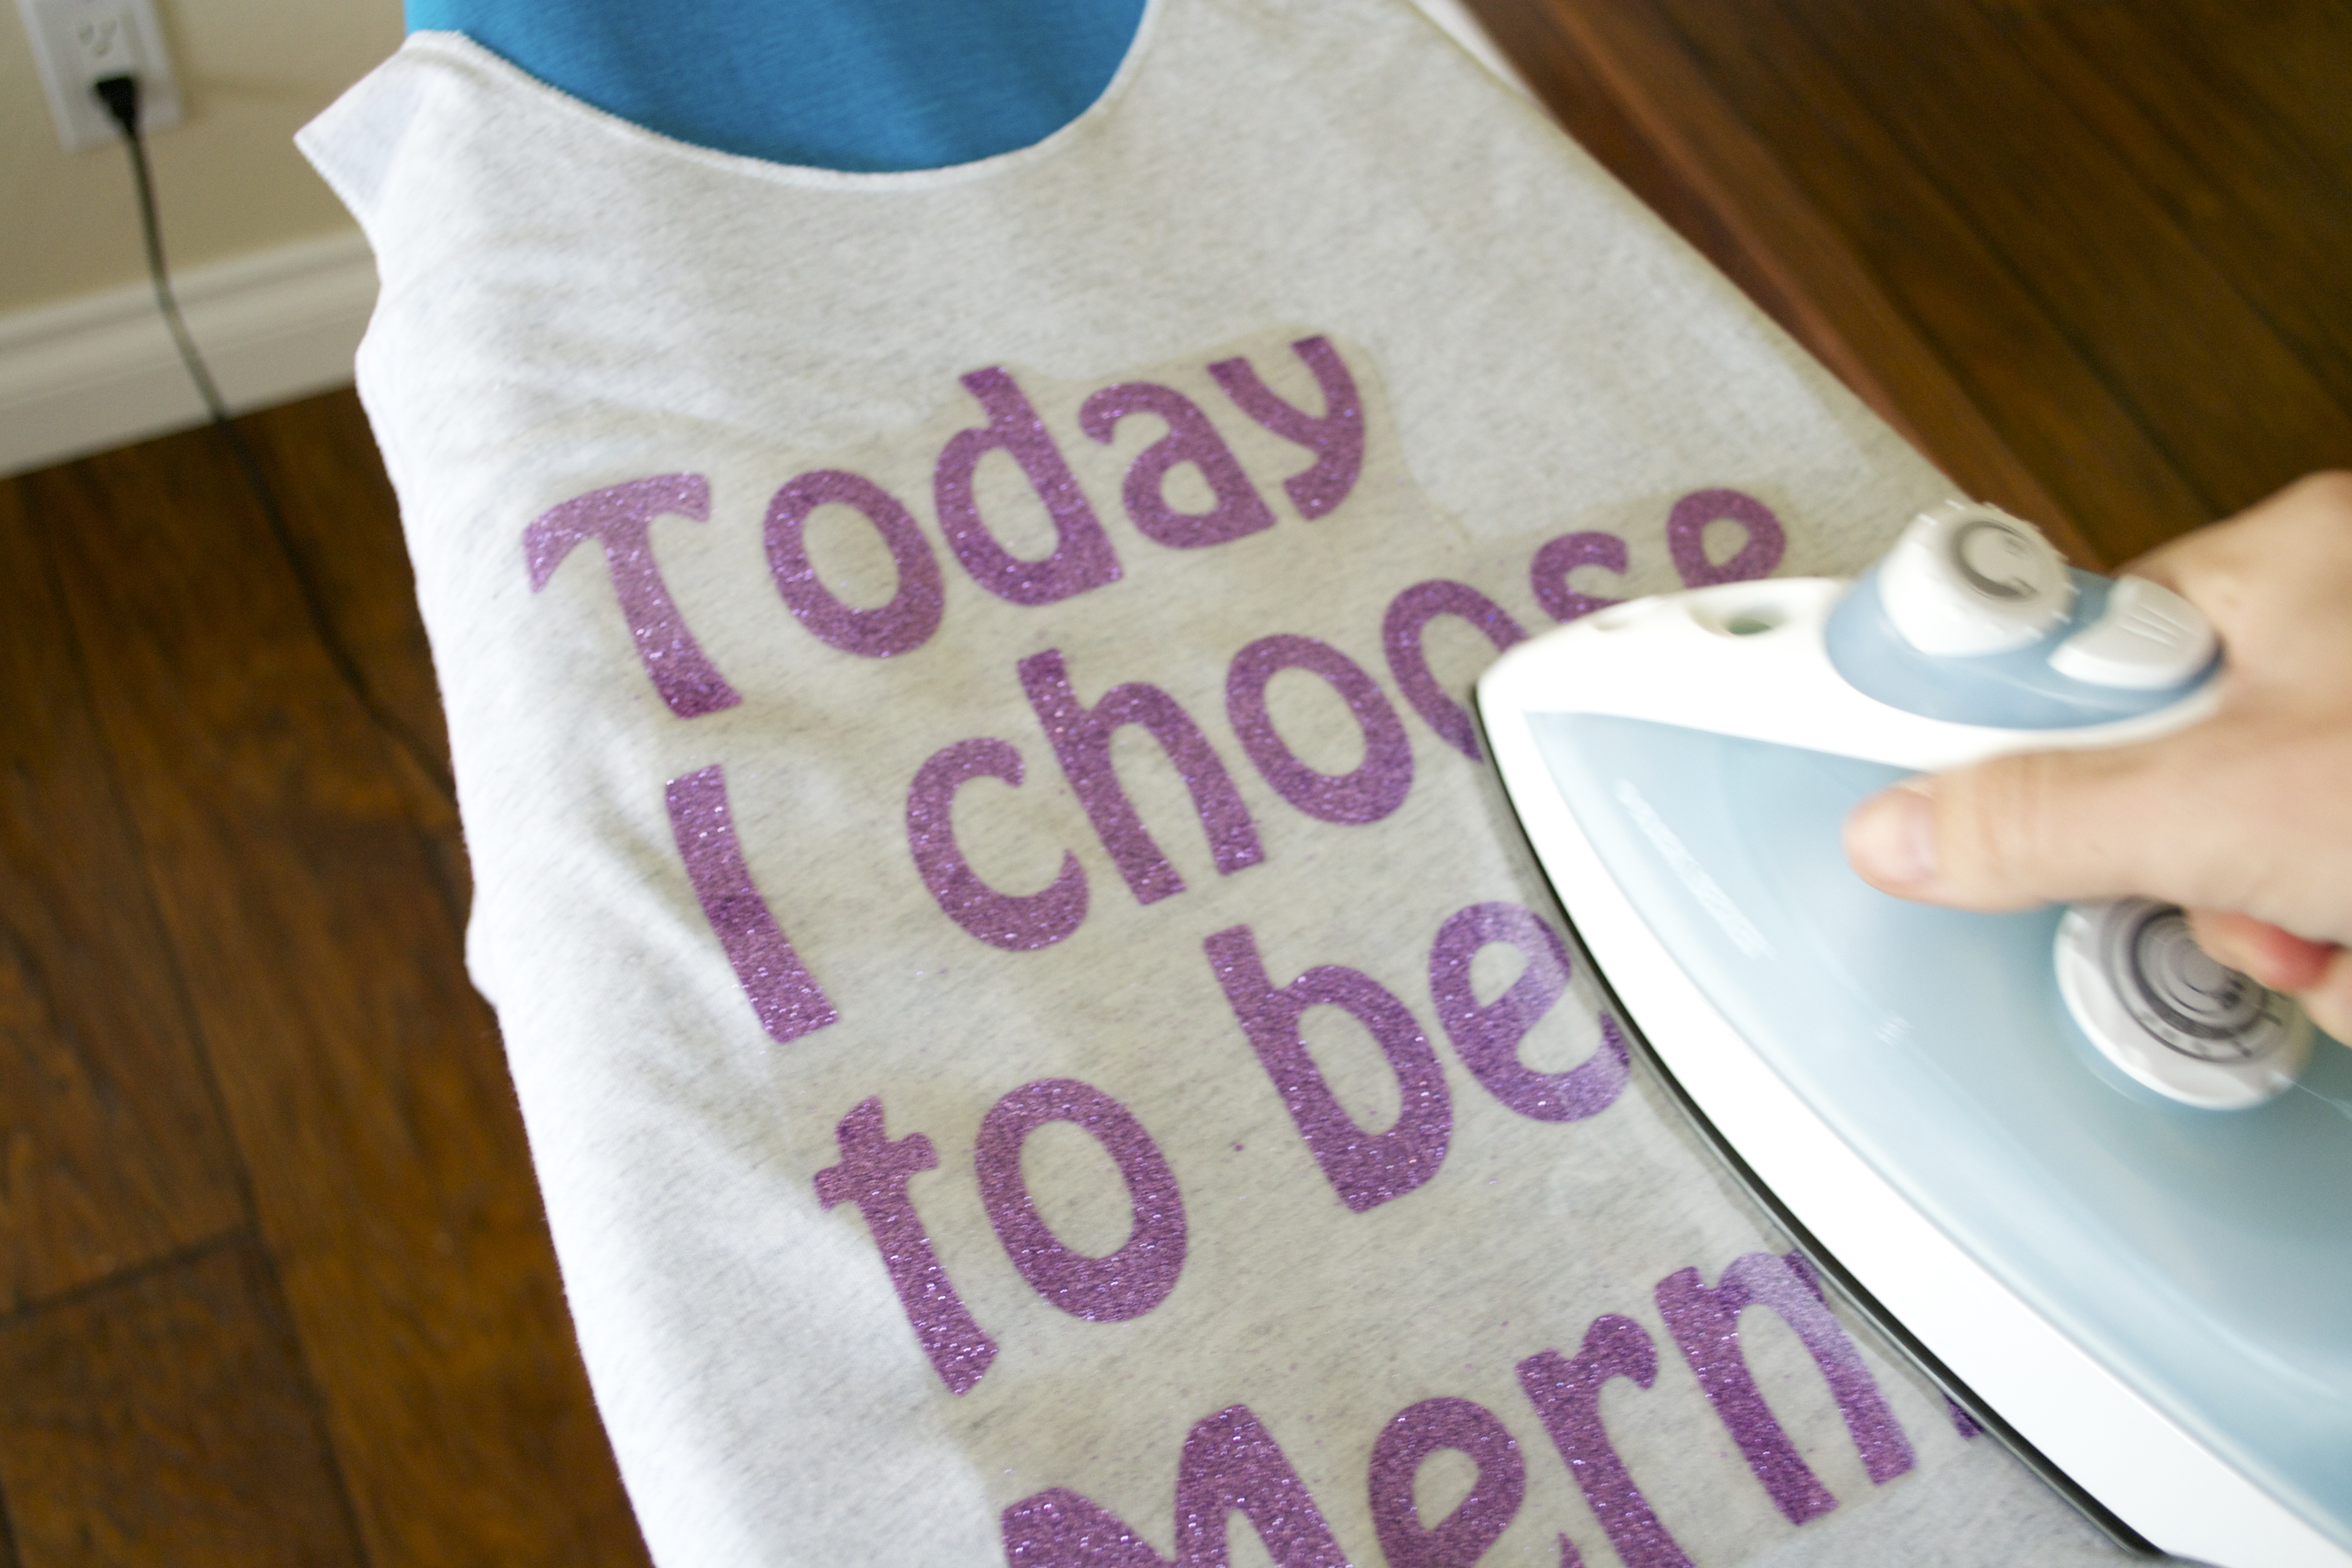
- Once you’ve applied about 2 min of heat to the entire design, take your dish towel off and do another quick once over with your iron directly on the clear plastic
- I found this to help set the design into the shirt the best.
Step 6:

- Once your design is completely set onto you shirt, remove the clear plastic sheet from the top.
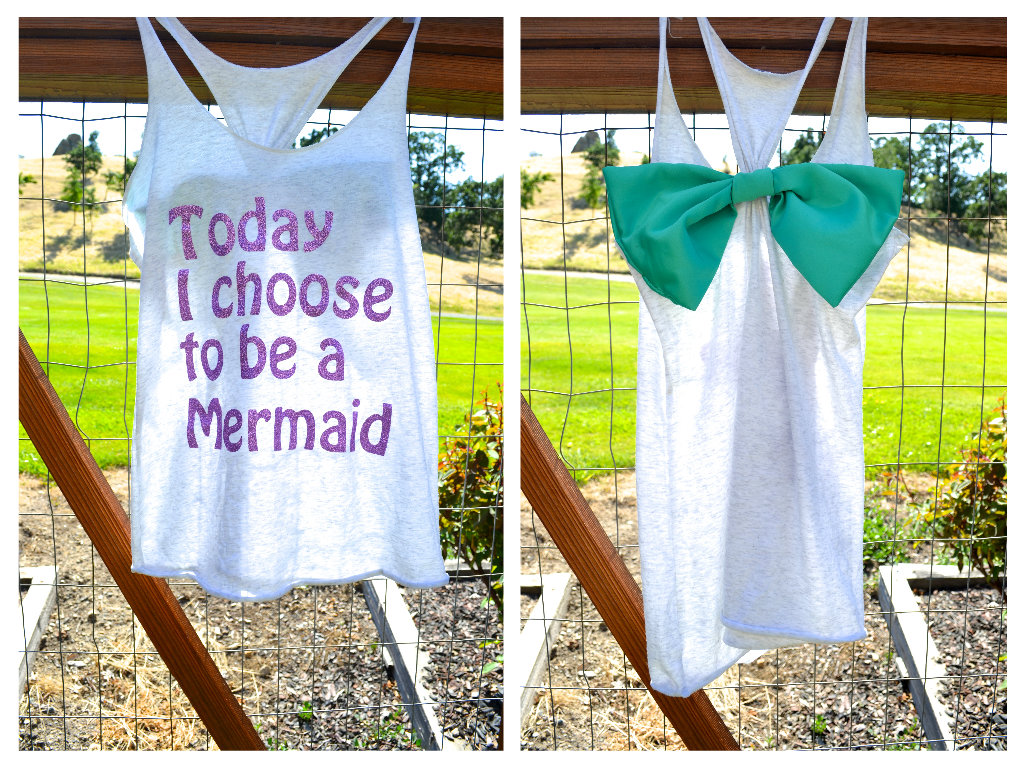
Ta da! There you’ve done it! You’ve created your own perfectly designed DIY shirt! I’ll teach you how to put the bow on the back in a couple weeks 😉
Quick reminder: if you have more than 1 color you’re working with, the steps are EXACTLY the same. You just have to do one color at a time, ironing on the color that goes in the back of your design first, and the top of your design last. You must complete all steps 1-6 before you move on to your other colors.
More Inspiration Using Heat Transfer Vinyl for a DIY Shirt
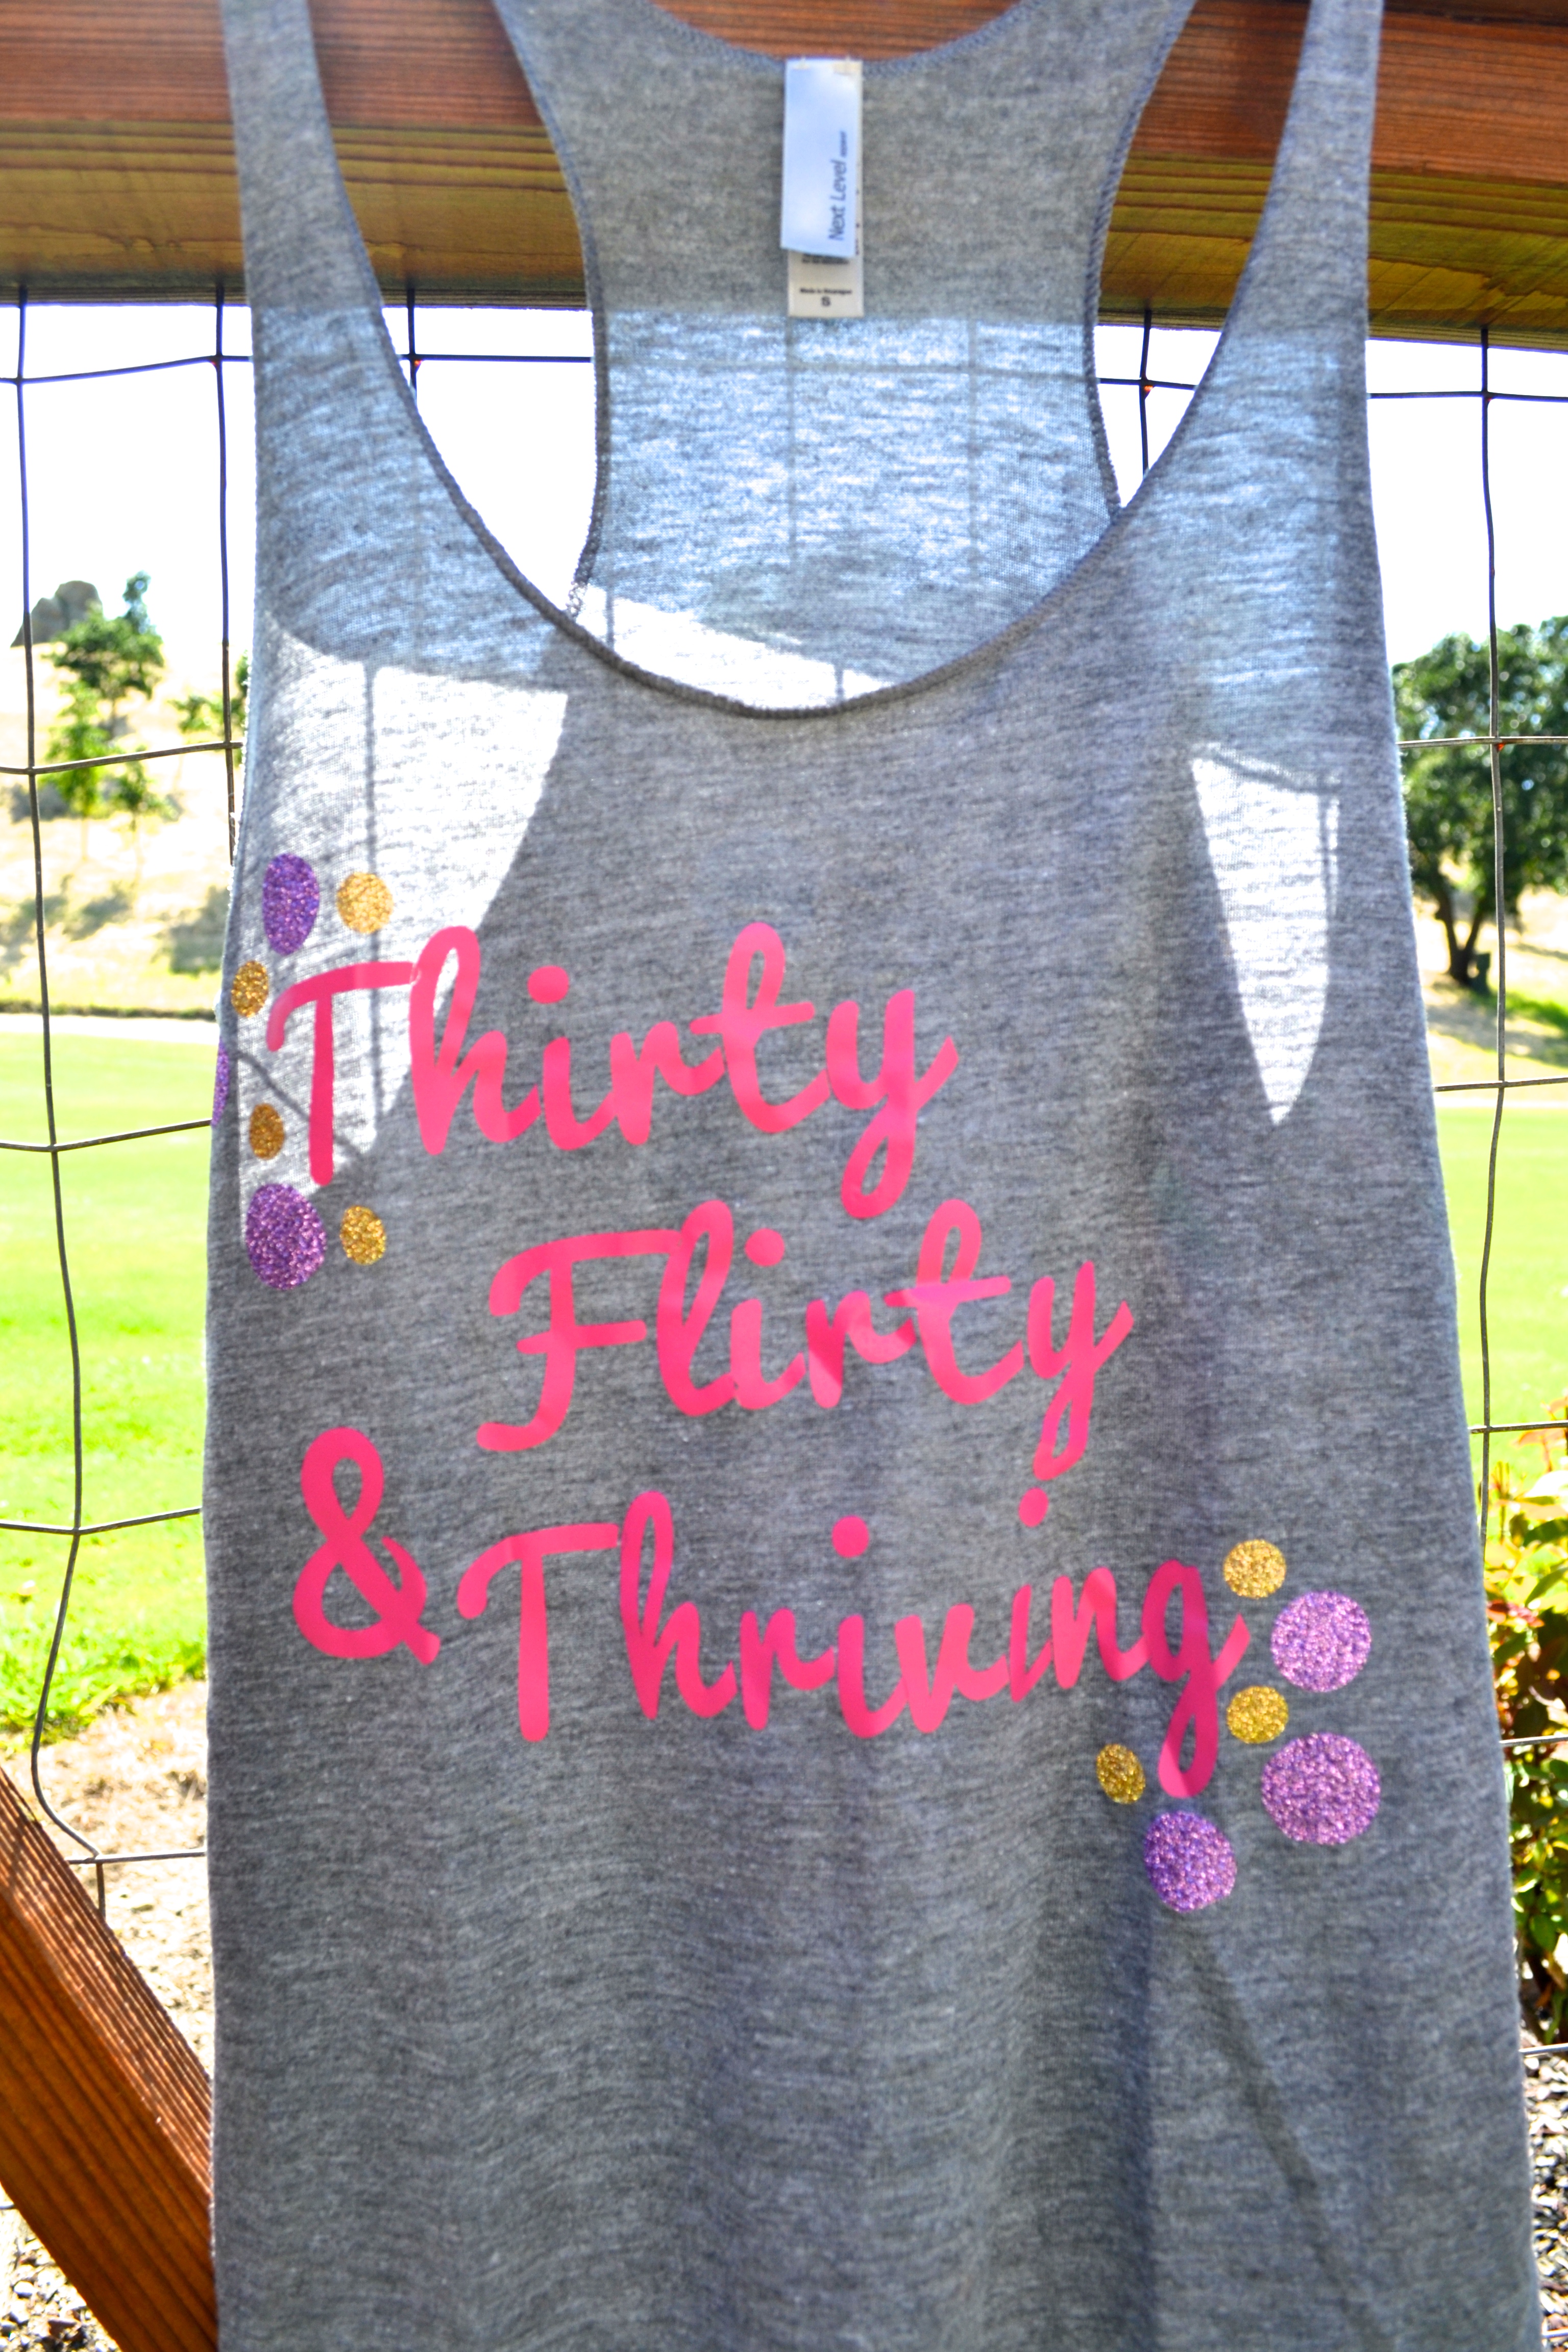
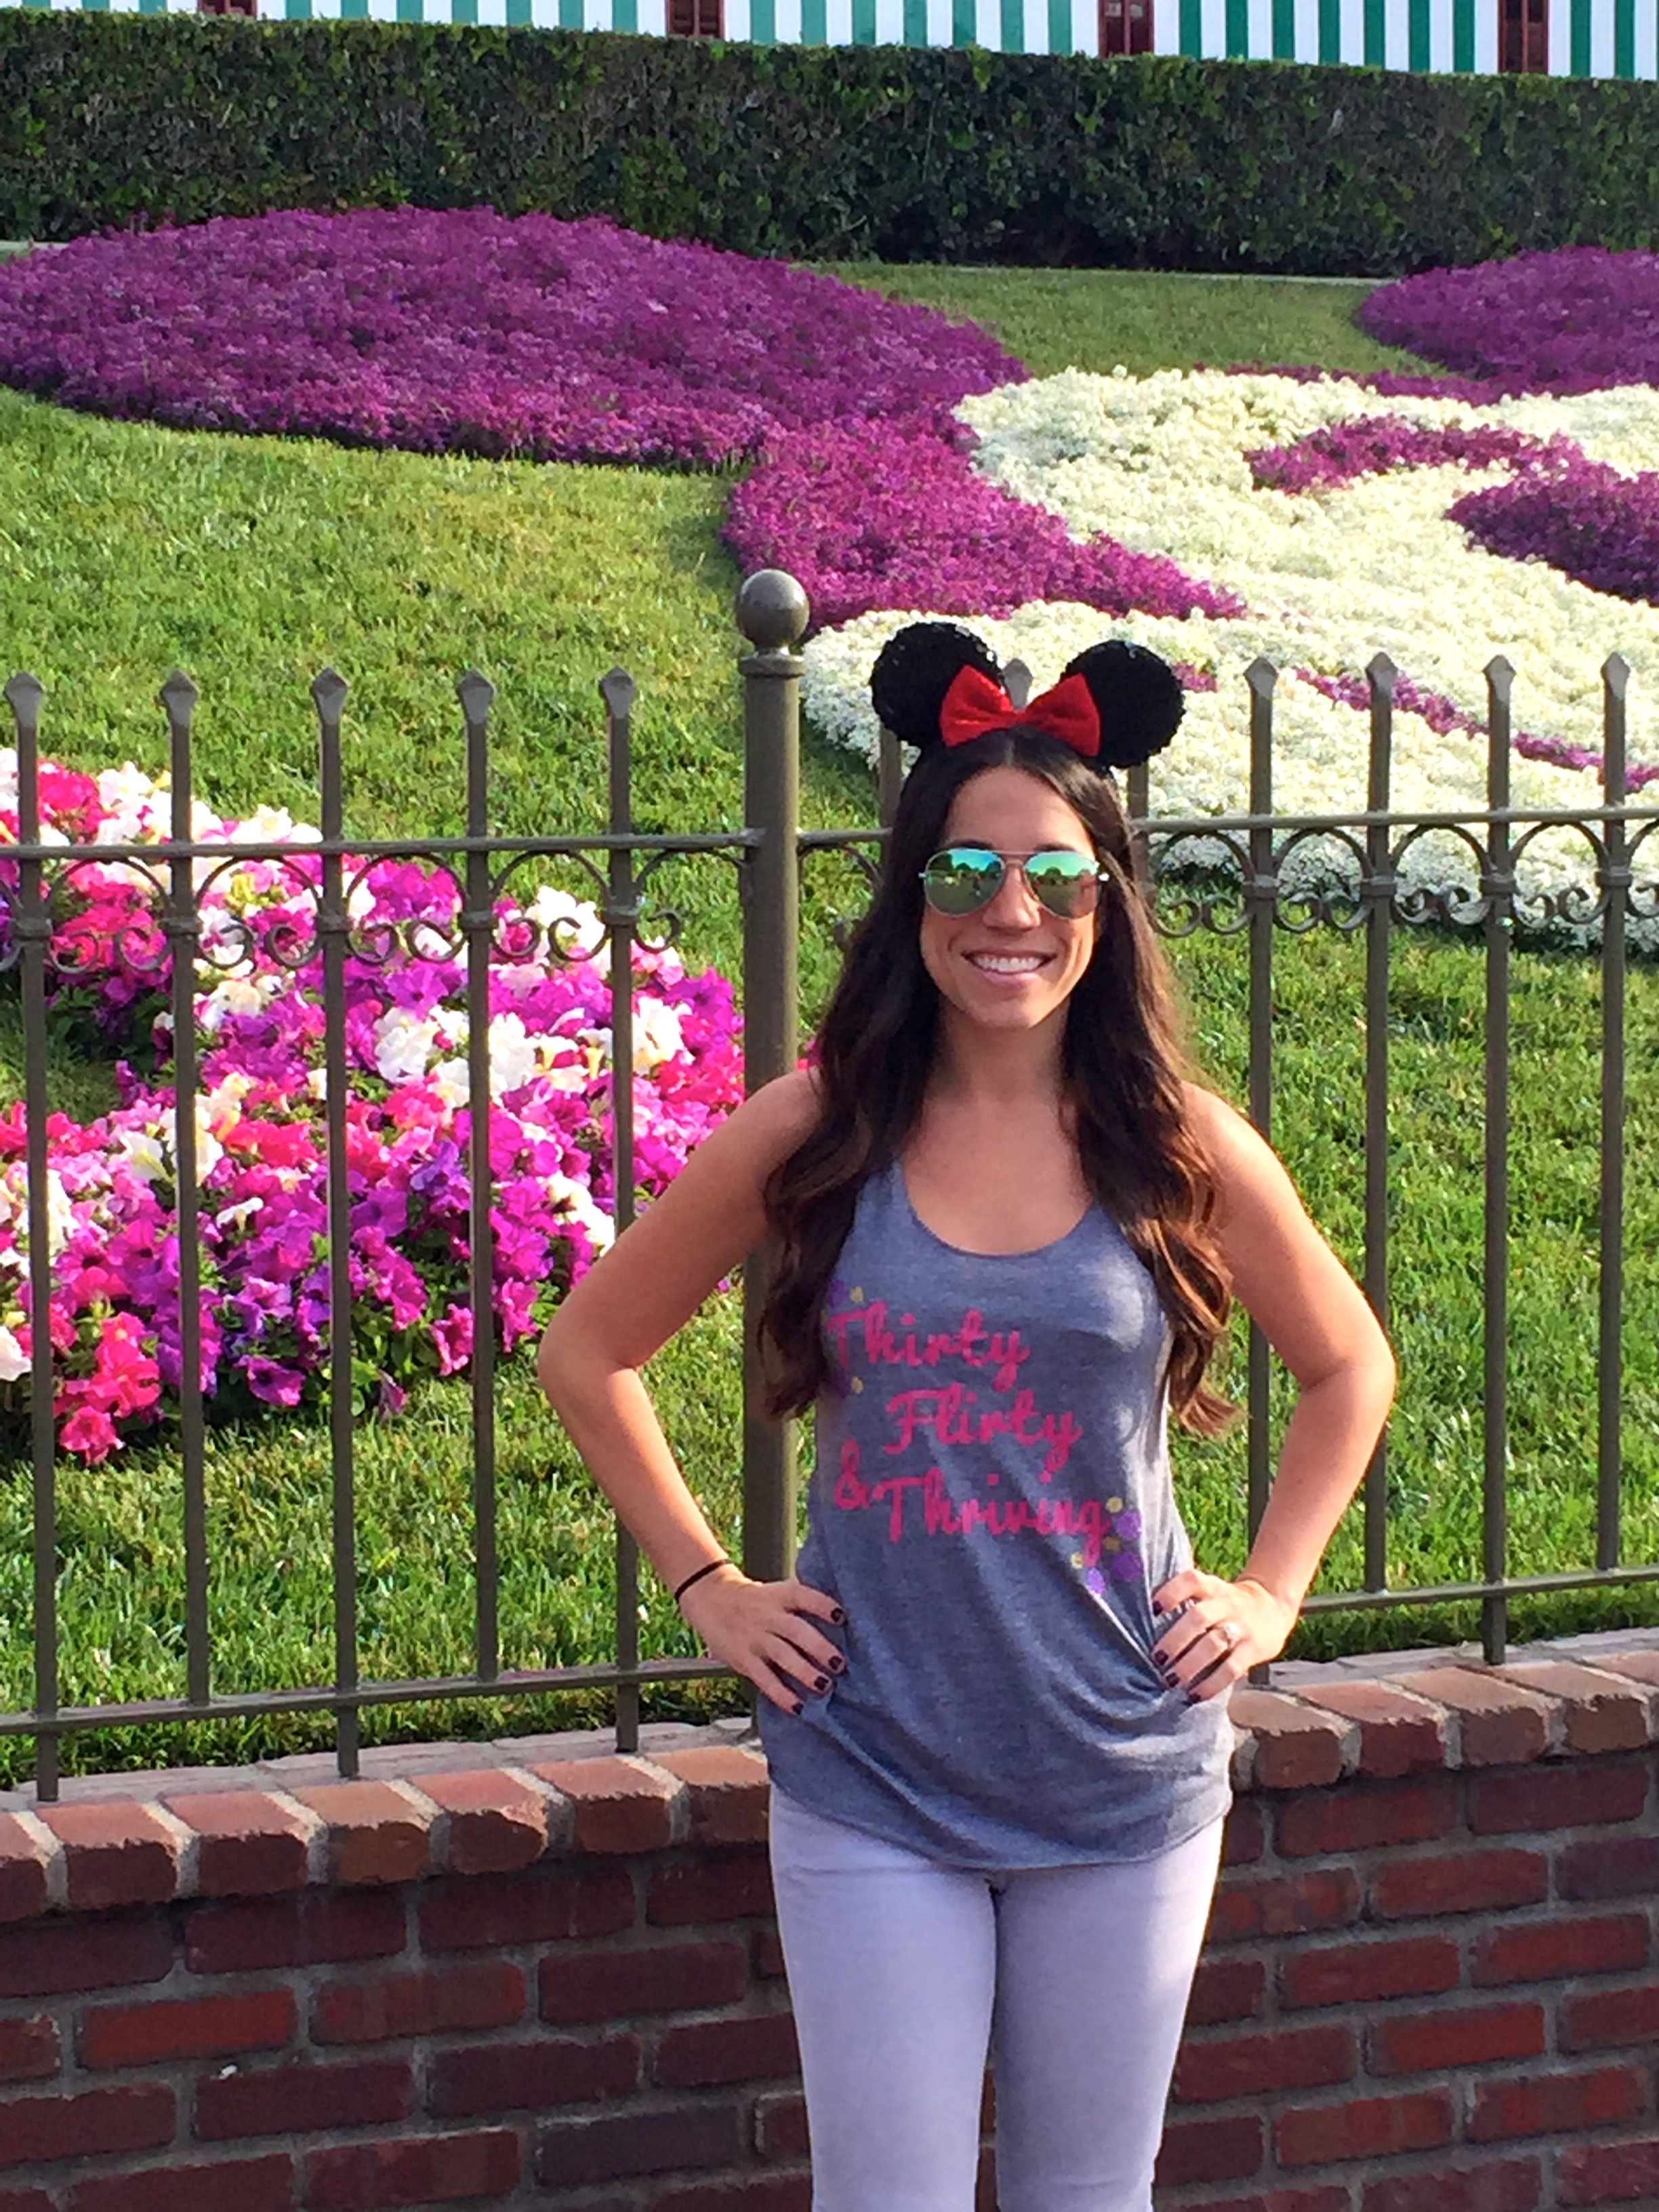
Not only did I make a cute mermaid shirt, but I also was wanted a shirt that had something to do with my 30th birthday. If you were a teen in the 90s, Thirteen Going on Thirty was one of the classic comedy movies that you’ll never forget. Making a shirt with the saying “Thirty, Flirty, and Thriving” seemed only natural as another option for my birthday weekend.
I couldn’t find pre-made ones anywhere except Etsy, and they ranged from $25-40 with shipping (and were pretty ugly). Again, the DIY shirt option worked best.
I used the same technique as above, only my Silhouette Cameo cut through both the vinyl, AND the clear plastic setting paper.
No need to fret. When this happened, I just removed each piece individually from my cutting mat and placed them exactly where I wanted them to be on my shirt.
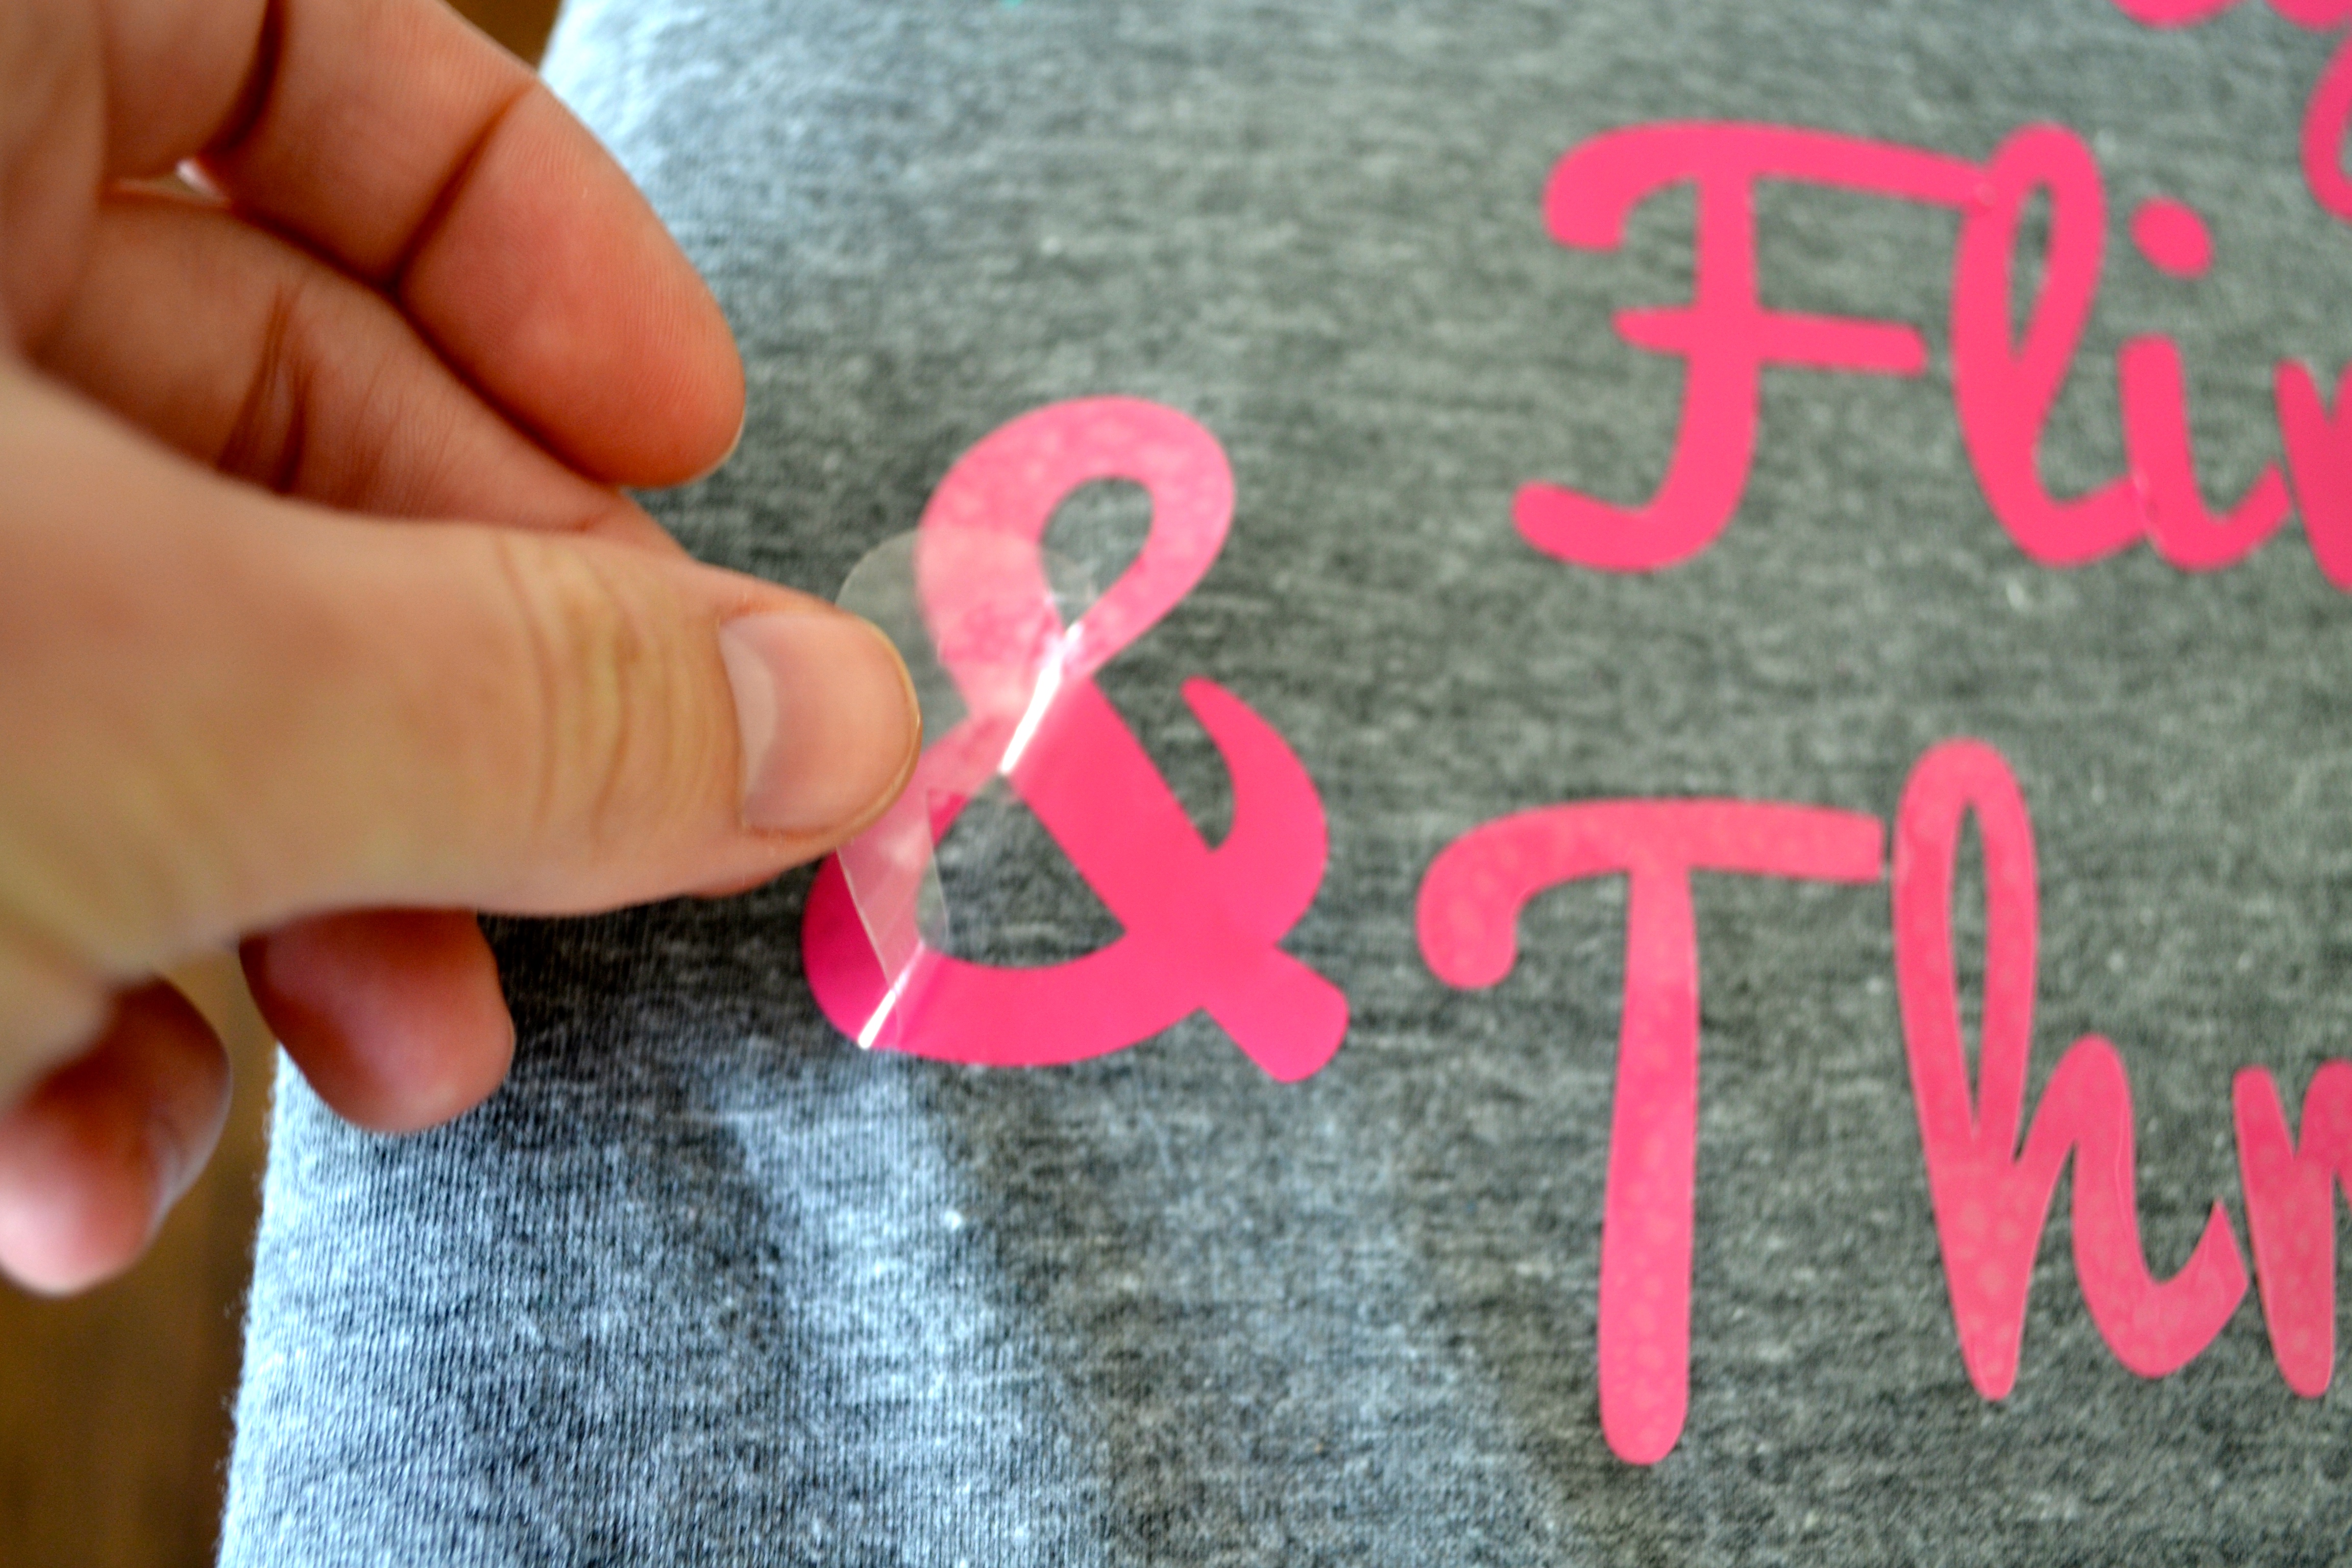
Then, I ironed them on with the same exact method as I detail above, only I had to remove the clear plastic from the top of each letter one by one. It didn’t take much more time at all, so if this ends up happening to you, do not worry. It’s just as easy. Just make sure you pay attention to the placement of each letter, and be more careful when ironing as to not move the letters until they are set well.
The result was incredible:
But using this technique to make DIY shirts can stretch way beyond my need for a 30th birthday. Got a bachelorette party coming up? Make matching shirts for all the girls! Have a kid’s birthday party to go go to? Make them a personalized shirt!
You can replicate your favorite professional sports team’s logo, put names on jerseys, make custom jerseys for your sports team, the options are ENDLESS! And the best part is, you save SO much money off of retail, and get EXACTLY what you want. I’d say this technique is a WINNER in my book.
And as always, if you’re not a DIYer (or are not planning to get a Silhouette Cameo anytime soon) the designs above are available in my shop (mermaid shirt & 30 shirt). But if you’ve been inspired, kudos! Here’s a recap of everything you’ll need to make your own DIY shirt:
- Silhouette Cameo
- or Plastic Stencils (if you don’t have a Cameo or want to invest in one)
- Heat Transfer Vinyl
- I used Glitter Lavender, Glitter Gold, and Pink for these shirts
- Any heat transfer vinyl (no matter what brand) will work in any die cutting machine.
- Simple Razorback Tank Top (SUPER cheap- Under $7 each!!!)
- Iron
- Ironing Board (or stiff cardboard)
- Dish Towel
I think it would be nice to get a custom made shirt for my family region. I would like to make sure that everything is done correctly. I want to have a way of identifying unknown family members.