
Ah! To say I’m excited for this post is an understatement. I am so giddy! Why you ask? Well, this was probably one of the craziest sewing projects I’ve ever taken on. And being quite the sewing novice, I was a bit overwhelmed. There was absolutely NO way I could accomplish the task of making crib bumpers for by little man. I was bound to screw up something (like I most always do) and either have to start over, piece it together half-assed, or spend more money making them than they would cost to buy at Pottery Barn.
Well, I am happy – no, ECSTATIC – to report that none of those mishaps occurred. In fact, the whole project (albeit, time consuming) was a whole lot easier than I had initially anticipated it being. Which is why I feel extremely comfortable telling you all that if you even have the slightest sewing skills (ie: can sew a straight line with your sewing machine) you’ll be able to make crib bumpers yourself, no problem!
Why Make Crib Bumpers instead of Buy Retail?
Well, that’s a VERY good question. And one I had to constantly ask myself. Although making your own crib bumpers does save you a bit of money from the pricey retail stores, it’s still not cheap.
Altogether, I ended up spending about $75 on my bumpers.. plus the estimated 8-10 hours of my own time I spent cutting and sewing everything. And let’s face it, my time is worth WAYYY more than $75 a day 😉 Or at least I’d like to think so.
And hey, if you have the time and are strapped for cash, then this is an EXCELLENT way to spruce up your baby’s nursery without spending the big bucks. But for me, the reasoning was a bit different. This time, it wasn’t about saving money.
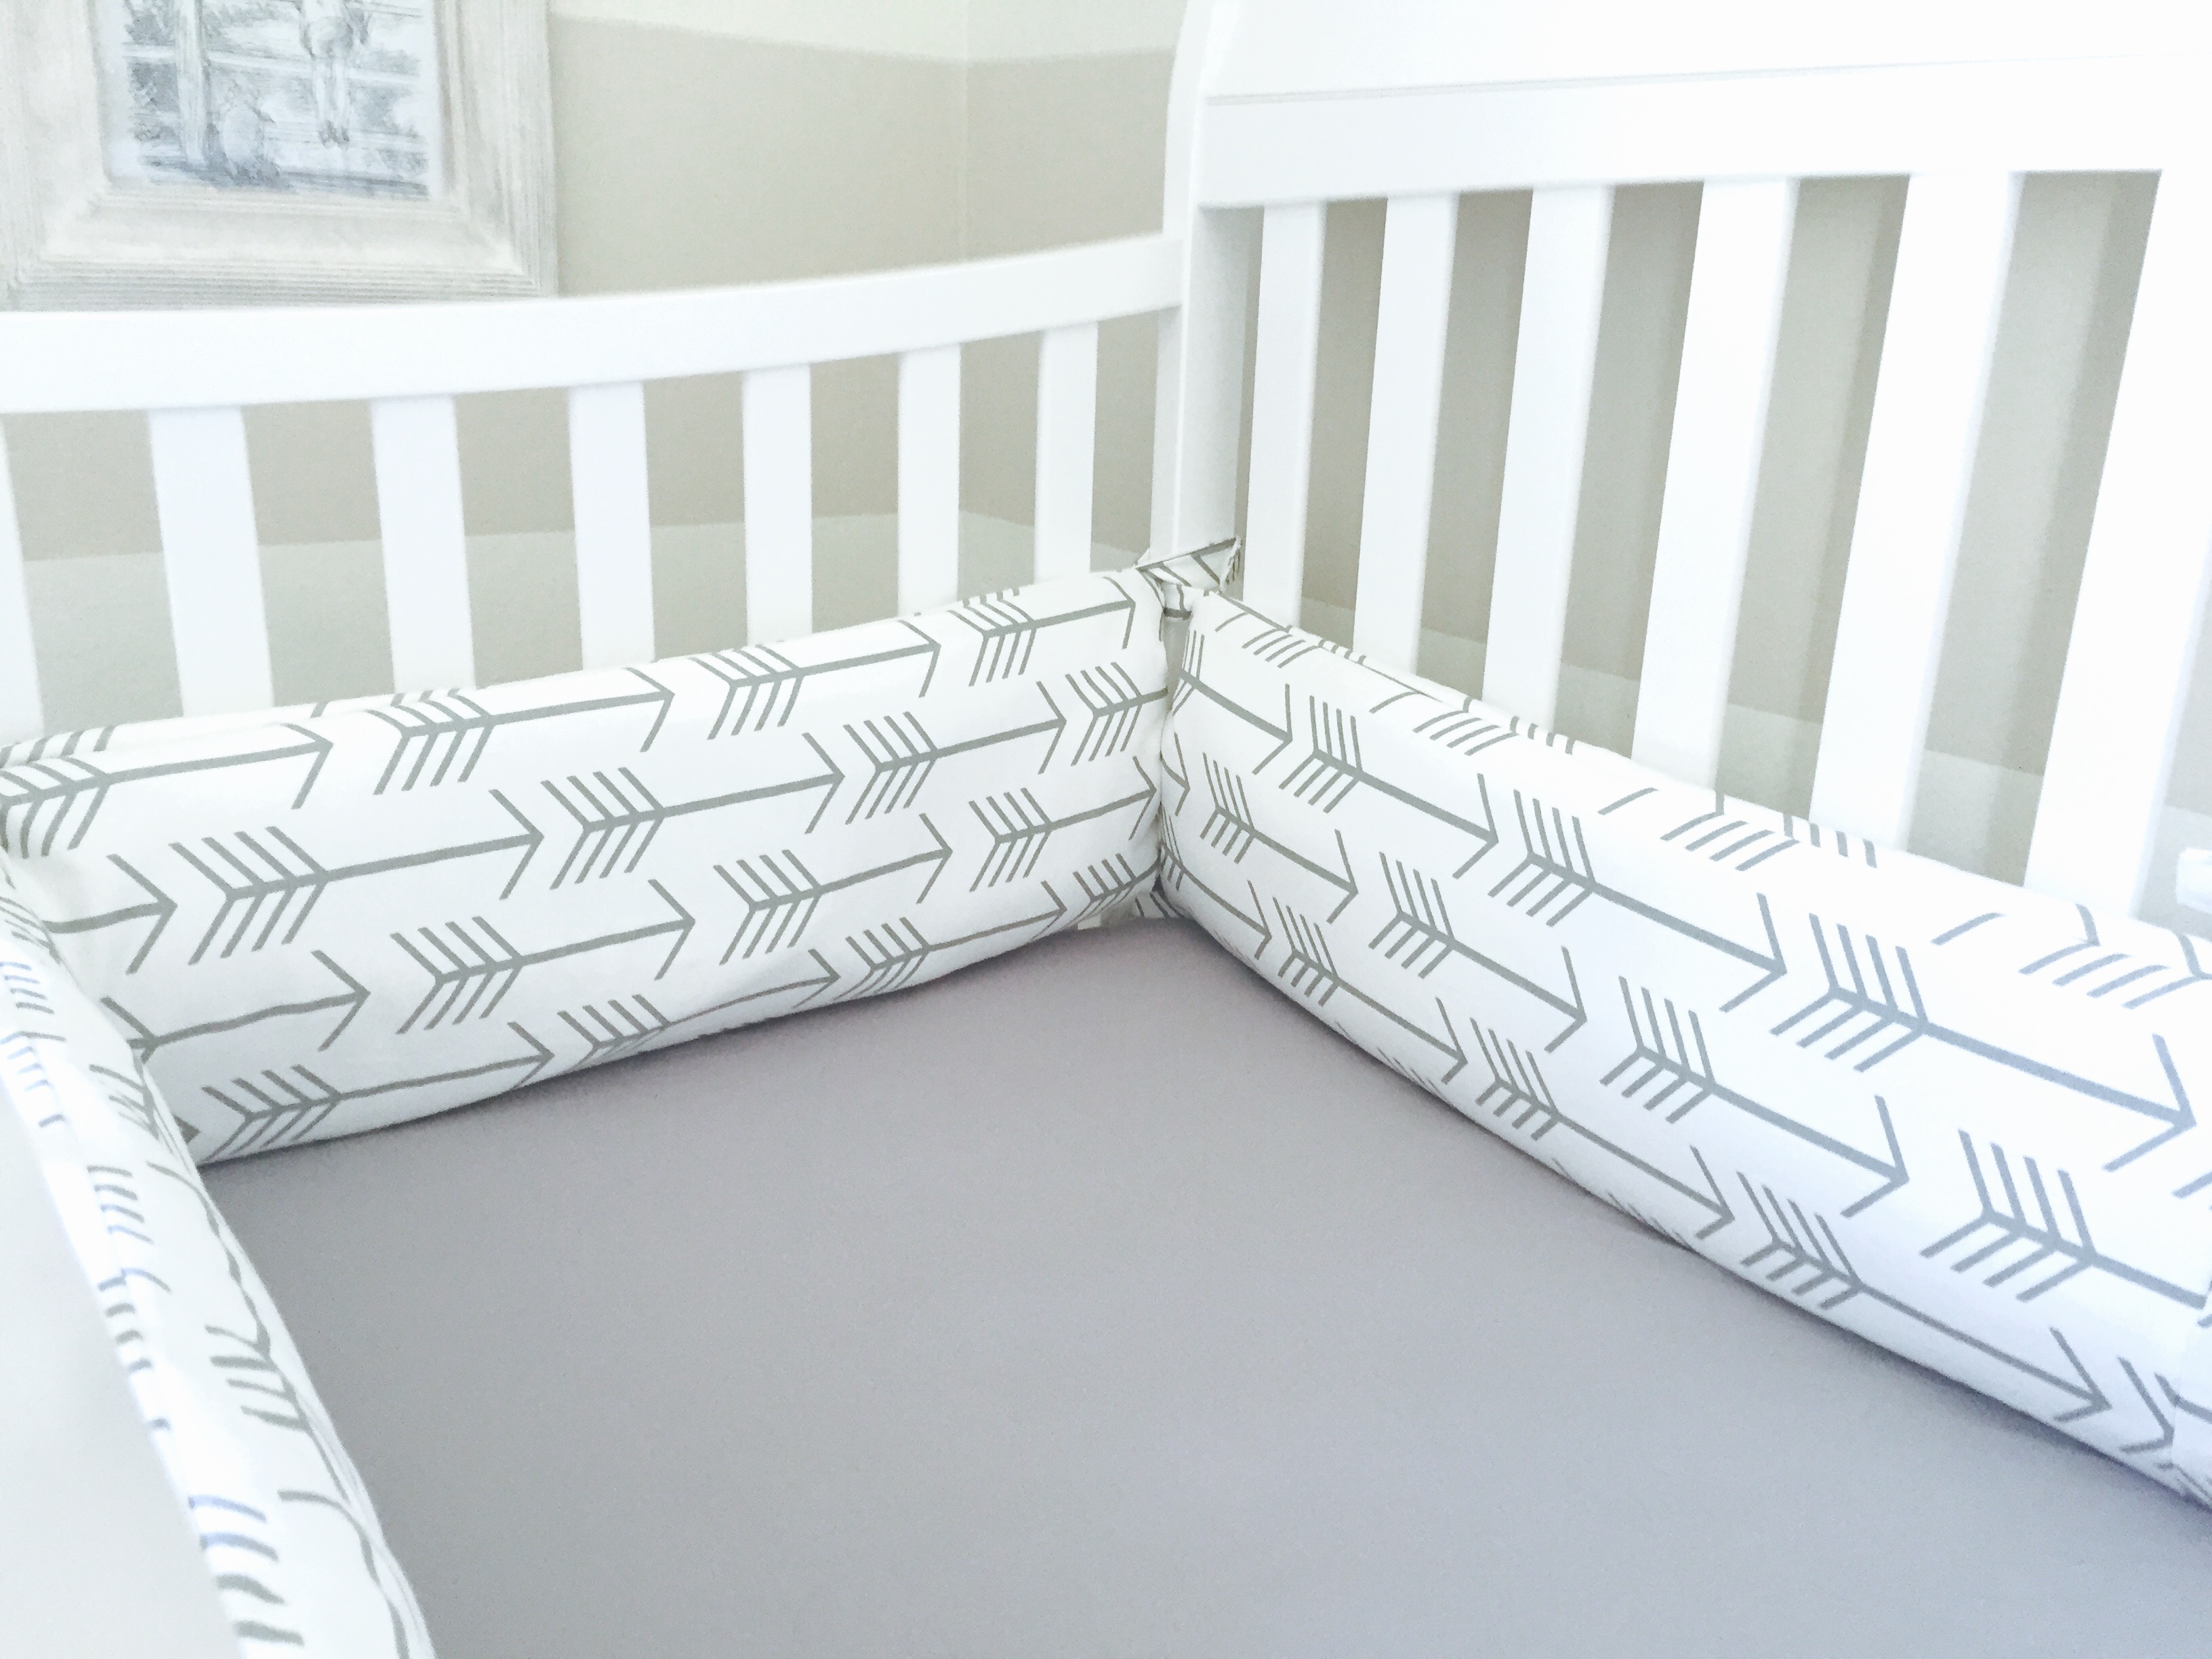
For my baby boy’s nursery, I had a VERY specific look in mind. A year before I had become pregnant, I had painted the room we wanted to use as our nursery with off white and taupe stripes. My hubby and I LOVED the stripes, and wanted to keep them (and NOT repaint – heck no!). So no traditional blue nursery for me.
Nope, I wanted something modern, fun, and still boy-ish. As you can tell from the dresser and frames I’ve already shared with you, I decided an “aztec” theme would go perfectly with the neutrally striped walls. But believe it or not, there were NO cool “aztec-y” bedding designs out there for babies. NONE (well, at least none that I could find anyway). And I looked everywhere – believe you me. Amazon, Pottery Barn, Restoration Hardware, Wayfare, Overstock… you name it I searched. Nothing popped out to me as exactly what I had imagined.
So, as I always do, I decided to DIY. I had no idea where to start or how to make crib bumpers. So when I came to the realization that I’d be making them instead of buying them, I found this easy pattern packet at Jo-Ann Crafts:
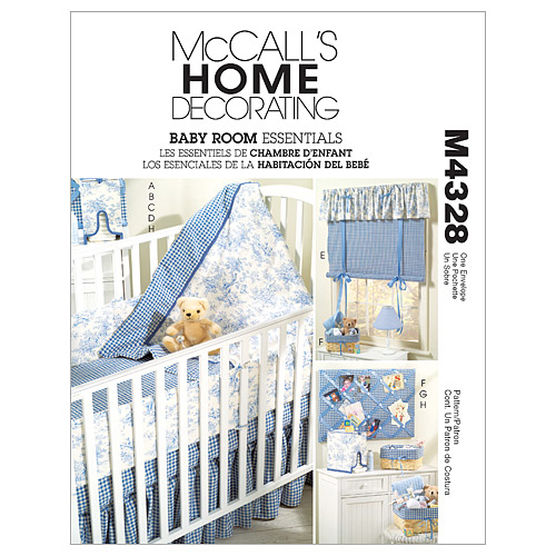
MCCALLS 4328 – Amazon
(cheapest price)
MCCALLS 4328 – Joann Fabric
(if sold out on Amazon or Joann has a great coupon)
Not only does the pattern tell you how to make crib bumpers, it also shows you how to make a crib sheet, crib skirt, blanket, window covering, basket liner, and memory board. ALL those patterns in one little packet- SCORE!
However, the problem is, patterns are often hard to read. They’re even harder to follow if you aren’t an expert sewer. And why would you be coming to my blog to learn how to make your own crib bumpers if I’m just going to follow a pattern?
Well, the simple fact is that I’ve dissected every professional sewing word for you, and broken every step down into the simplest terms to make it easy as pie for you to follow. So you’ll need to get the pattern for sizing purposes (to trace and ensure you’re cutting the right size pieces out of your fabric). Then, you can just follow along here for more simple, easy to follow step-by-step instructions how to make crib bumpers for your little one’s nursery!
The Necessary Supplies:
* Quick FYI: I HIGHLY recommend shopping on Fabric.com if you plan on making the bedding/accents for your nursery. The prices are competitive, and their selection is unbeatable. I was able to find fabrics I had never even seen in my local fabric store. This site has been invaluable for my nursery makeover. Ok, rave over!
- MCCALLS Pattern #4328
- Fabric of your choice (I linked to mine)
- If fabric is 45″ wide – get 3.5 yards
- If fabric is 54″ wide – get 2.375 yards
- If fabric is 60″ wide – get 2.25 yards
- Batting (for internal stuffing)
- If batting is 45″ wide – get 2.375 yards
- If batting is 60″ wide – get 1.875 yards
- Velcro Tape (1.625 yards of 5/8″ wide Velcro)
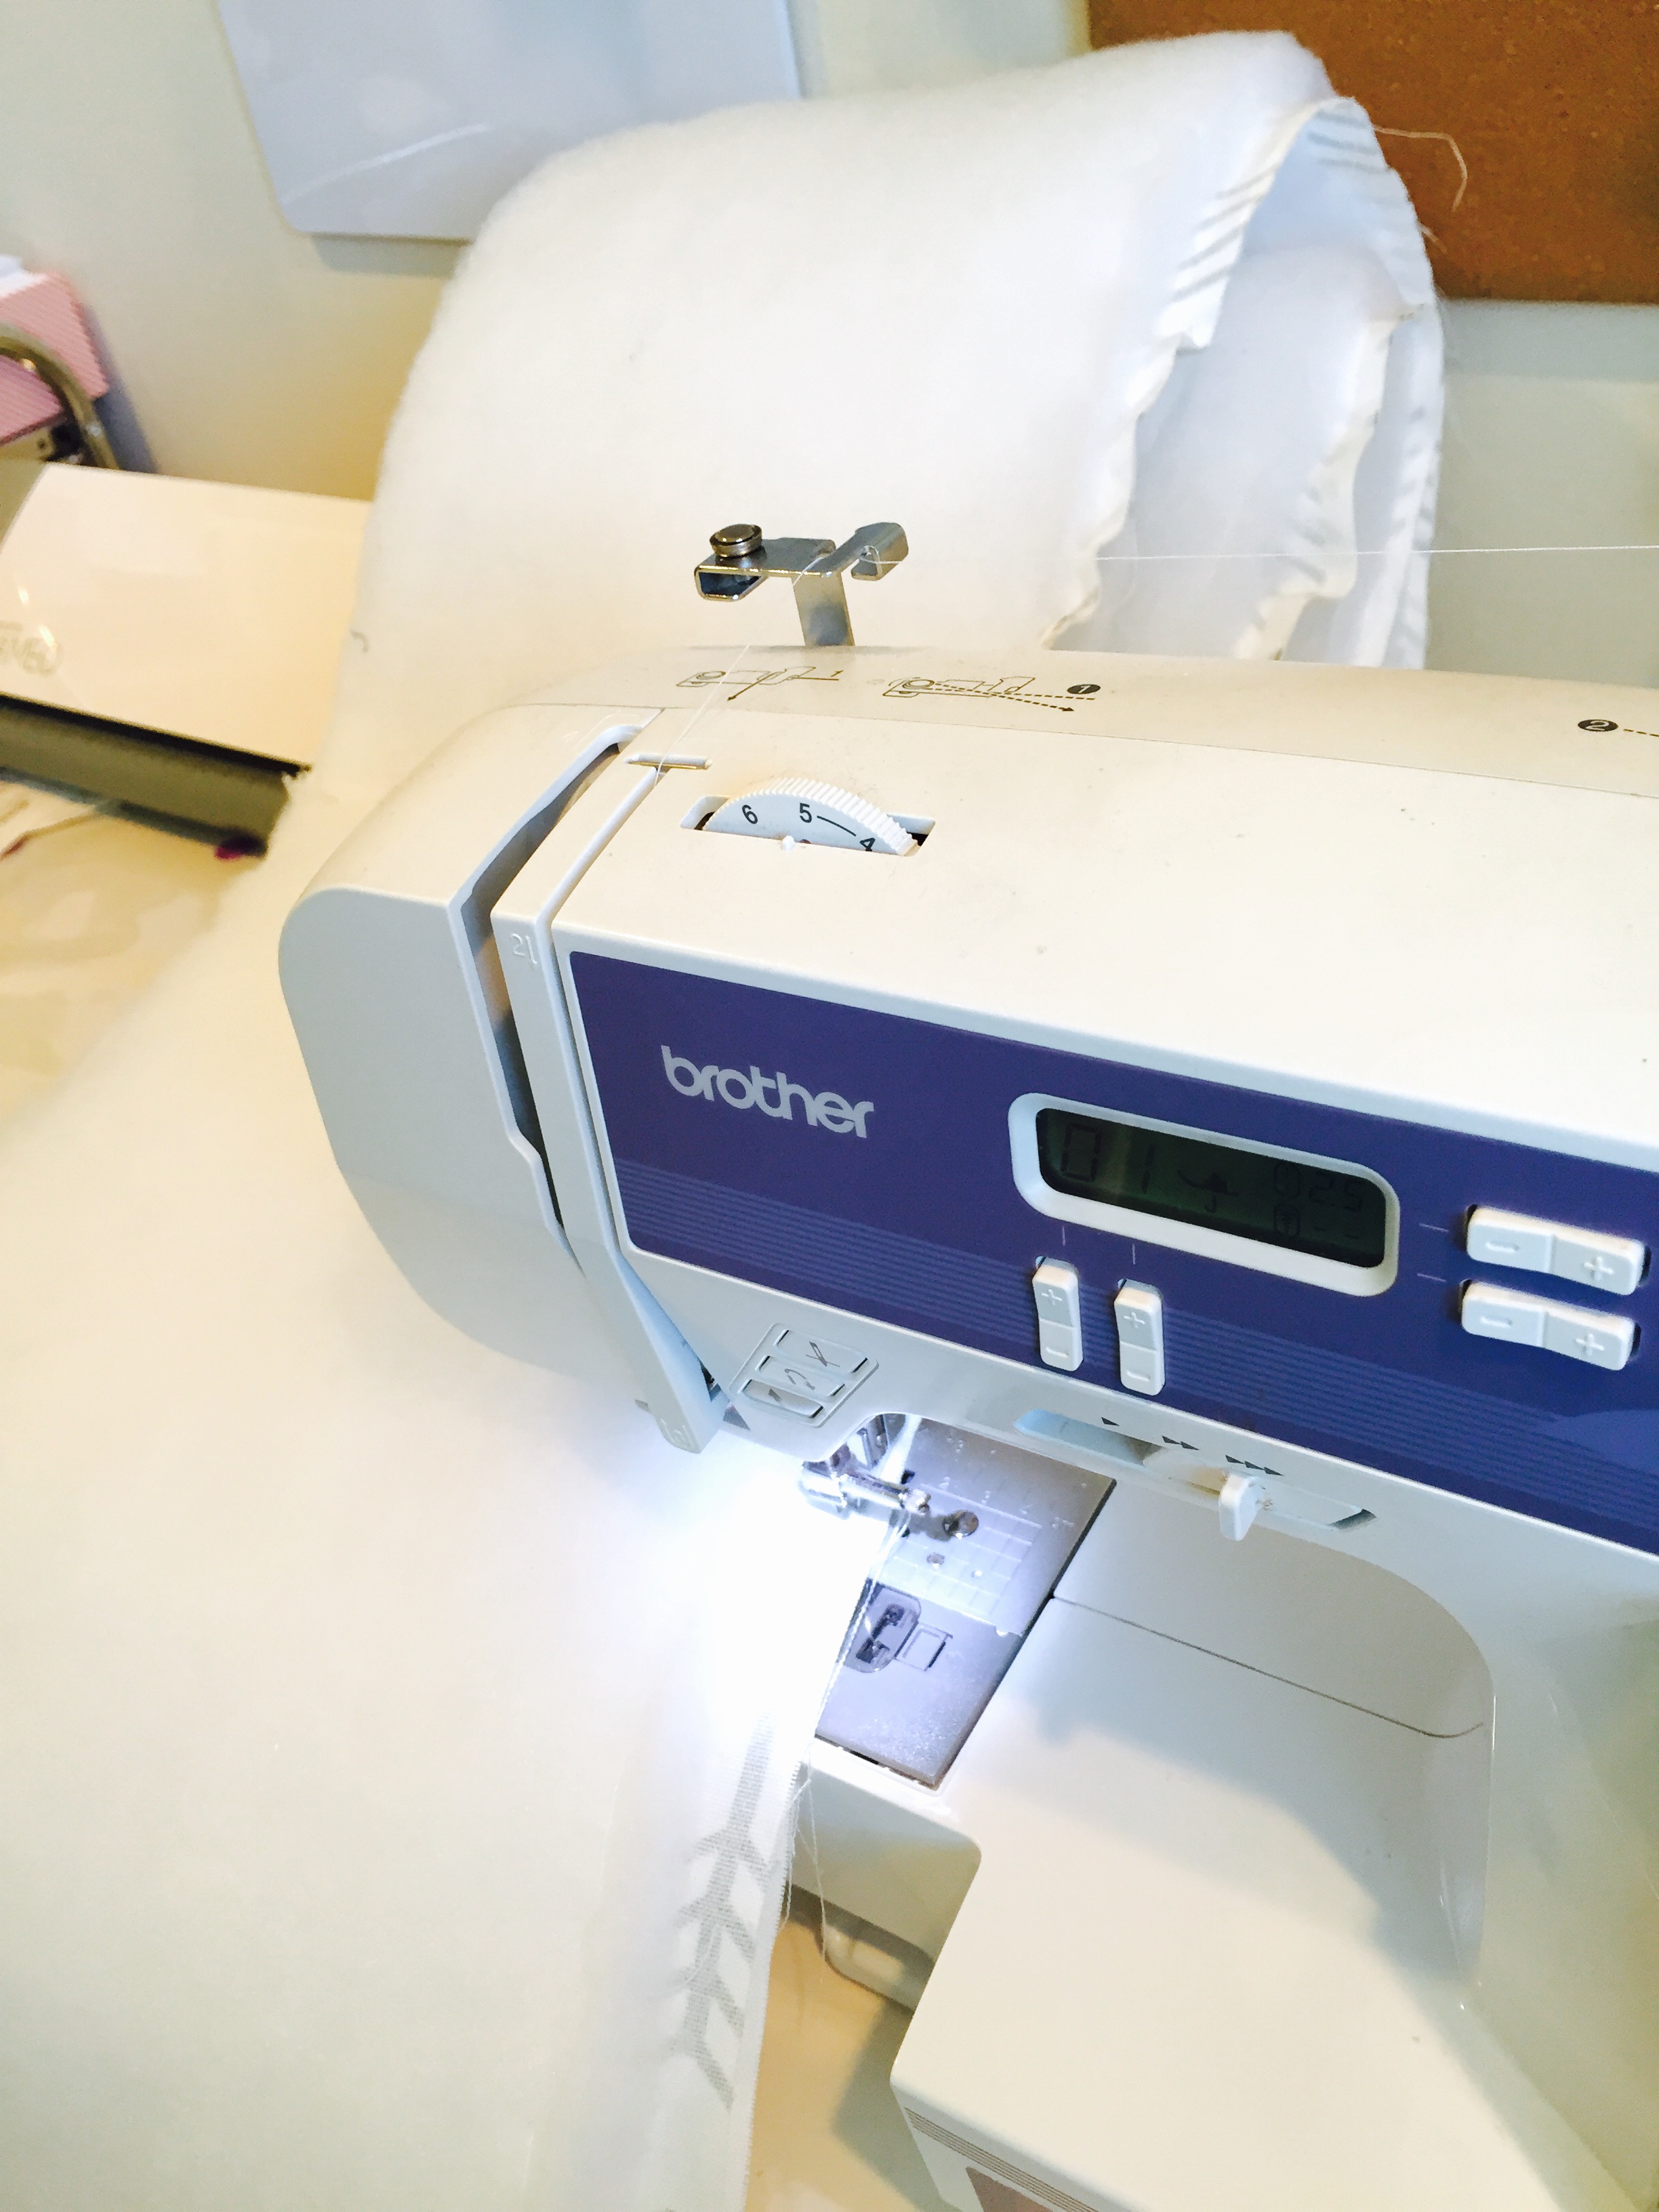
- Sewing Machine
- Needle and Thread
- Scissors
- Sewing Pins
- Disappearing Ink Pen
Step 1:
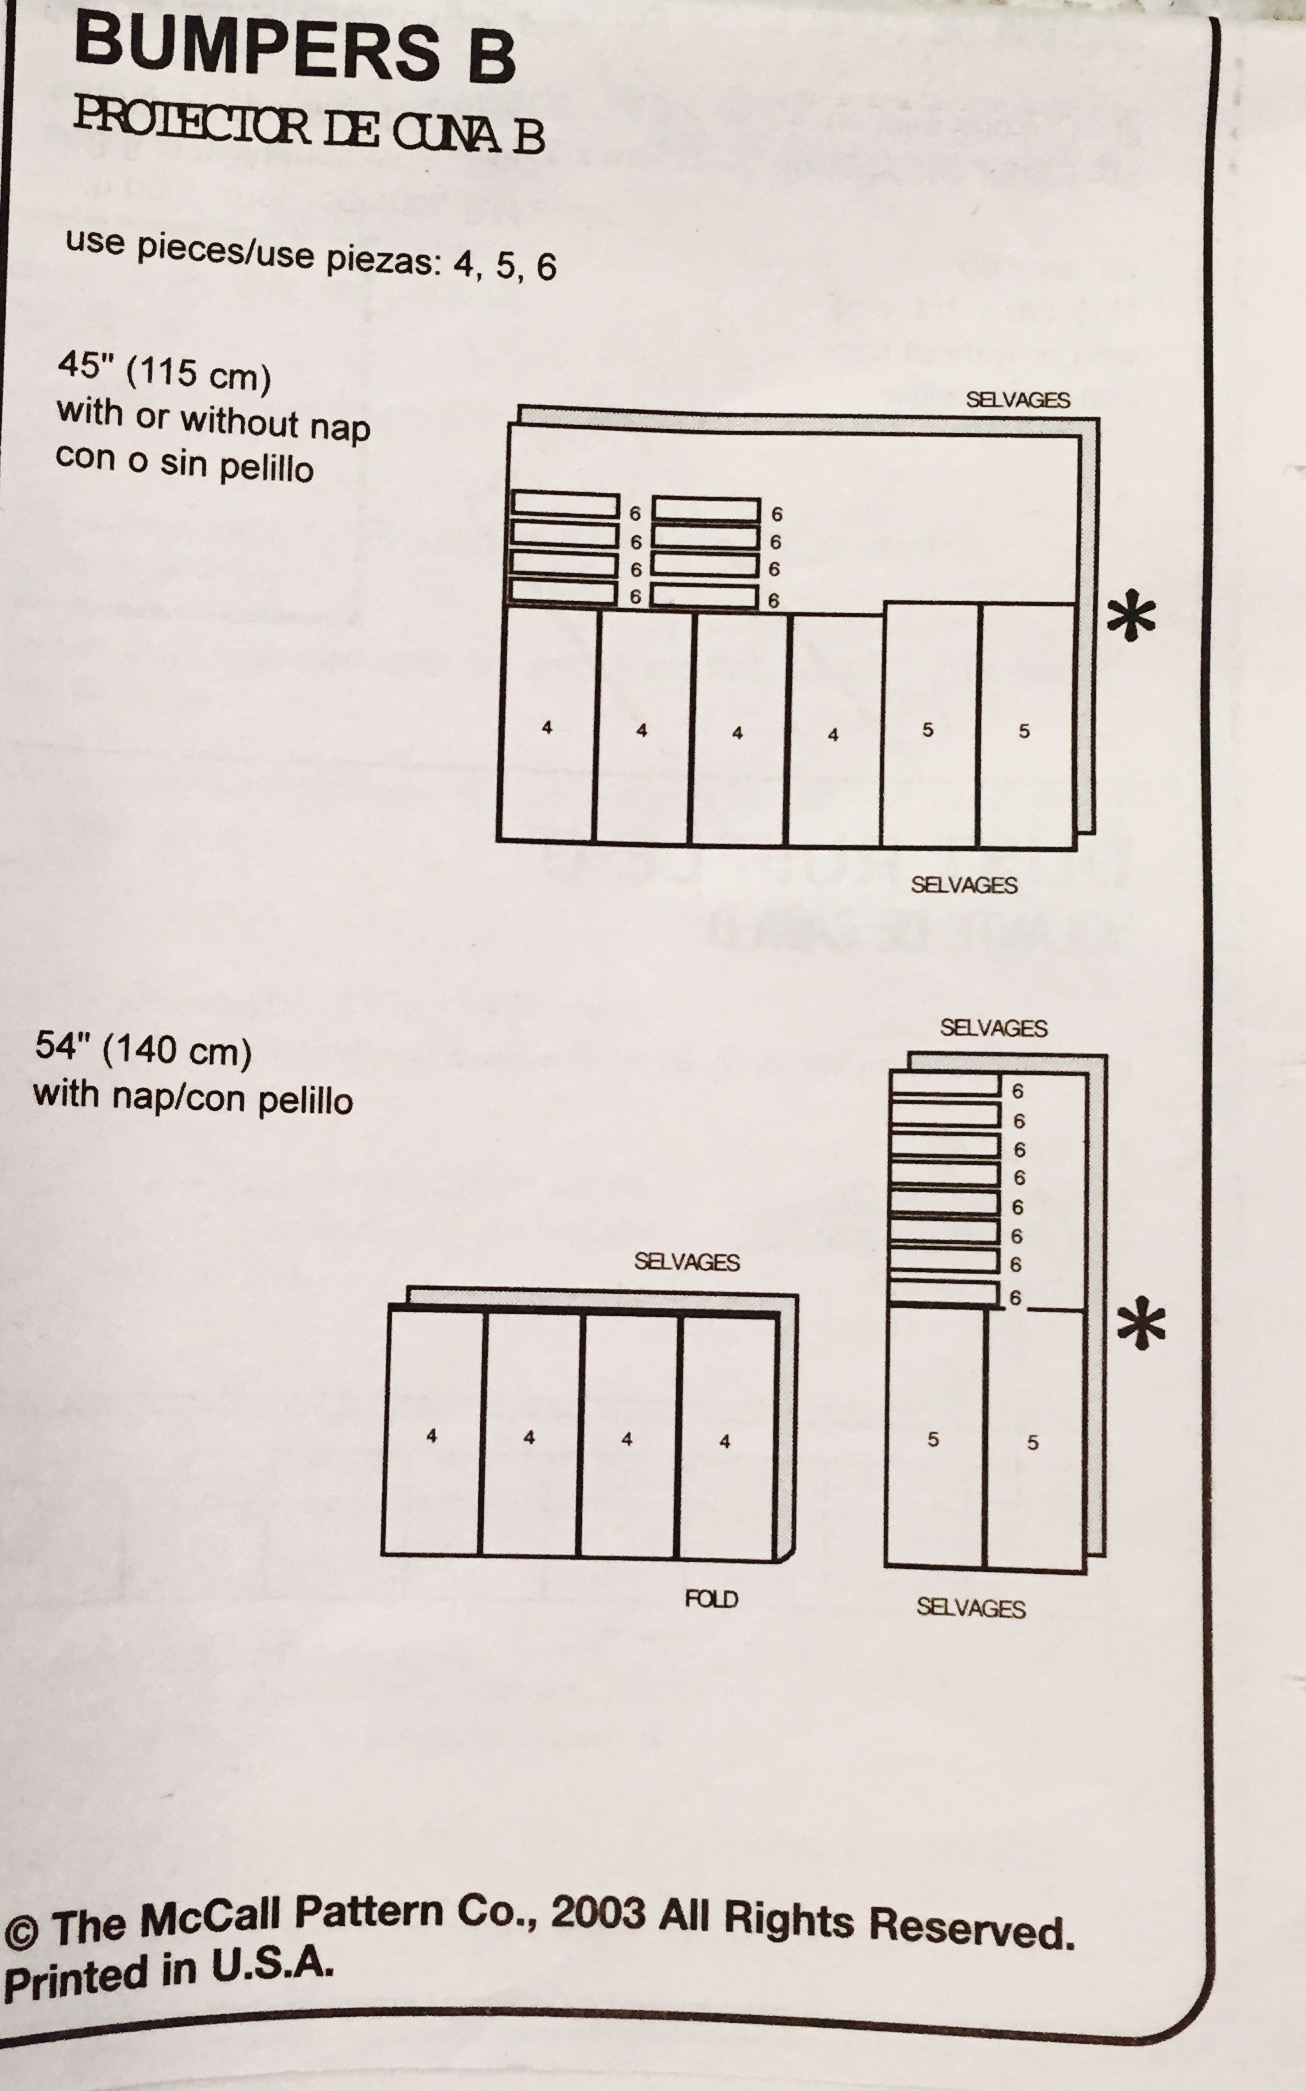
- Note: Where the guide says FOLD, this means the fabric should be folded on that edge. Where it says SELVAGES, it just means that there should be 2 pieces of fabric, with or without a fold, that will be cut.
- The WHITE of the guide represents the WRONG side of the fabric, and the GREY represents the RIGHT side of fabric (the side you want to be shown).
- In the guide, both size fabrics are turned wrong side out. So trace your patterns on the WRONG side of the fabric.
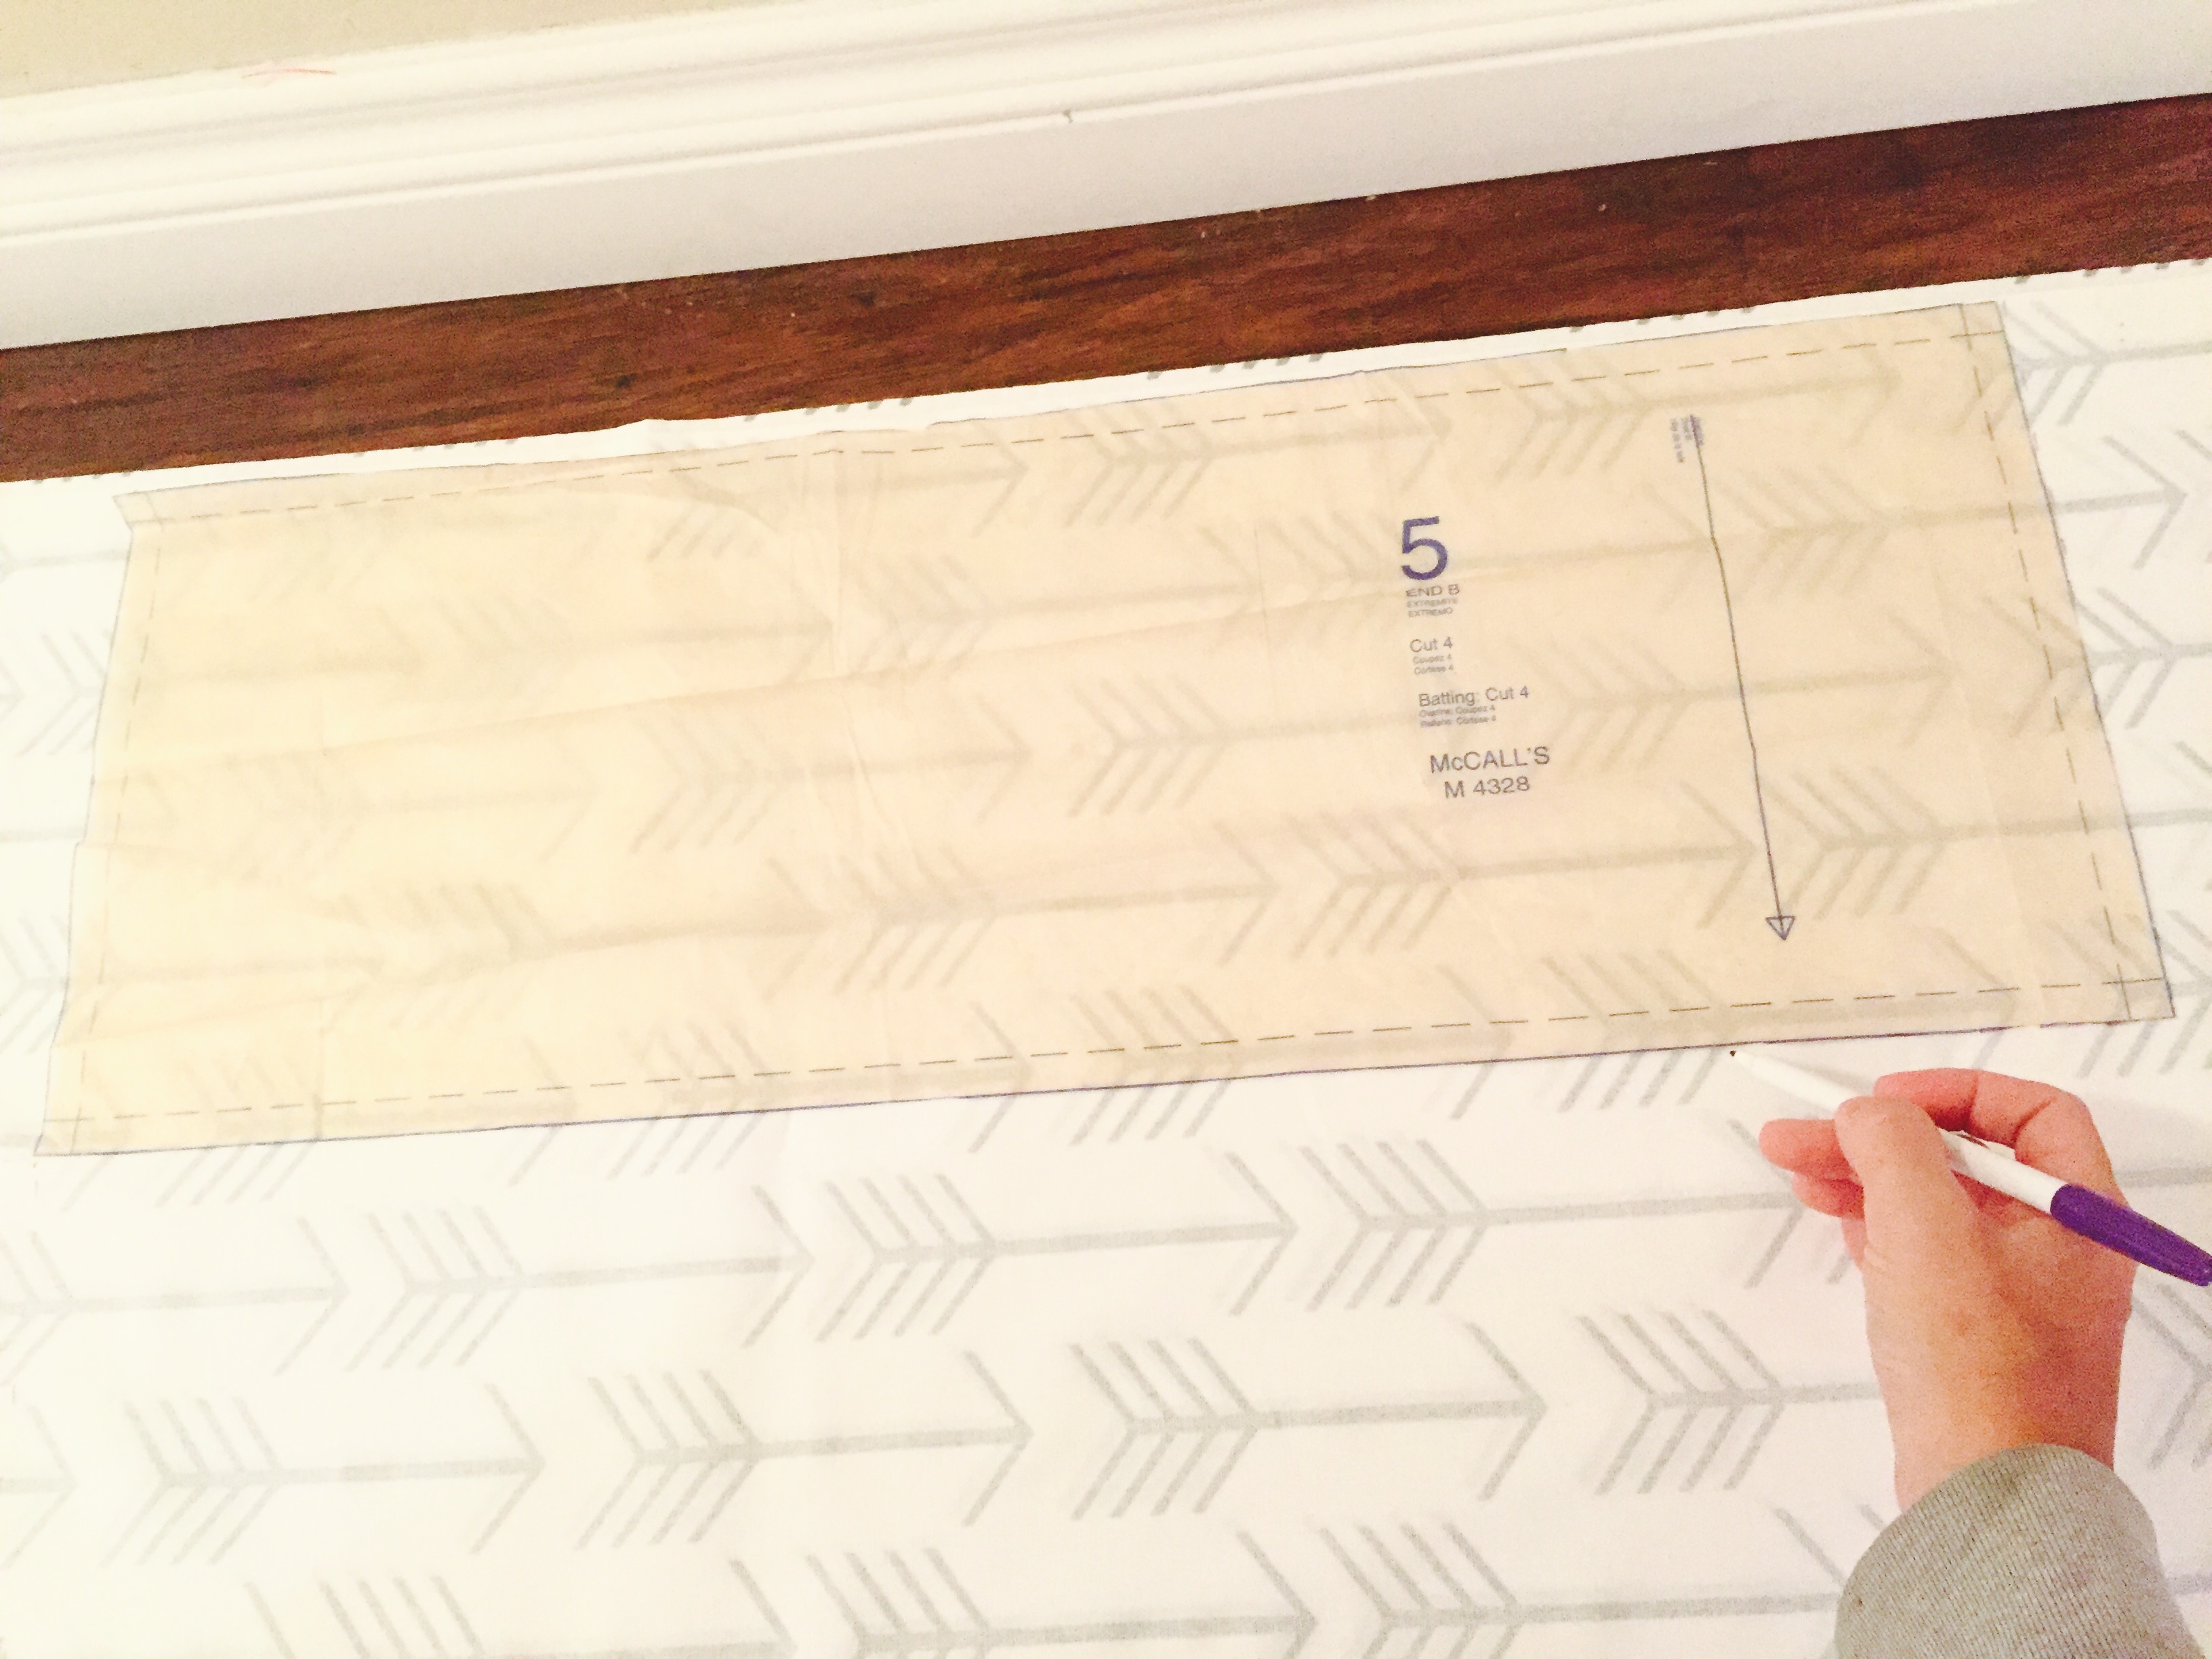
- Start by cutting sections numbered 4, 5, & 6 out of the tissue paper patterns. Then, trace each pattern onto your fabric (with your disappearing ink pen) according to how it shows them laid out on the pattern guide.
Step 2:
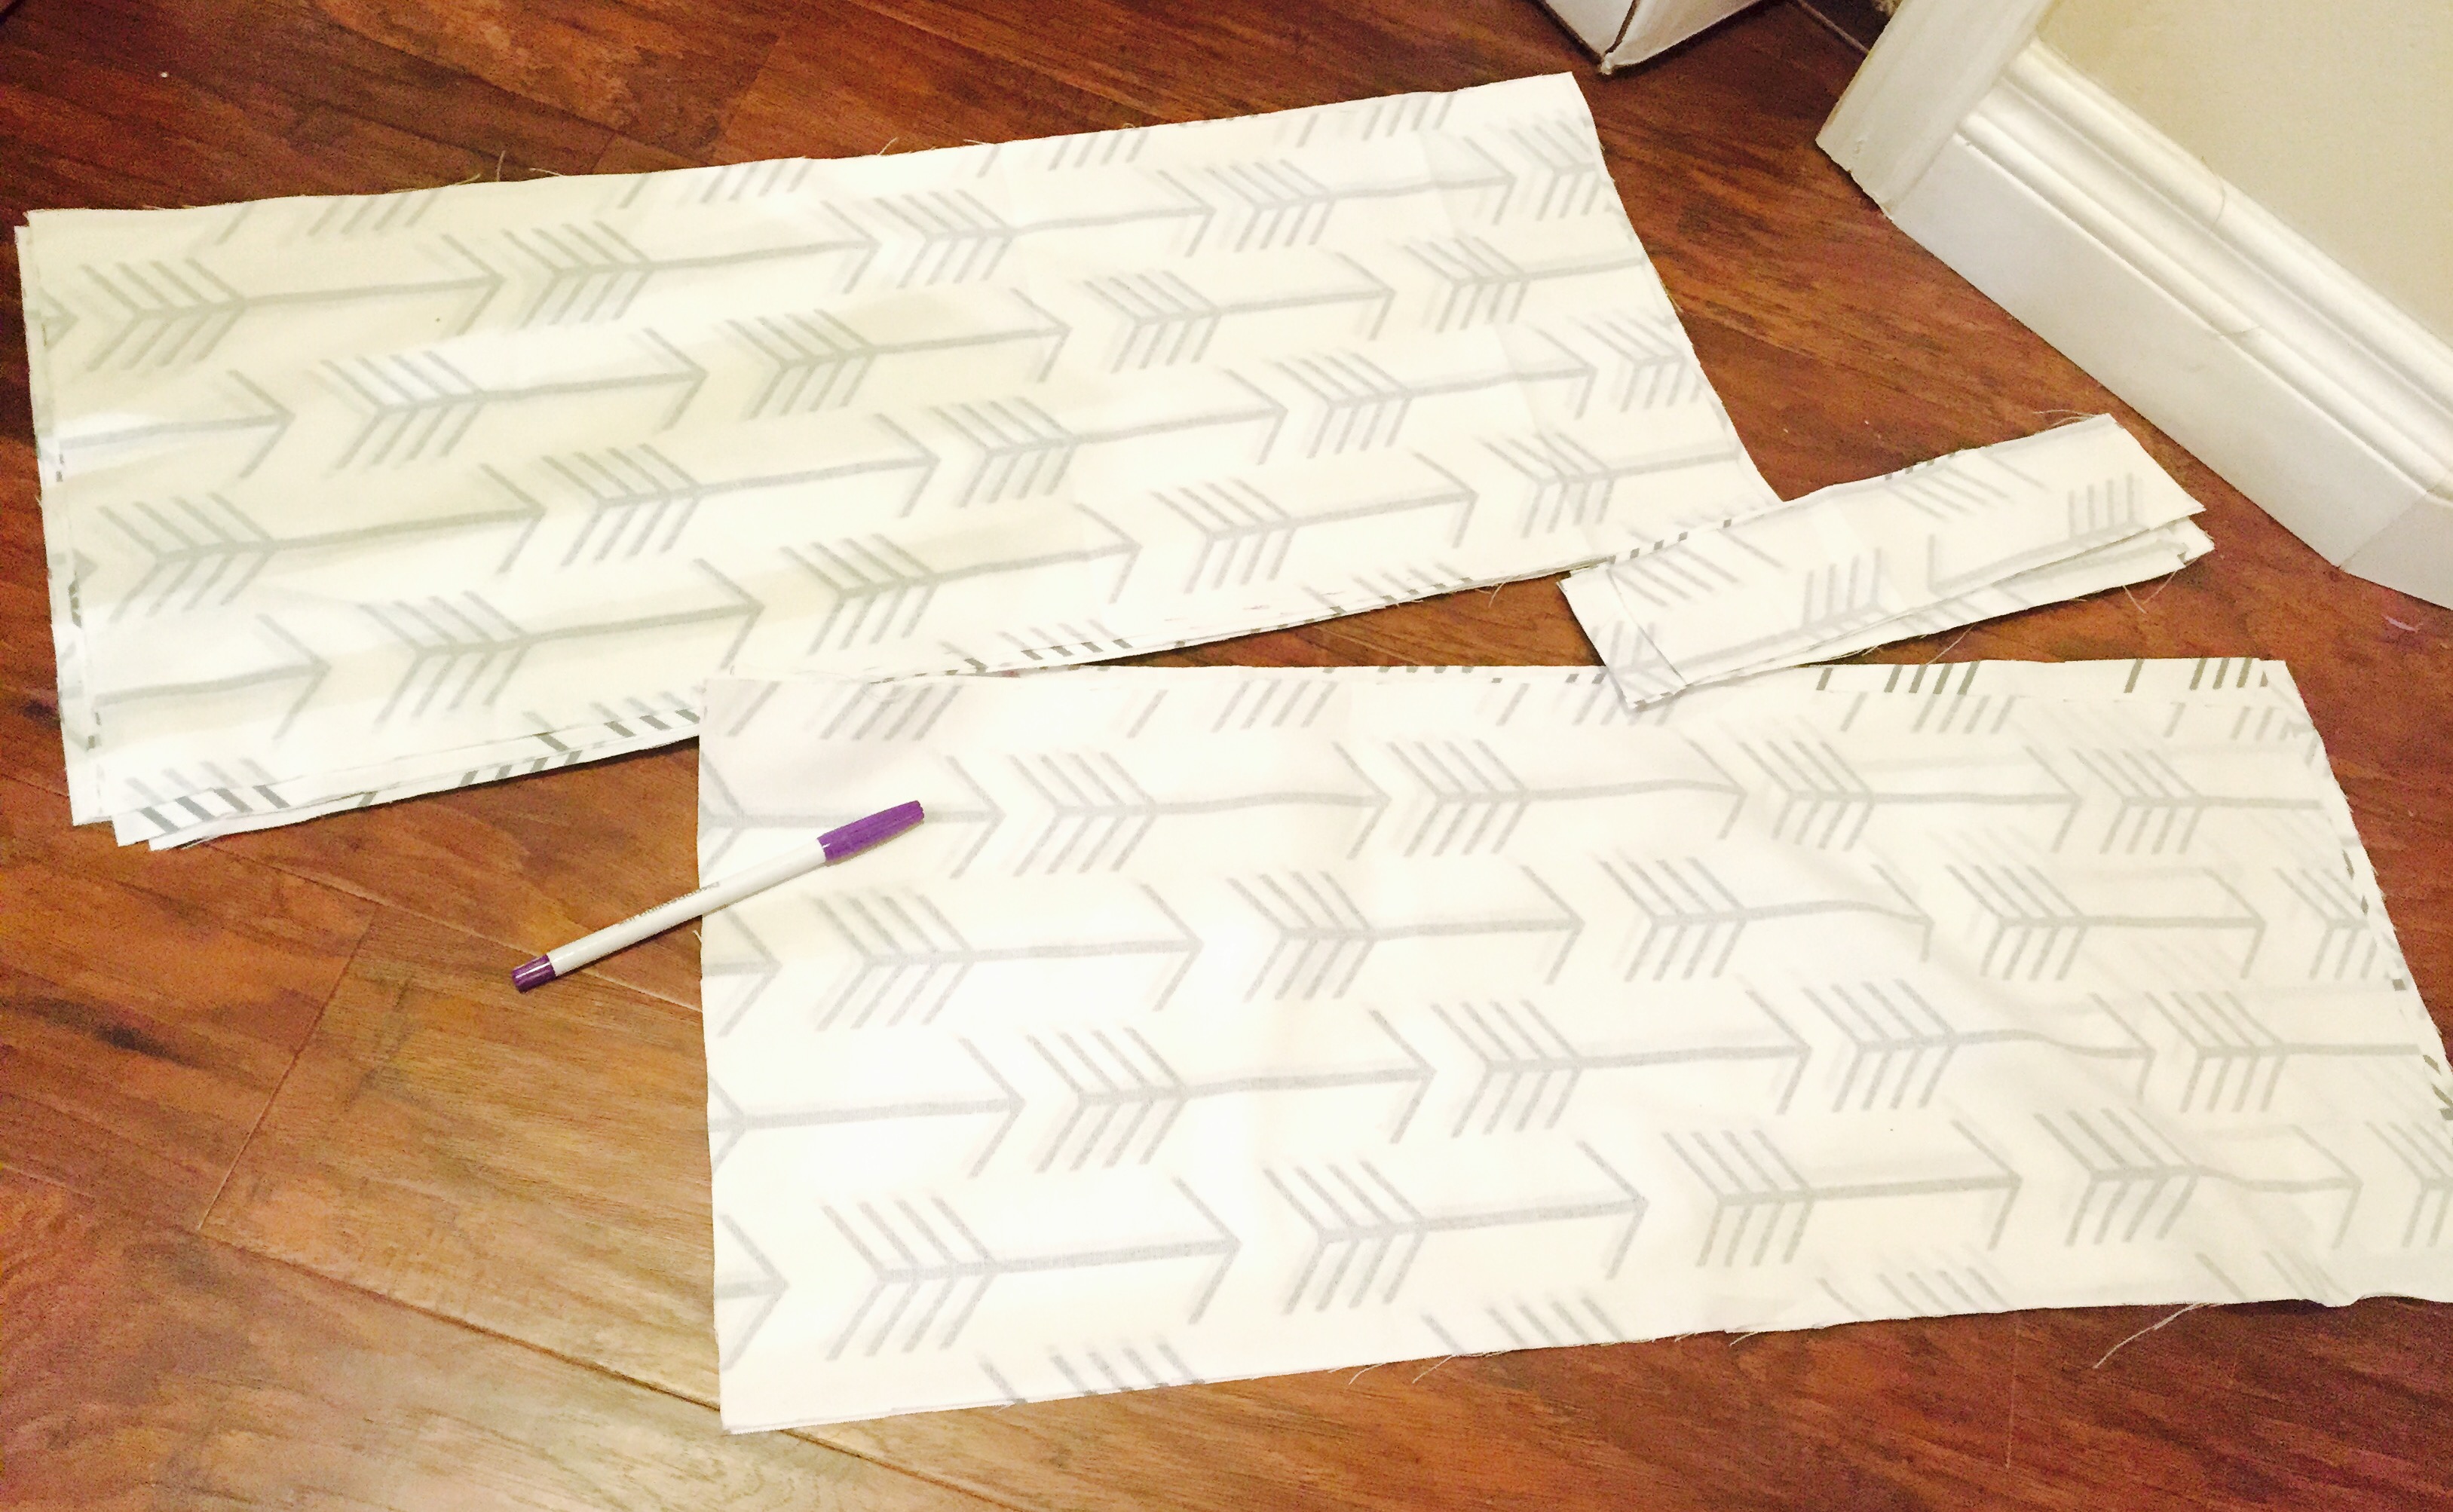
- Next, place each piece of 4 & 5 that you’ve cut out of your fabric on top of your batting, and cut 1 piece of batting the same size as each piece of patterns 4 & 5.
- You should have 8 pieces of pattern 4 and 4 pieces of pattern 5 (so you’ll be cutting 12 pieces of batting total).
Step 3:

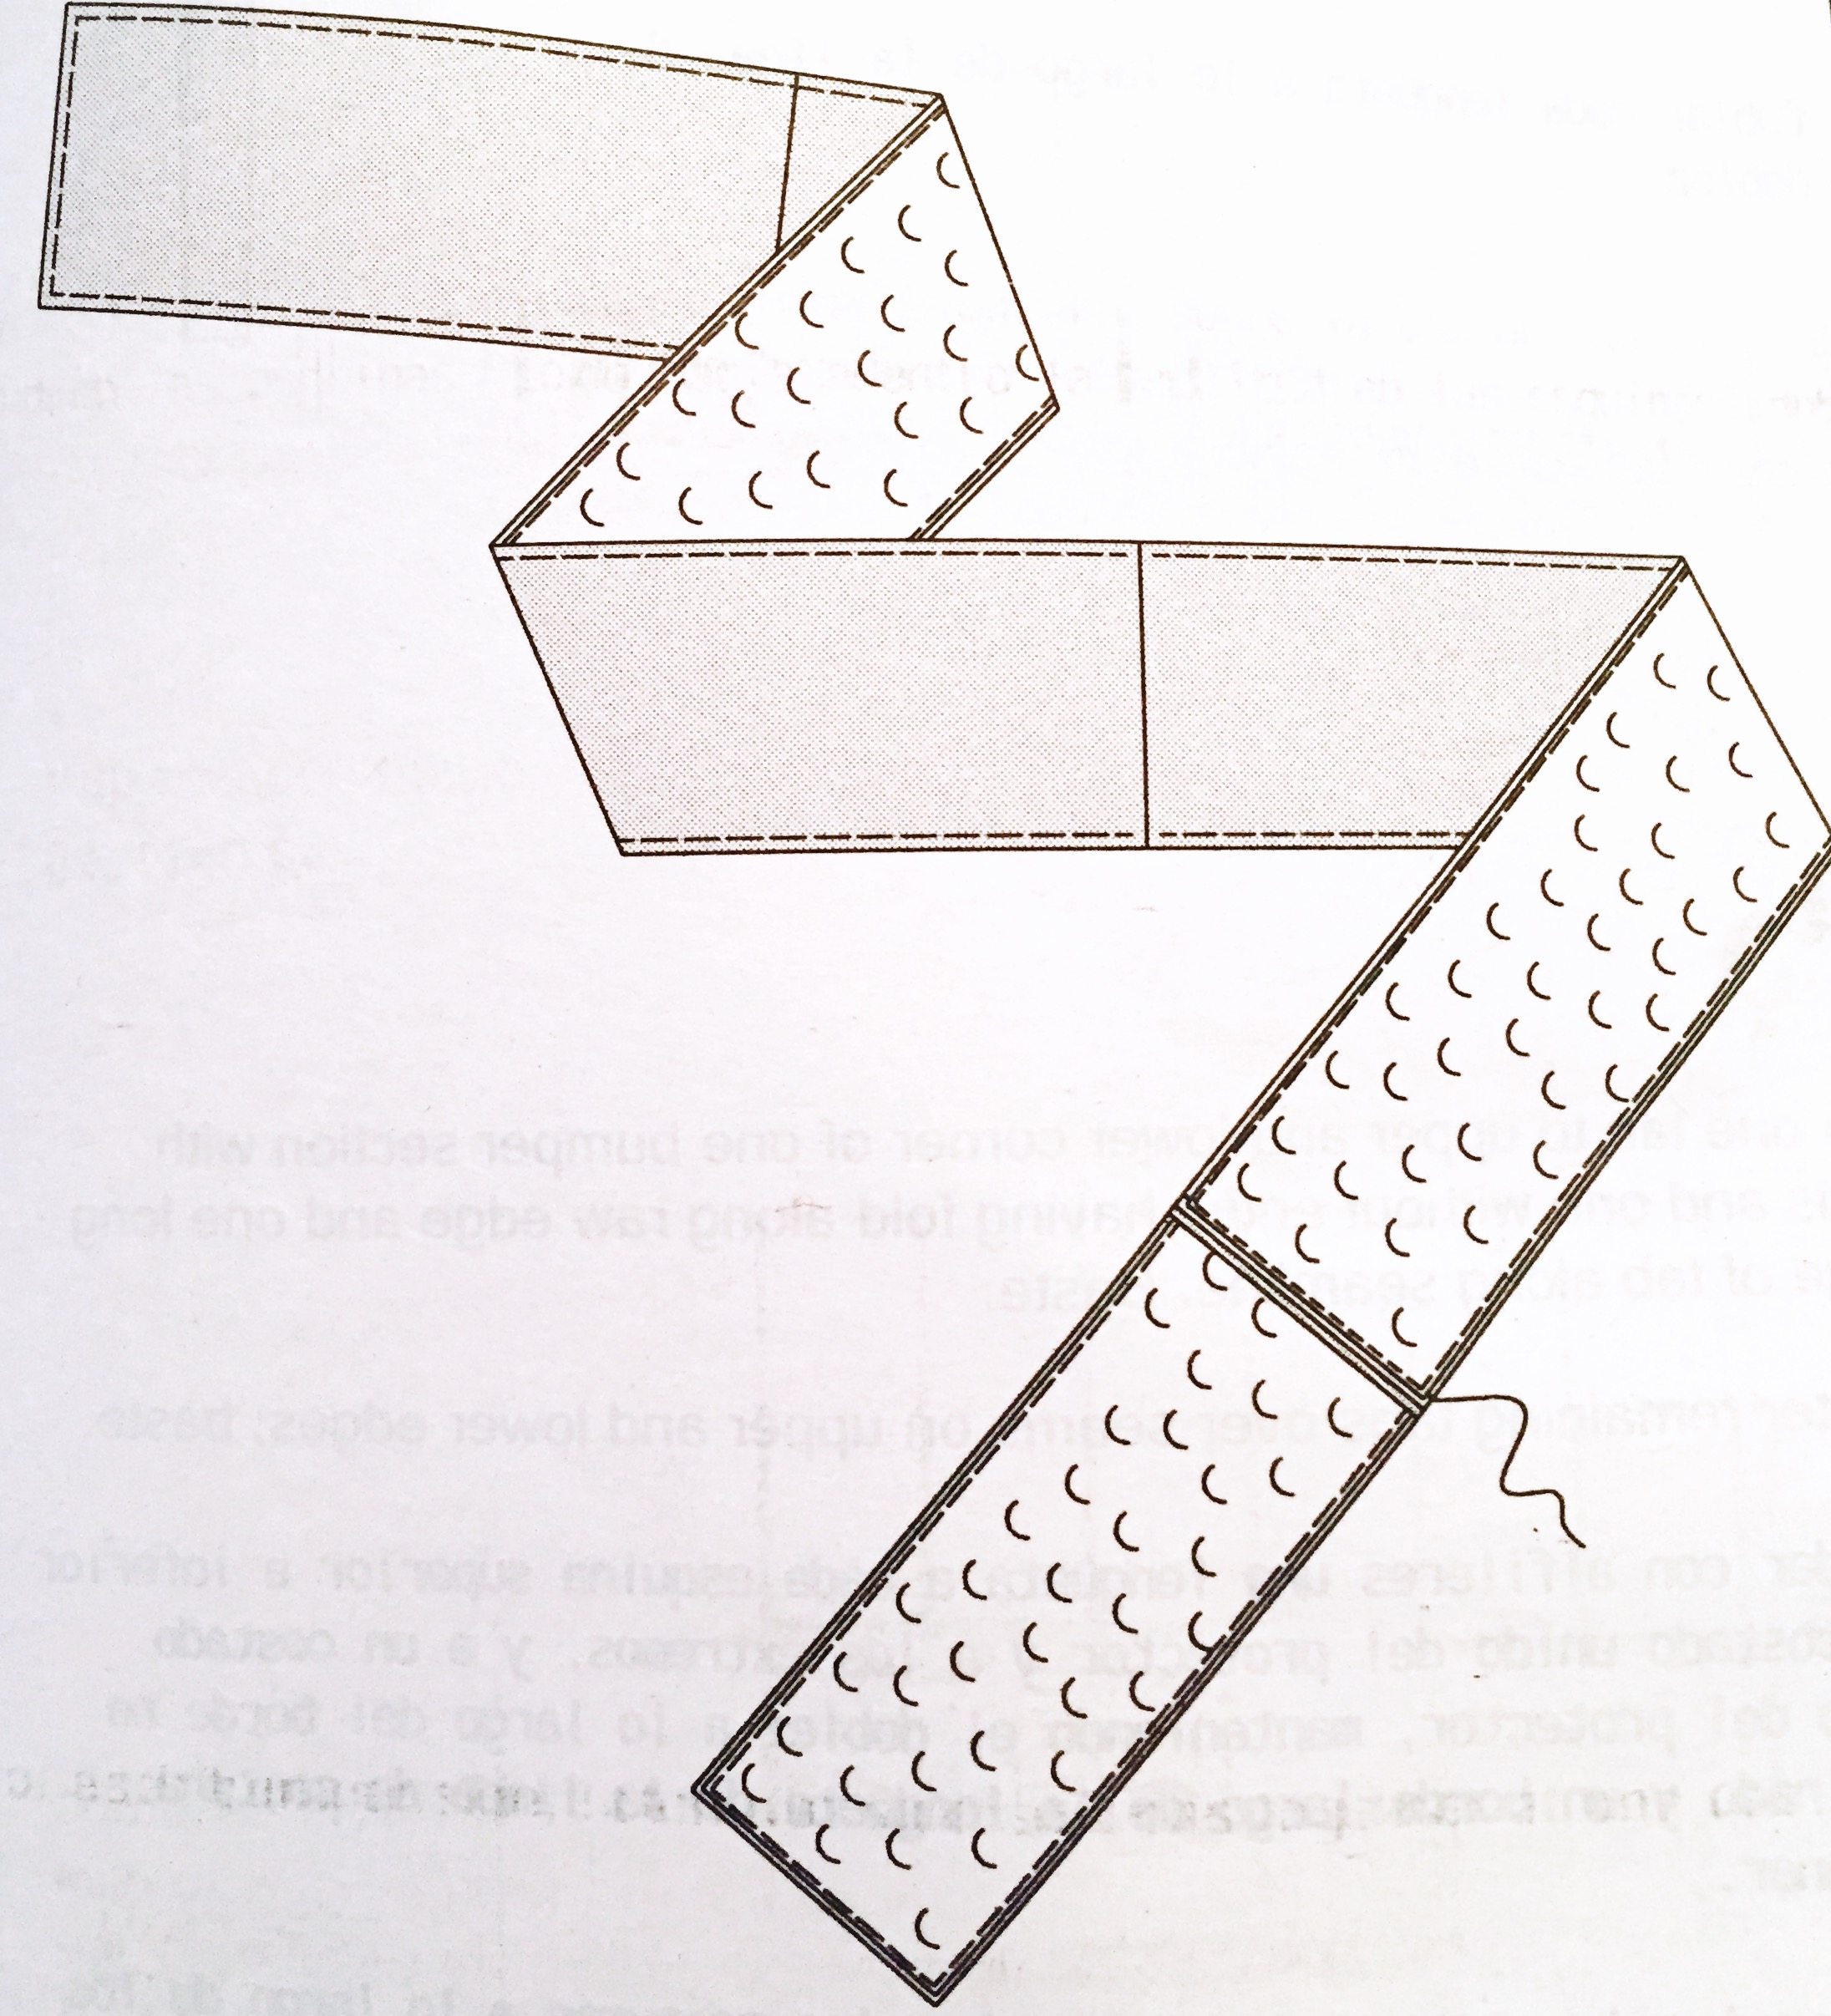
- Now, take your fabric pieces and (right sides together, wrong sides facing up towards you) stitch together two #4 pieces.
- Repeat for the remaining #4 pieces, so when you’re finished, each #4 piece of fabric will be sewn to another #4 piece of fabric. You’ll end up with four long pieces (like the picture ABOVE, not below).
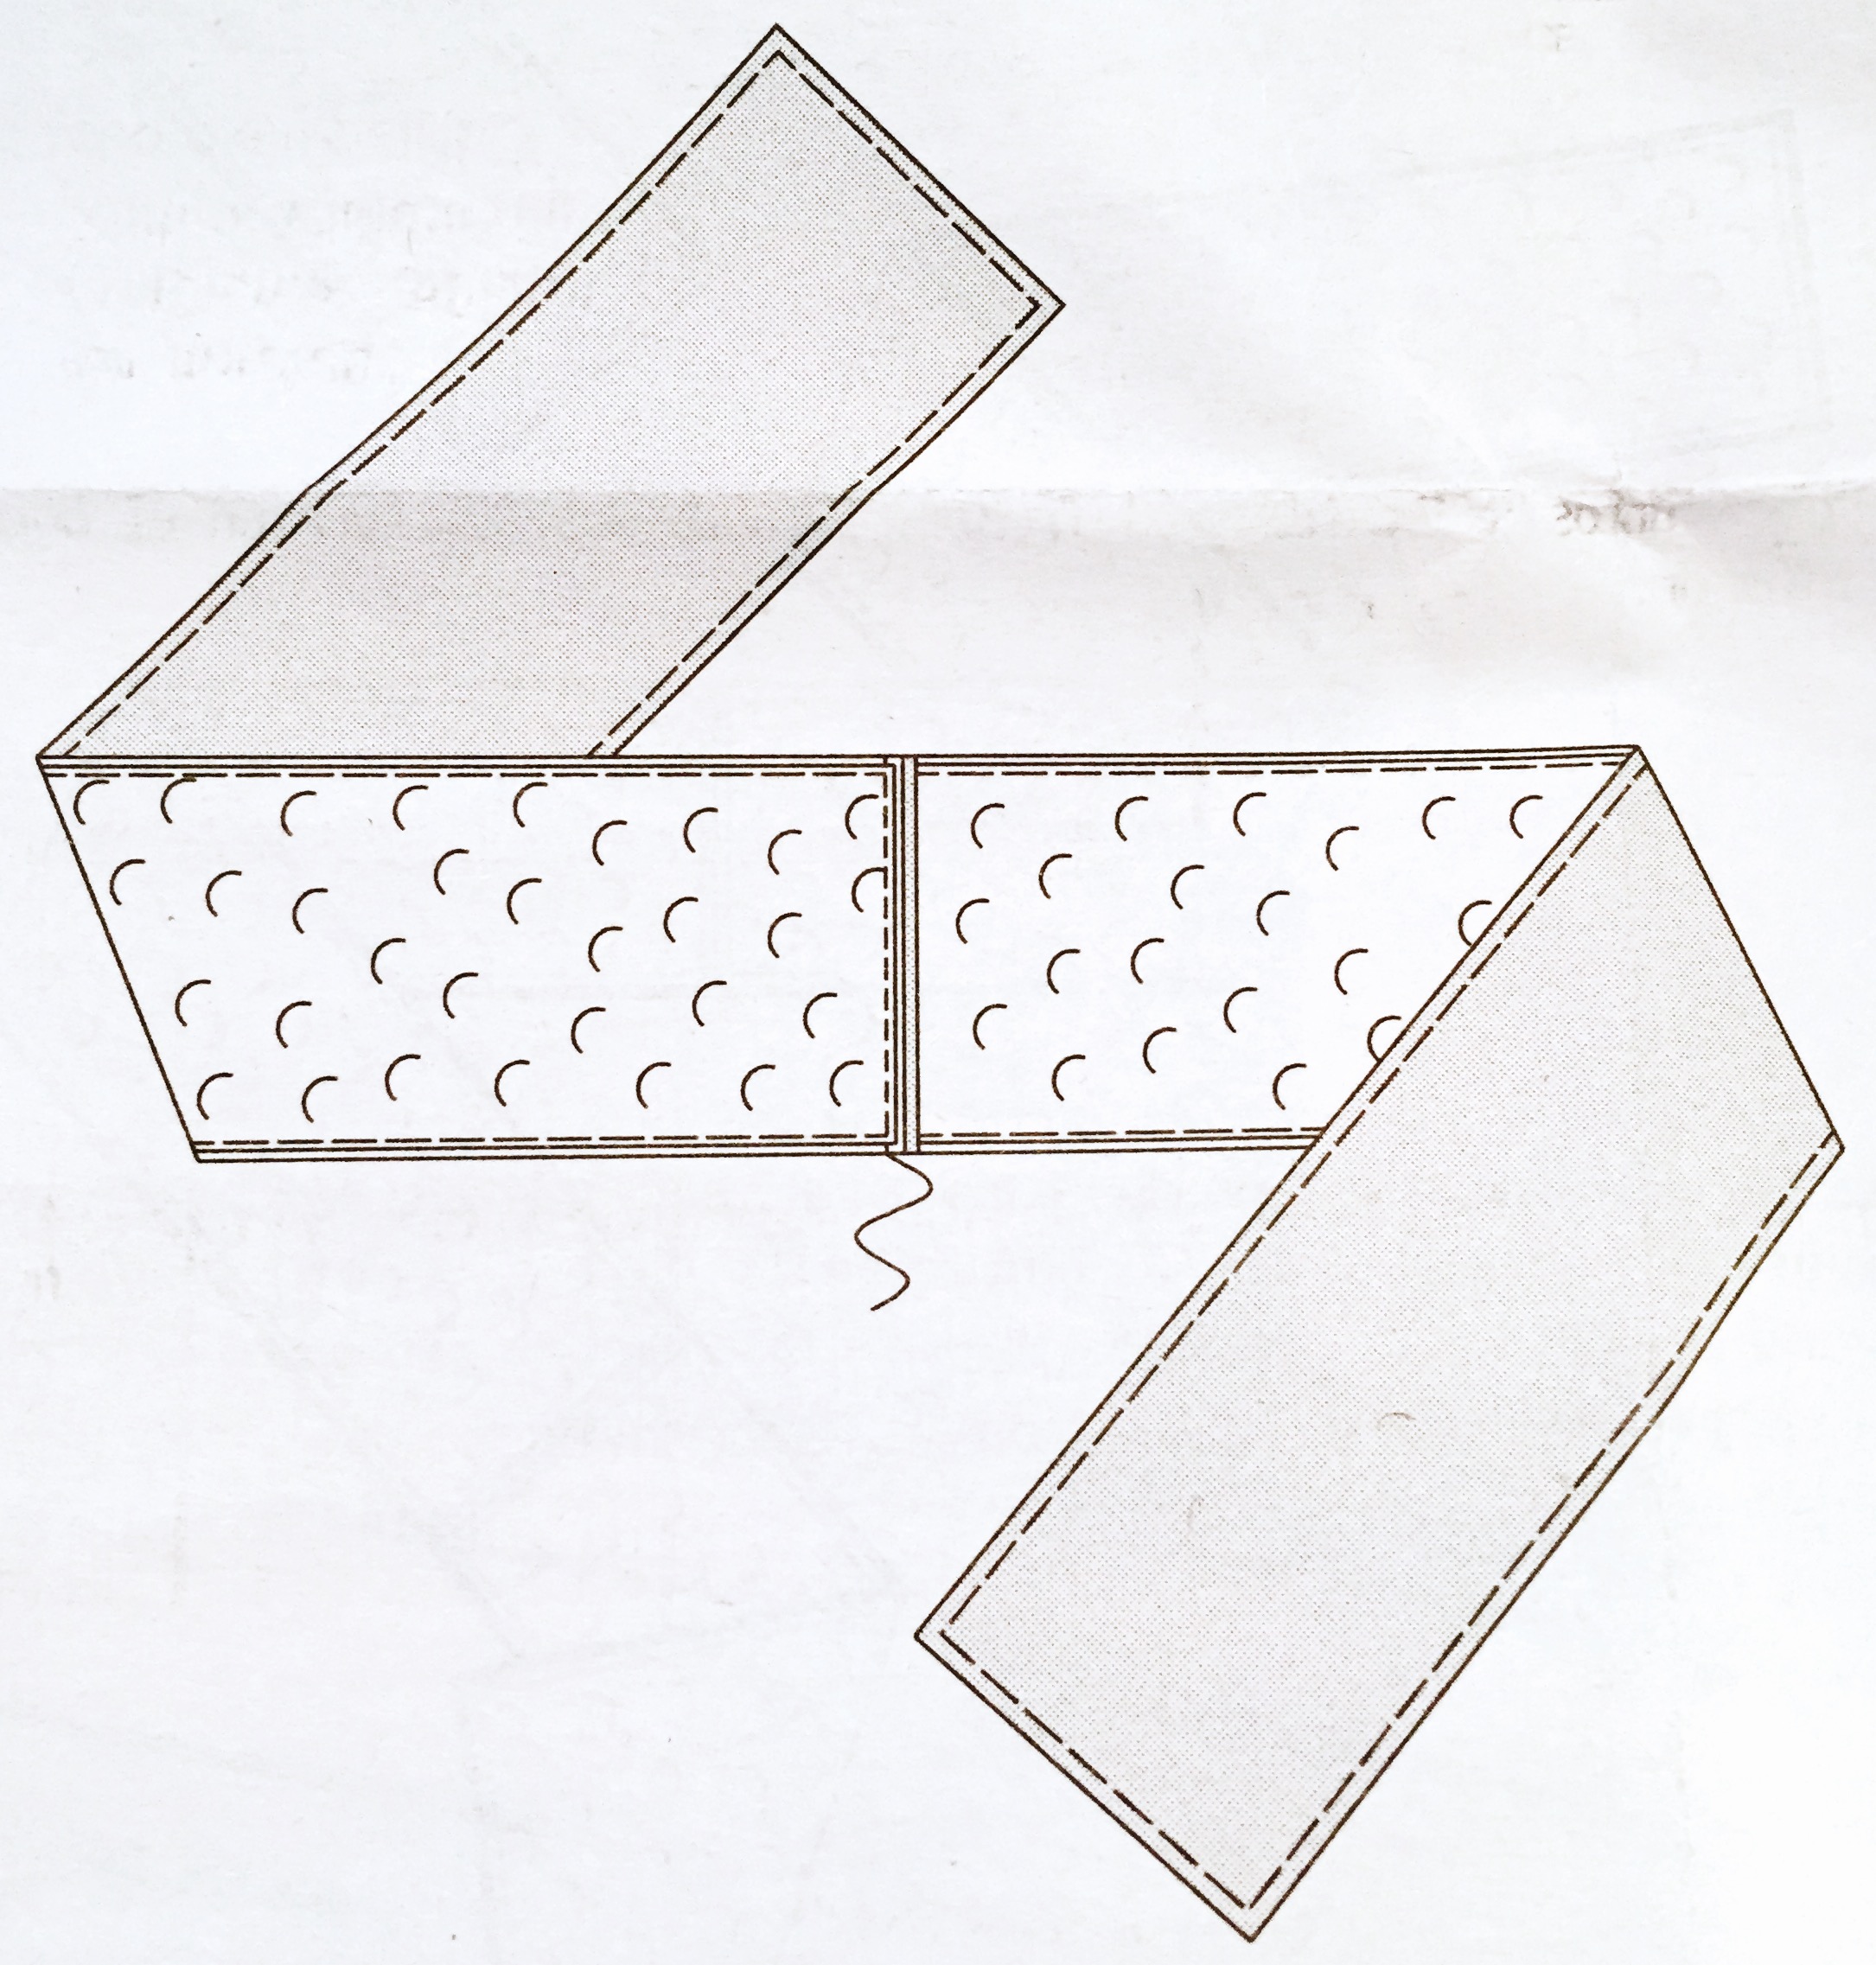
- Then, sew a #5 piece of fabric (the same way, right sides together) to the opposite ends of one of the long pieces you’ve just sewn together (so there will be two #4 pieces in the middle and two #5 pieces sewn onto the ends).
- Refer to the immediate drawing above. It should look exactly like this.
- Repeat this with one more piece so that all your #5 pieces are sewn onto the ends of long #4 pieces.
- By the end of this step, you will end up with two VERY long pieces that look like the drawing above (two #4 pieces sewn with two #5 pieces on each end) and then two shorter pieces (comprised of just two #4 pieces sewn together, with no #5 pieces on the ends).
Step 4:
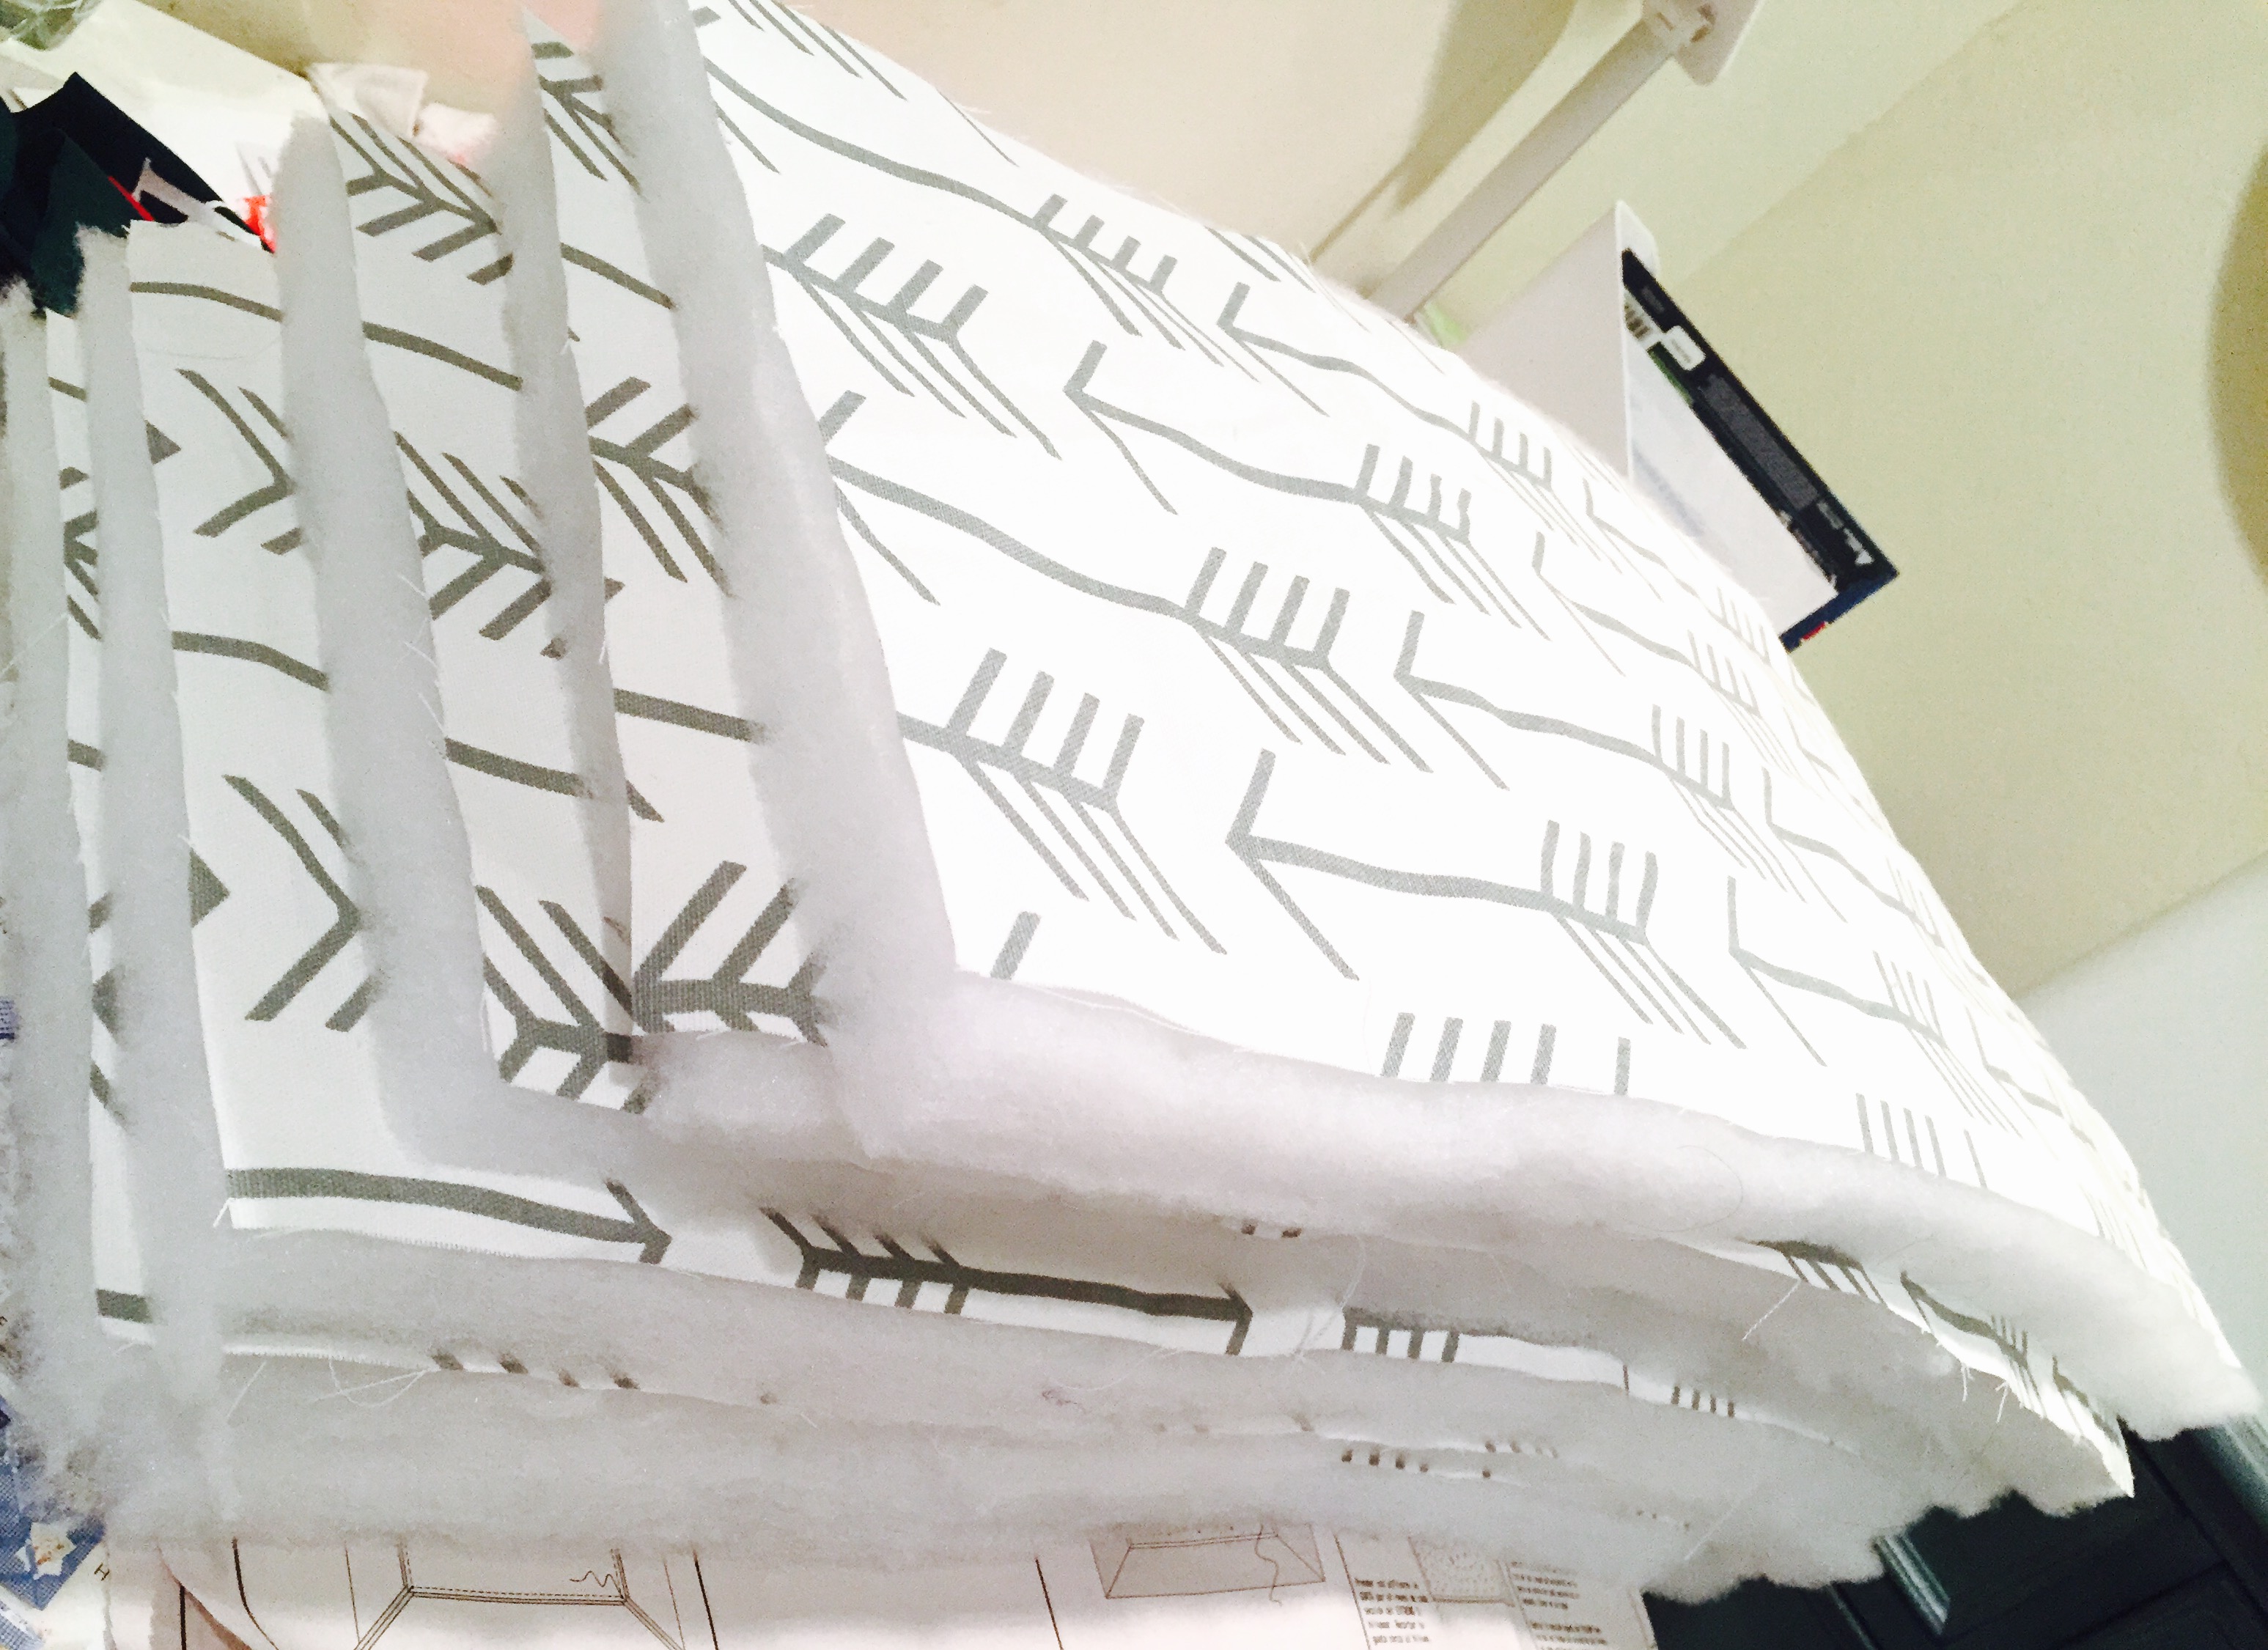
- Then, bring your batting back and “baste” each piece of batting to it’s matching size piece of fabric, about 1-2″ in from the outer edge (and on the “WRONG” side of the fabric).
- By “basting”, it means to just lightly hand stitch them together. This stitching will be removed once the bumpers are sewn, so make sure it can easily be taken apart.
- My basting was done in a long stitch, linear lines along the edges.
- If you have long sewing pins, these will do the trick to hold them together, too, instead of “basting”. Whichever you prefer.
- By “basting”, it means to just lightly hand stitch them together. This stitching will be removed once the bumpers are sewn, so make sure it can easily be taken apart.
Step 5:
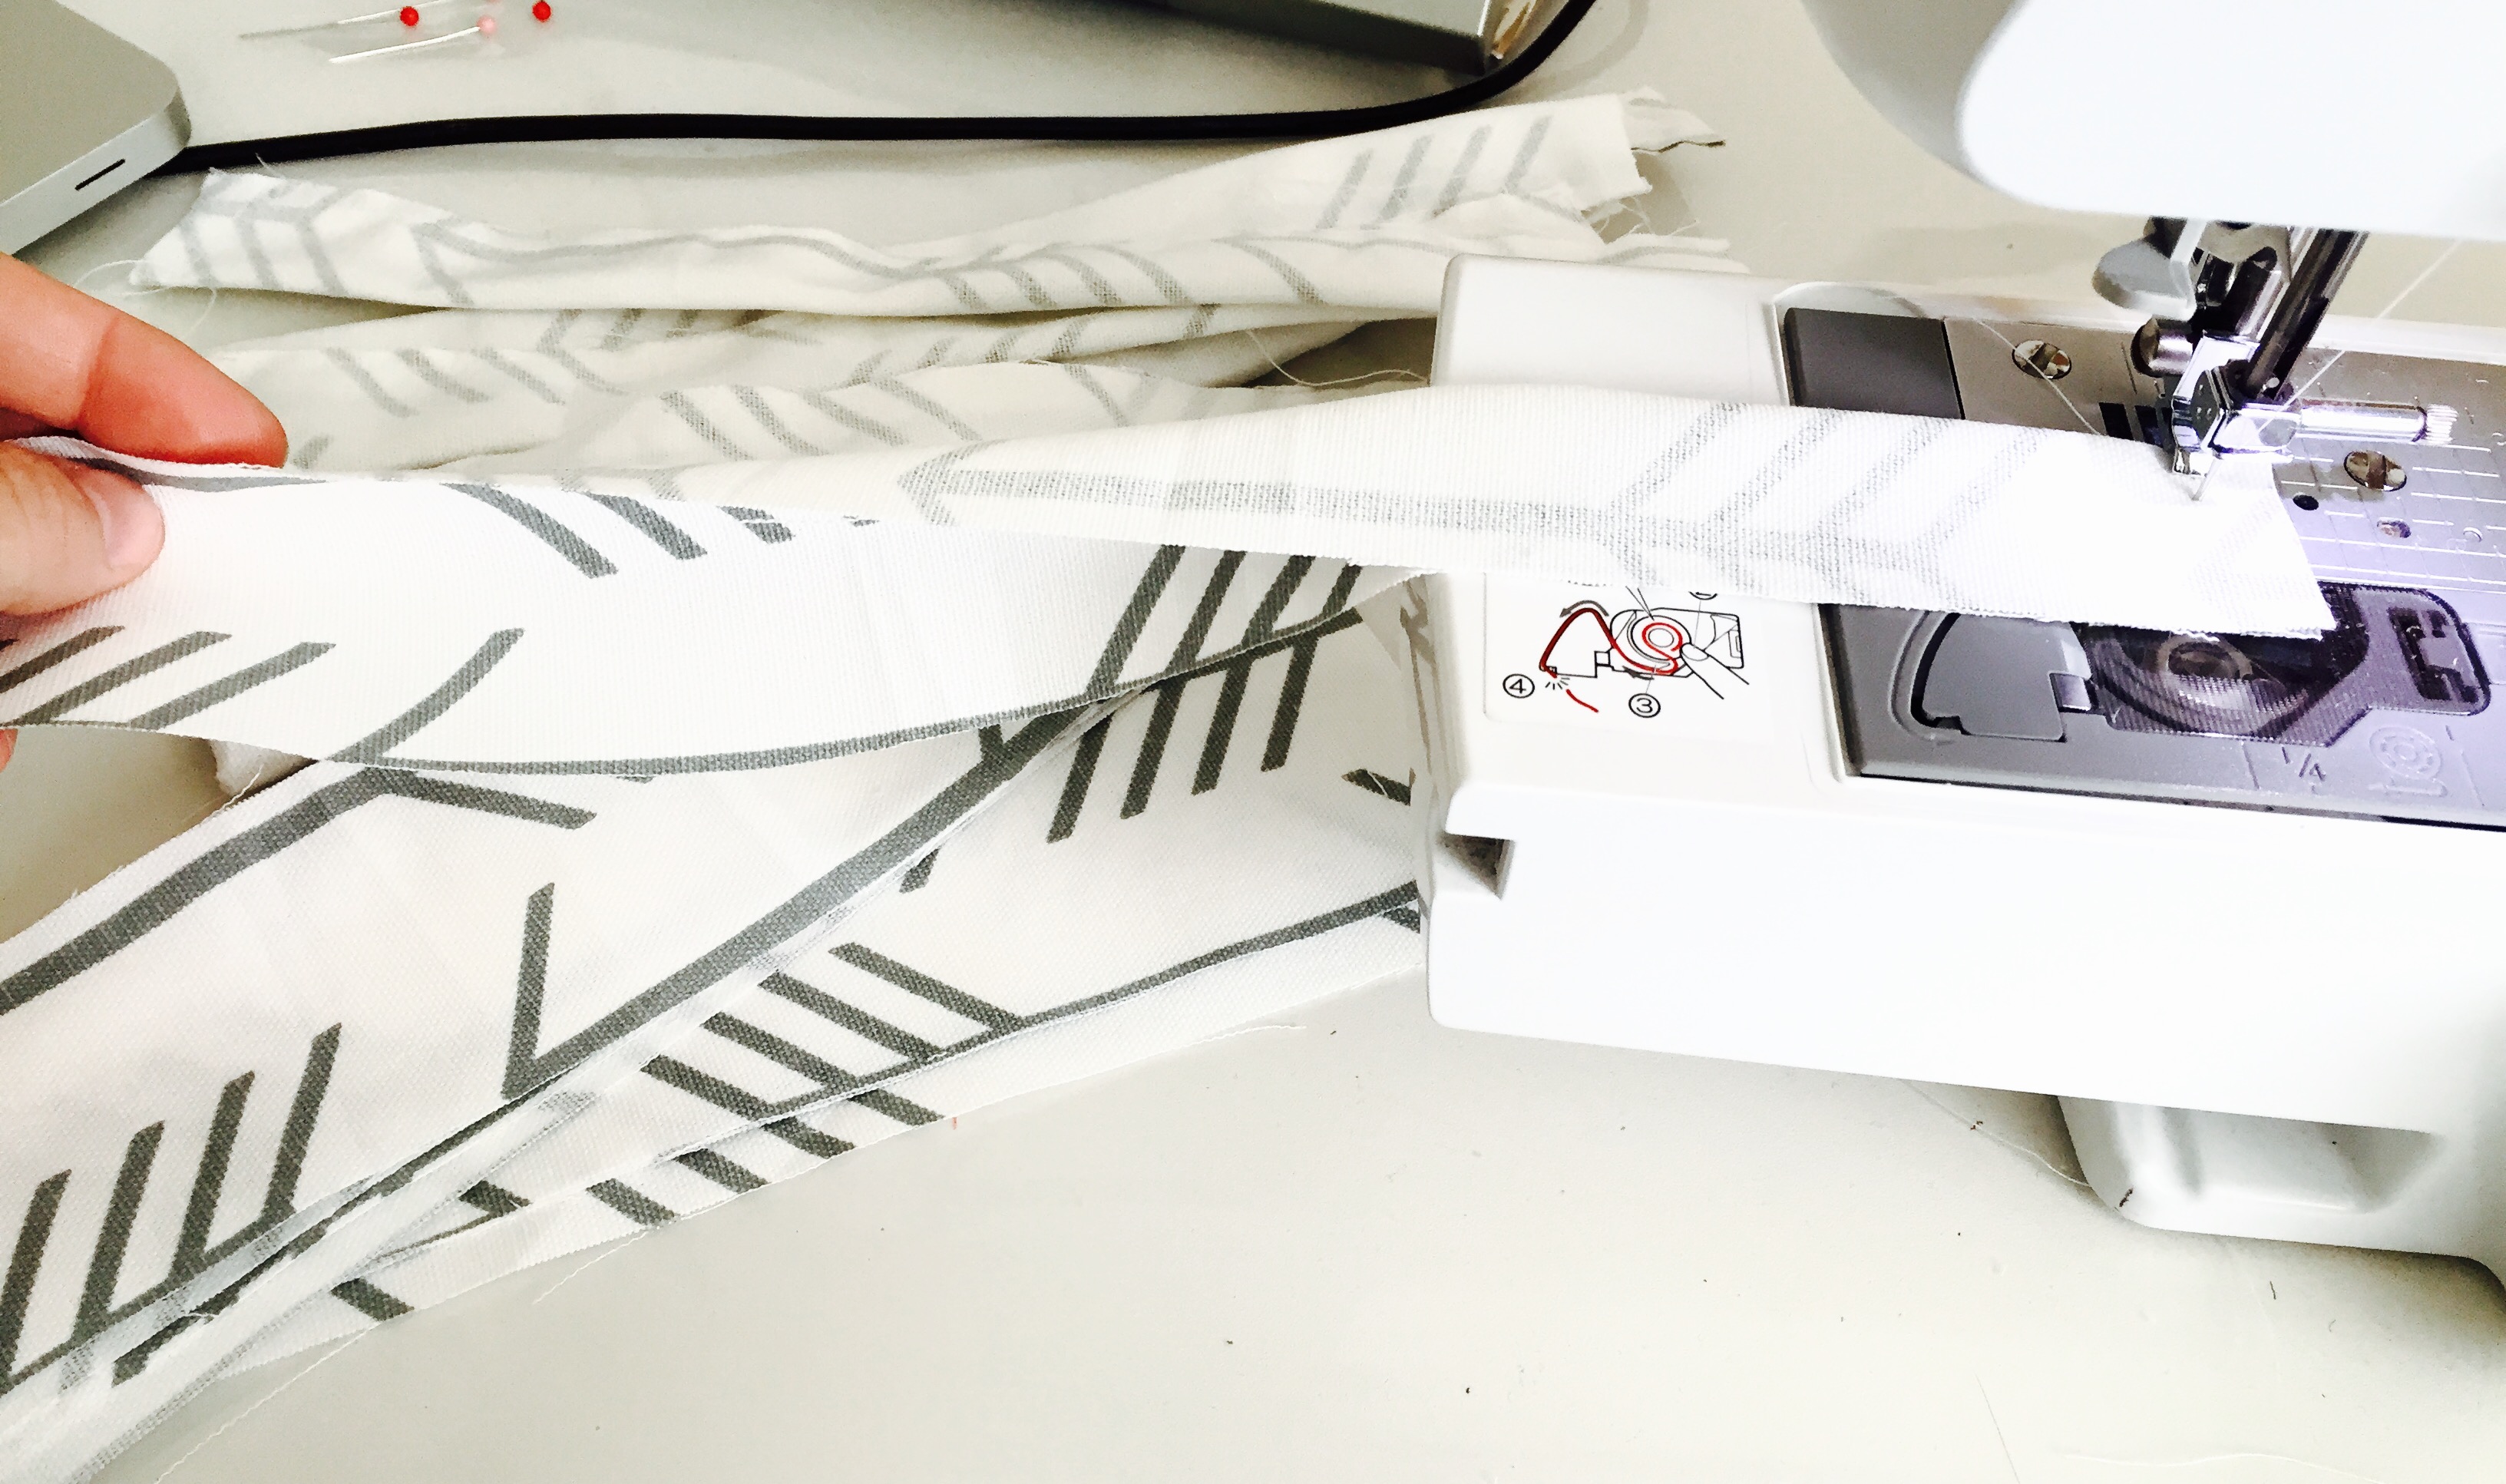
- Yay! Time to work with section 6. Take each piece of fabric and run the open edges through your sewing machine – making sure that the RIGHT sides are sewn facing each other.
- Leave the last small edge open (so only sew 2 of the 3 open sides together).
- Then, turn the piece right side out and hand stitch the last small side closed.
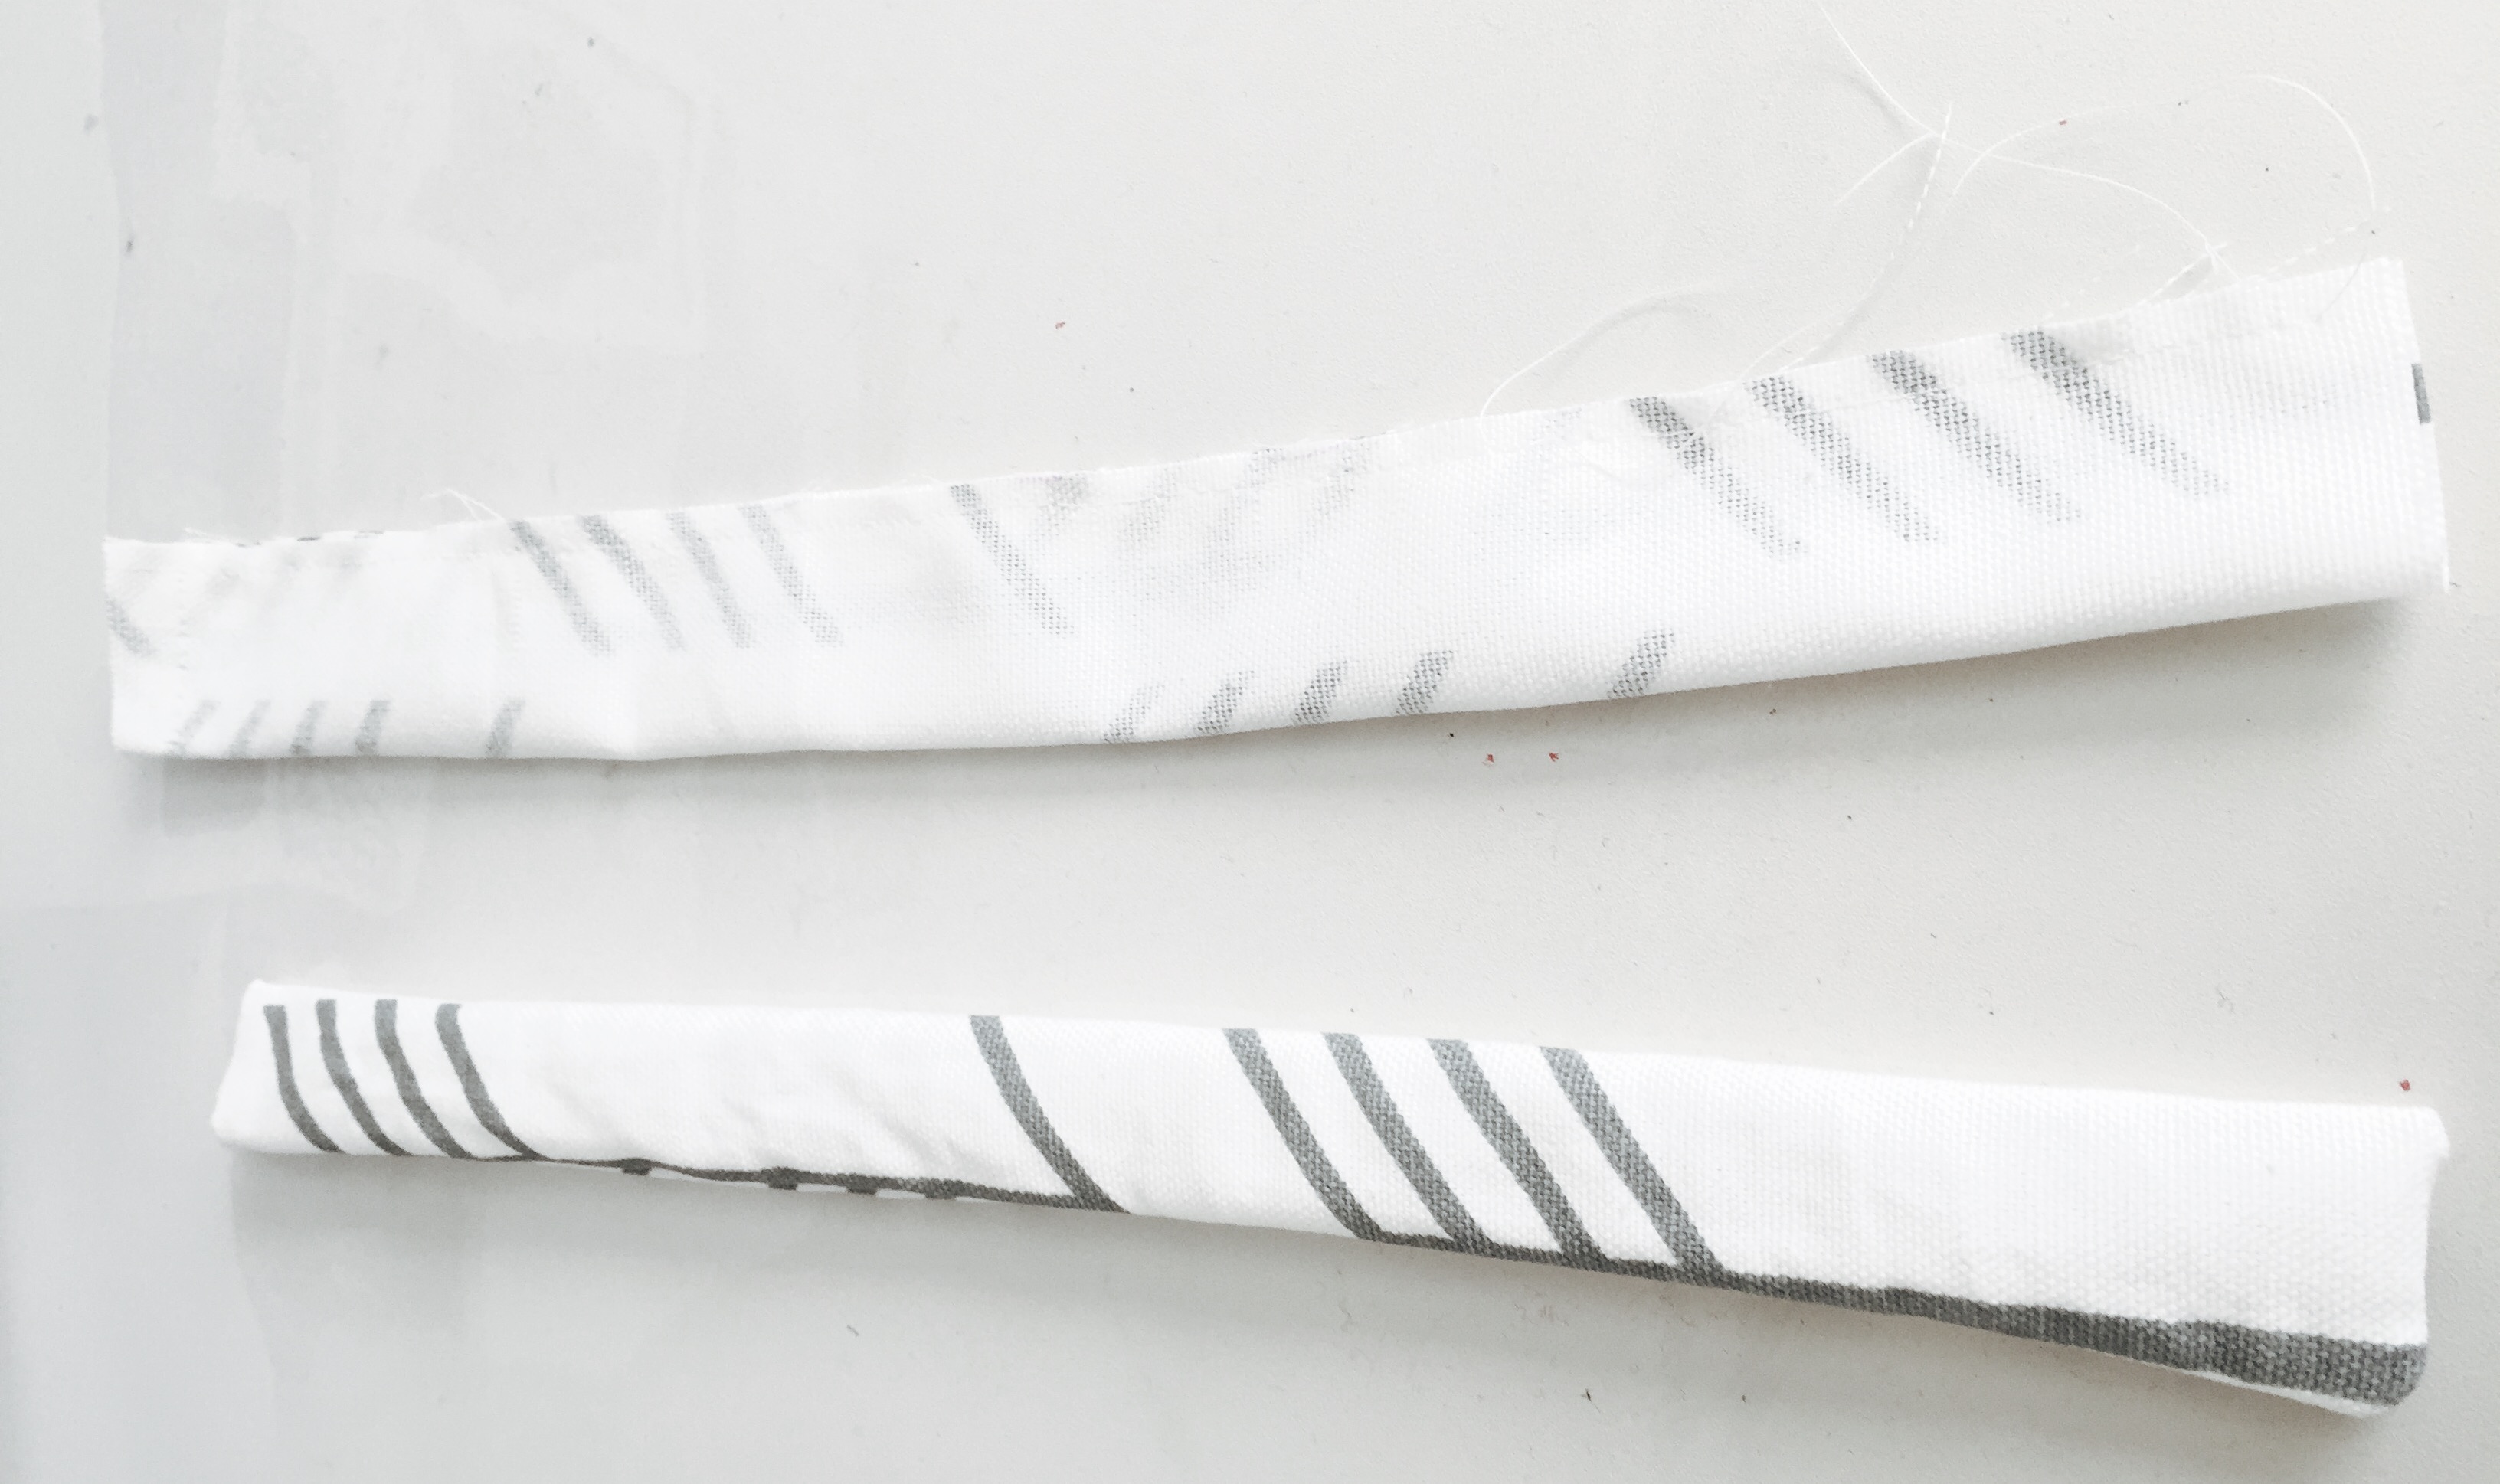
- Repeat this step for every piece of #6 fabric you have (there should be 16 in total).
Step 6:

- Now, take your Velcro and divide the SOFT side from the STIFF side.
- Cut 16 pieces out of the SOFT side – each 3.5″ long
- Cute 16 pieces out of the STIFF side – each 1.25″ long
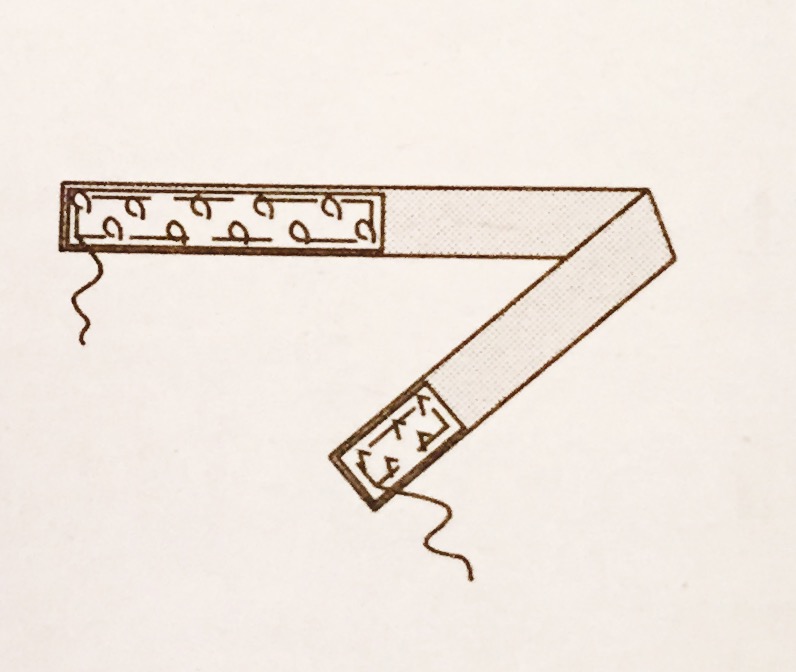

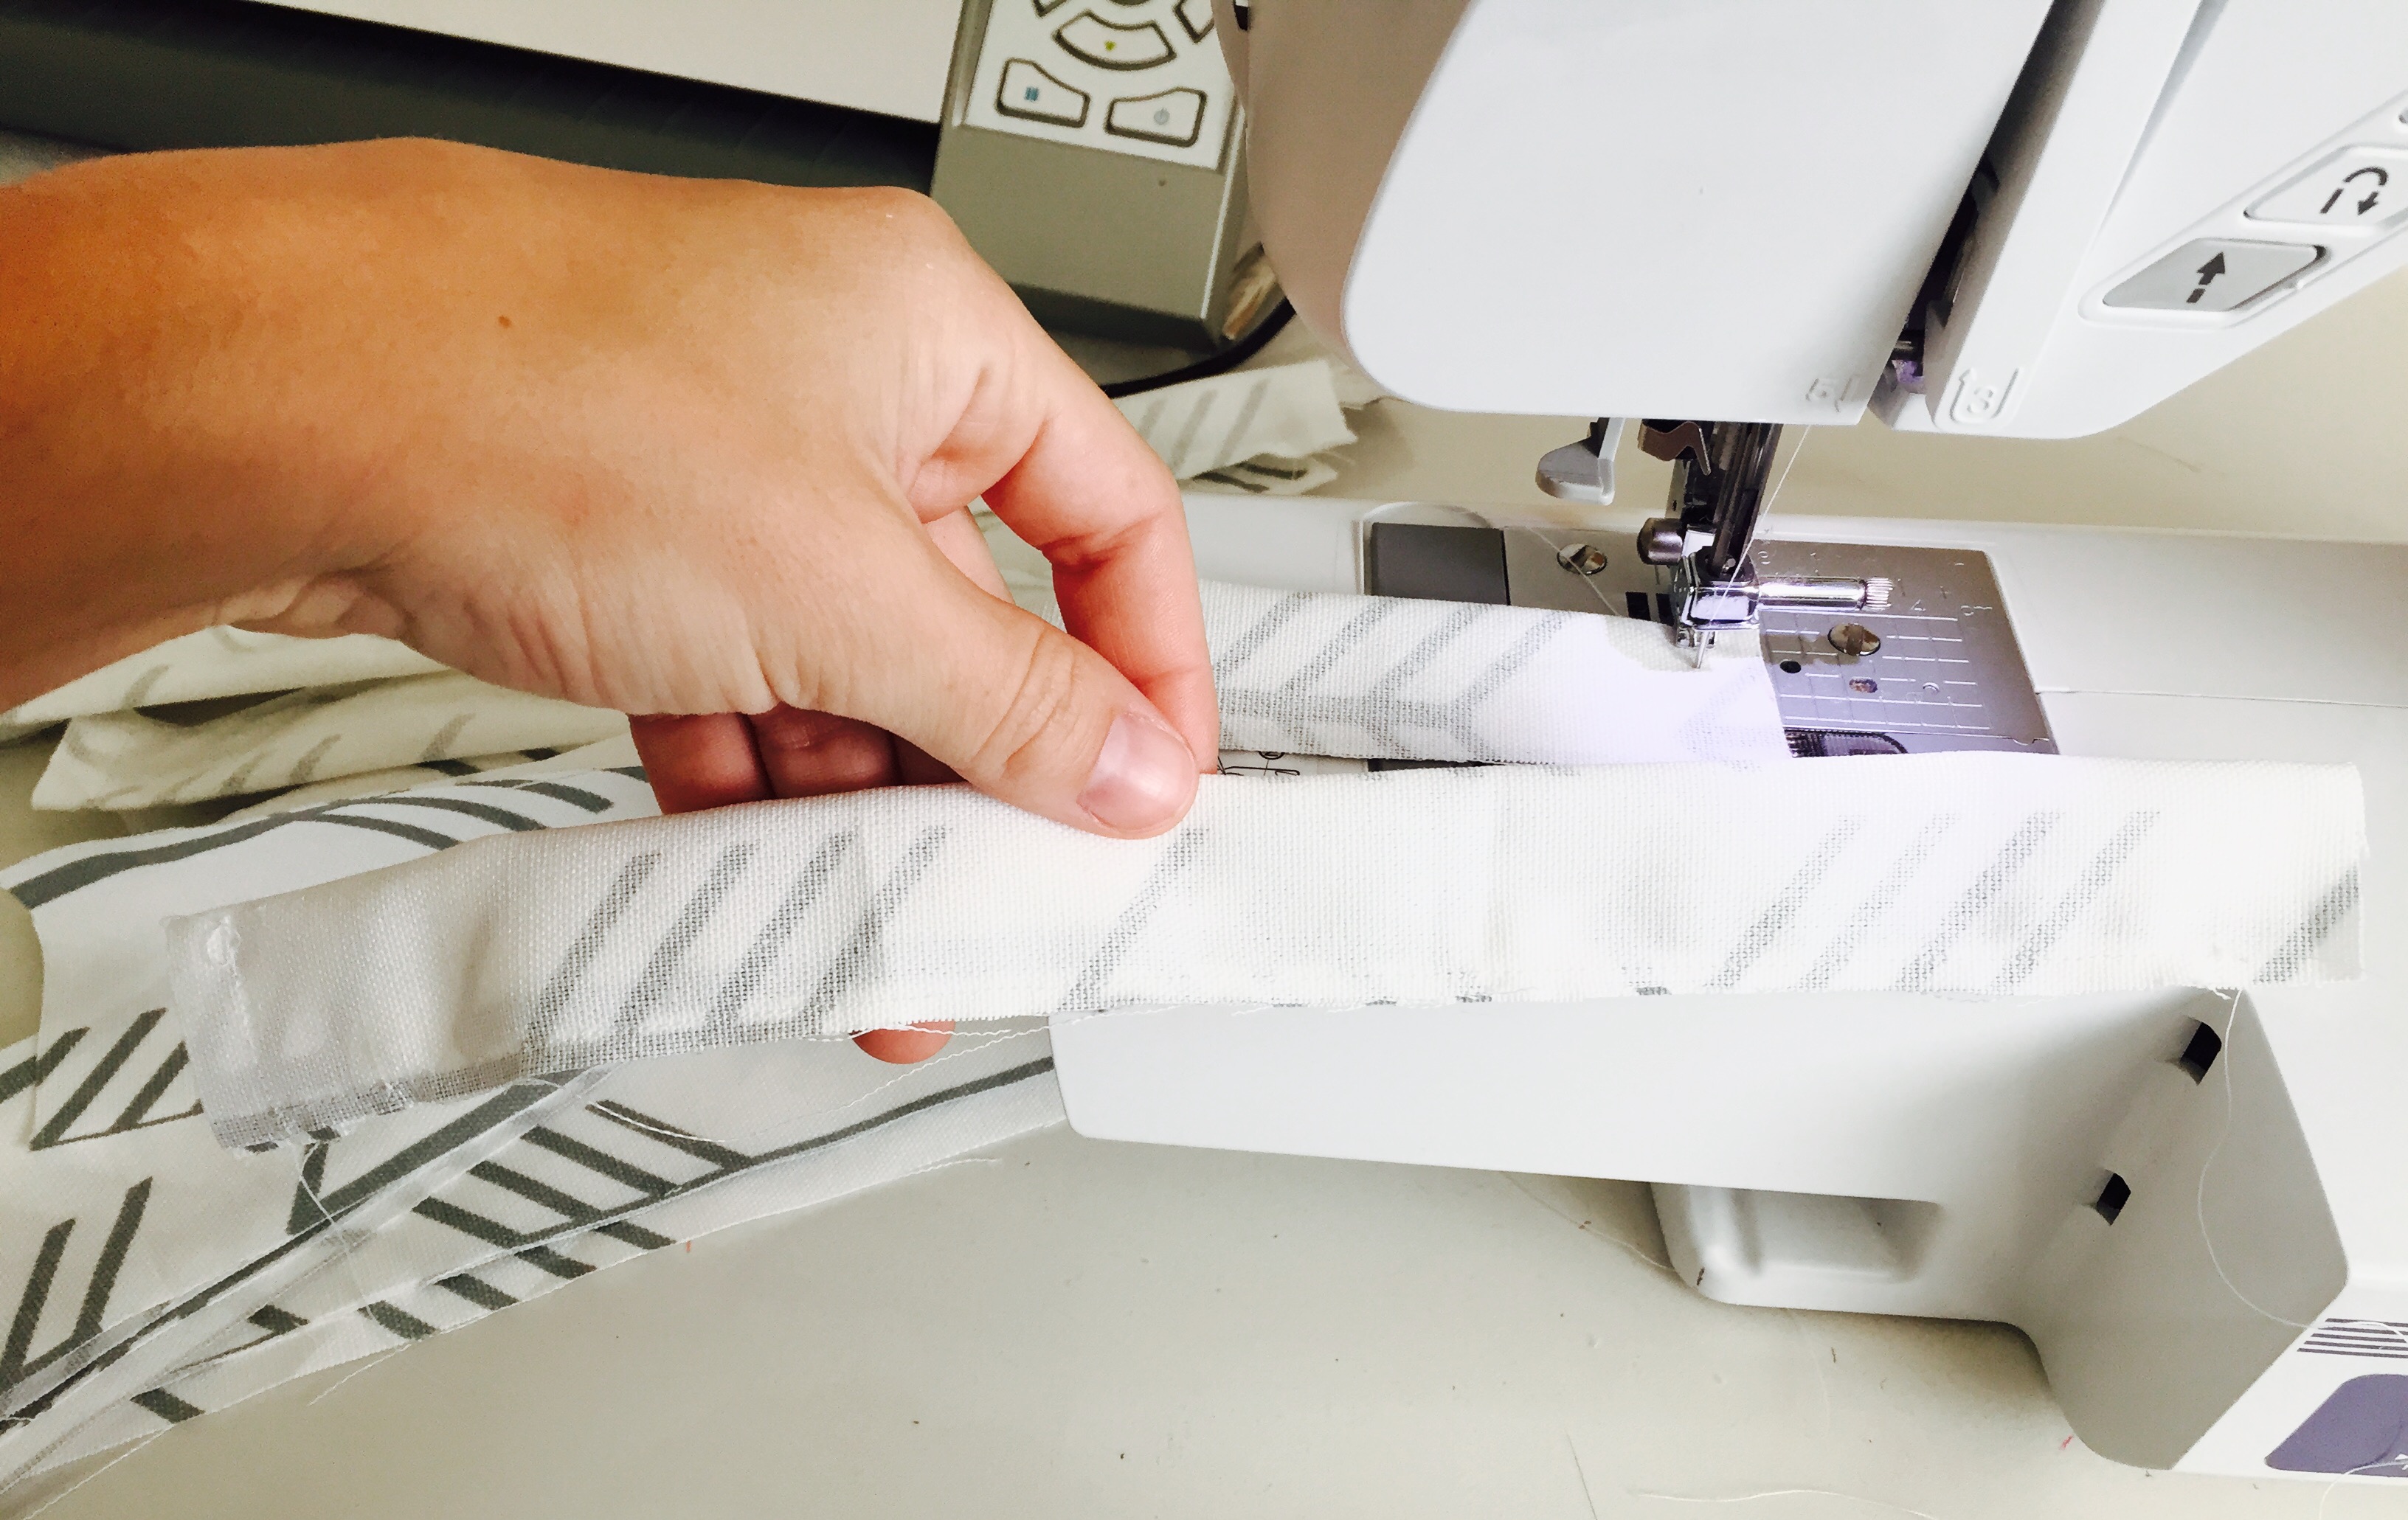
- Center one SOFT piece of Velcro on the BACK side and at the very edge of one #6 section, and sew into place with your sewing machine.
- Then, center one STIFF piece of Velcro on the FRONT side and at the very OPPOSITE EDGE of the same #6 section, and sew into place with your sewing machine.
- Then, repeat for all #6 pieces.
Step 7:
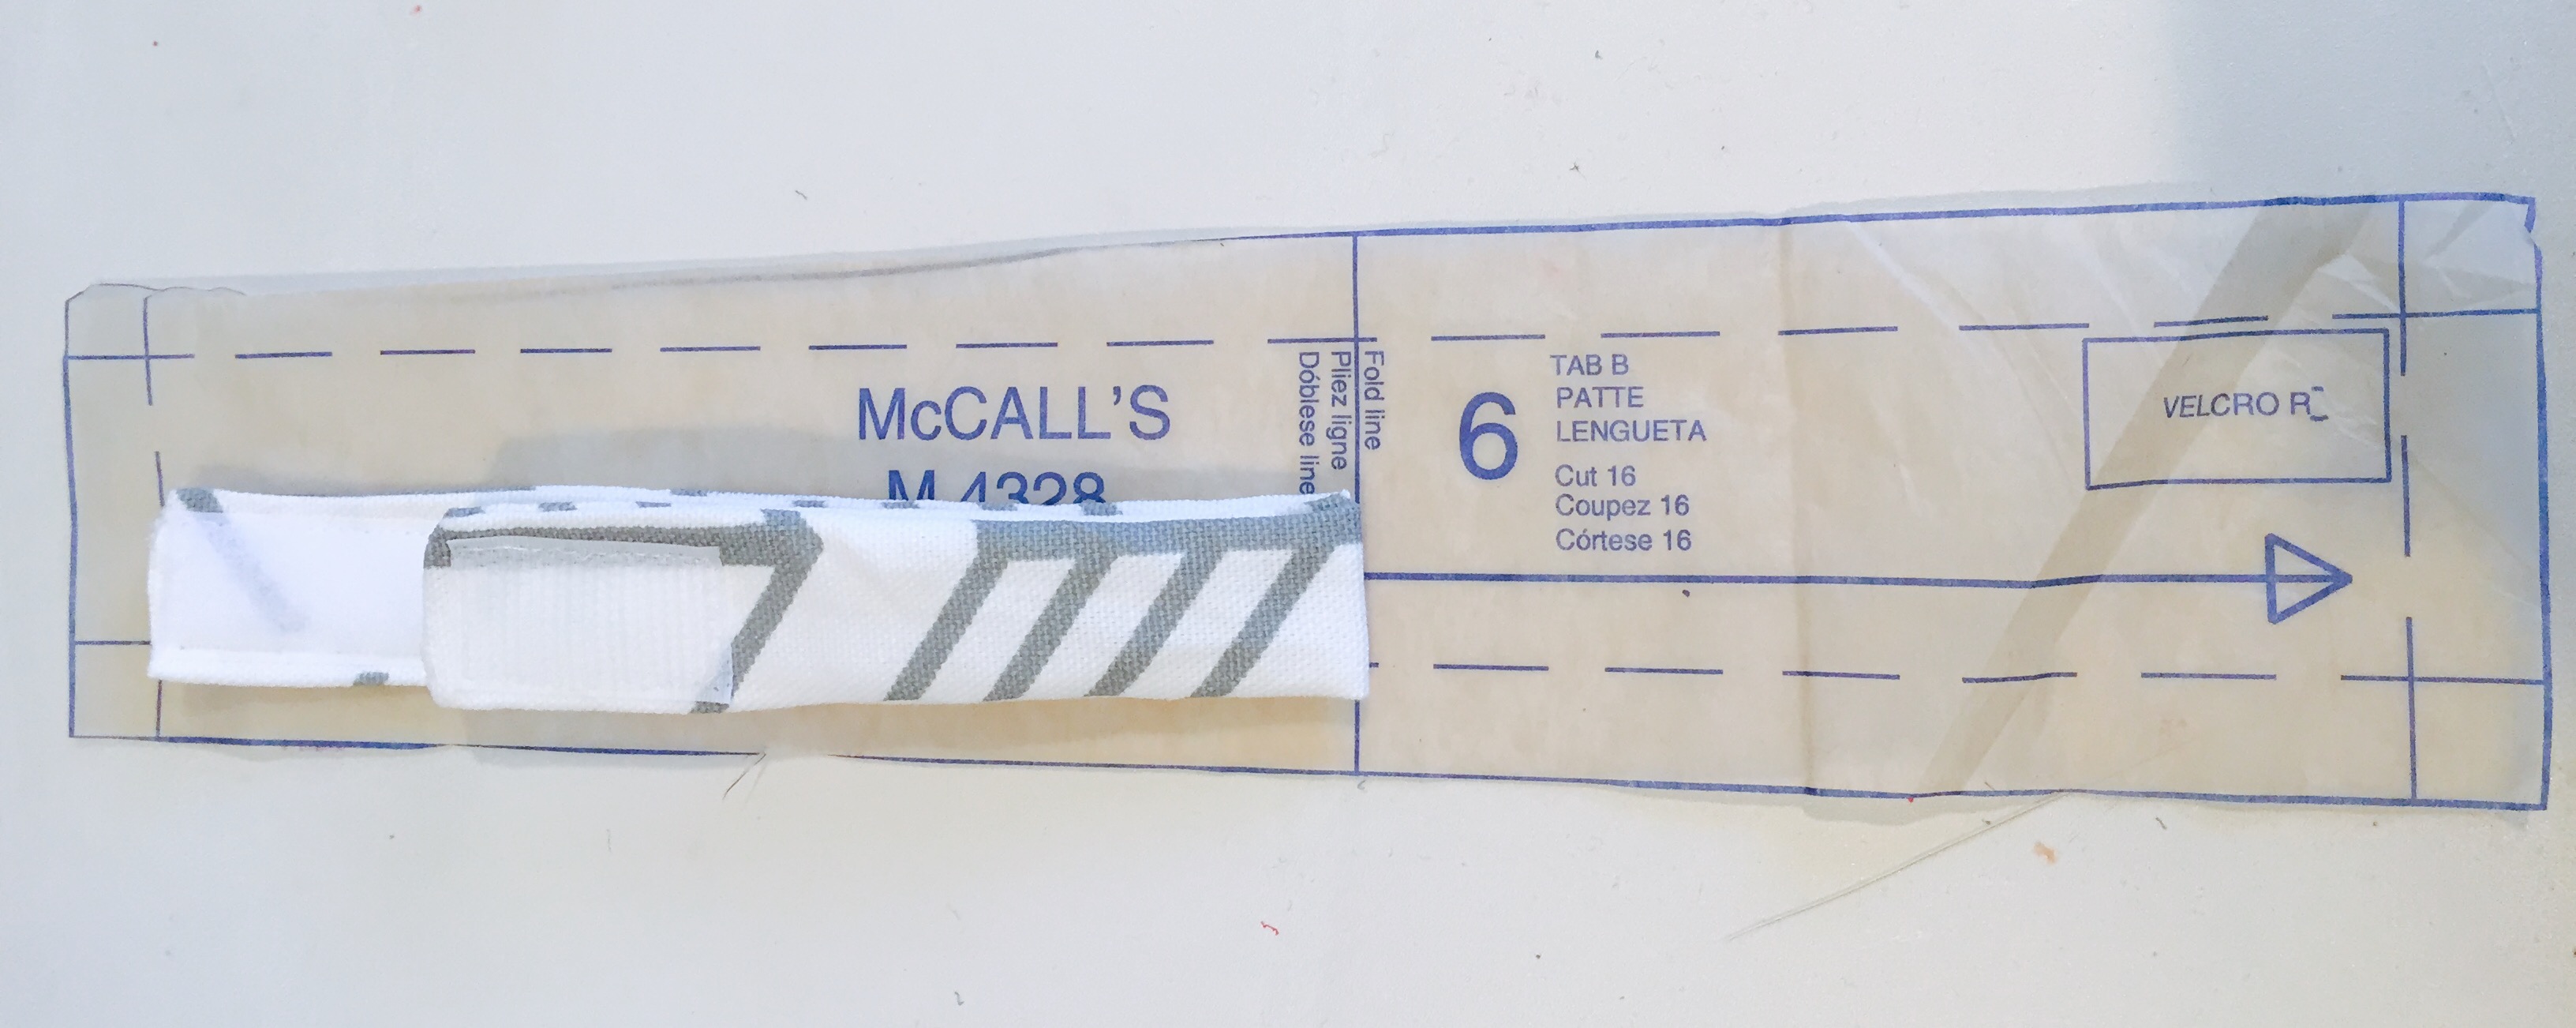
- Finally, take each #6 section and align it onto your #6 tissue paper sewing pattern.
- Fold each piece in half along the “fold” line on the pattern, and so that both pieces of Velcro are facing up towards you.
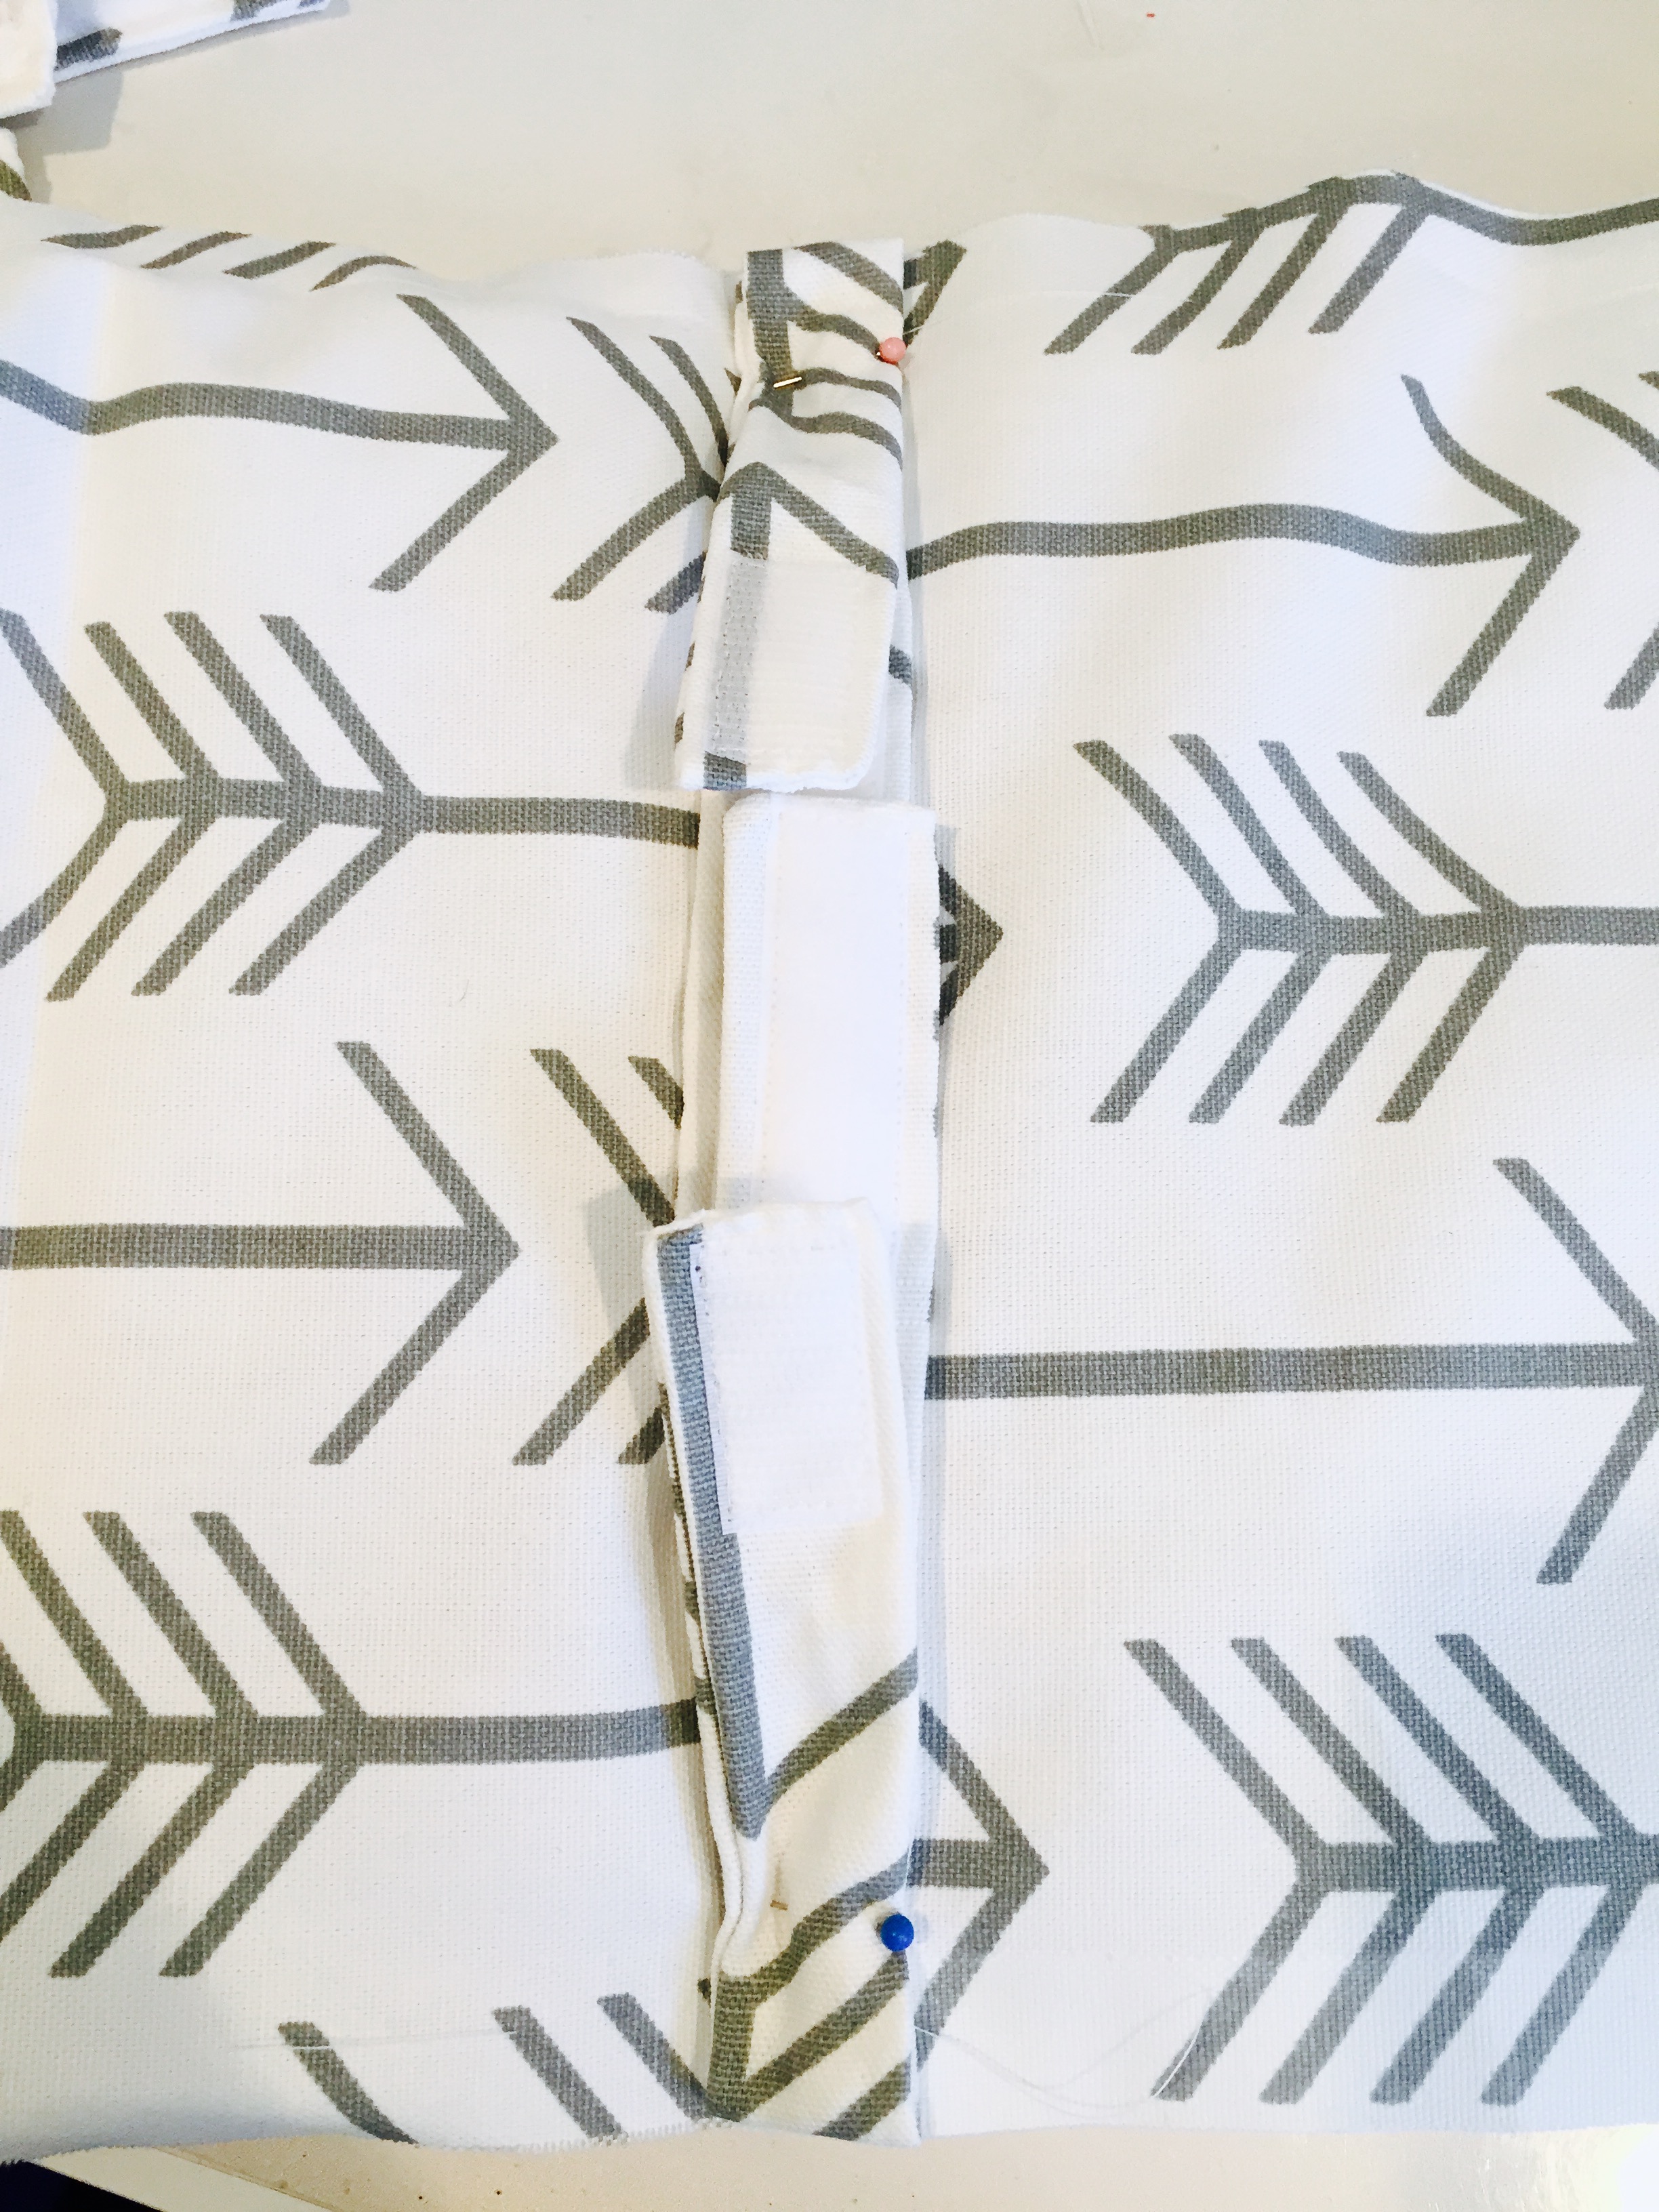
- Then, use your sewing pins and carefully pin each tab to one upper and one lower corner of each bumper section.
- By each section, I mean to pin then on the upper and lower corner of each seam you’ve made (between sections #4 and #5, and then on the edges).
- Please make sure you pin these pieces so that the folded part is on the OUTER edge, and the rest of the piece (with the velcro) is laid inward towards the center of the bumper.
Step 8:
- And finally, you’re ready to sew everything together!
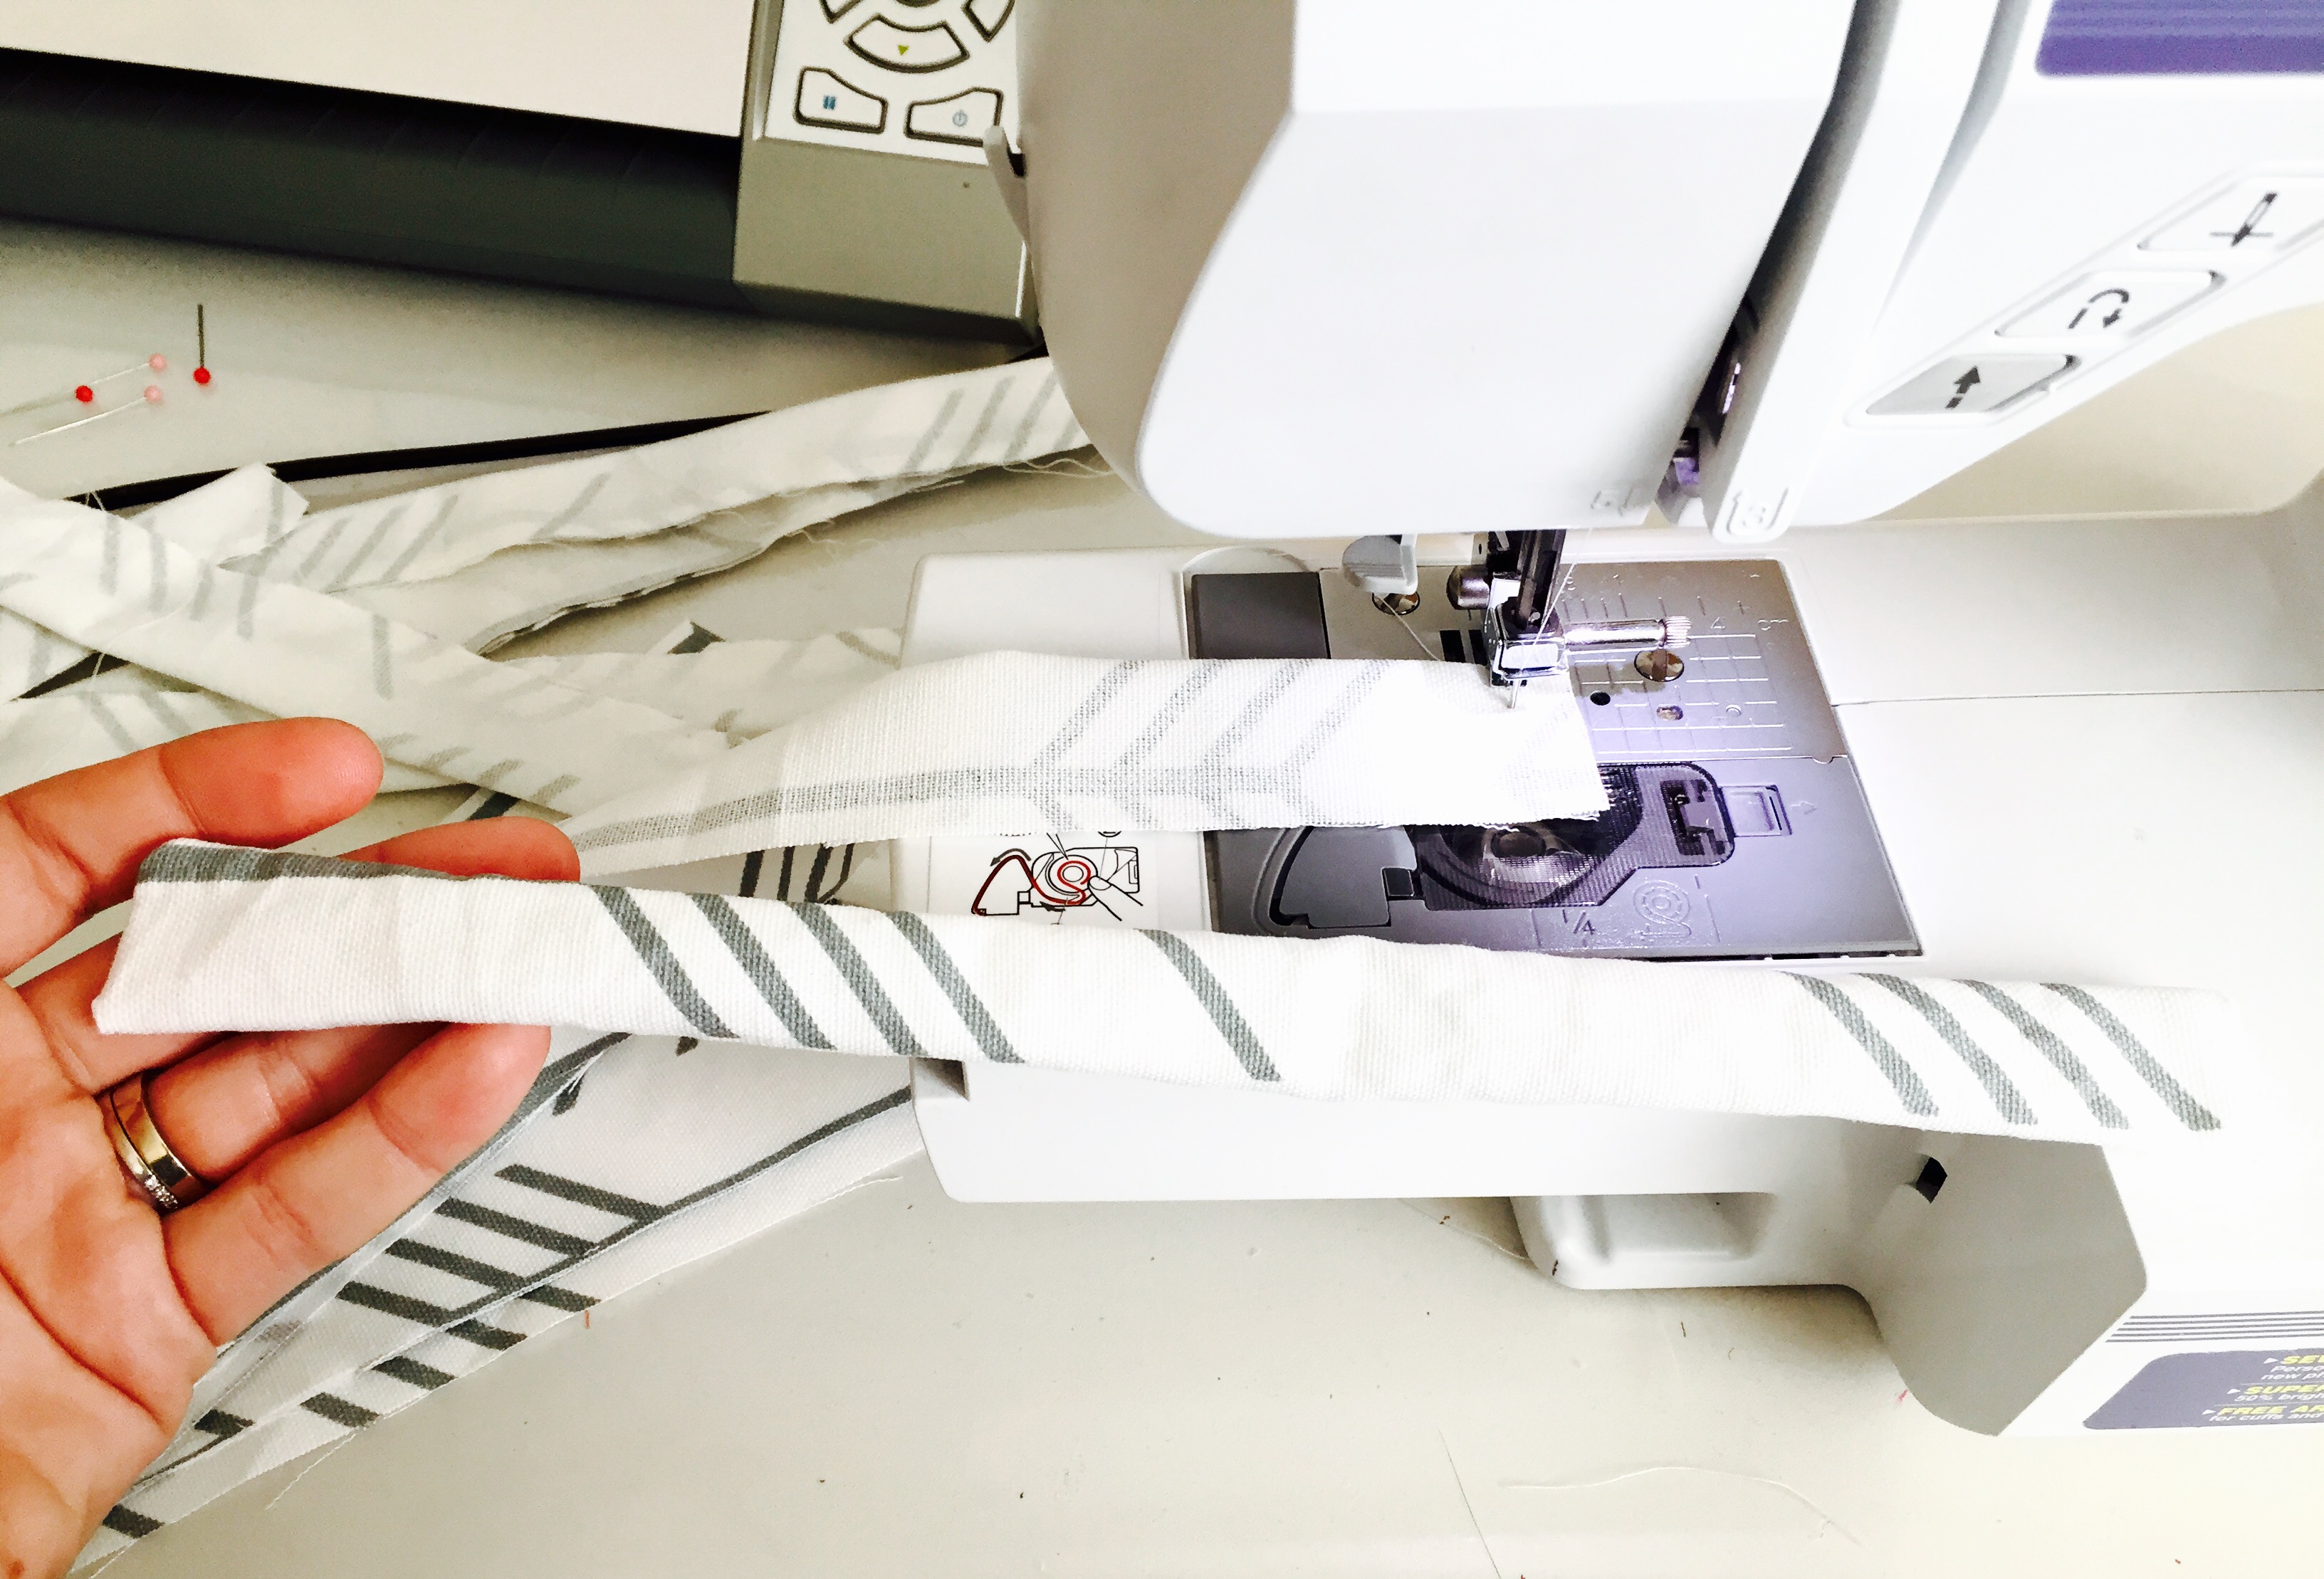
- Start with your two long pieces, and put them right sides together (with the batting up, facing you) and run the outer edges through your sewing machine.
- Make sure you sew about 1″ seams around then entire bumper, as to ensure the velcro pieces are sewn well into the bumper.
- Stop at the last short edge and remove from your sewing machine (without sewing the short edge closed.
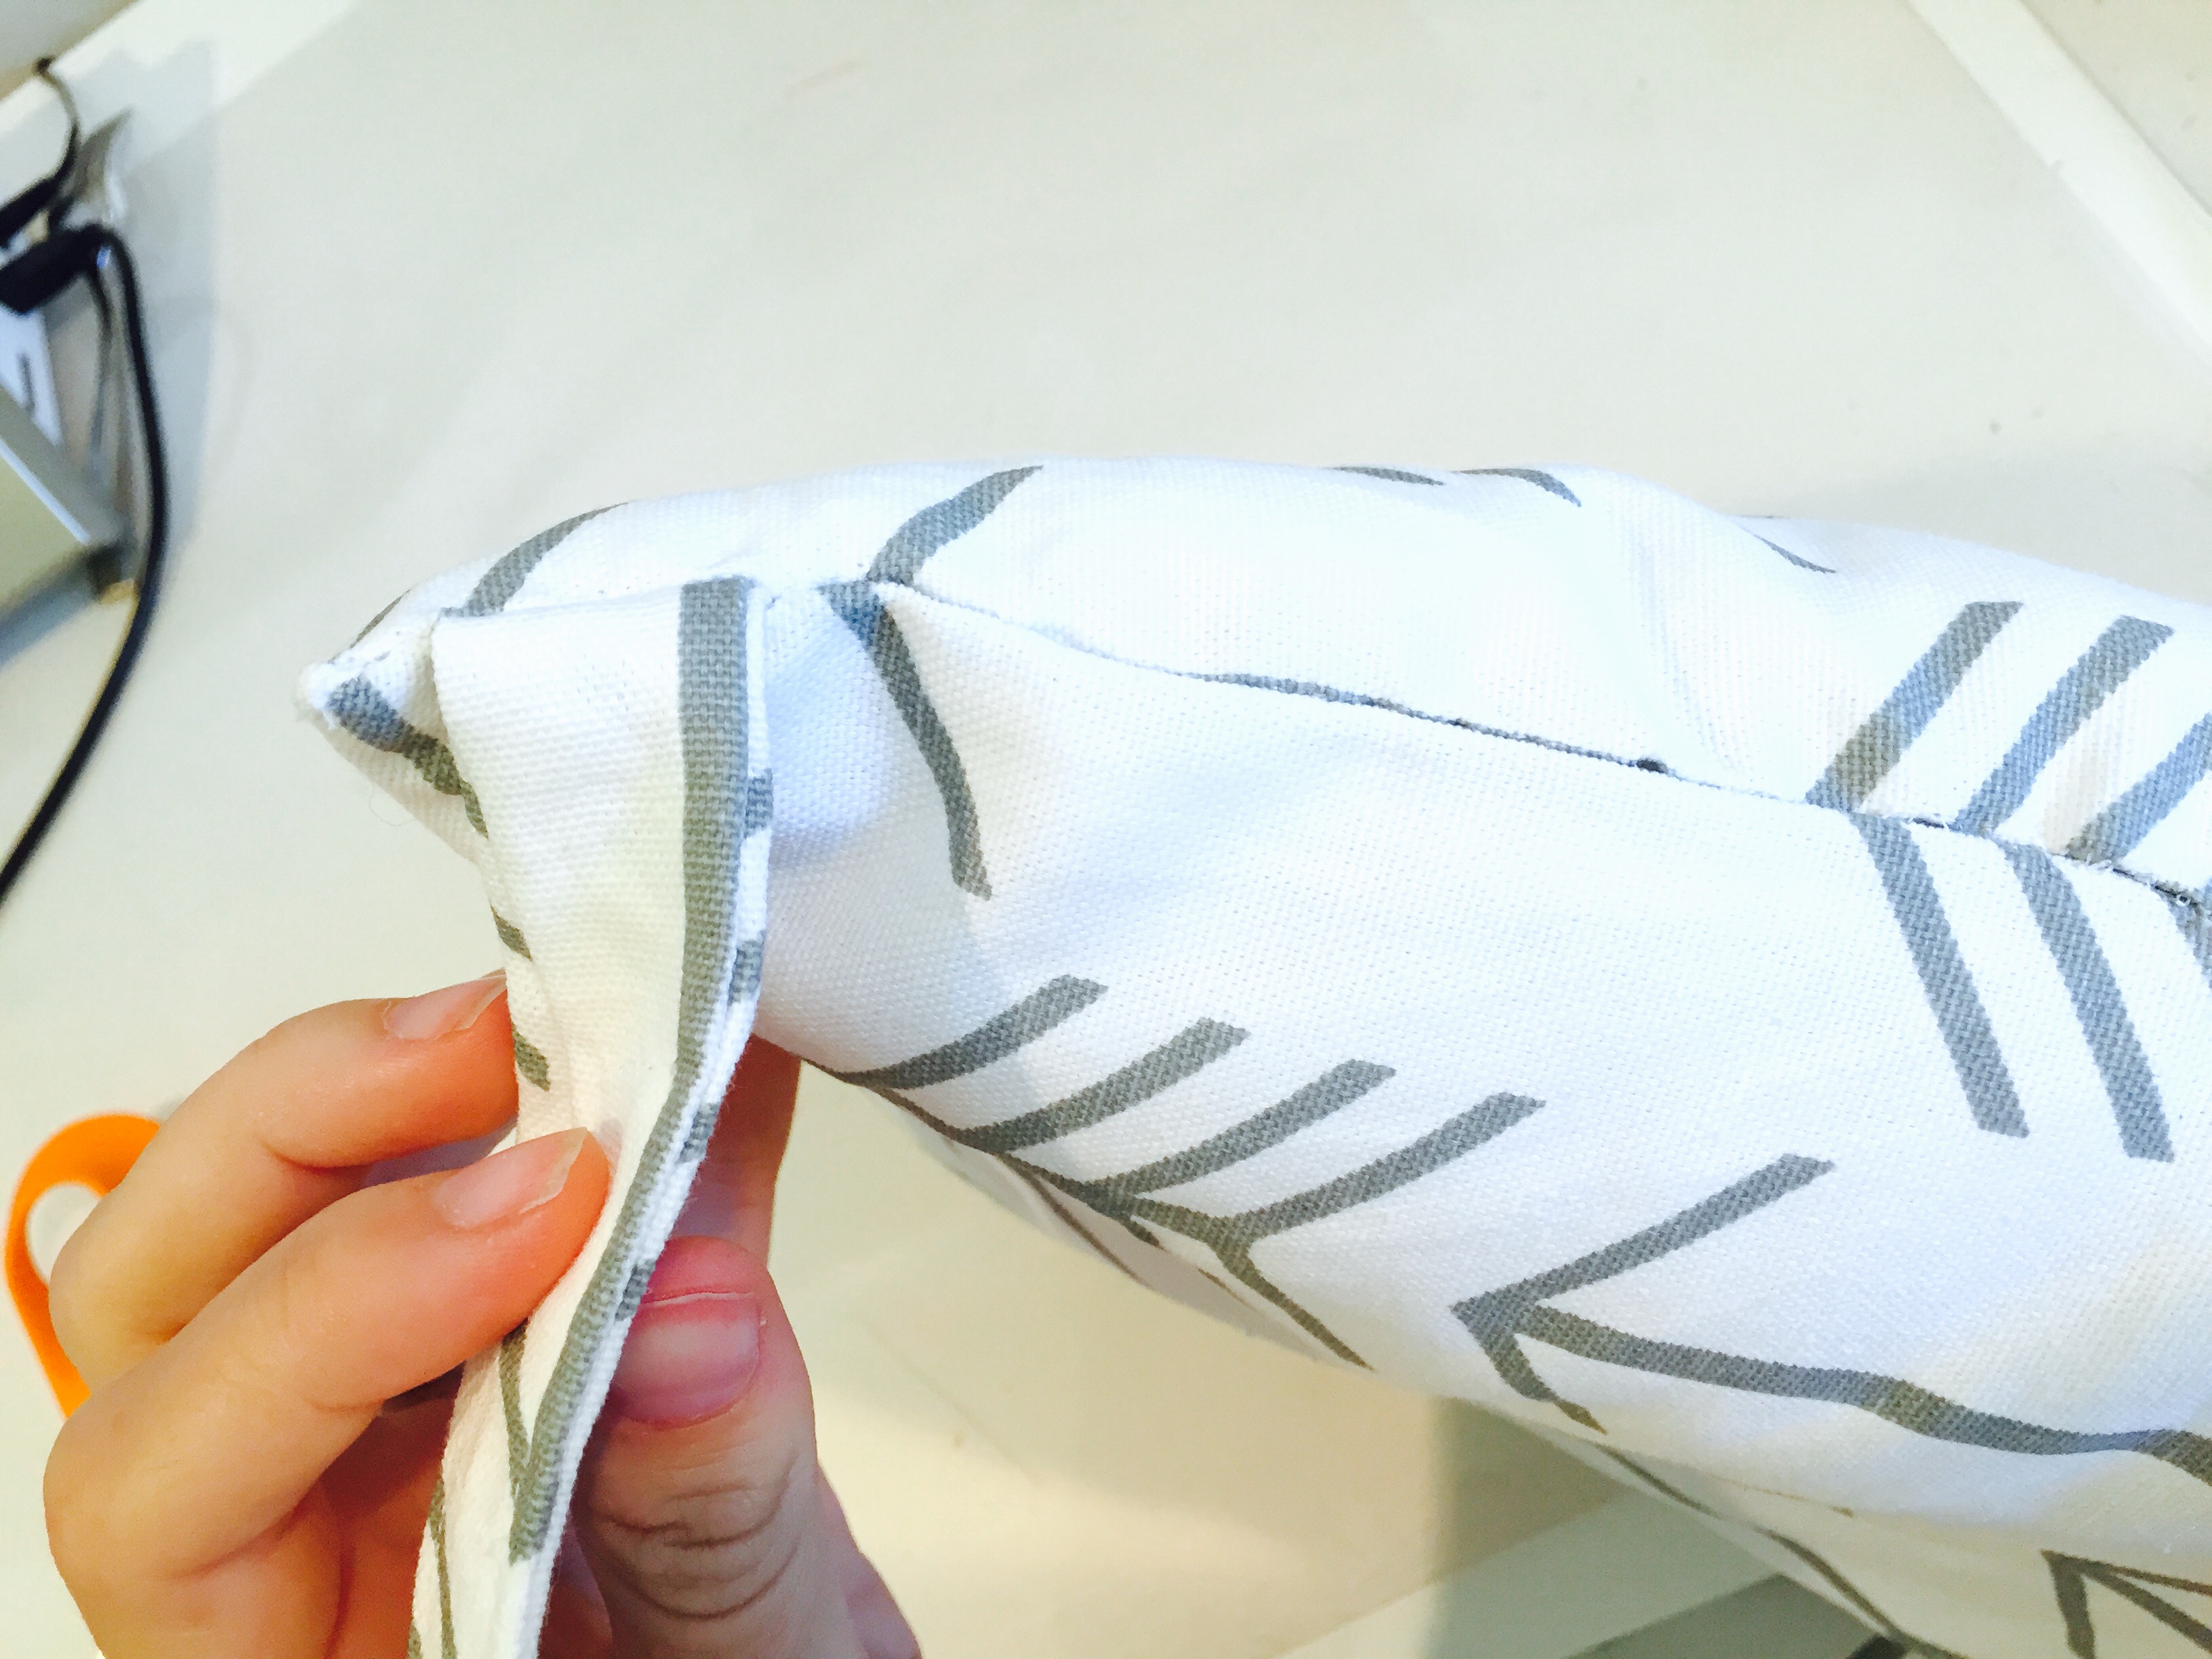
- Then, pull from the opposite end and turn the fabric right side out (so that the batting and seams are now on the inside).
- Repeat this step with your smaller pieces.
- You should end with one long bumper piece and one small bumper piece.
Step 9:
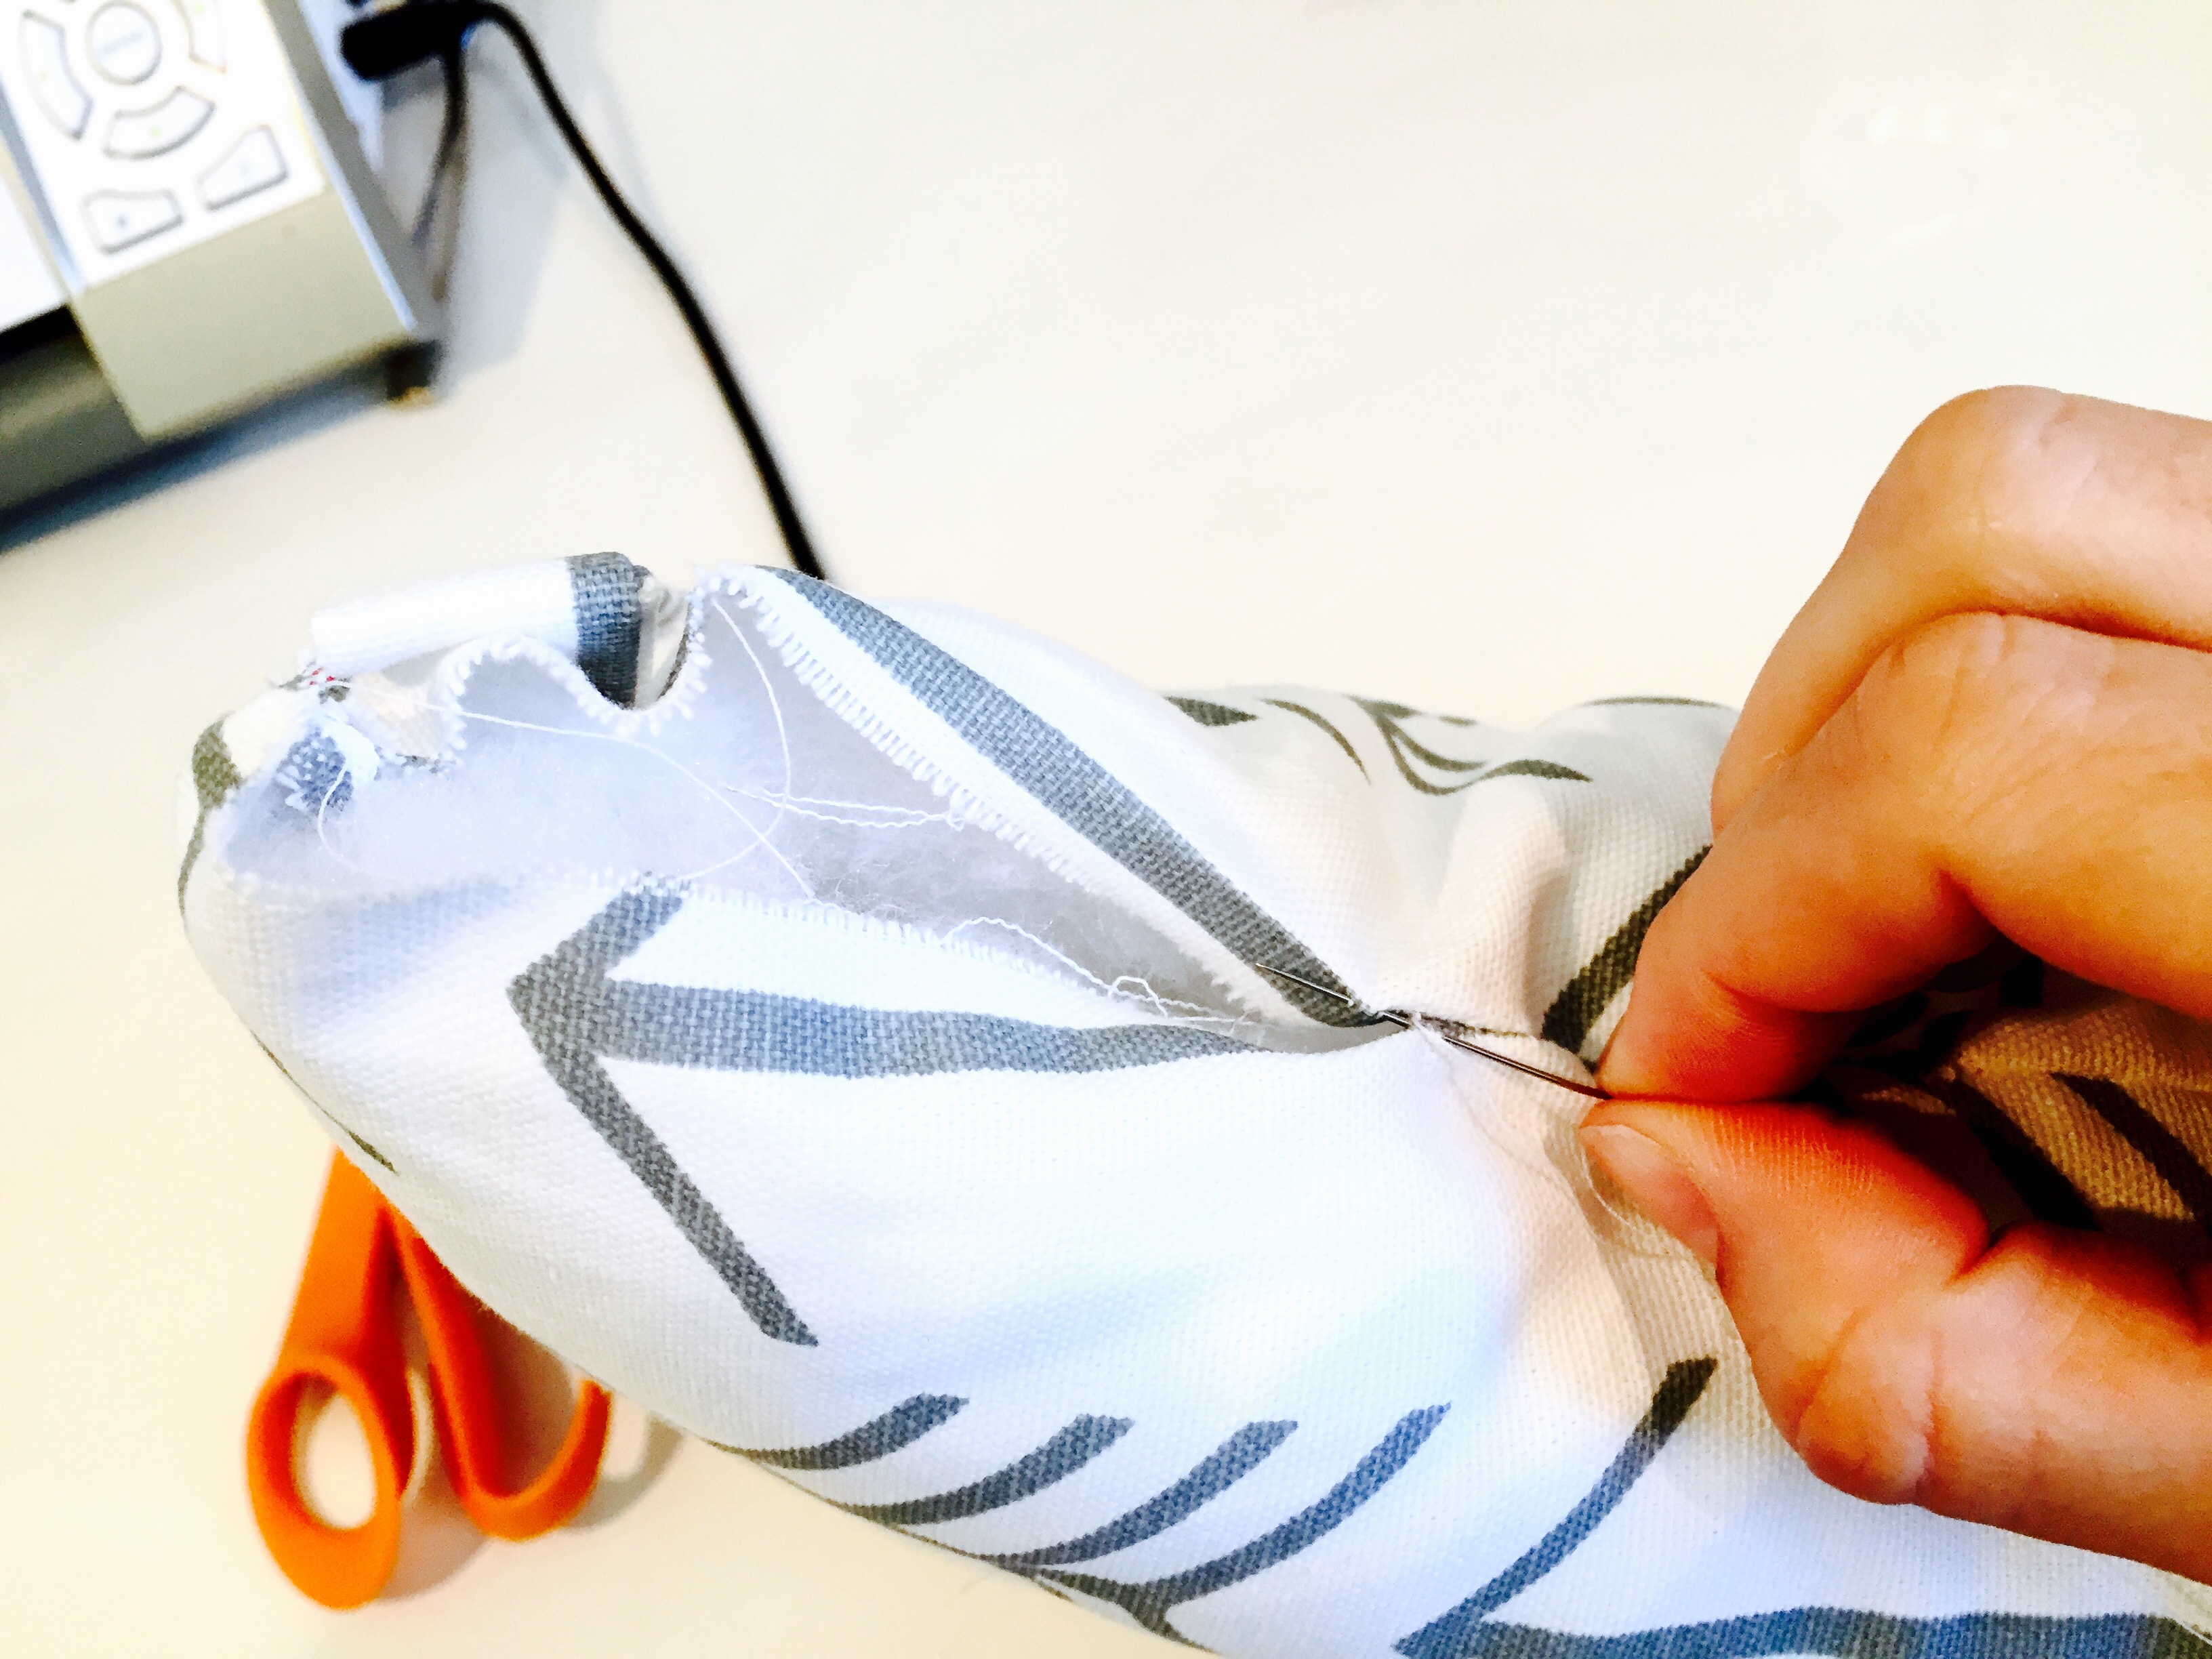
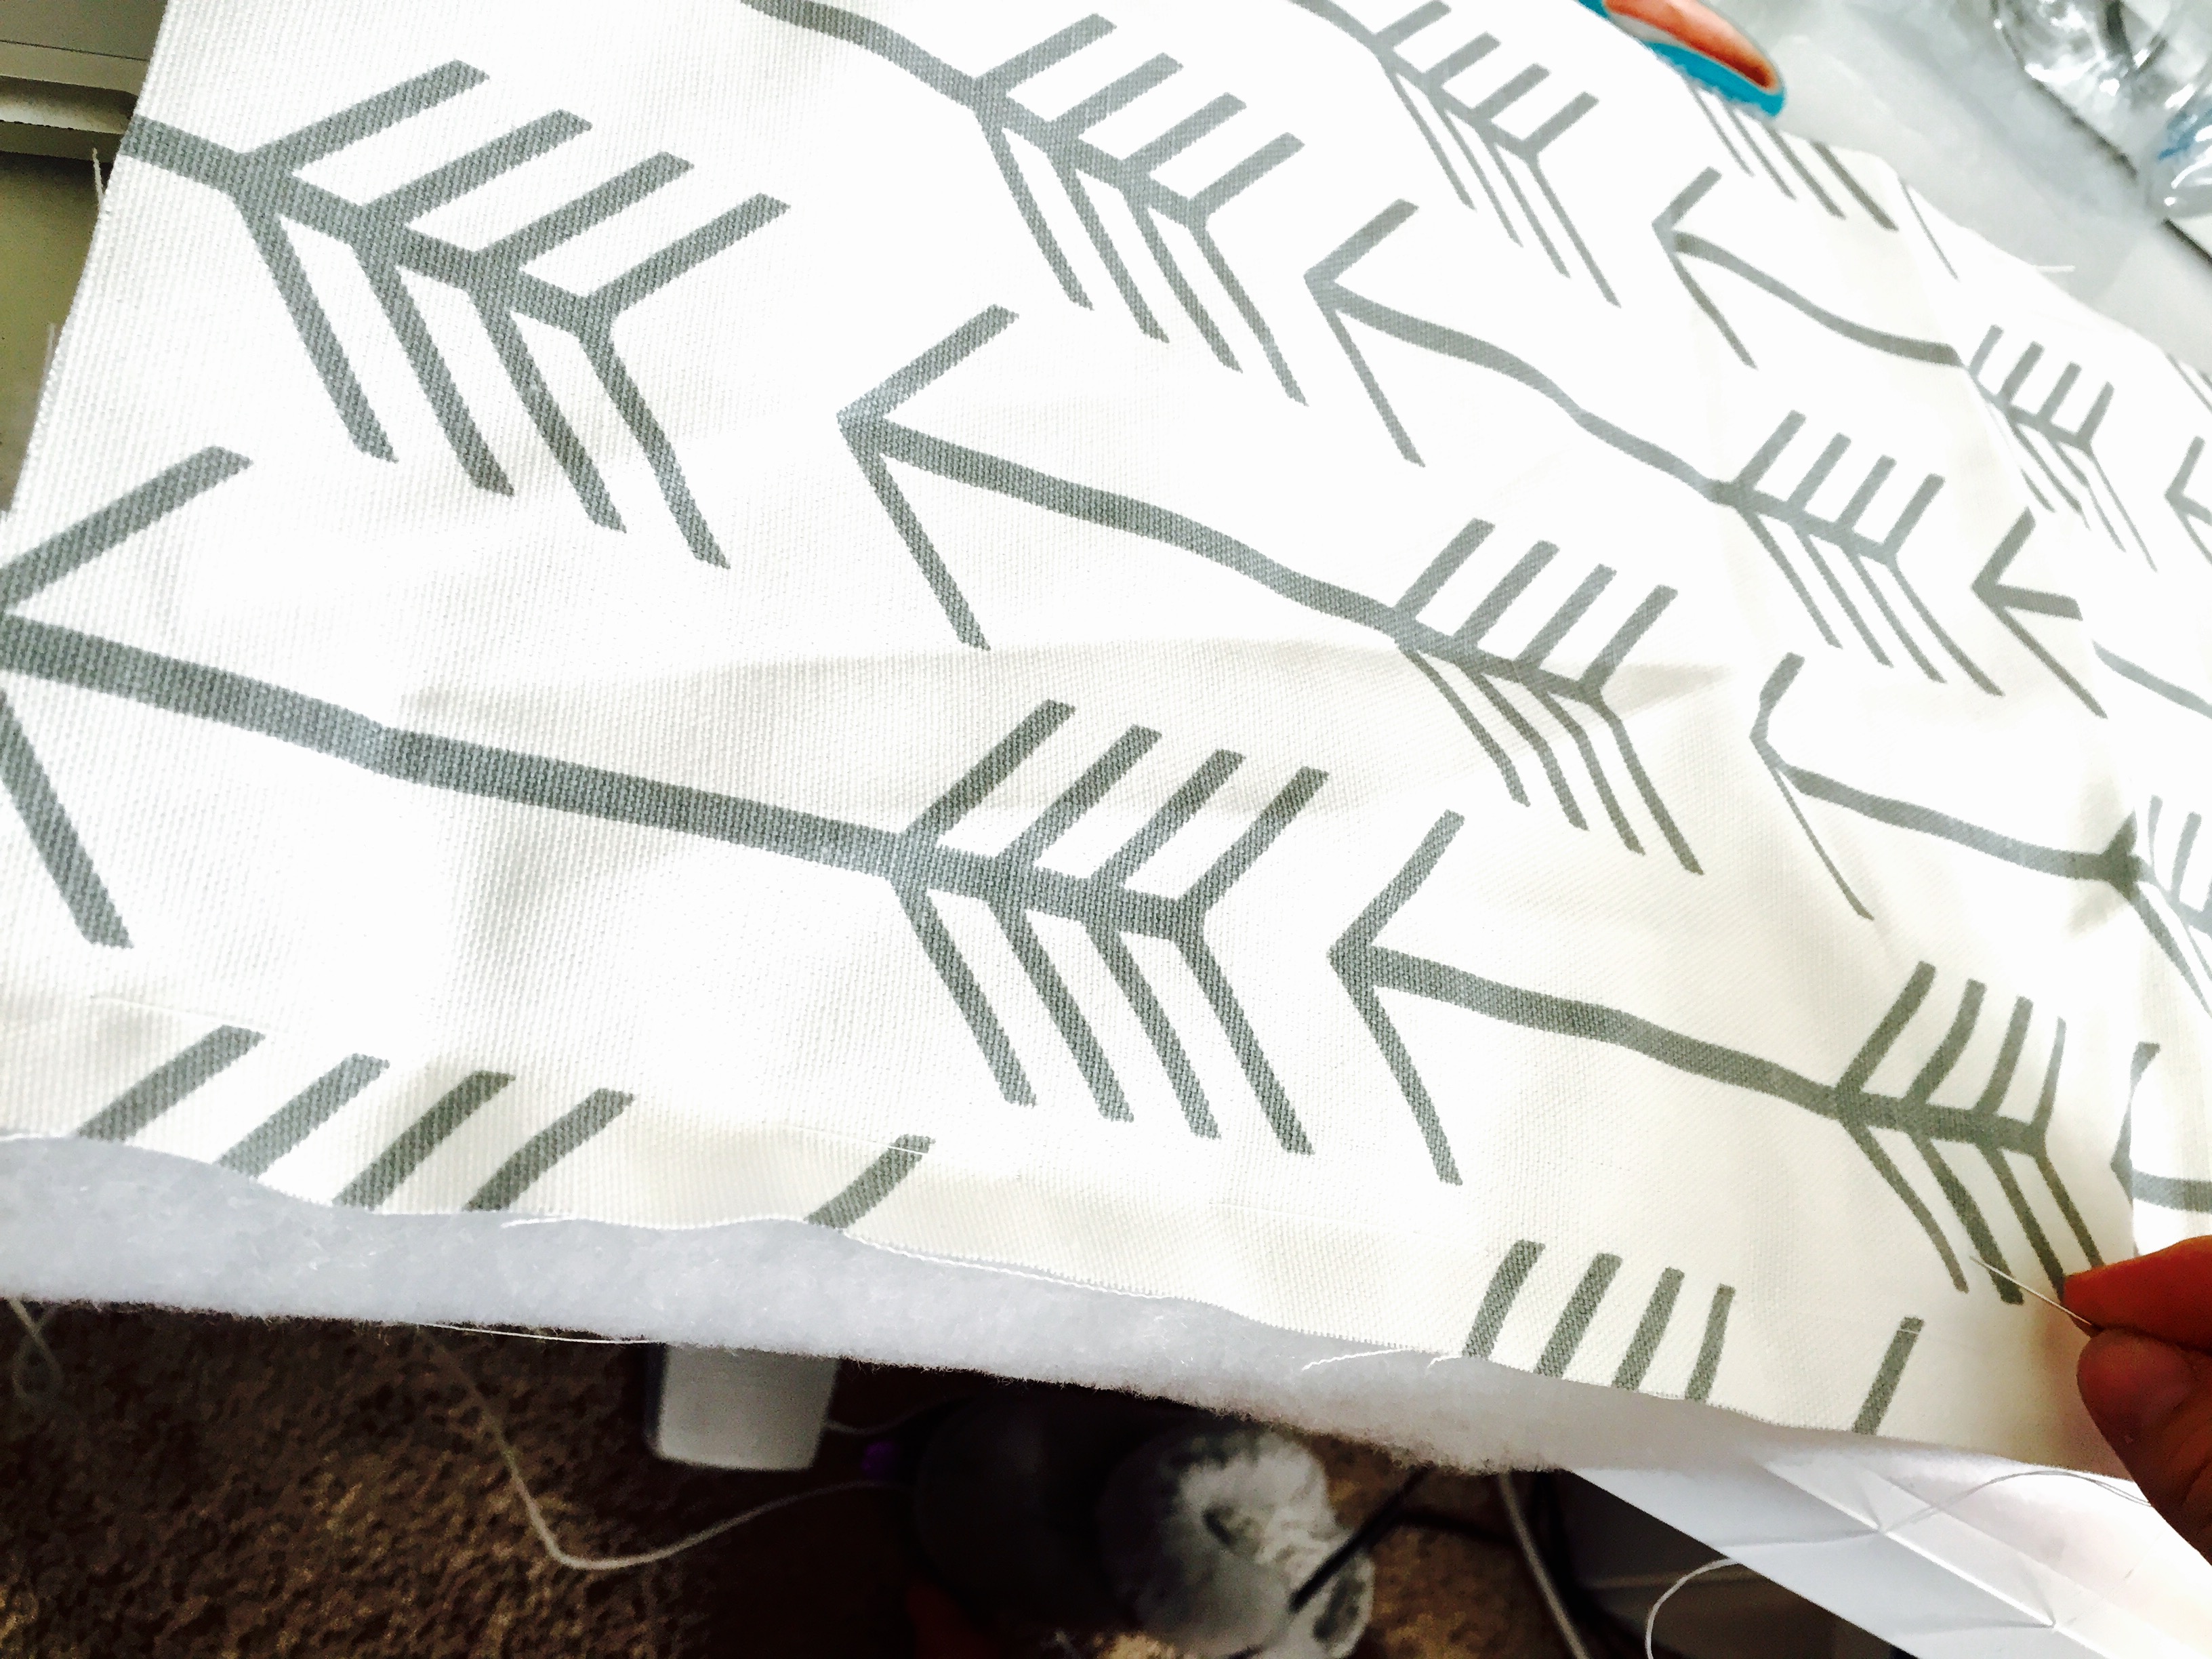
- Lastly, take your open edges (the ones you didn’t sew together with your sewing machine so that you could turn your fabric right side out) and curl the raw edges inward towards the batting.
- Then, hand sew the seam shut.
- With the edges curled inward, nobody will be able to tell it’s hand sewn vs. machine sewn.
Step 10:
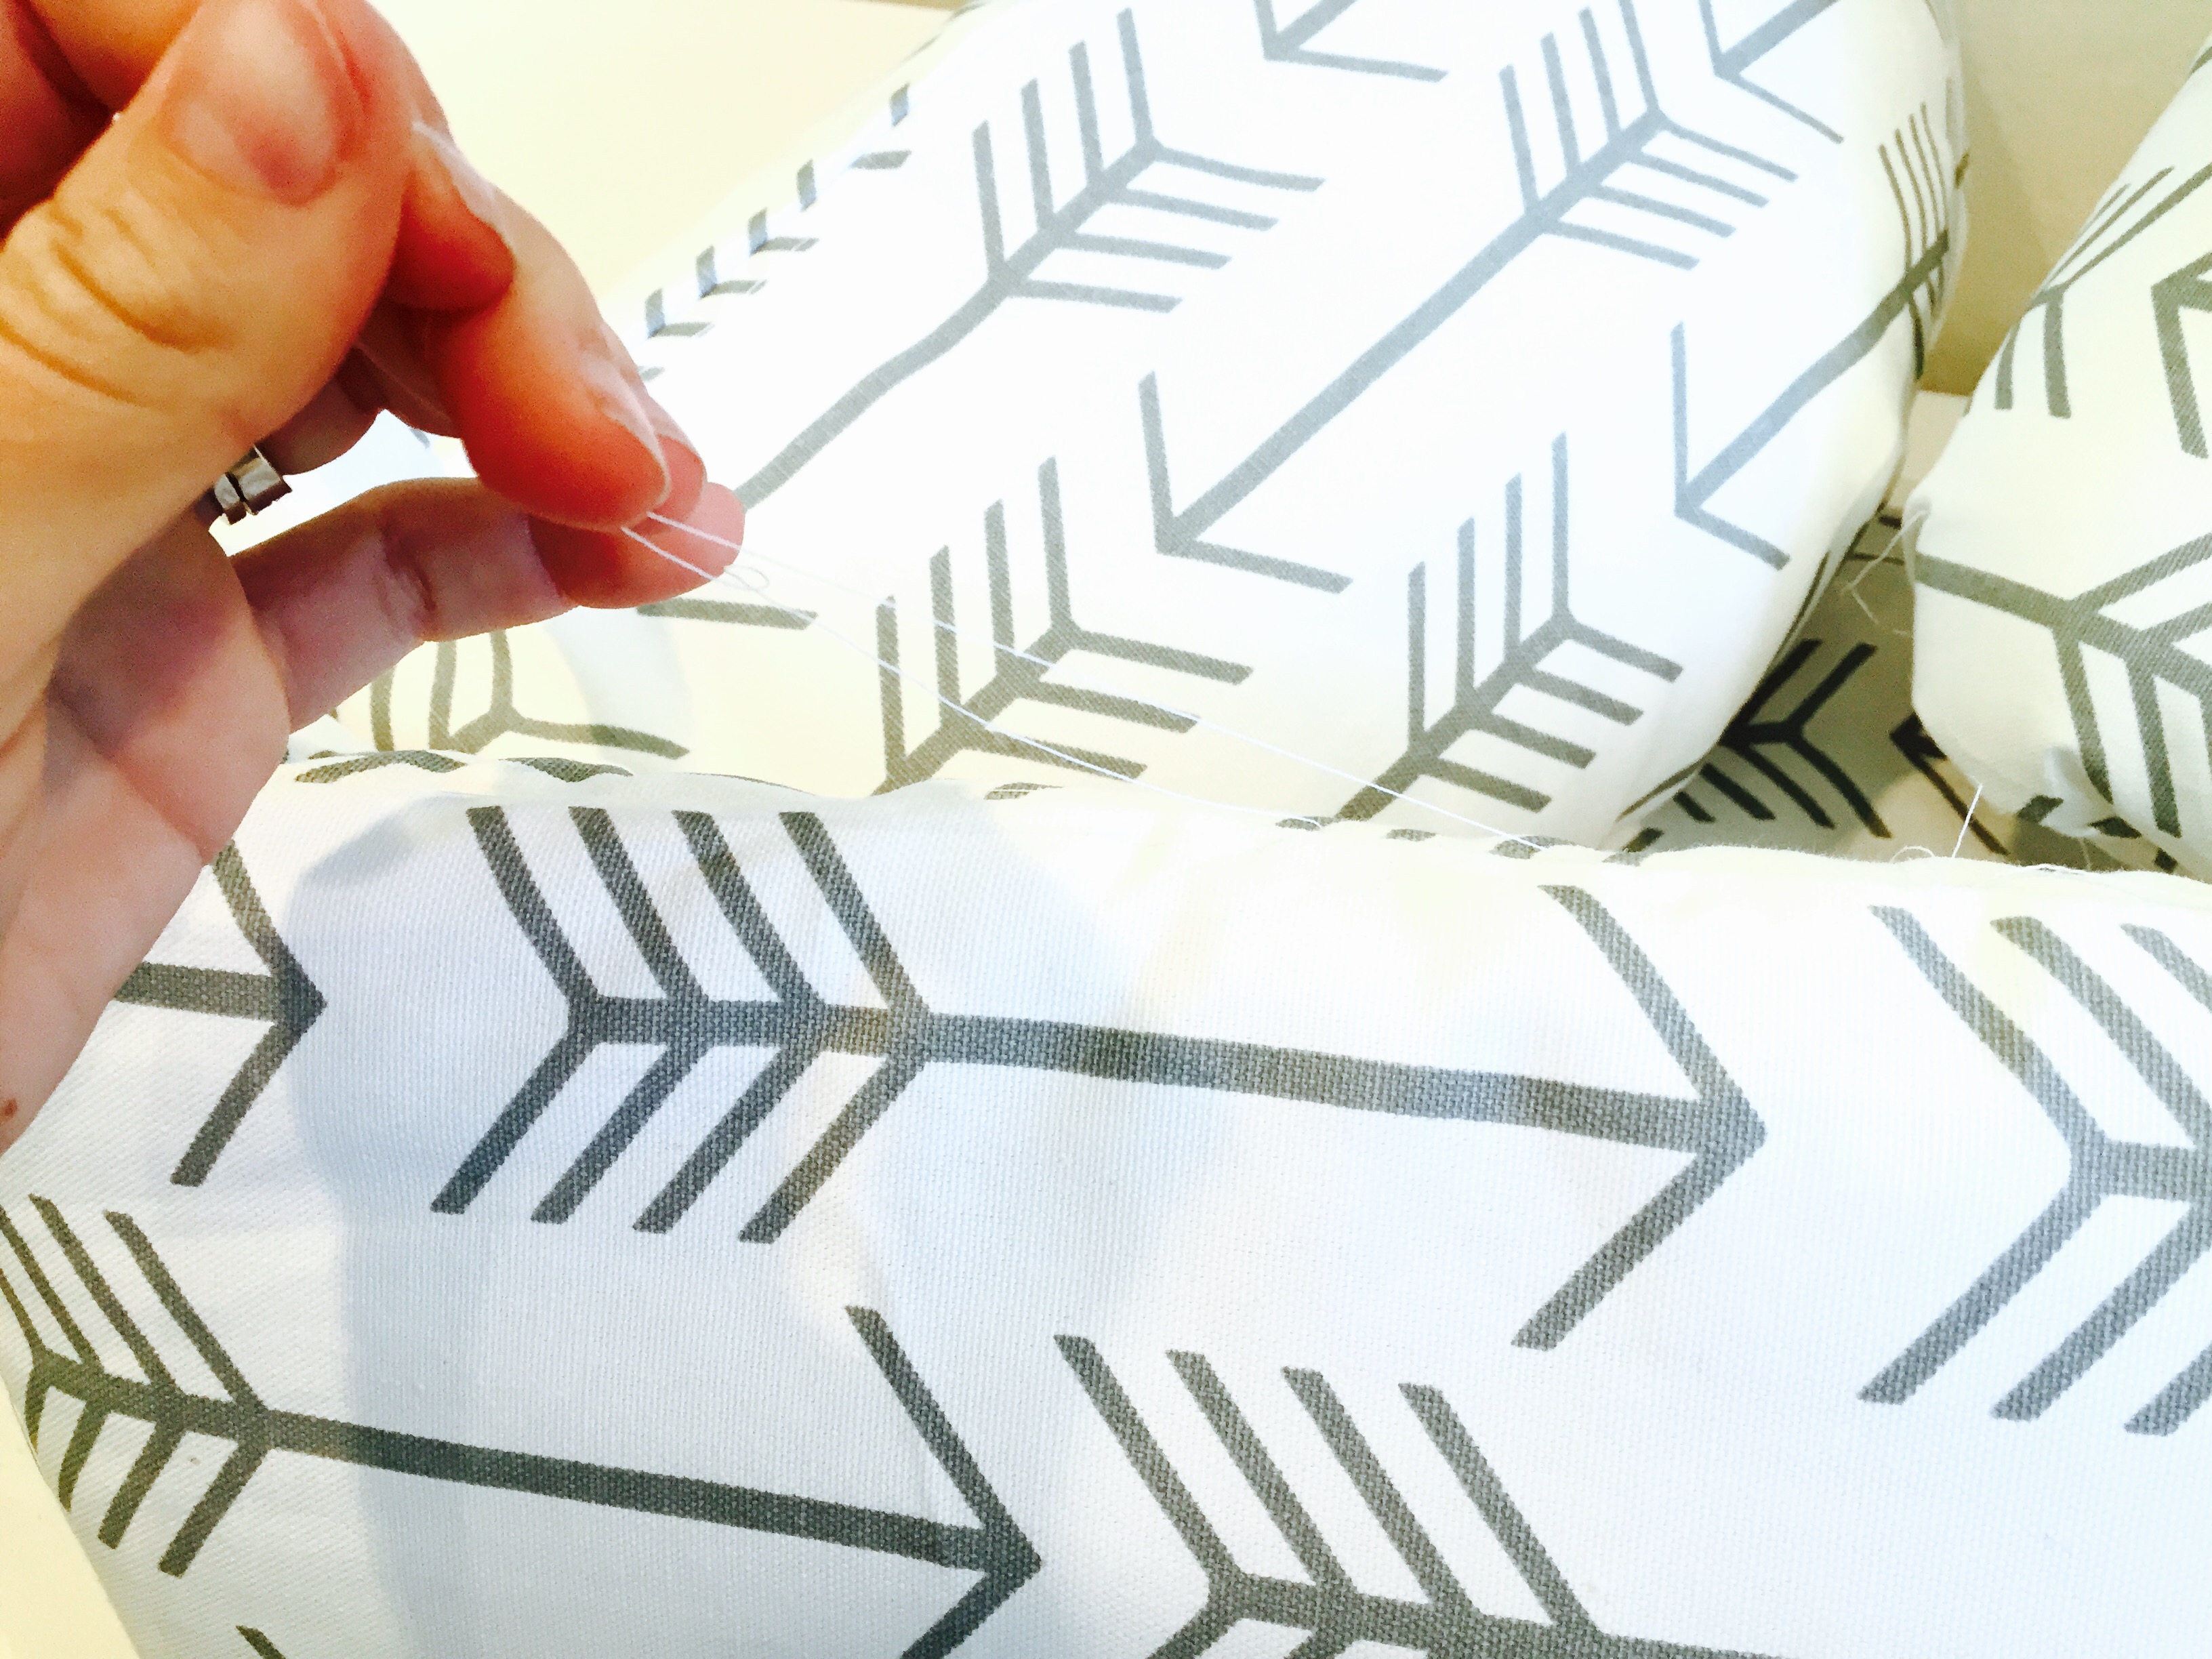
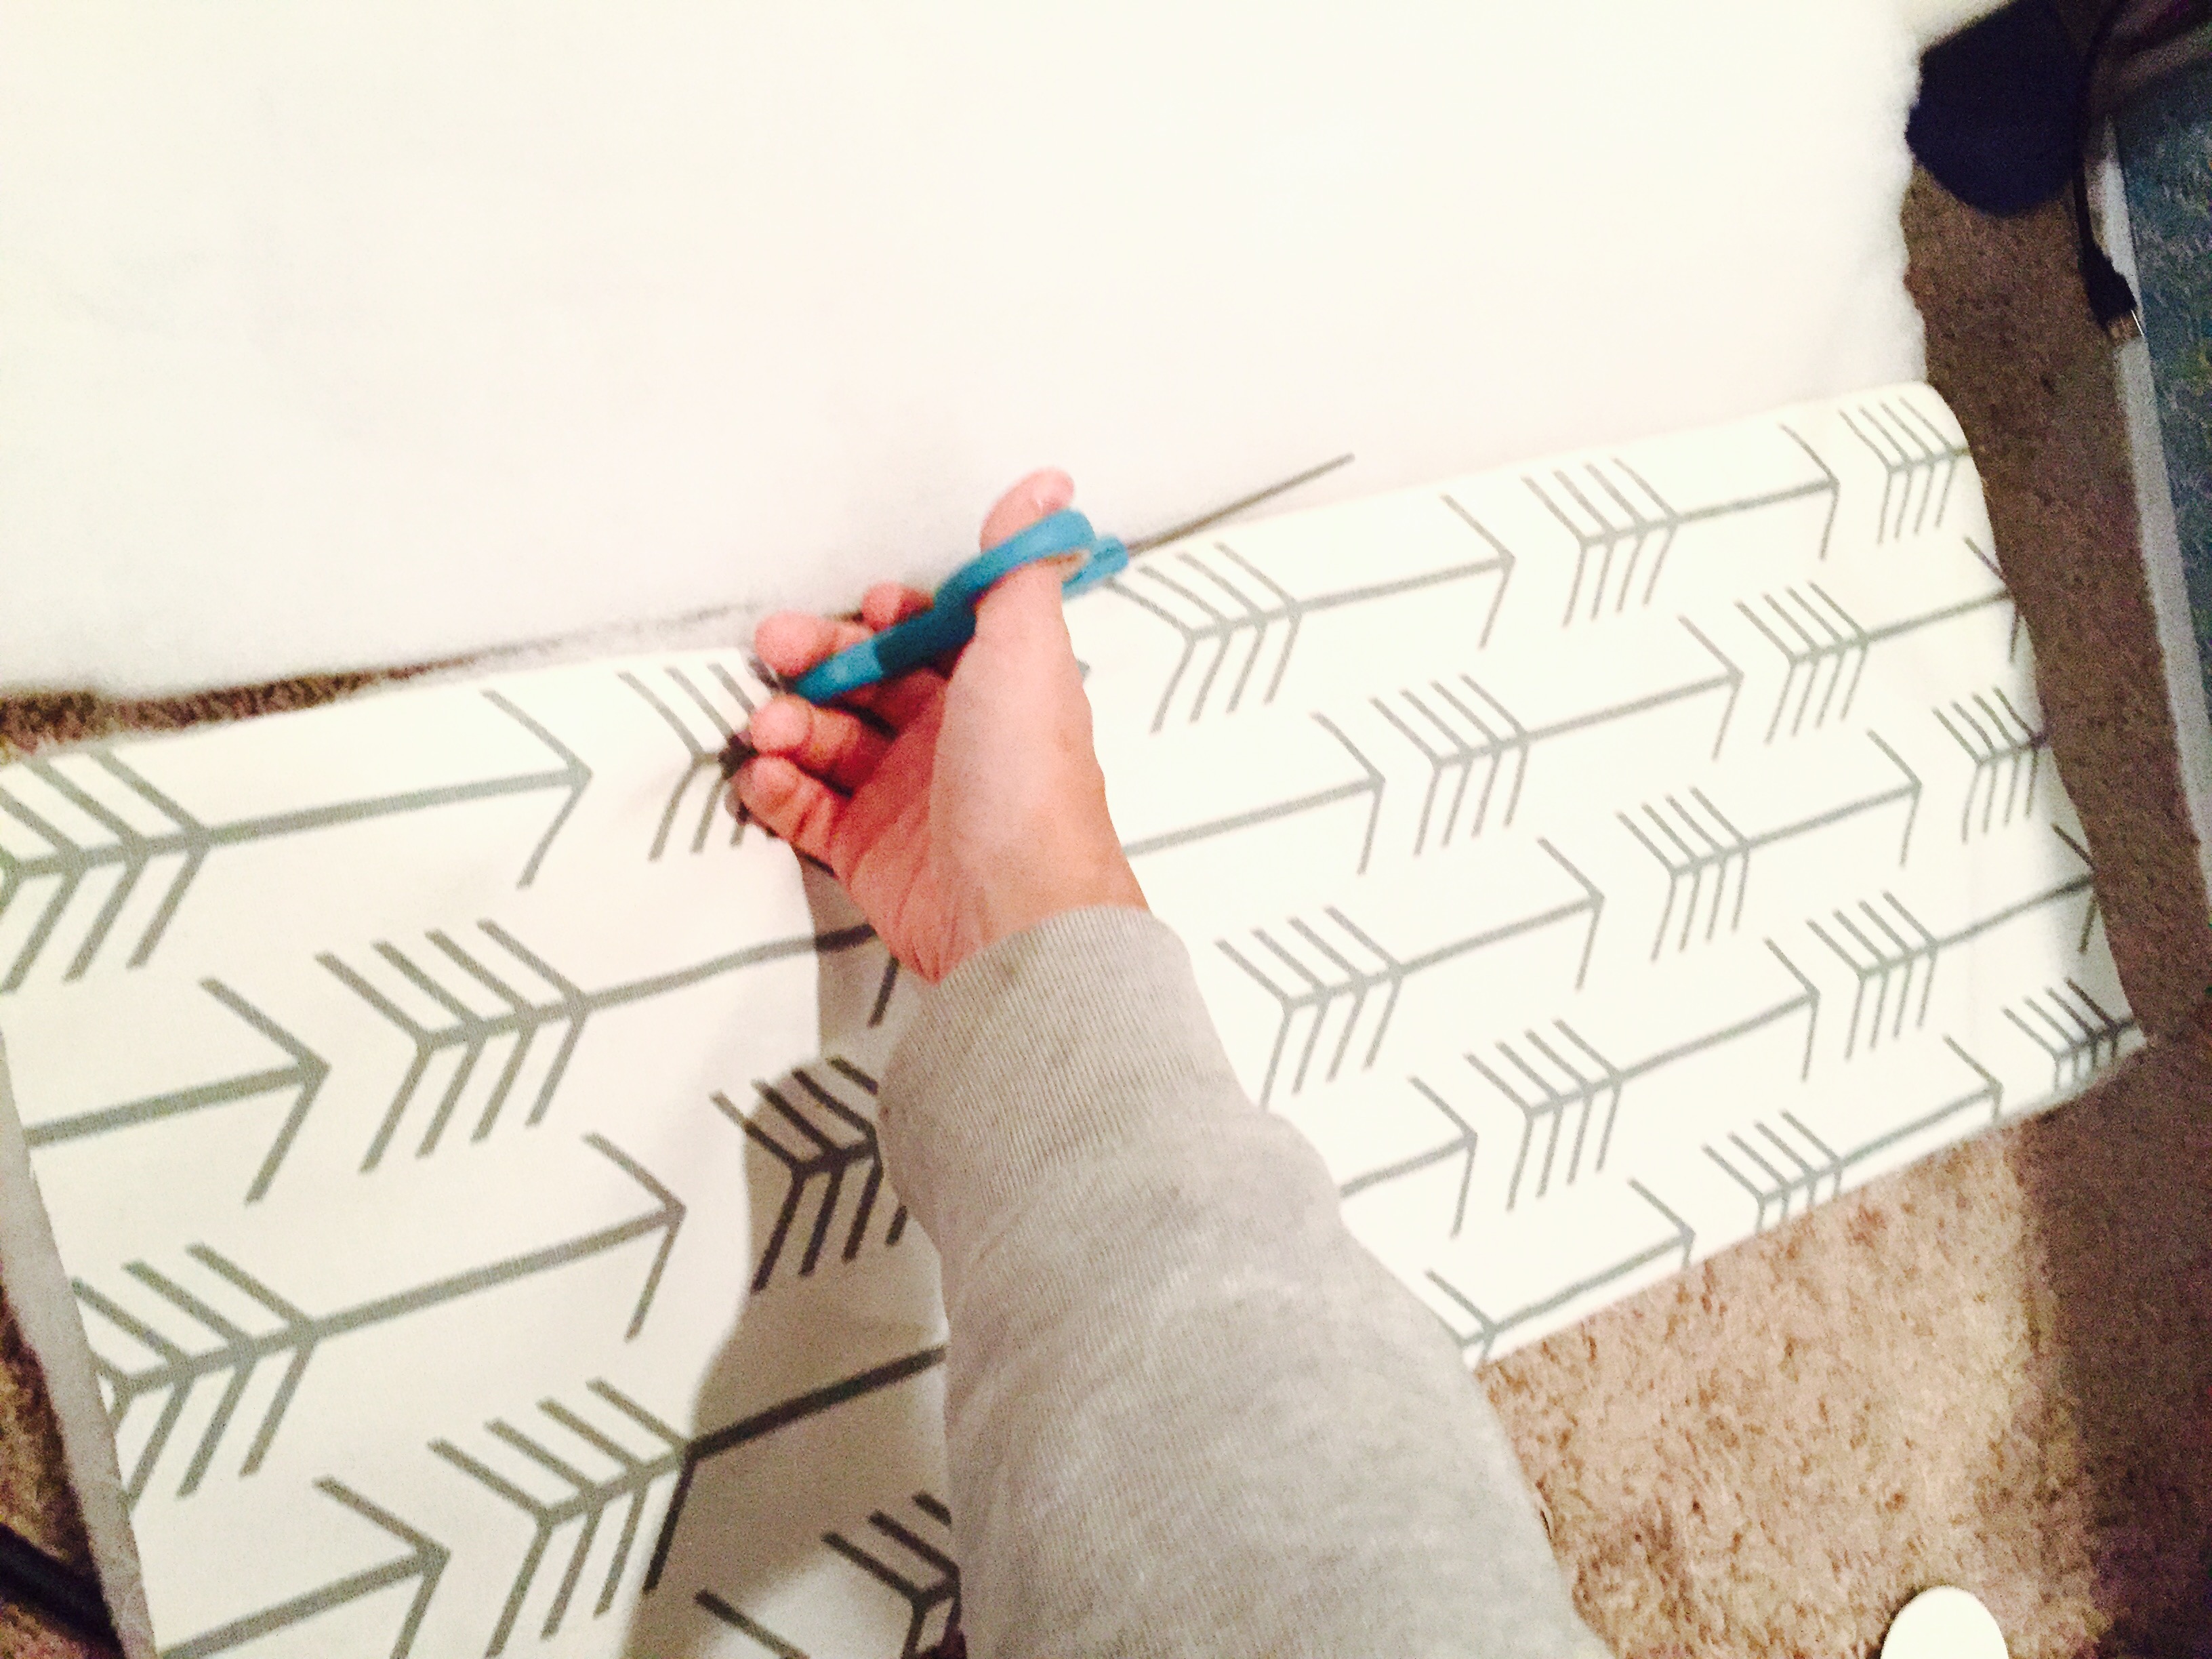
- Now really, LASTLY, if you made any BASTING stitches, use your scissors and carefully cut/remove them from your bumpers.
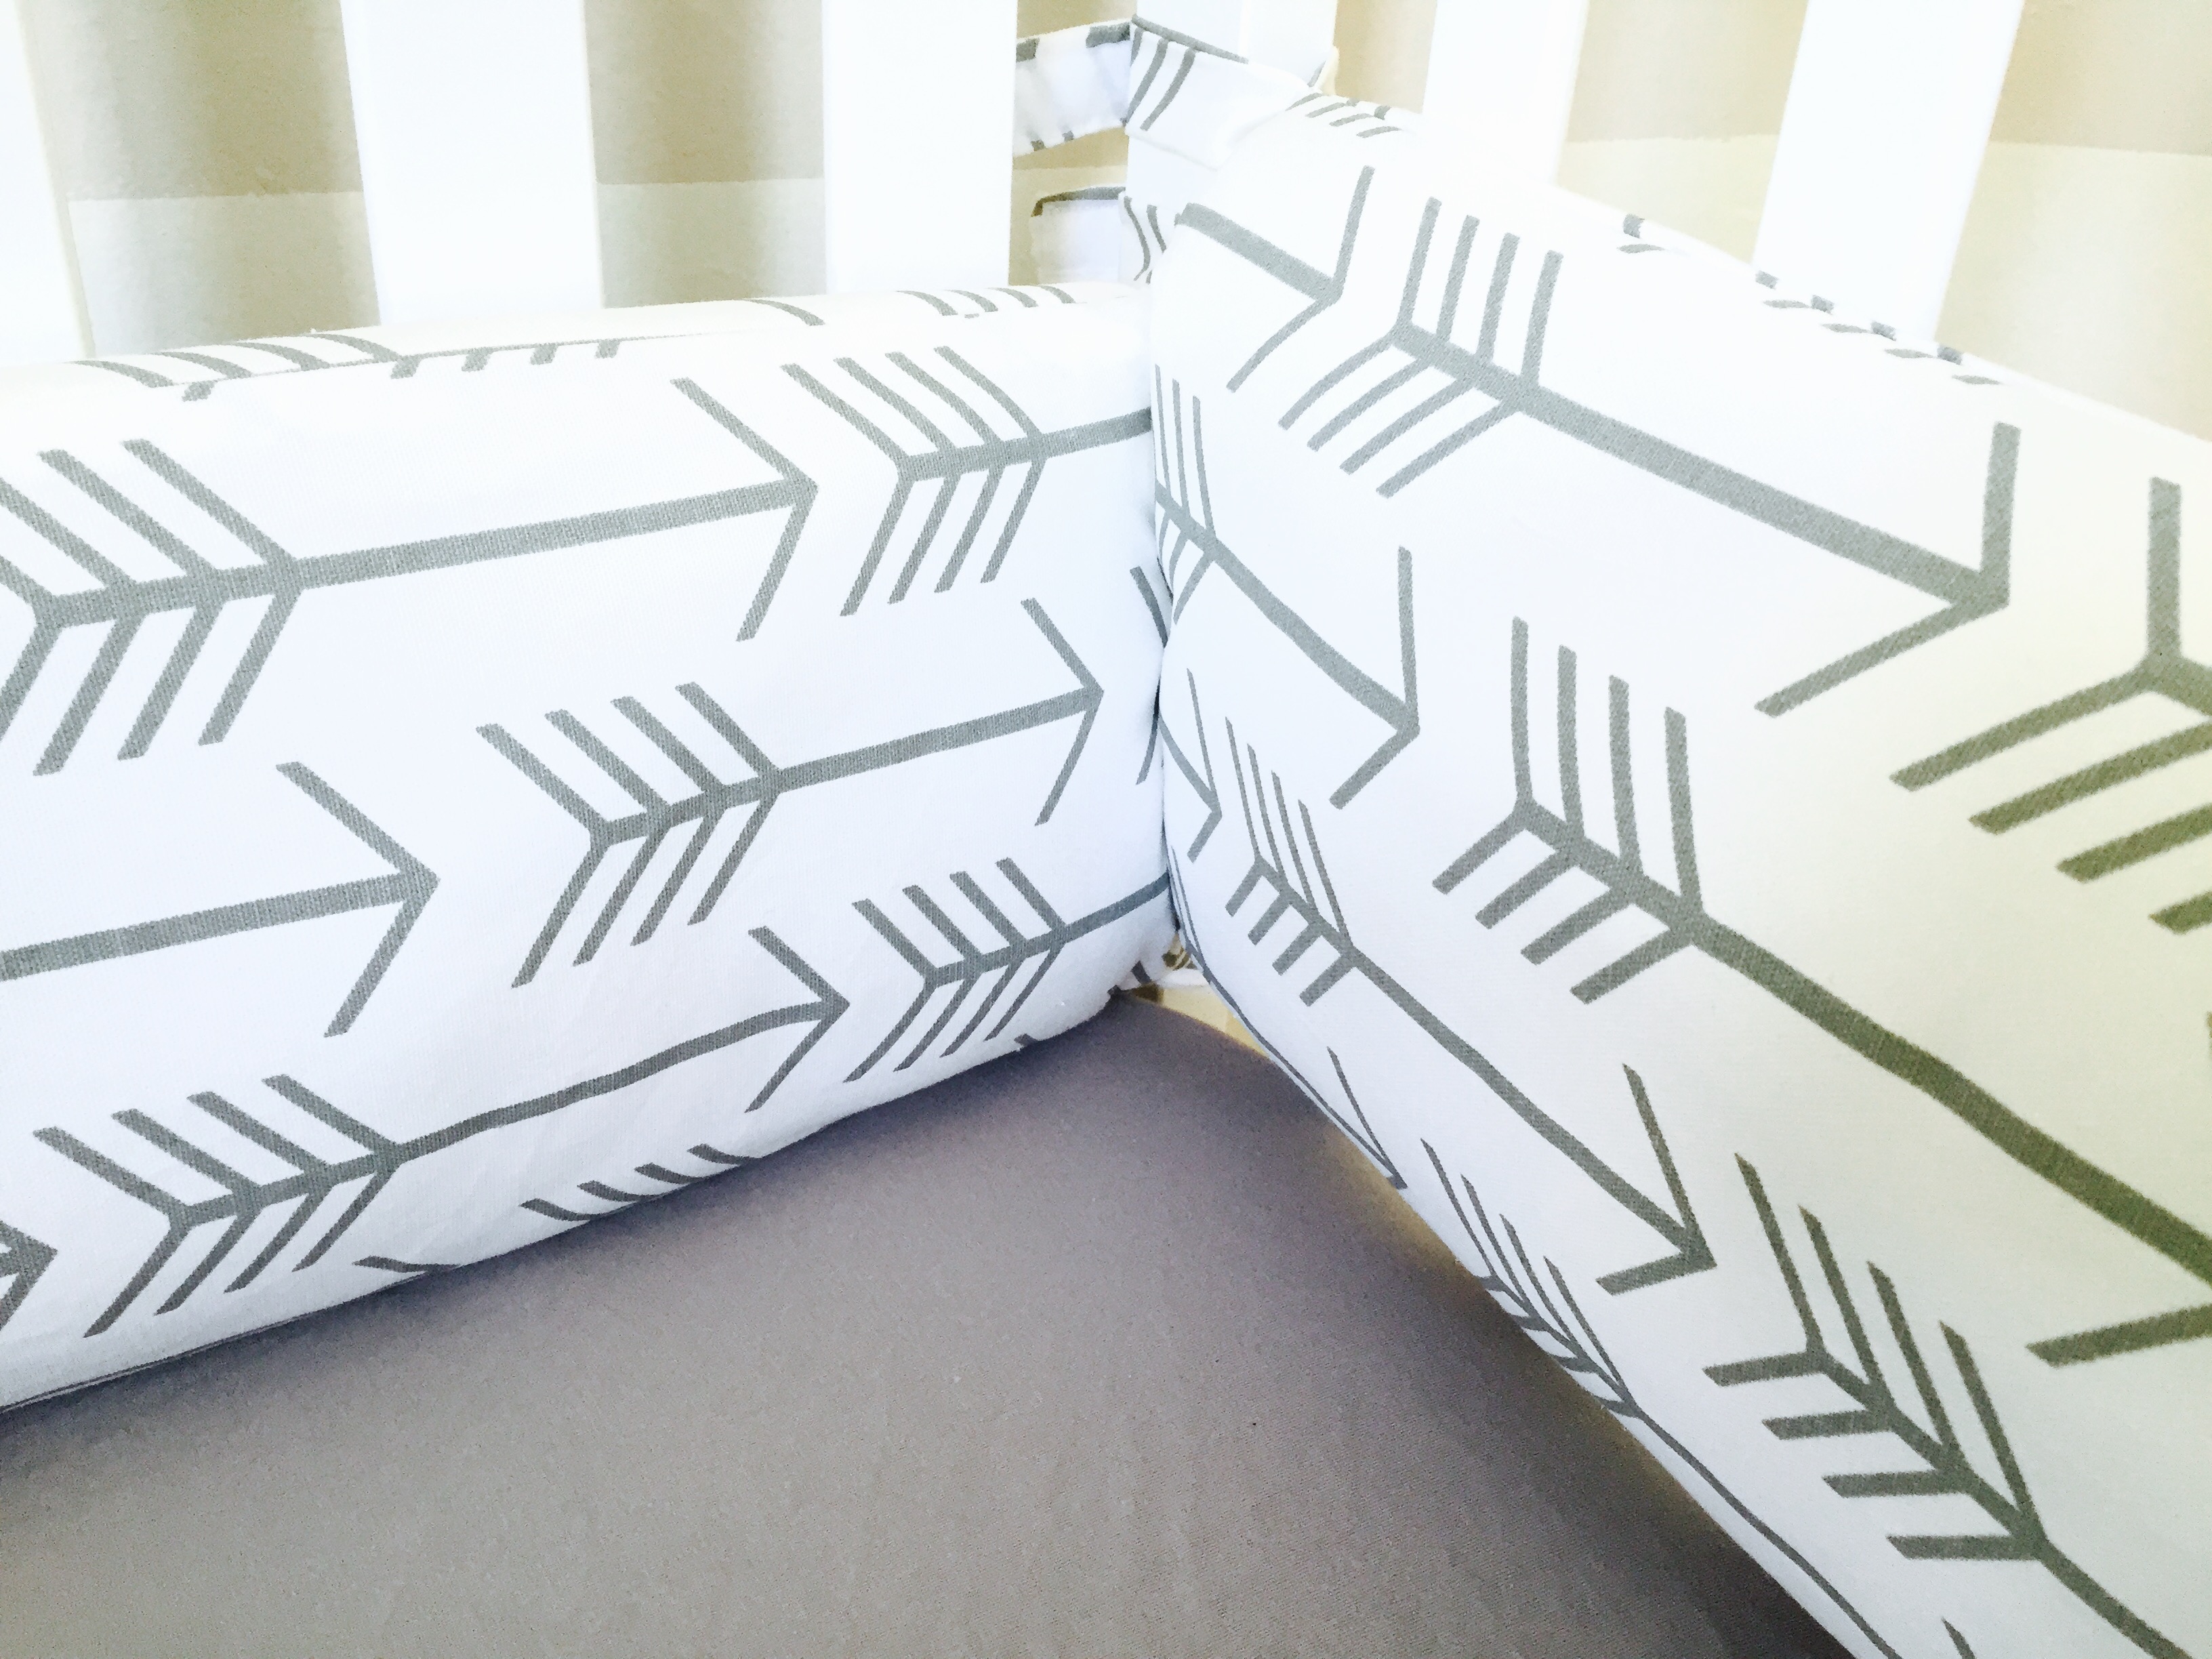
- Now, you are ready to attach your bumpers to your crib!
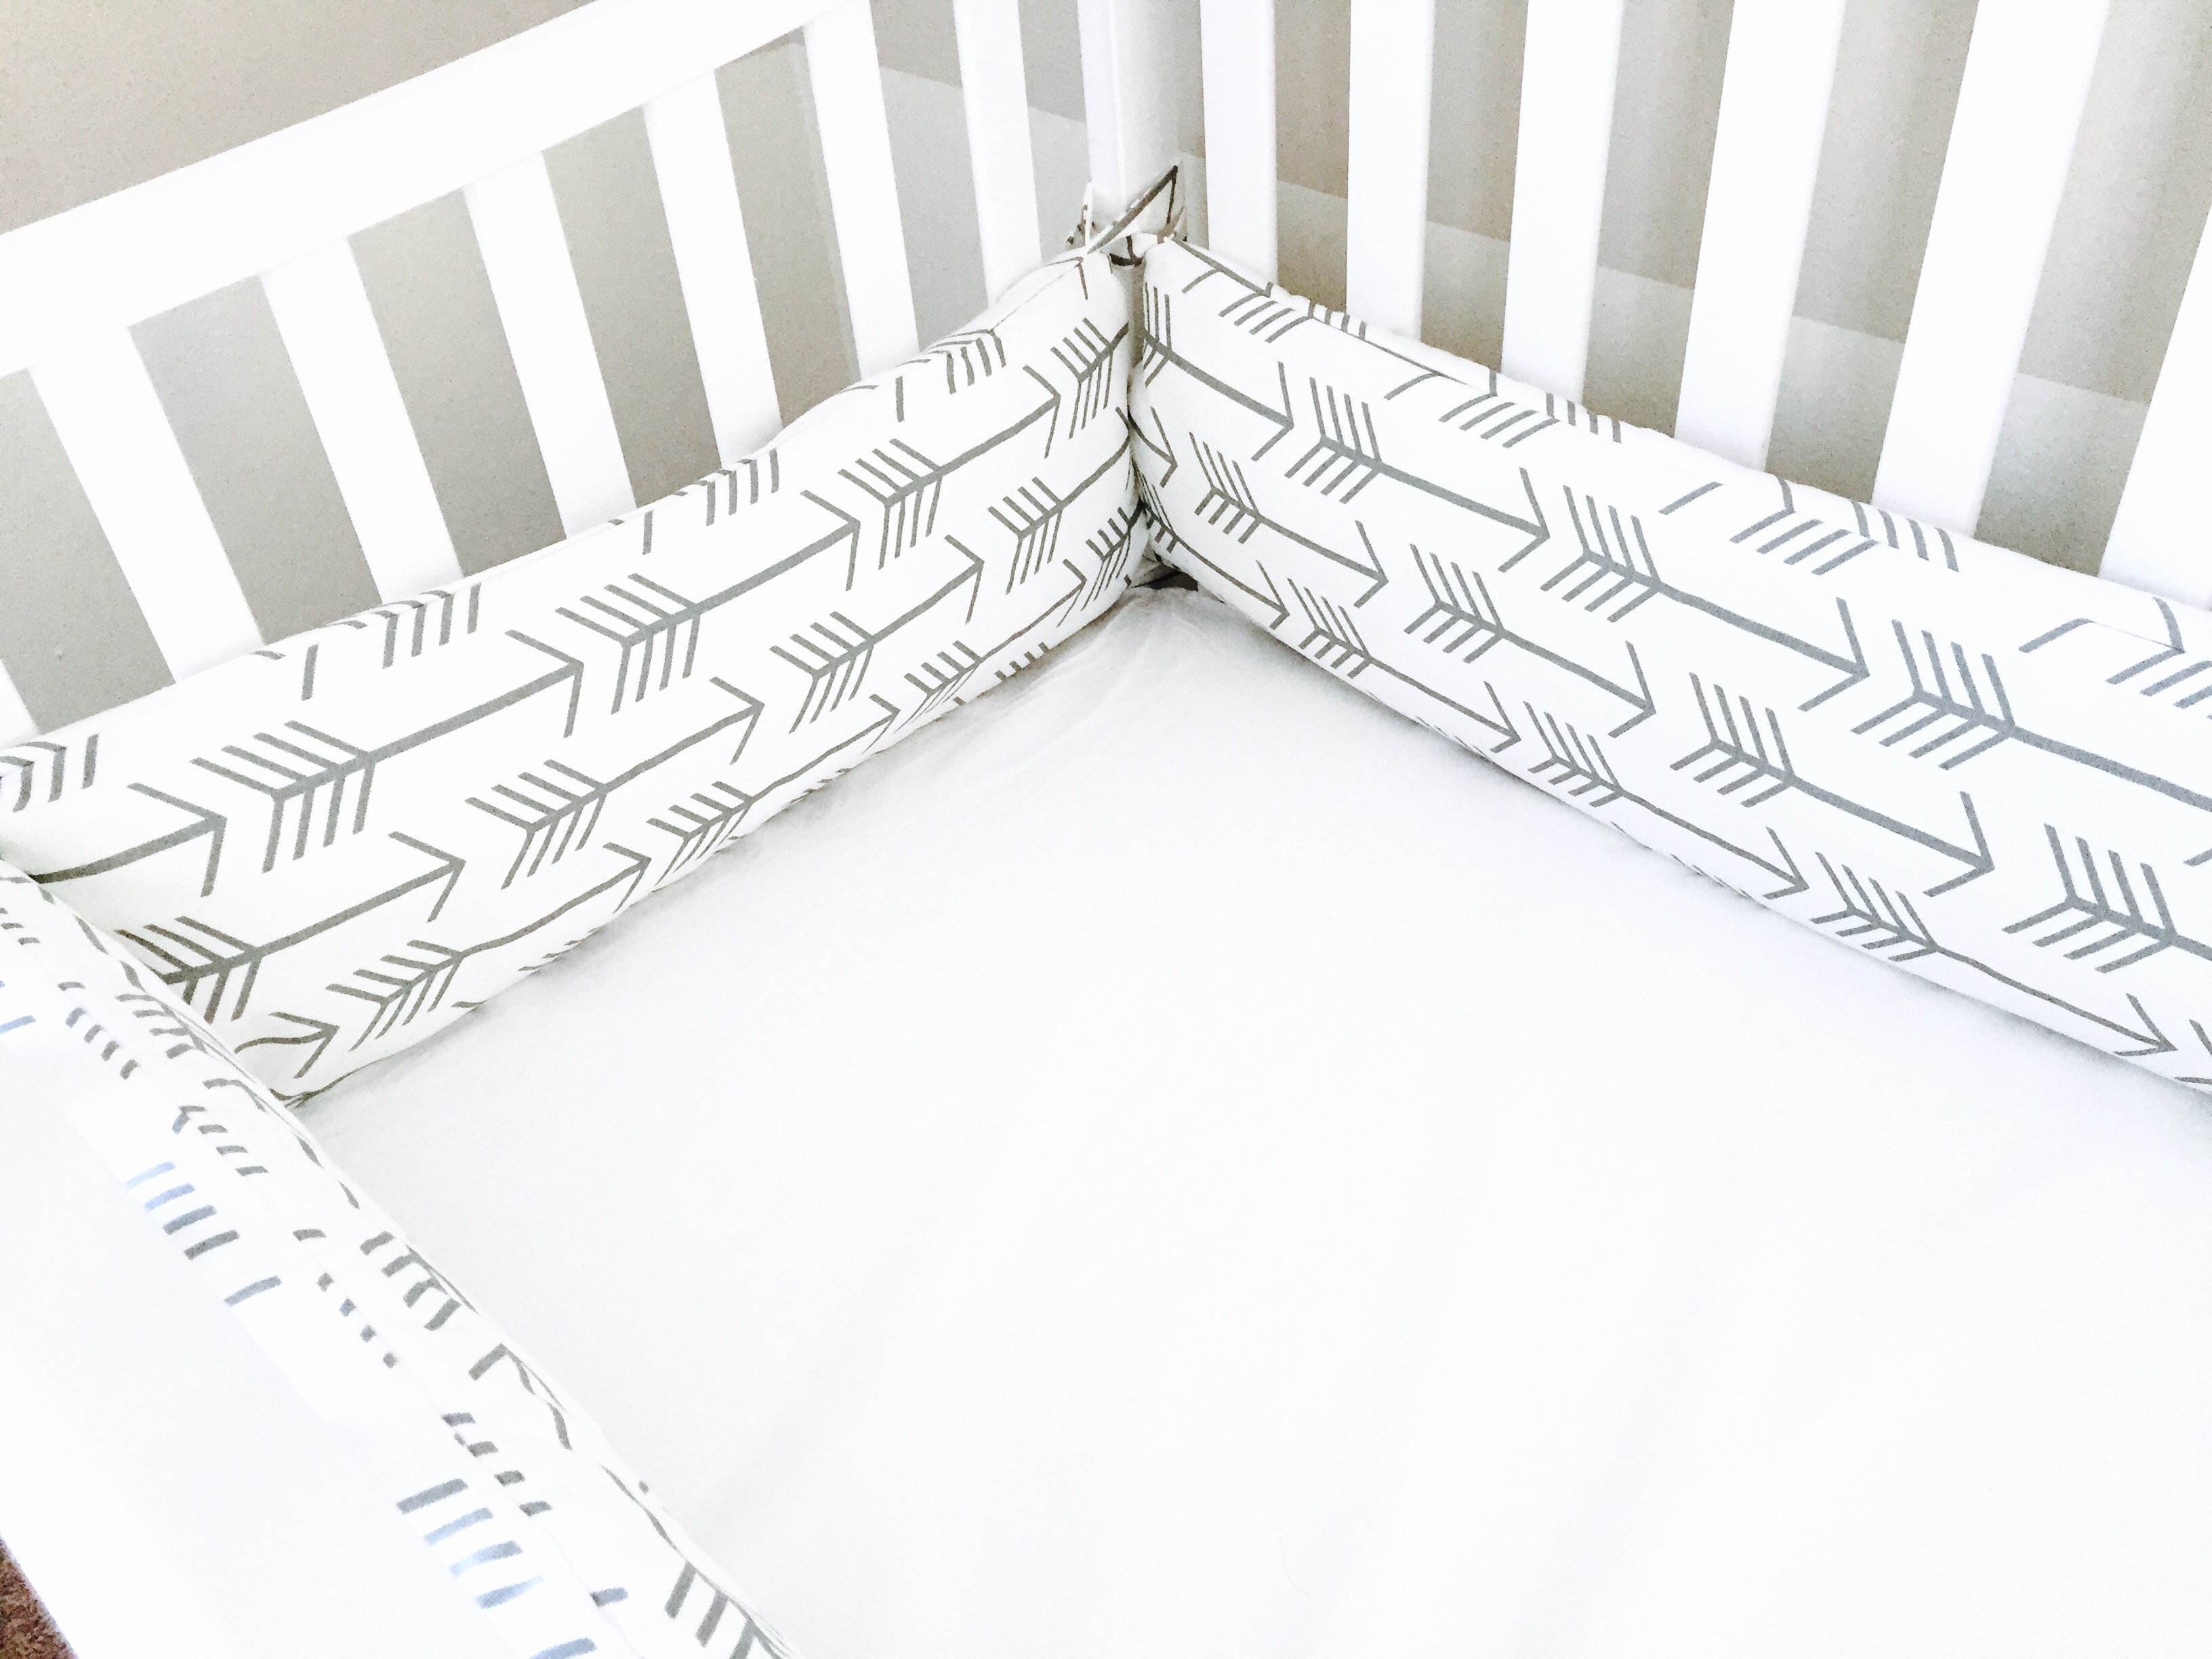
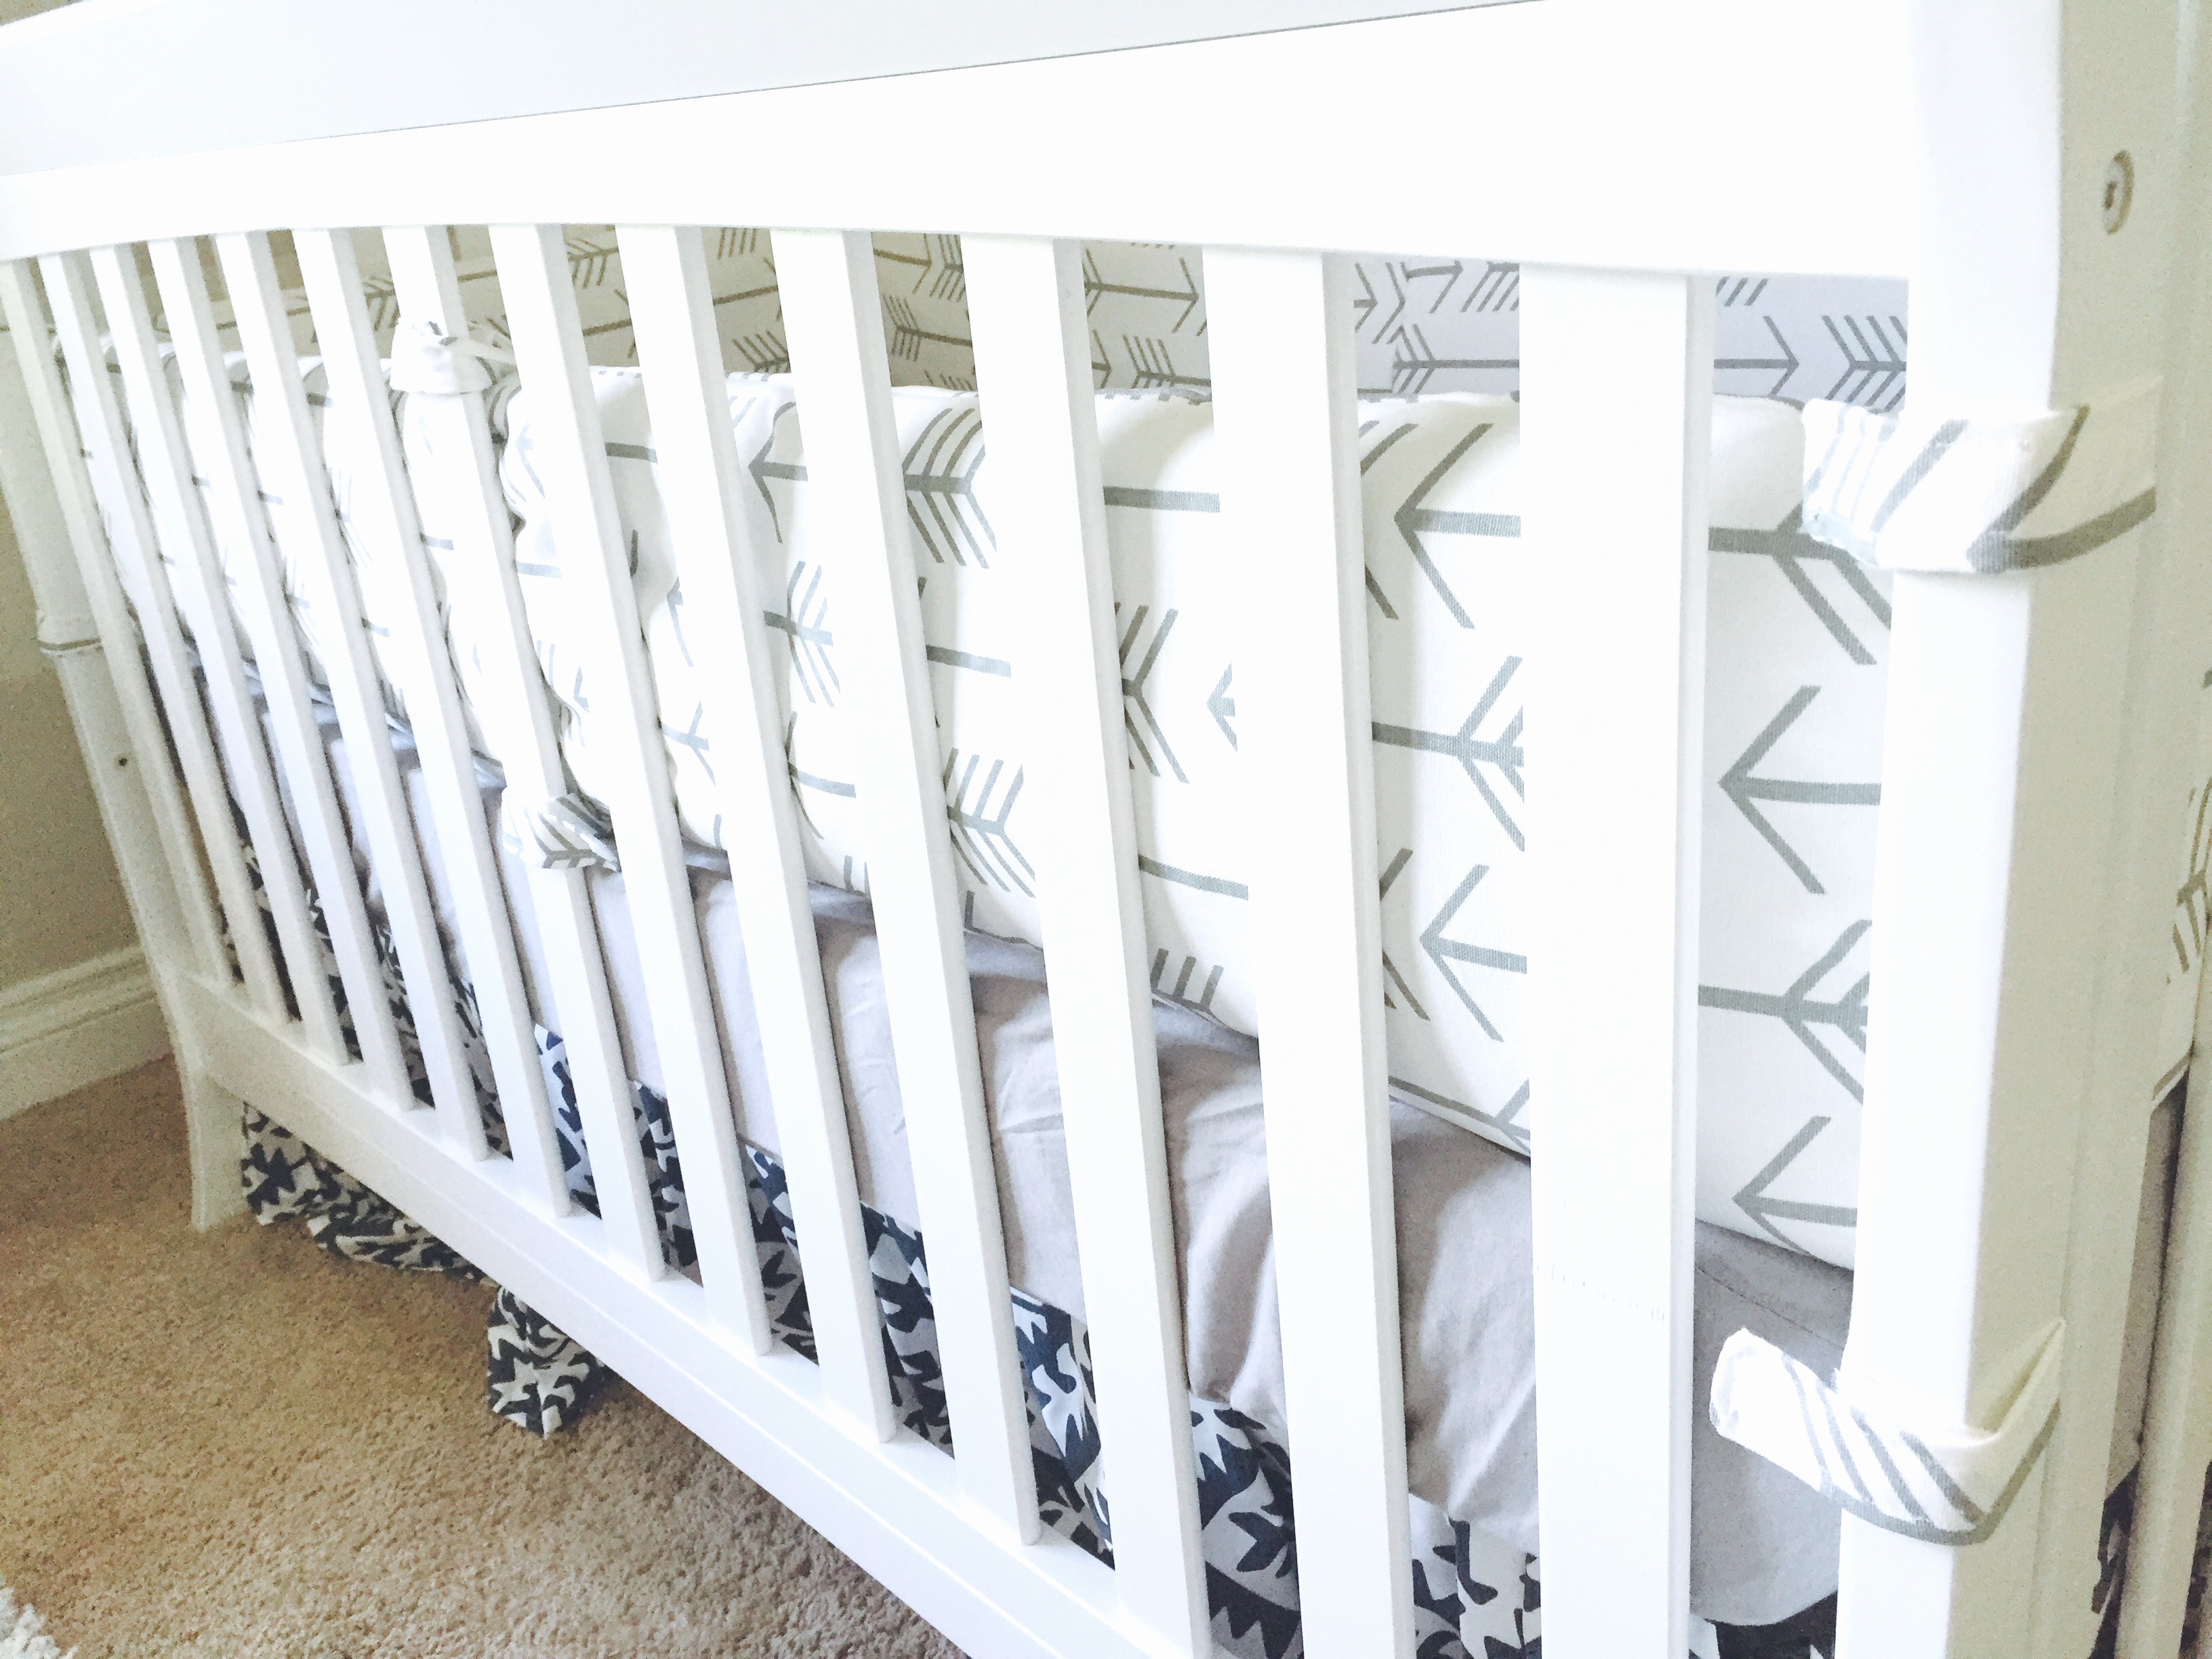
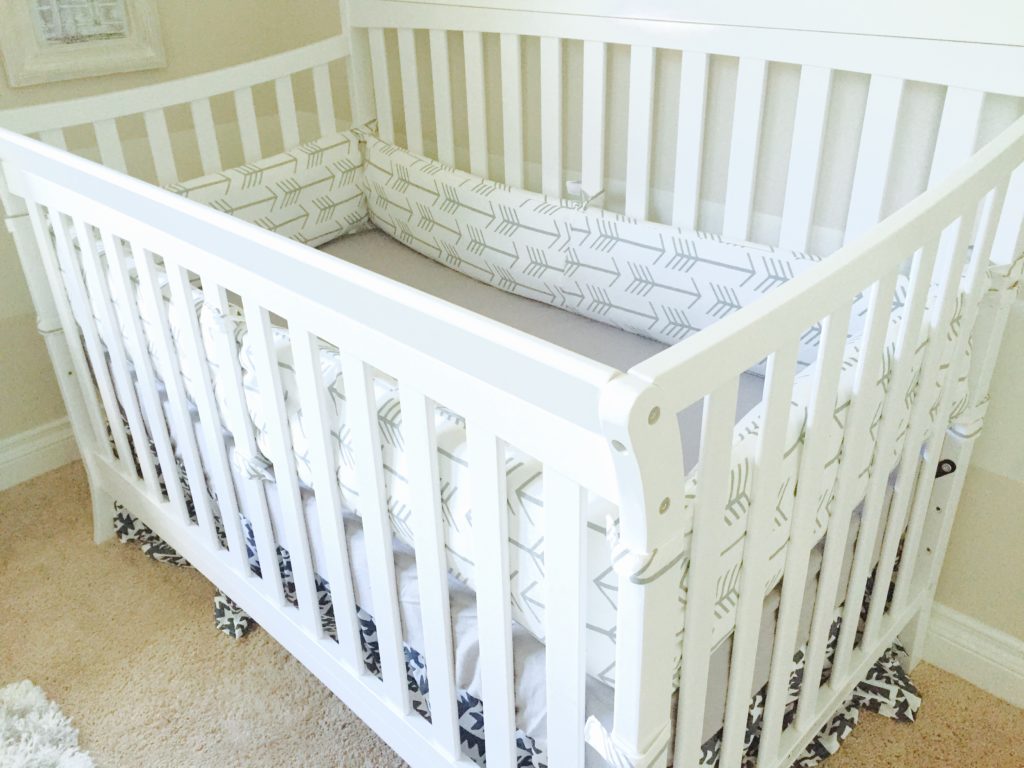
Stork Craft Avalon 4-in-1 Crib – Found on Amazon
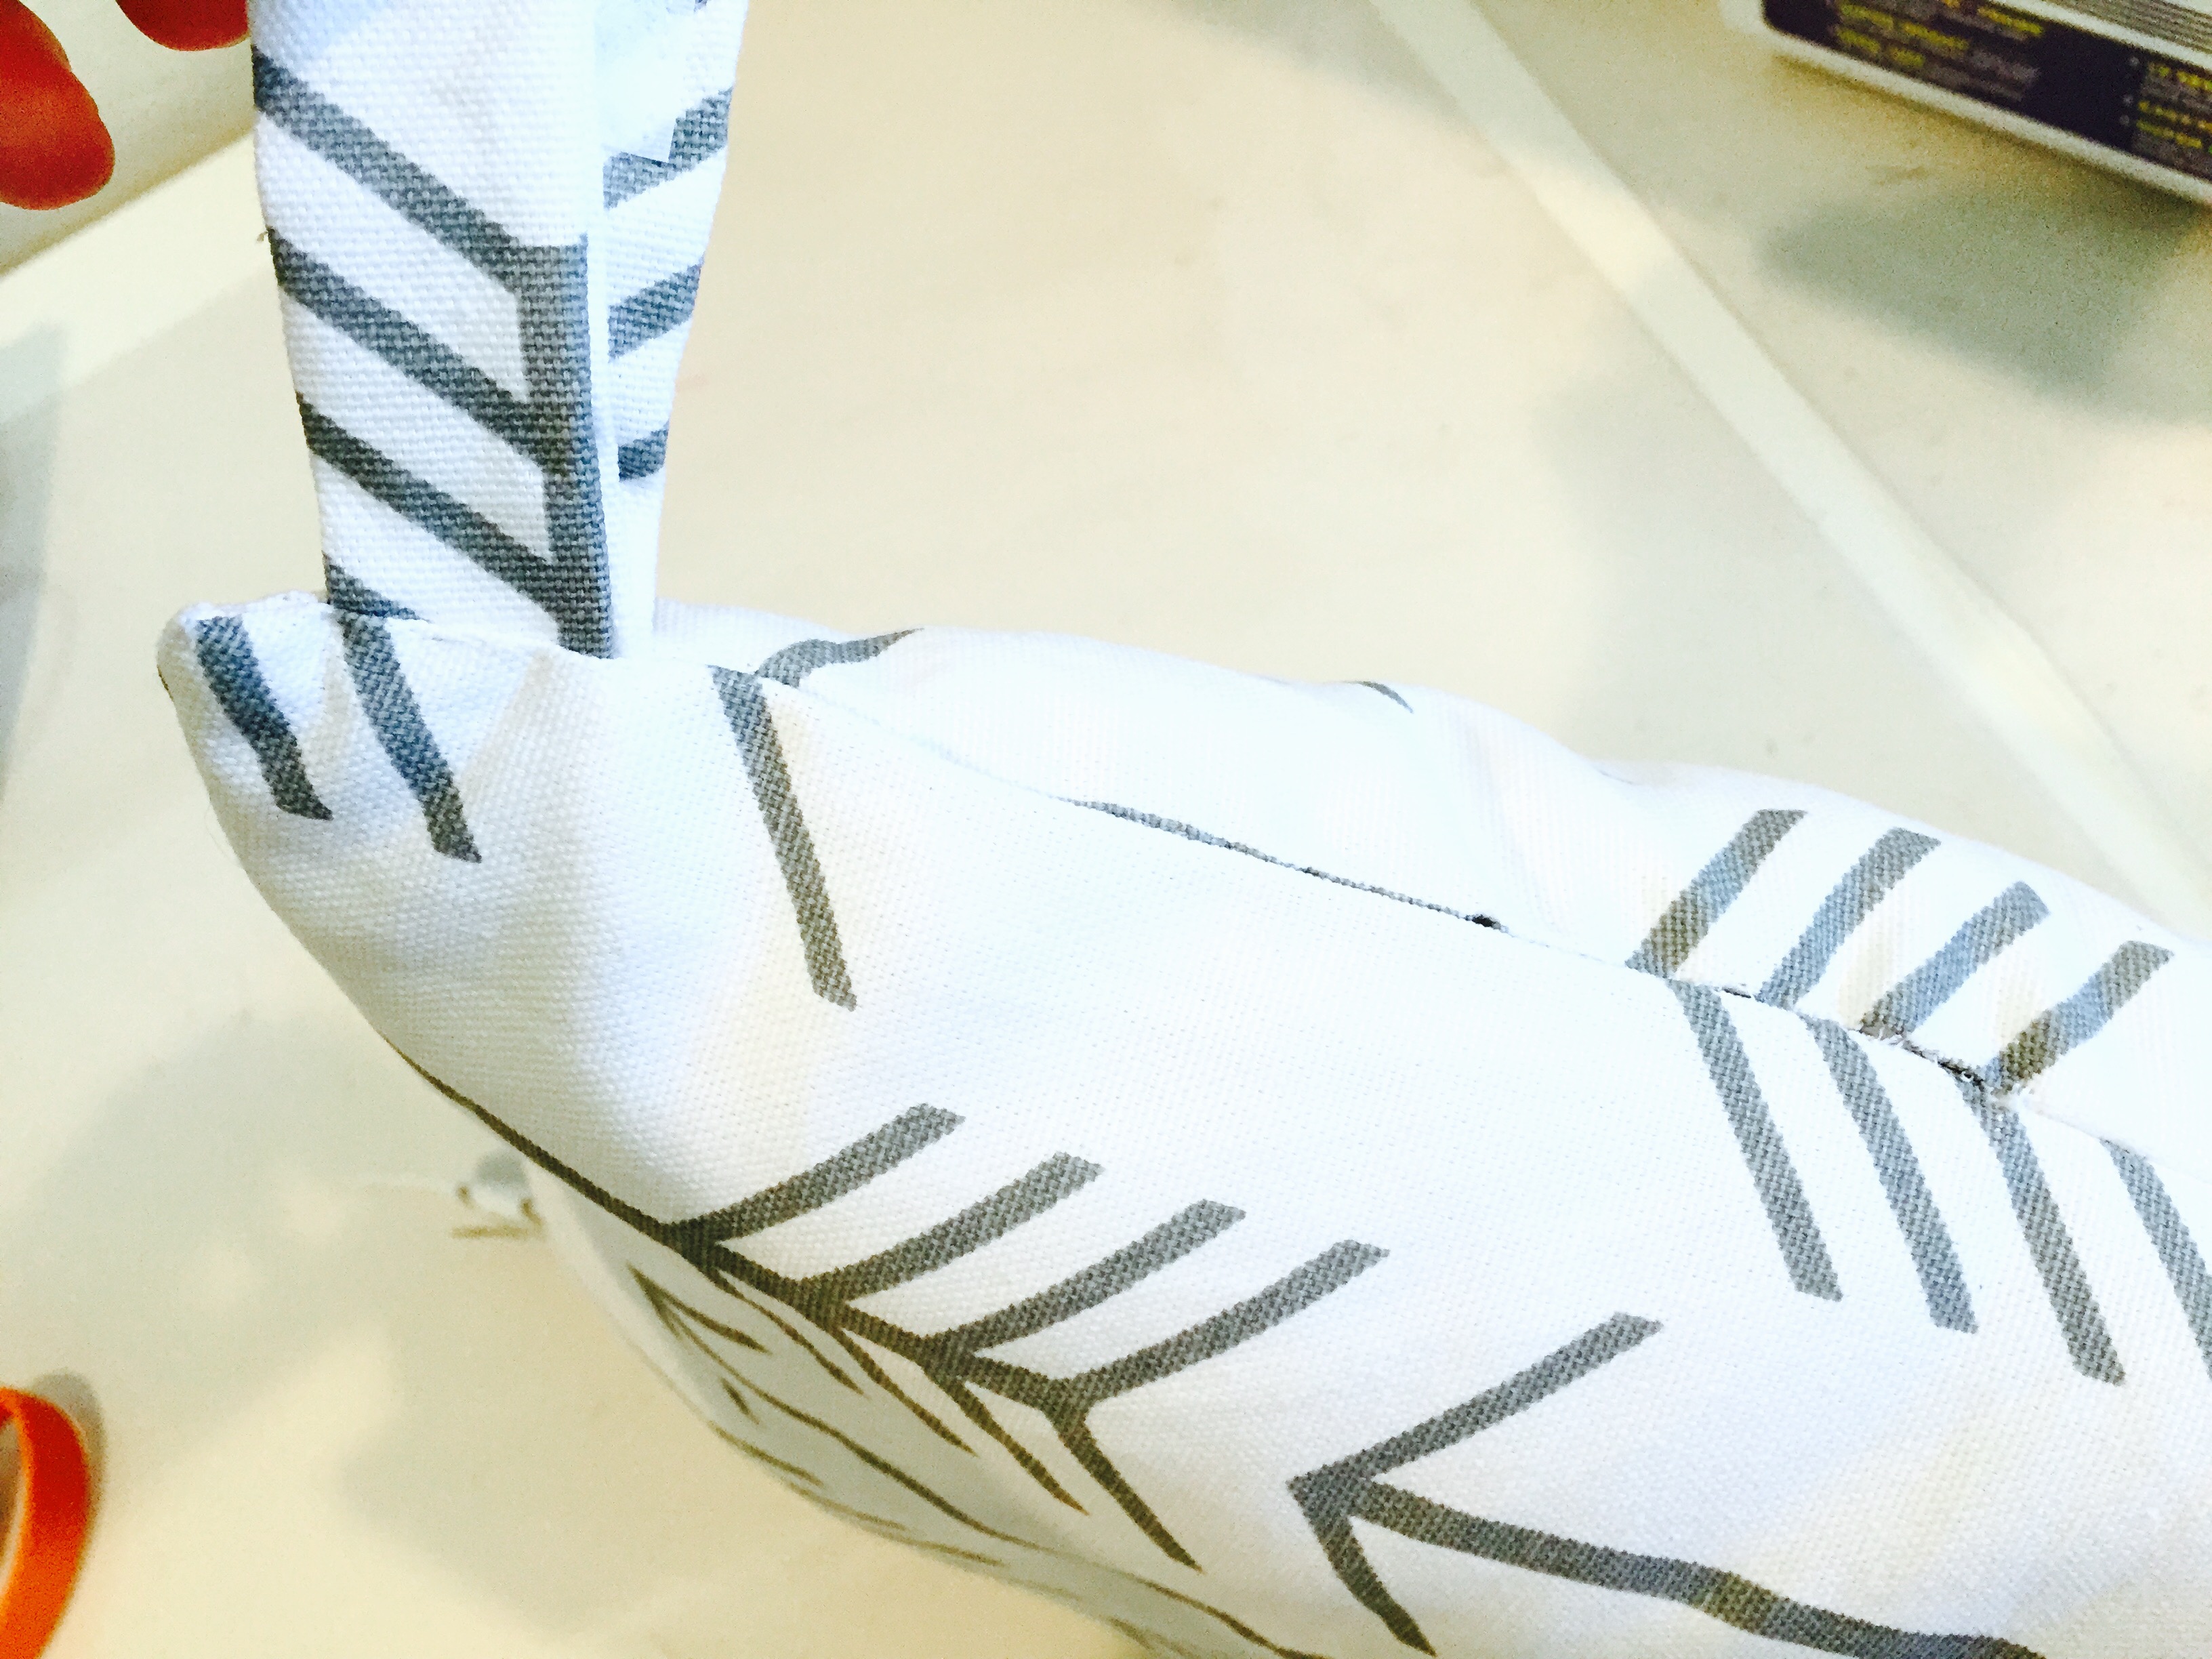
Adorable, right? They definitely turned out a bit thicker than I had anticipated- but I could have avoided that by getting thinner batting (word to the wise, FYI). Either way, I KNOW that they’ll provide the intended cushion I wanted for by baby boy against the crib rails. Not to mention, they REALLY bring the room together 😉
Even my hubby was completely surprised when I showed him the finished product. They look professional -which is usually not the case for me. So just goes to show you, if I can pull this one off, so can you! And heck, you even have the Cliff’s Notes on the bumper pattern from me, so you’re already off with a head start.
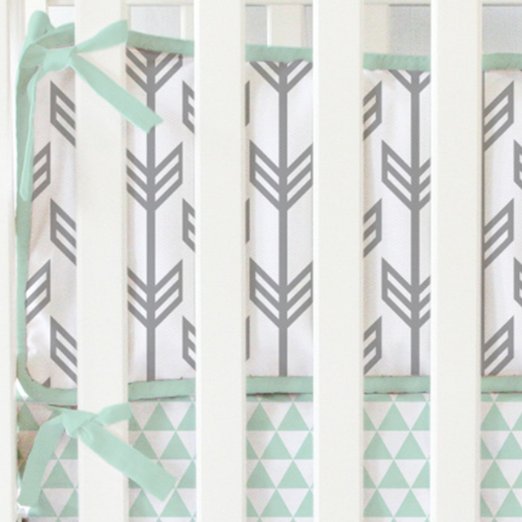
If you’re still hesitant on the DIY, that’s ok, here are some ready-to-order pre-made alternatives for you:
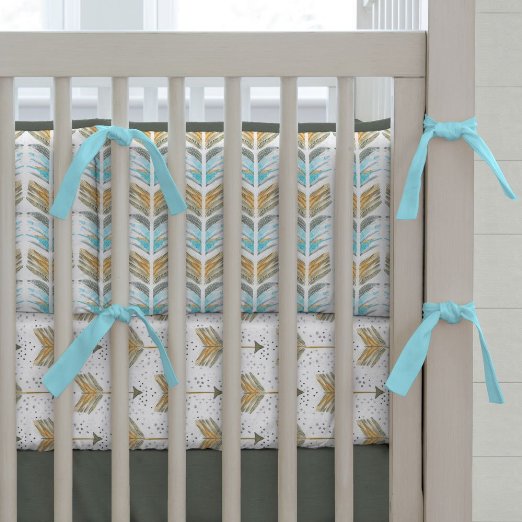
Picture #1: Taupe, Grey, and Aqua Tribal Arrow Bumper
Picture #2: Mint and Grey Arrow Bumper
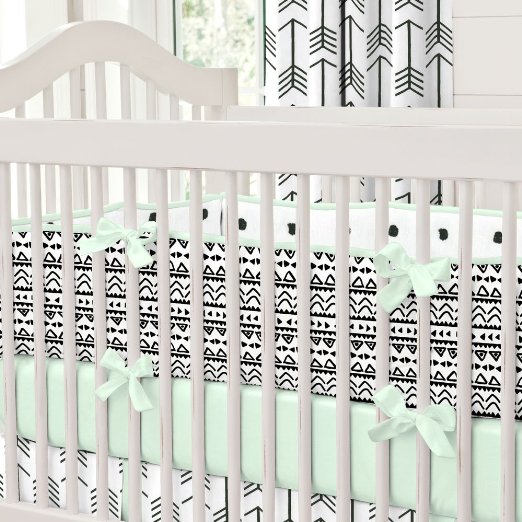
Picture #3: Black and Mint Aztec Bumper
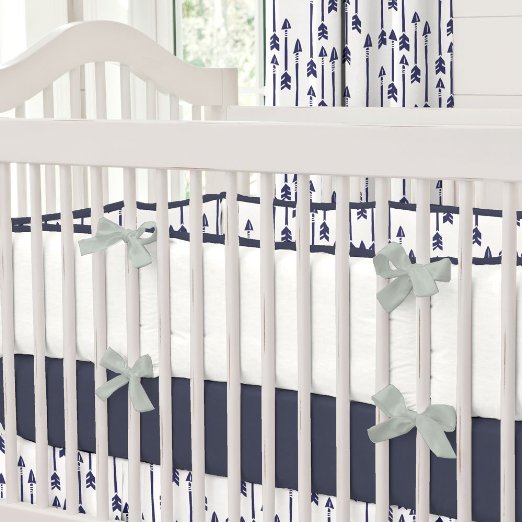
Picture #4: Navy and Green Flying Arrow Bumper
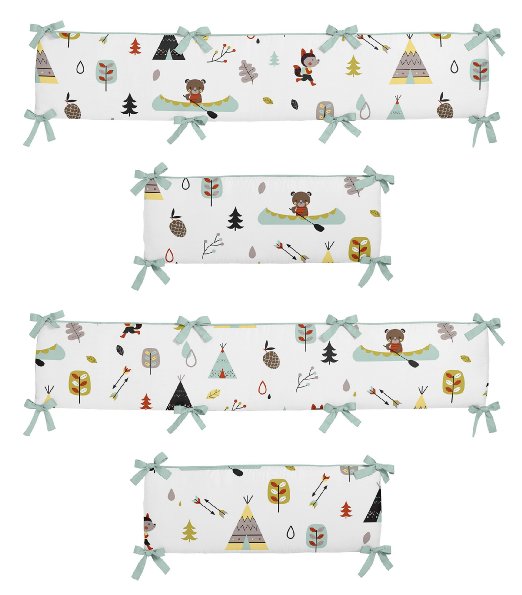
Picture #5: Green and Neutral Colors Wilderness Bumper
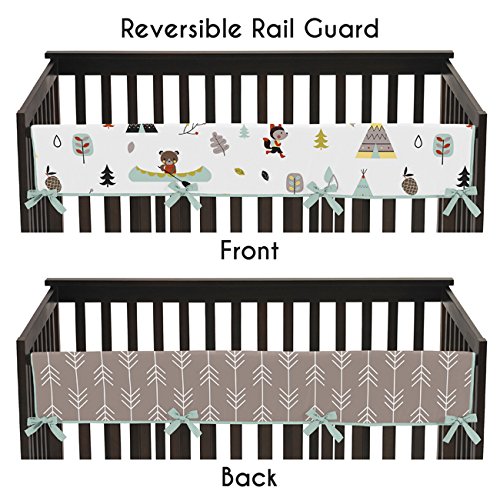
Picture #6: Mint and Grey Wilderness Arrow Rail guard
But if I’ve convinced you to DIY, YAY! Here is a recap of everything you’ll need:
The Necessary Supplies:
- MCCALLS Pattern #4328
- Fabric of your choice (I linked to mine)
- If fabric is 45″ wide – get 3.5 yards
- If fabric is 54″ wide – get 2.375 yards
- If fabric is 60″ wide – get 2.25 yards
- Batting (for internal stuffing)
- If batting is 45″ wide – get 2.375 yards
- If batting is 60″ wide – get 1.875 yards
- Velcro Tape (1.625 yards of 5/8″ wide Velcro)
- Sewing Machine
- Needle and Thread
- Scissors
- Sewing Pins
- Disappearing Ink Pen
HAPPY CRAFTING!!!
Is the link for the batting the same batting you used? I want mine thick like yours!
Great job!!
It isn’t I ordered the batting and it’s the type of batting for a quilt very thin. I had to return and repurchase batting I just googled and bought it myself
I know it’s a long shot, but what are the chances you have the instructions still? I’m to the point where I need to sew the ties to the bumpers, and my lovely dog ate the instructions….I just need the back page 🙁
Thank you so much for showing how to make this. I know that its recommended to not use these but from what I have heard, if your child is old enough, and sleeps quite heavily, it can be safe to use. Thanks again.