
Ok, another wine bottle post it is! I don’t know why I’m so obsessed with making crafts out of wine bottles. Maybe it’s because I think they look cool. Maybe it’s because I live close to wine country. Or maybe it’s just the simple fact that I love me some good wine and I often have wine bottles lying around to craft with. Probably the latter.
But regardless, I think wine bottle crafts are fun. And if you’re reading this post, odds are you probably do too. Previously, I’ve shown you how to cut wine bottles to make gorgeous vases. And I’ve shown you how to cut them to make candles out of them.
Today. there is no cutting involved- yahoo! Saves you the time of prepping and cleaning your kitchen for the laborious task of cutting the bottles, and the possibility of cutting yourself in the process. No, today I think I’ll save you that hassle. In fact, today’s craft doesn’t really even involve the bottle itself at all (until the end).
Today’s rooty tooty fresh and fruity craft has us working mainly with the wine bottle CORK. And not in the traditional crafting way you see all over Pinterest. No cork boards, cork coasters, or corks stacked in the shape of your favorite animal. Not today!
Today, I’m showing you how to take a simple cork, and give it a lighted twist to add ambiance to your next dinner party. Forget the twinkle lights or votives on your “tablescape” (as Sandra Lee would call it). I’m telling you all you need are these simple lighted corks, pop them into your empty wine bottles, and put them around your dinner table (and maybe a few extras around the room). Your guests will LOVE the fun, modern twist on lighting. And you’ll look like you spent WAY more money than you actually did.
Did I come up with this idea myself? Heck no. As always, I had inspiration from some of my high end online reading (hey, ads on US Weekly.com count, right?), and from the local paper store.
My Wine Bottle Lights Inspiration
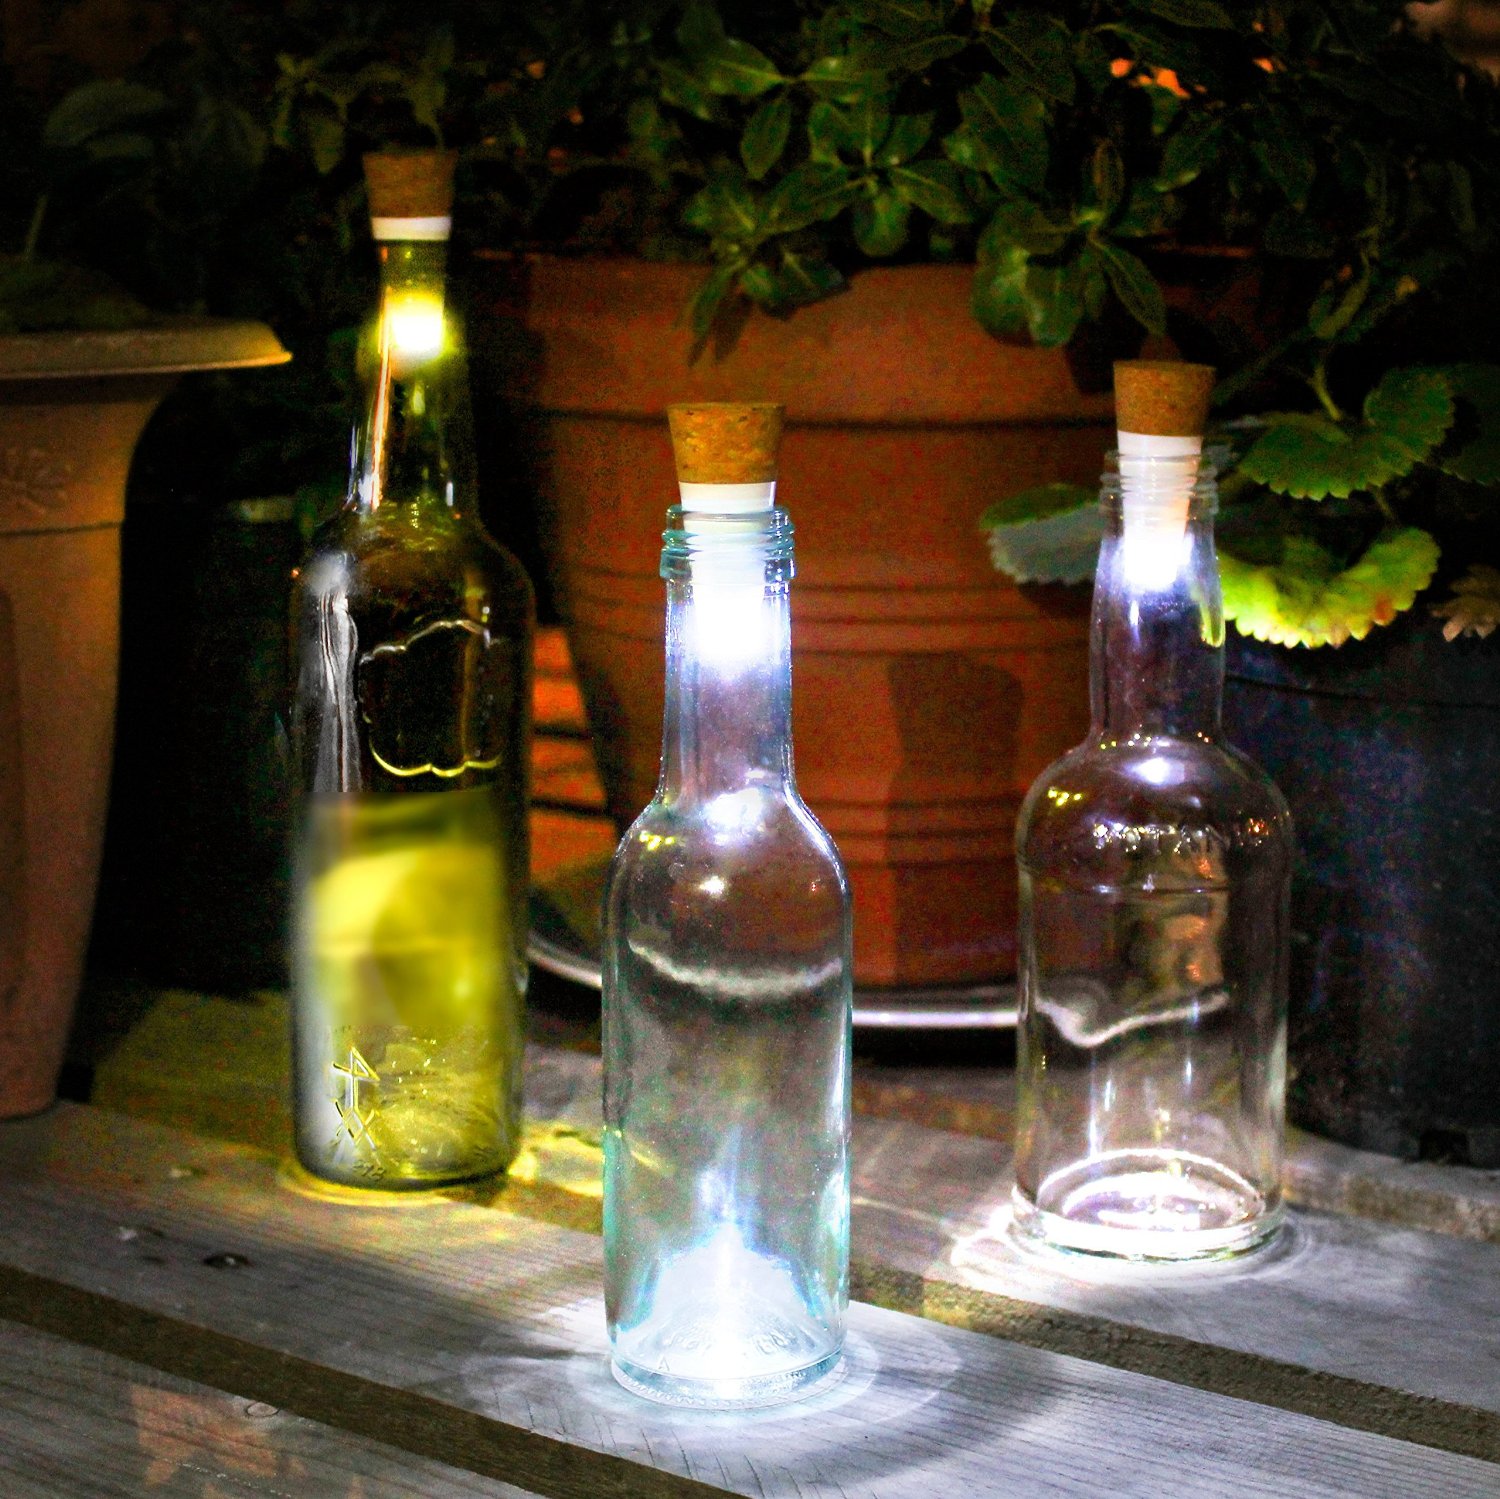
This craft totally started when I saw some fun ad out of the corner of my eye for these light up wine bottle corks. They looked so cool glowing brightly on a dark table. I knew I had to have them (they got me)! SO I clicked on the link to buy.
Much to my surprise, each cork was $15. $15!!!! What?! Ok, sticker shock, but I still wanted it. Unfortunately, it looked as if they only place you could purchase them was from the maker, which was UK based, and was going to cost $12 in shipping to come to the US. $12 to ship a CORK?! I don’t think so! So per usual me, I went hunting online.
My go-to is always Amazon. They have everything, right? Sure enough, the corks were there. But they were form the same UK supplier, with the same shipping costs. ARGH! Since then, Amazon has added these cork bottle lights, and for only $12 with PRIME shipping- not bad. If it were now, I would probably buy them! But back then, this wasn’t the case. Even so, you’ll probably want at least 5, and $12 each will ADD UP QUICKLY! So, I went on a wider search.
BINGO! I after a bit of digging, I finally found these magic corks at – of all places – Barnes and Noble. I put it in my cart and immediately went to check out. Still, the shipping was going to be $5. So, the dilemma was – was I willing to pay $20 for a cork with a light in it? Ultimately, the answer was no.
So then I embarked, as I always do, on my own DIY journey. I was now determined to make my own DIY wine bottle lights, for significantly less money than these retail gimmicks were selling for.
And instead of making you search for the supplies yourself, and trial and error as many times as I did, follow the steps below for your own DIY wine bottle light-up corks :-).
Steps to Make DIY Wine Bottle Light Corks
The Necessary Supplies:
- Corks
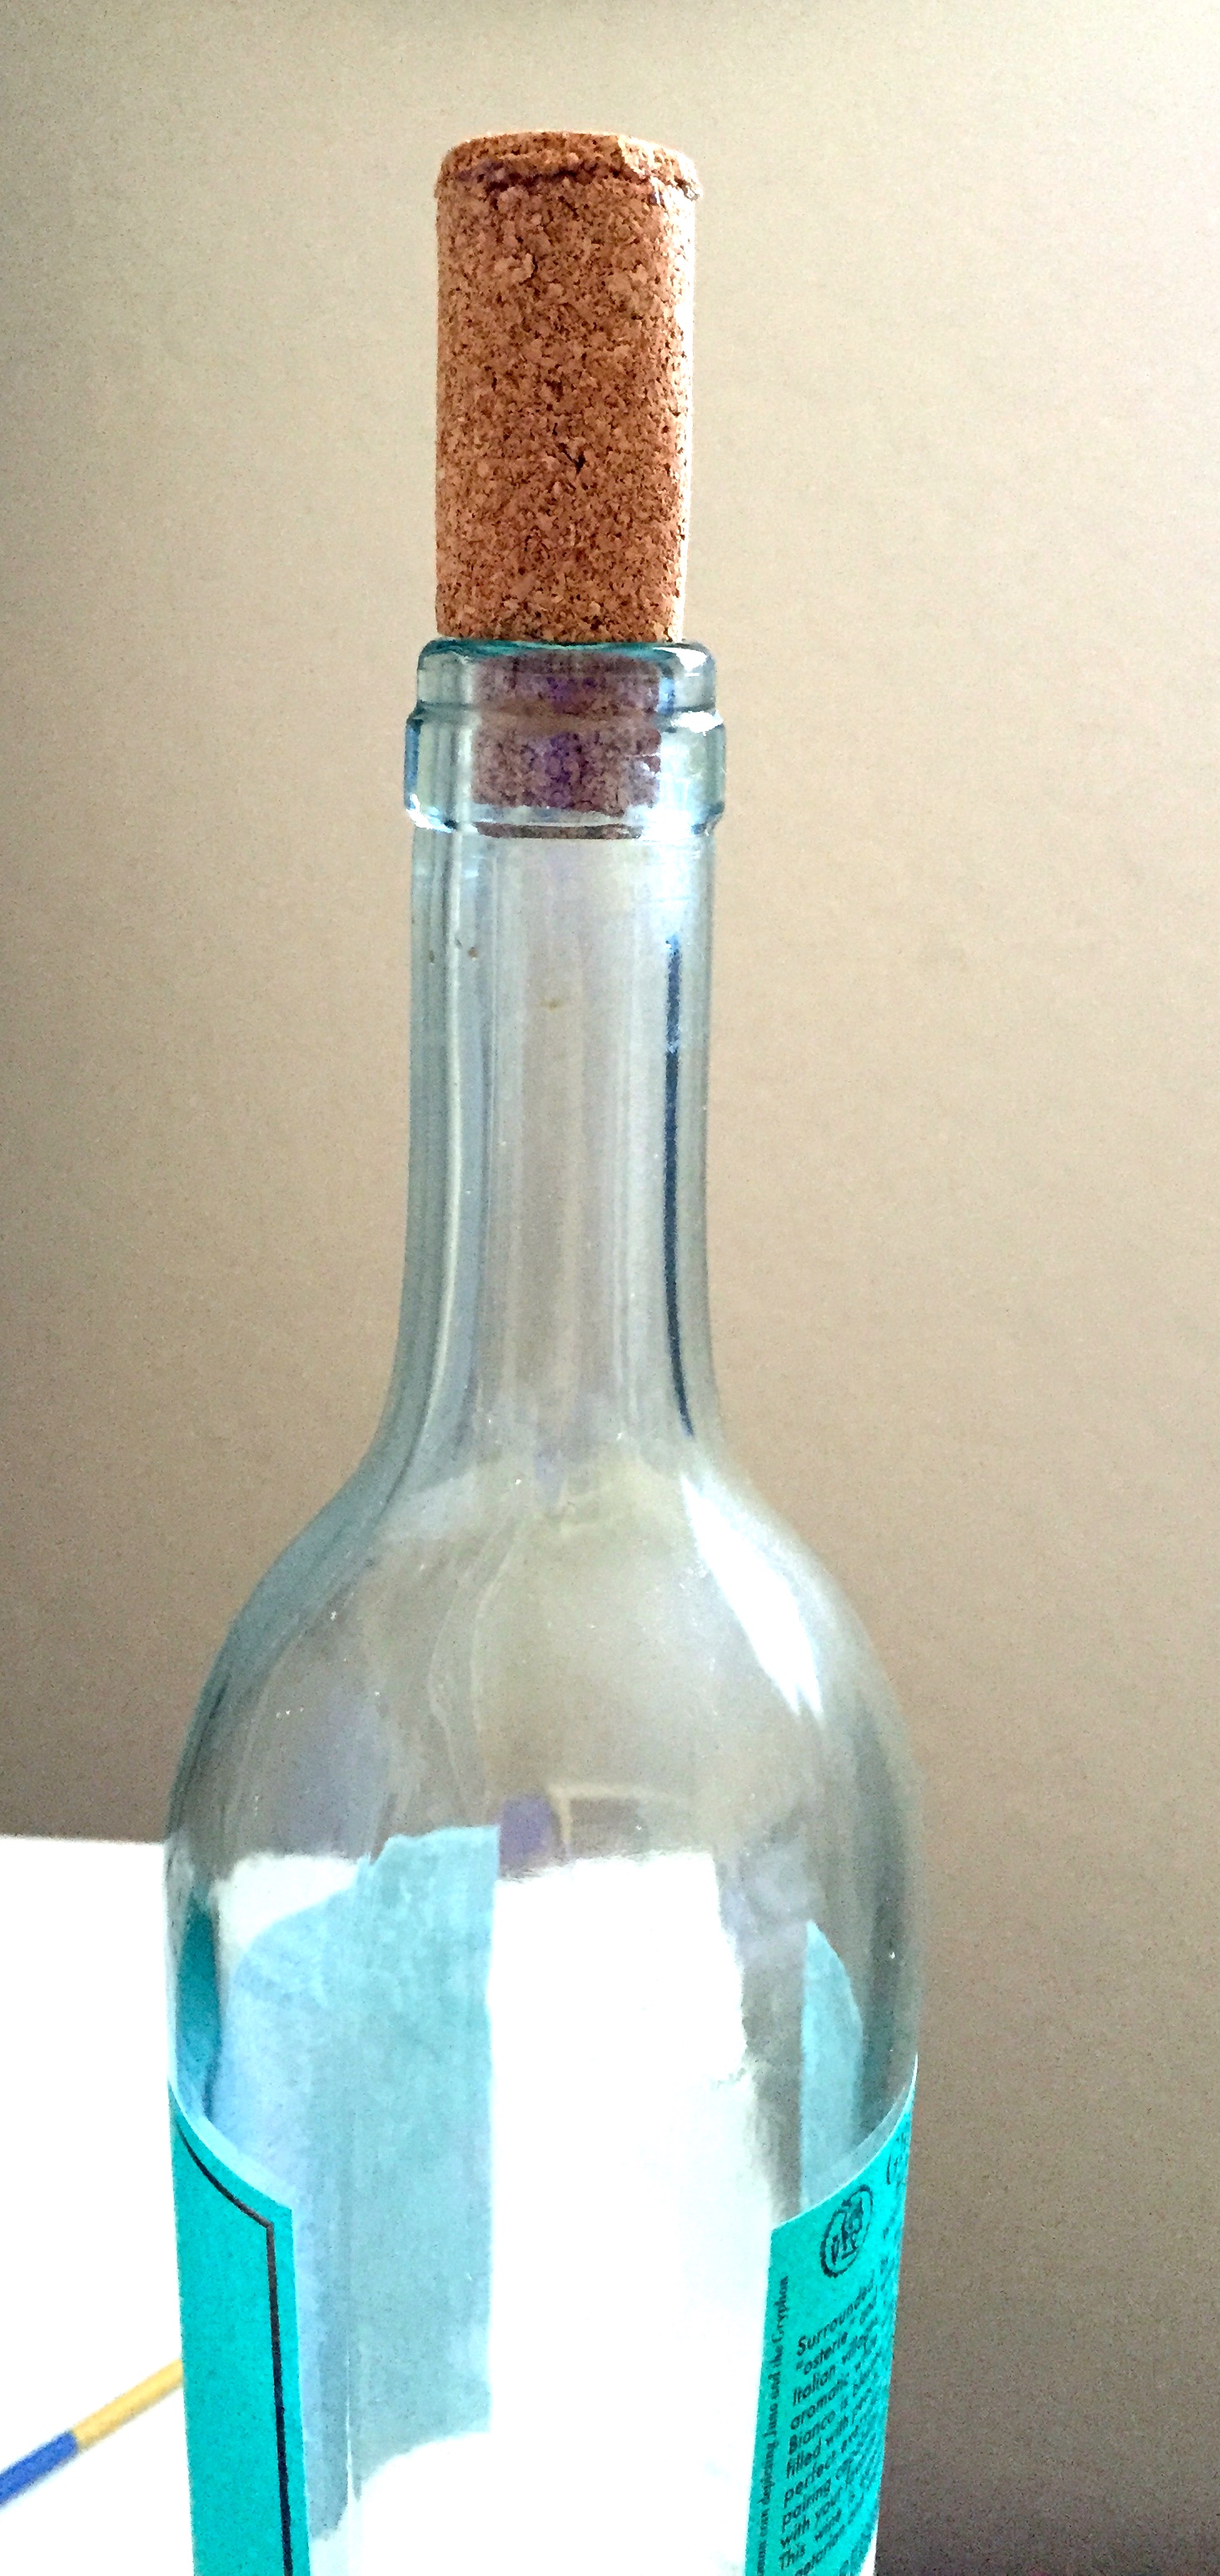
- Don’t use the corks that come with the wine. Those are too big to fit a light inside and still fit in the wine bottle. I bought THESE on Amazon. You can get these, or any corks that TAPER DOWN.
- Or you can get a roll of CORK and make the corks yourself. I show you both options.
- Wine Bottles
- Drill and 1/4″ Drill Bit
- Tiny Party Lights
- They also have these lights in multi-color
- Glue Gun and hot glue
- 1/2″ ribbon (optional)
USING TAPERED CORKS
Step 1:
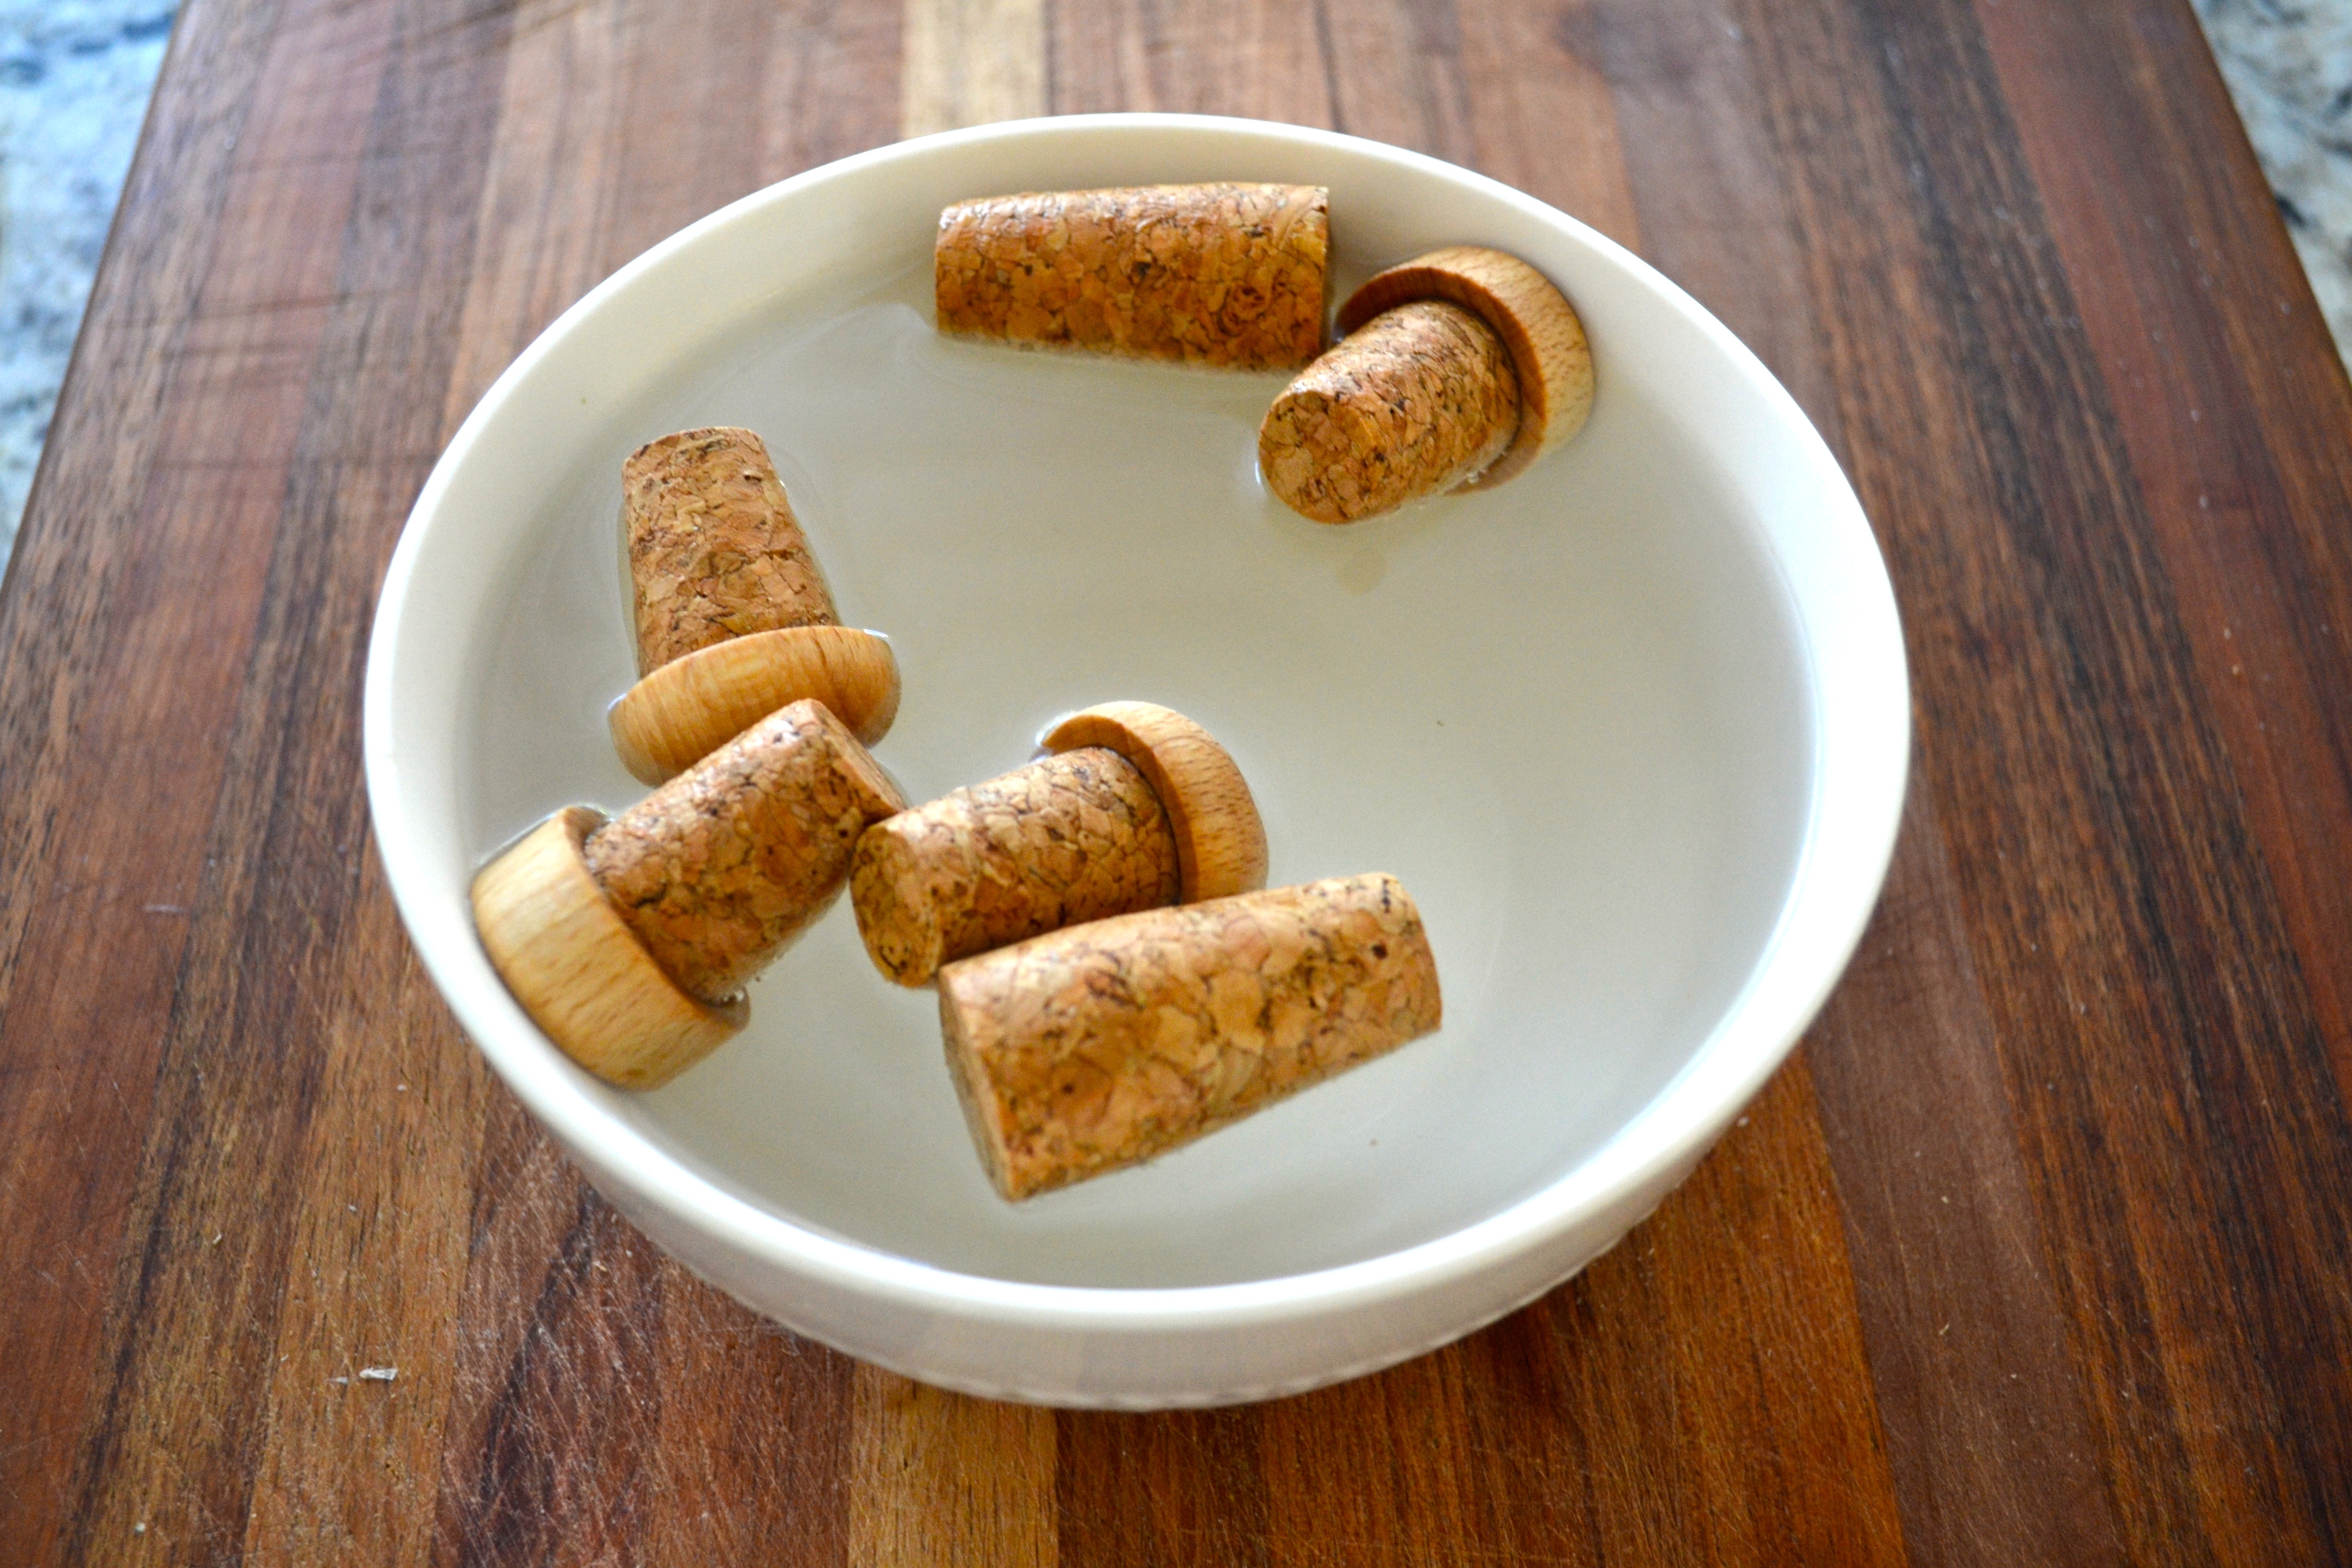
- Boil a pot of water. Take the water off the heat and soak your corks in the hot water for about 10 minutes.
- Soaking your corks in hot water before crafting with them helps keep them from crumbling when you cut into them.
Step 2:
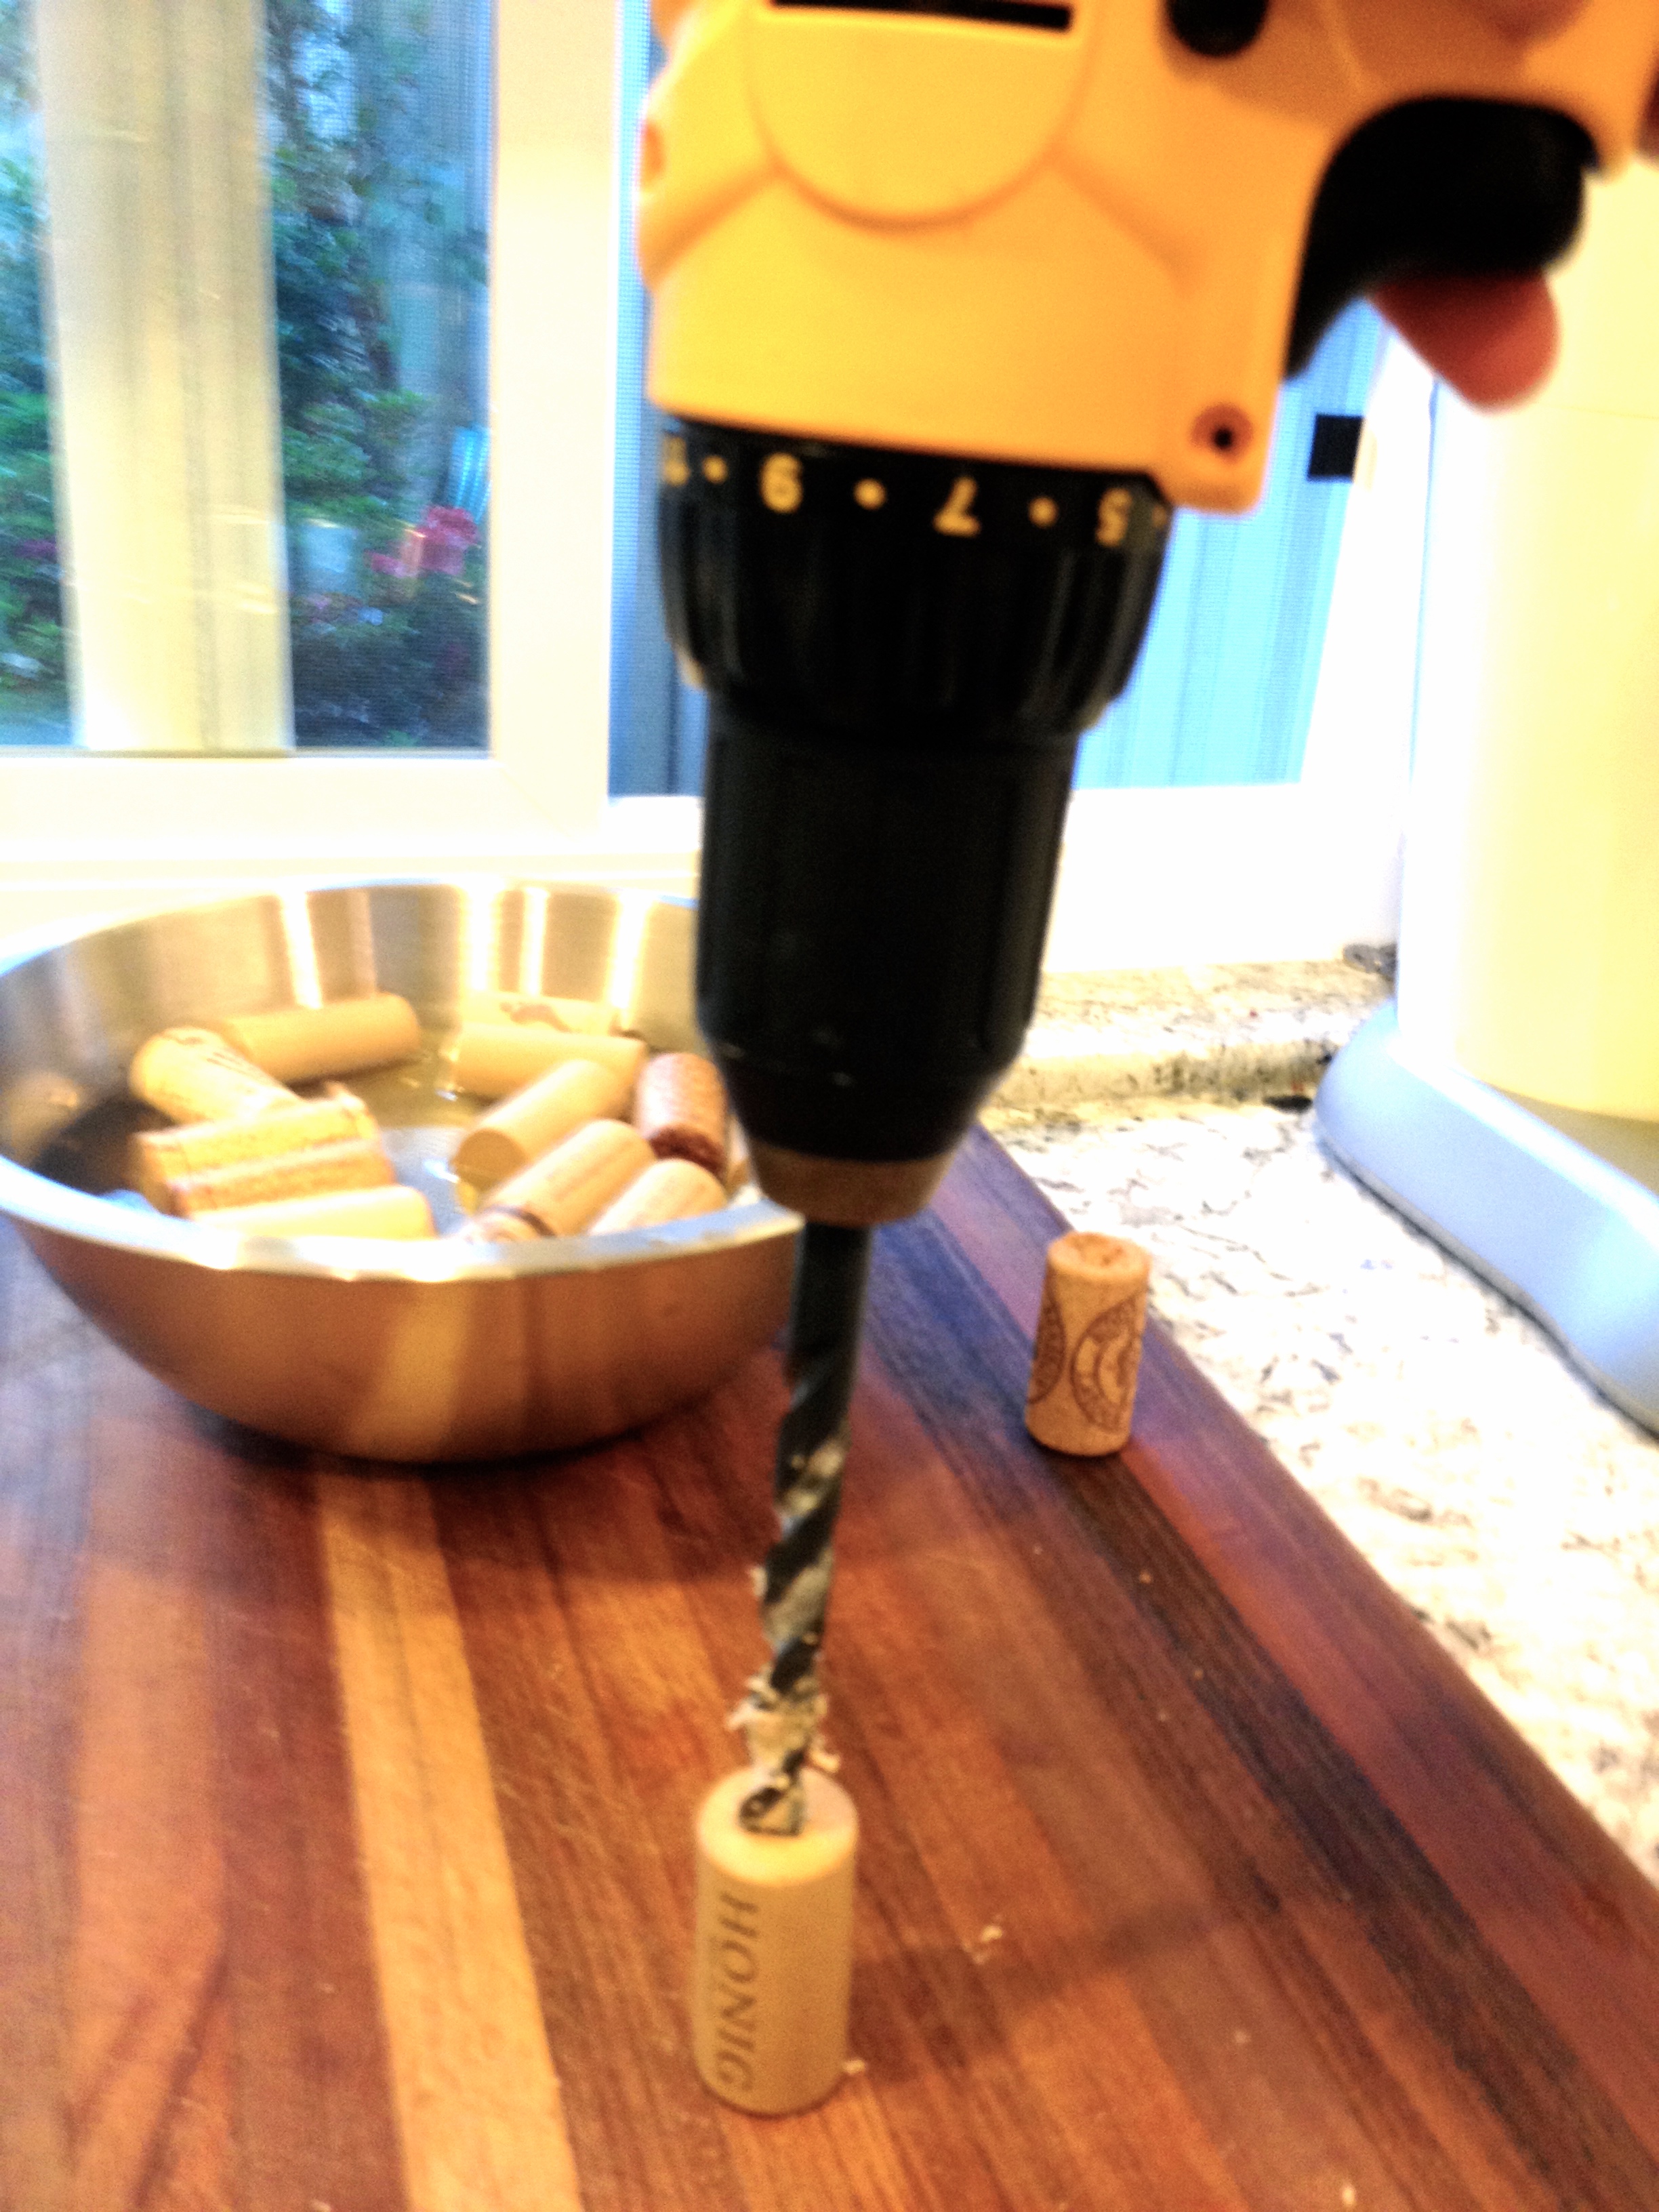
- Take your drill and drill bit, and drill a hole into the center of the bottom (small end) of the cork.
- Once the hole is drilled, gently push the top of the party light into the center of the hole.
- This may take a bit of force, so be careful not to break the cork while pushing the top in.
- If you have trouble with this step, skip to the tutorial below where I show you how to make your own corks. It’s much easier and less likely to break.
- I can tell you I broke wayyy too many when first making this craft, so don’t feel bad if it’s too hard. It is a tough craft.
Step 3:

- If your top fit in the hole perfectly – voi la! You’re done. You just need to crew in the bottom of the light – but not ALL the way until you’re ready for it to light up.
- If your top broke the sides of your cork a bit, follow the optional step 4.
Step 4:
- If your cork busts around the sides when fitting your top into the drilled hole (this is very common), there is a quick fix for this! It involves the ribbon I told you was optional in the supplies.
- Take your ribbon, and place it at the bottom edge of your cork. Put a strip of hot glue along the end of the ribbon, as well as the bottom edge of the ribbon, and wrap it around the bottom edge of the cork.
- Once all the way around the cork, cut your ribbon, and put another strip of hot glue at that end to attach both end of the ribbon together and around the cork.
Voi La! Now, nobody can see the cracks in the sides of your cork, and you prevent further breakage when using these cork lights! Neat-o, huh?
But I did mention, this option is VERY difficult and took me many, many tries to even get close to right. If you get frustrated, or just plain give up altogether, follow the steps below for a simpler version and a “faux” cork making tutorial 🙂
MAKING YOUR OWN CORKS
Step 1:
- Take your cork roll and cut a 2.5″ strip out of one side.
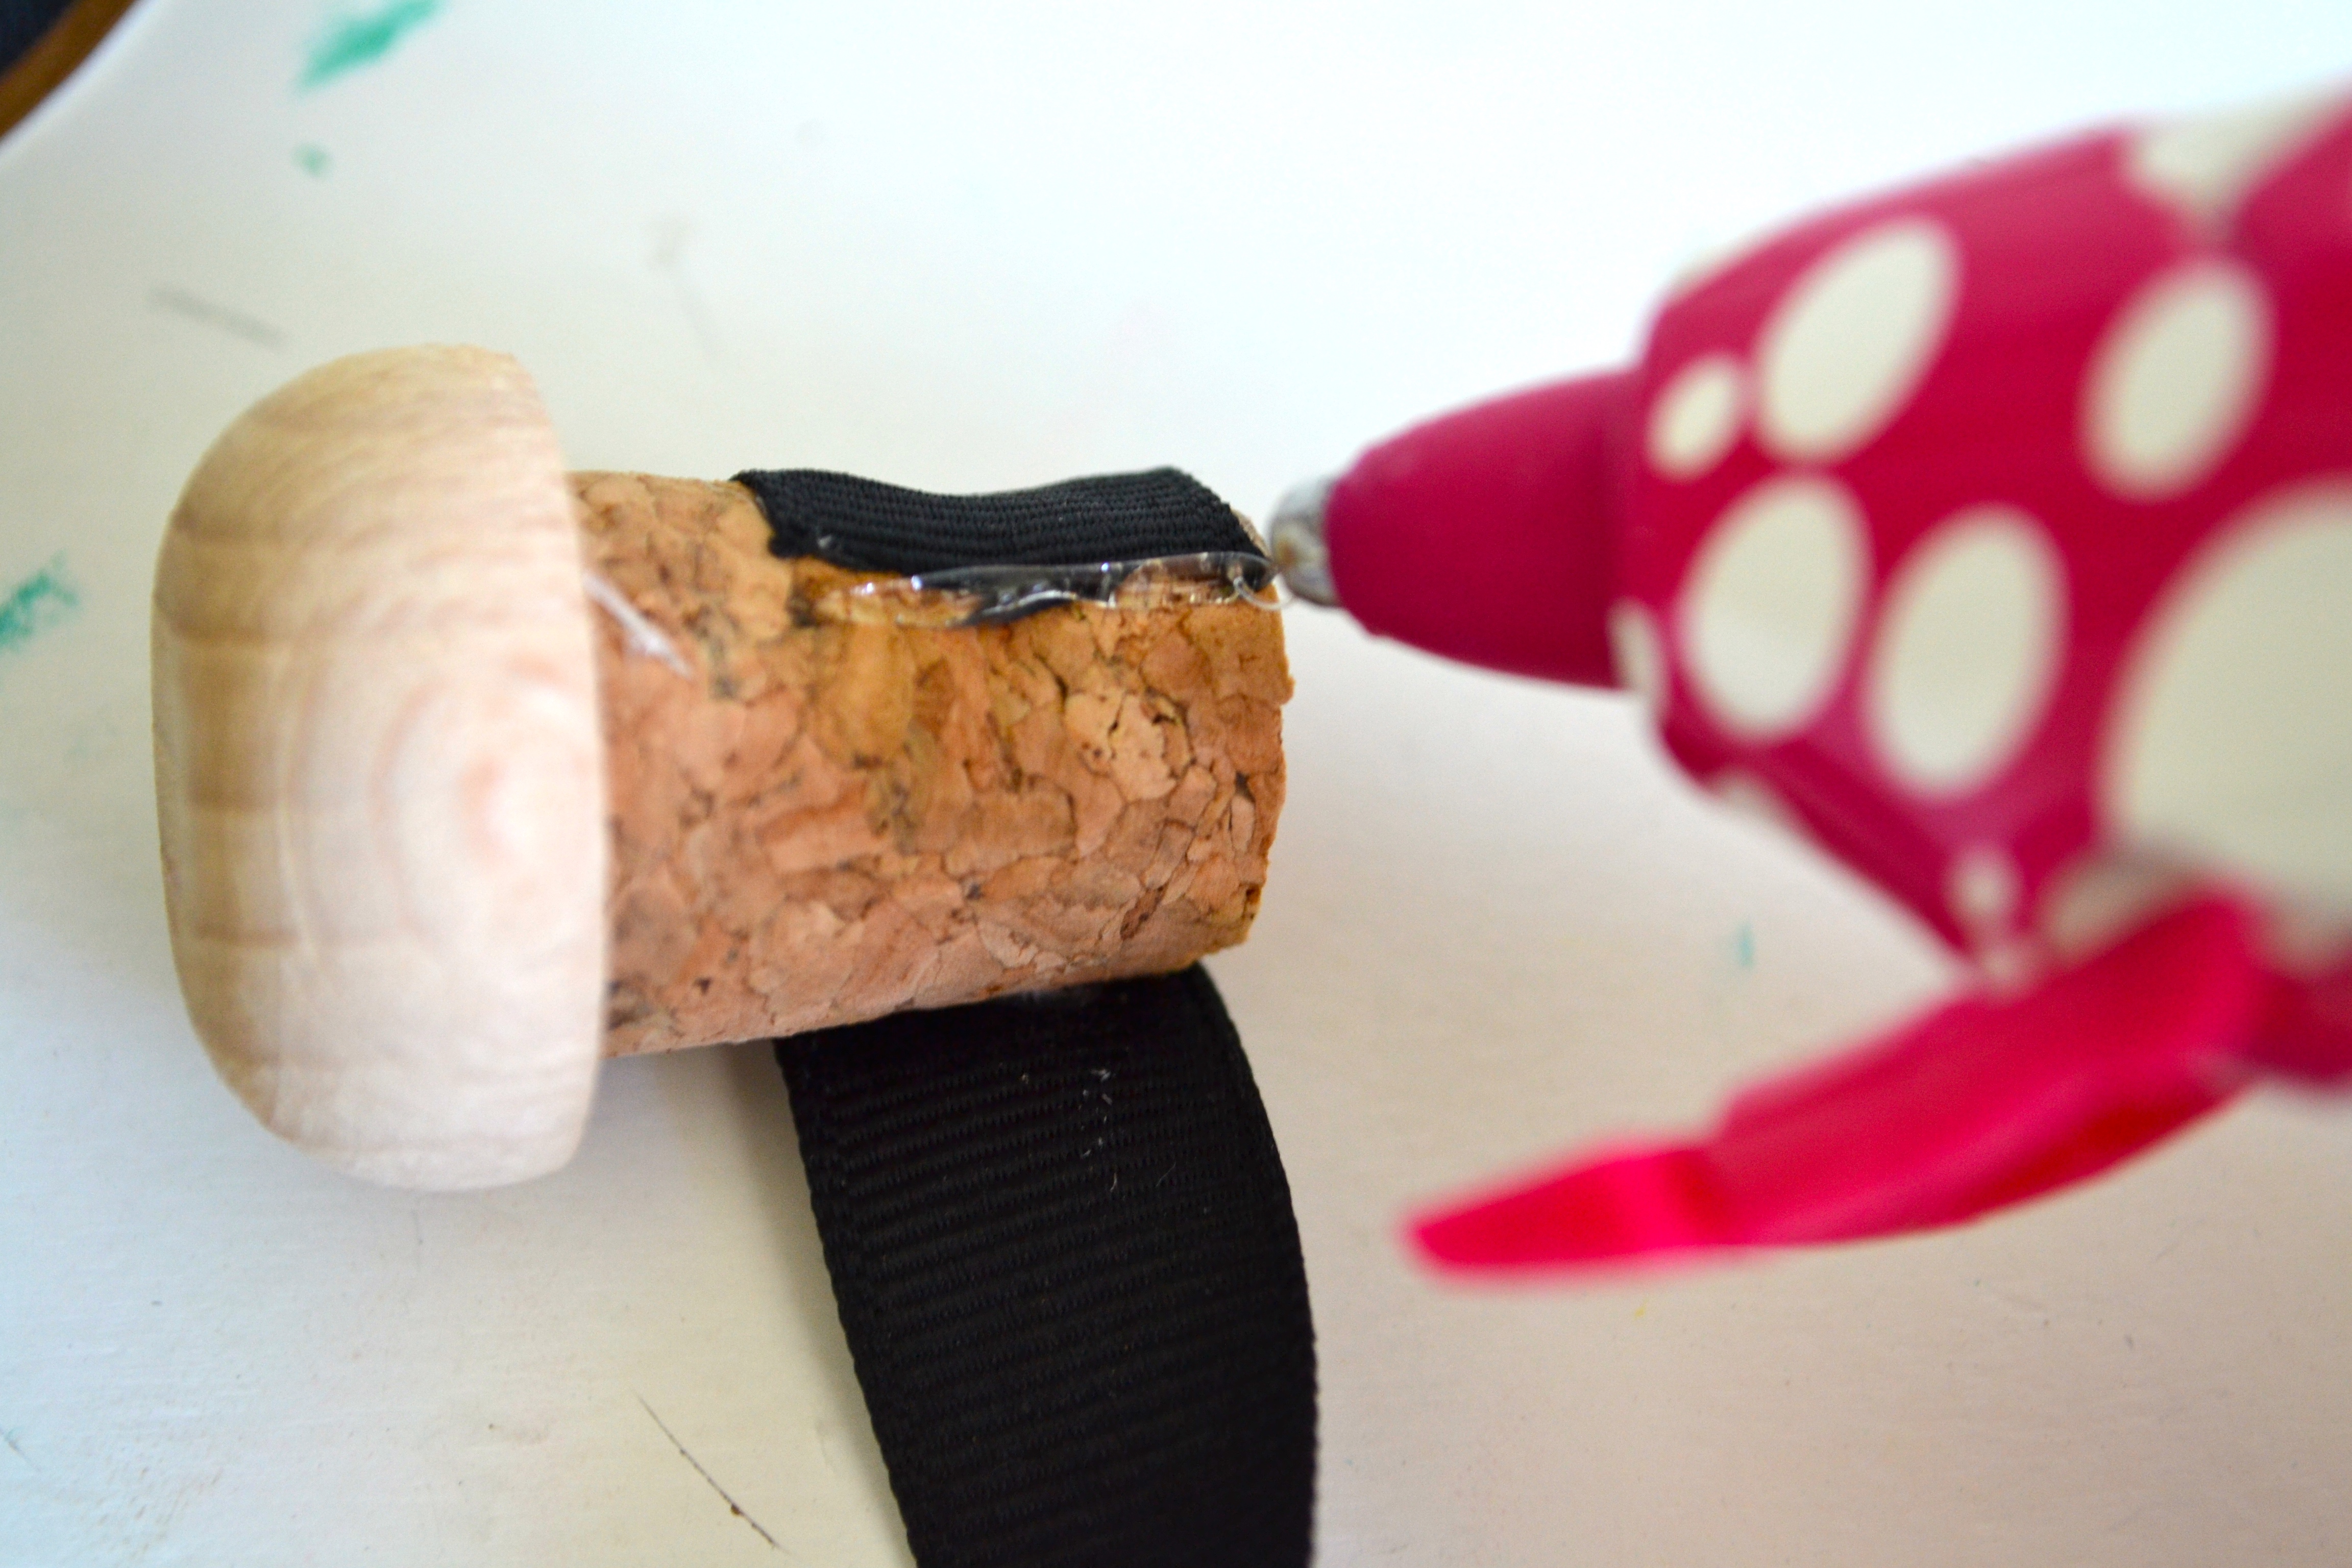
- Then, take the top of one of your lights (not the entire light, just the top) and attach it to the edge of the cork with a strip of hot glue. Make sure the cork goes ALL THE WAY AROUND the top of the light, and seal the edges together with another strip of hot glue.
- Cut the cork so that there’s only about .5″ – 1″ of cork above the top of the light.
Step 2:
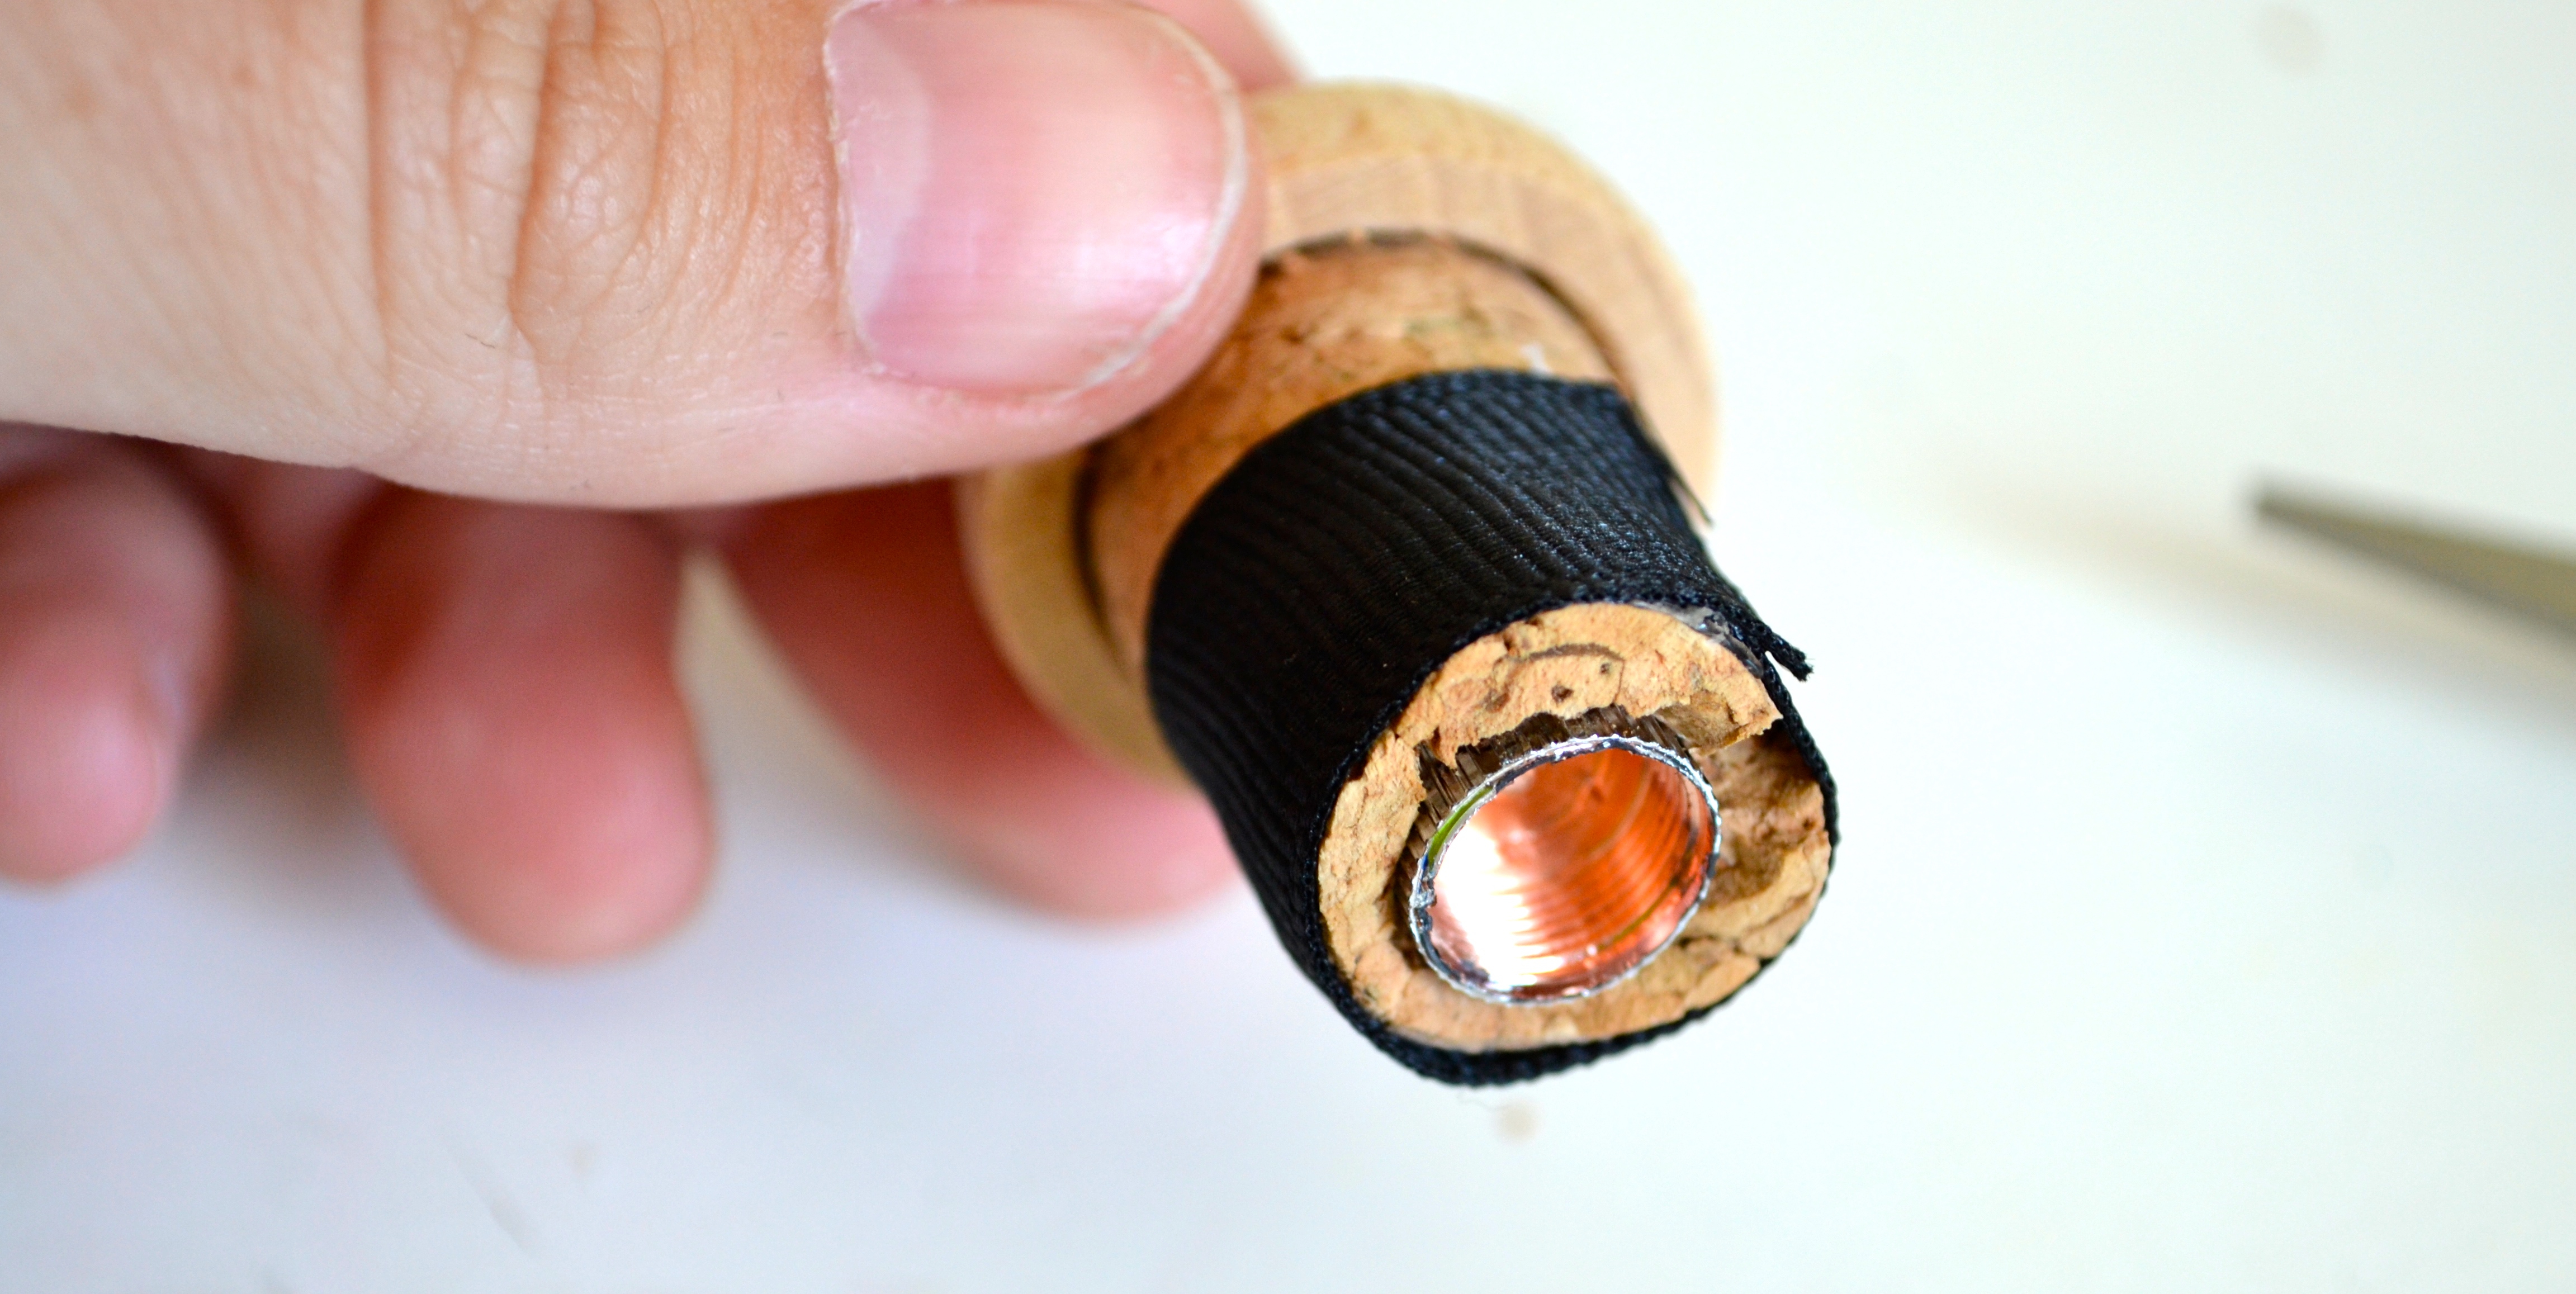
- Take what’s left over of your 2.5″ strip of cork, and roll it around the cork you just put around the top of your light – putting a glue strip at the bottom of the cork you are rolling to attach it to the other cork piece.
- MAKE SURE the entire top of the light (and the cork around it) is protruding out from the bottom of your second roll of cork (it will be about 1/2″ of cork that is below this roll of cork – see pictures above).
- Put another strip of hot glue at the seam of the cork roll to attach both sides of the roll together.
Step 3:
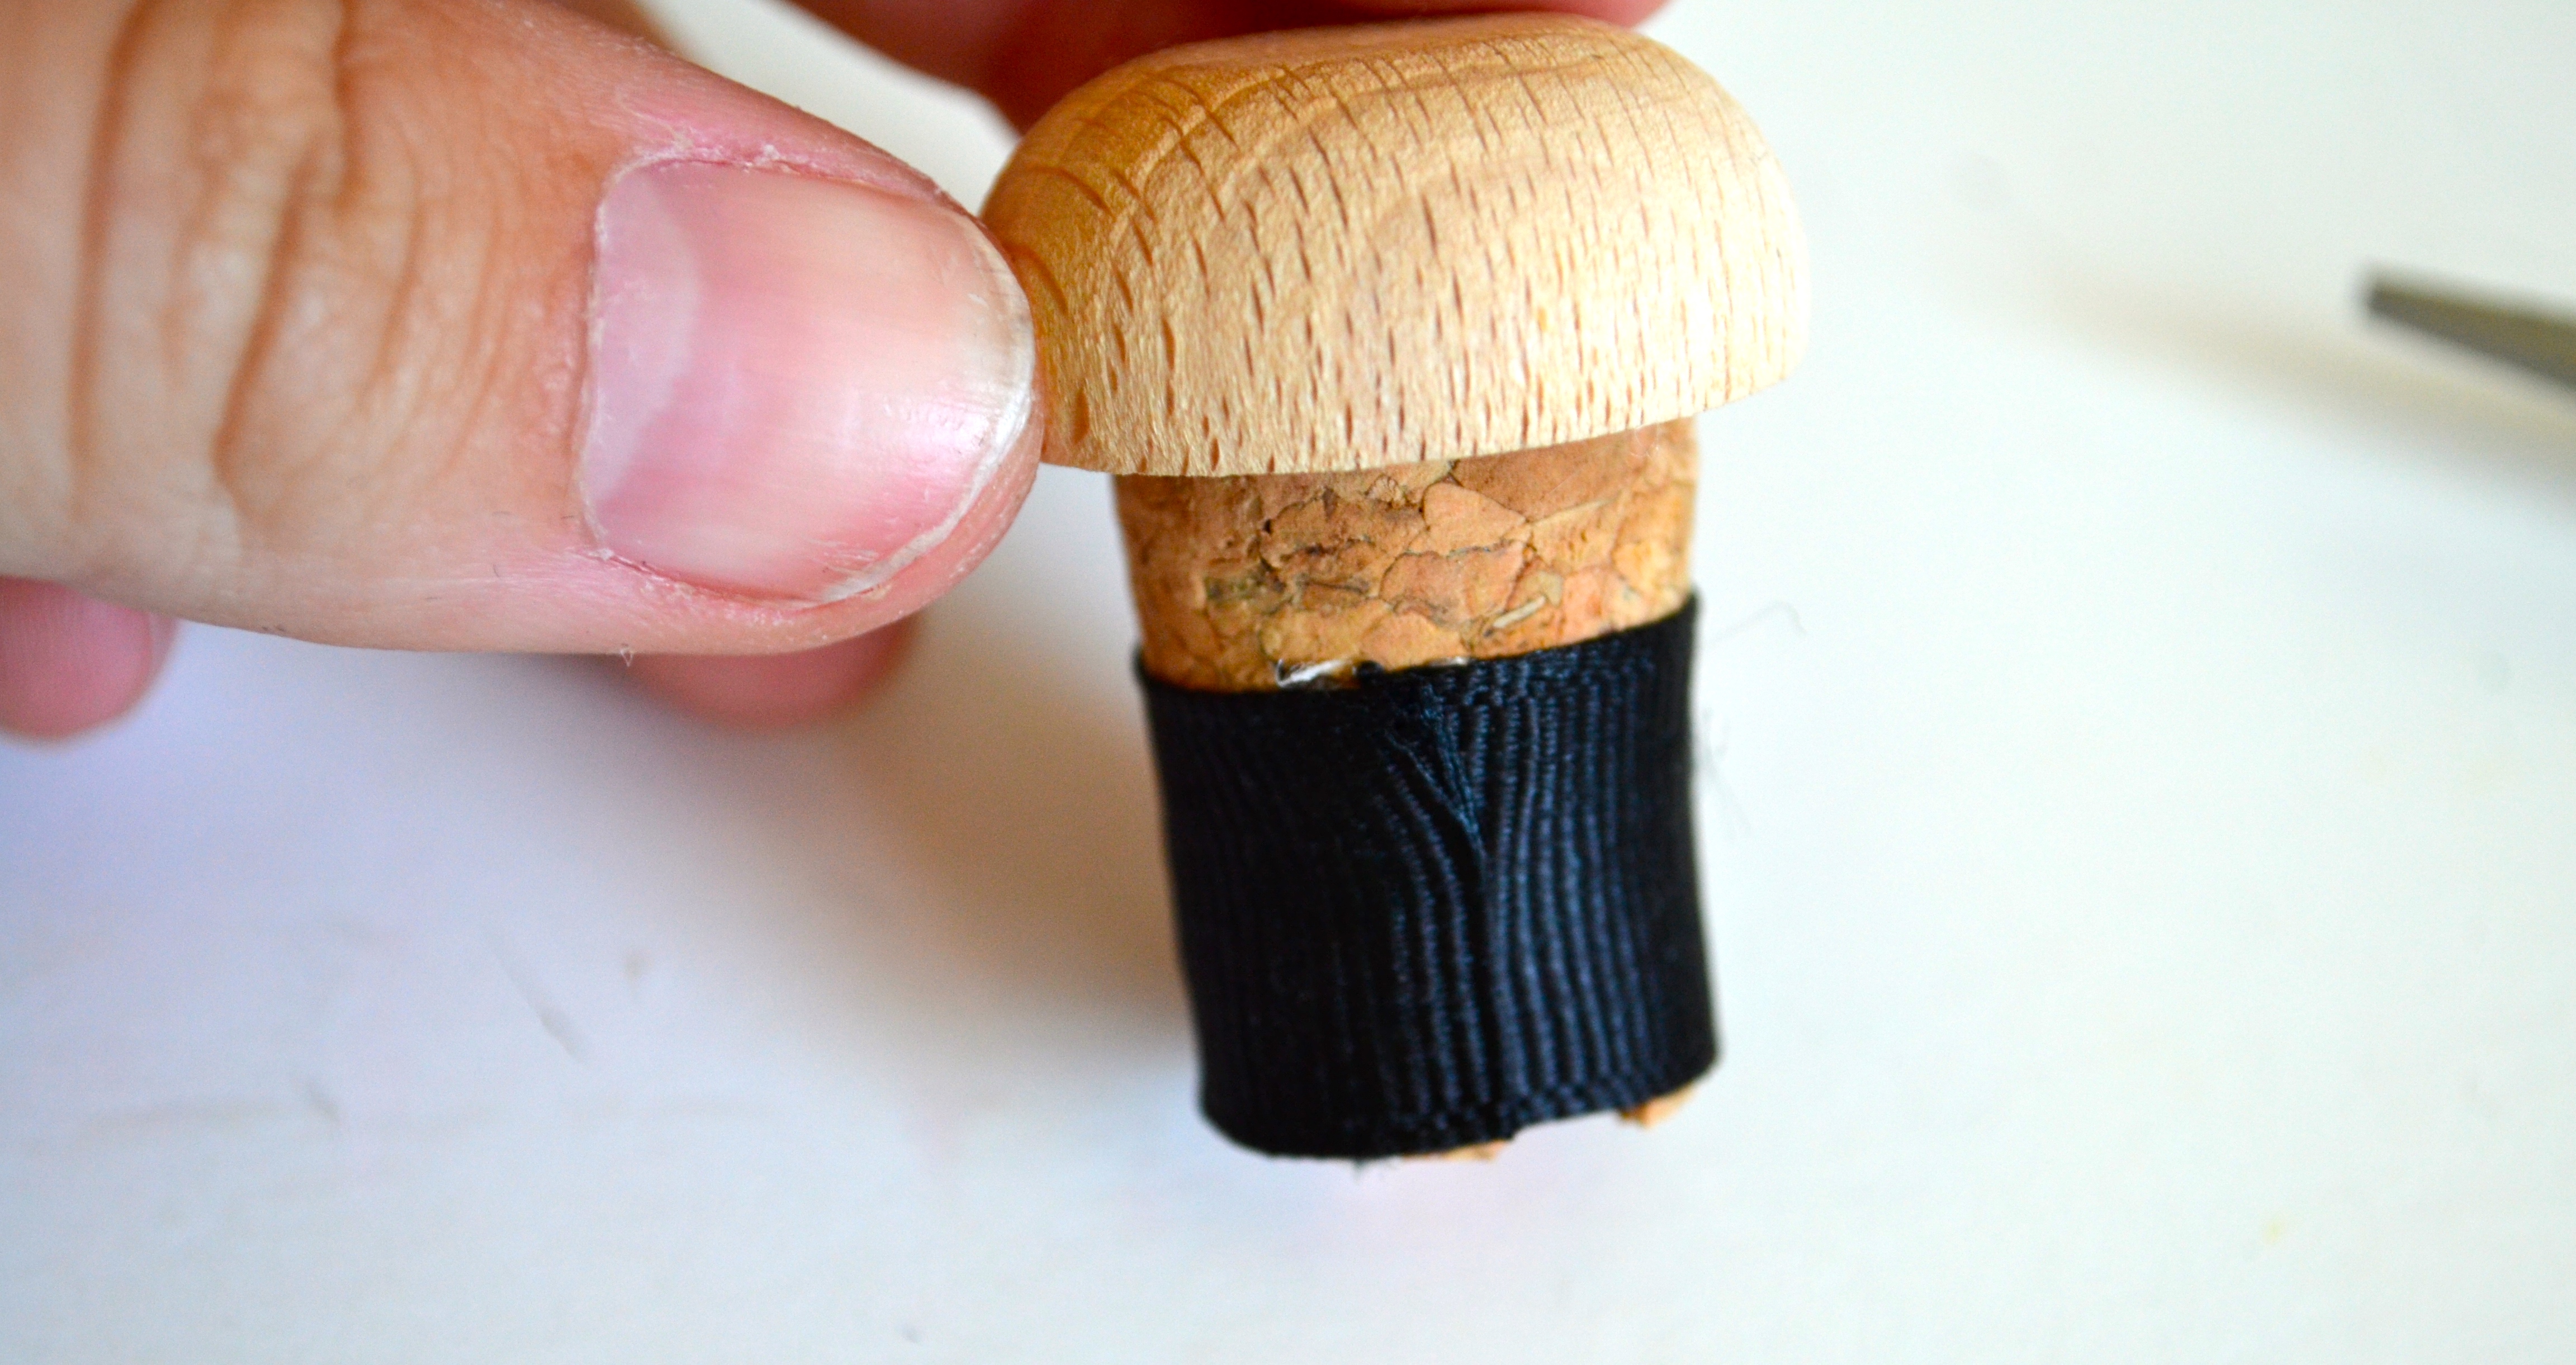
- Put a strip of hot glue around the very top of the cork roll you just made (opposite side from the light top).
- Take the last little bit of your 2.5″ cork strip, and place it on top of the hot glue strip – attaching it to the top of your cork roll.
- Then, cut around the edges so that the top of the cork is cut perfectly even with the rest of the roll.
Step 4:
- Attach the bottom of your light to the top of your light (which is not inside the “fake cork” you just made).
- DO NOT twist it all the way in until you are ready for it to light up.
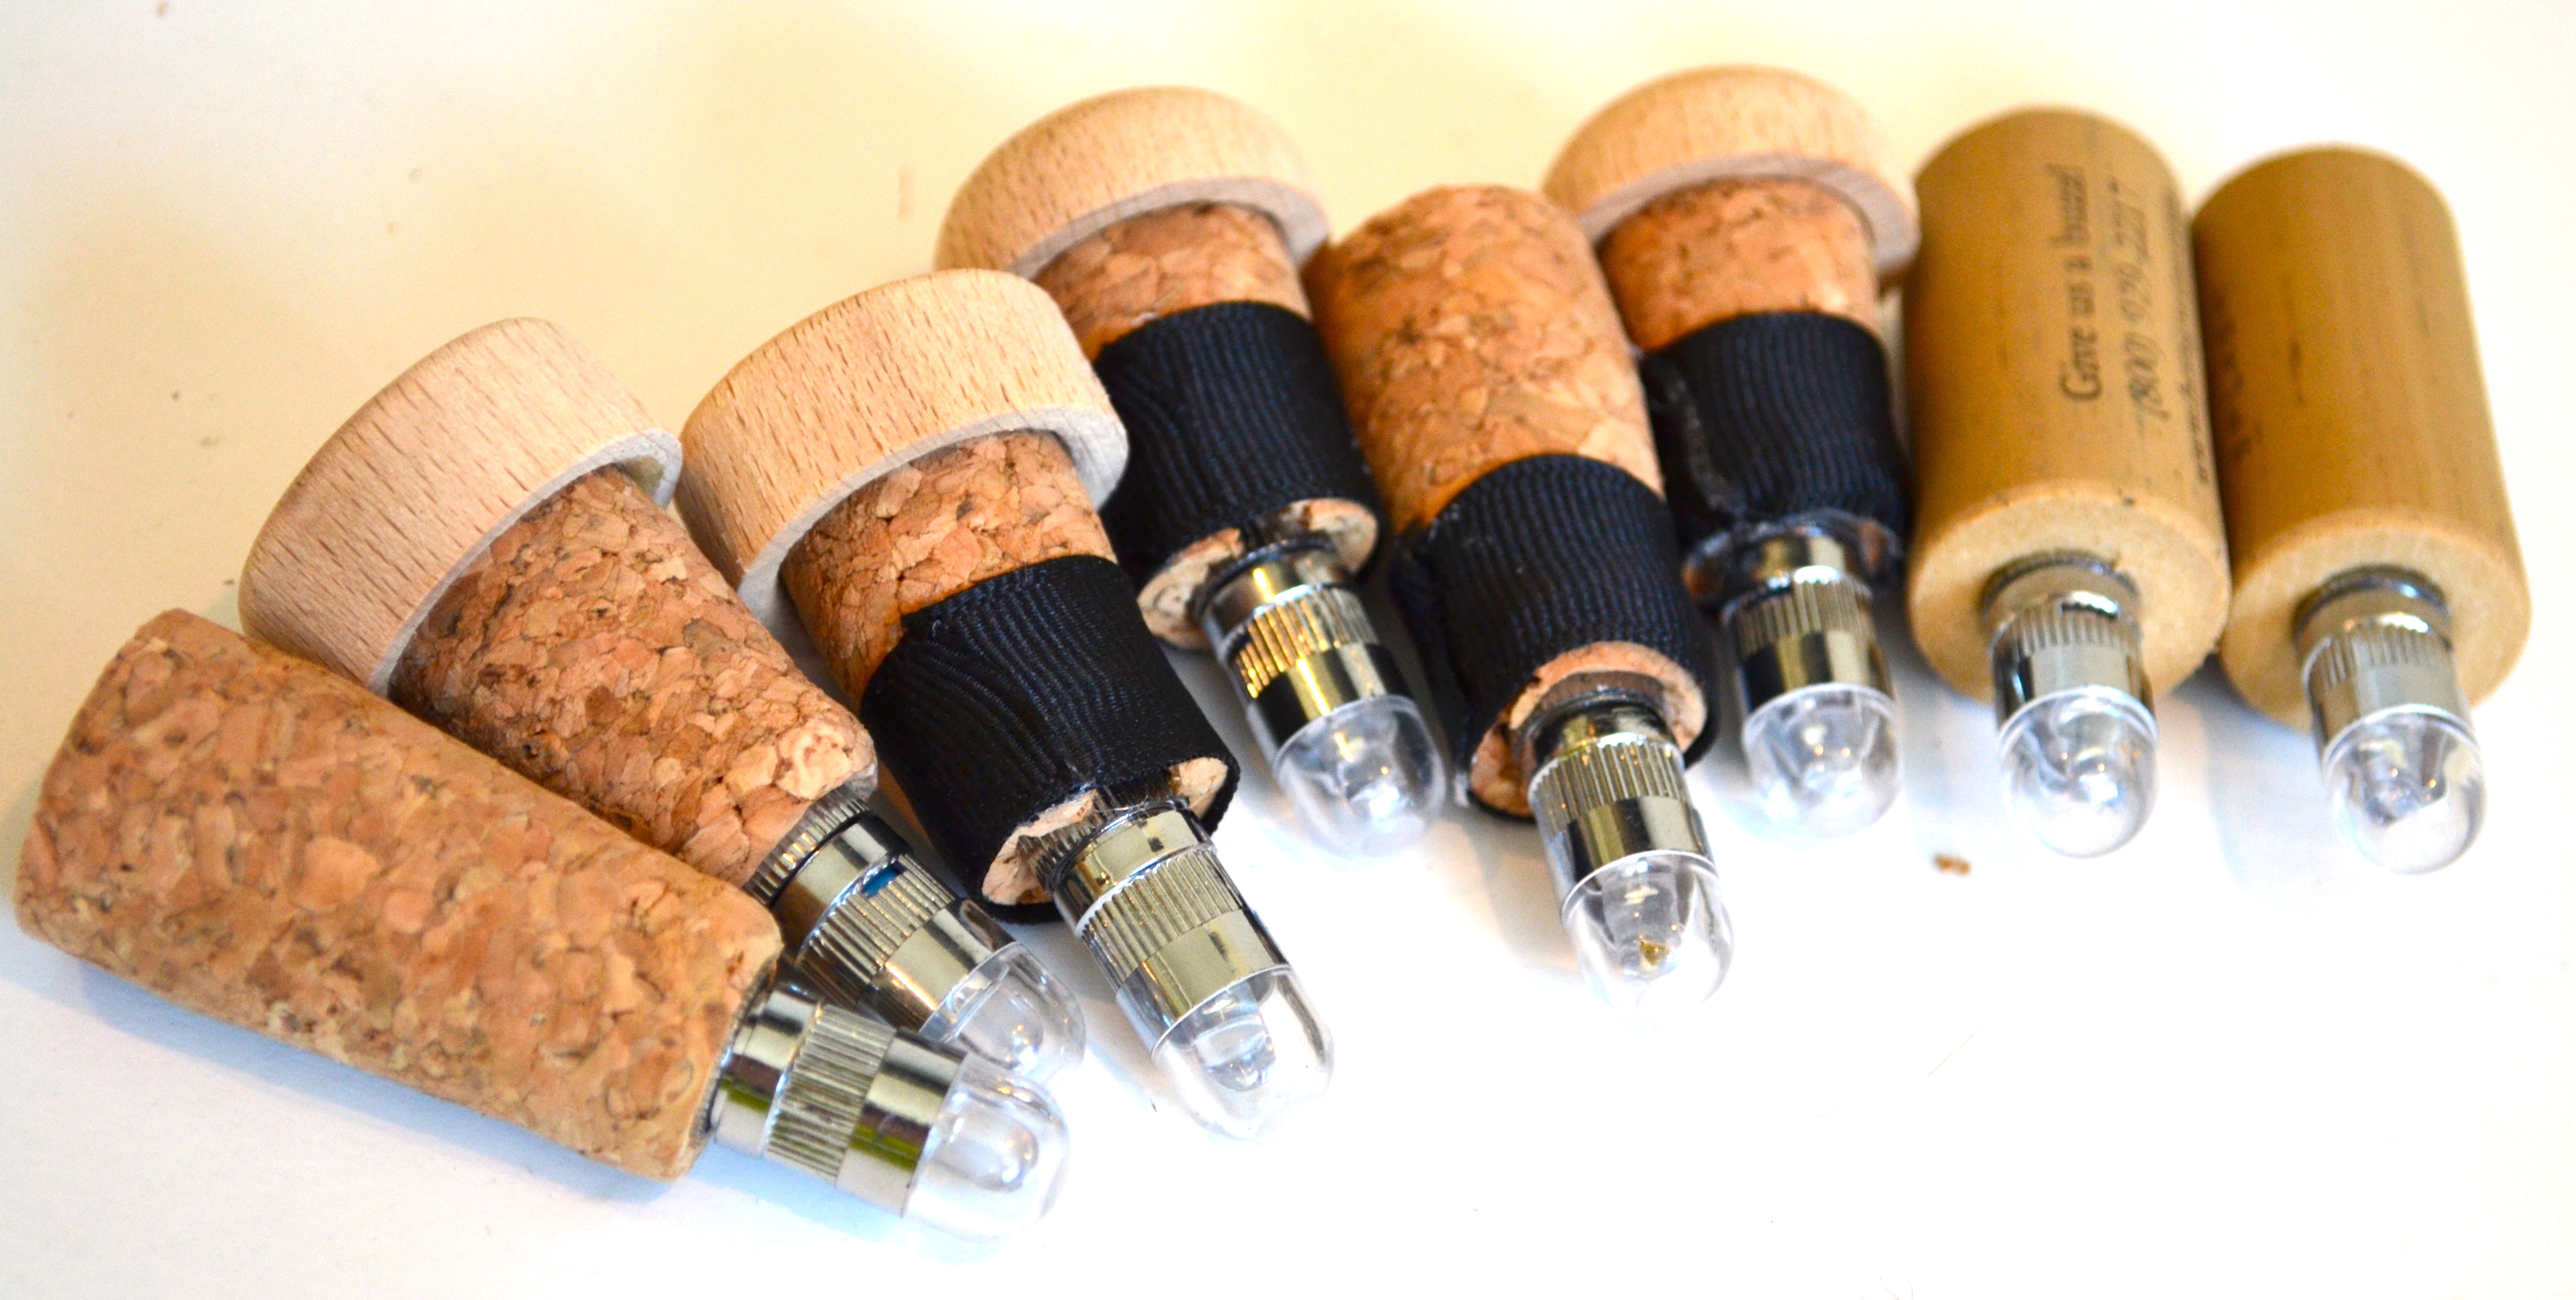
Ta da! Perfectly made faux corks that are so easy to work with and look SO REAL (besides the seams you hide in the back, of course). These corks, I would argue, are MUCH easier to make and use with empty wine bottles than the real corks are. Especially since there is no wine needed to plug up. This craft is purely aesthetic, and these definitely give you the aesthetic you’re looking for without a ton of hassle!
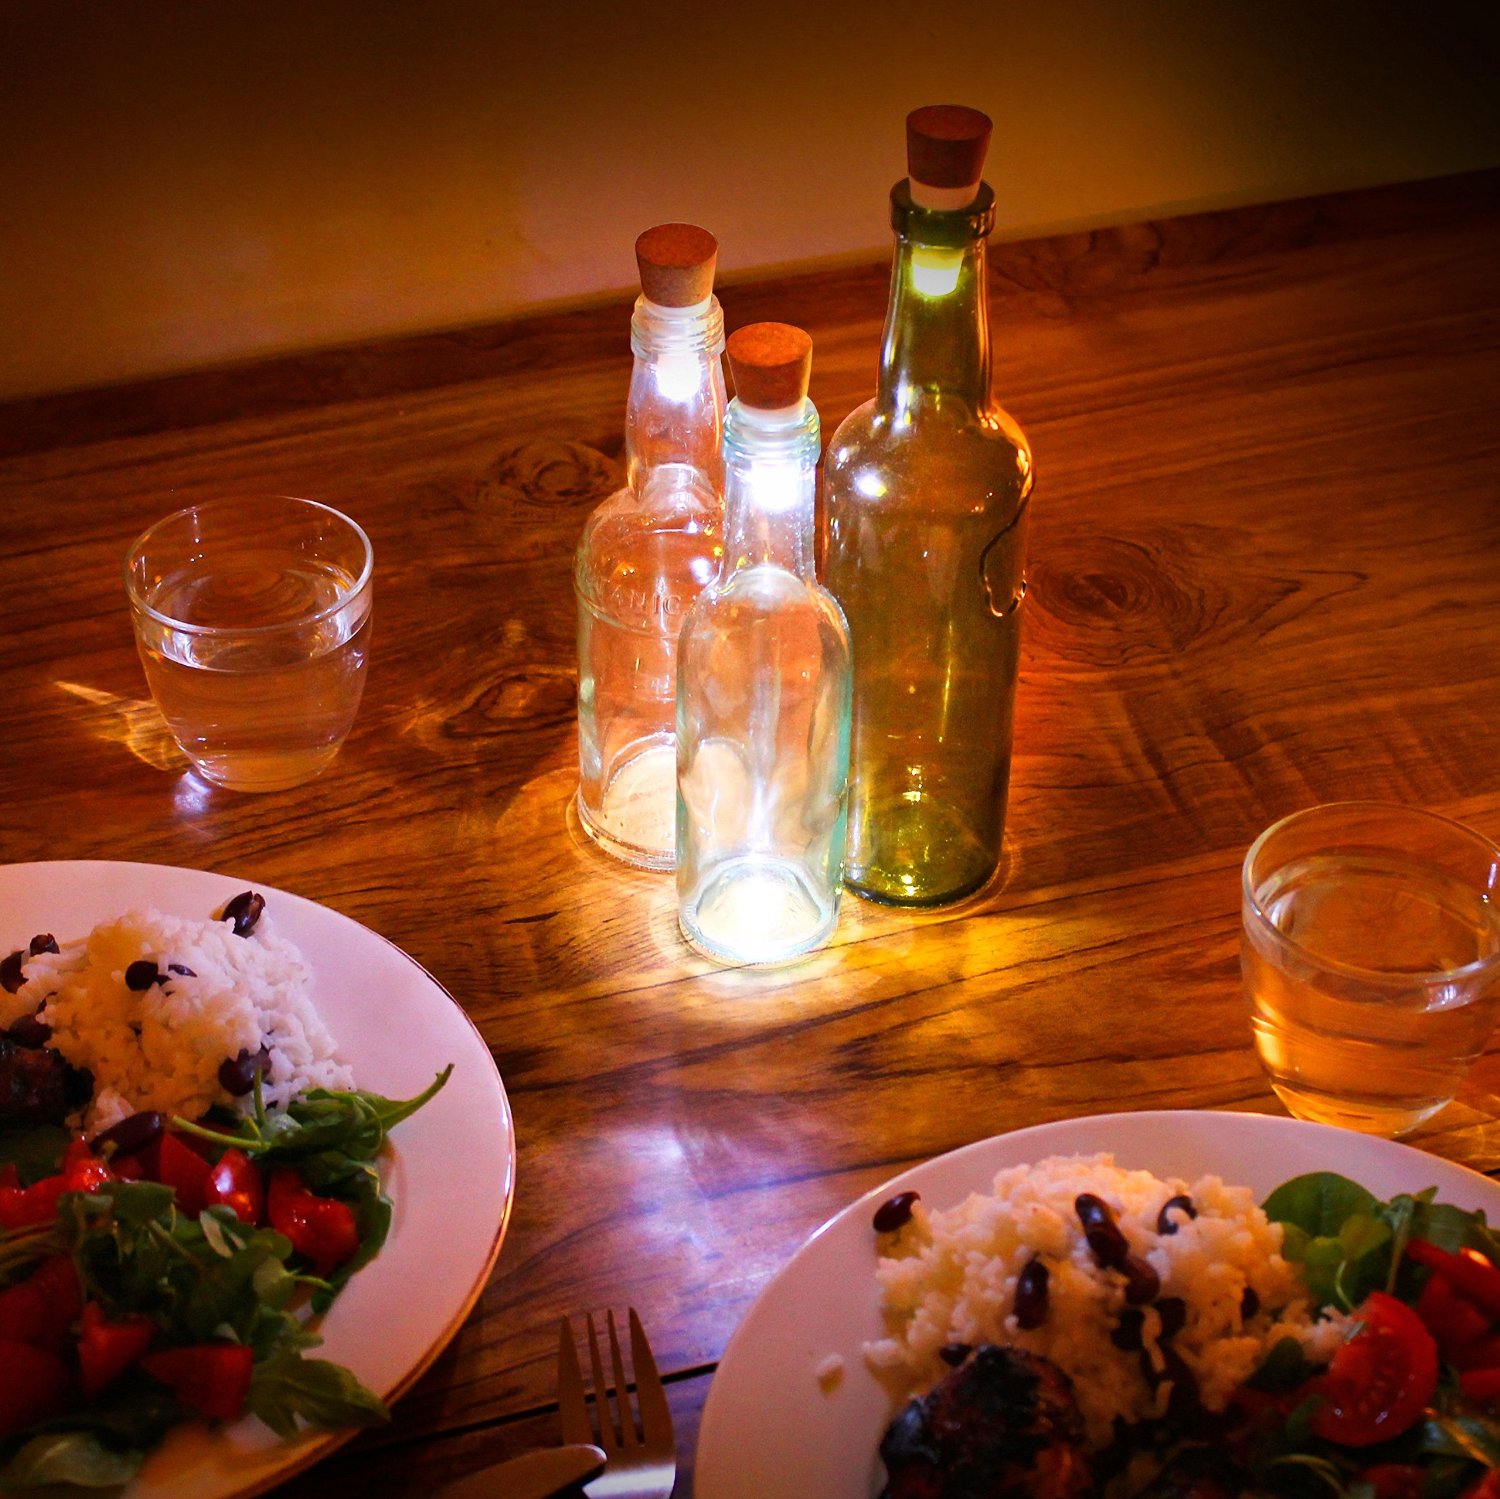
The Finished Product
So unfortunately for both me and you, I haven’t had any crazy fun dinner parties lately to display these beauties. But, I did put them around my house for my own gratification (and your viewing pleasure):
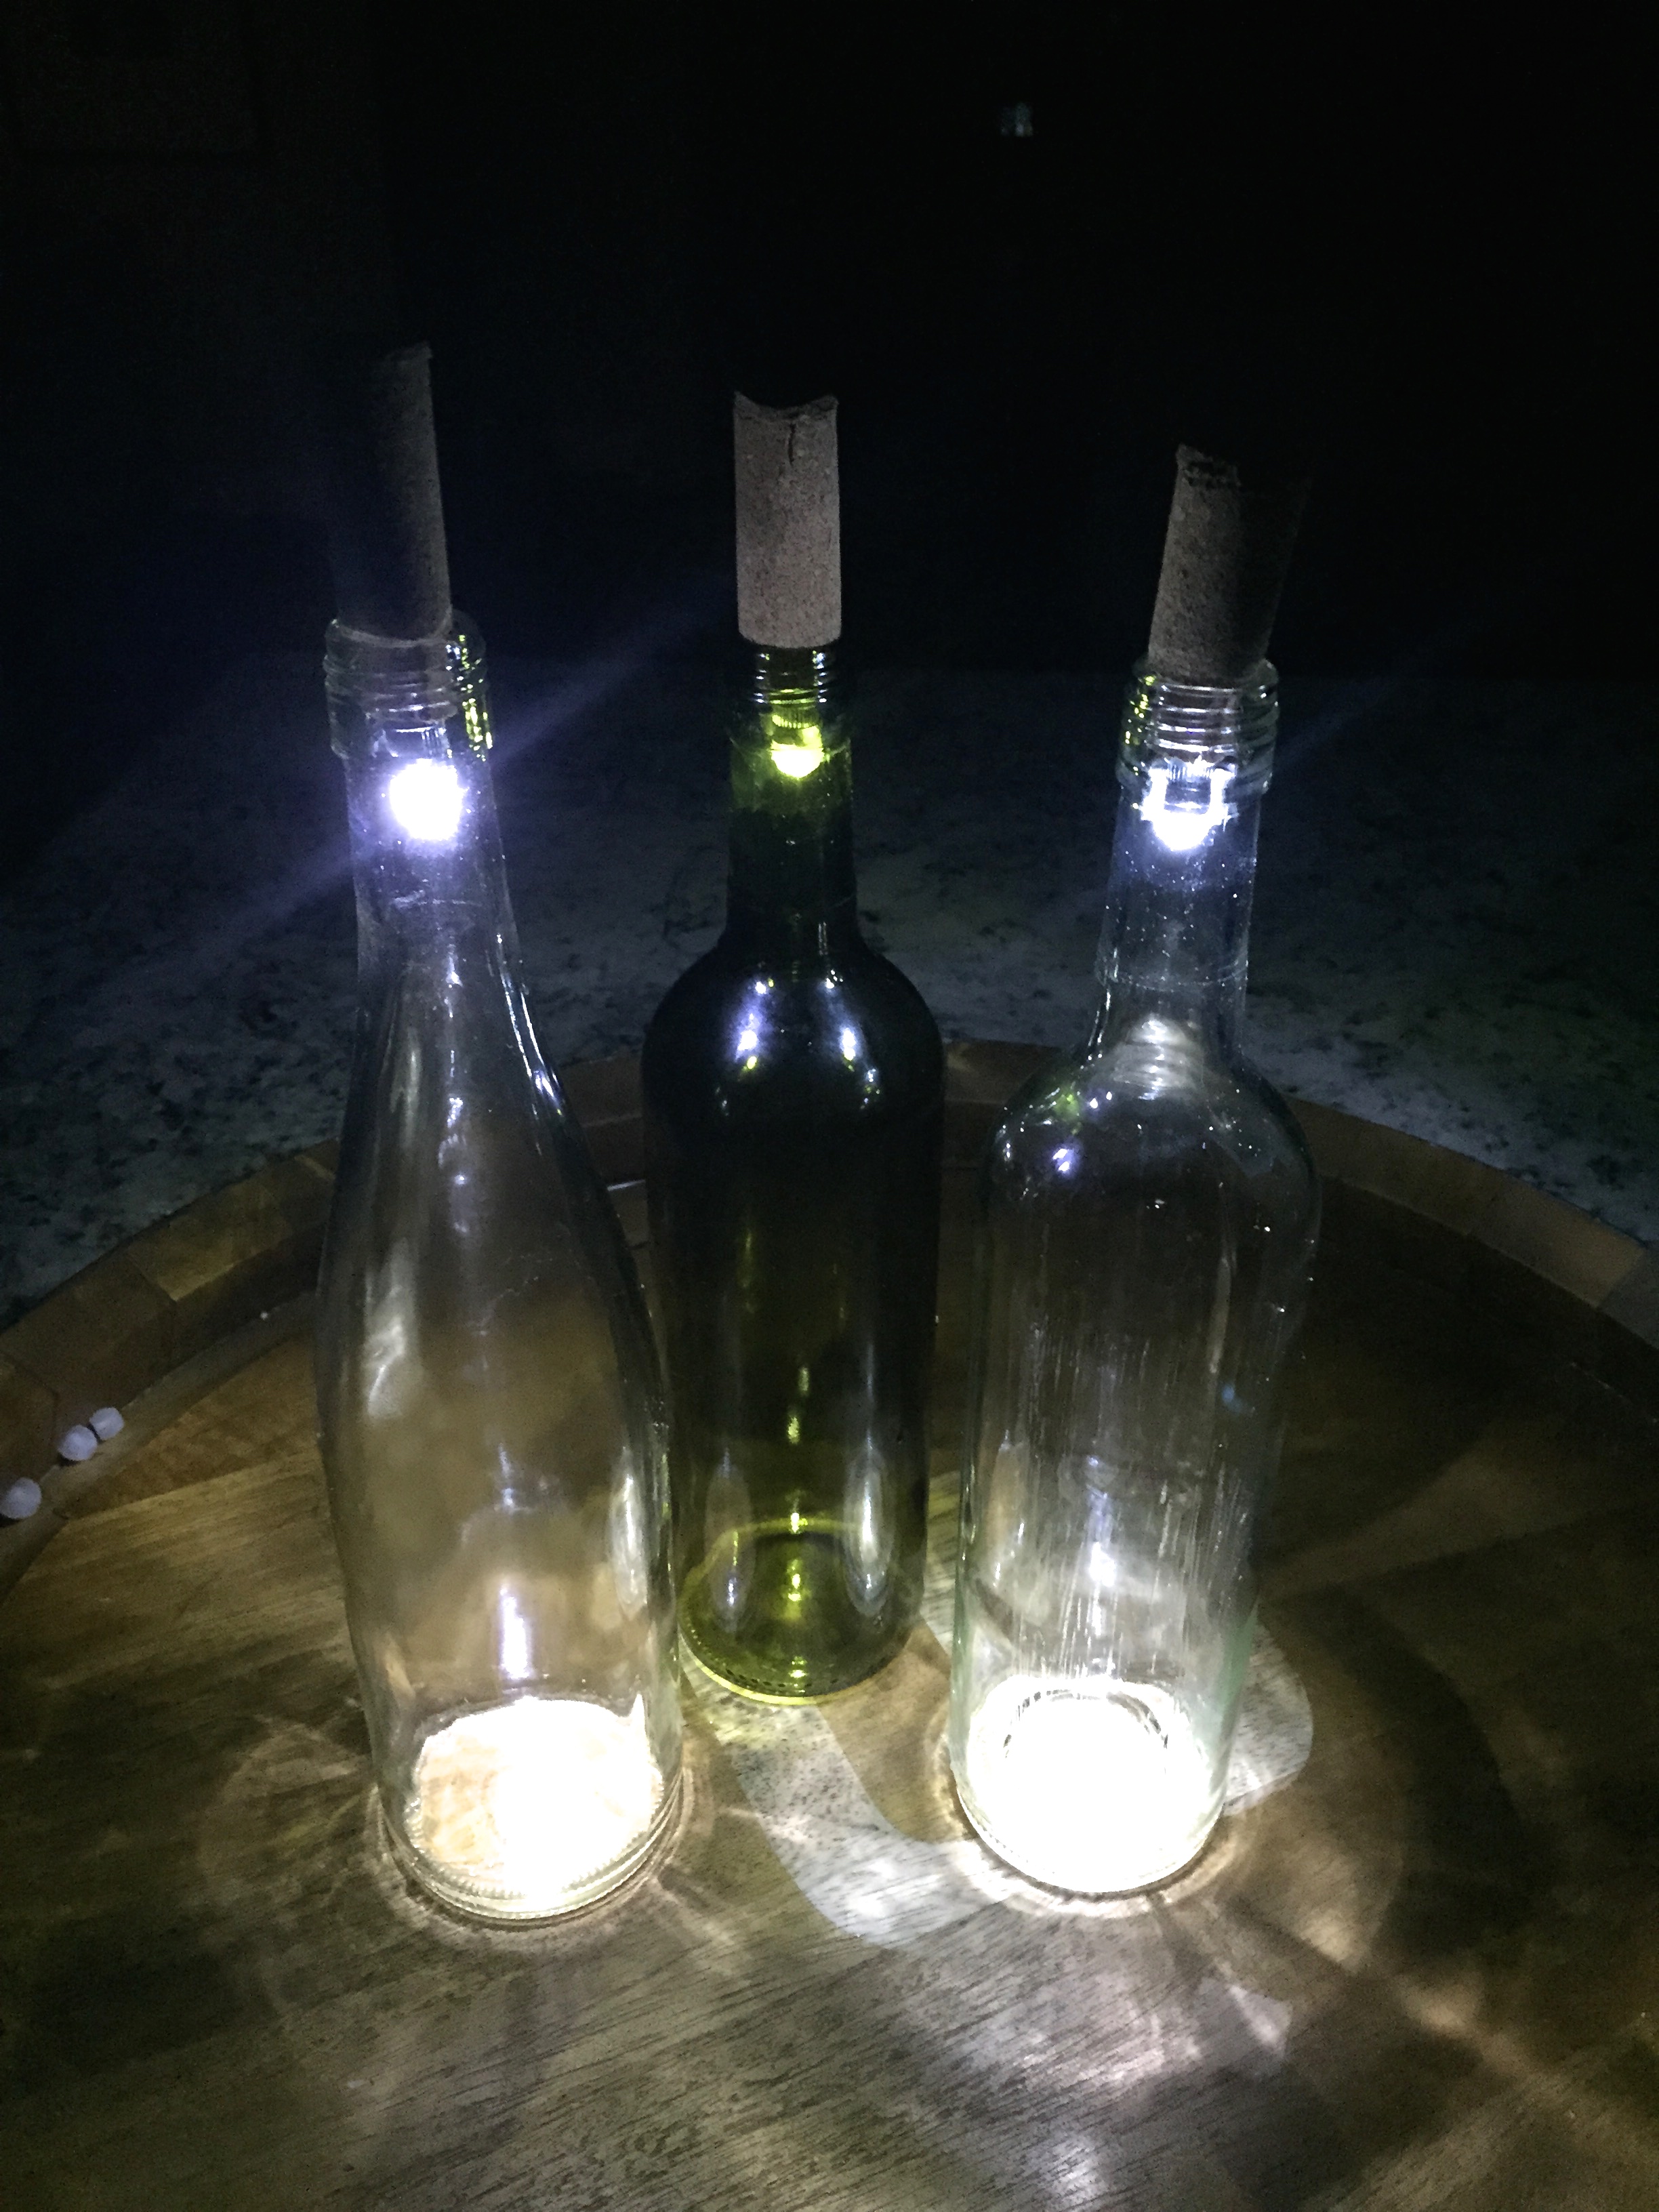
Adorable, right? You can also use some tips from my wine bottle vase tutorial to take the labels off a few of the bottles and paint them with glitter to give them a more “glowing” effect with the lighting. One can get pretty creative with paint colors, mixing red and white bottles, etc to give your party the look and feel you’re going for. But whatever you come up with, your guests are sure to be wowed by your creativity and thinking “outside of the box” for your mood lighting. You’re welcome in advance.
Now, as for buying these in my Etsy shop… I don’t currently have them available. Why? Because Amazon sells them for $12! Is there a demand for cheaper? I dunno! I’d probably sell mine for about $4 each. Still a HUGE savings getting 3 for the price of 1. So if you’re too busy to make these yourself, and aren’t interested in spending $12 for a single wine bottle light – just shoot me an email at kaitlin@missbizibee.com! I’d be happy to entertain your custom order request!
But if you’re so pumped up you can’t wait to go make these yourself, good for you! Maybe you just want an excuse to drink that last bottle of wine. Hey, I would never judge you for that! But if you’re antsy to craft, here’s a recap of everything you’ll need to make these wine bottle lights yourself:
- Corks
- Don’t use the corks that come with the wine. Those are too big to fit a light inside and still fit in the wine bottle. I bought THESE on Amazon. You can get these, or any corks that TAPER DOWN.
- Or you can get a roll of CORK and make the corks yourself. I show you both options.
- Wine Bottles
- Drill and 1/4″ Drill Bit
- Tiny Party Lights
- They also have these lights in multi-color
- Glue Gun and hot glue
- 1/2″ ribbon (optional)
Leave a Reply