Ok, I’m going to start this post off with the obvious. I know what you’re thinking… I’m not a mom. How can I possibly write a post for busy moms?! I mean, it’s not like I have a almost-full time nanny job and am trying to run a growing business, a house to take care of, a life, or anything else going on! Psh! Amateur hour.
Ok, all kidding aside. I may not be a mom – but I DEFINITELY know what it feels like to be busy. So busy that you feel like you don’t even have time to go to the bathroom. After all, I am a bizi bee (get it?). Ok, last joke, I promise ;-).
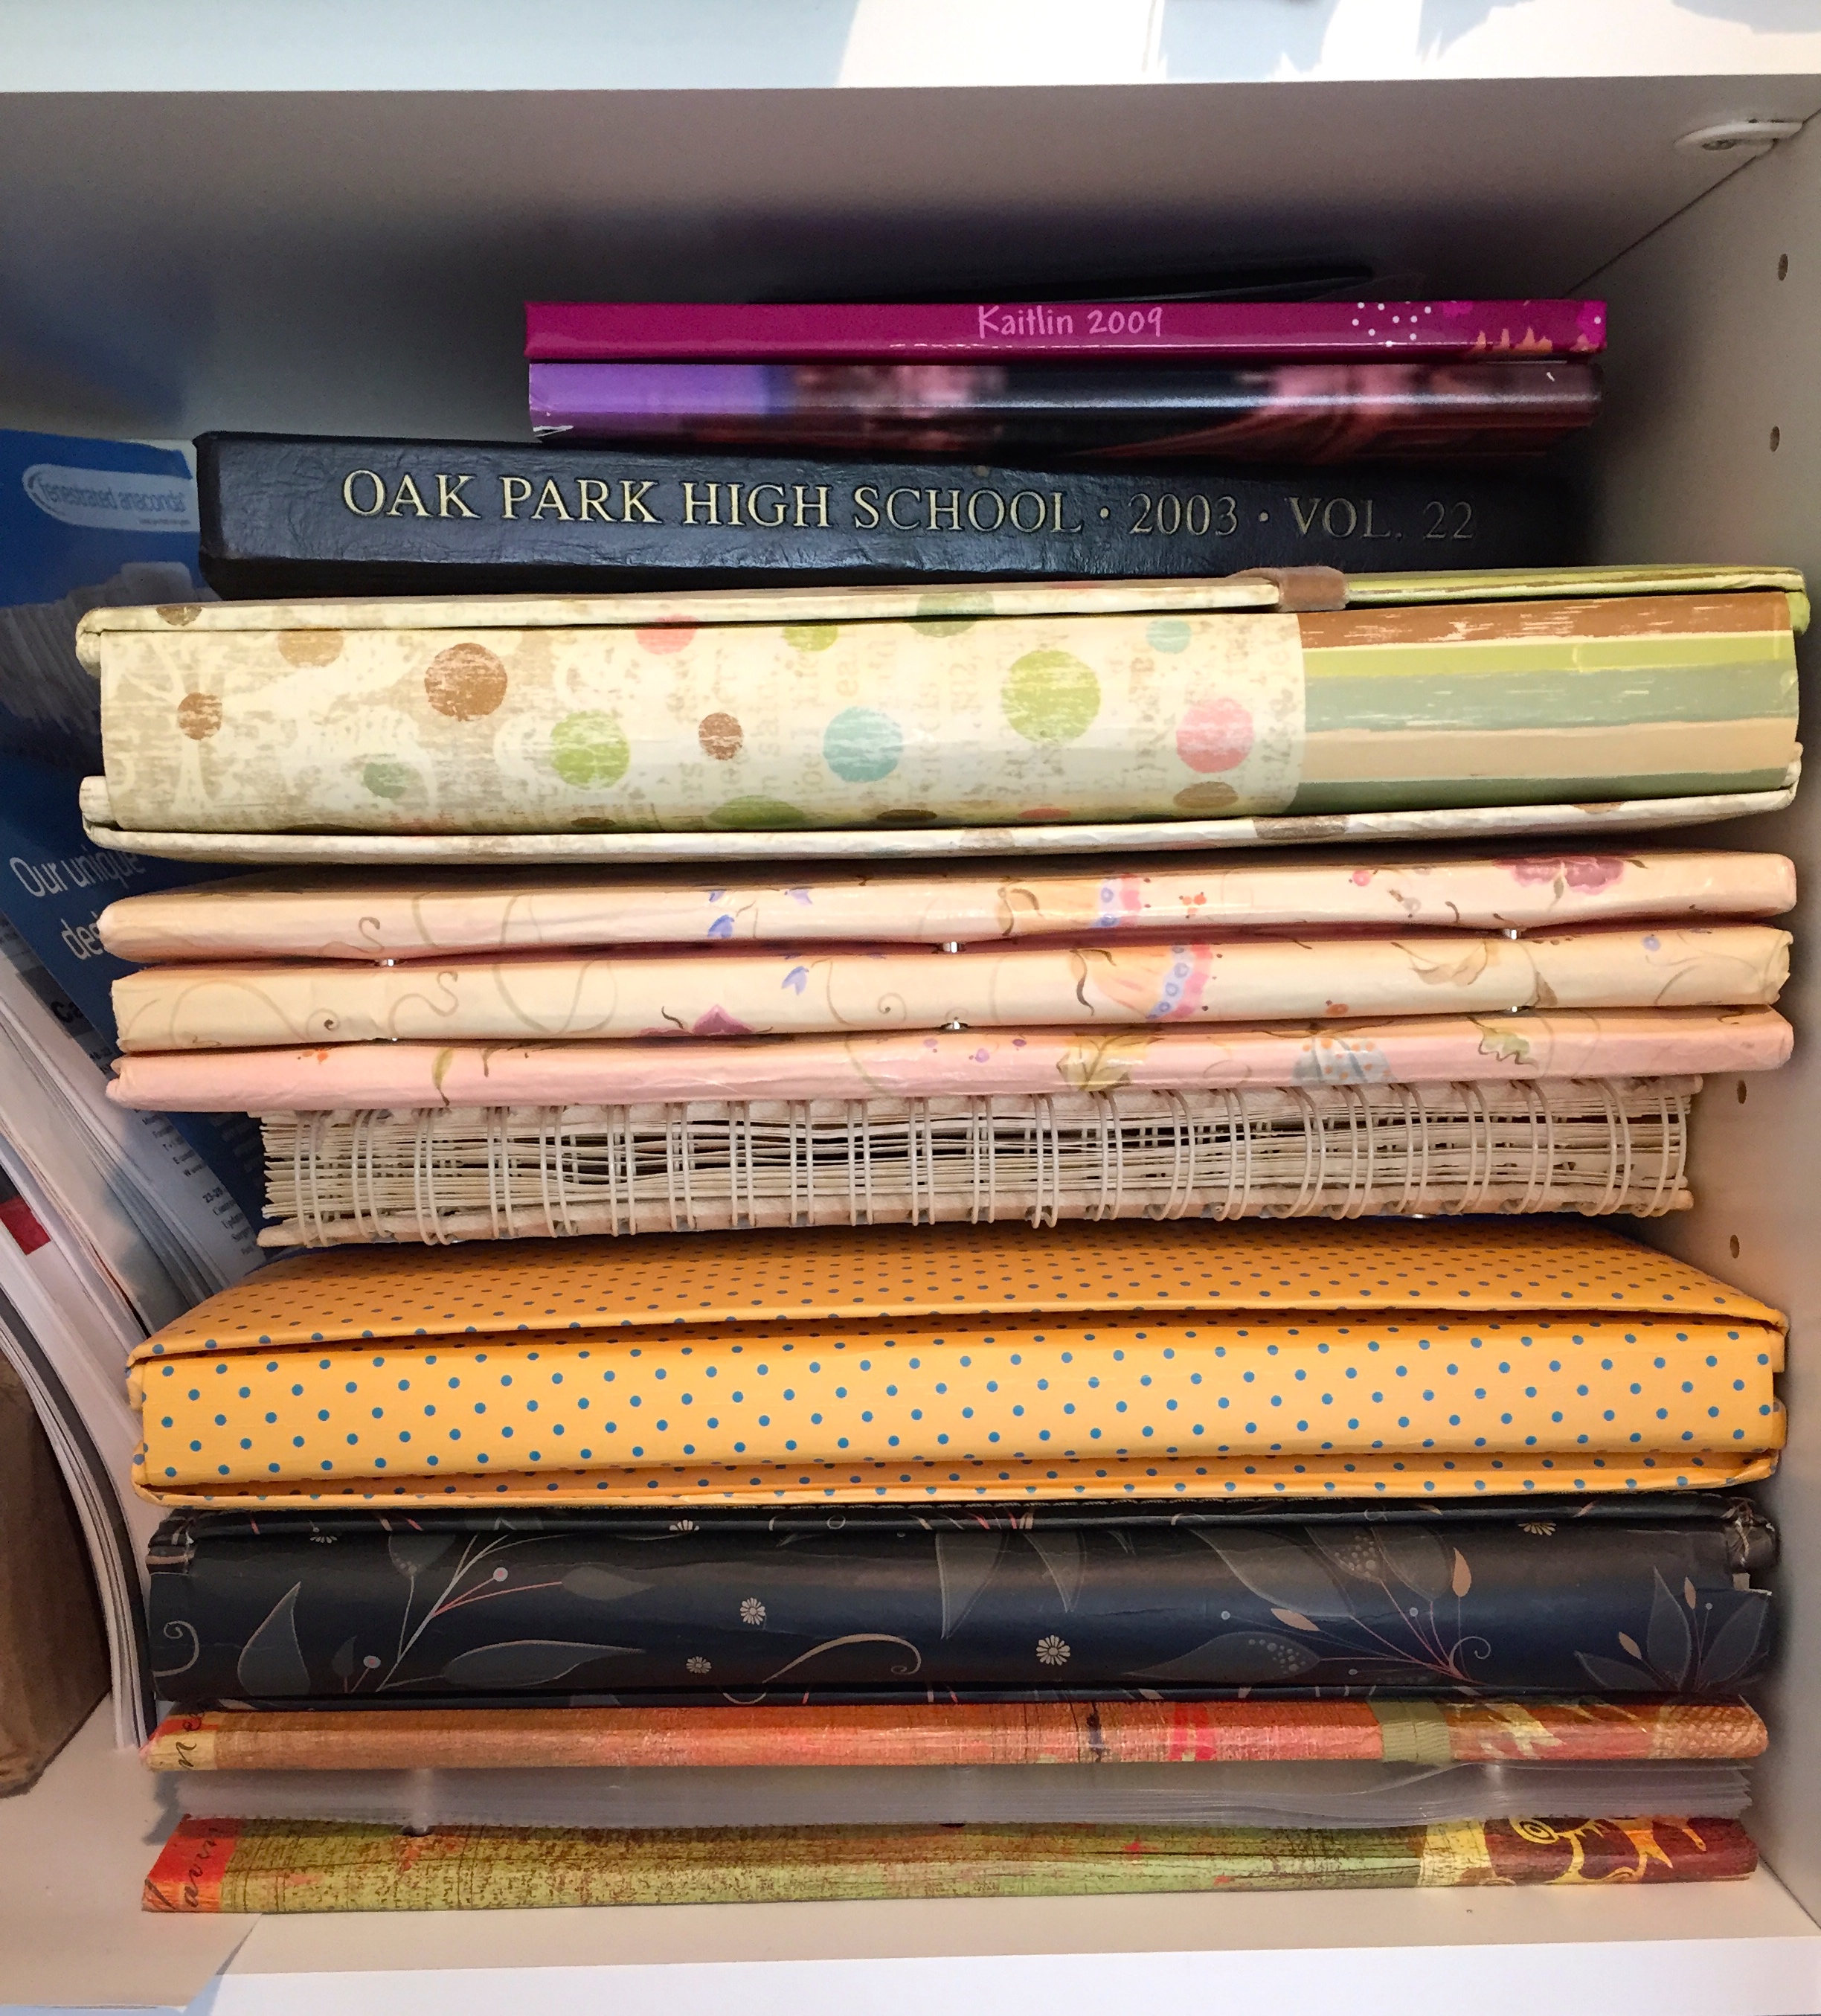
But before I became so busy, I became obsessed with scrapbooking. It all started back in high school, I would take a disposable camera with me to every event, and would try to document as much of my life as I could. As soon as the film came back from developing, I would immediately grab one of those sticky photo albums and place my favorites inside. Essentially, making my very own “yearbook” of my life. I still have them sitting in my closet at my parent’s house. One album for each year of high school.
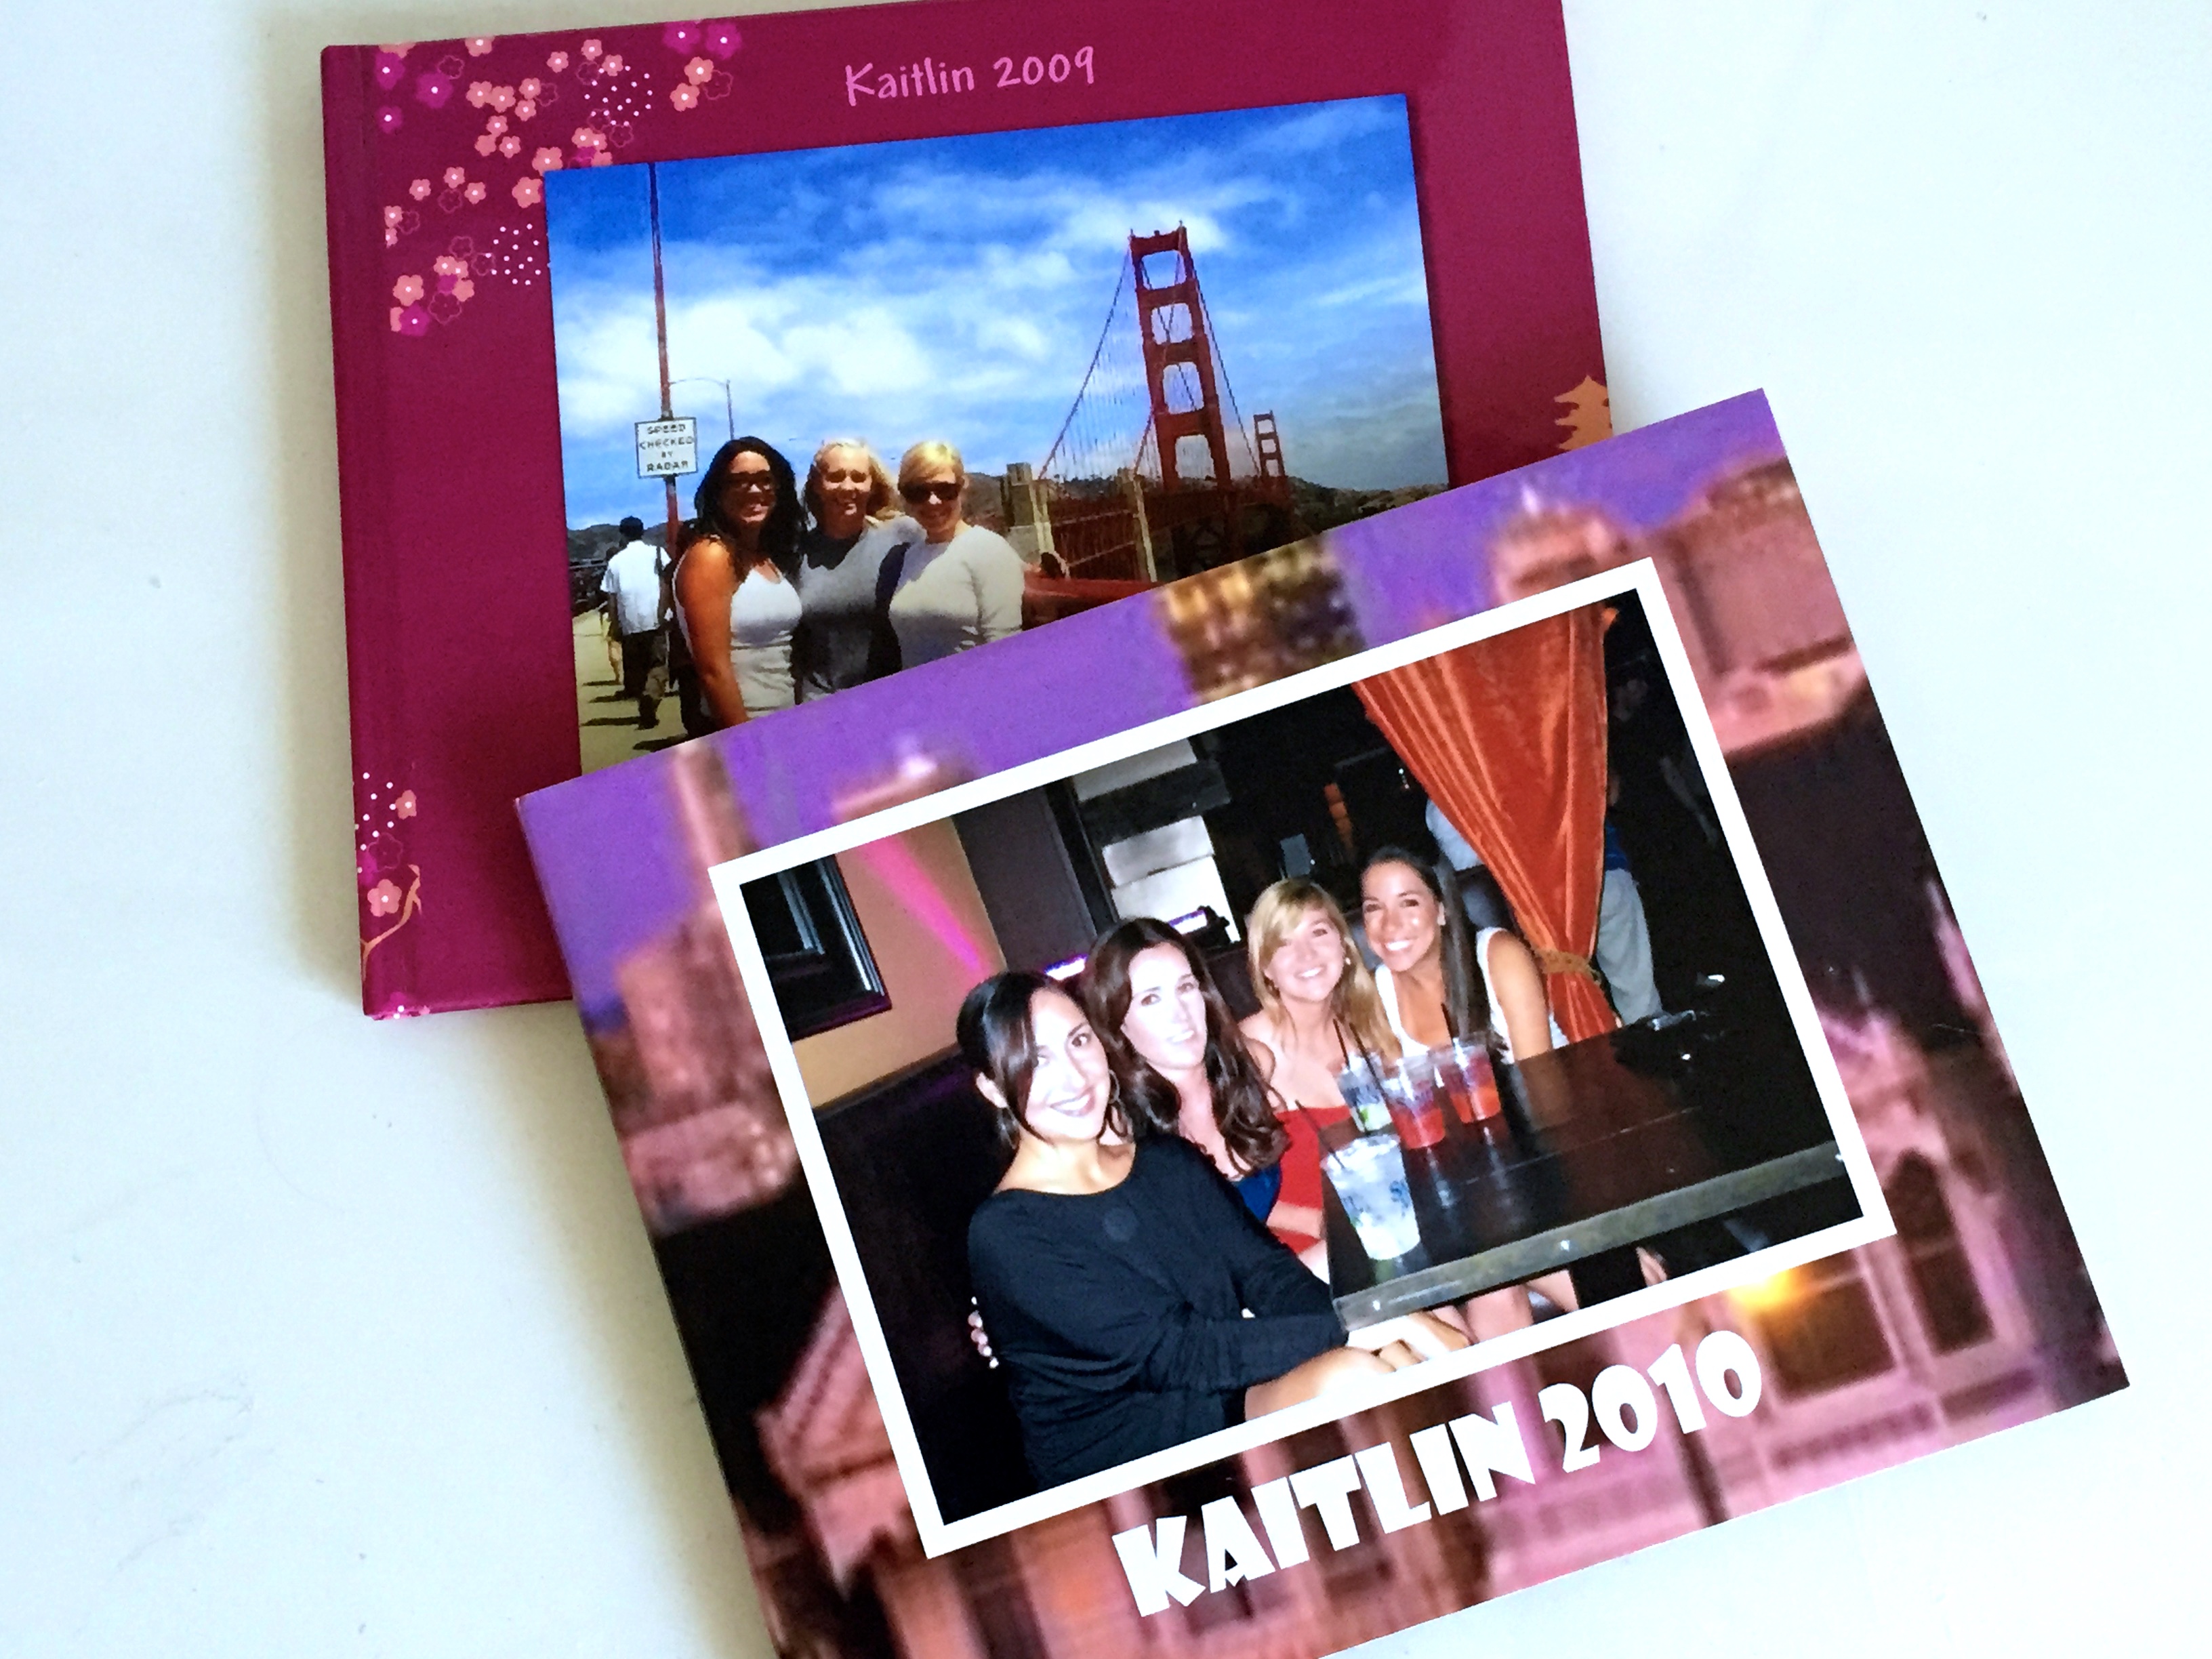
As I got older and went off to college, I got a little more fancy. My disposable cameras turned into one digital camera, and it went with me everywhere. And my sticky photo books became full blown scrapbooks- complete with photo backings, calligraphed titles, and fun captions.
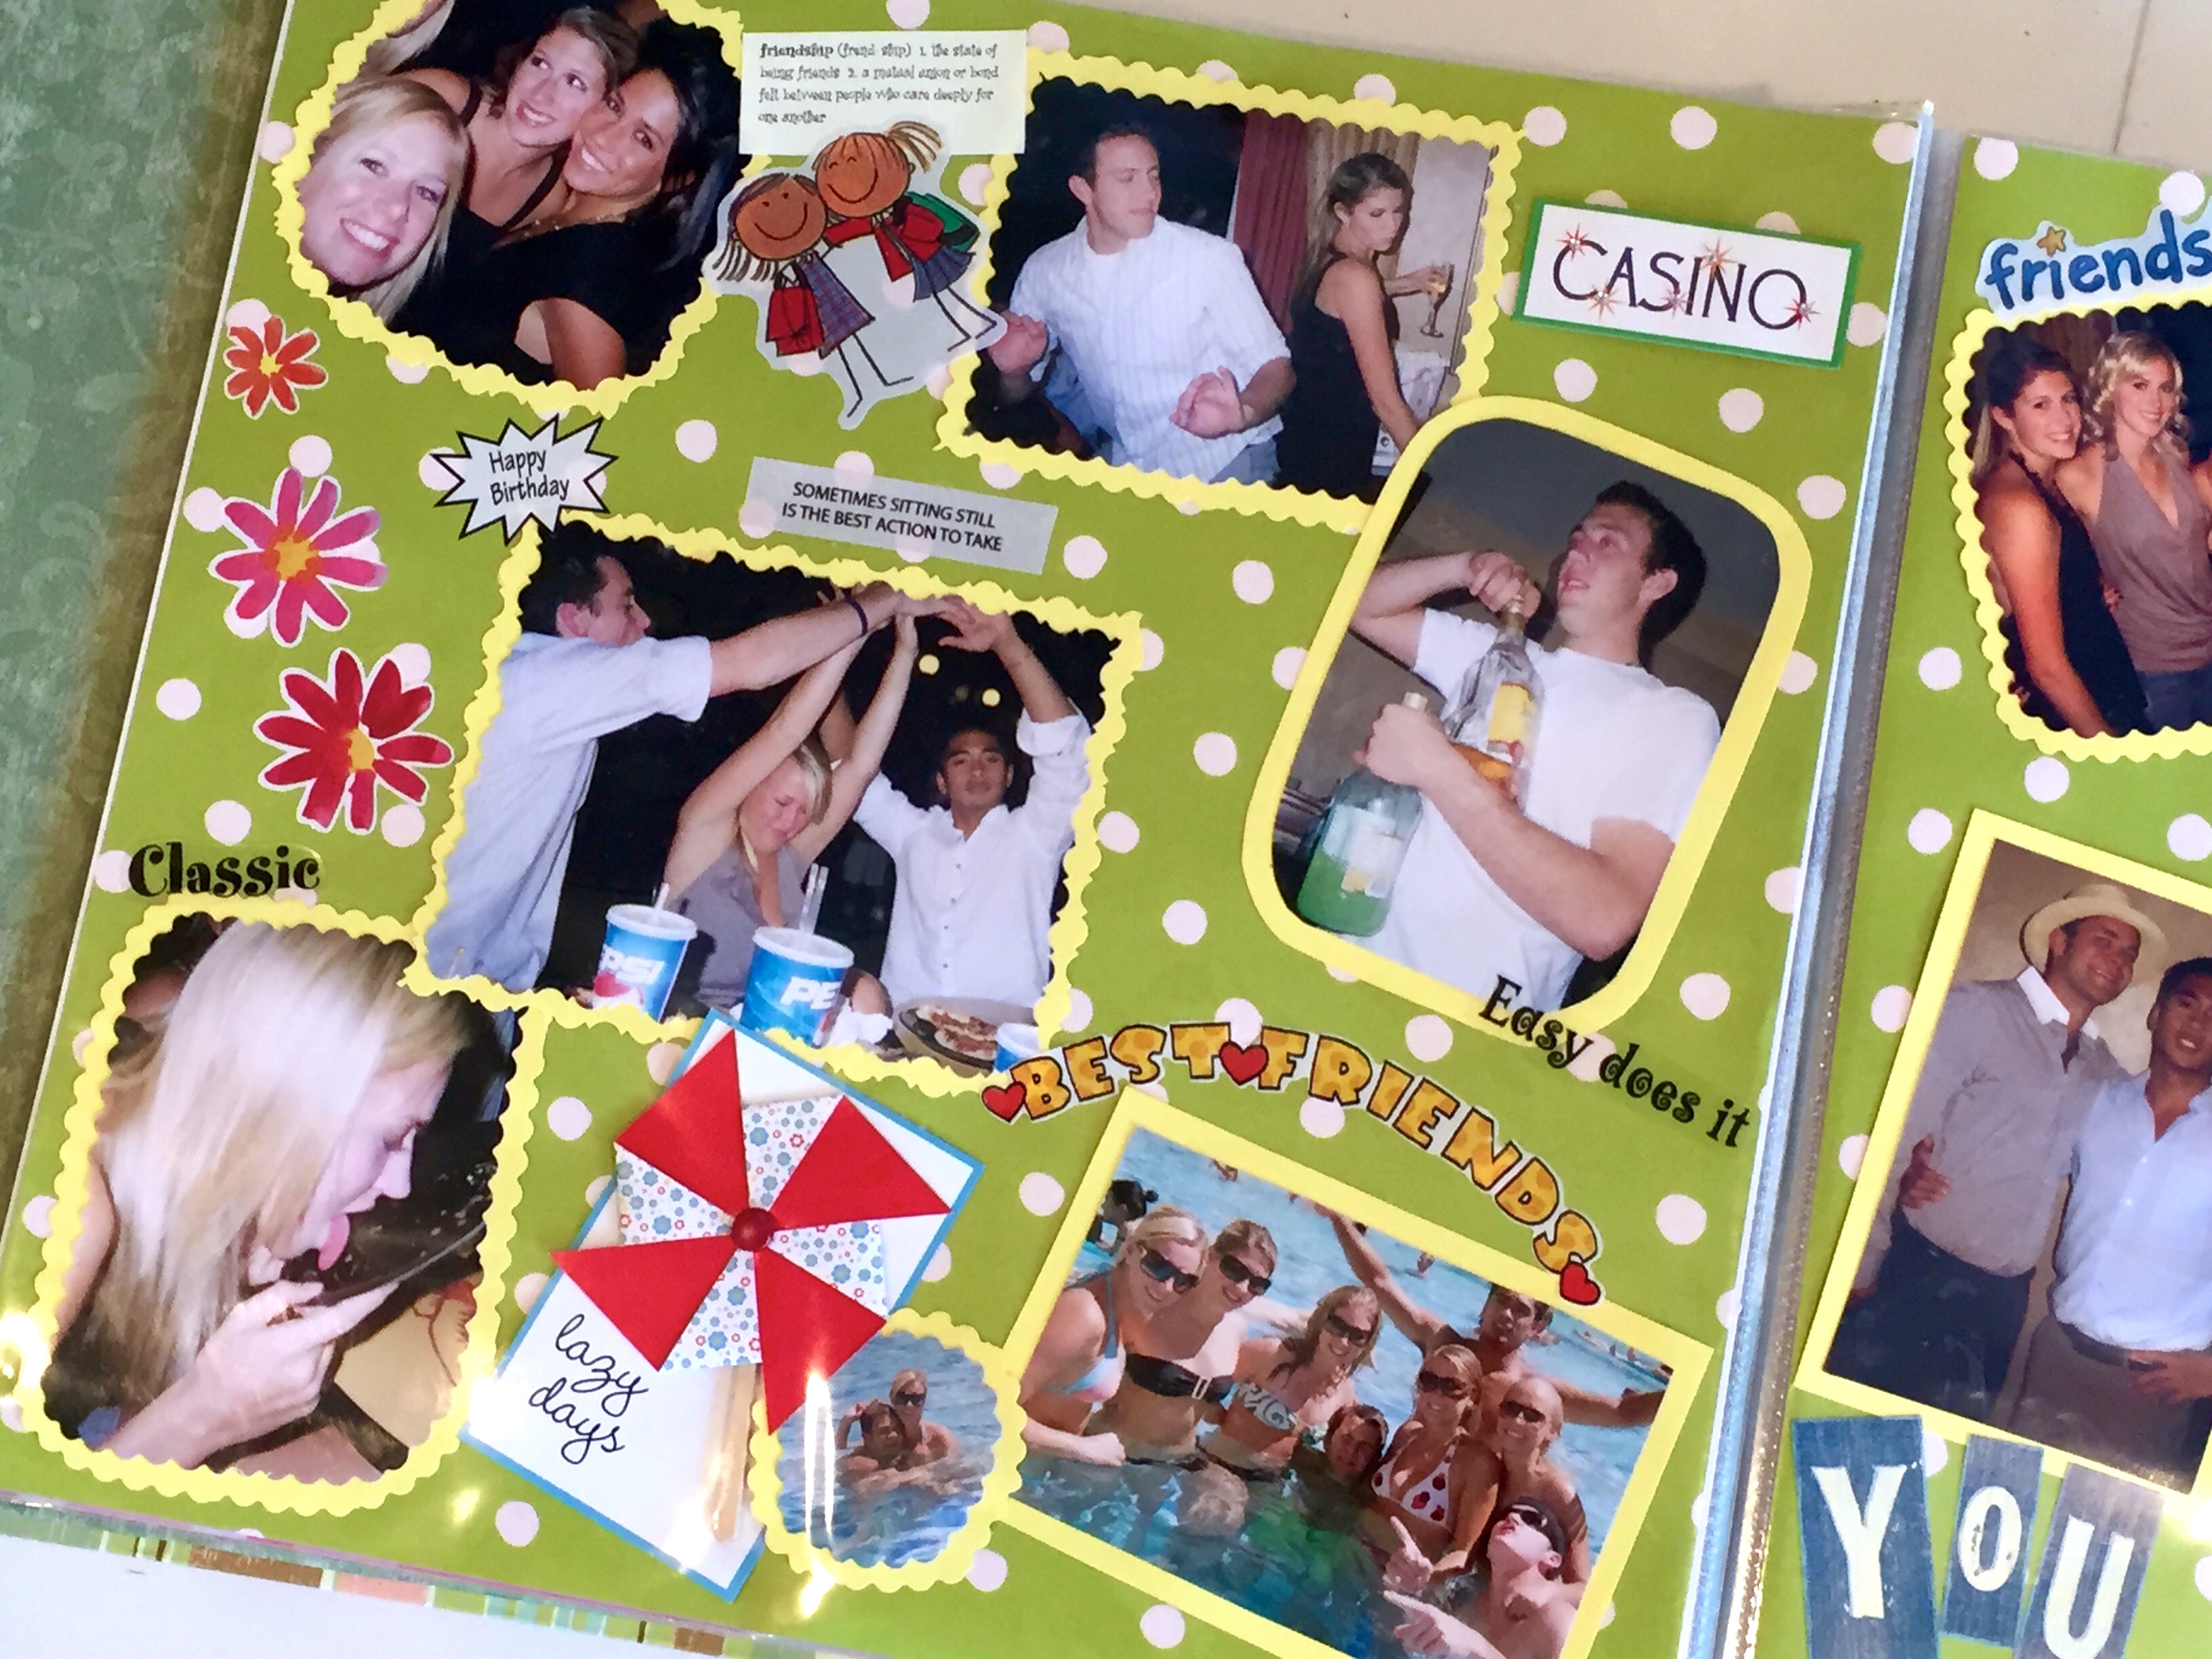
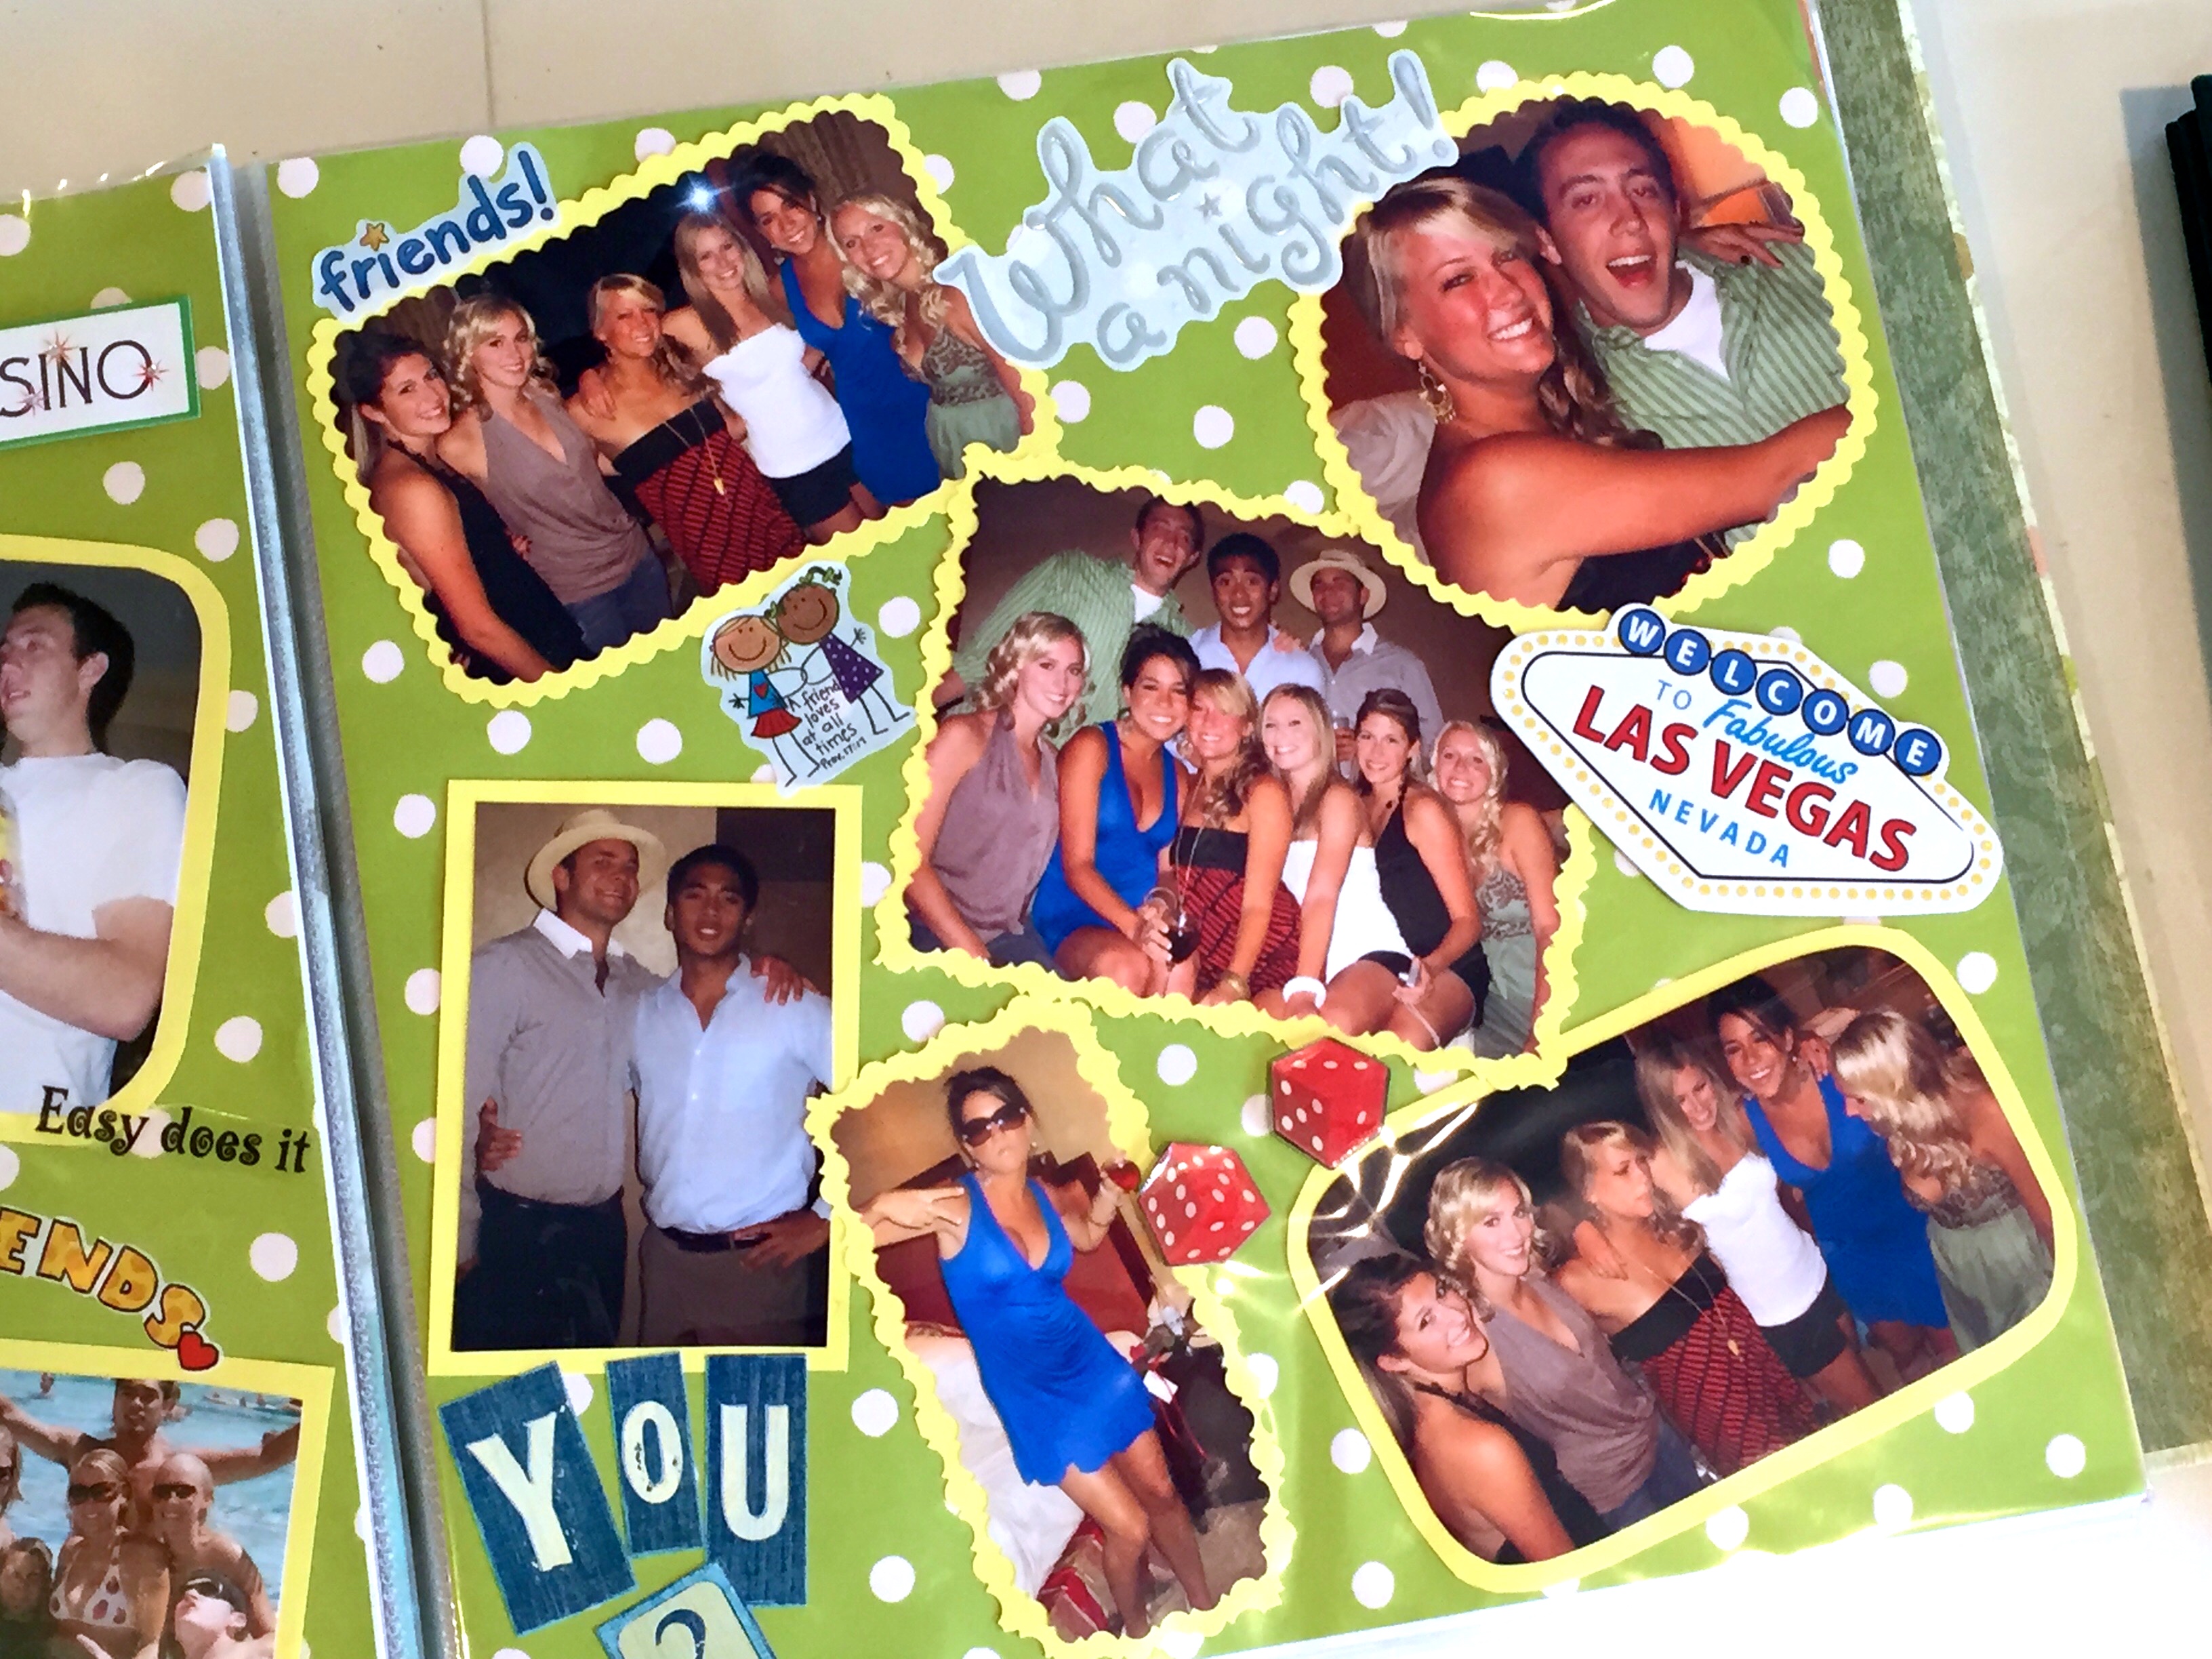
Yes, I was THAT girl – while others were day drinking on a Sunday, I was finishing up the latest page of my scrapbook so I wouldn’t fall behind. Ok, it wasn’t EVERY weekend (I wasn’t a complete lame-o) but it was often. It became a fun hobby for me. So while others enjoyed surfing the waves during lunch, I was enjoying thinking of new scrapbooking ideas. And I have no shame in my game 🙂
It wasn’t until I left college and started working full time, that I really knew what busy was. My first year up in San Francisco, I tried to pretend that nothing had changed. I was working 50 hours a week, and still trying to go out on the town as much as I could. Of course, my camera went with me everywhere, and I began to document the newest stage in my life.
However, as the year went on, the outings became less and less, as did the photos. And I found myself not having enough time to complete my first year post-college scrapbook. Was this really happening? Was I going to miss out on a full year of documenting my life? What was going to happen in the future? This couldn’t be THE END for my scrapbooks, could it?
Well *spoiler alert * it wasn’t. However, it WAS the end of my traditional scrapbooks. The fancy ones with the calligraphed titles, developed pictures, and catchy captions. Ain’t nobody got time for that! But…I still wanted it.
So what did I do? I turned to digital scrapbooking. Much more time efficient, and still just as adorable. Plus, it gave my memories a fun home for me to look back on fondly, without preventing me from making more memories with my time.
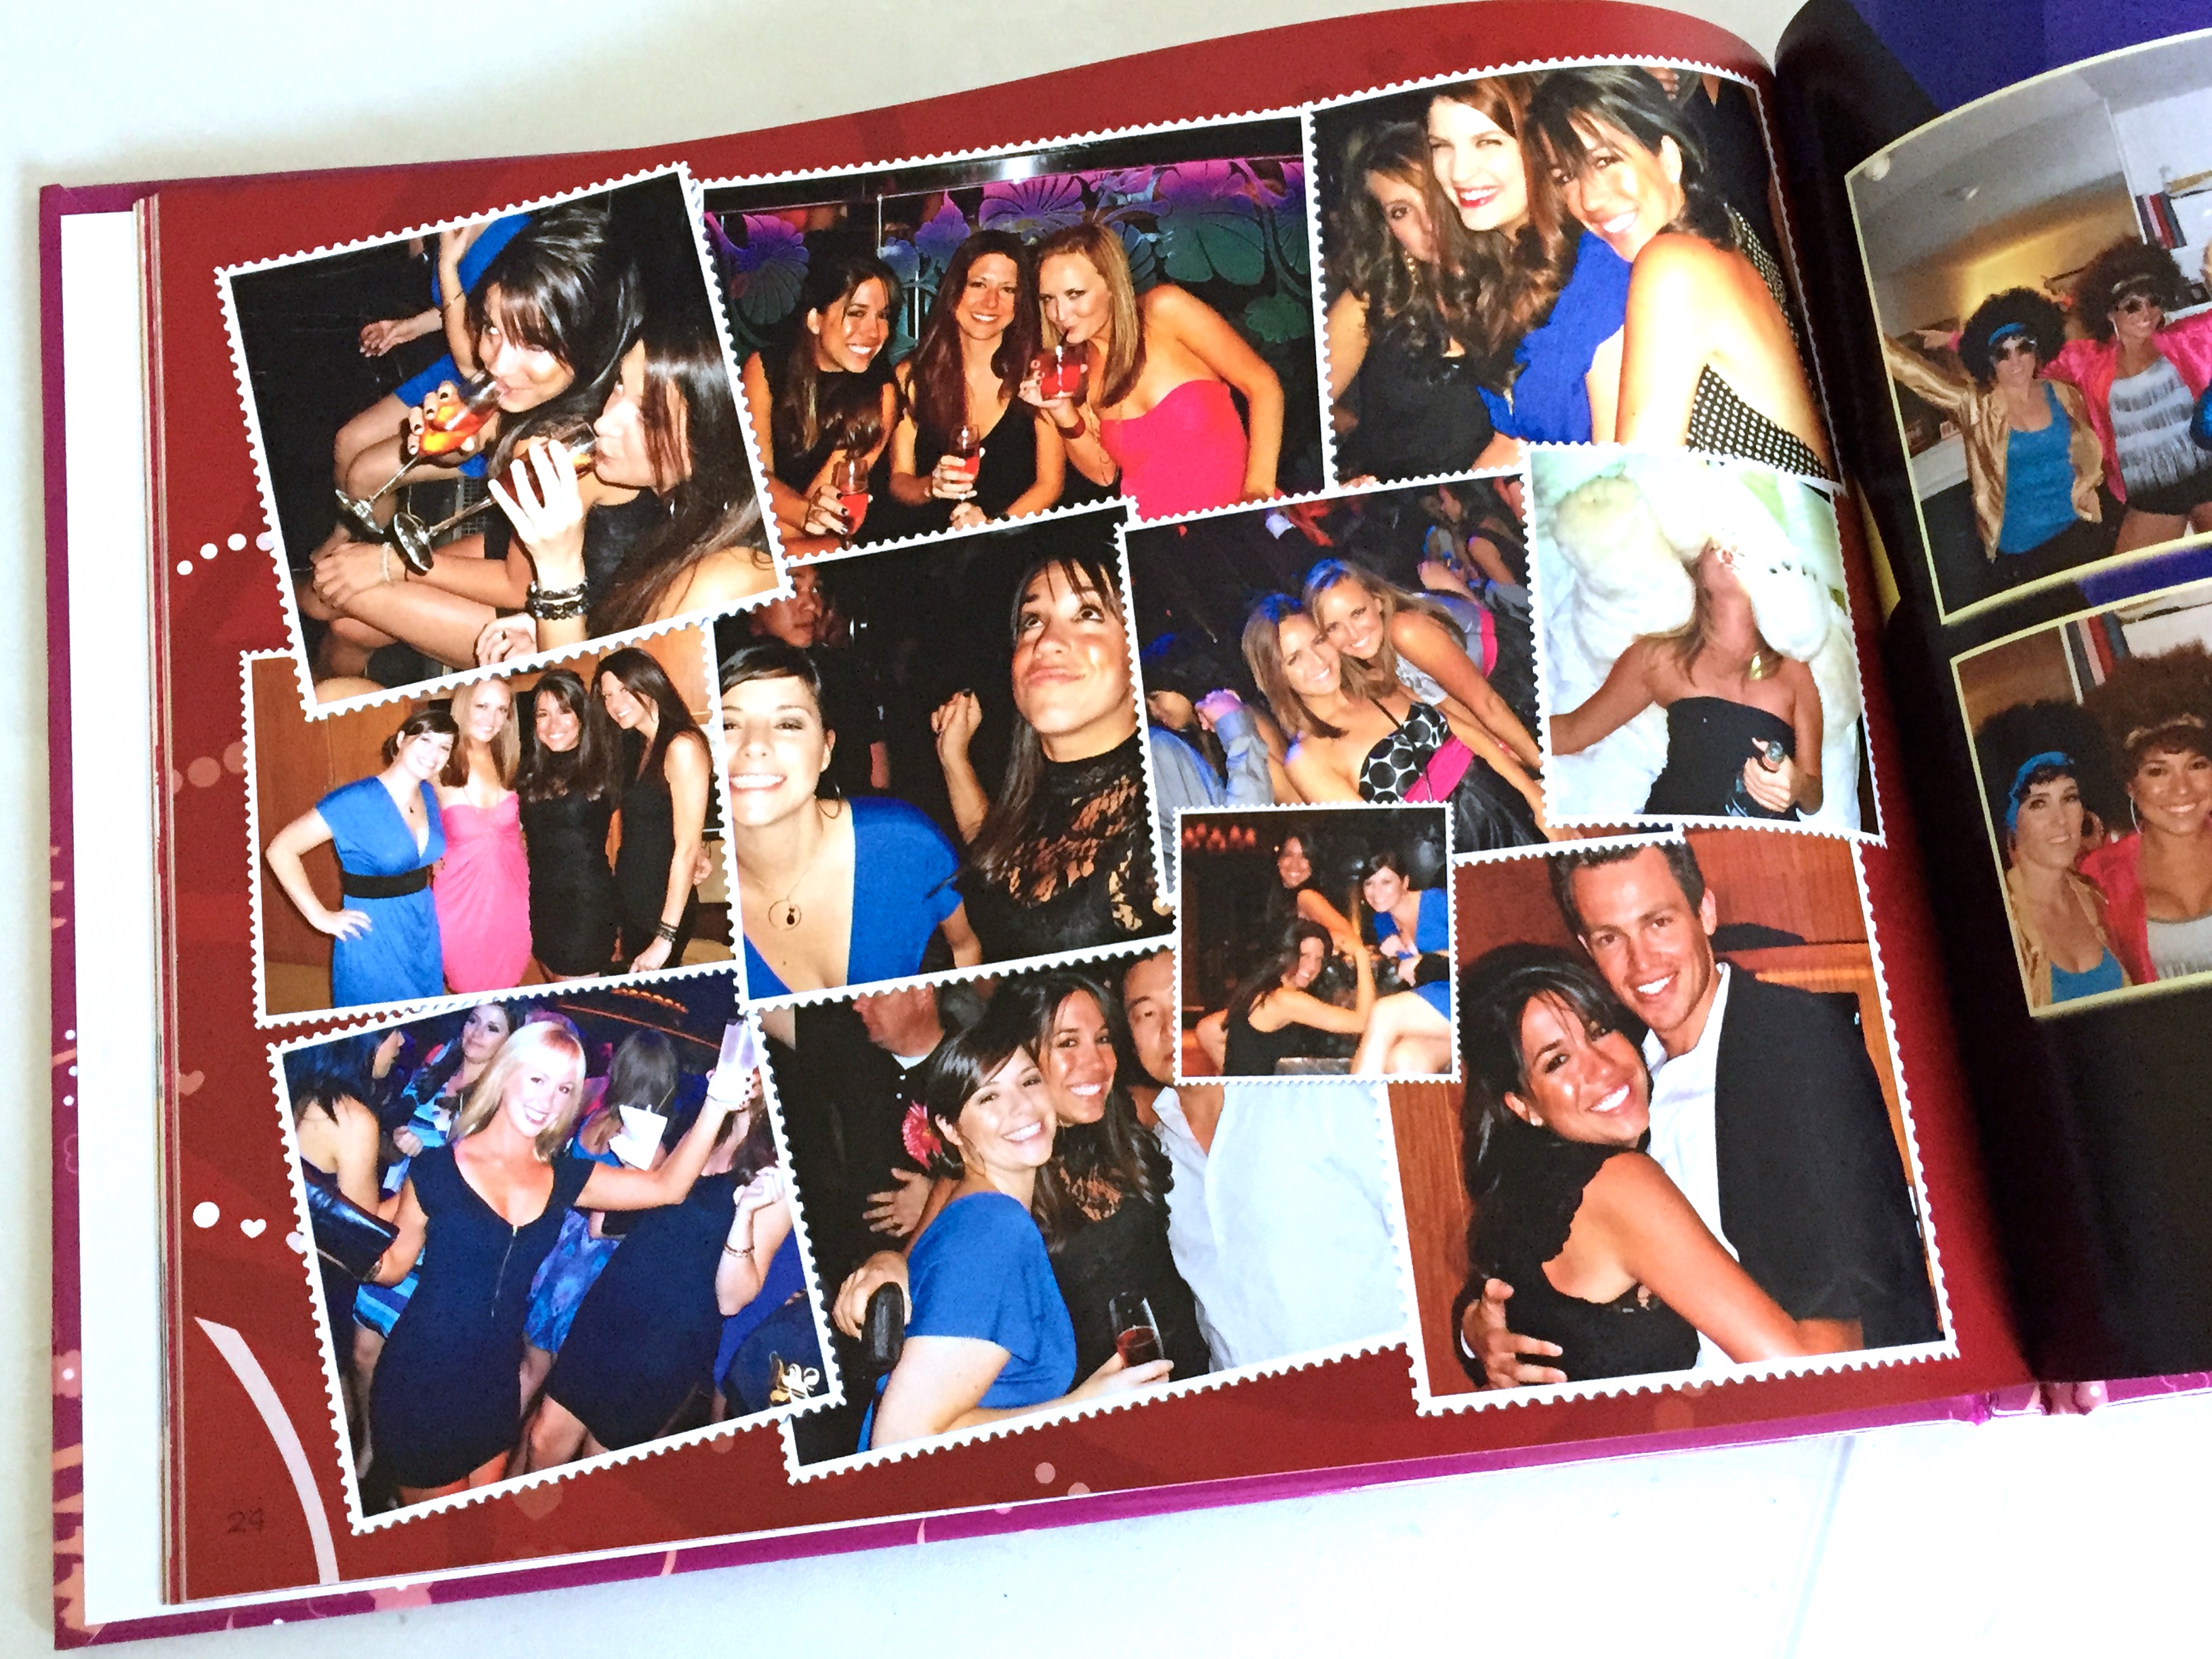
I think everyone who is into pictures and documenting life’s moments wants a fun way to keep the memories readily accessible. Whenever it be for a day you need a good pick me up, or to reminisce about a special occasion, or for your child to have for years to come. There are so many reasons people want scrapbooks, but nobody has enough time to make them.
Well…if you’re a busy bee like me, today is your lucky day! It’s scrapbook day (is there a “national scrapbook day”? If there isn’t – there should be). Anywho, I’ve managed to continually make scrapbooks over the years despite by extremely busy lifestyle. And today, I’m going to share a few scrapbook ideas with you that will help keep your pictures in order – even when it seems like you have absolutely NO time to do it.
Check out the tutorials below to see quick an easy ways to make both traditional scrapbooks (you know, the kind with developed pictures, fun paper, and calligraphed captions) as well as digital scrapbooks.
The digital scrapbooks require you to already have the pictures you want to use in your book, while to traditional scrapbook does not. Both take under a few hours to complete, and make great gifts as well as treats for yourself.
Easy Pre-Made Traditional Scrapbook Idea
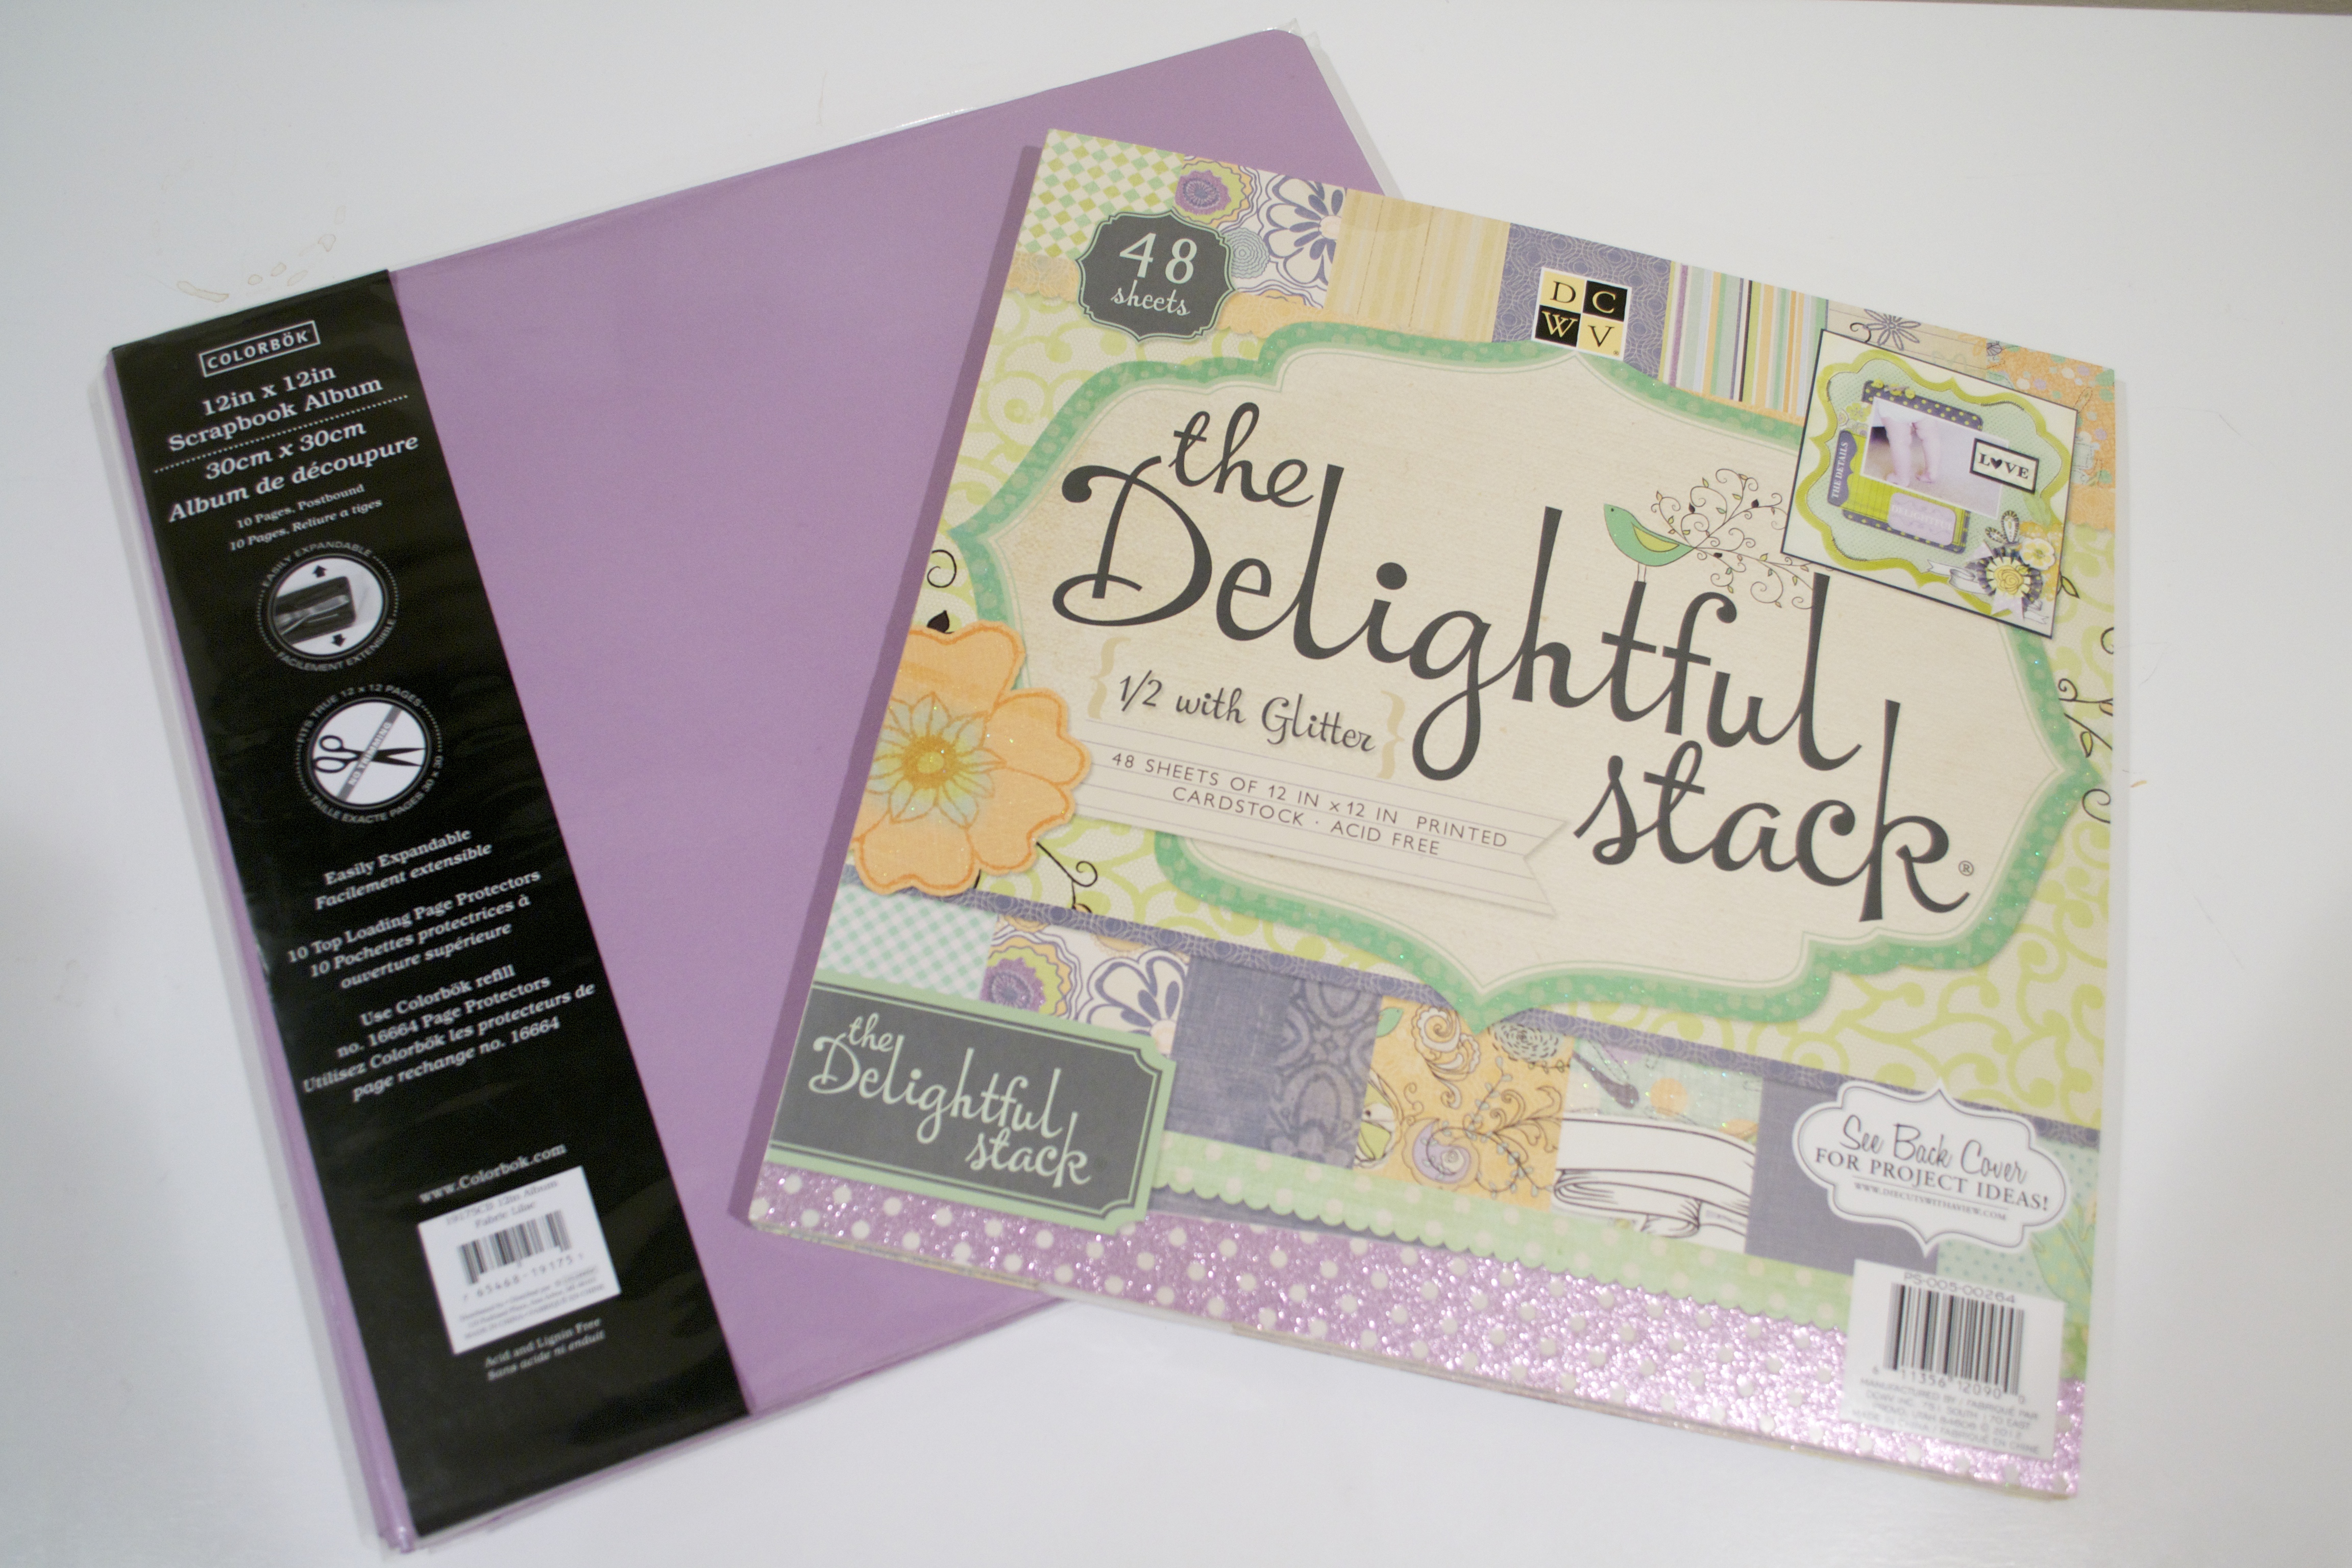
The Necessary Supplies:
- 12×12″ Blank Scrapbook
- 12×12″ cardstock paper backing and embellishment stack
- Photo corners
- Adhesive Backed Clear Pockets (or envelopes)
- Scissors
- Glue gun and glue (or glue stick)
- Scrapbook stickers (optional)
- Lacy Ribbon (optional)
Step 1:
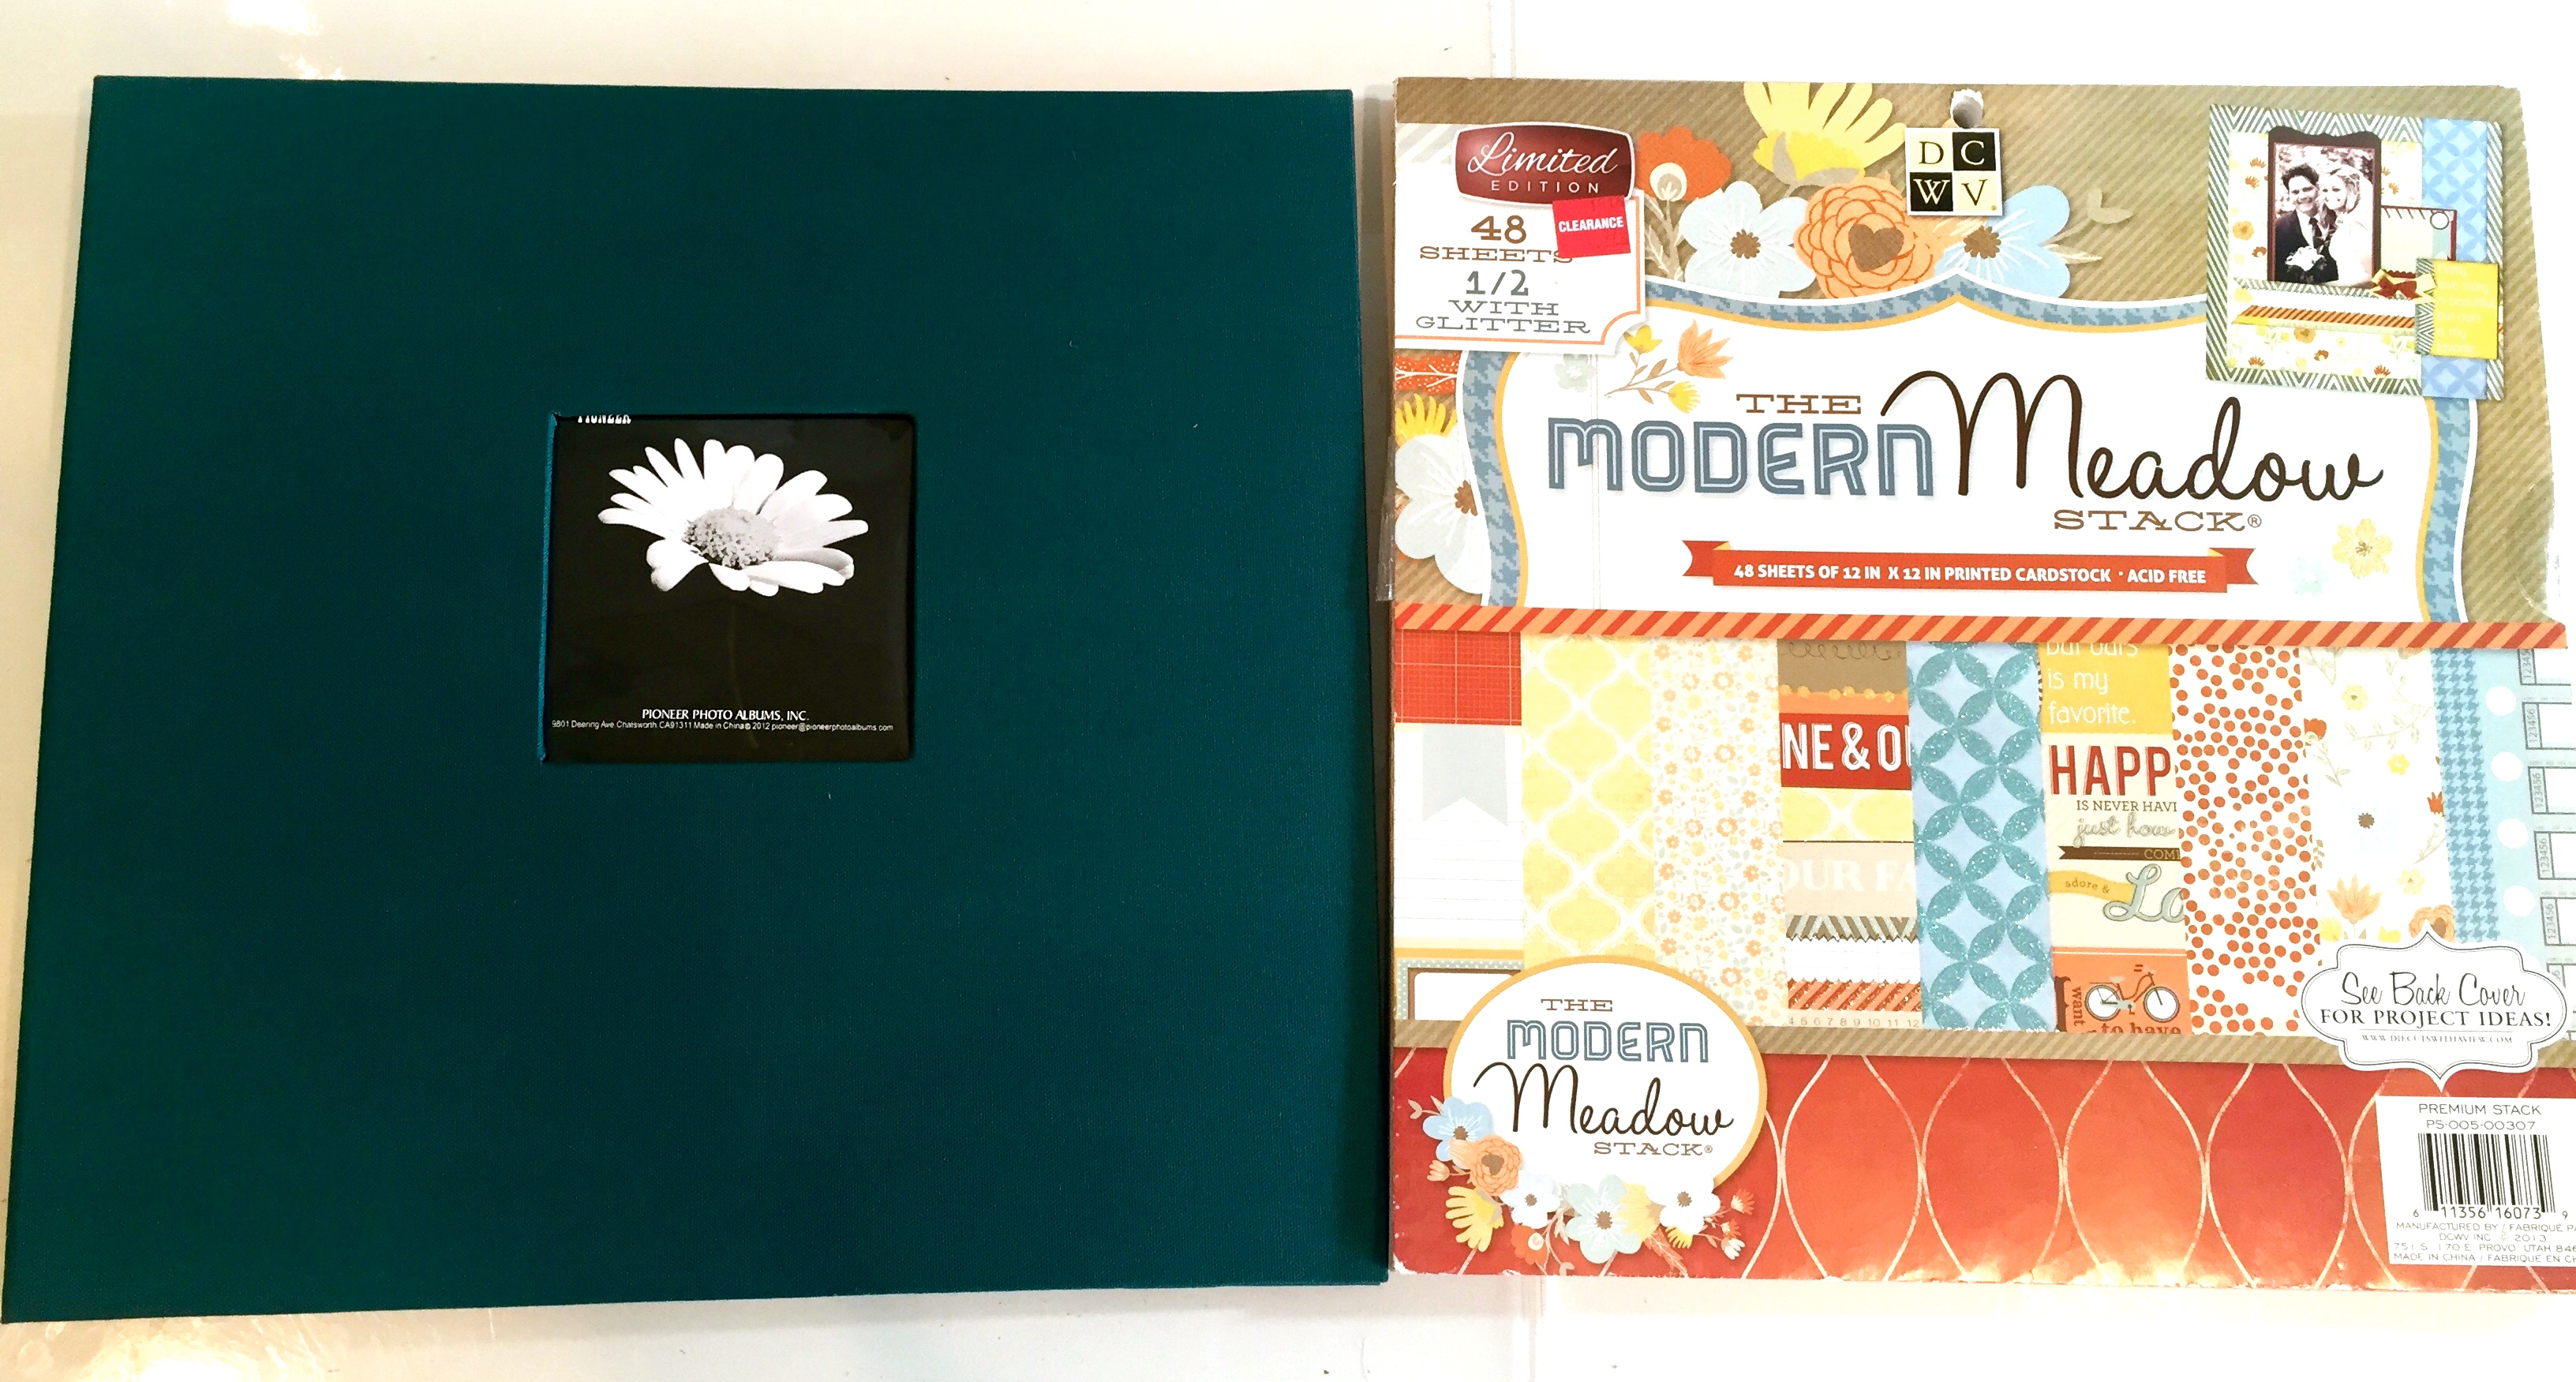
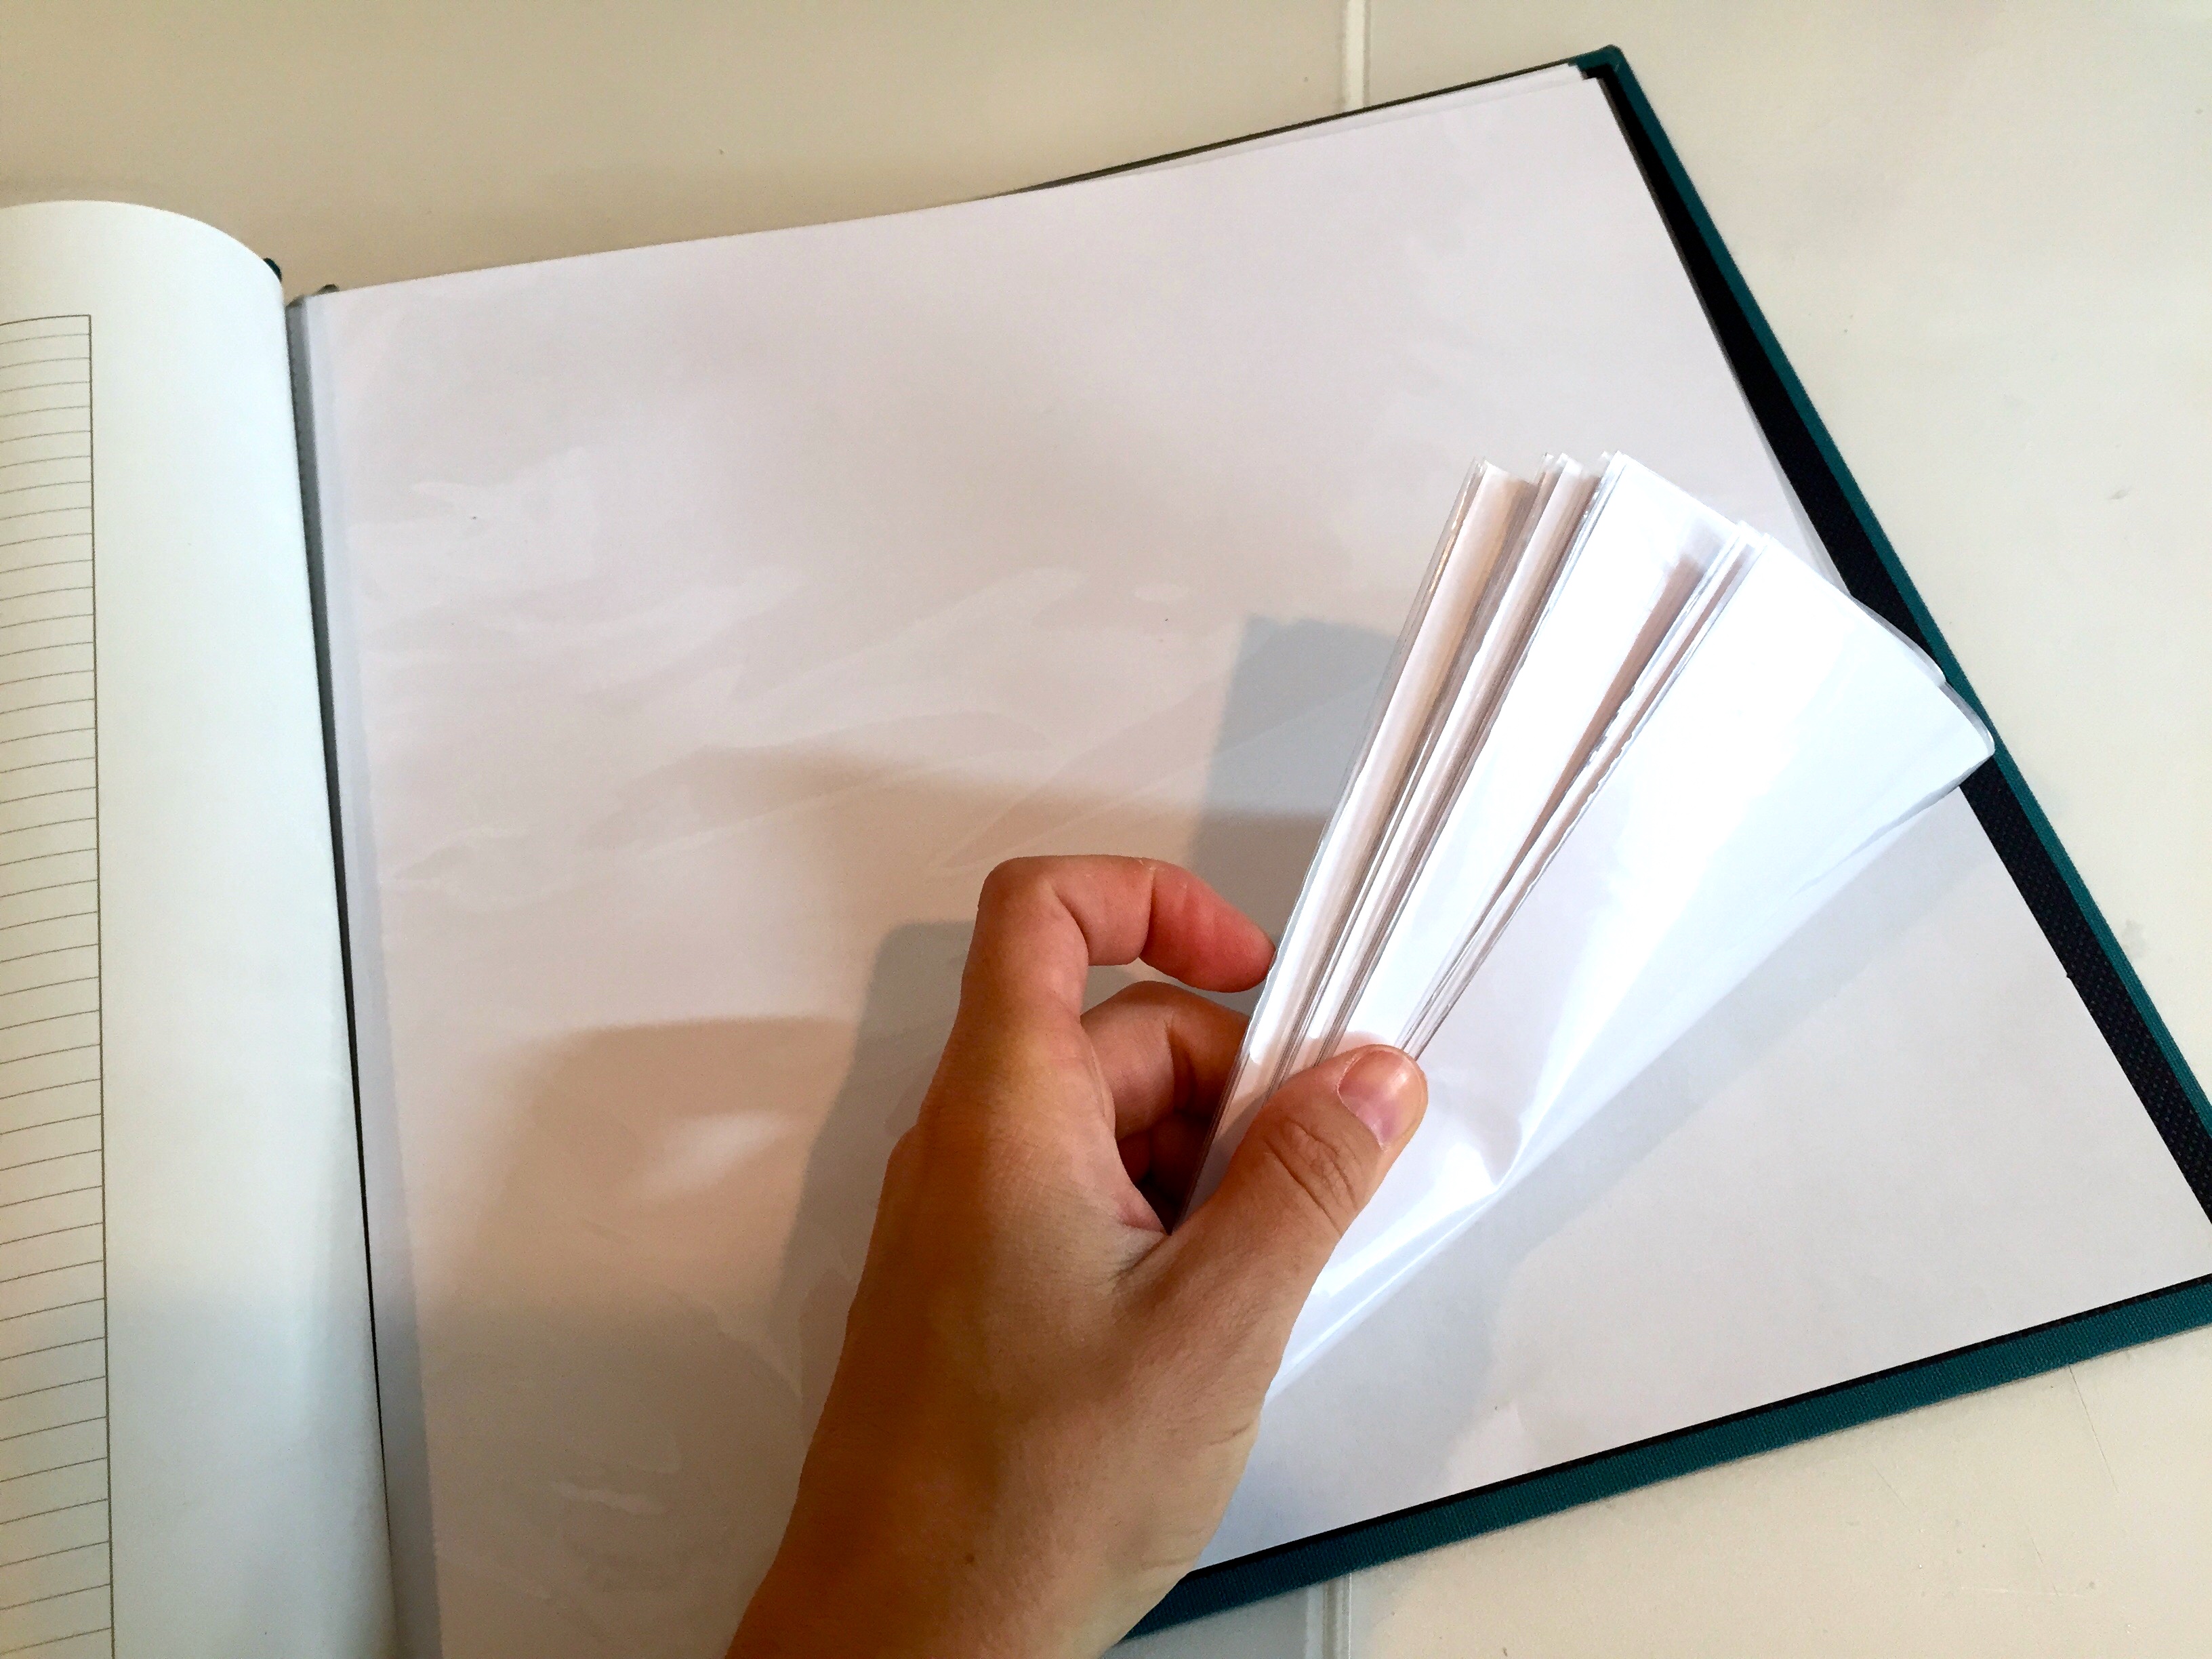
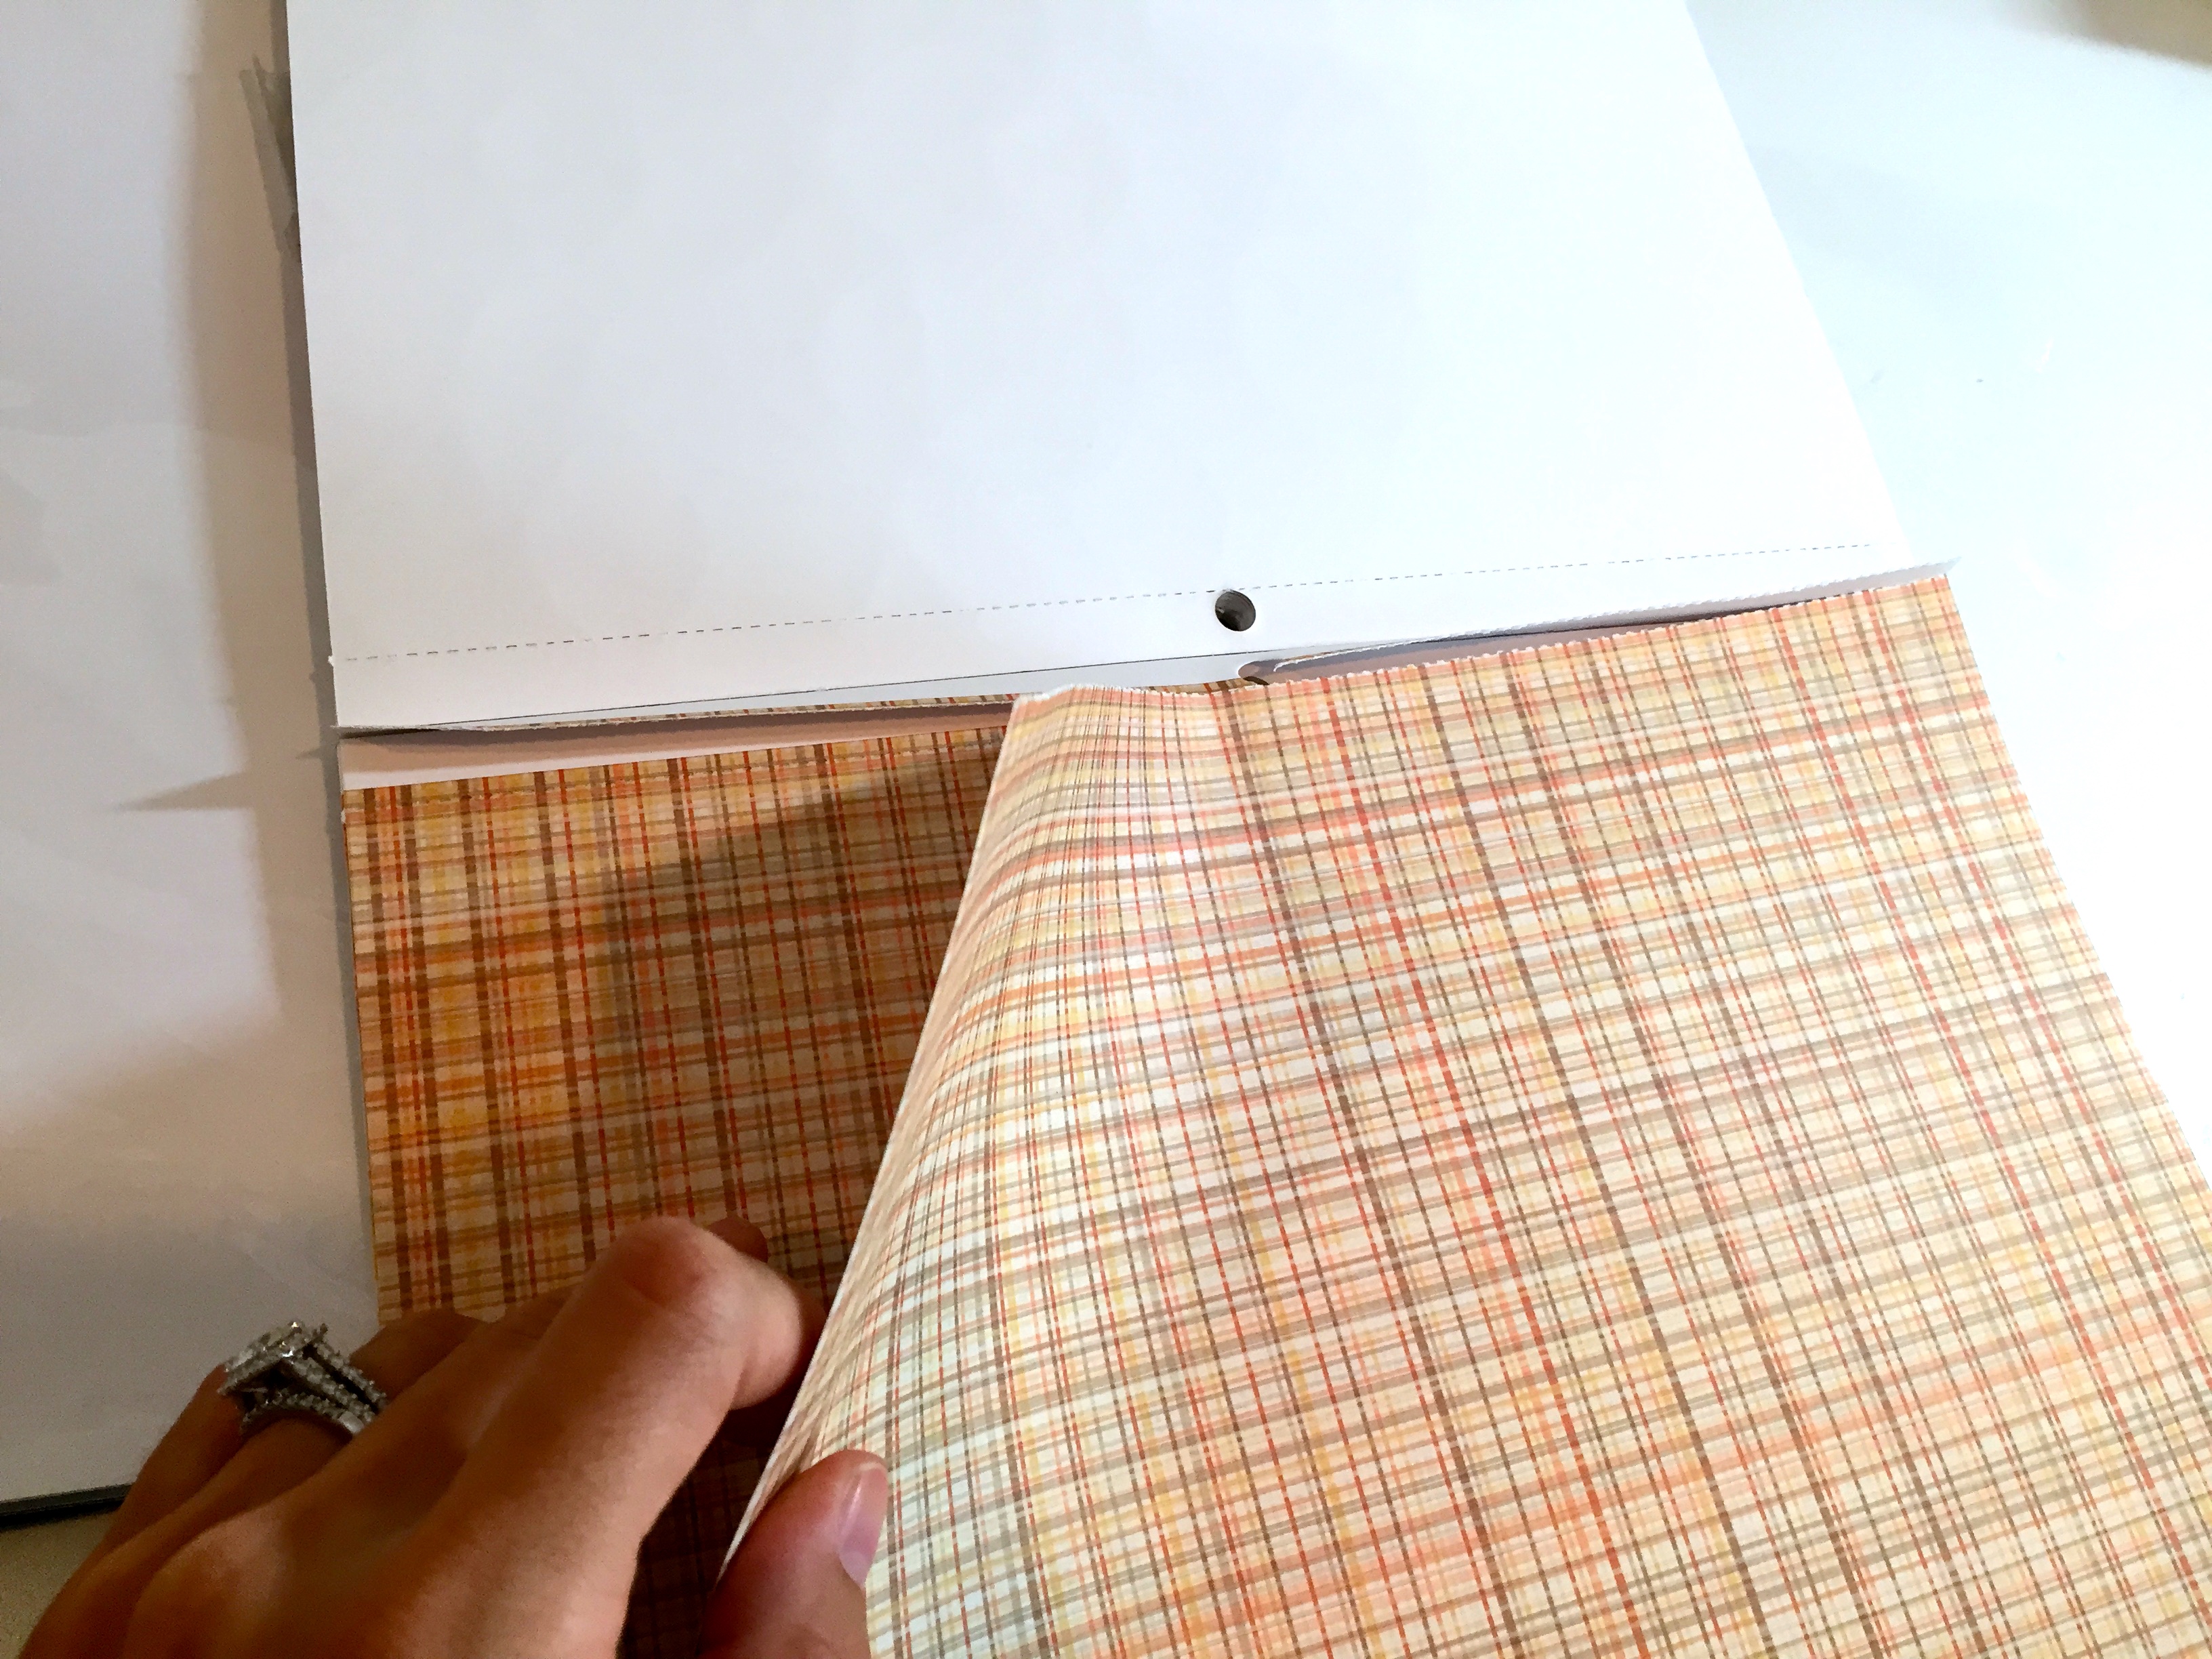
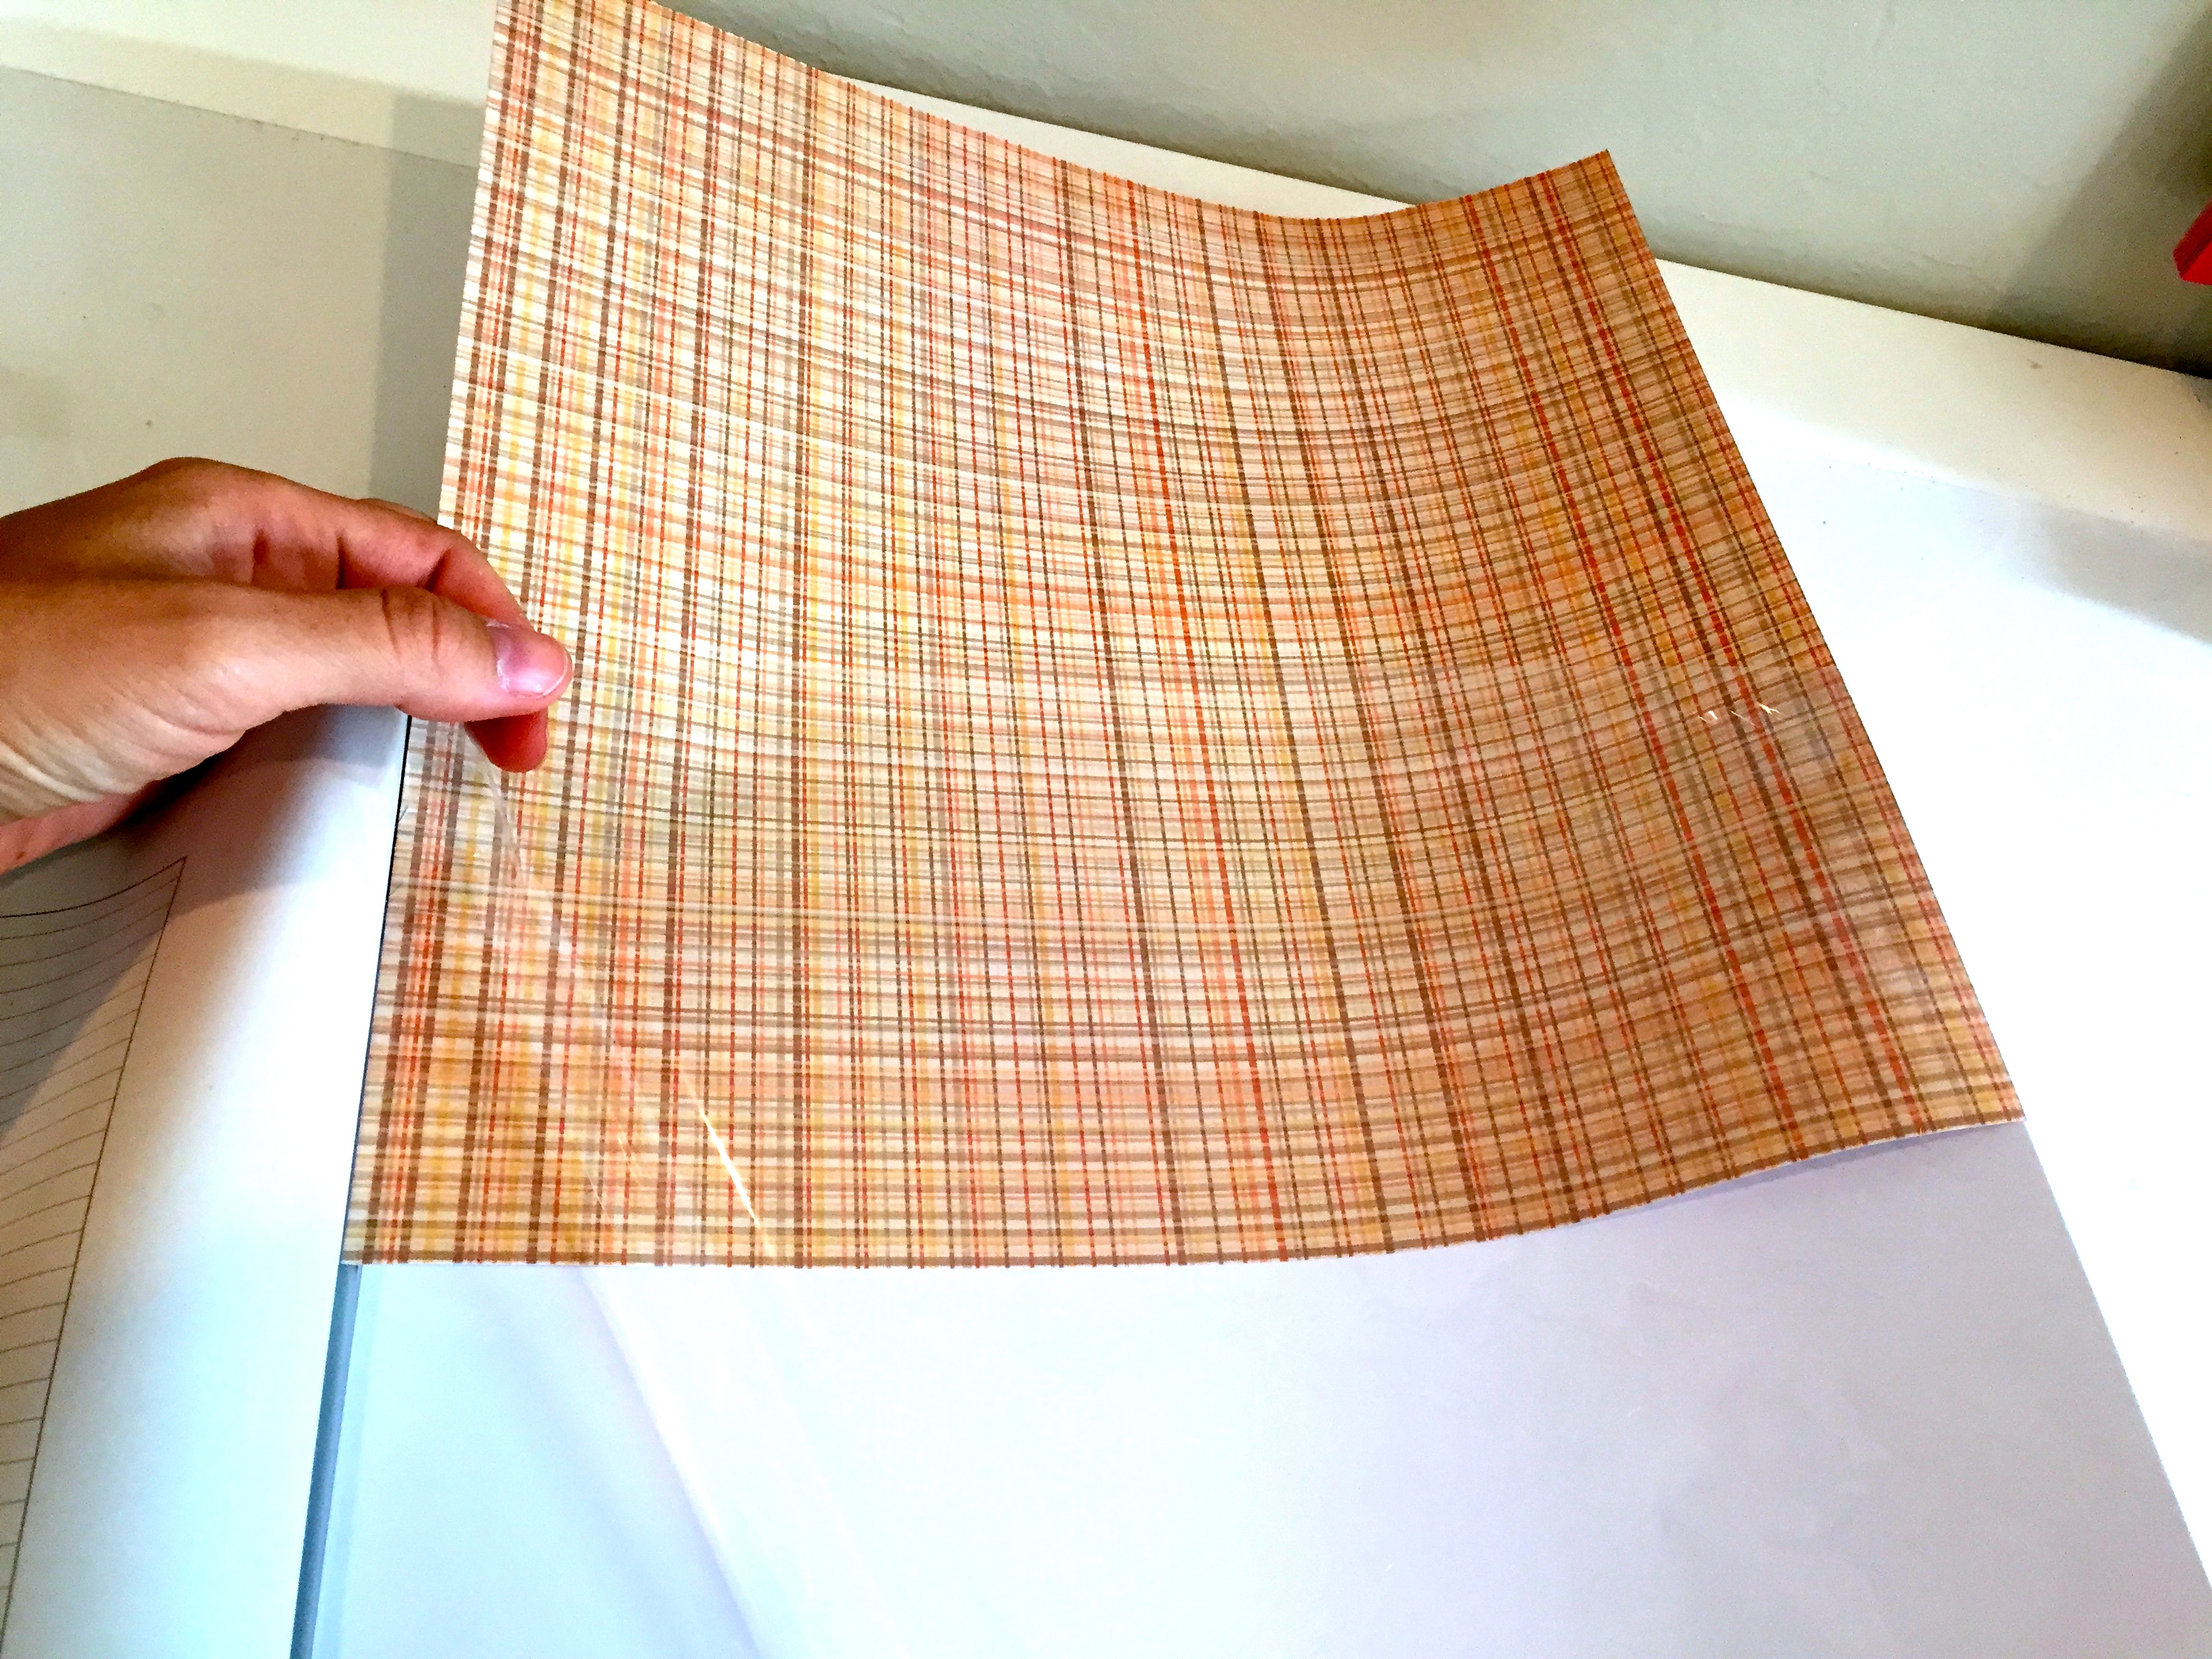
- Take your scrapbook embellishment stack and punch out all the 12×12″ pieces of paper.
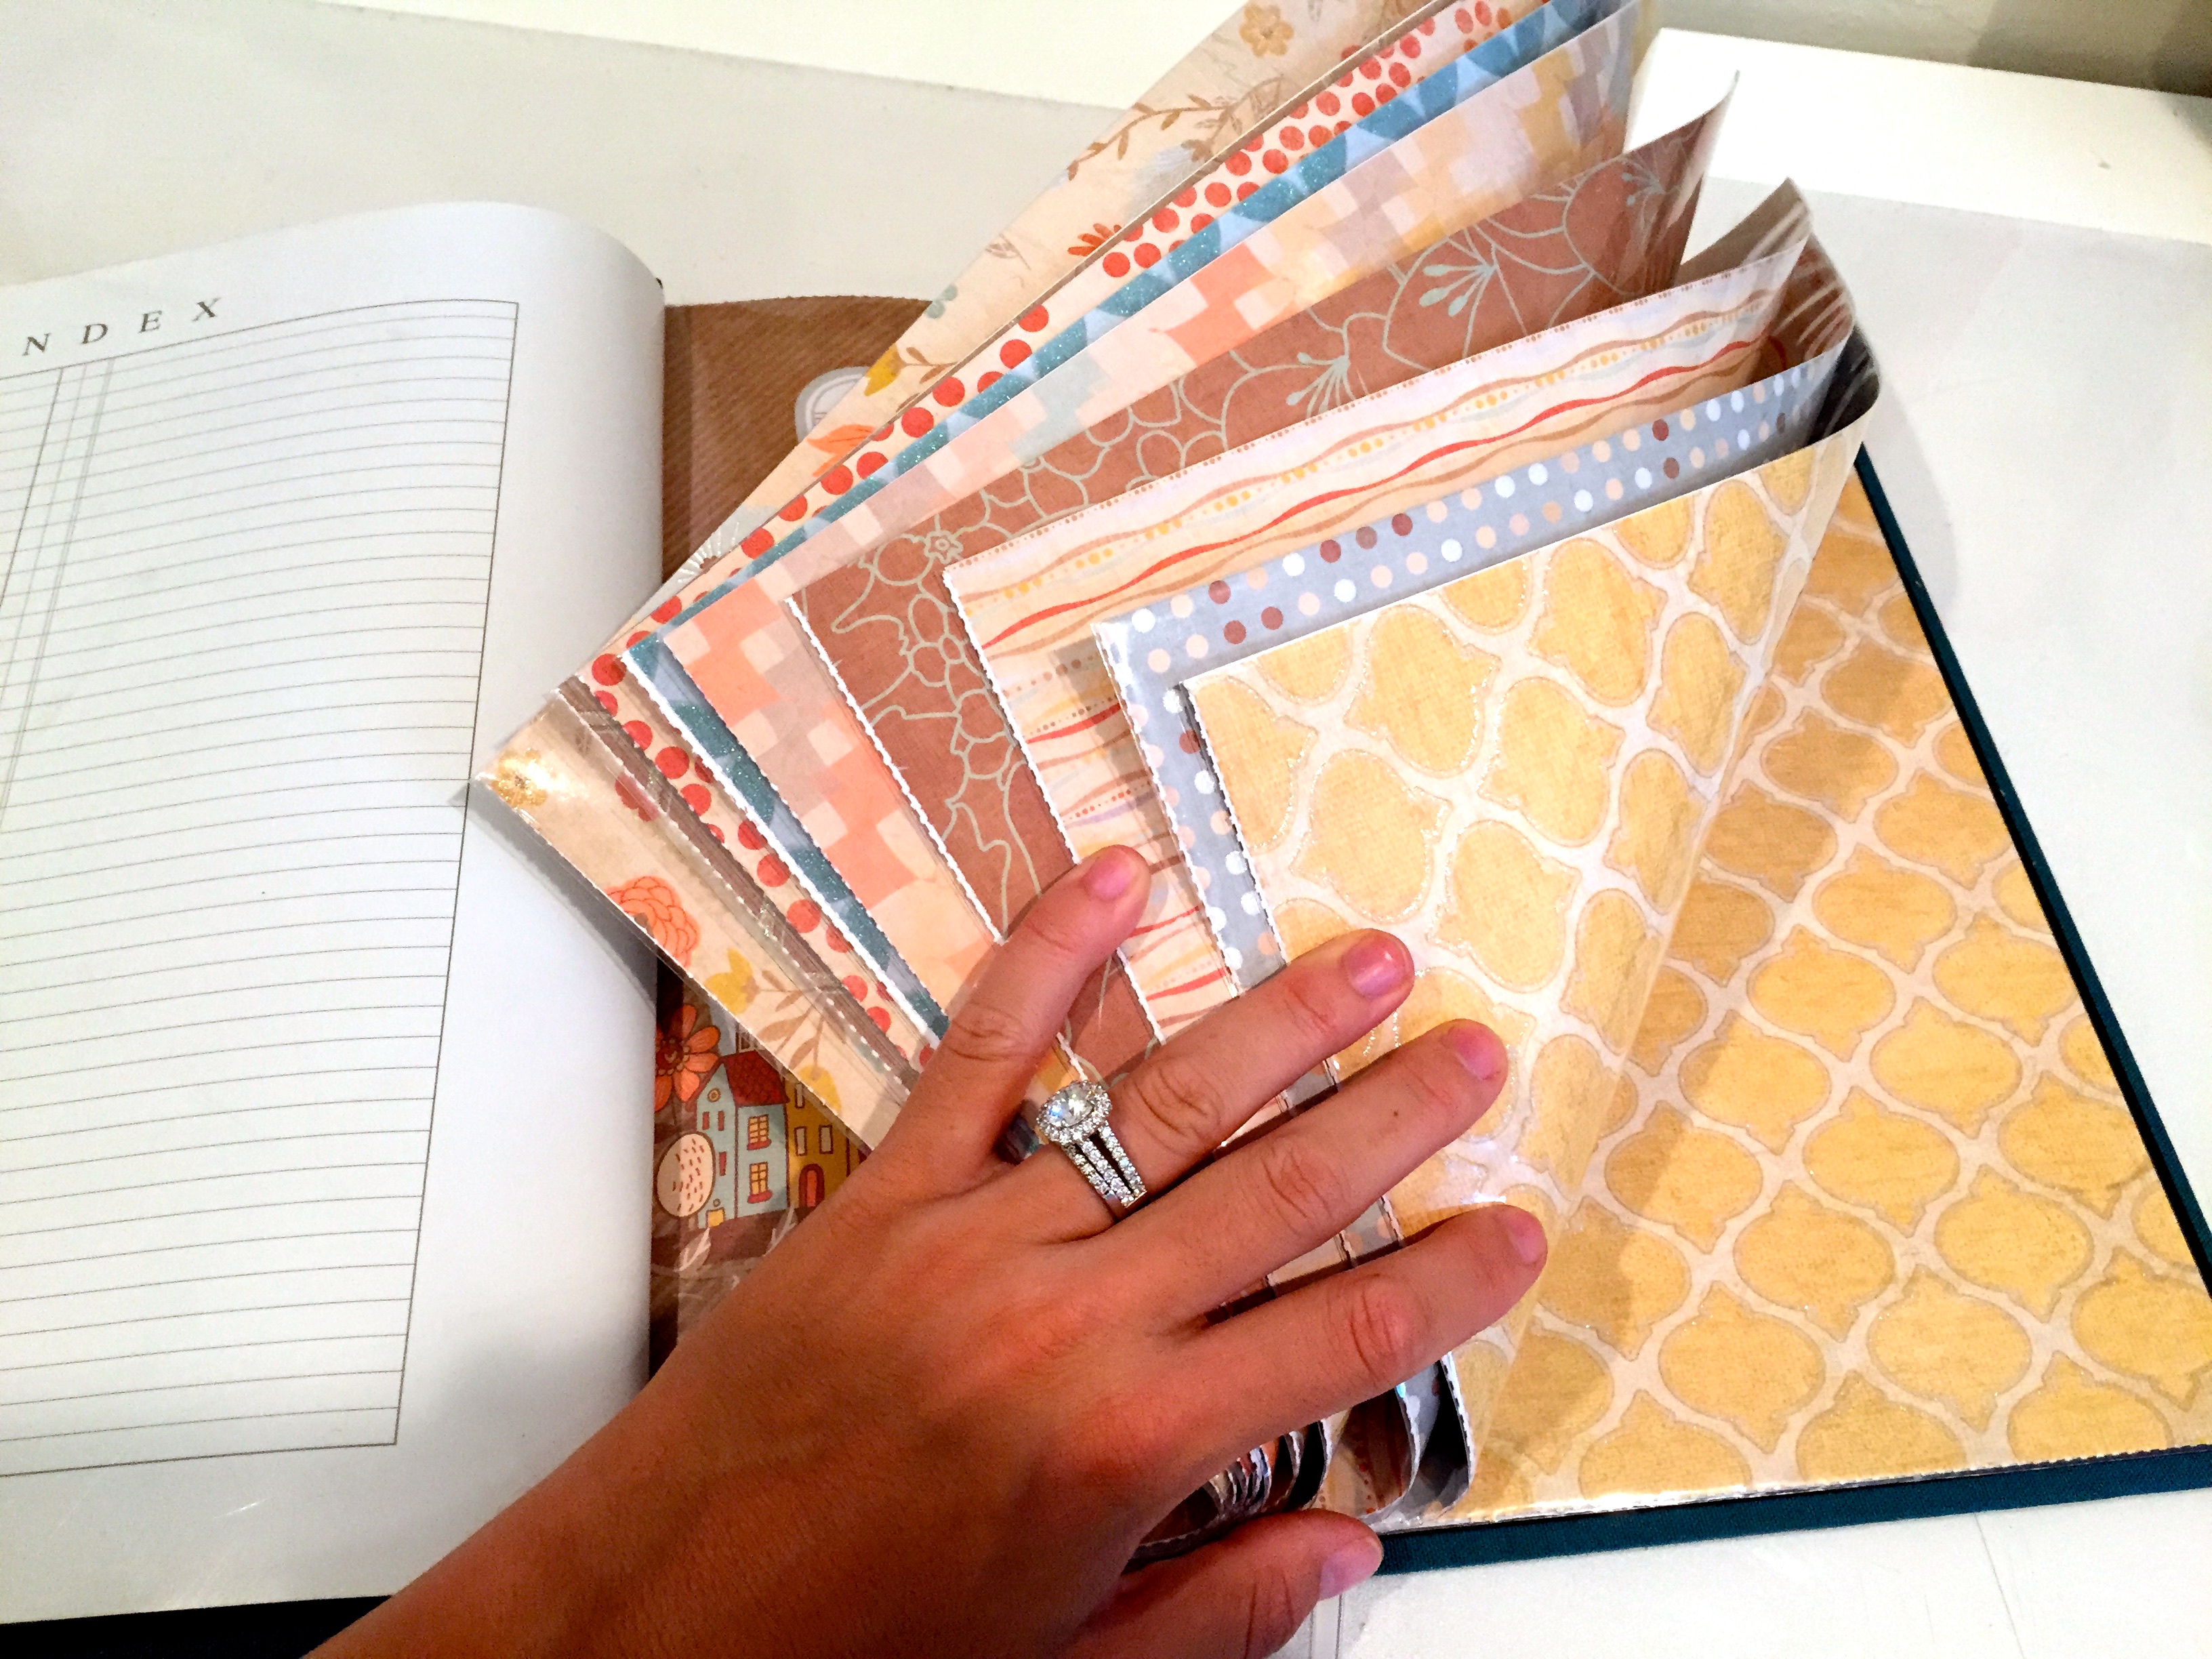
- Decide what order you want them to go into your scrapbook, and put each one into it’s proper place in the 12×12″ clear page holders.
- TIP: When I make my books, I put the same color cardstock on pages that open up together, so there’s a uniformity to each page layout.
Step 2:
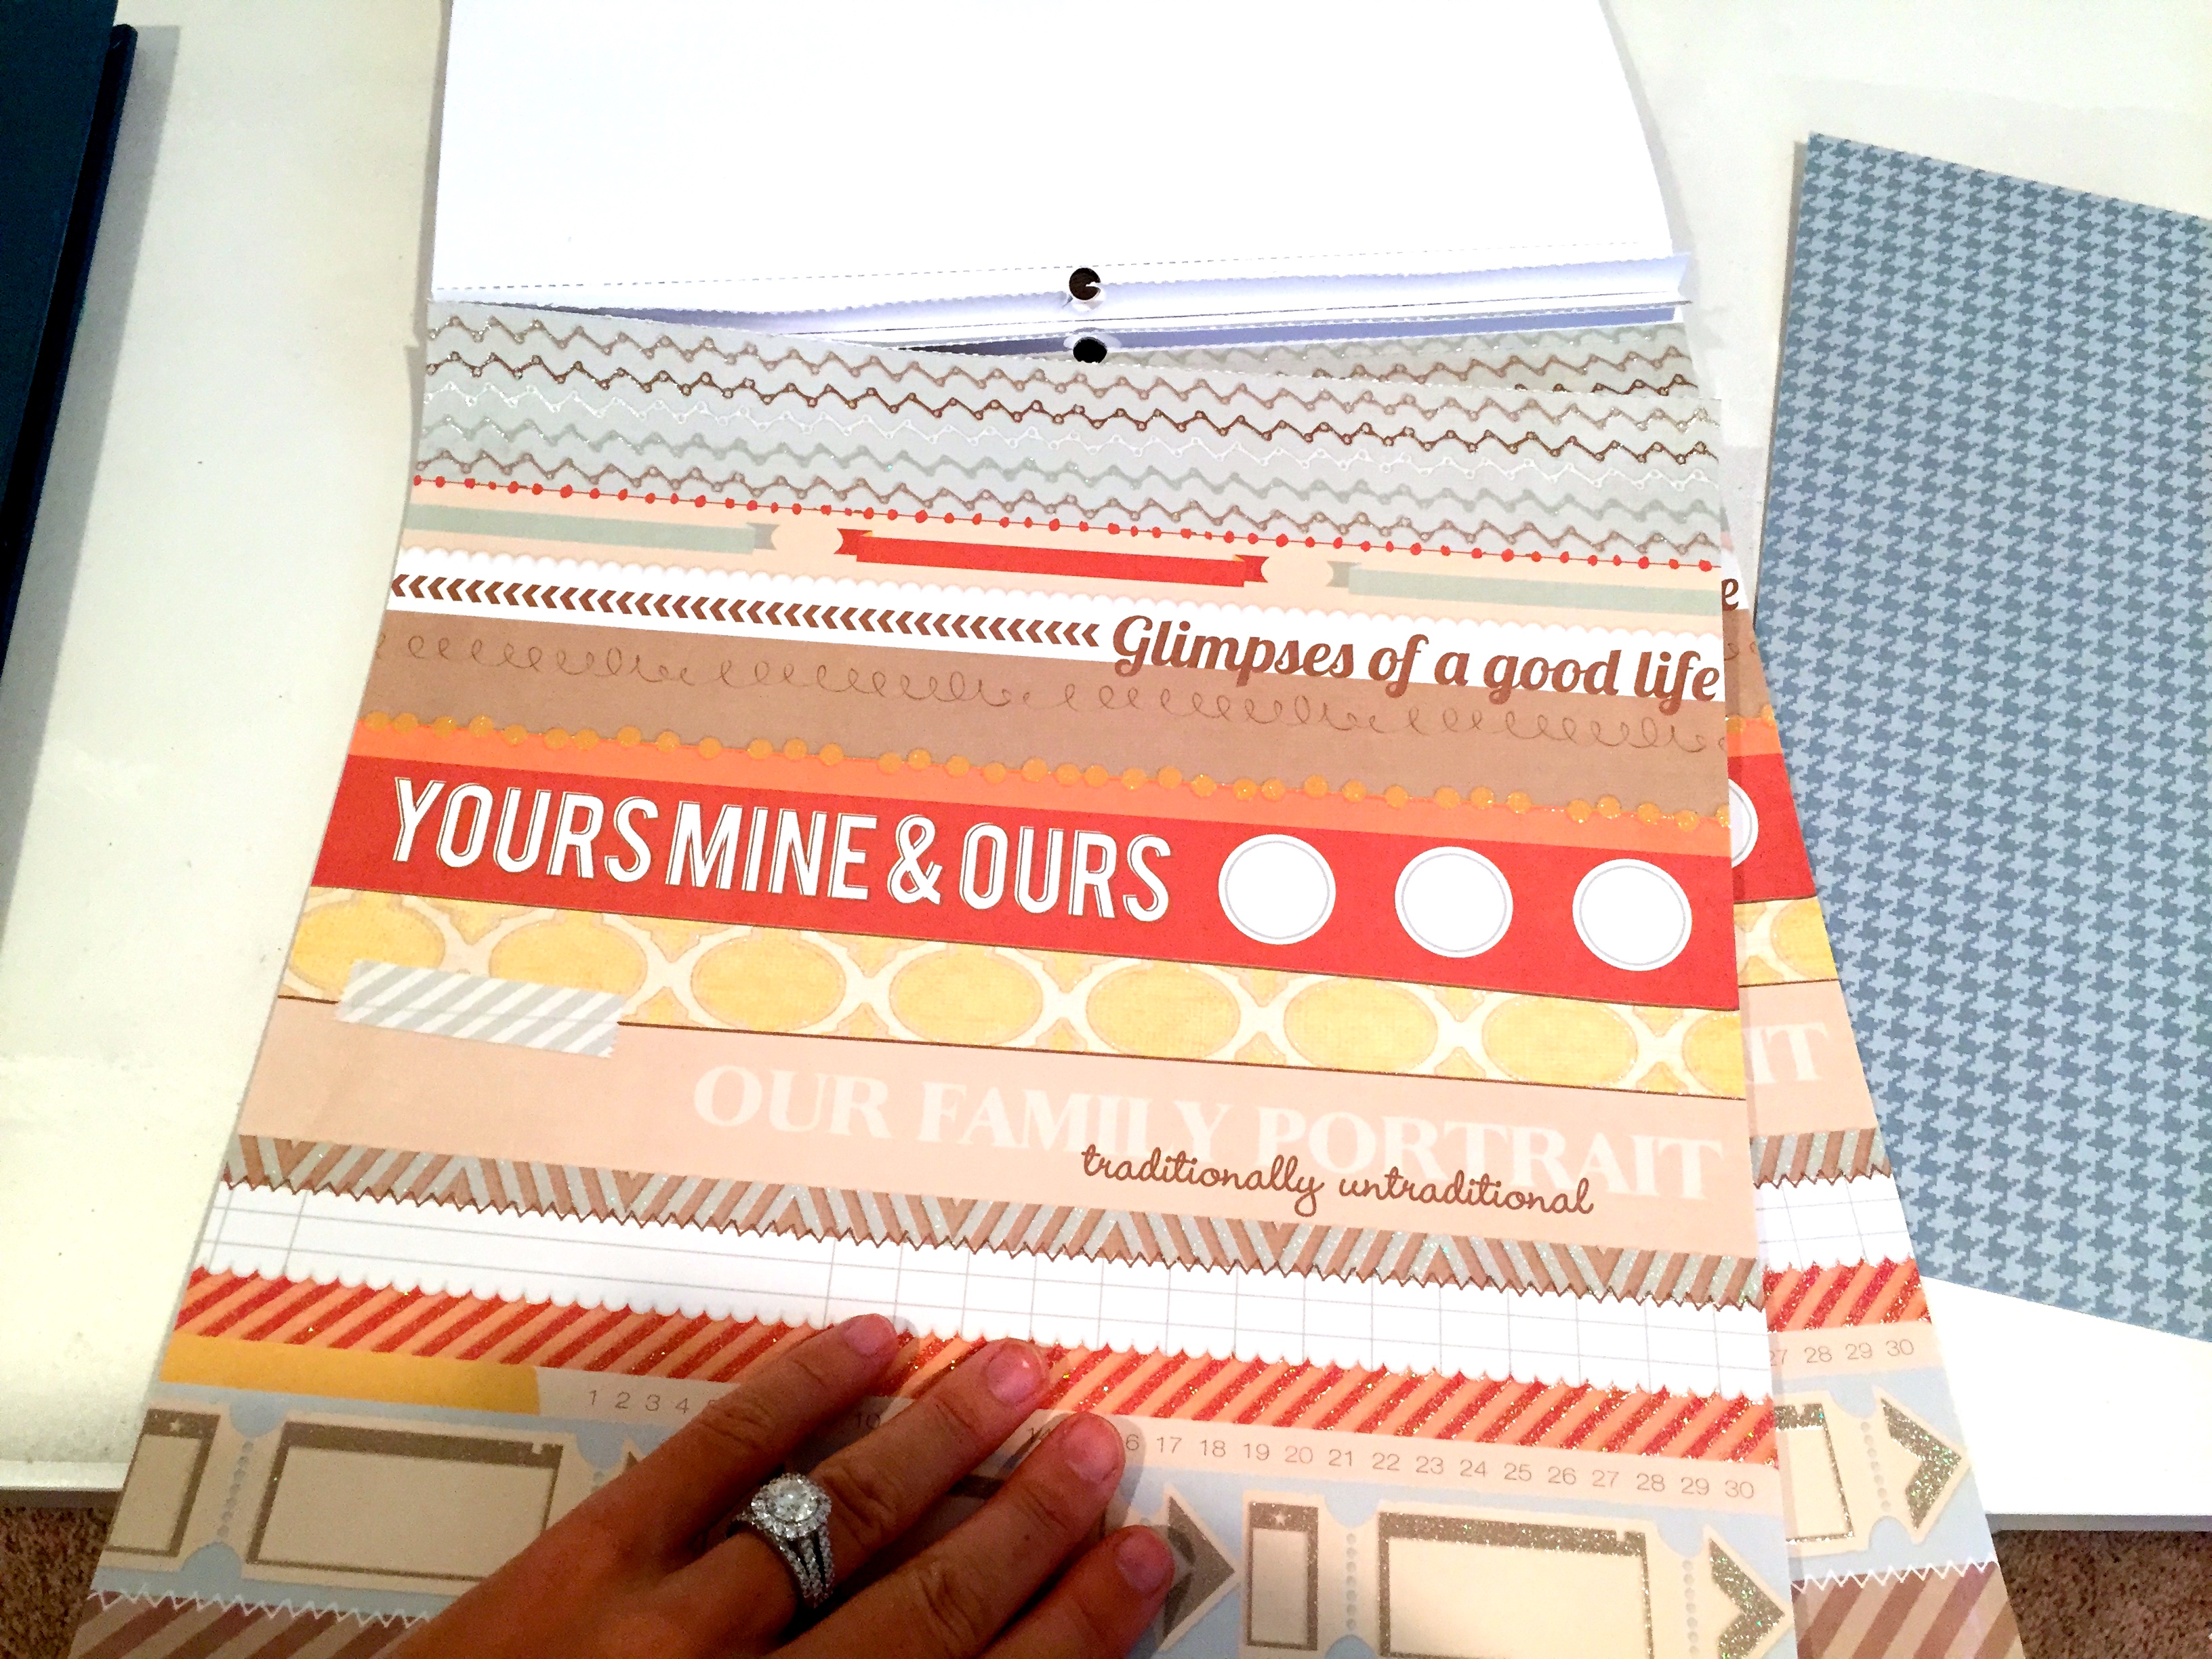
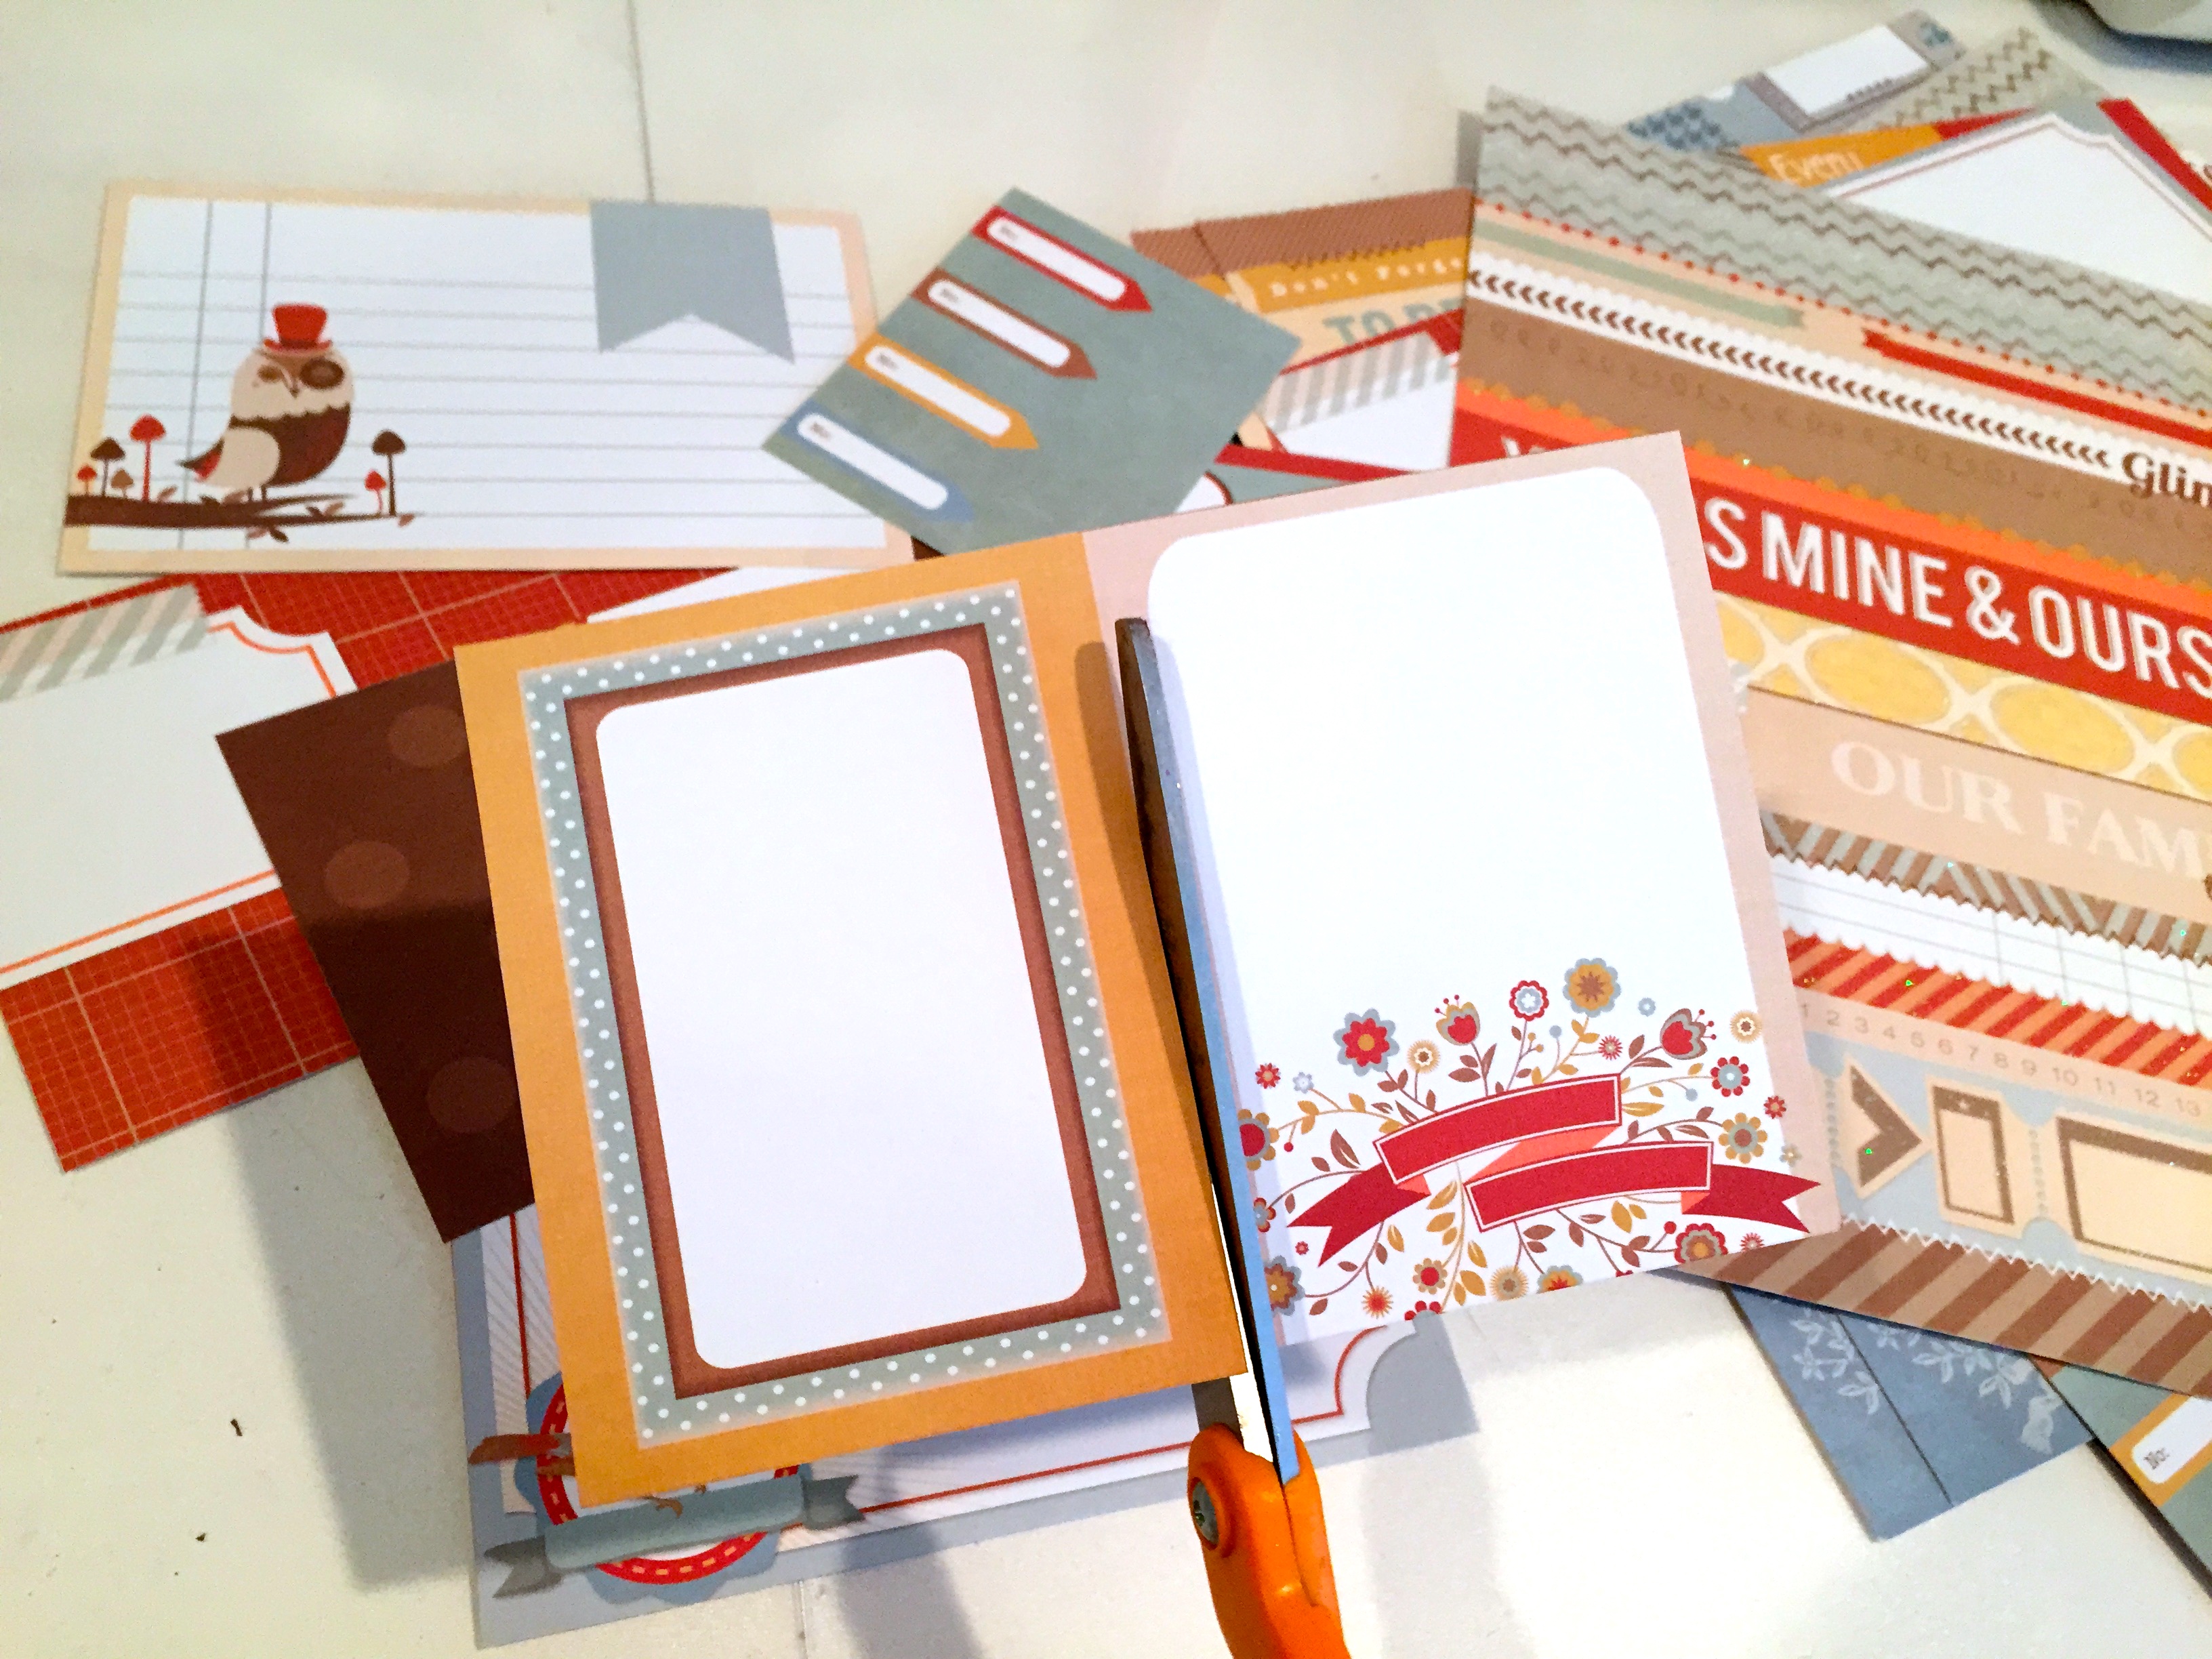
- Now, take the smaller embellishment pages in the back of the stack, and punch them out of the stack.
- Then, take your scissors and cut each one out, so you have a variety of embellishments and note cards to add to your book.
Step 3:
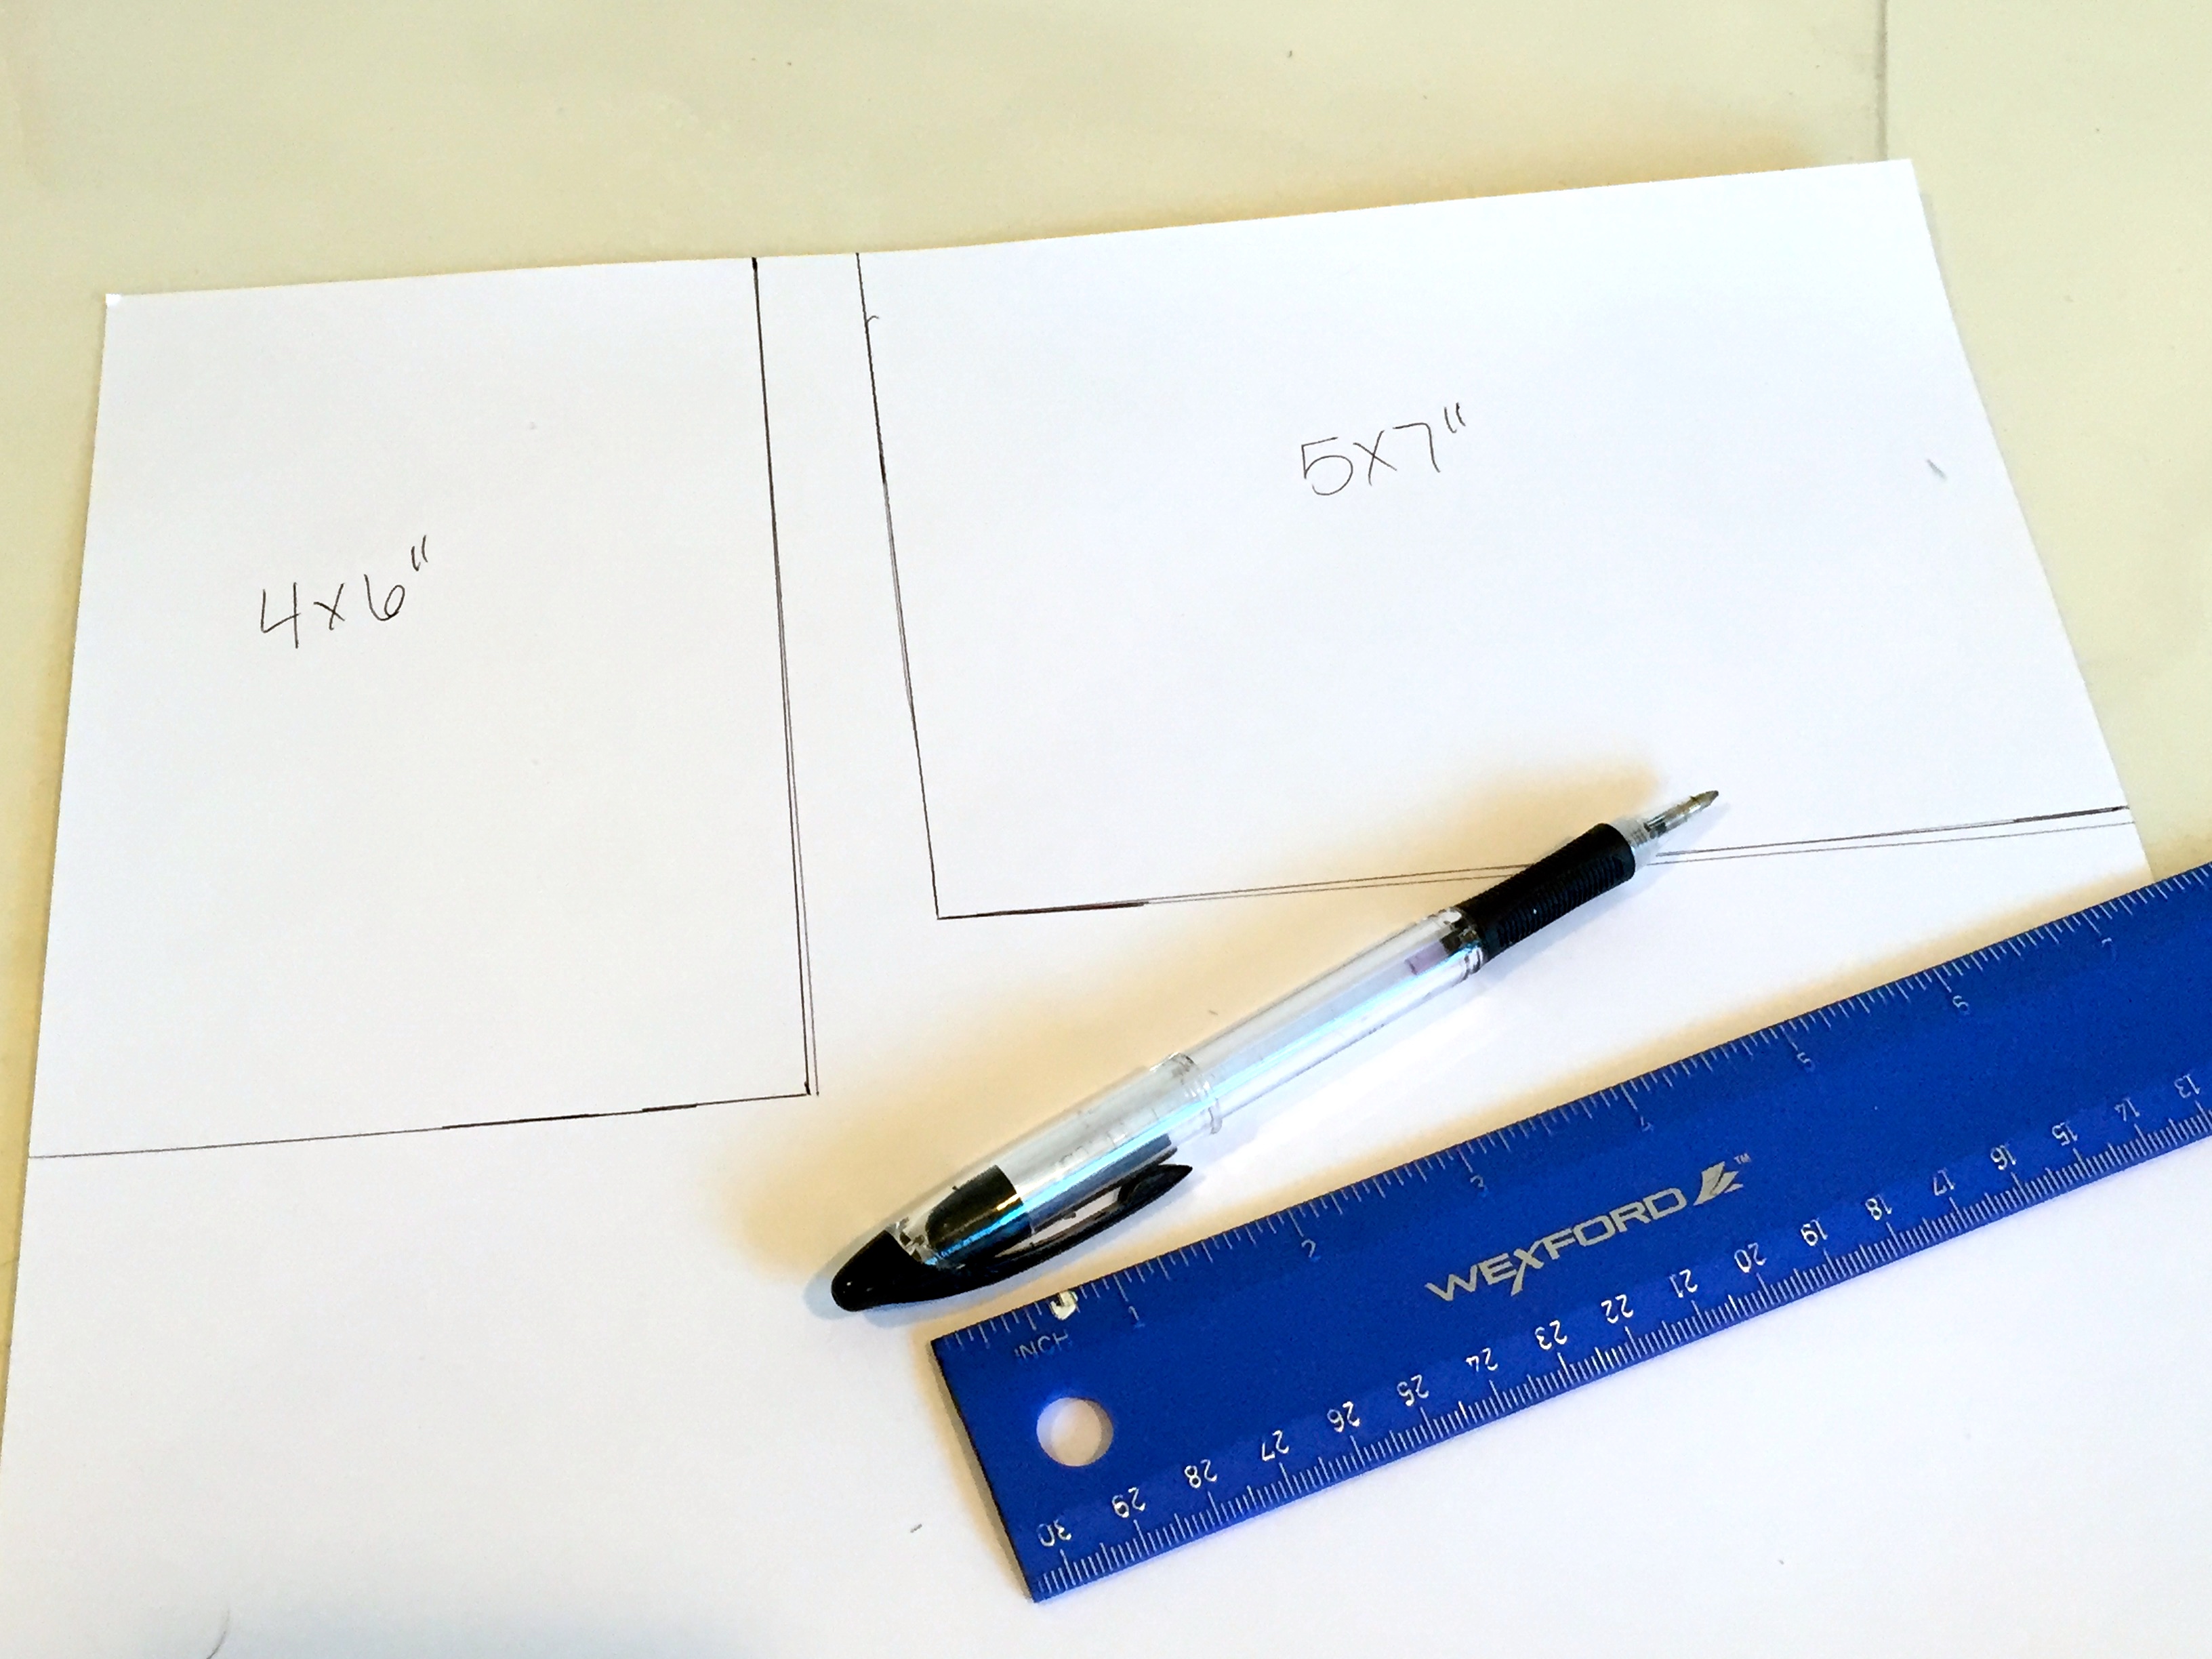
- Here, take a separate piece of plain cardstock and your ruler, and measure out 4×6″ and 5×7″ cards. These will be used as place fillers for pictures, so feel free to cut out as many sizes for pictures as you think you’ll need. Cut them out.
- Now, go to your first 2 pages in your scrapbook (the first 2 that open up together), and take them out of the plastic.
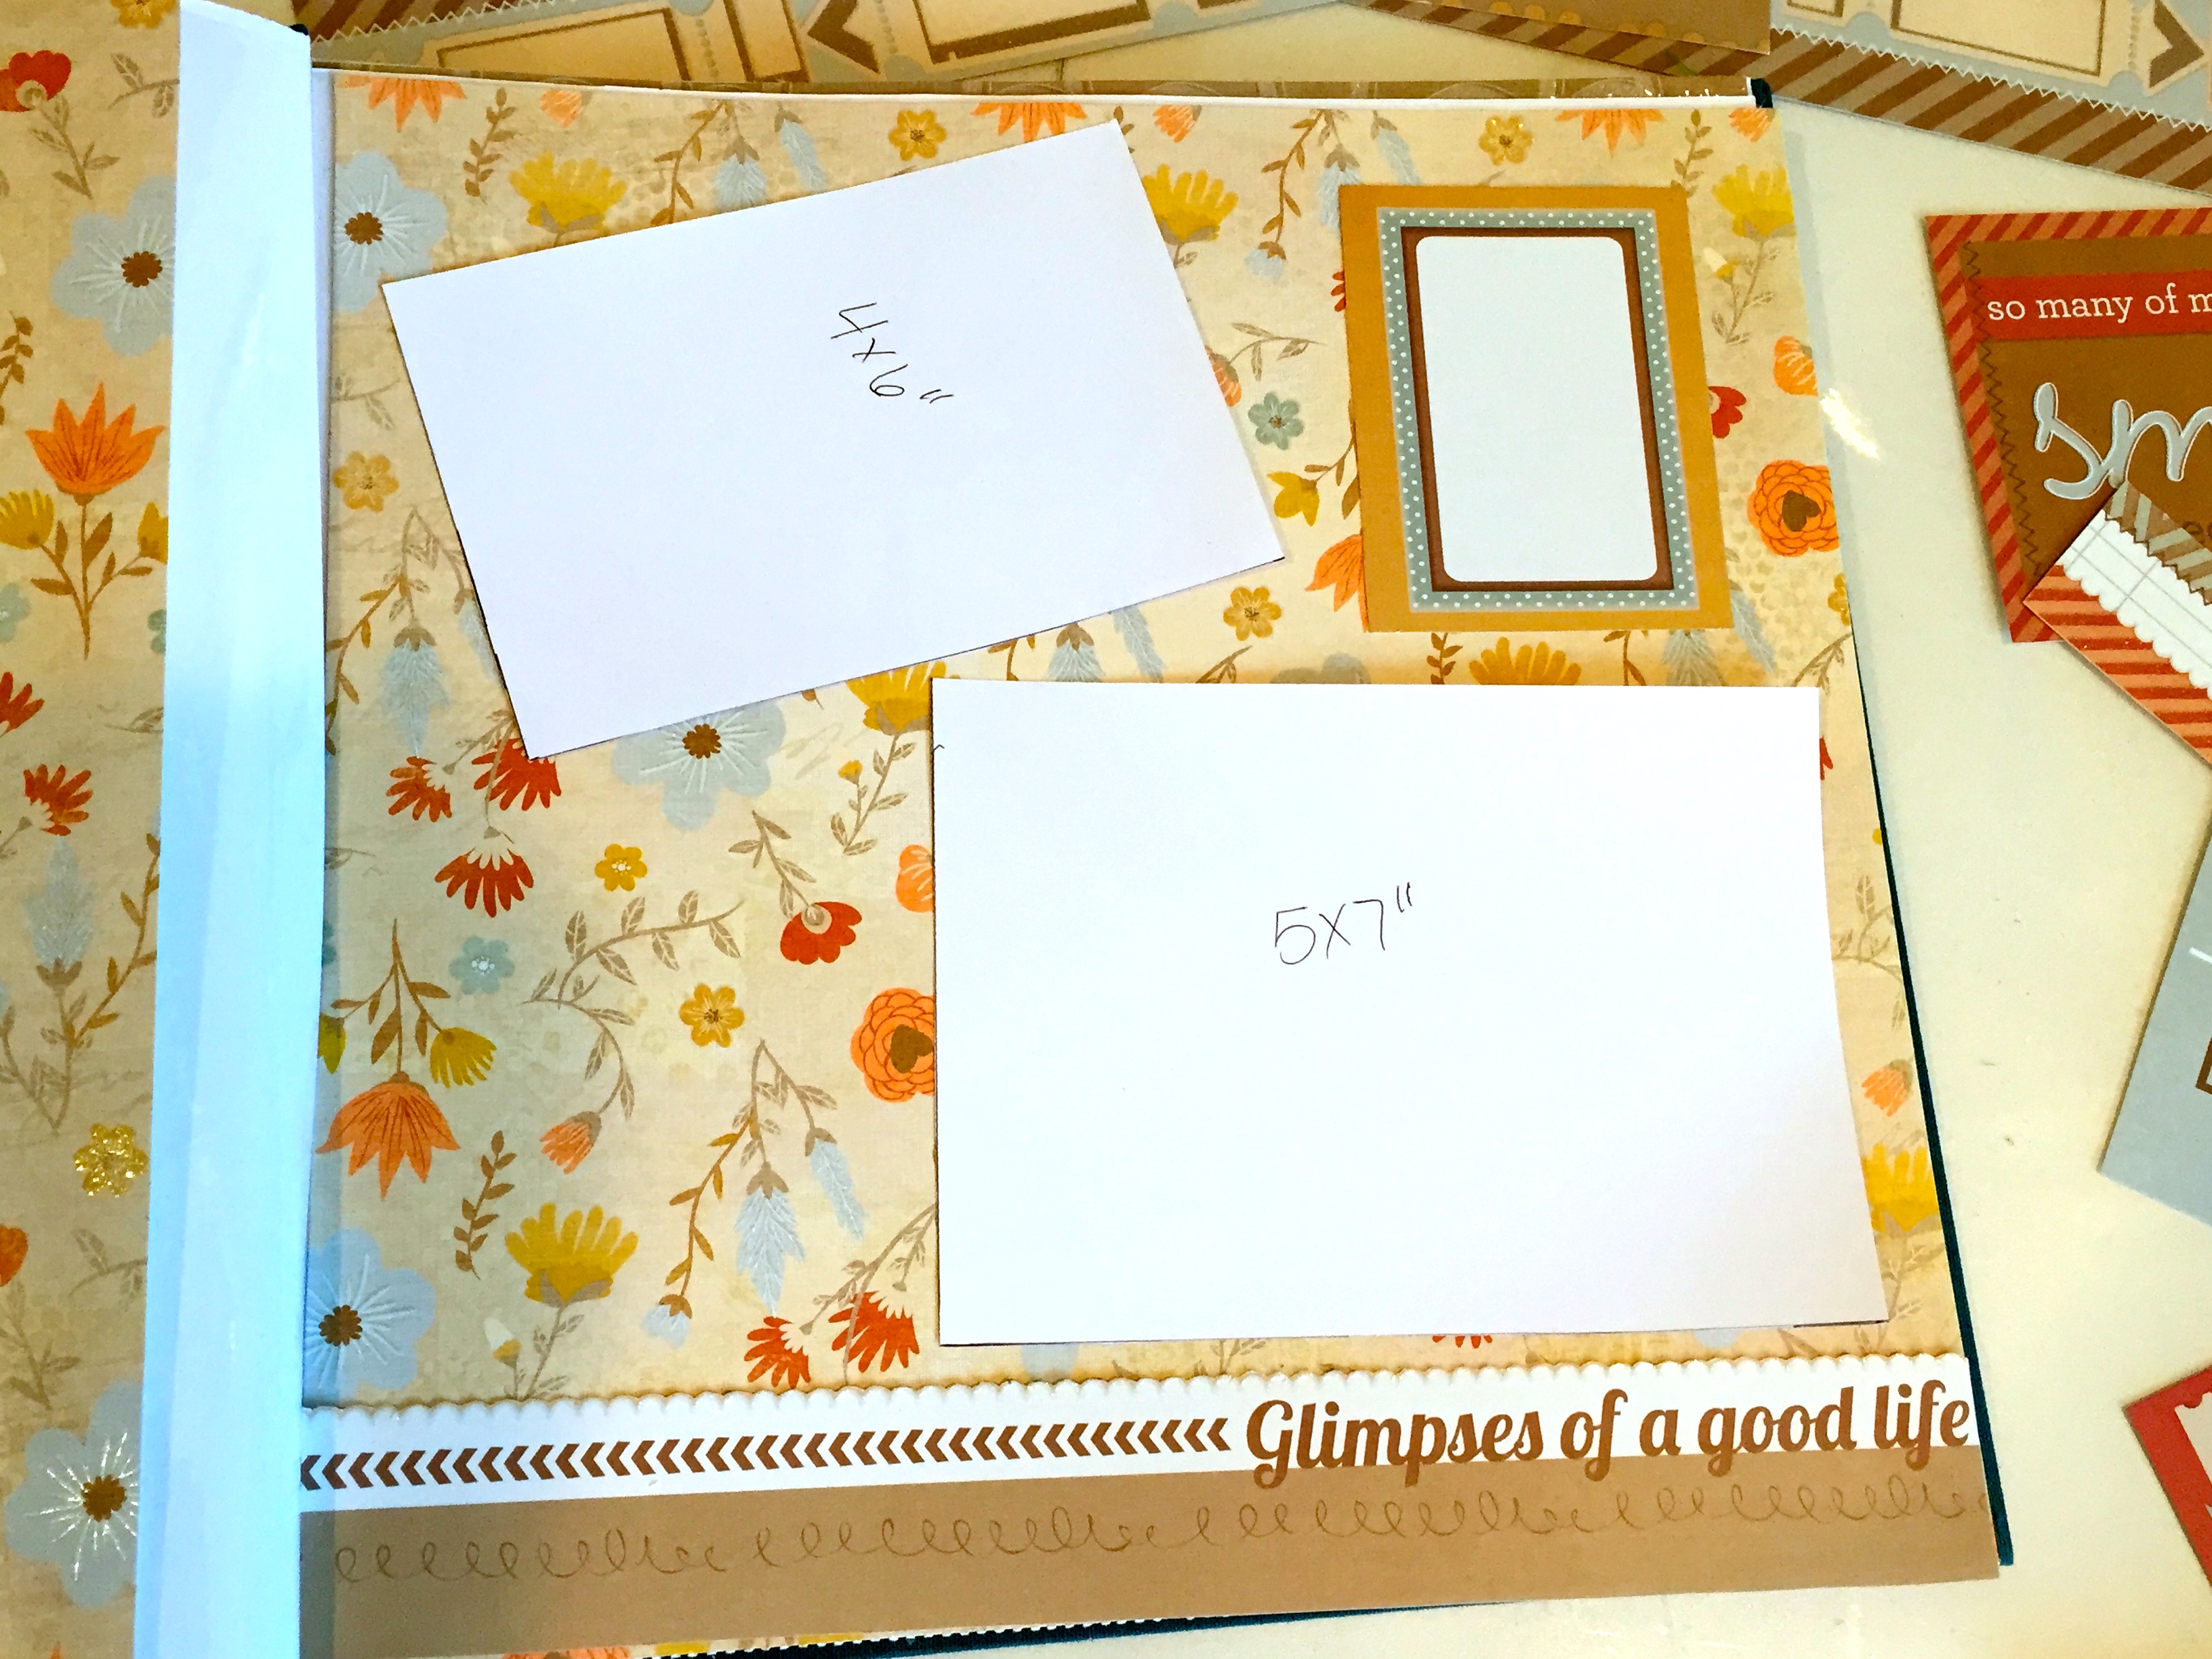
- Place your notecards, embellishments, and picture place holders exactly where you want them to be on each page.
Step 4:

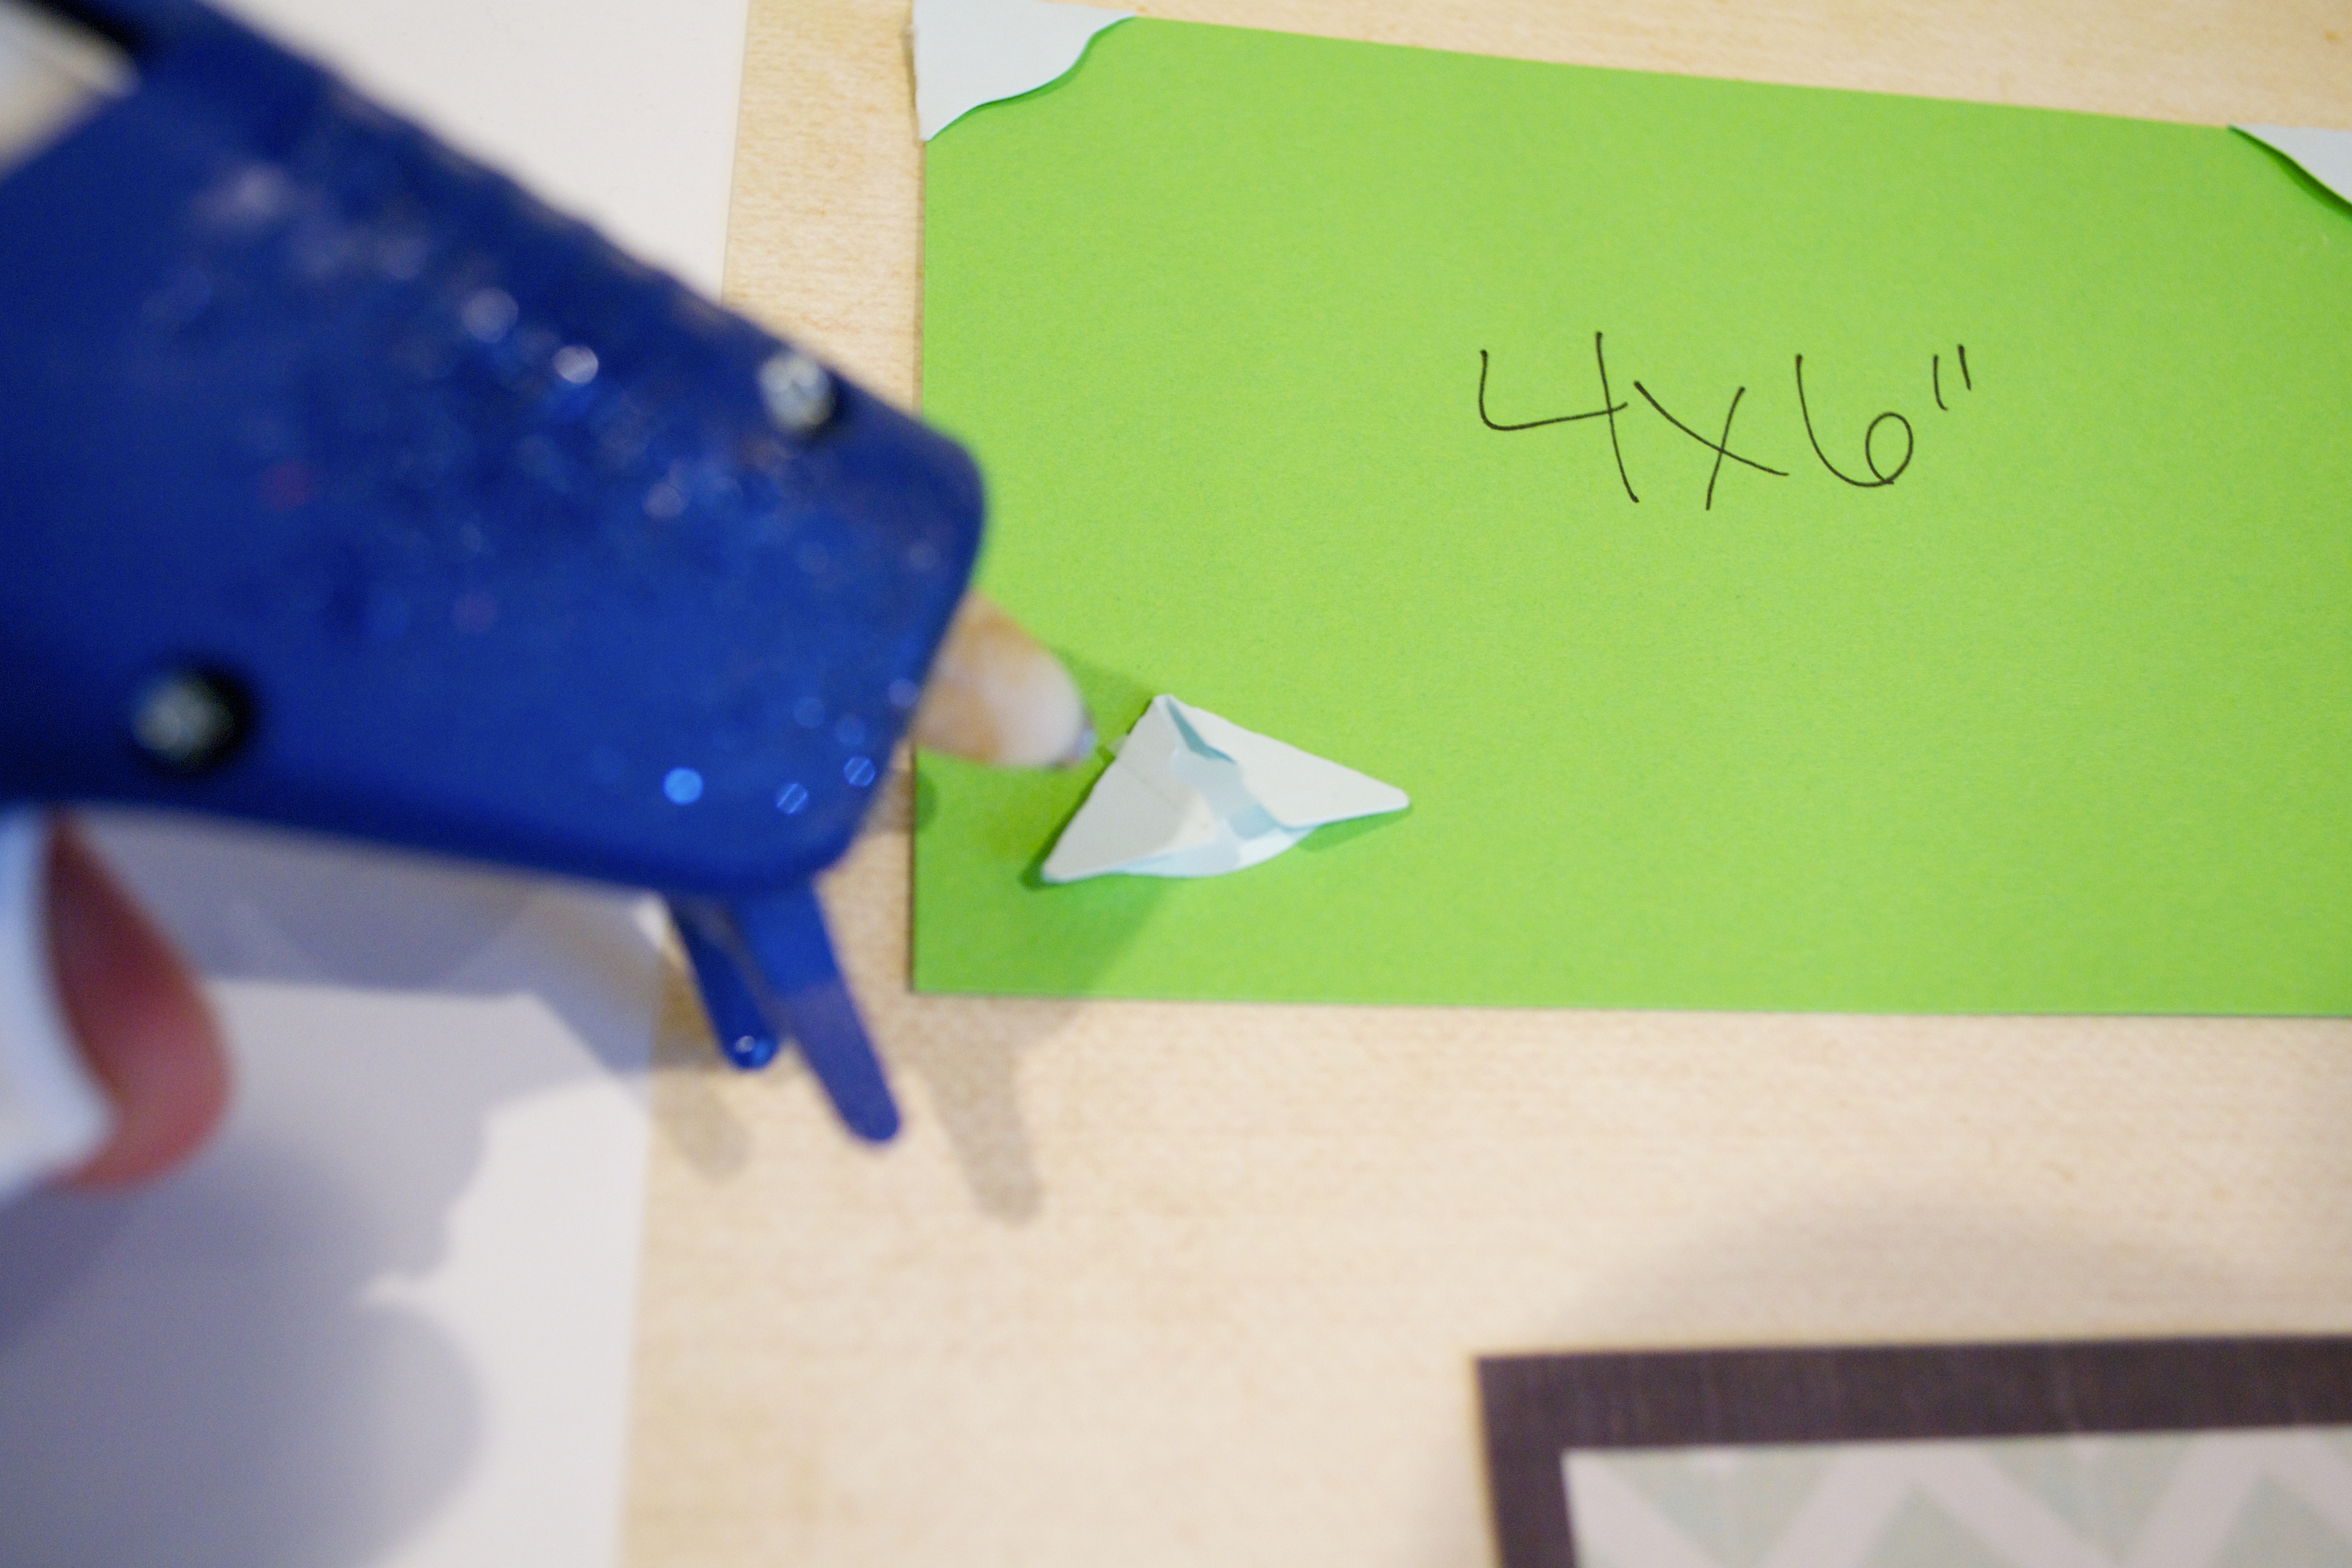
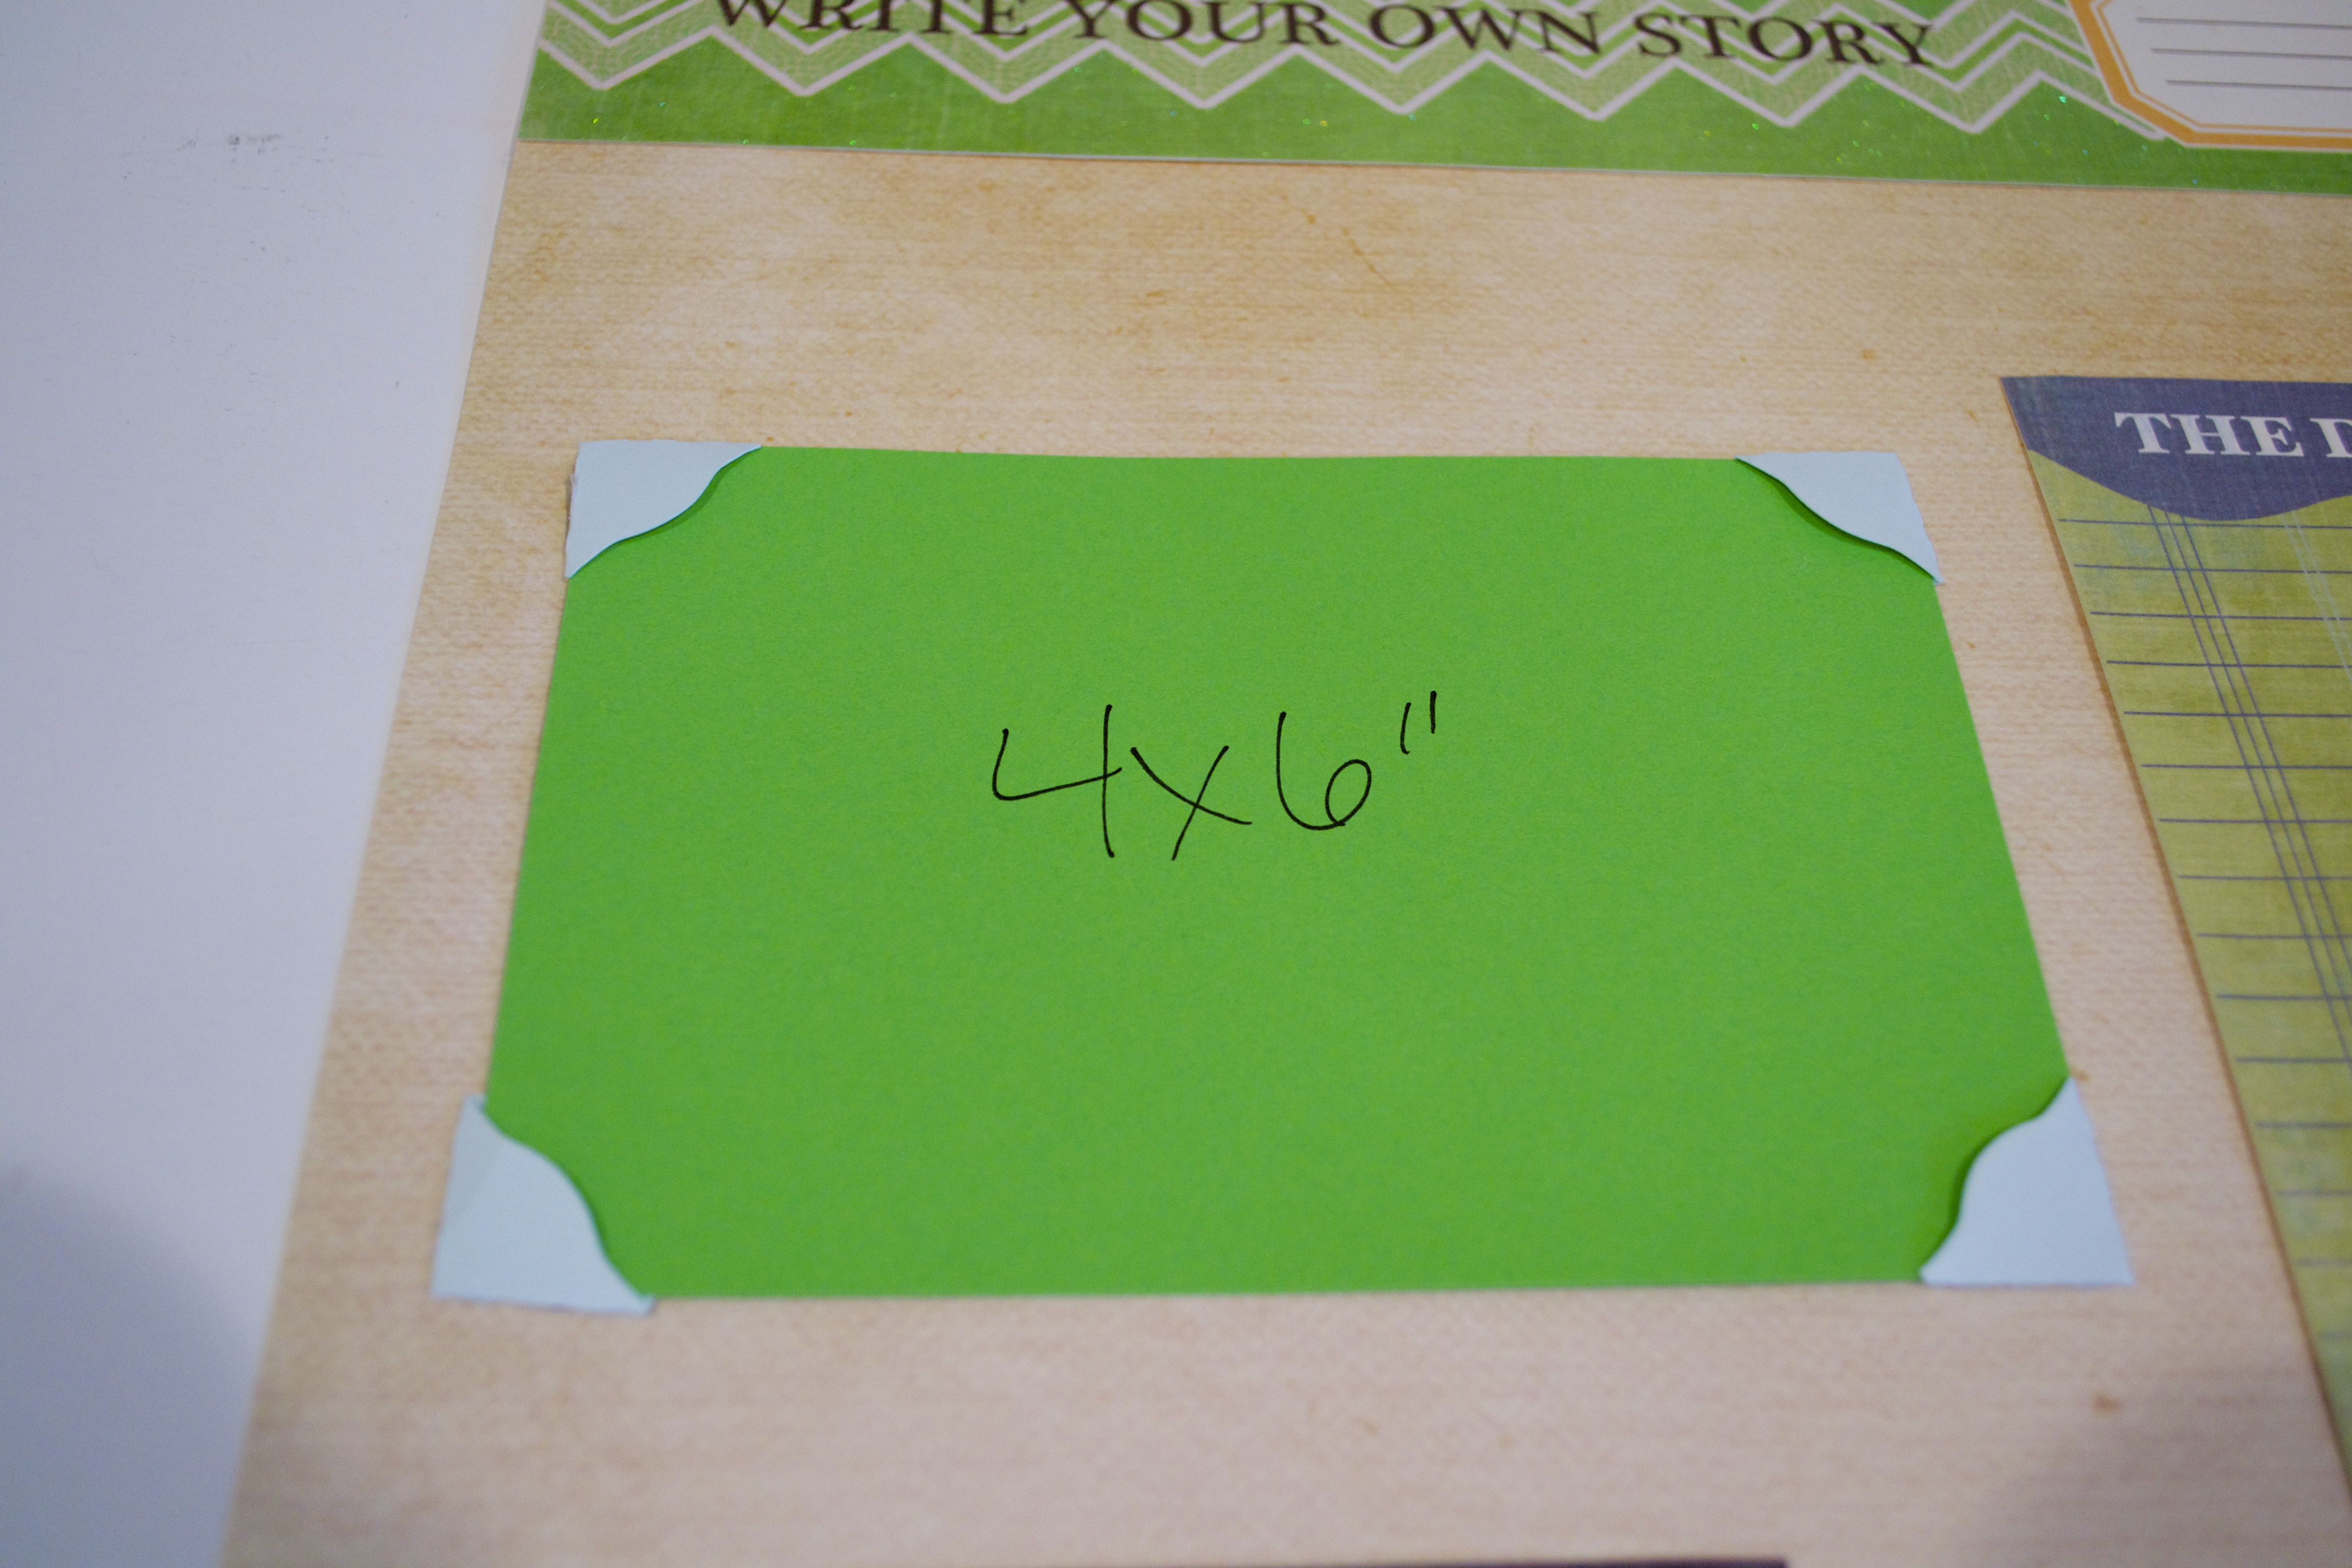
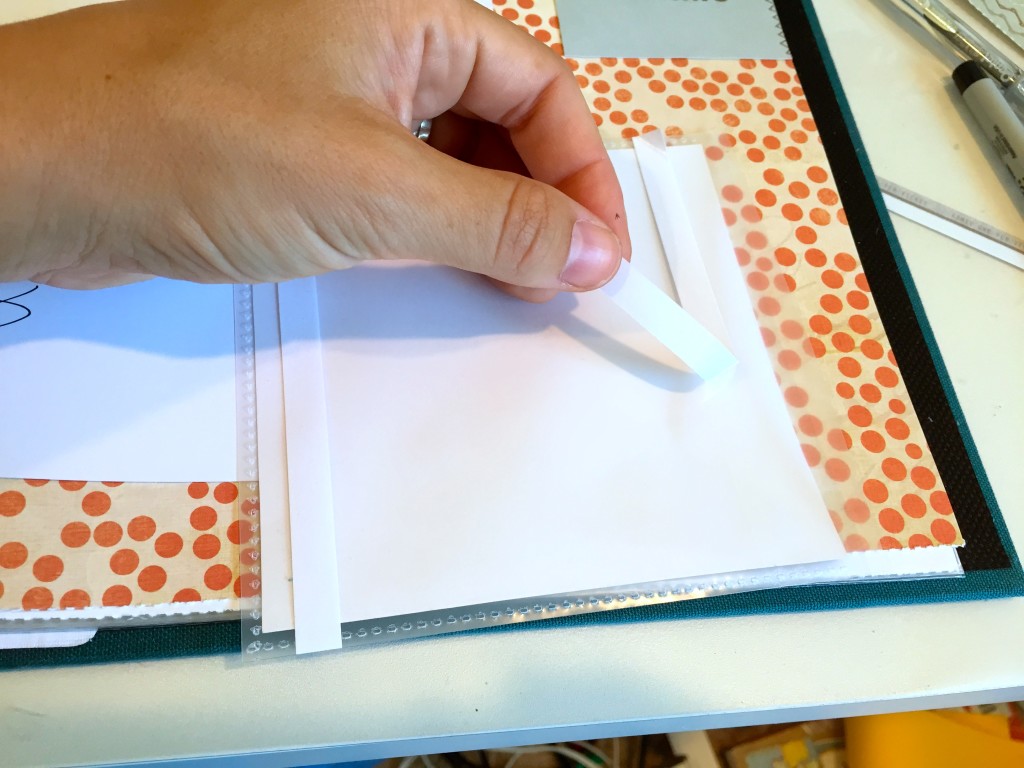
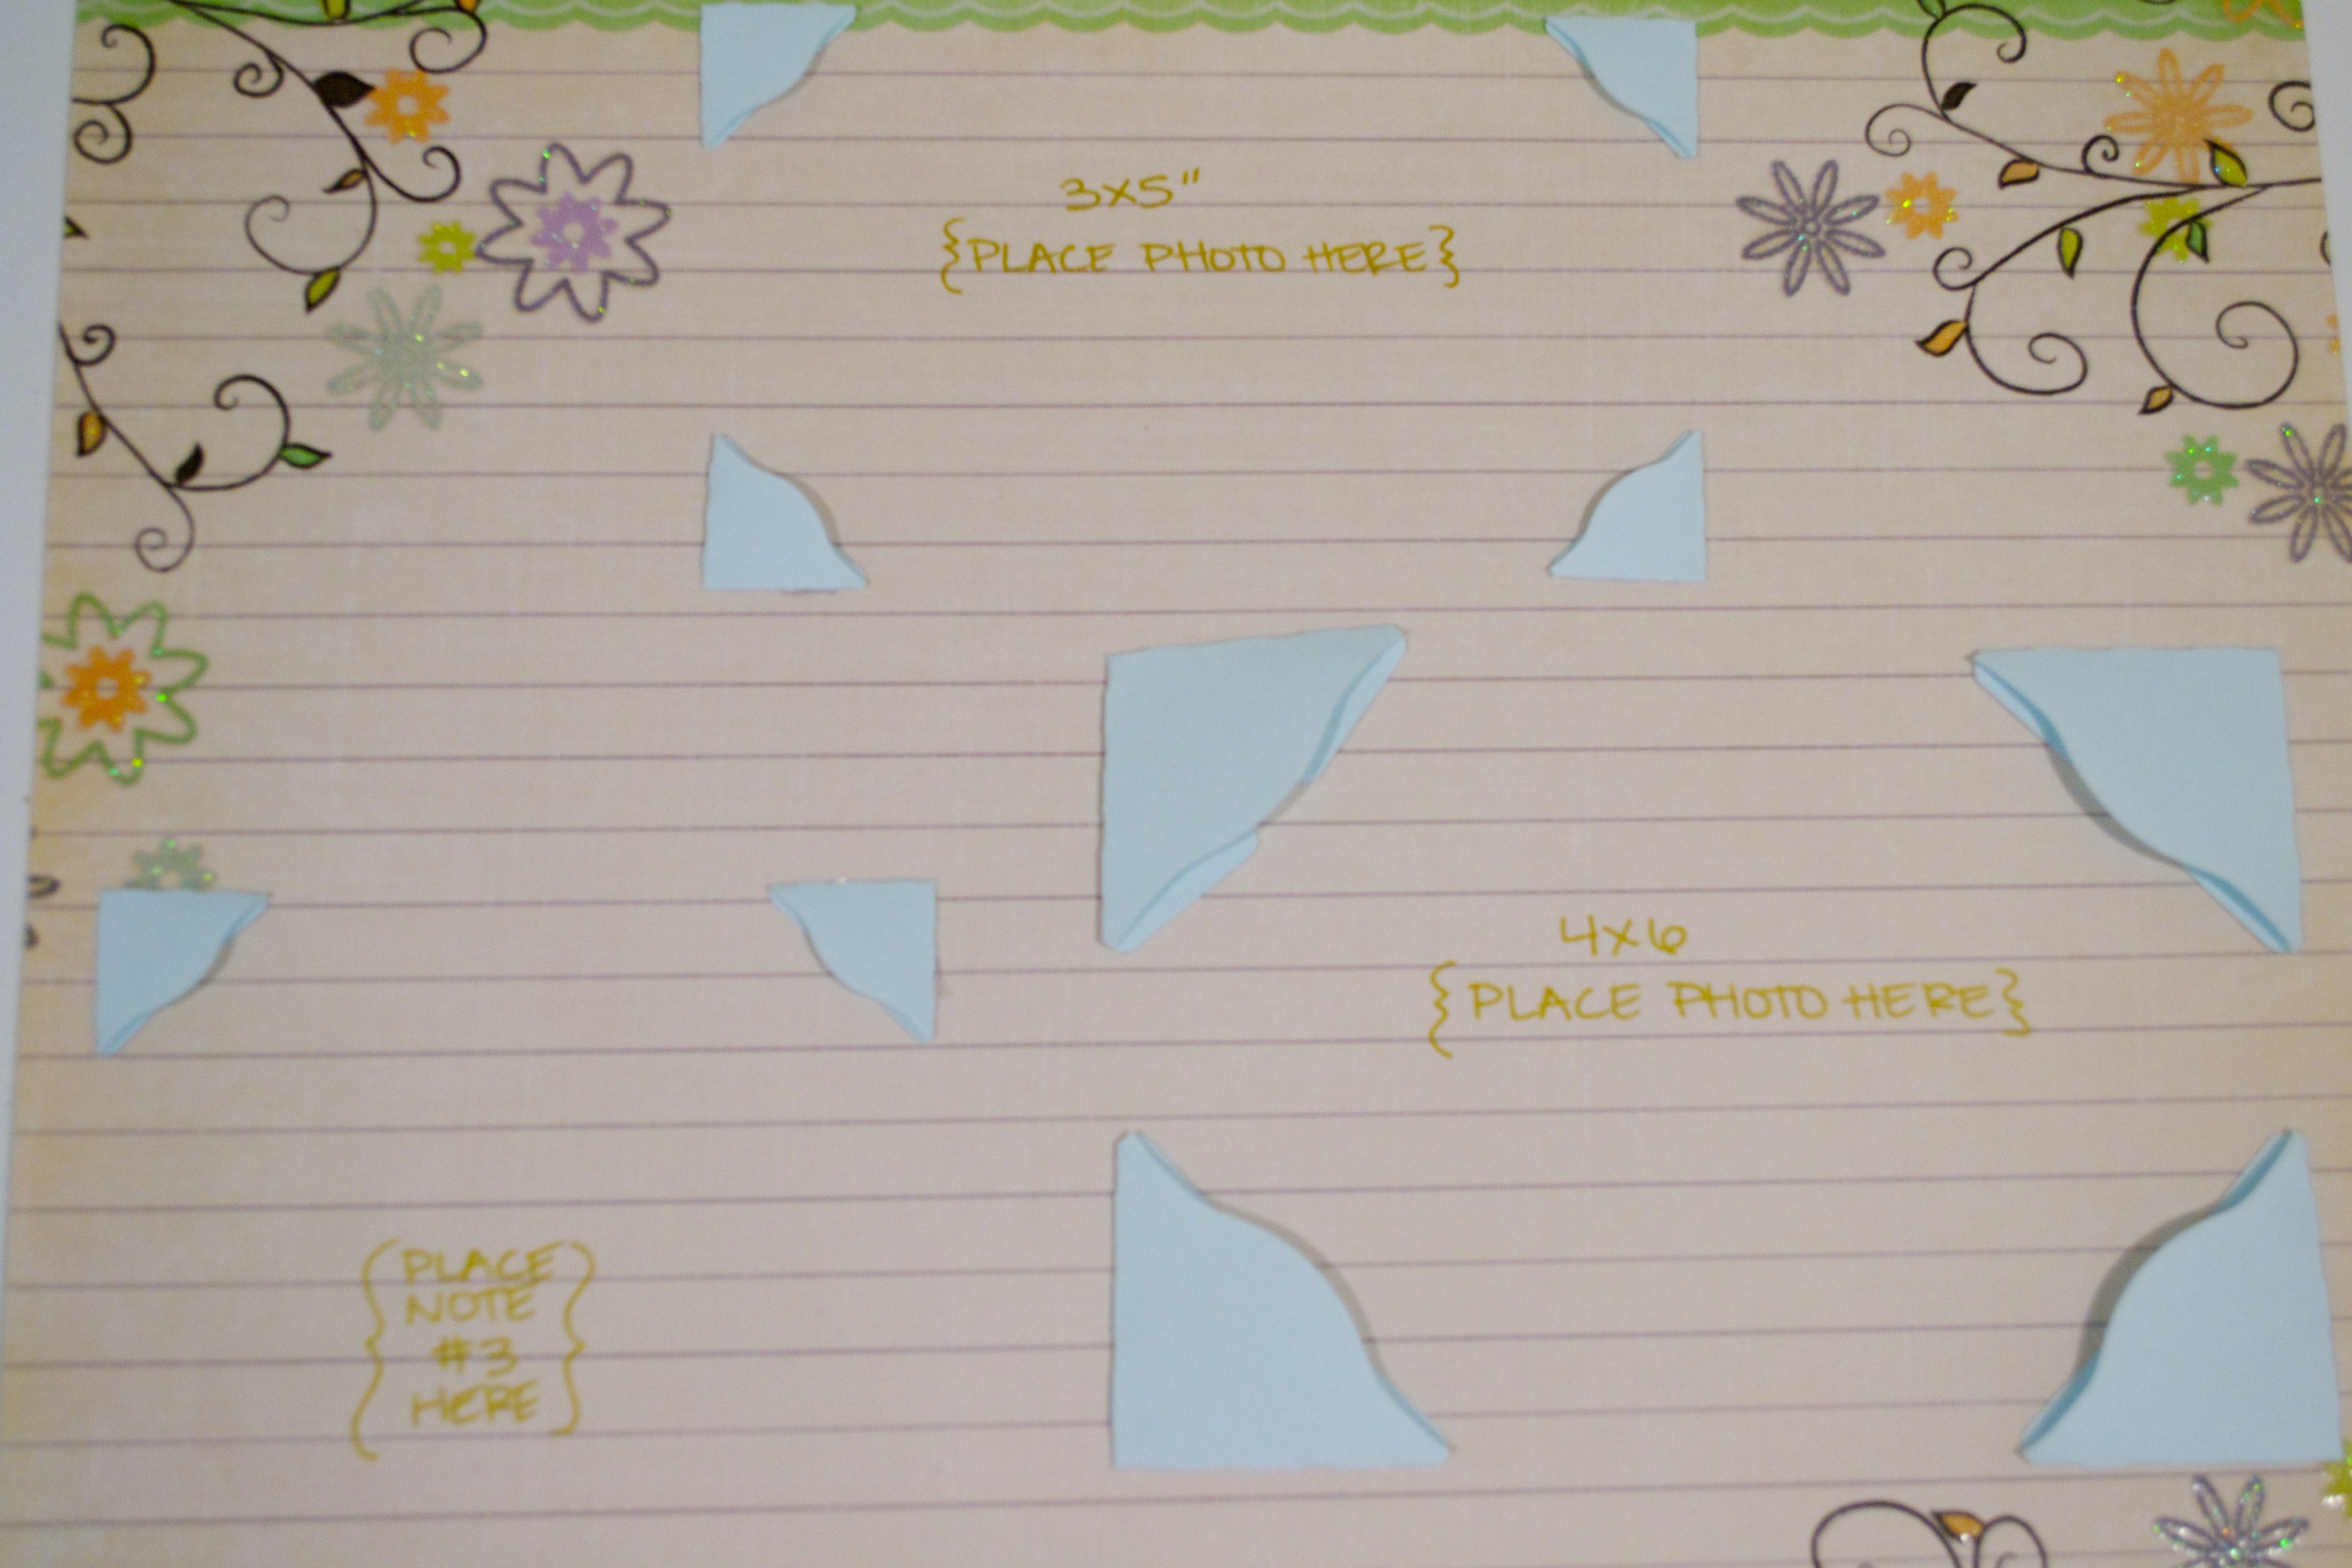
- Now, place your plastic picture corners on each corner of one of the picture place holders. Then, sticky side down, place it back exactly where you want it on the page.
- If you’re using non-stick corner holders, just do the same thing, but make sure to put dots of glue on the back of the corner holders before placing them back down on the page.
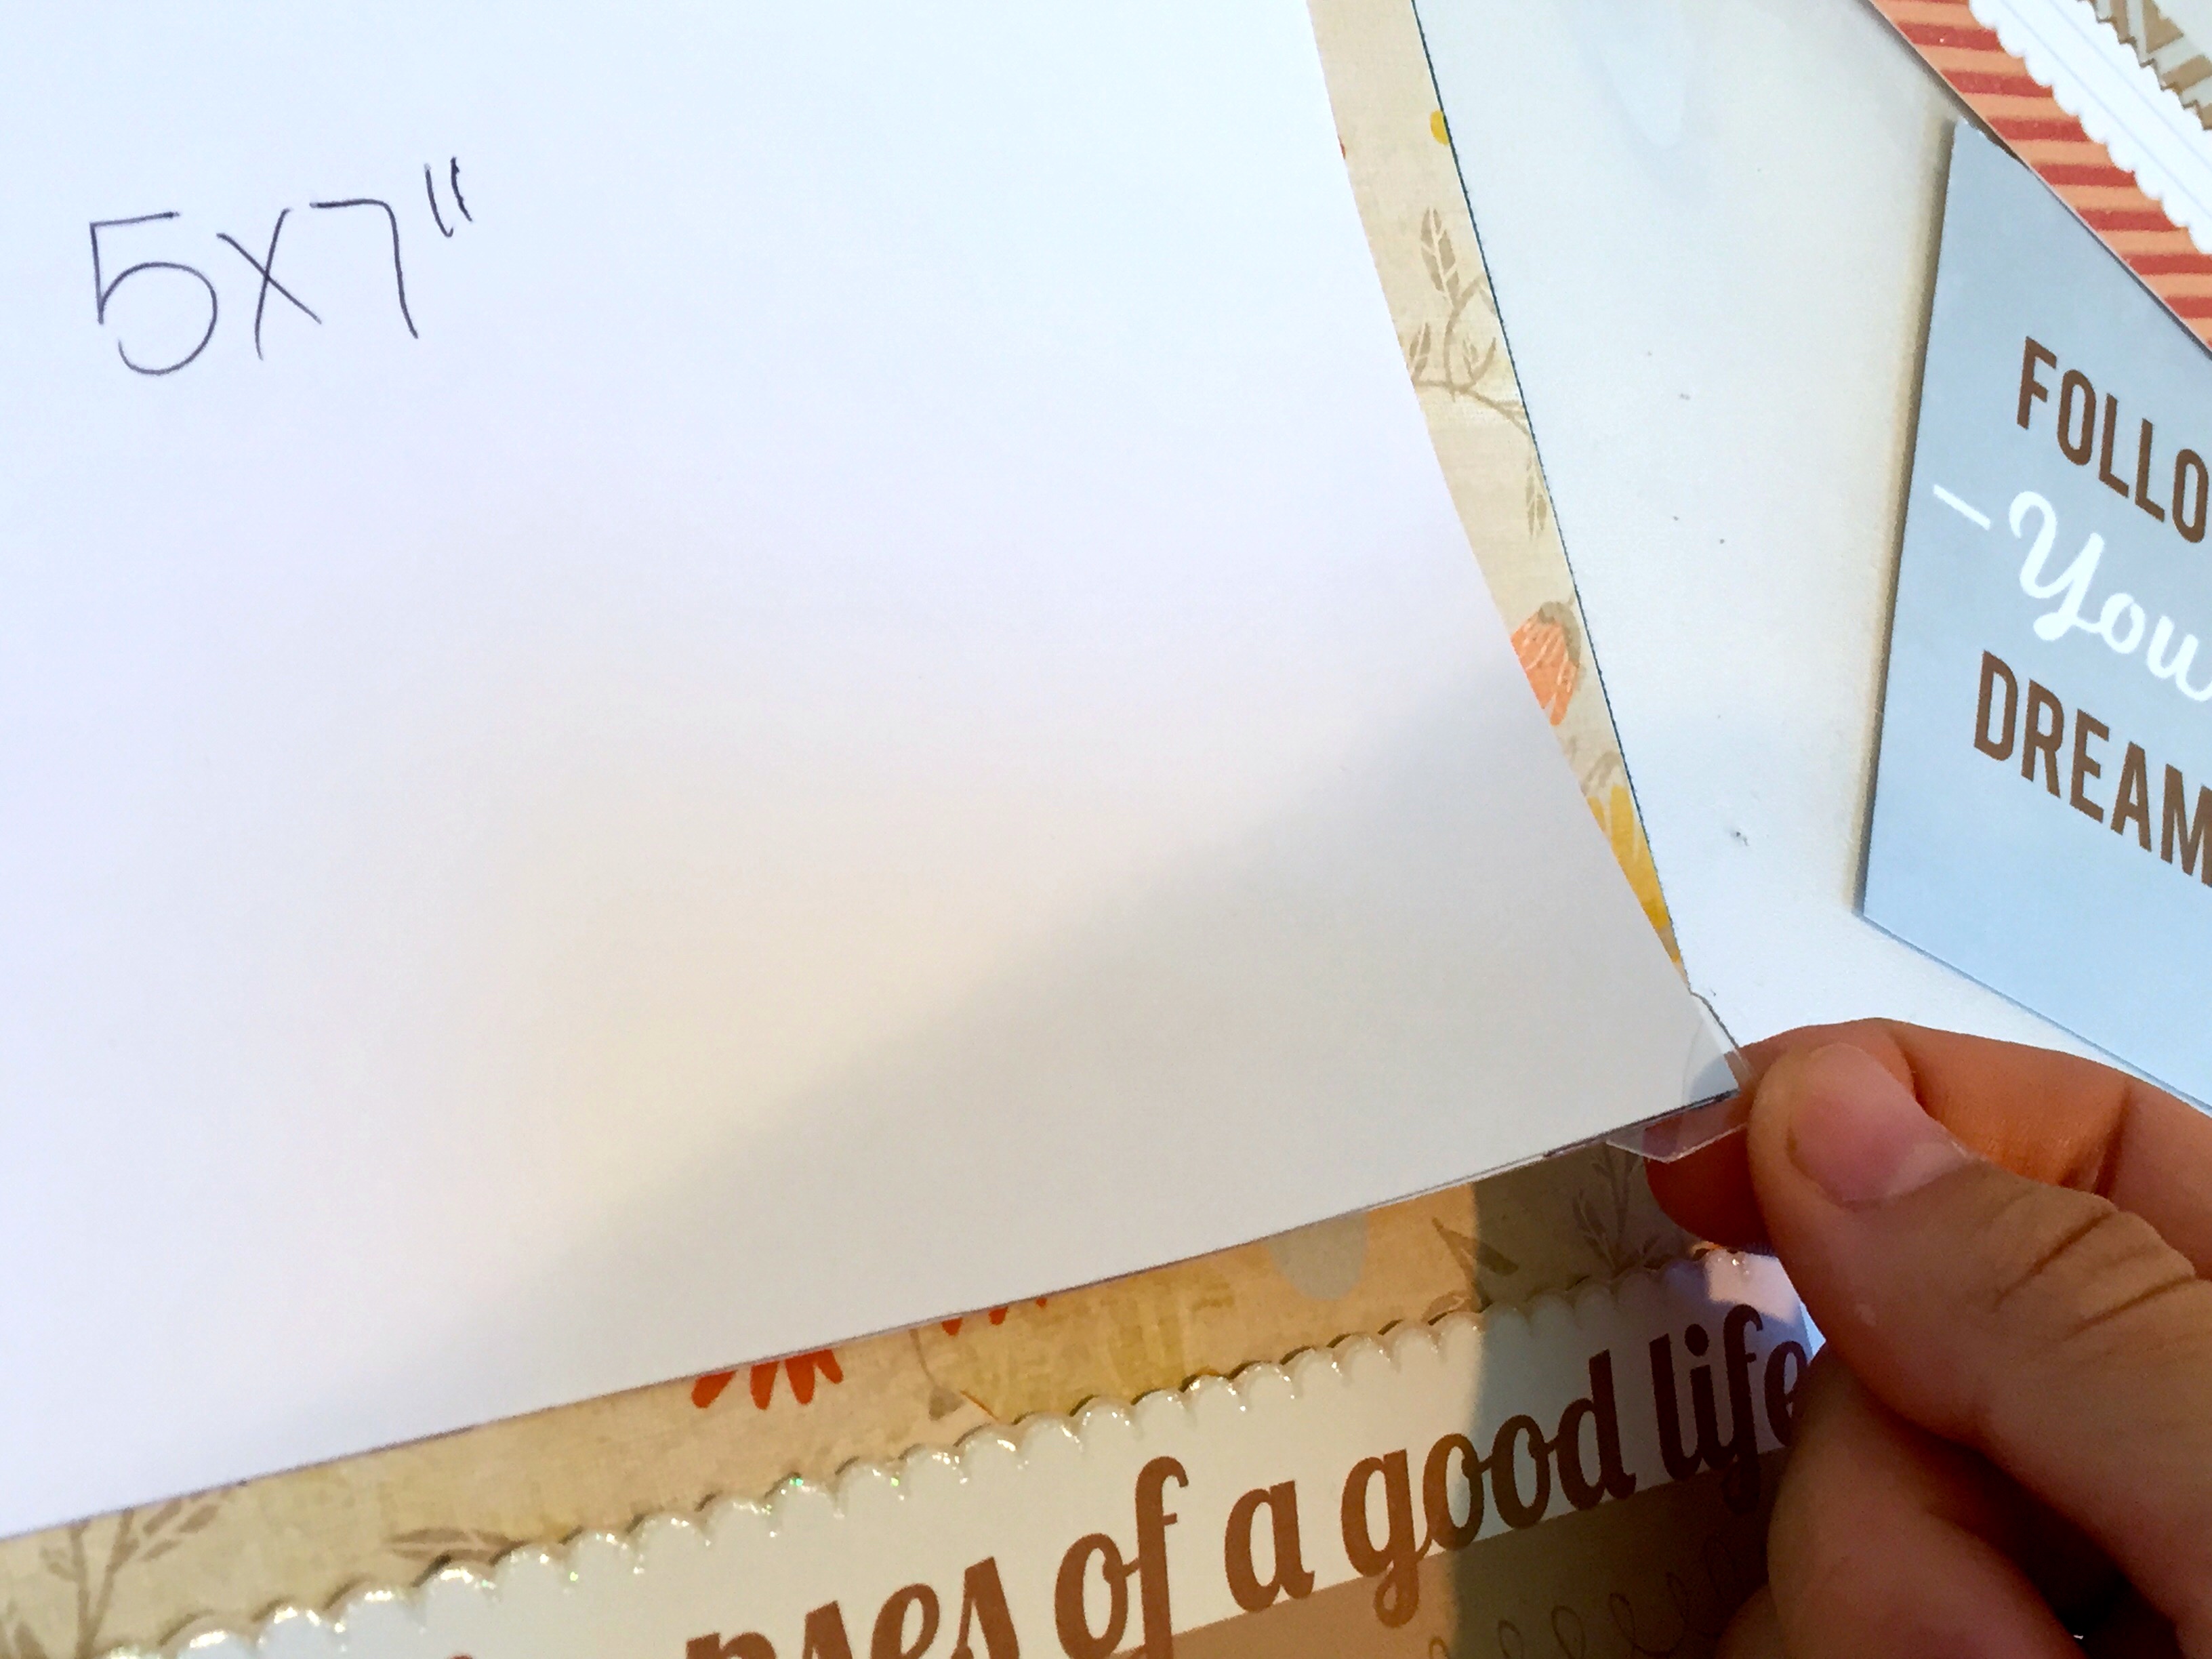
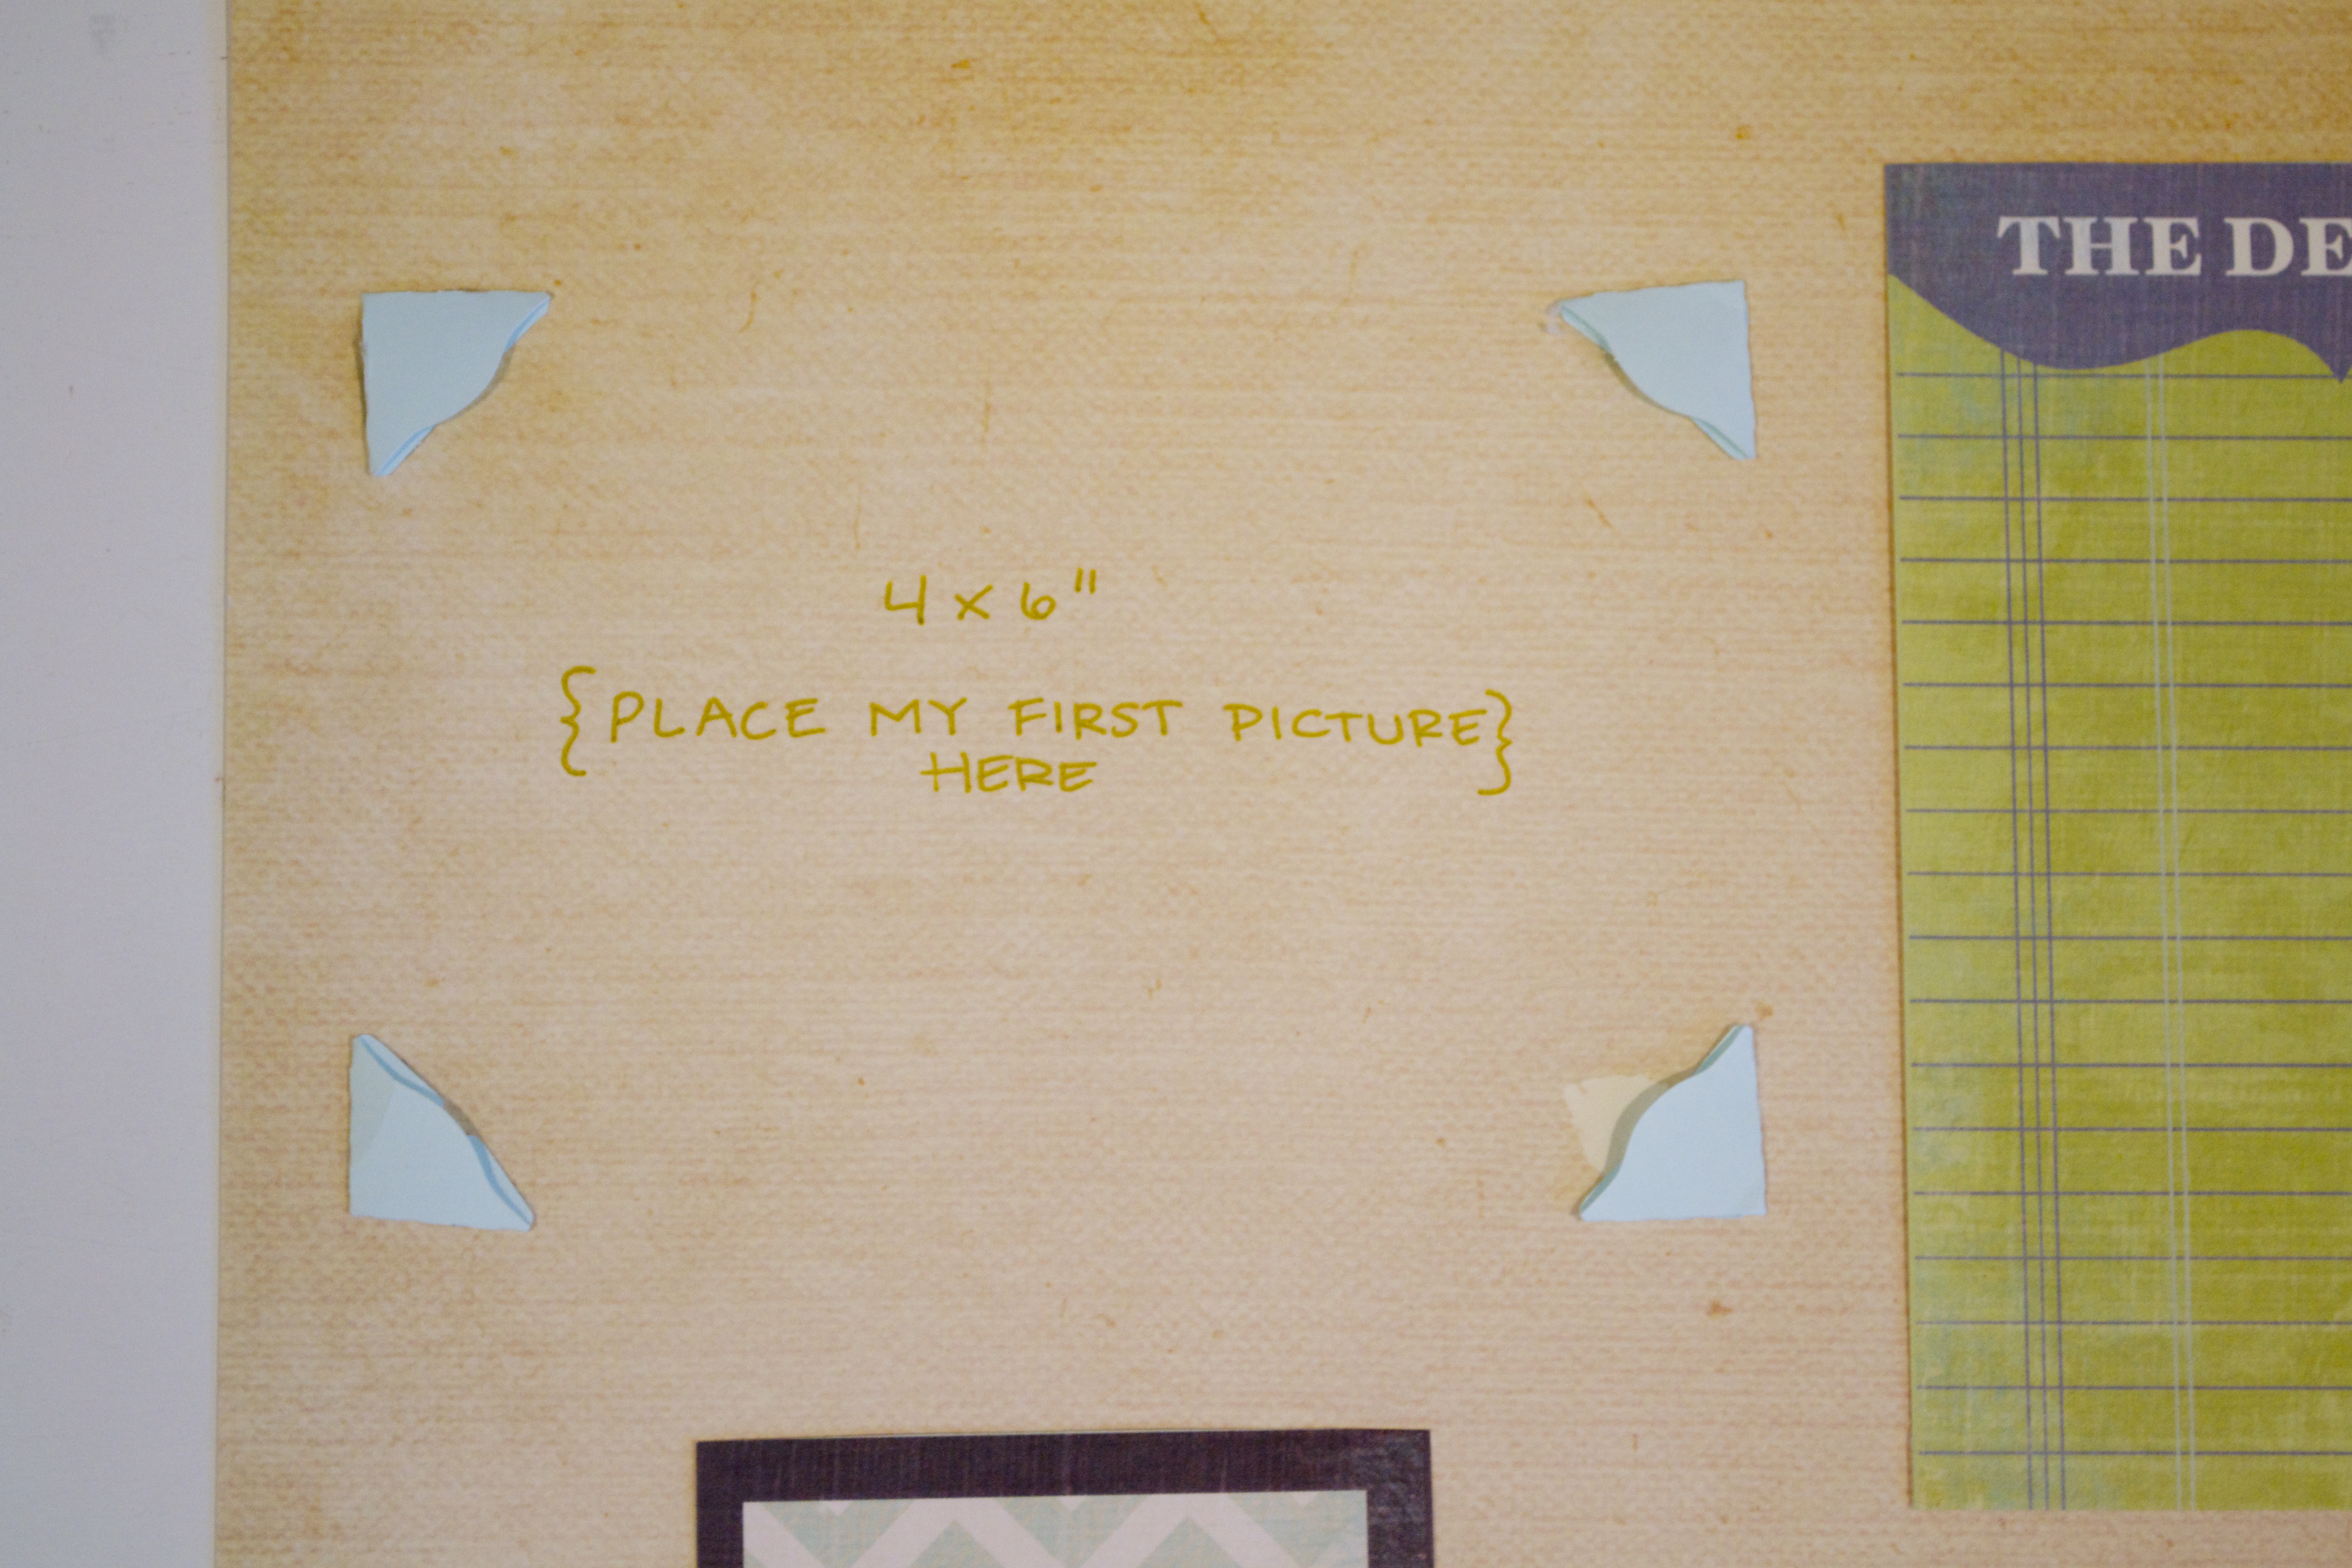
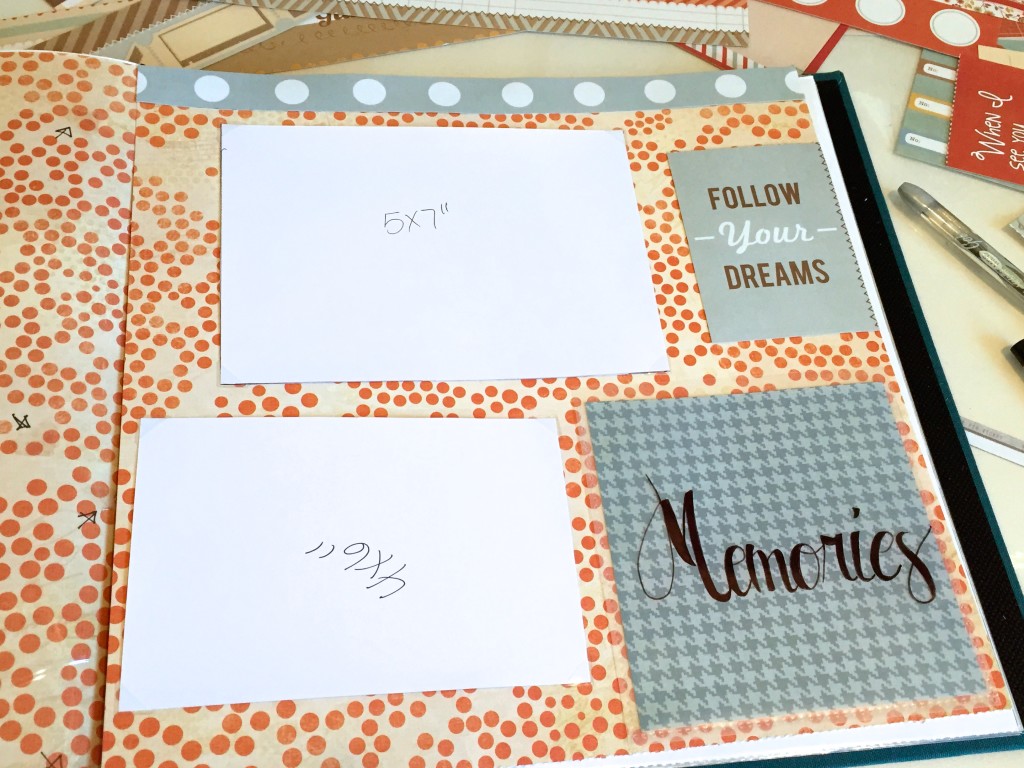
- Then, remove the picture place holder, and write what size picture goes in that space (4×6″ or 5×7″)
- TIP: If using clear corner holders, I suggest drawing arrows to each corner to show where to place the picture. The clear ones are often hard to see after you remove the pace holder, and it helps when you go back in to add the pictures.
Step 5:
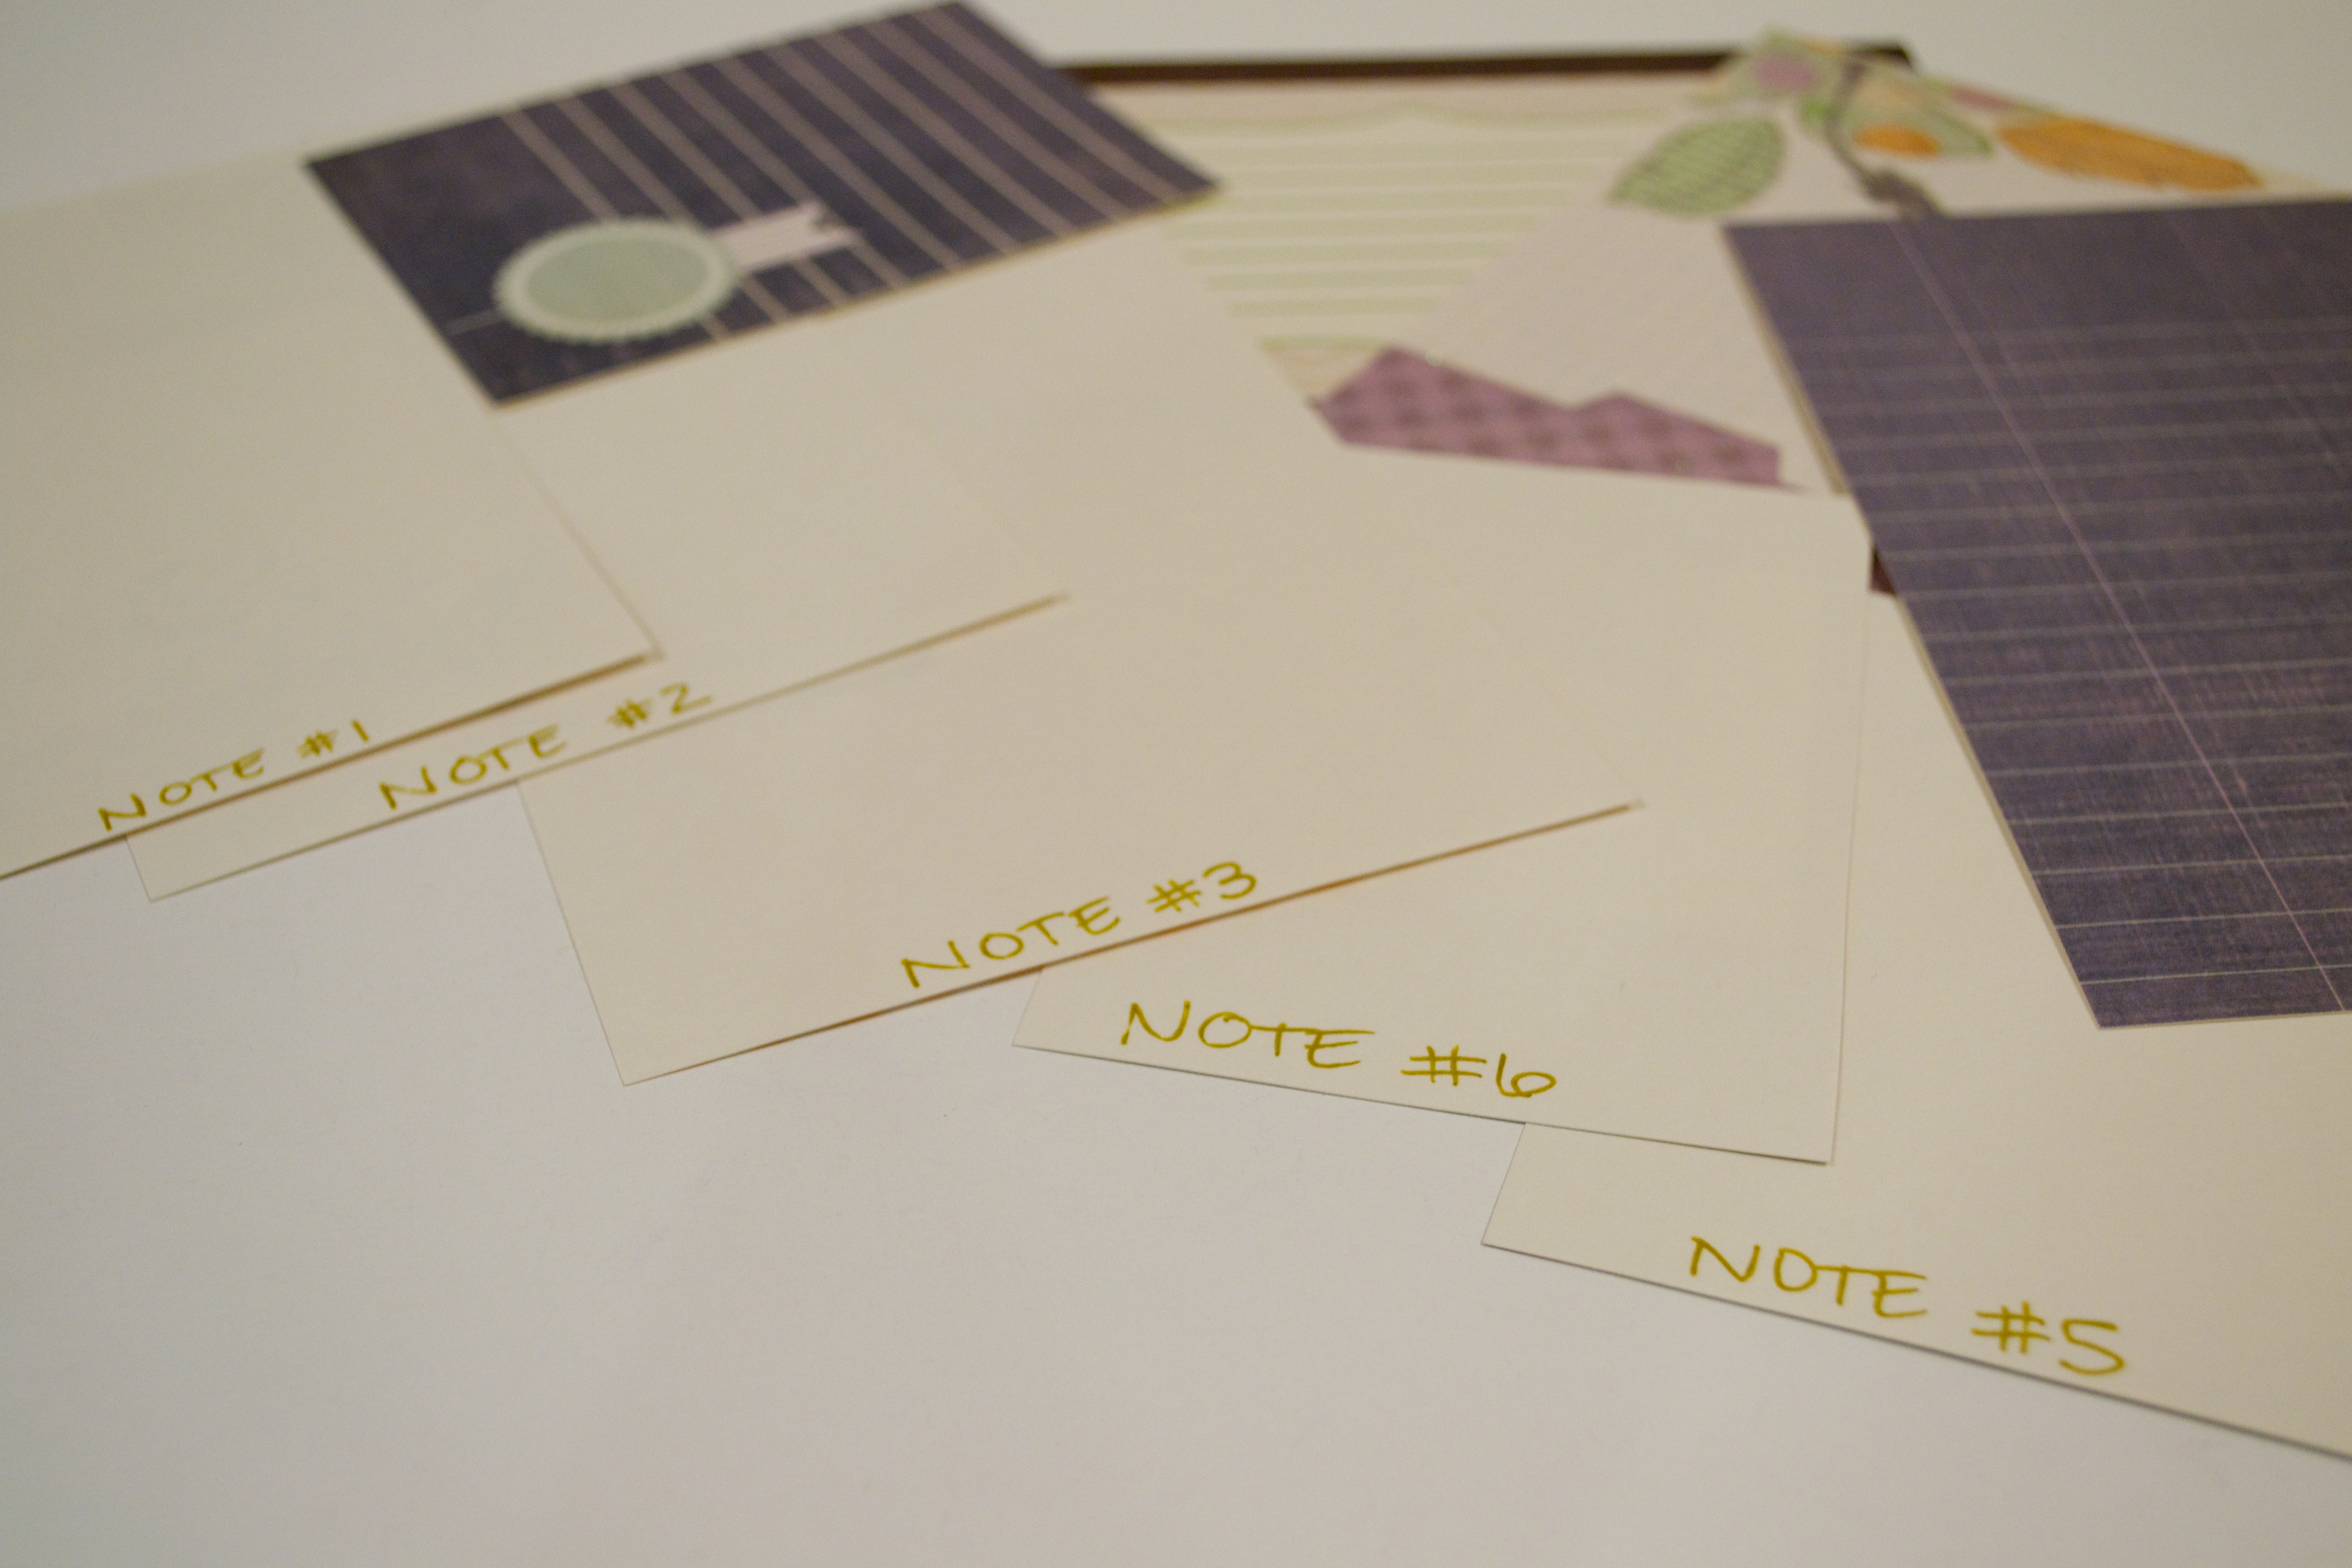
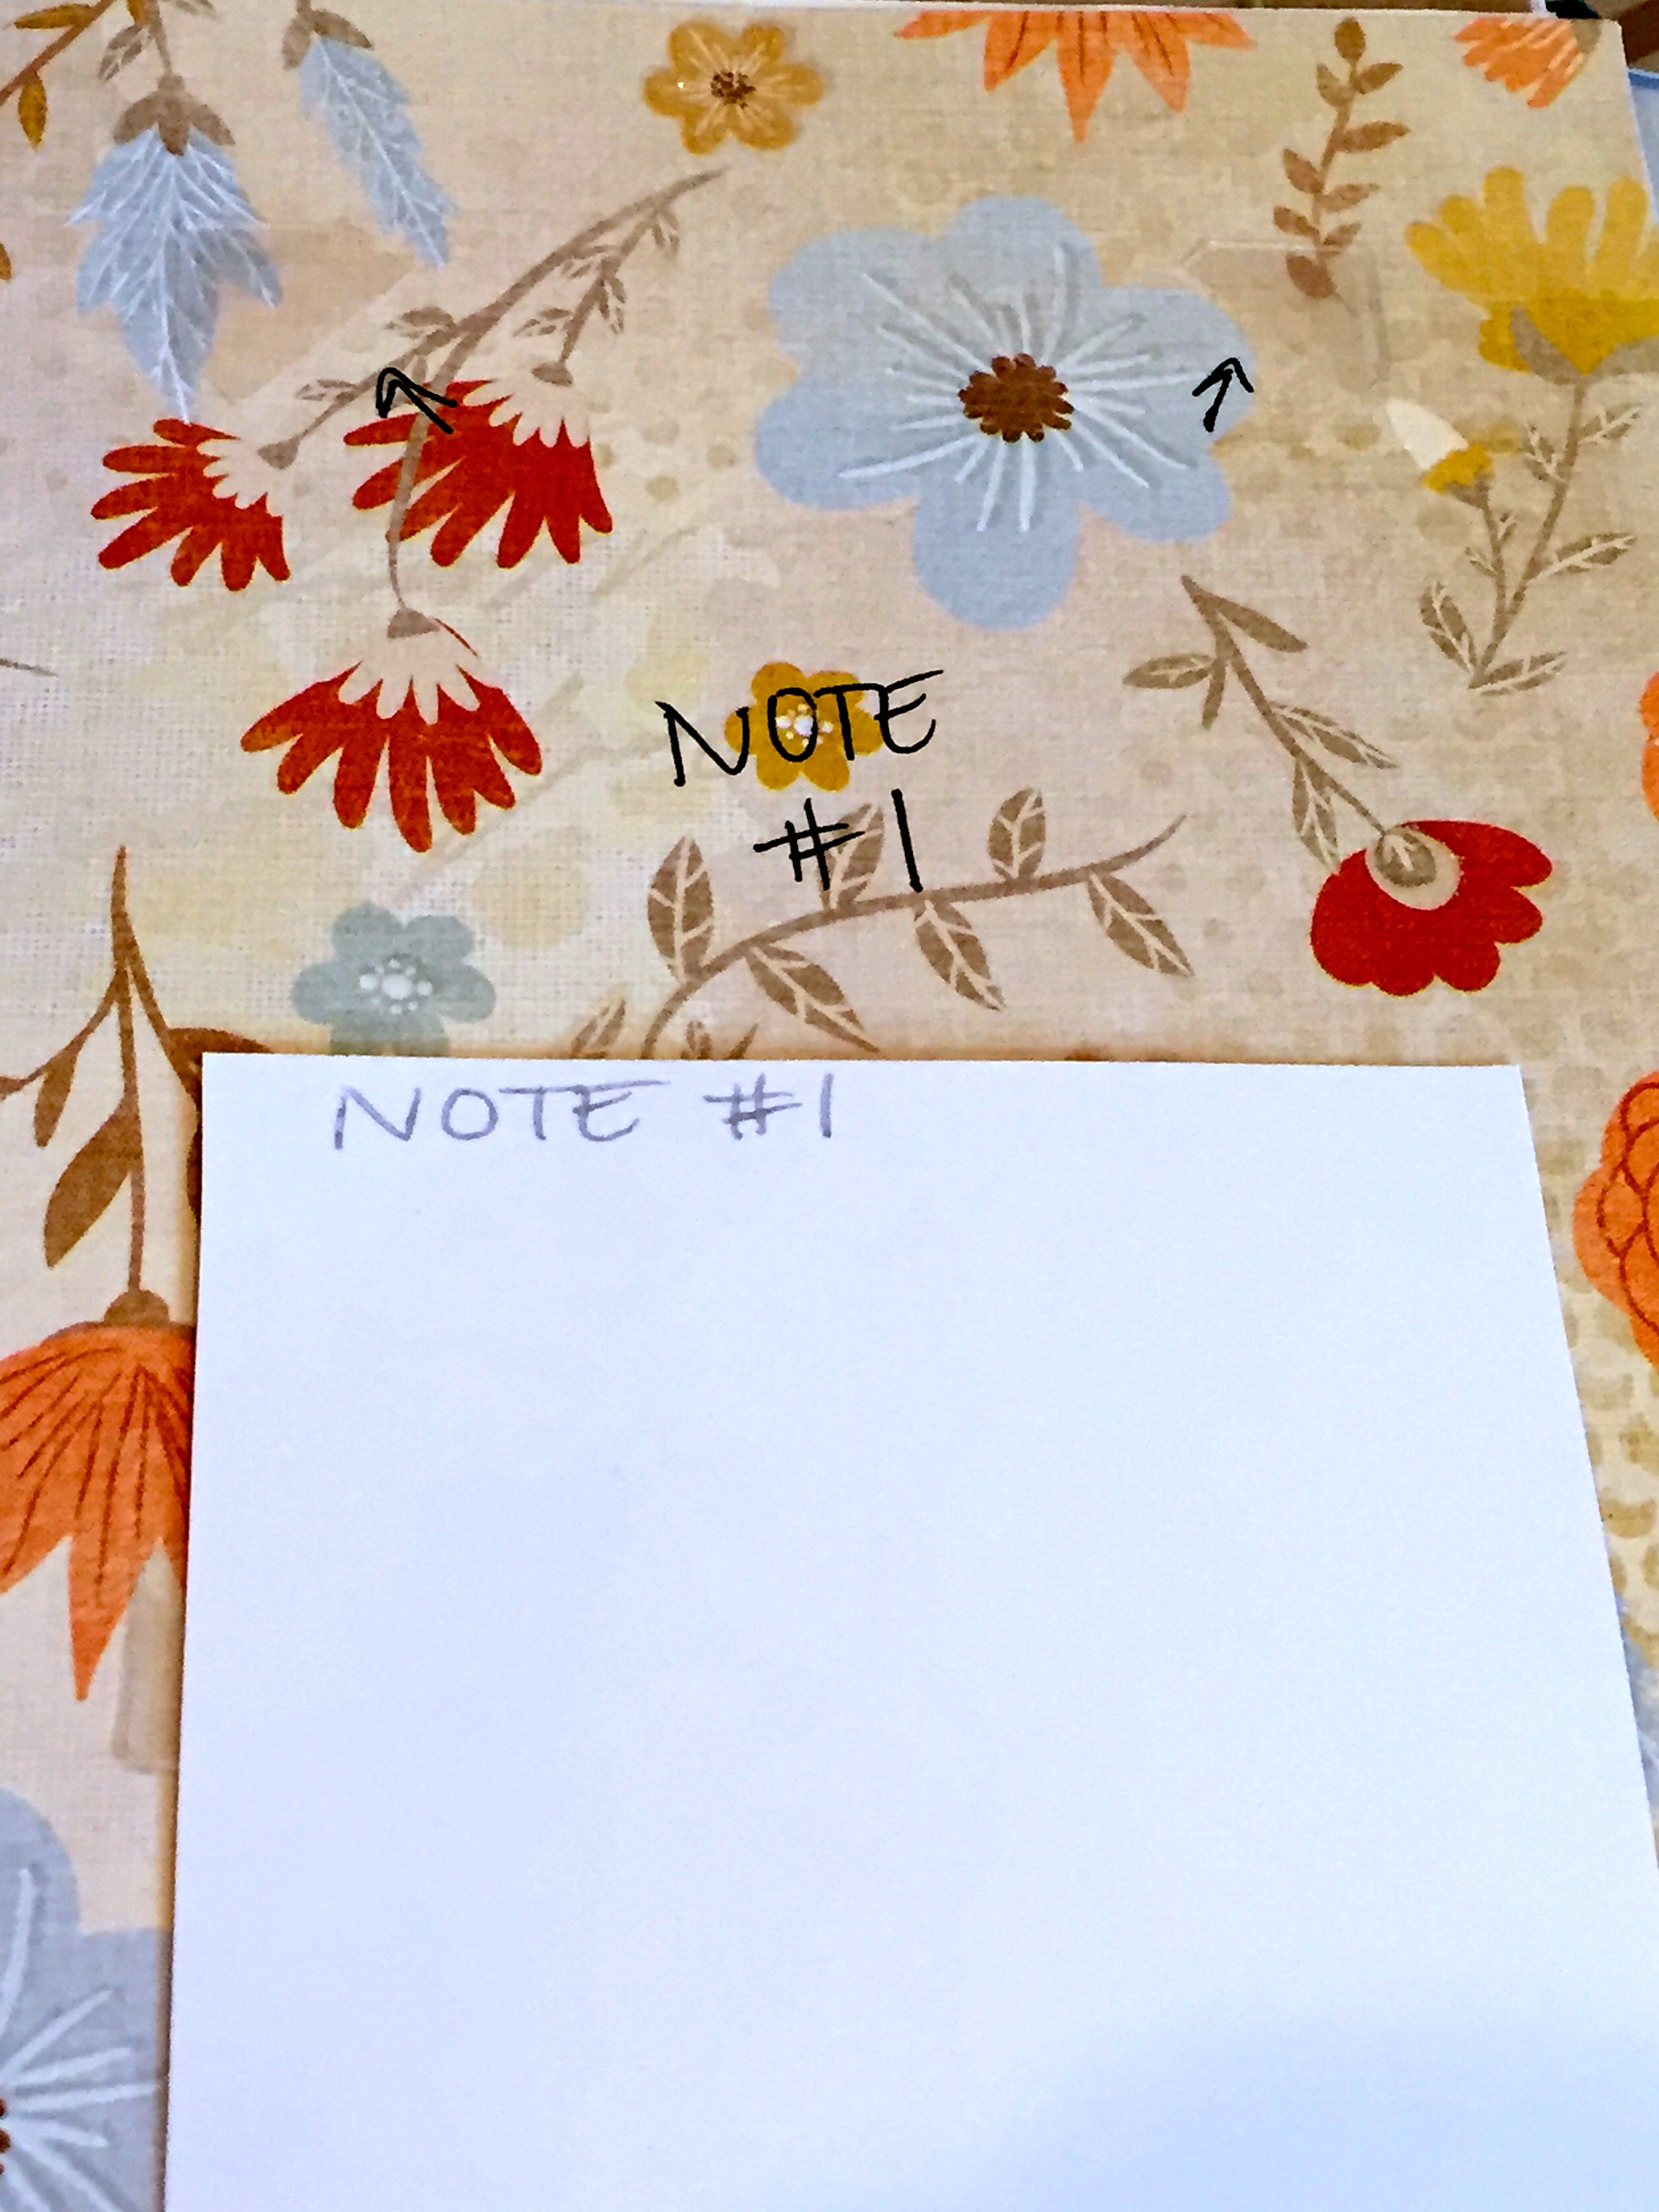
- Repeat step 4 above with your notes (on each page you want a note to be placed). Adding corners to the note cards and sticking them where you want them to go.
- However this time, instead of writing the picture size, write the note # in between the corner holders. Then, on the back of that notecard, also write the note #. This way, you’ll know which note card goes in which corner holders.
- TIP: This is especially great if you are giving this as a baby shower gift. I did this for a friend of mine, and had each person at the baby shower write a special note to the new baby. Then, I put the notes in the scrapbook (in the proper place it was noted to go) and she had a full- ready to go scrapbook for her soon to be baby girl! It was really sweet.
Step 6:

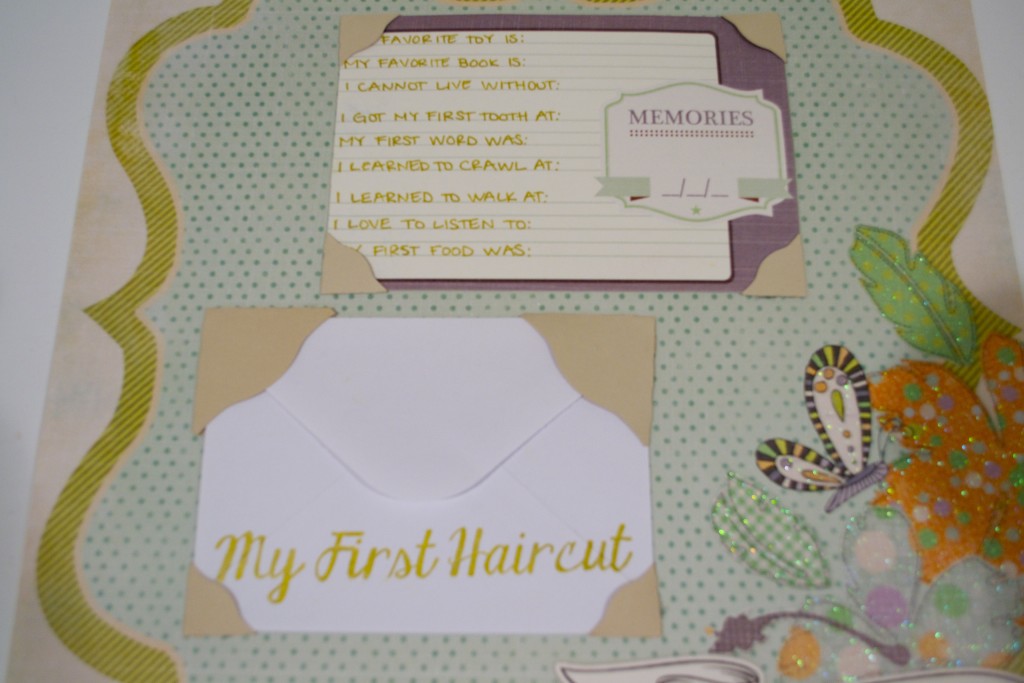
- Now it’s time to glue down any embellishments that you don’t need to add (they will stay permanently on the page).
- Once that’s done – and if you have any room – you can add a clear pocket for keepsakes. Old tickets, first haircut, etc. Things you want to keep in your memory book. You can write on the front of the envelope/pouch what it is, and then stick it down where you want it on the page.
- If you’re using a clear adhesive CD pouch, just peel the backing off the adhesive and stick it (sticky side down) to the page.
- If you’re using a plain envelope, use the same technique you used above with the photo place holders on the corners of the envelope. Then, stick it down to the page.
- Now, repeat steps 4-6 for the remaining pages in your scrapbook.
- If you want to add optional stickers to each page (for an added flair) do it! But it’s an extra cost (and a little extra time) so it’s totally optional. The scrapbooks look great with or without them.
Step 7:
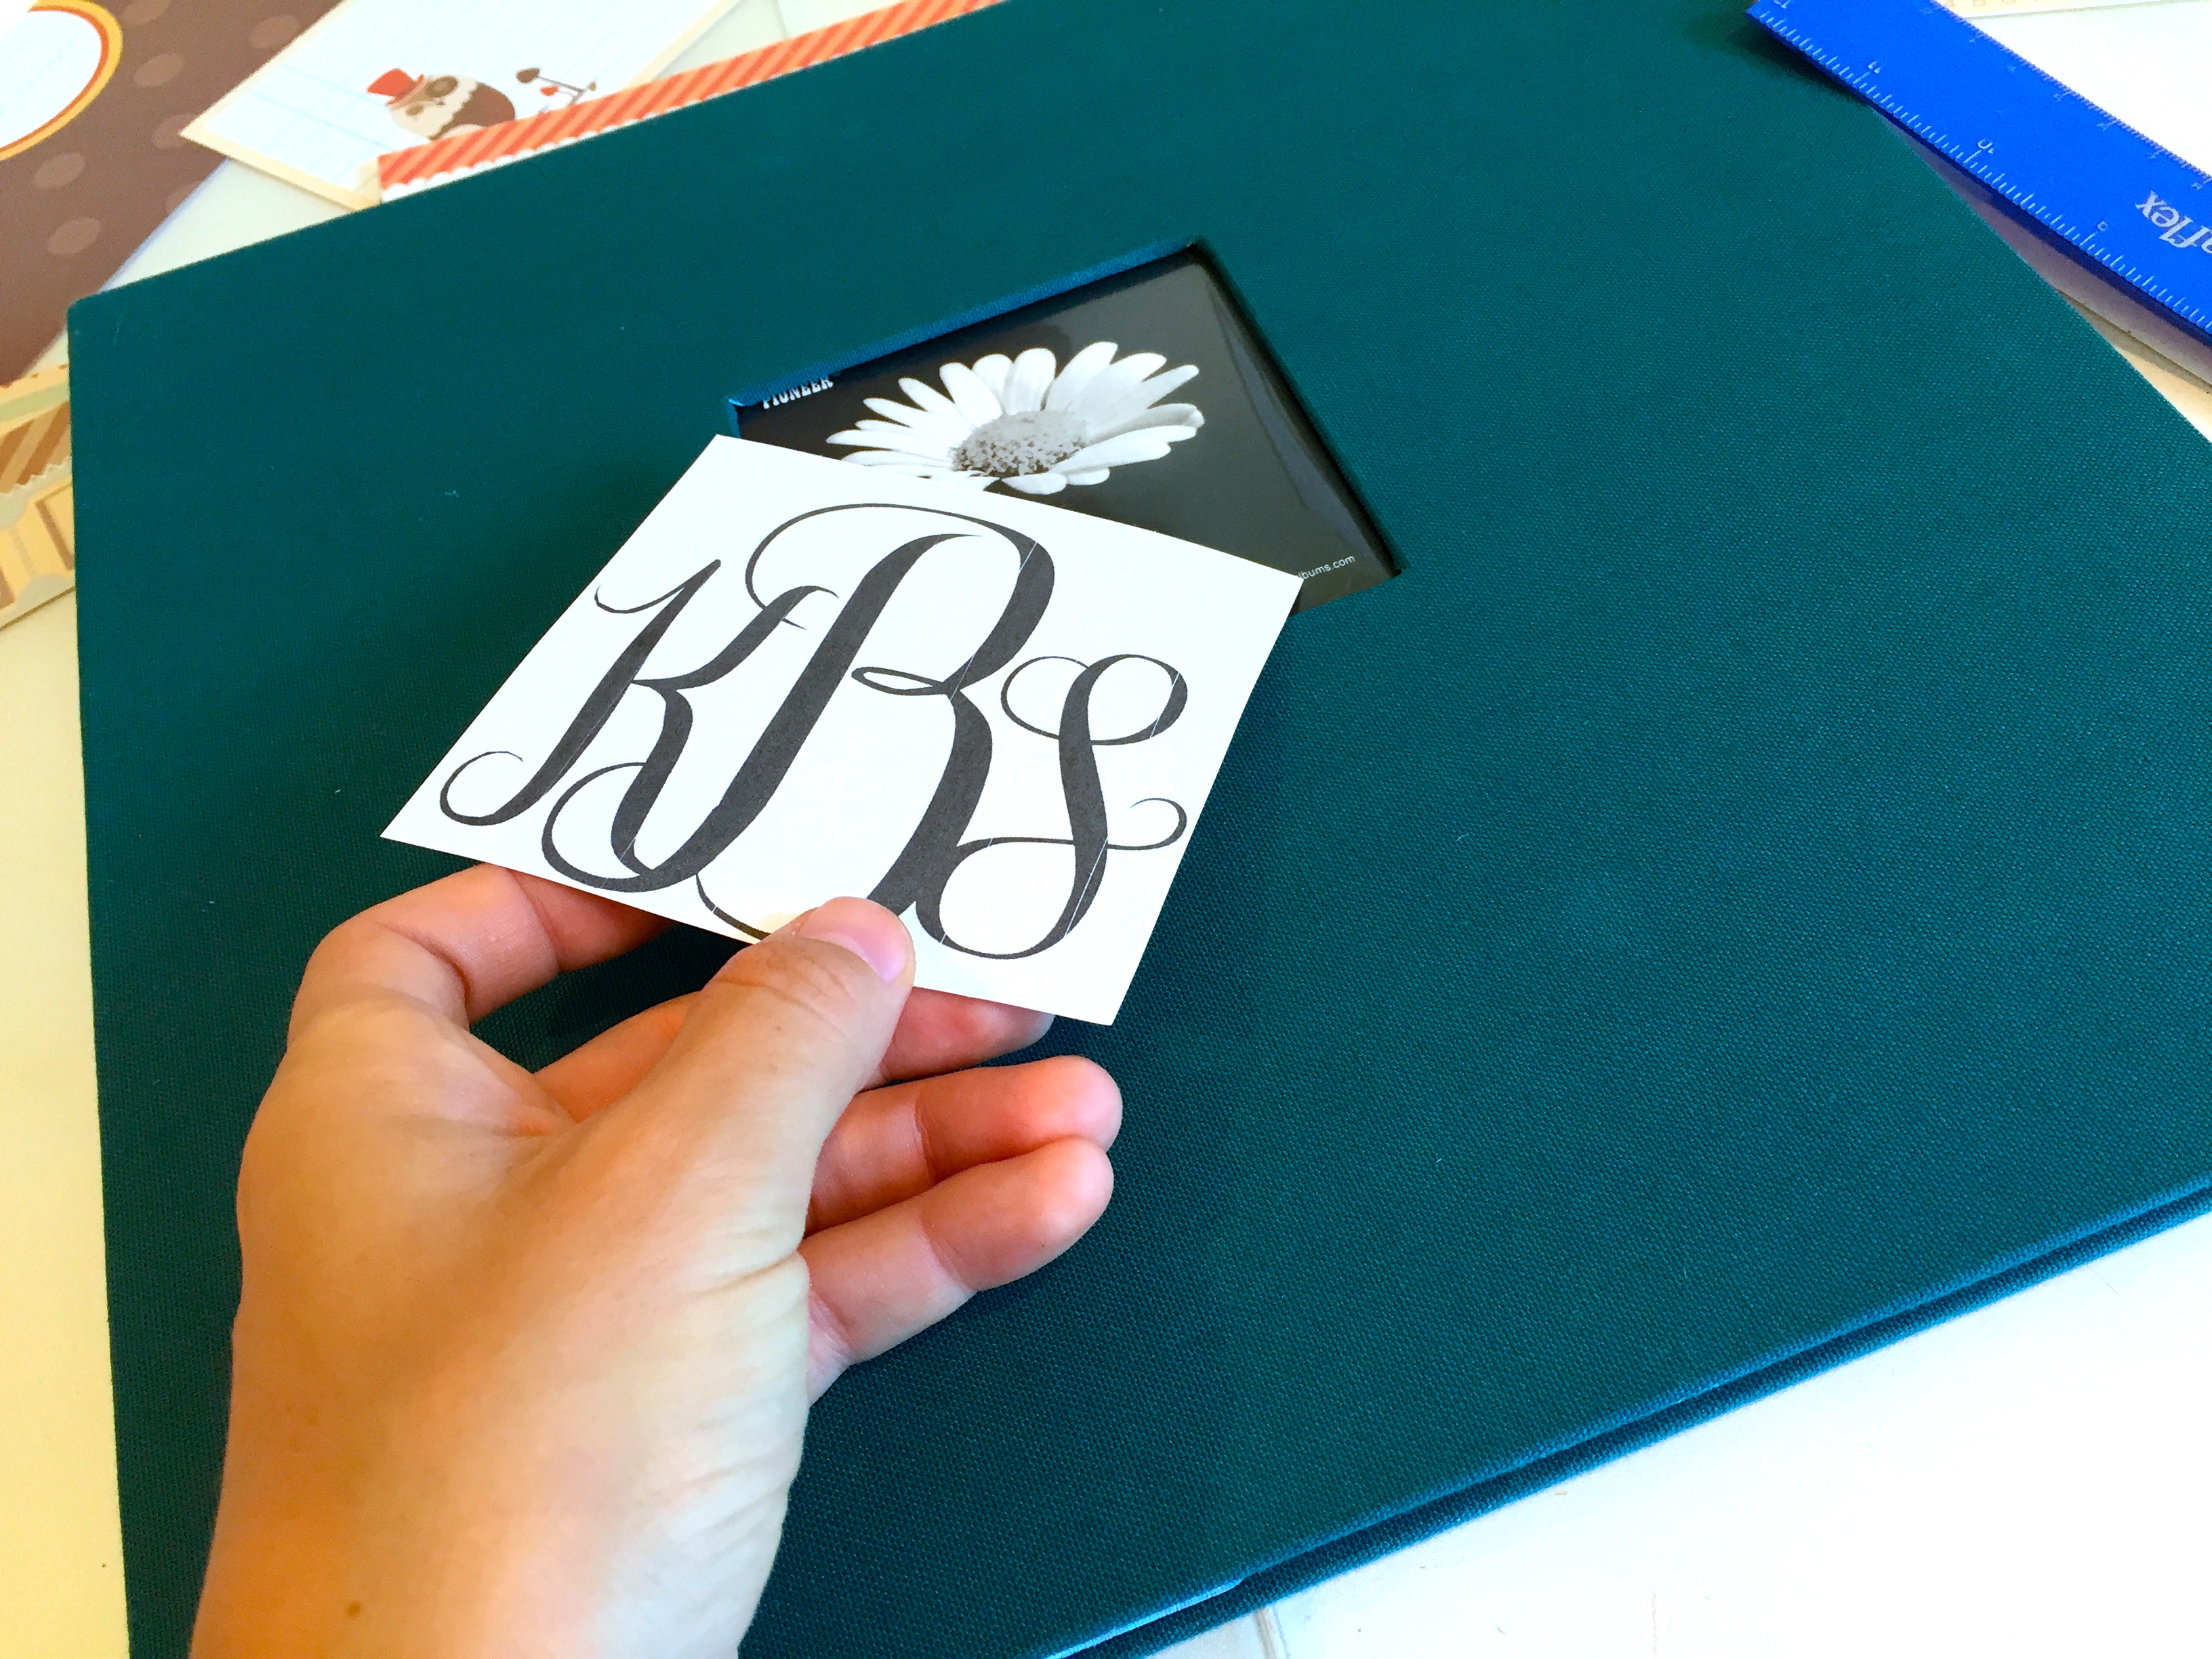
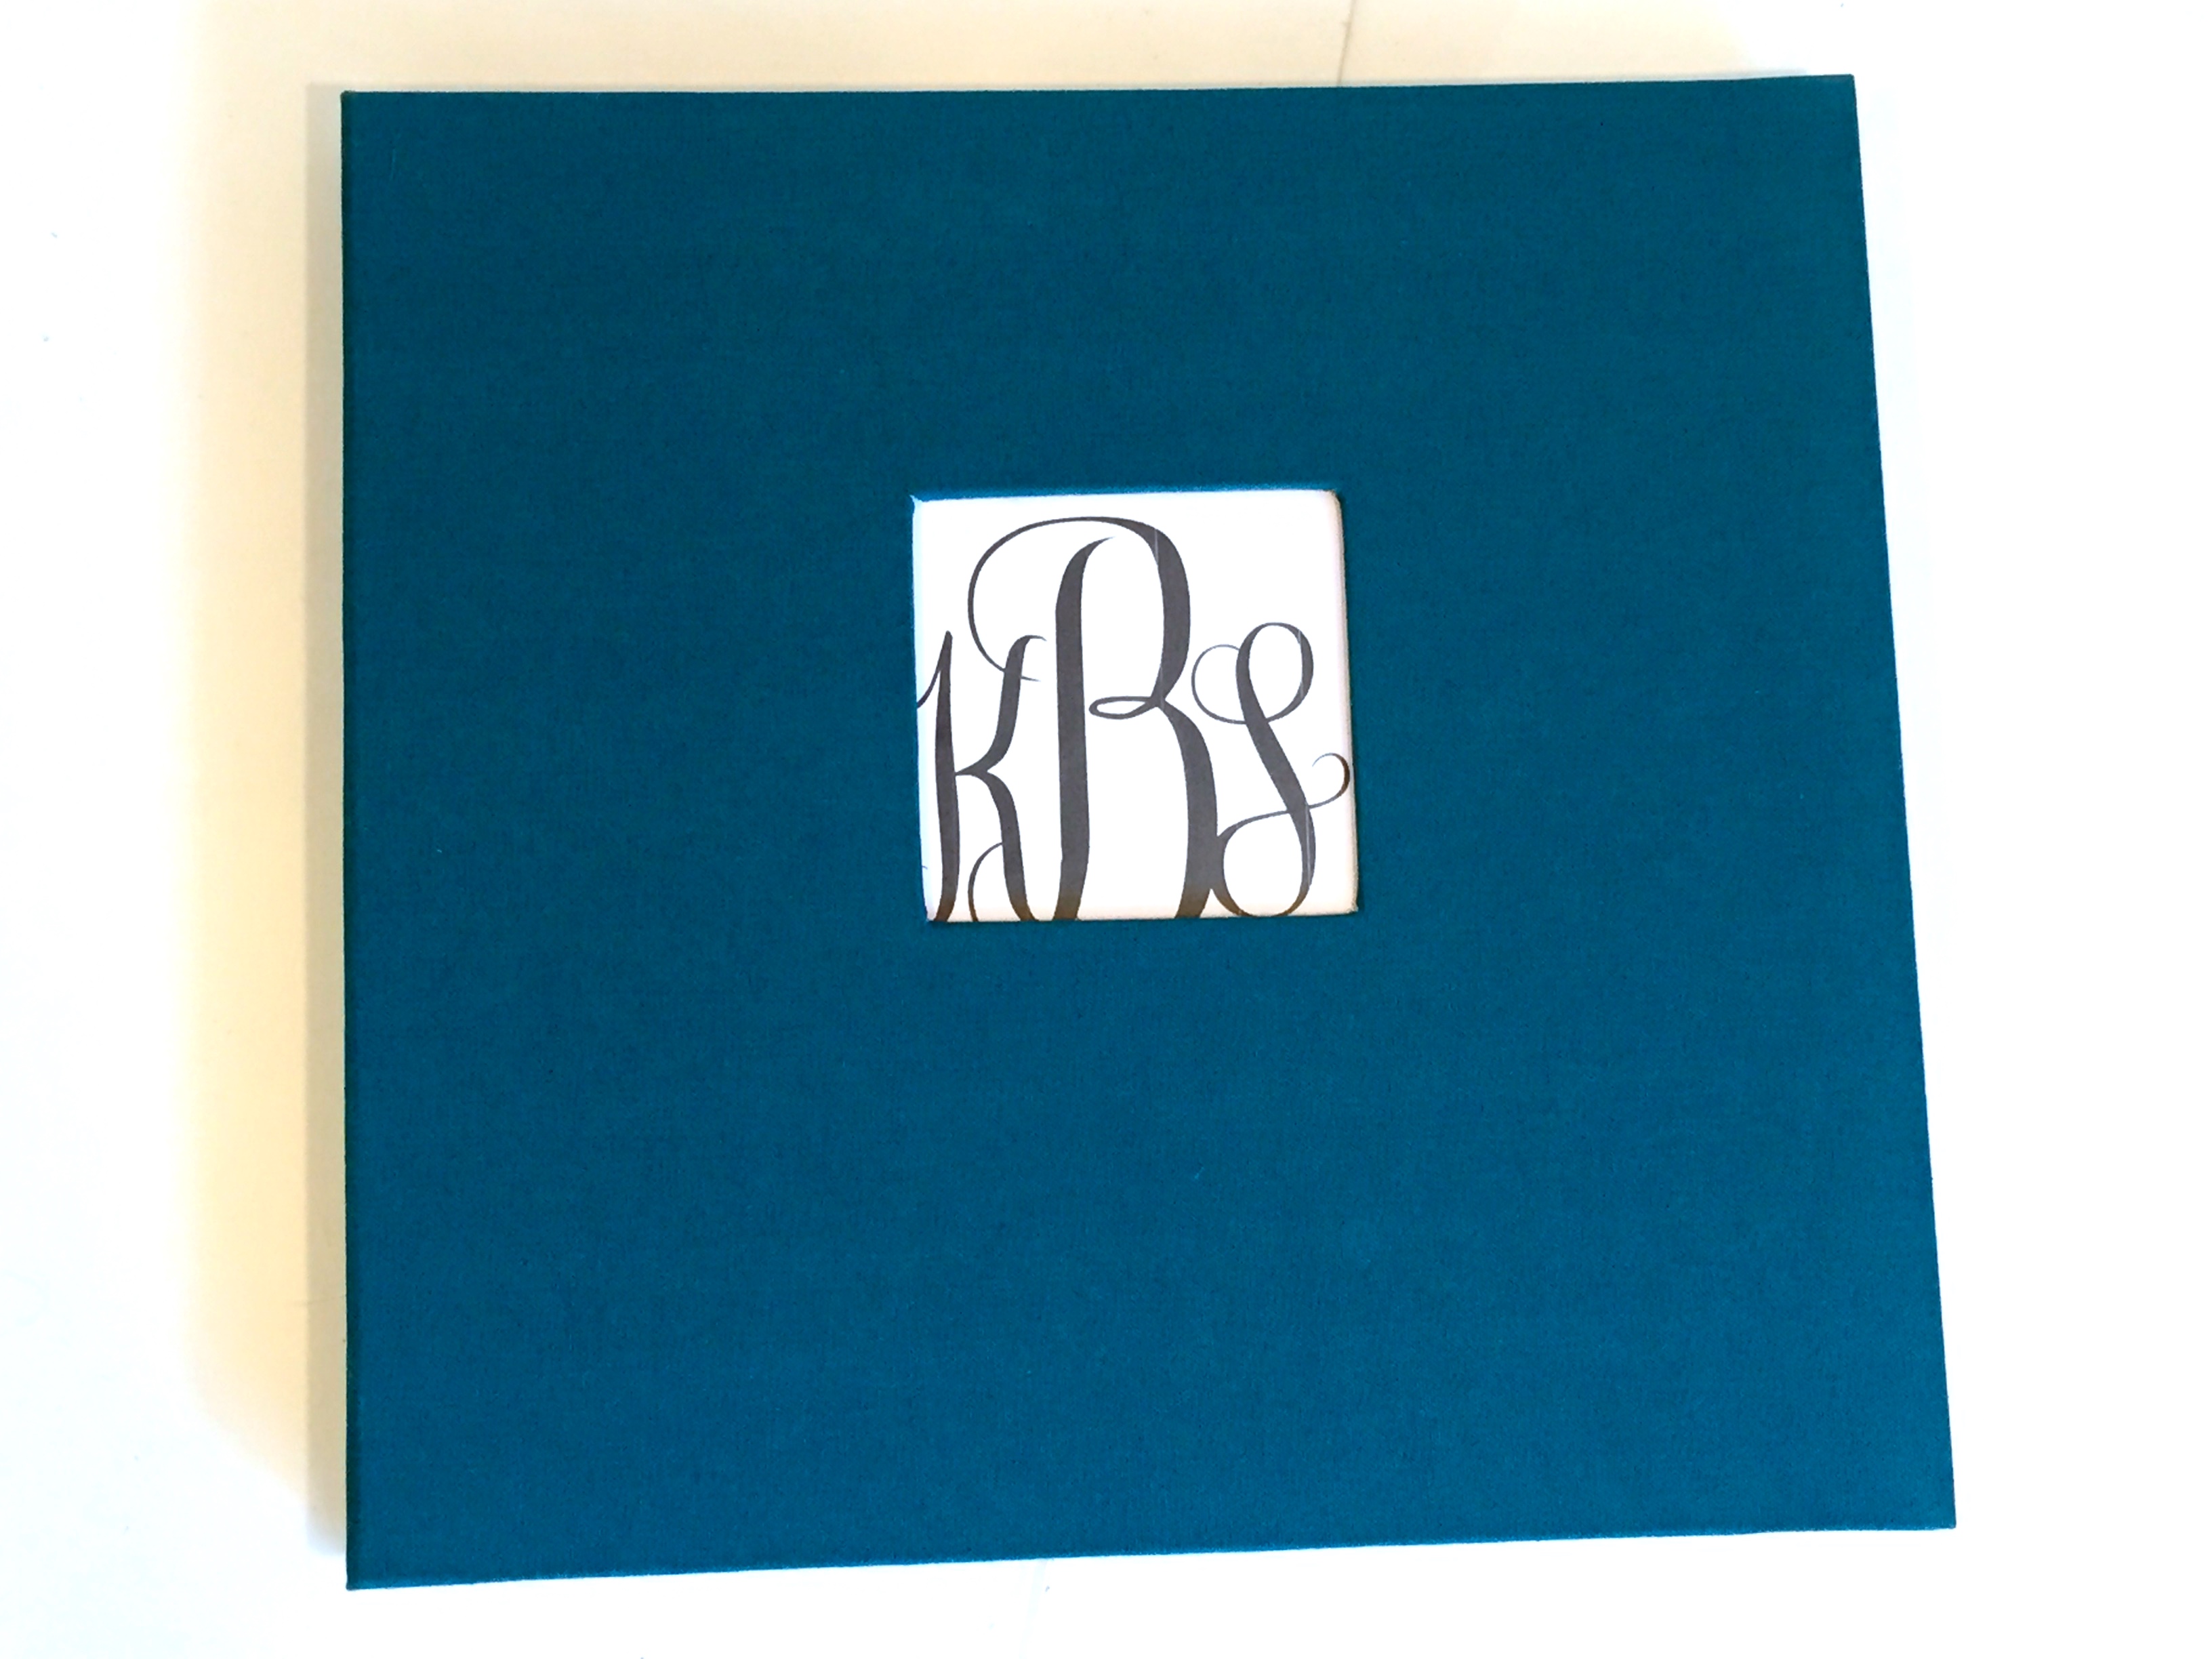
- Finally, you’re almost done!! If you have an album with a picture pocket in the front – make something cute (like a monogram) to place inside and personalize the book.
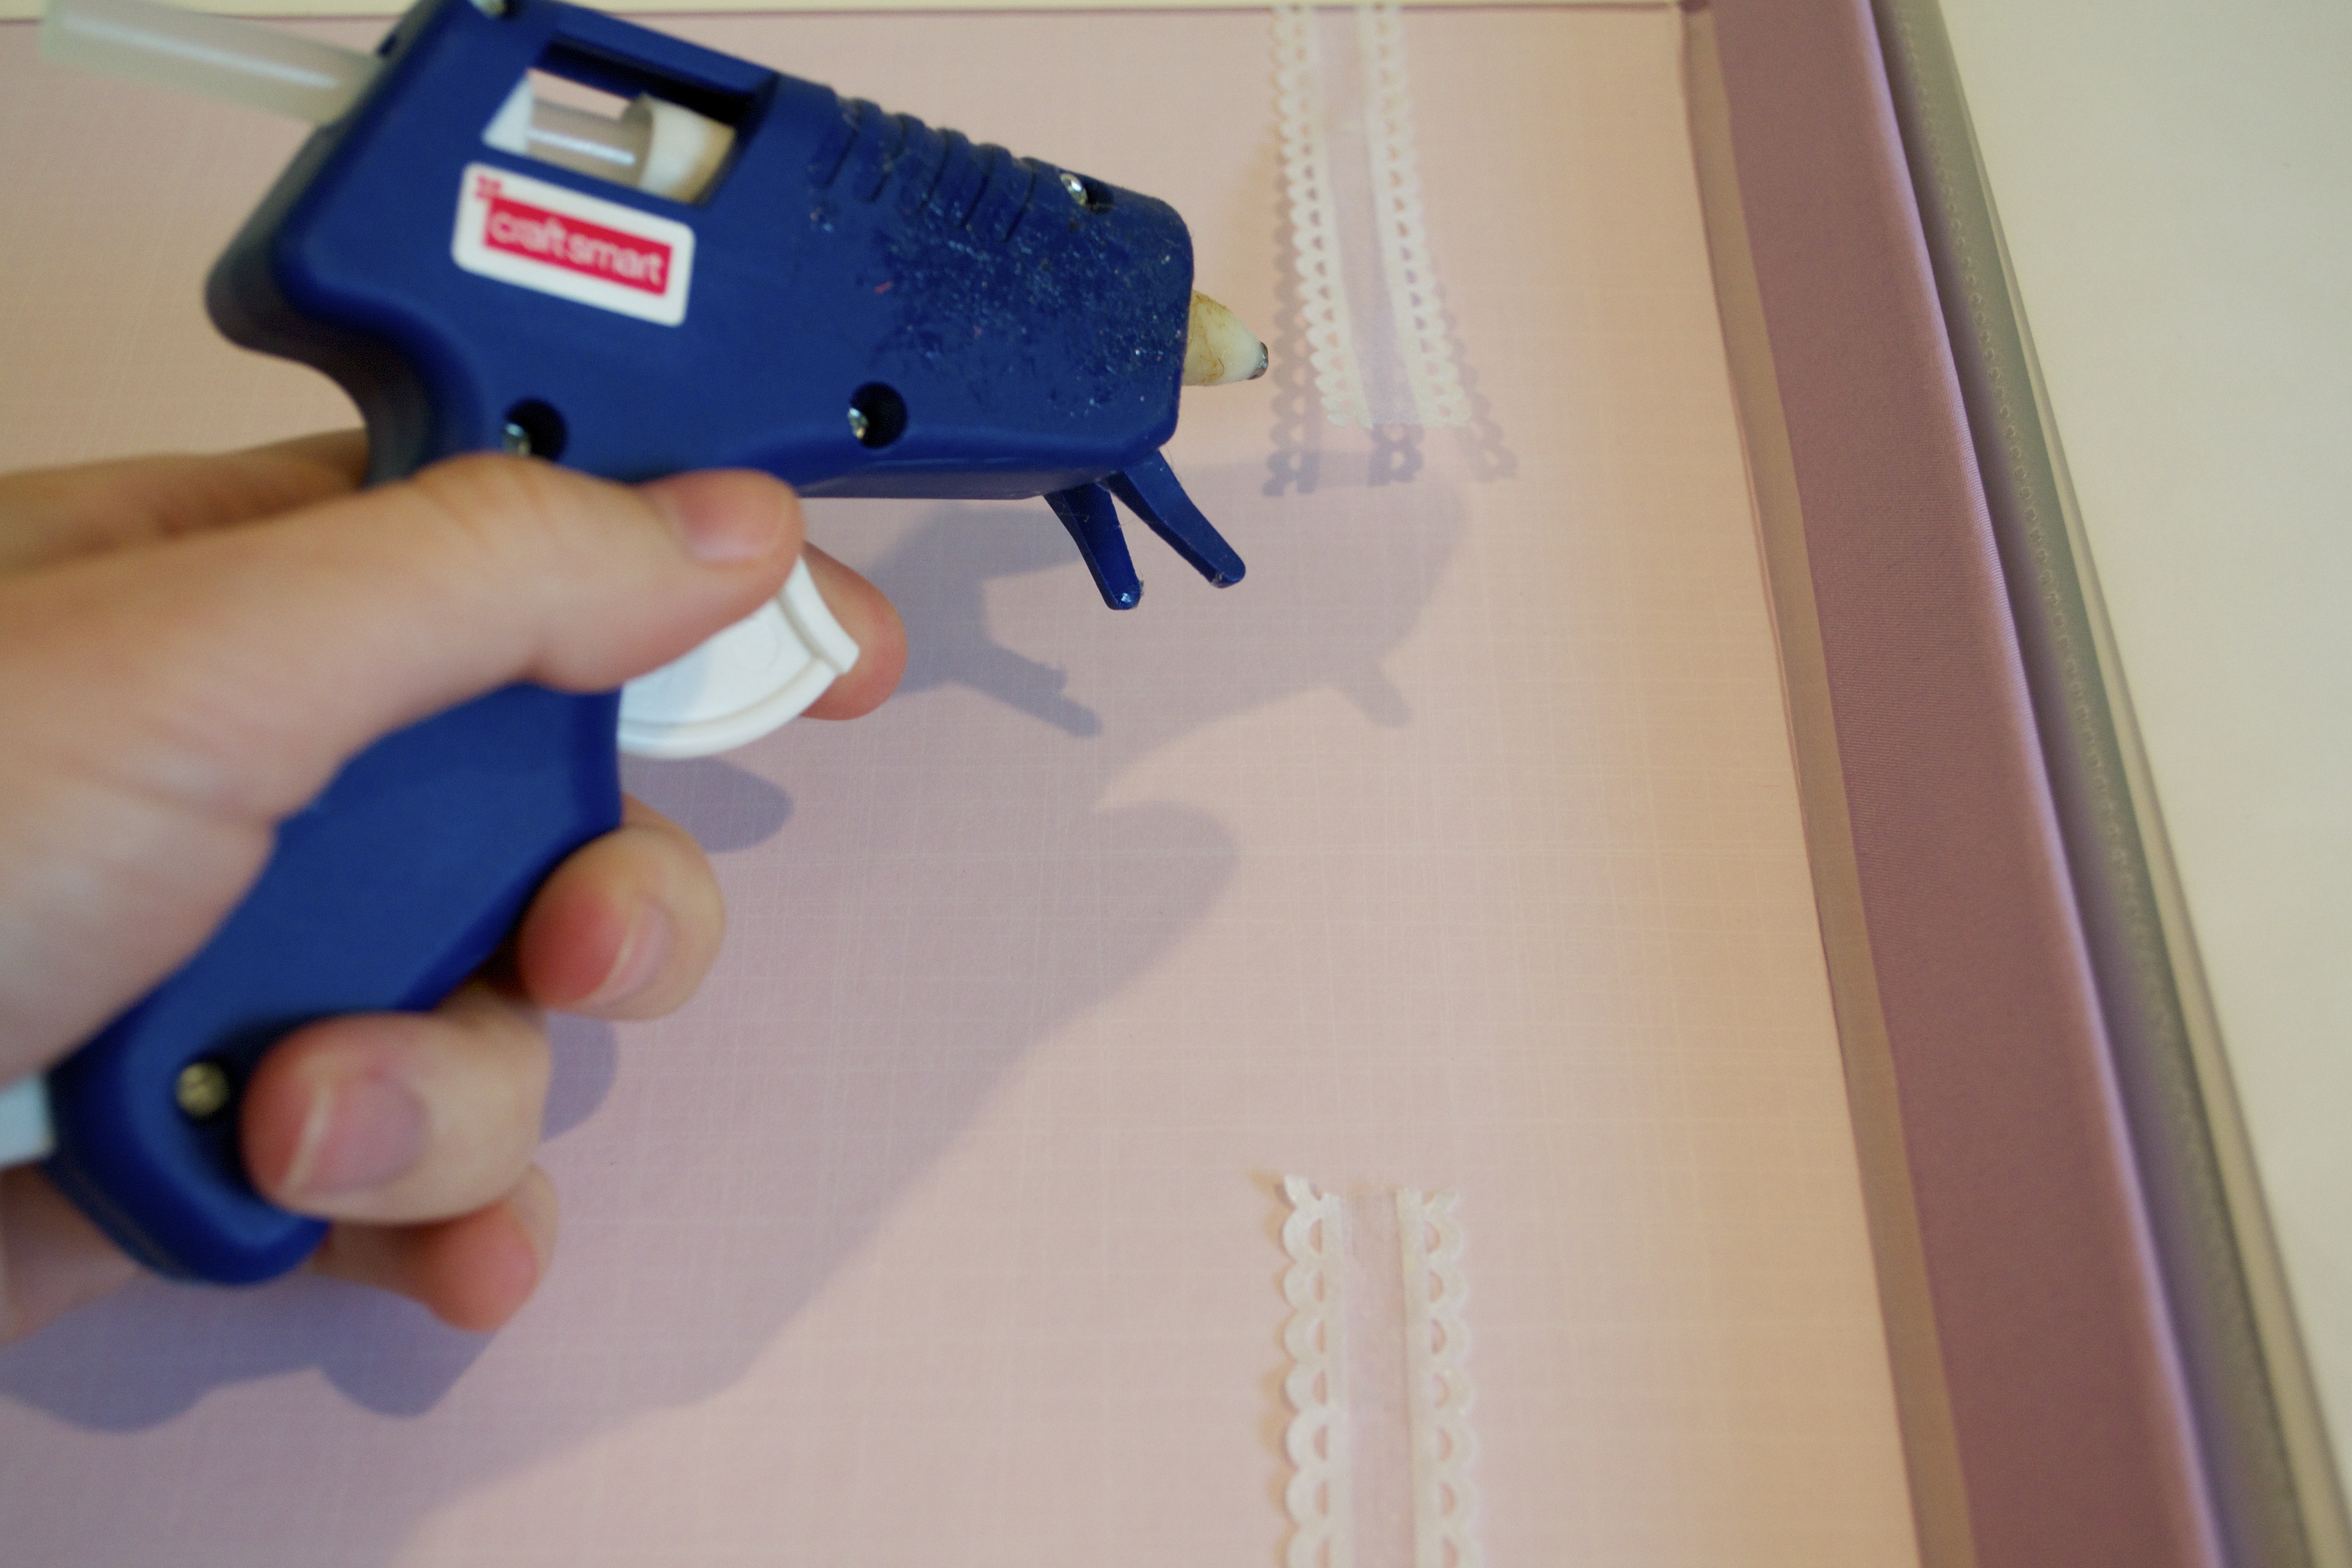
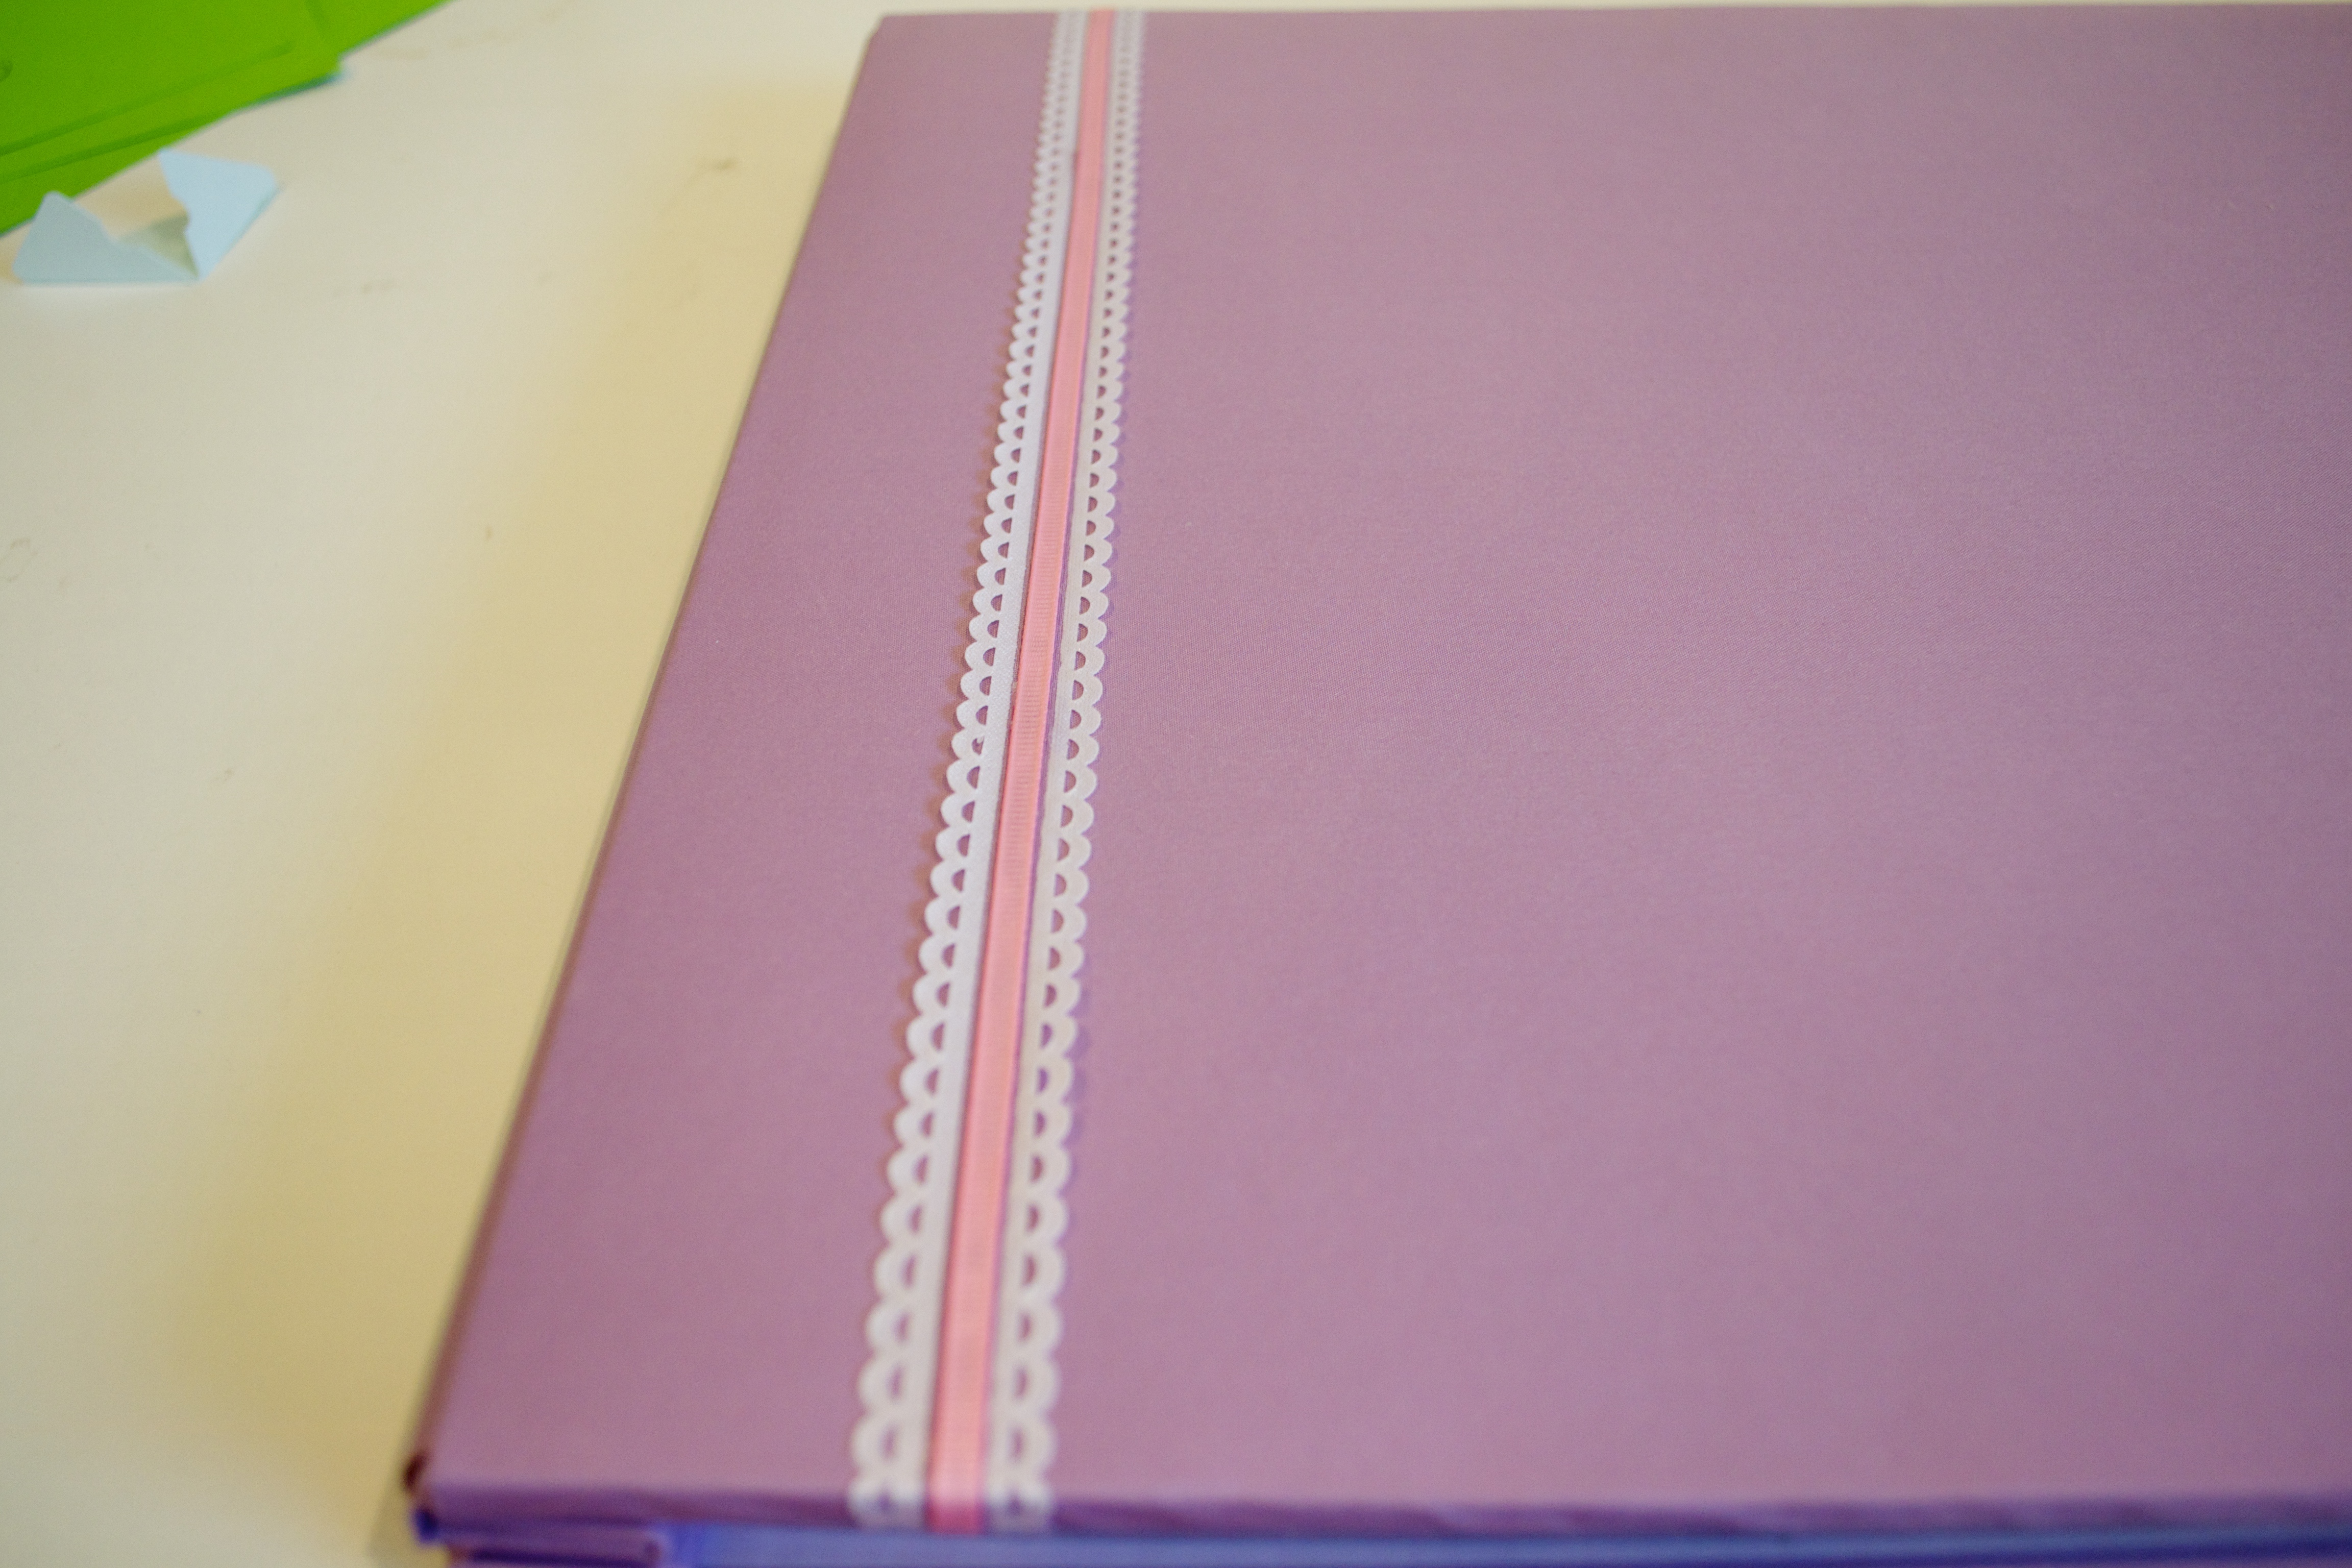
- If your album is plain (like the purple one above) you can use hot glue to add ribbon or any other embellishments to spruce up the scrapbook cover.
And voi la!! Once you’ve finished the steps above, all you have to do is ADD PICTURES! This makes these albums the perfect baby shower, wedding shower, or graduation gifts. Or a first birthday present for a baby. The recipient doesn’t have to do anything except add their own pictures, yet they get this adorable timeless keepsake for years to come!
But wait, you want one for yourself… again, this is the perfect alternative to the “traditional” scrapbooks that take weeks to make. You can pre-make these – can anyone say pregnant nesting mama?
And the best part? Even if you think you have NO time – these books are a FRACTION of the time it would take you to make a “traditional” scrapbook. I think the ones above (altogether) took me 4-5 hours TOTAL (for 20 pages). And for anyone that knows anything about scrapbooking, that’s nothing! Put on a good movie (or a Netflix series) and you’re good to go. Multi-tasking at it’s finest.
Still, if you’re not one for all these supplies, glueing, etc, you might want to try a digital scrapbook instead. Below, I give you the instructions how…
Easy and Quick Digital Scrapbook Idea
The Necessary Supplies:
- Digital files of your pictures
- Shutterfly account
Step 1:
- My favorite site for digital scrapbooks is Shutterfly! I’ve found them to be the easiest, cheapest, and have the most extensive array of backdrops and embellishments. Head over to www.shutterfly.com to start your photo album (this link will take you straight to the scrapbook page).
Step 2:
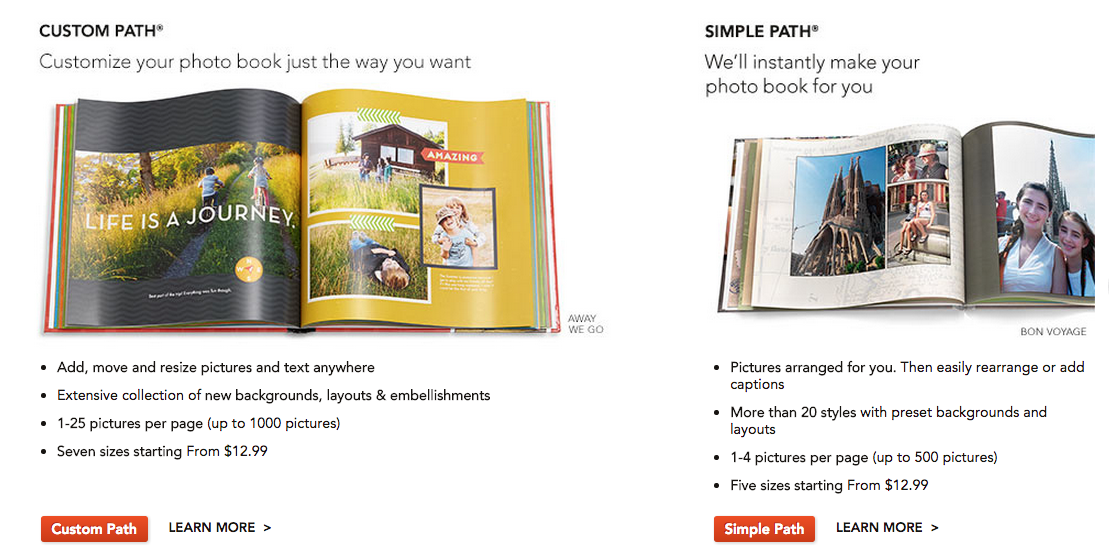
- Once you get to the site, there are 2 roads you can take. A custom path, where you put in all your pictures individually and choose your backgrounds, page layouts, and embellishments as you go. OR, if you’re REALLY crunched for time (and don’t like dealing with the aesthetic aspect) have Shutterfly do it for you. Choose which one you prefer…
- I always pick the former, because I like doing it myself.
Step 3:
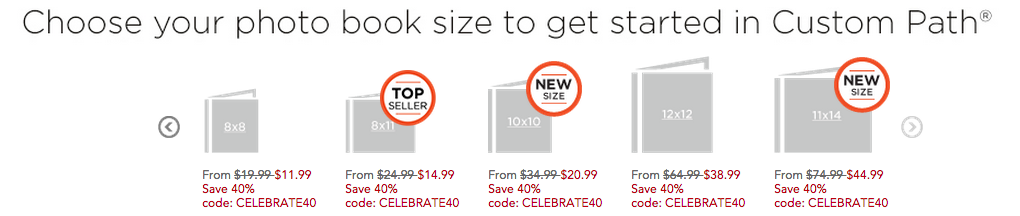
- Choose the size of your book.
- My FAVORITES for special occasion and baby albums are the 12×12″. But if you’re wanting a more cost-effective option, the 8×11″ is a safe bet. That’s what I did for my yearly albums until a couple years ago.
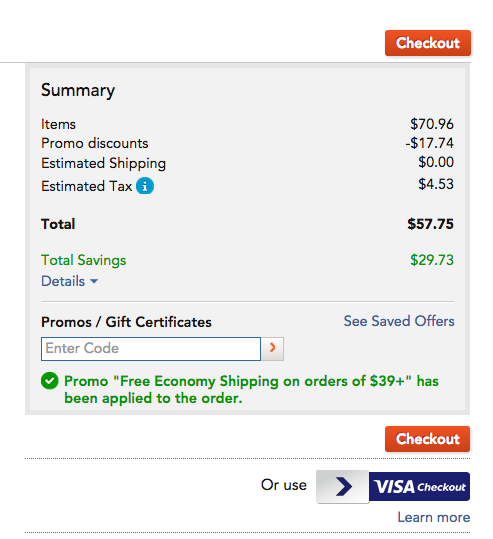
- By the way, Shutterfly ALWAYS has sales. You can see the latest sales here. You should NEVER pay for shipping (with orders over $39, and NEVER order anything unless you have a coupon code. Wait a week if there isn’t one- I guarantee you something will pop up to help you out with your bottom line).
Step 4:
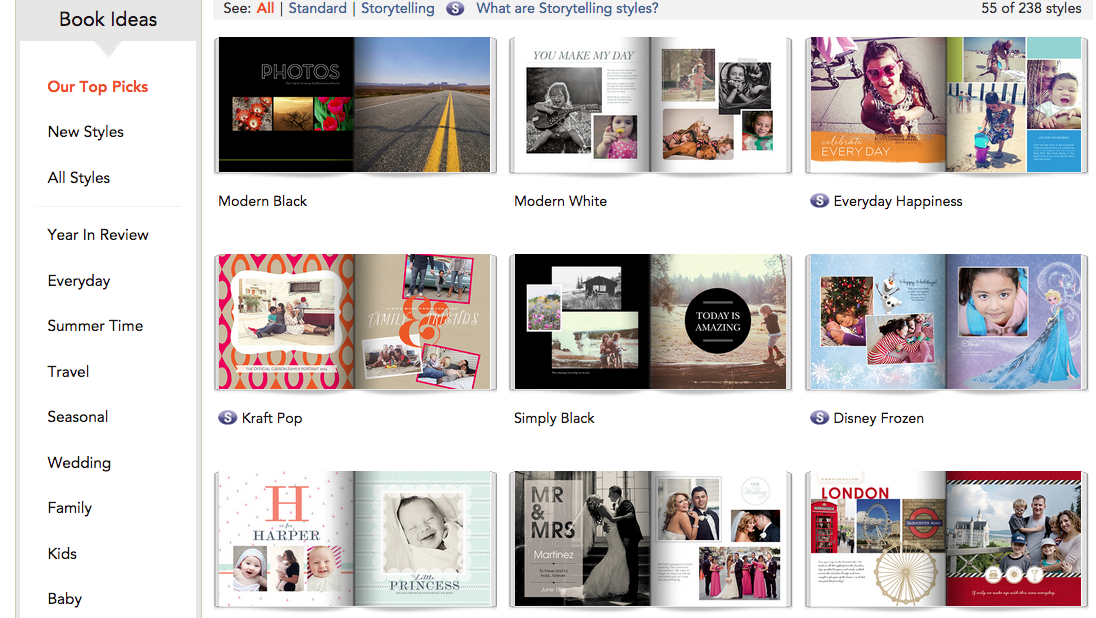
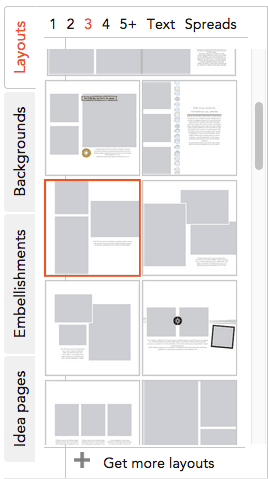
- Pick a layout! But pay attention. Notice at the top menu they have “standard” and “storytelling” layouts. Standard layouts are free to use, while storytelling layouts cost an extra $6. Just a quick FYI.
- But seriously you guys. Shutterfly pretty much has a layout, backdrop, and embellishment theme for just about ANYTHING you could want to scrapbook. They couldn’t make it any easier for you!
Step 5:
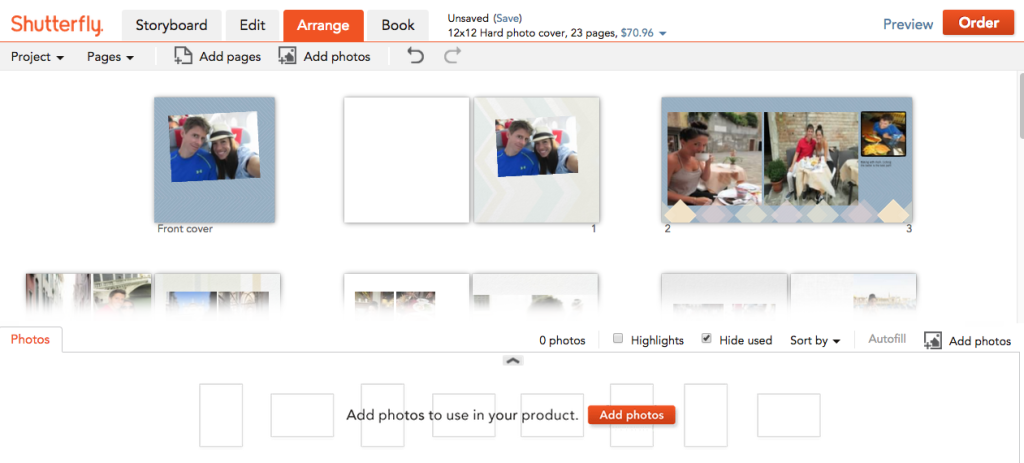
- Once you have your layout, upload your pictures. They make it really easy and quick for you to find the UPLOAD PHOTOS button (it’s always in bright orange so you can’t miss it).
- Once you’ve chosen some photos you want to upload, Shutterfly will ask you if you want to put them in your image library, or if you want them to auto load them in the layout for you. Again, such a time saver!!
- I always choose to put the pics in my library and one by one put them in (Shutterfly doesn’t decipher between horizontal and vertical images, so may put a picture in a slot that’s best suited for a different picture). But again, if you’re in a time crunch, just have them auto load the pics for you and change around the placement of the ones you don’t like.
Step 6:

- Now, to edit your album! Go to the EDIT tab (highlighted ORANGE in this picture) and click on it.
- Here, you can
- Change the layout of each page (to enable you to have more or less pictures on the page).
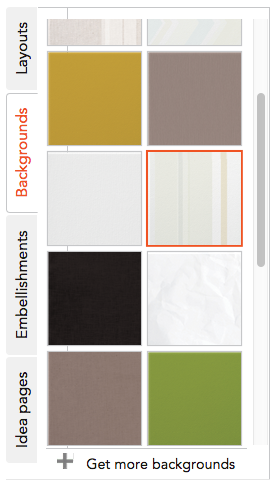
- Change the background color of the page (with fun colors and designs that look like scrapbook paper).
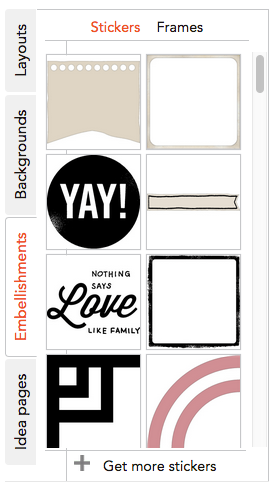
- Add embellishments (think of these as stickers like in a typical scrapbook).
- When you click on an embellishment (or “sticker) it will appear on the page you’re working on. Just click on it and drag it and move it to where you want it to go. You can resize it, too.
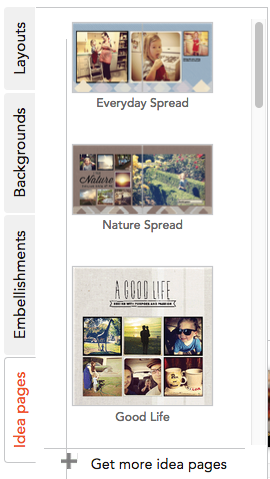
- And they even have full idea pages that you can just copy right over and add your pictures into. Super simple!!
Step 7:
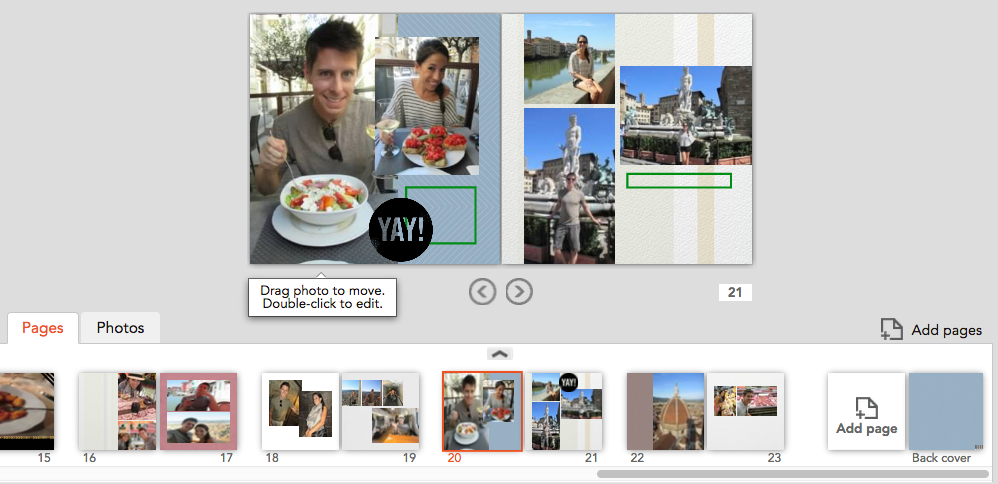
- If you want to change around your photos that have been uploaded, go into the ARRANGE tab (highlighted ORANGE in this picture).
- In this tab, you can click on a picture and drag it over to another spot for the pictures to switch places. You can also delete photos you don’t like, and rearrange the placement of pages. Easy peasy!
Step 8:

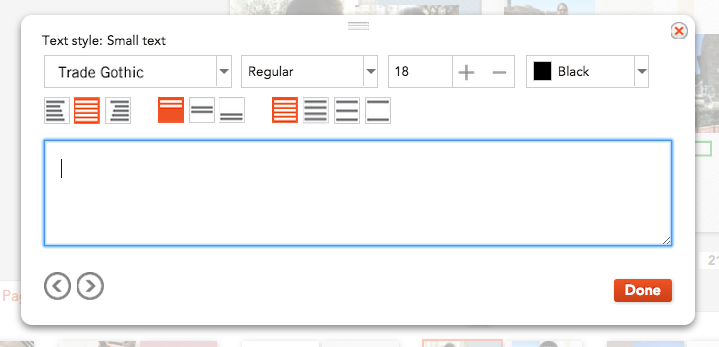
- Add text!! You can see the little green boxes on each page. Double click on these to add/change your text. If you don’t want text, just click the X in the corner of the green box to delete it.
- And if you want to ADD a text box, just click on the button in the upper center tool bar (see first picture above) to ad a text box to a page. Once added, you can move it around and resize it anywhere you’d like on the page.
- Once you double click, a box will pop up (like in the picture above) and you can change text size, color, and font.
Step 9:
- As you’re working, if you have too many pictures and run out of pages to put them on (Shutterfly gives you 20 pages with each album’s base price), just click the “add pages” button. Upload your new pictures (in the “photos” tab), and repeat the steps above.
- All of this is done in the BOTTOM TOOLBAR (see pictures above).
Step 10:
- When you feel like everything is perfect, click the “Preview” button in the upper right hand corner. Here, you can look at an up close view of your entire album.
- If it all looks great, press the big orange ORDER button.
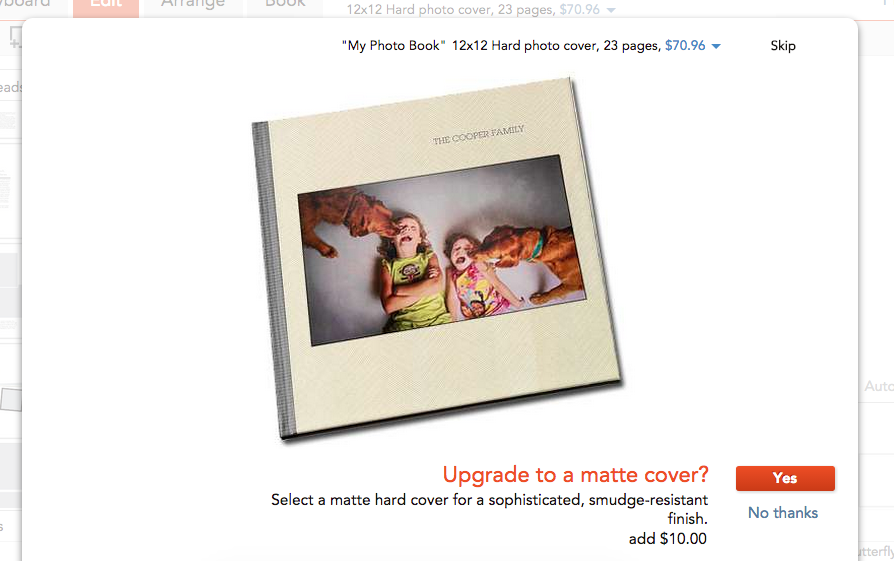
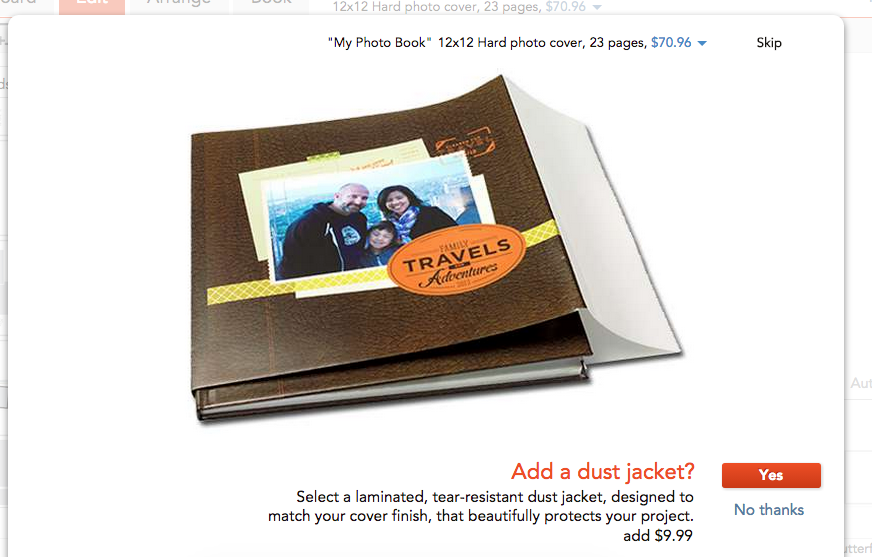
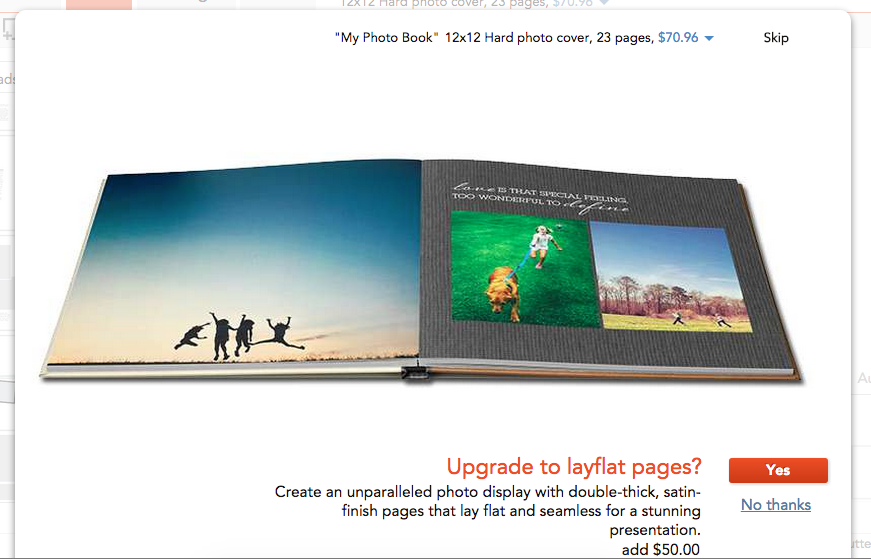
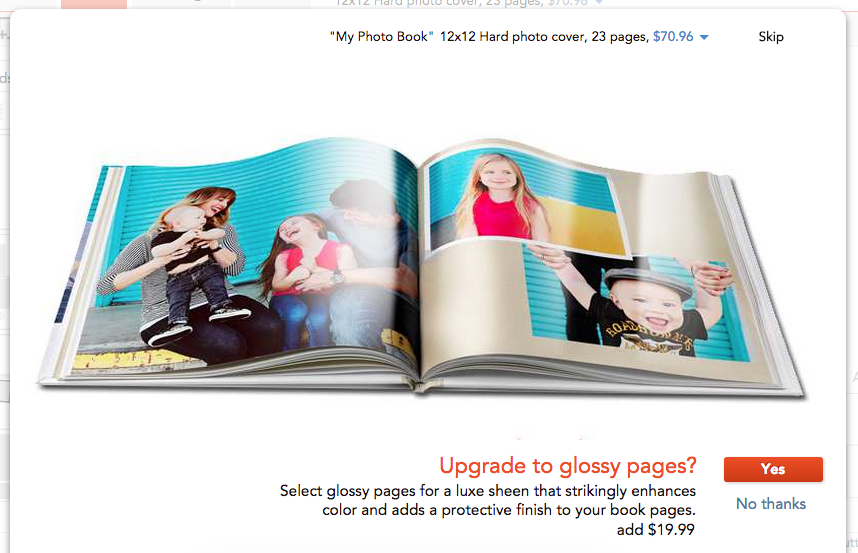
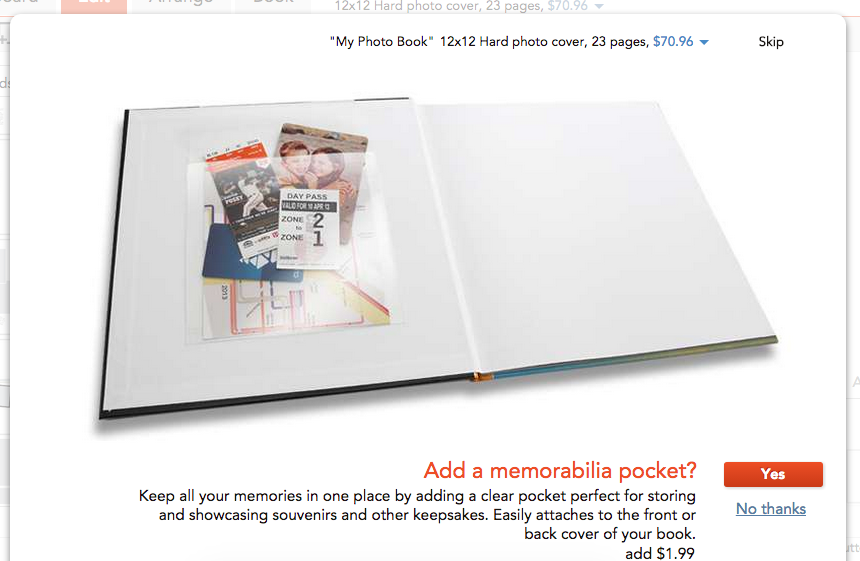
- After this, you will be prompted with a series of upgrades by Shutterfly. You can see them in the pictures above. They will all add more to the total of your book, so just be cognizant of that when choosing your options.
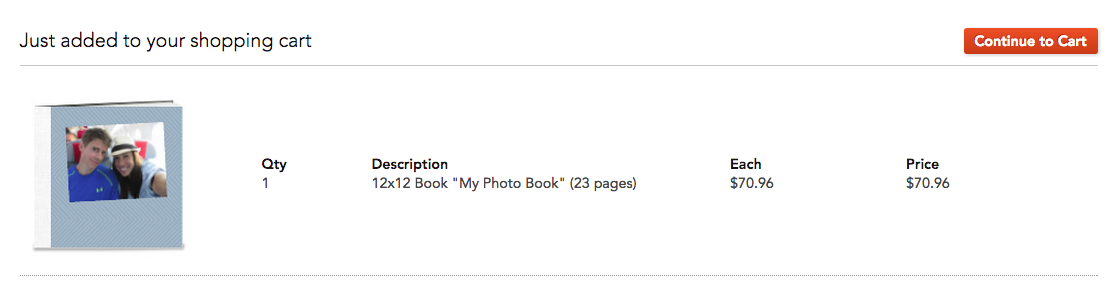
- Once you’ve gone through these and picked (or skipped) your options, your book will be added to your shopping cart. If this is all you’re buying, continue to your cart.
Step 10:
- FINALLY, you’re at the end.
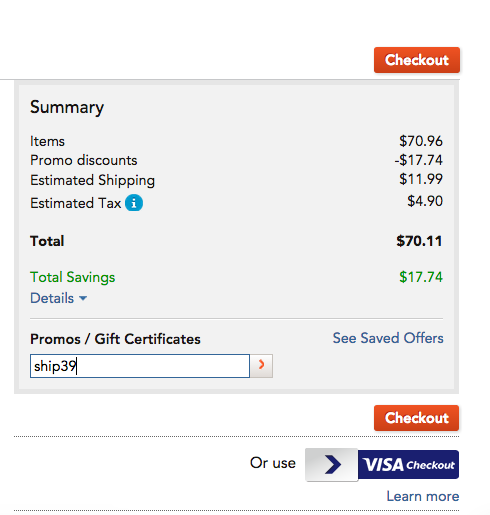
- Make sure you add in EVERY discount applicable to photo books and shipping (it can save you a TON).
- If you’ve already forgotten from above, you can find all Shutterfly’s current promo codes here.
- Then, checkout!
Yay! Horray! Now your book is being custom made for you. You should expect to have it in your hands within a couple weeks (sooner if you chose faster shipping).
Altogether – and depending on how many pictures you have and how many embellishments/text boxes you put in your book) – your scrapbook should take you between 2-5 hours to make. MUCH less time than any traditional scrapbook!
And the best part about digital scrapbooks is you can do them anywhere you get internet. On the go, on a train ride to/from work, while watching your favorite episode of Real Housewives of whatever, seriously anytime you have 15 minutes to sit down. No paper, no cutting, no materials… just your computer and your picture files.
So no more excuses that you “don’t have time”. Does your baby take an hour nap? Do you have an hour to watch TV after your kids fall asleep? Well, then you have time to make a scrapbook. Even if it’s just for 30 minutes a day. You can have an entire year’s book done within a week! Yahtzee!
But as always, if you still feel like you “don’t have time” (or seriously know you’ll never sit down to do it yourself), you can buy a pre-made album in my Etsy shop. But since I put a lot of time into this tutorial, the least you can do it try one of the options out… I dare you!
To make thing even easier, here is an aggregate list of all the things you’ll need to make your own “traditional” scrapbook, or digital scrapbook. Have at it!
Traditional Scrapbook
- 12×12″ Blank Scrapbook
- 12×12″ cardstock paper backing and embellishment stack
- Photo corners
- Adhesive Backed Clear Pockets (or envelopes)
- Scissors
- Glue gun and glue (or glue stick)
- Scrapbook stickers (optional)
- Lacy Ribbon (optional)
Digital Scrapbook
- Digital files of your pictures
- Shutterfly account
Hi Kaitlin – I am looking to do something a little different and wandering if you can help. I’m looking to make a scrapbook with a hardcover with a digital photo but then on the inside have normal scrapbooking pages, that can be written on. This is possible to do? If it is, can it be completed and shipped to Santa Cruz CA by August 23rd?
Thanks so much!
Kate
831-588-7391