I’ve always been a big fan of tote bags. I don’t know why, or where the obsession came from, but over the years I’ve accumulated more than I’ll ever need. I think it may be that urge that this one is “too cute, I can’t pass it up”. Or, when you get a free gift with purchase… I always seem to conveniently meet the minimum purchase threshold just to say I got something for free! And guess what, it’s usually a tote bag.
But don’t talk to my husband about it. And entire cabinet in our garage is stuffed with tote bags, and he’s not a fan!
Anyway, imagine my surprise when grocery shopping at Target one day, and Travis (my hubby) looks over at the bag section as we’re passing it and says “Hey Honey, that’s a cute bag!”. Wait, what? He was actually ENCOURAGING me to get another tote?
Ok, technically it was a large purse. But still… I had absolutely no need for it – and he knew that. But what I did know is that Travis thinks I don’t always have the best fashion sense. He’s more of the fashionista in our family than I am. SO what I REALLY heard from that comment was “Your bags suck and something like that bag over there would be much cuter for you to carry around”. Ok, I got it.
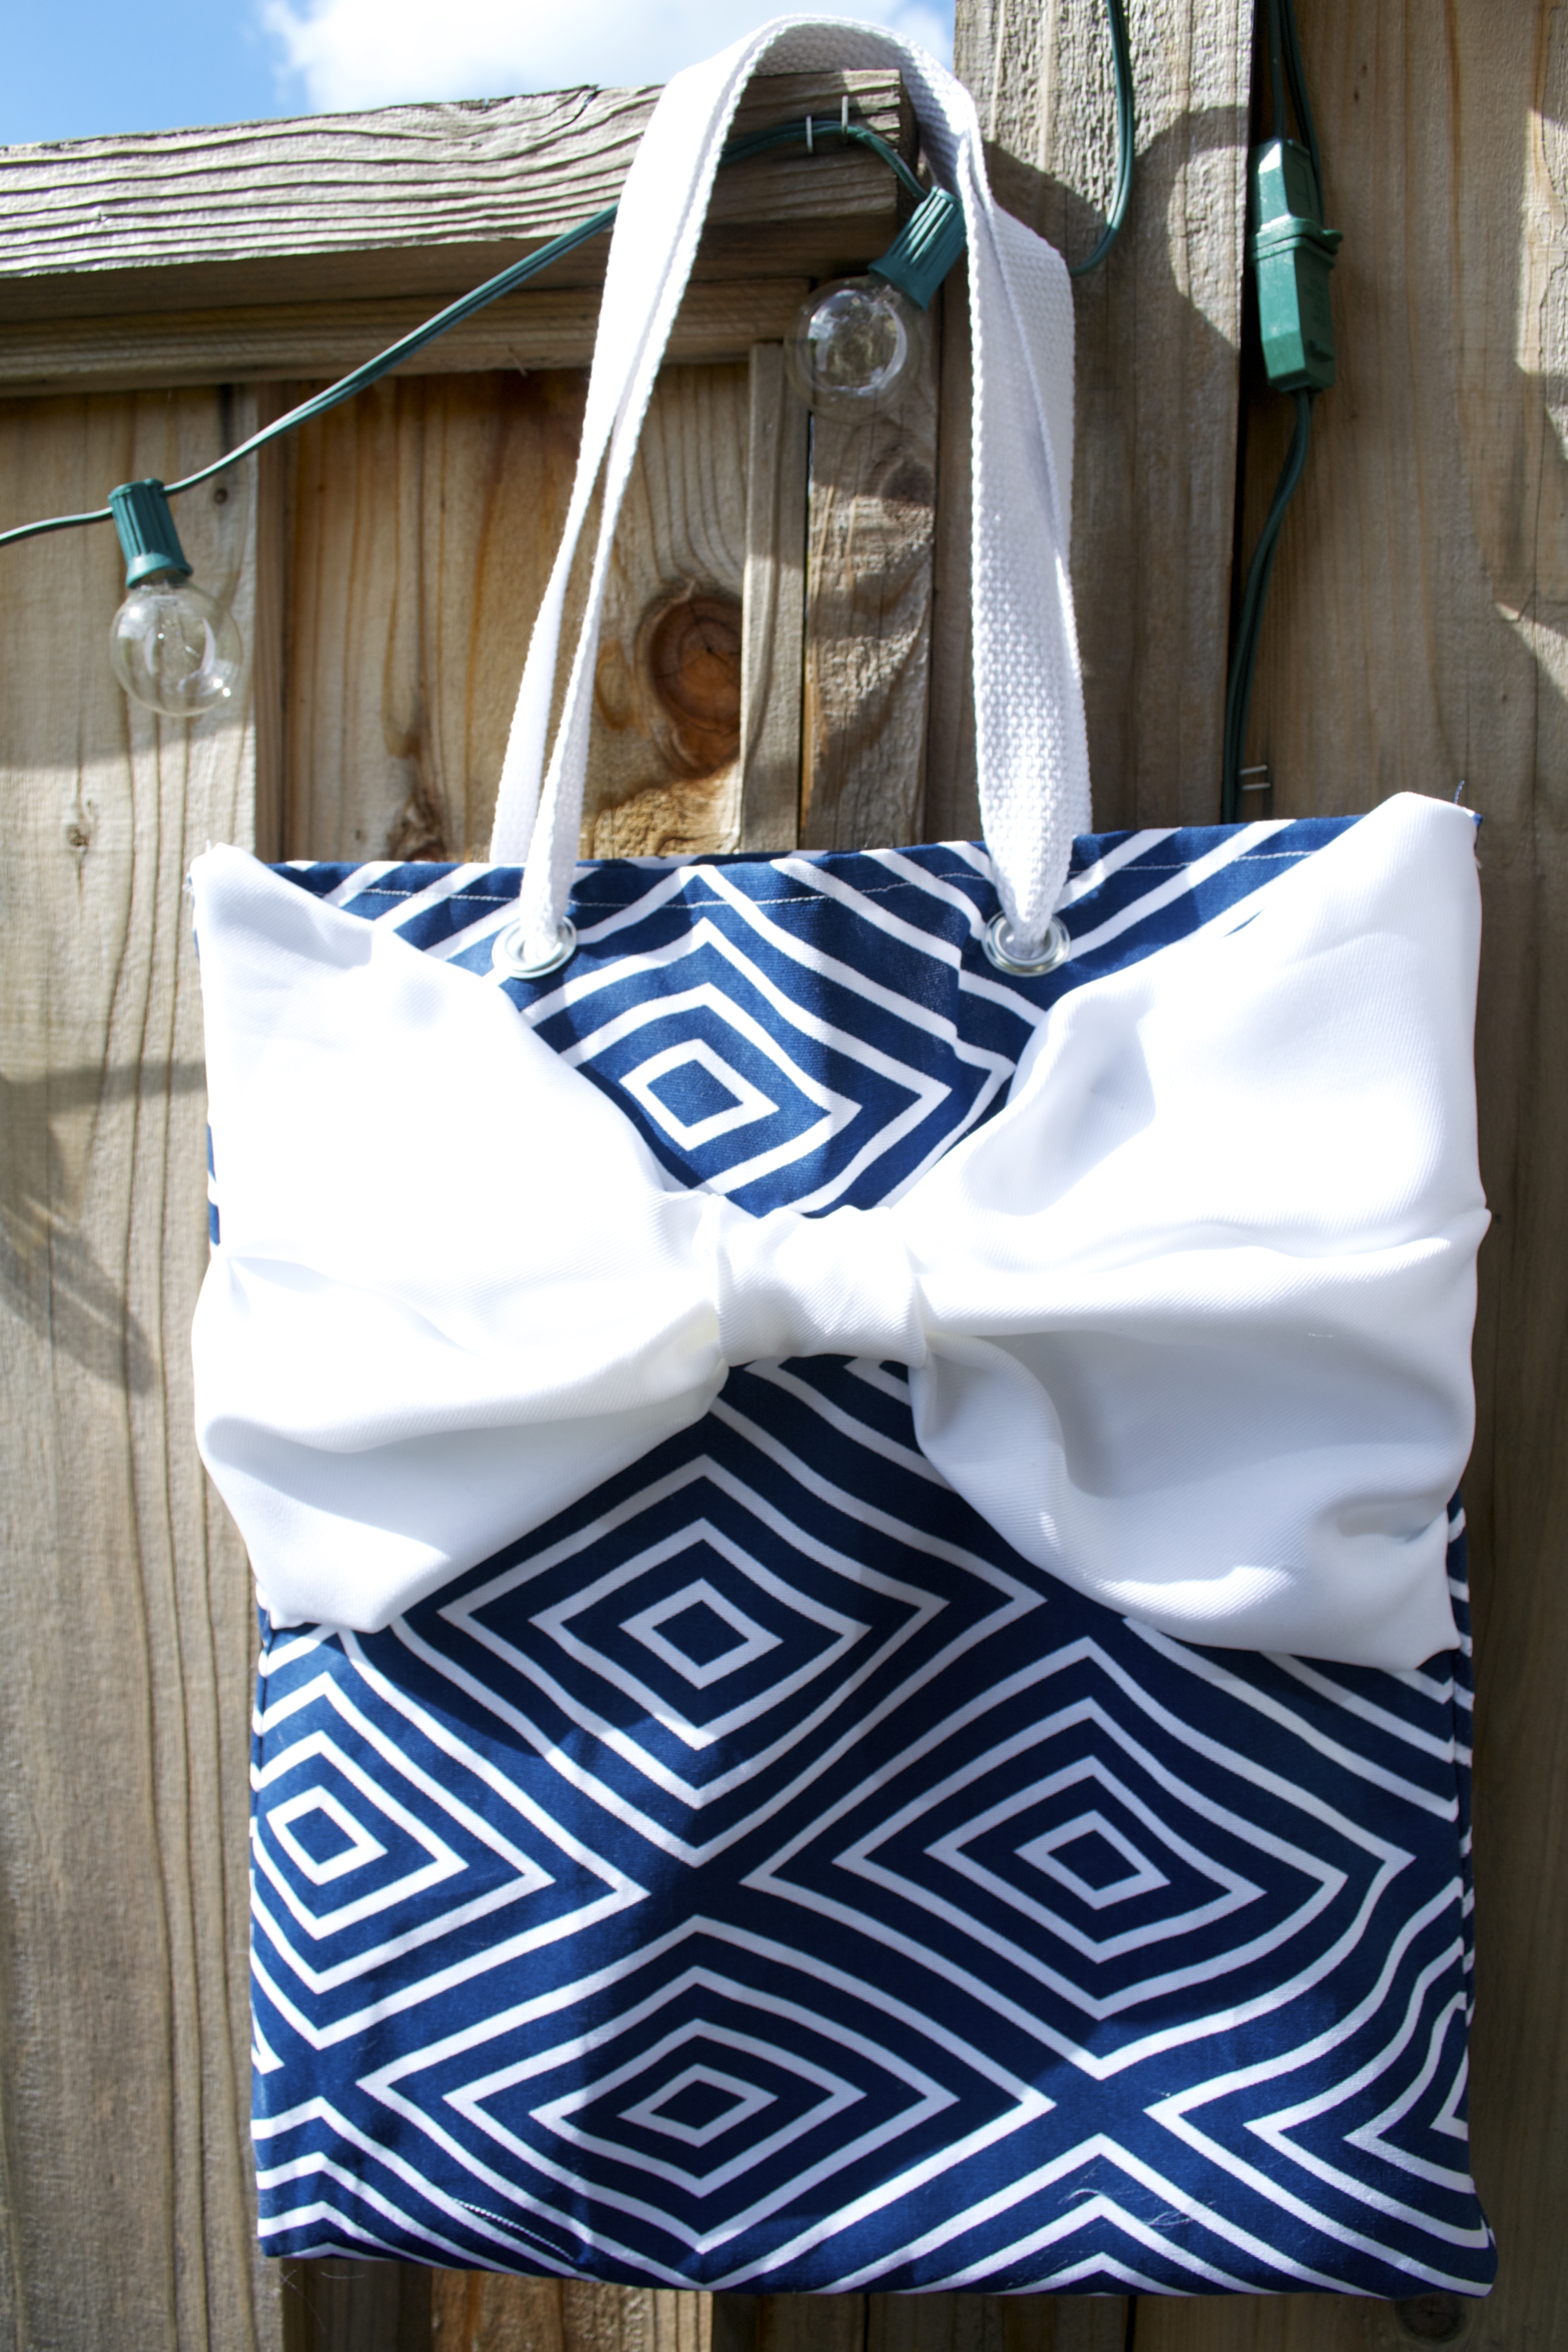
The bag was a SUPER cute navy and white striped nautical-looking tote. It was perfect for spring and summer time, for going to the pool or just everyday wear. Very preppy, yet extremely feminine.
But did I get it? No. Why? Because I like to do EVERYTHING myself. If Travis liked the look of that bag, I was going to make one that looked just like it – but personalized for me.
Well, if you can’t tell by now, I LOVE bows. Bows for baby girls, bows on my clothing, bows everywhere! They just make everything so much more lighthearted and fun. So I wanted to make a preppy nautical tote, but personalize it for myself with a large bow on the front. Preppy and personalized – Travis wouldn’t believe I created it! I couldn’t wait to get started.
When all was said and done, the entire bag cost me about $10 to make (and I got enough fabric to make 2 of them). And I’ve gotten more compliments on it than most of my other projects (mainly by fashionable people who always look so cute. Apparently I was late to the game).
And the cherry on the top was Travis immediately calling me when I posted a picture of my creation online saying, “Did you really make that bag yourself? Wow. That’s impressive!”. I did it! I impressed my fashionable husband with a cute accessory! Score! Now, hopefully it’ll make him forget about the dozens of other bags that are sitting taking up space in our garage 🙂
But honestly, this tote is one of the easiest things I’ve ever created. Below, I give you all the necessary supplies you’ll need, and step by step instructions to create this preppy and personalized bag for yourself. And even if you’re not a sewer, I’ll give you a quick hack to make this a “no-sew” project!
Steps to Create a Preppy and Personalized Bow Tote Bag
The Necessary Supplies:
- 1 yard of canvas or upholstery fabric (1/2 yard if only making 1 bag)
- 1 yard of white or cream muslin (1/2 yard if only making 1 bag)
- 1/2 yard of any color suit fabric (I used white to match my nautical pattern)
- 1.5 yards of braided ribbon/rope (for tote bag straps)
- Needle and thread
- Sewing Machine
- Double sided heat transfer tape and iron if you want to do this the “no sew way”
- 7/16″ eyelets (buy the kit if you don’t already have the tools to put the eyelets together)
- Hammer (this one doubles as a bottle opener, so you can enjoy a cold one while working on your project)
TO DO A “NO SEW” BAG:
- If you’re not a sewer, just use heat transfer tape and iron the seams together when I instruct you to sew or use a needle and thread. All the stitches are linear, so if you press the fabric together (with the heat transfer tape in between) you’ll get the same result!
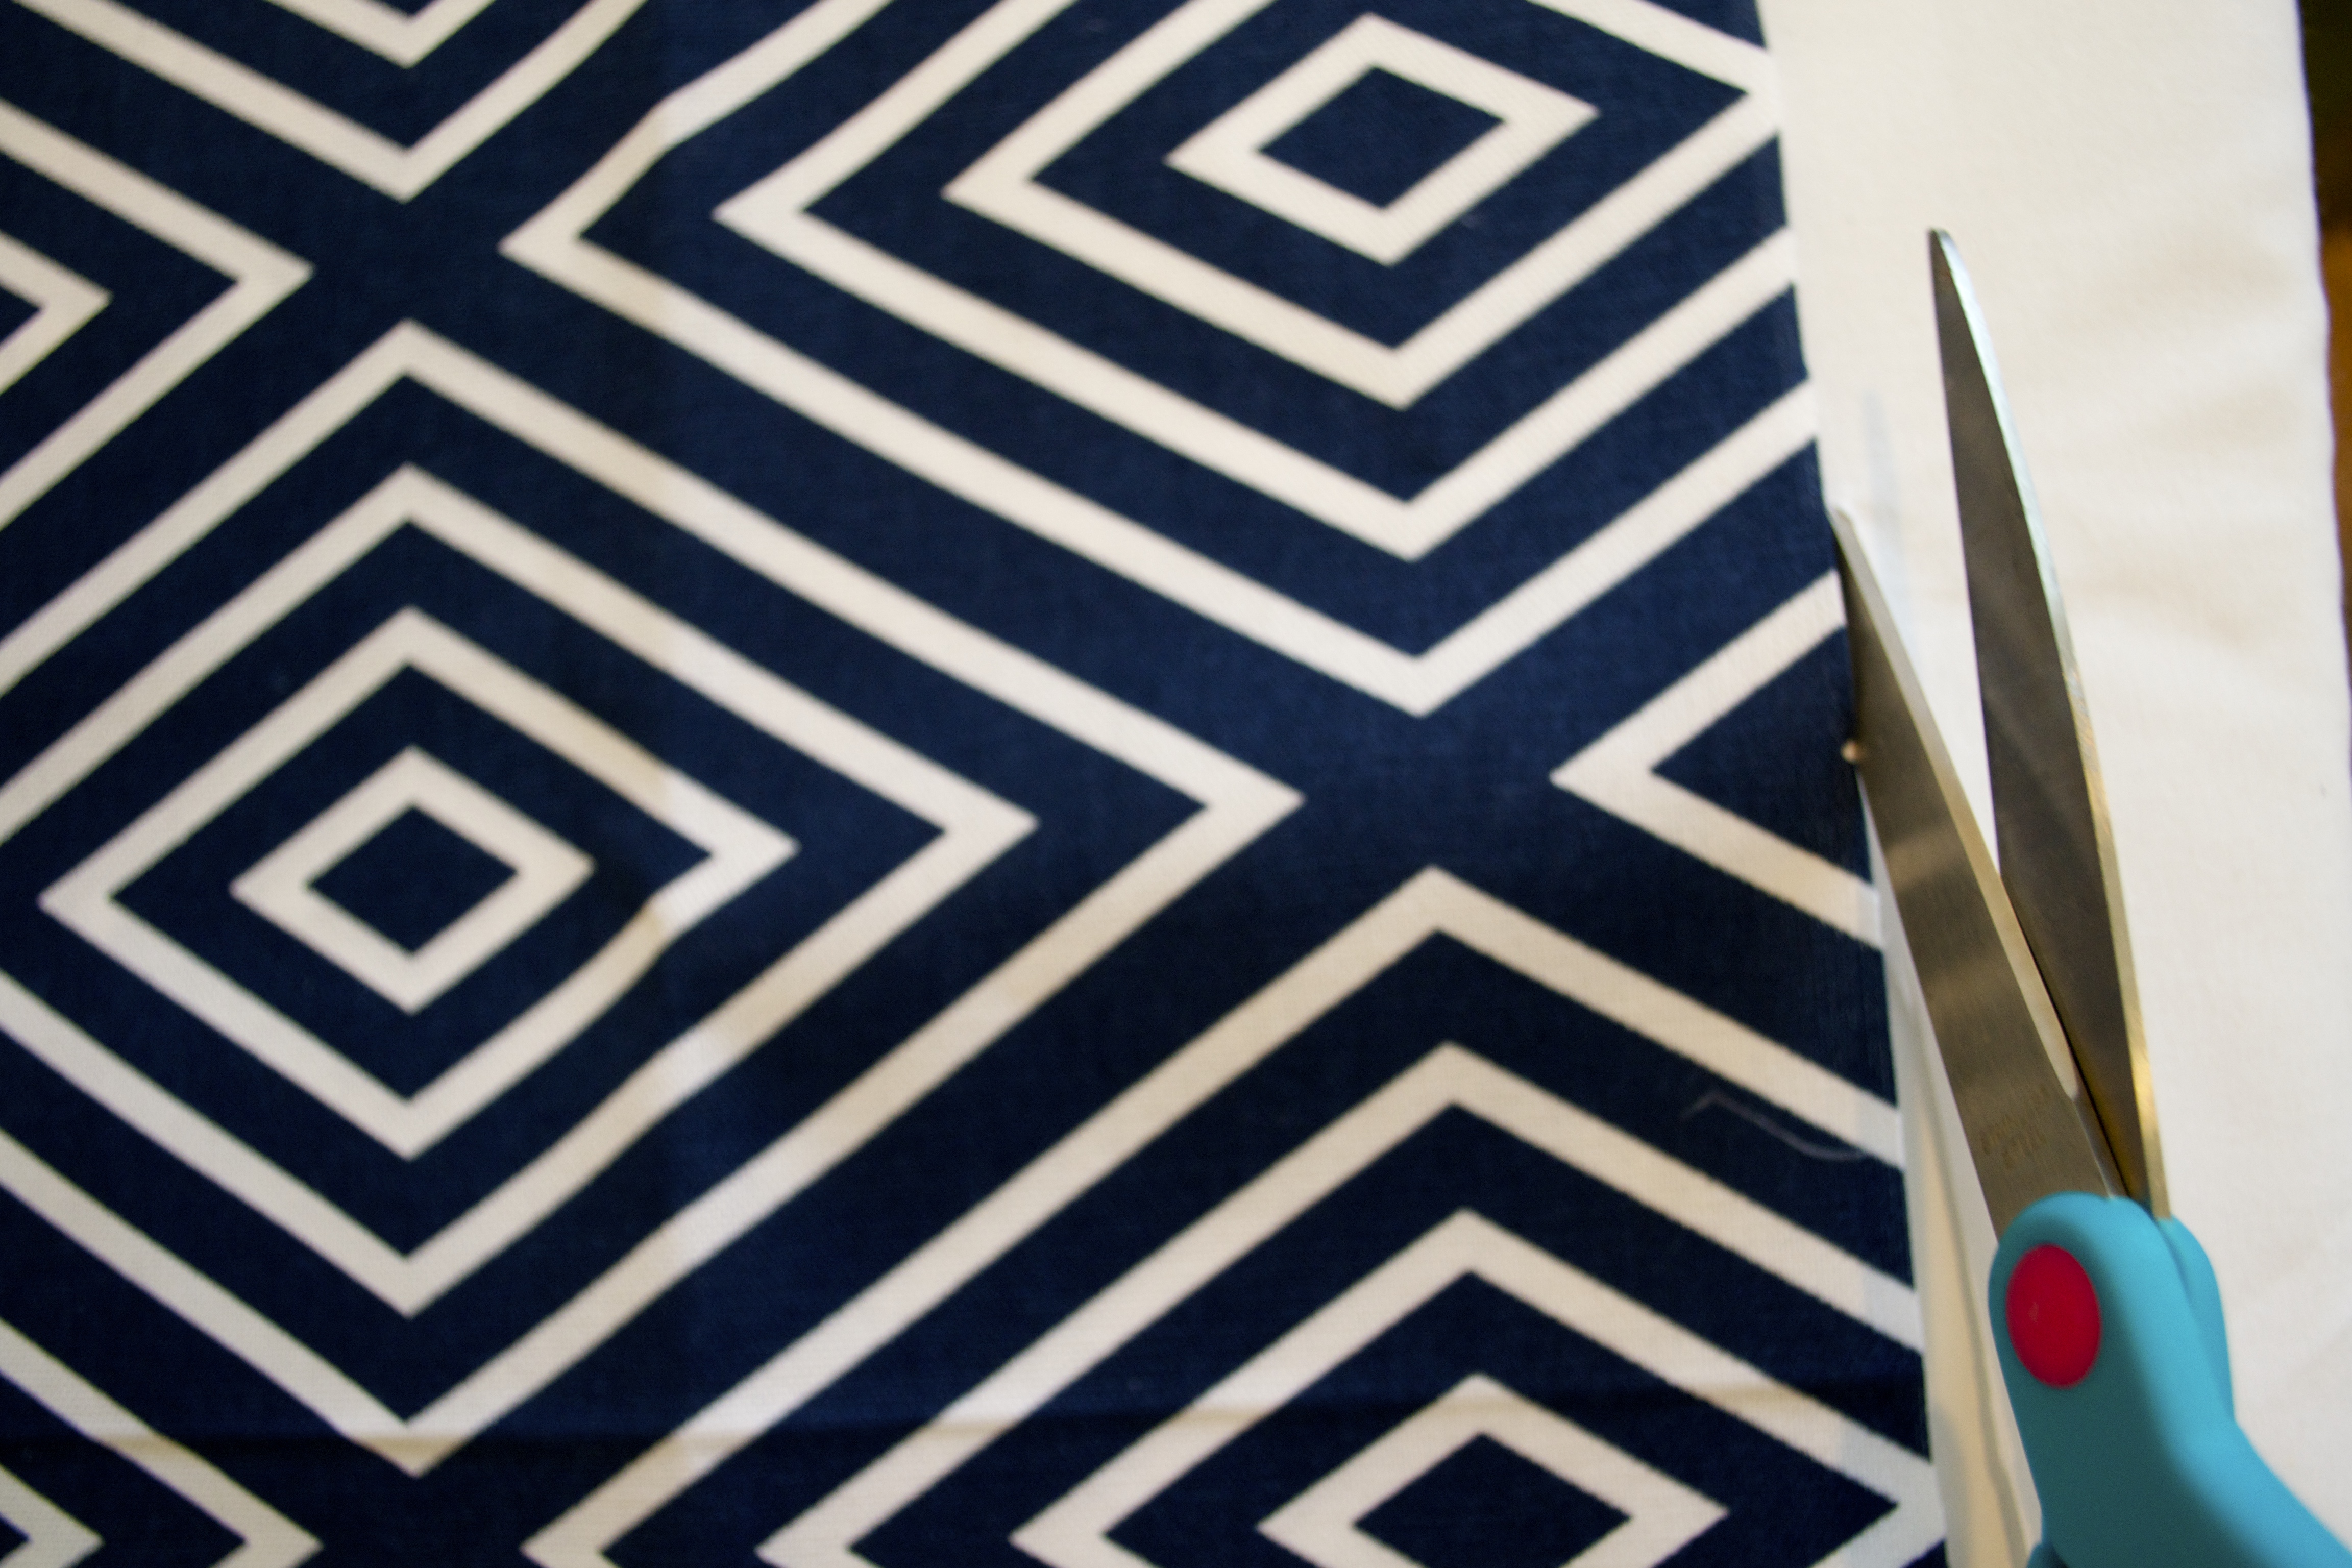
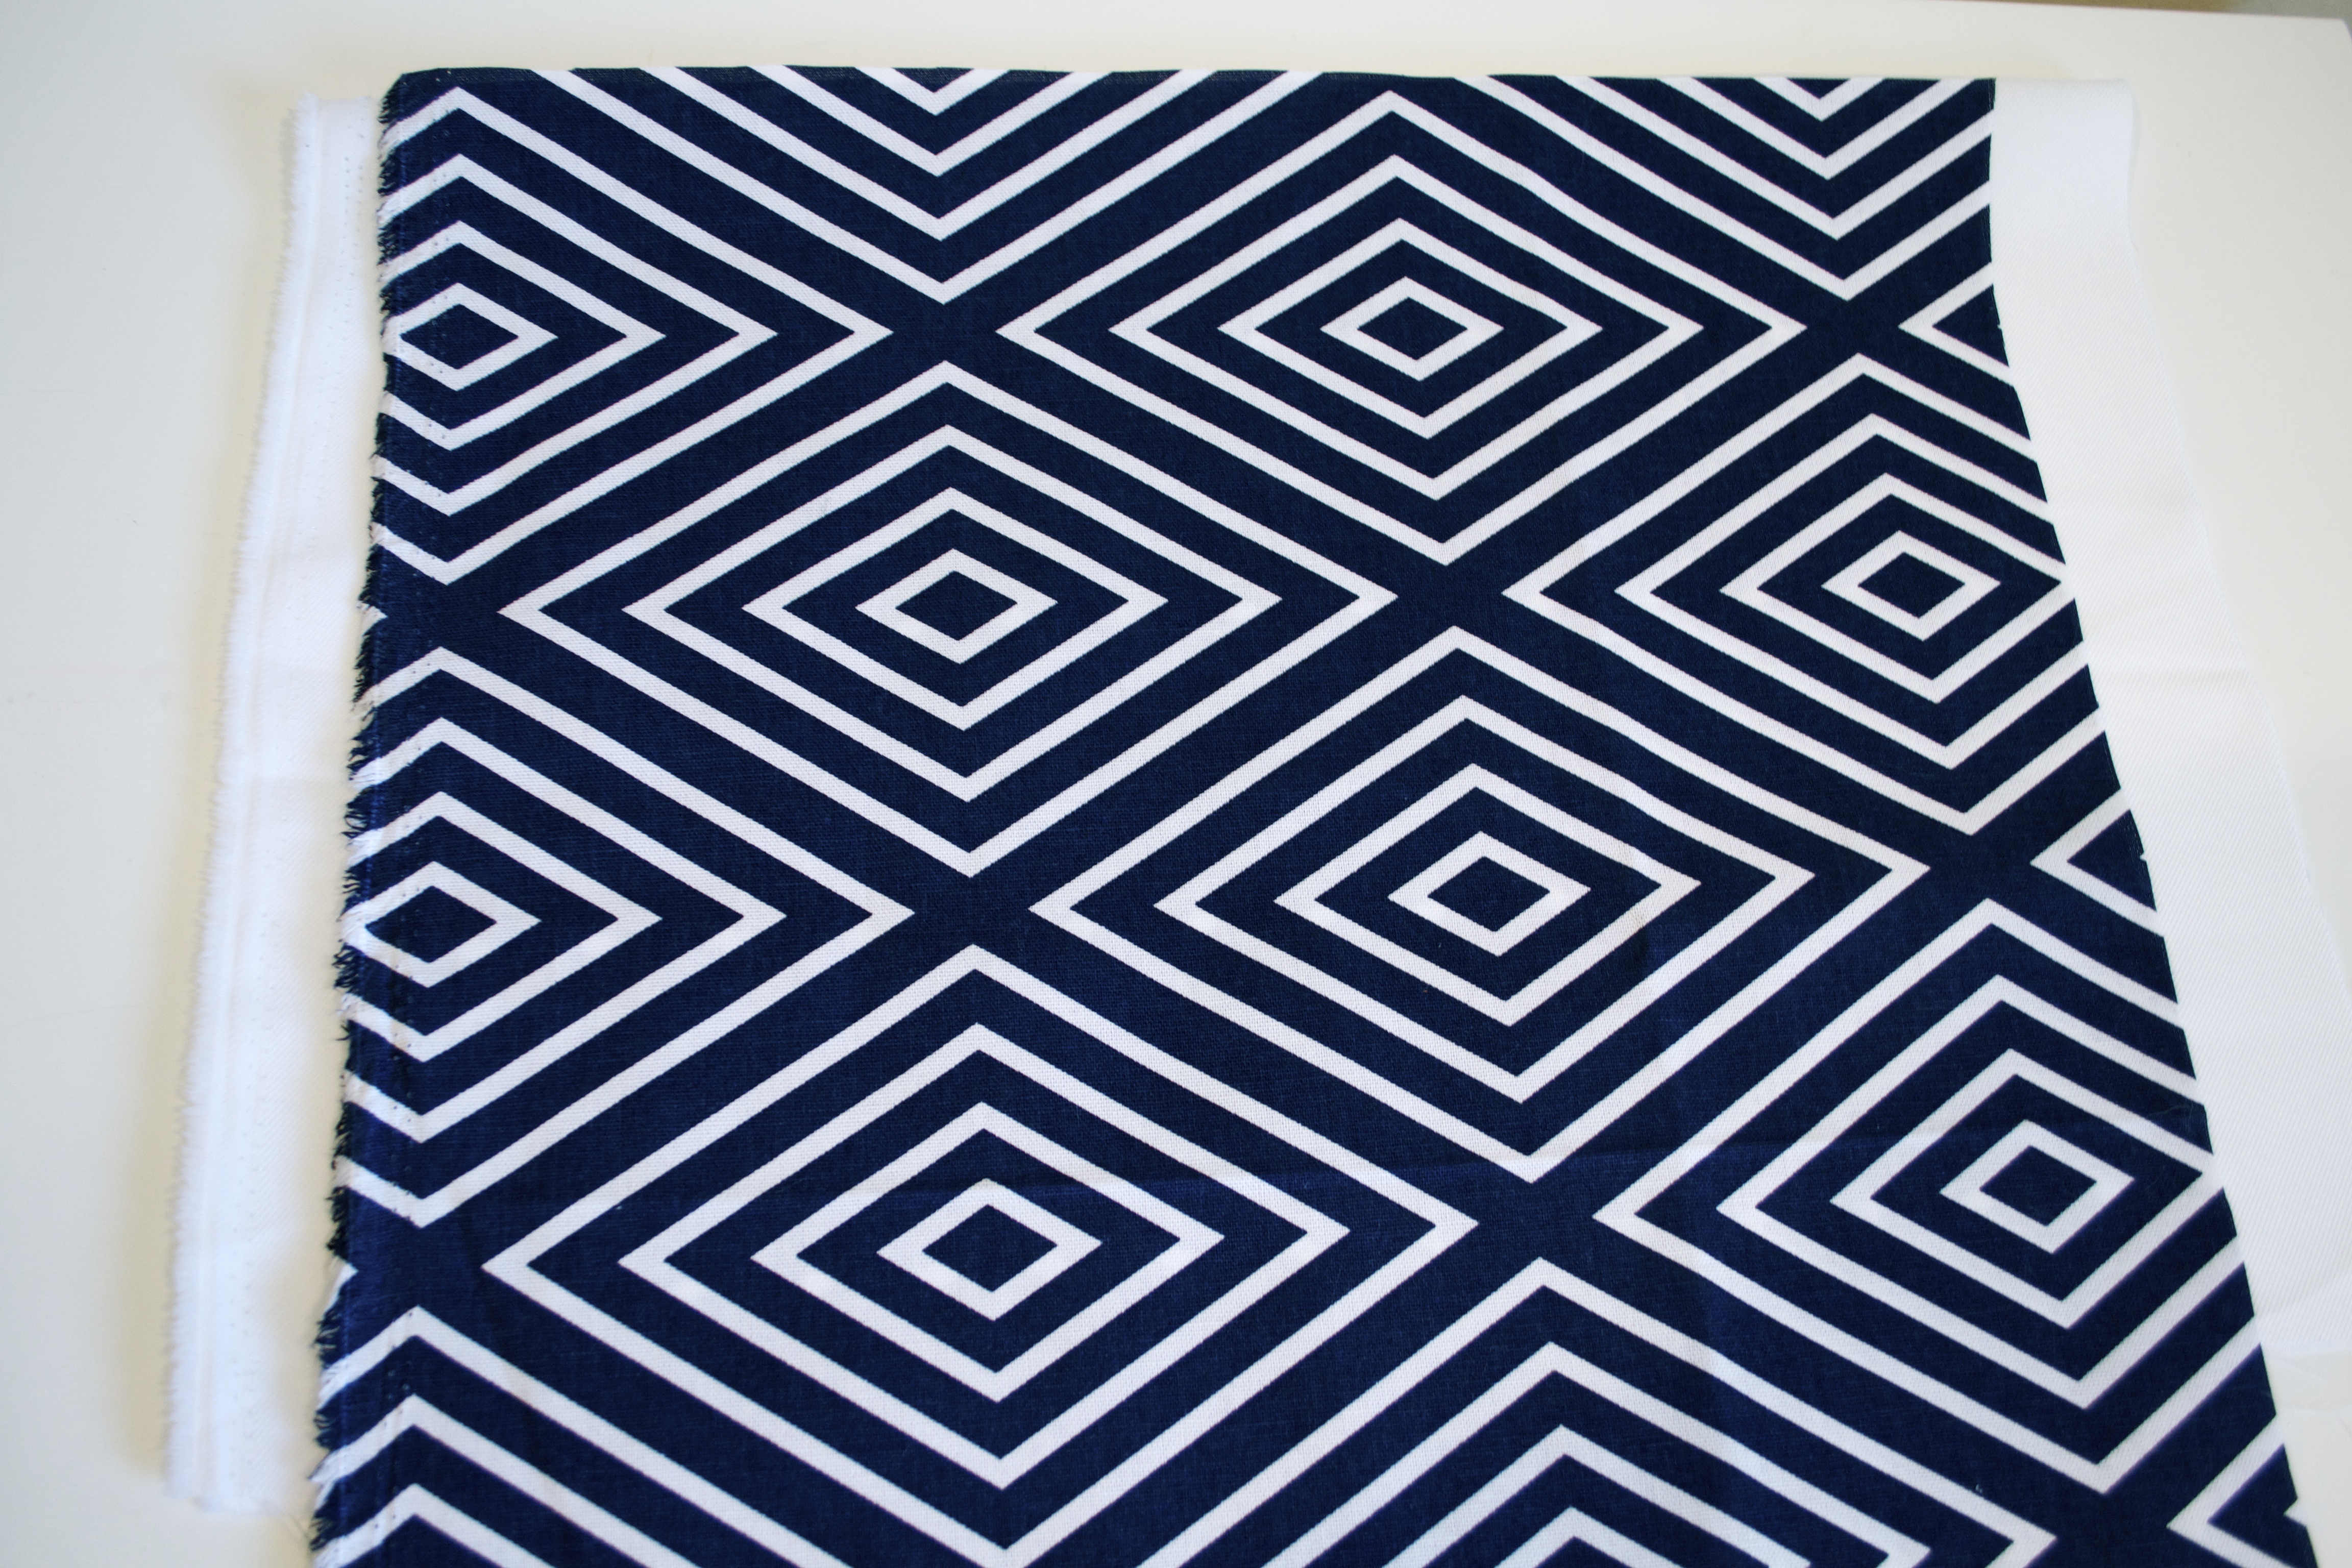
Step 1:
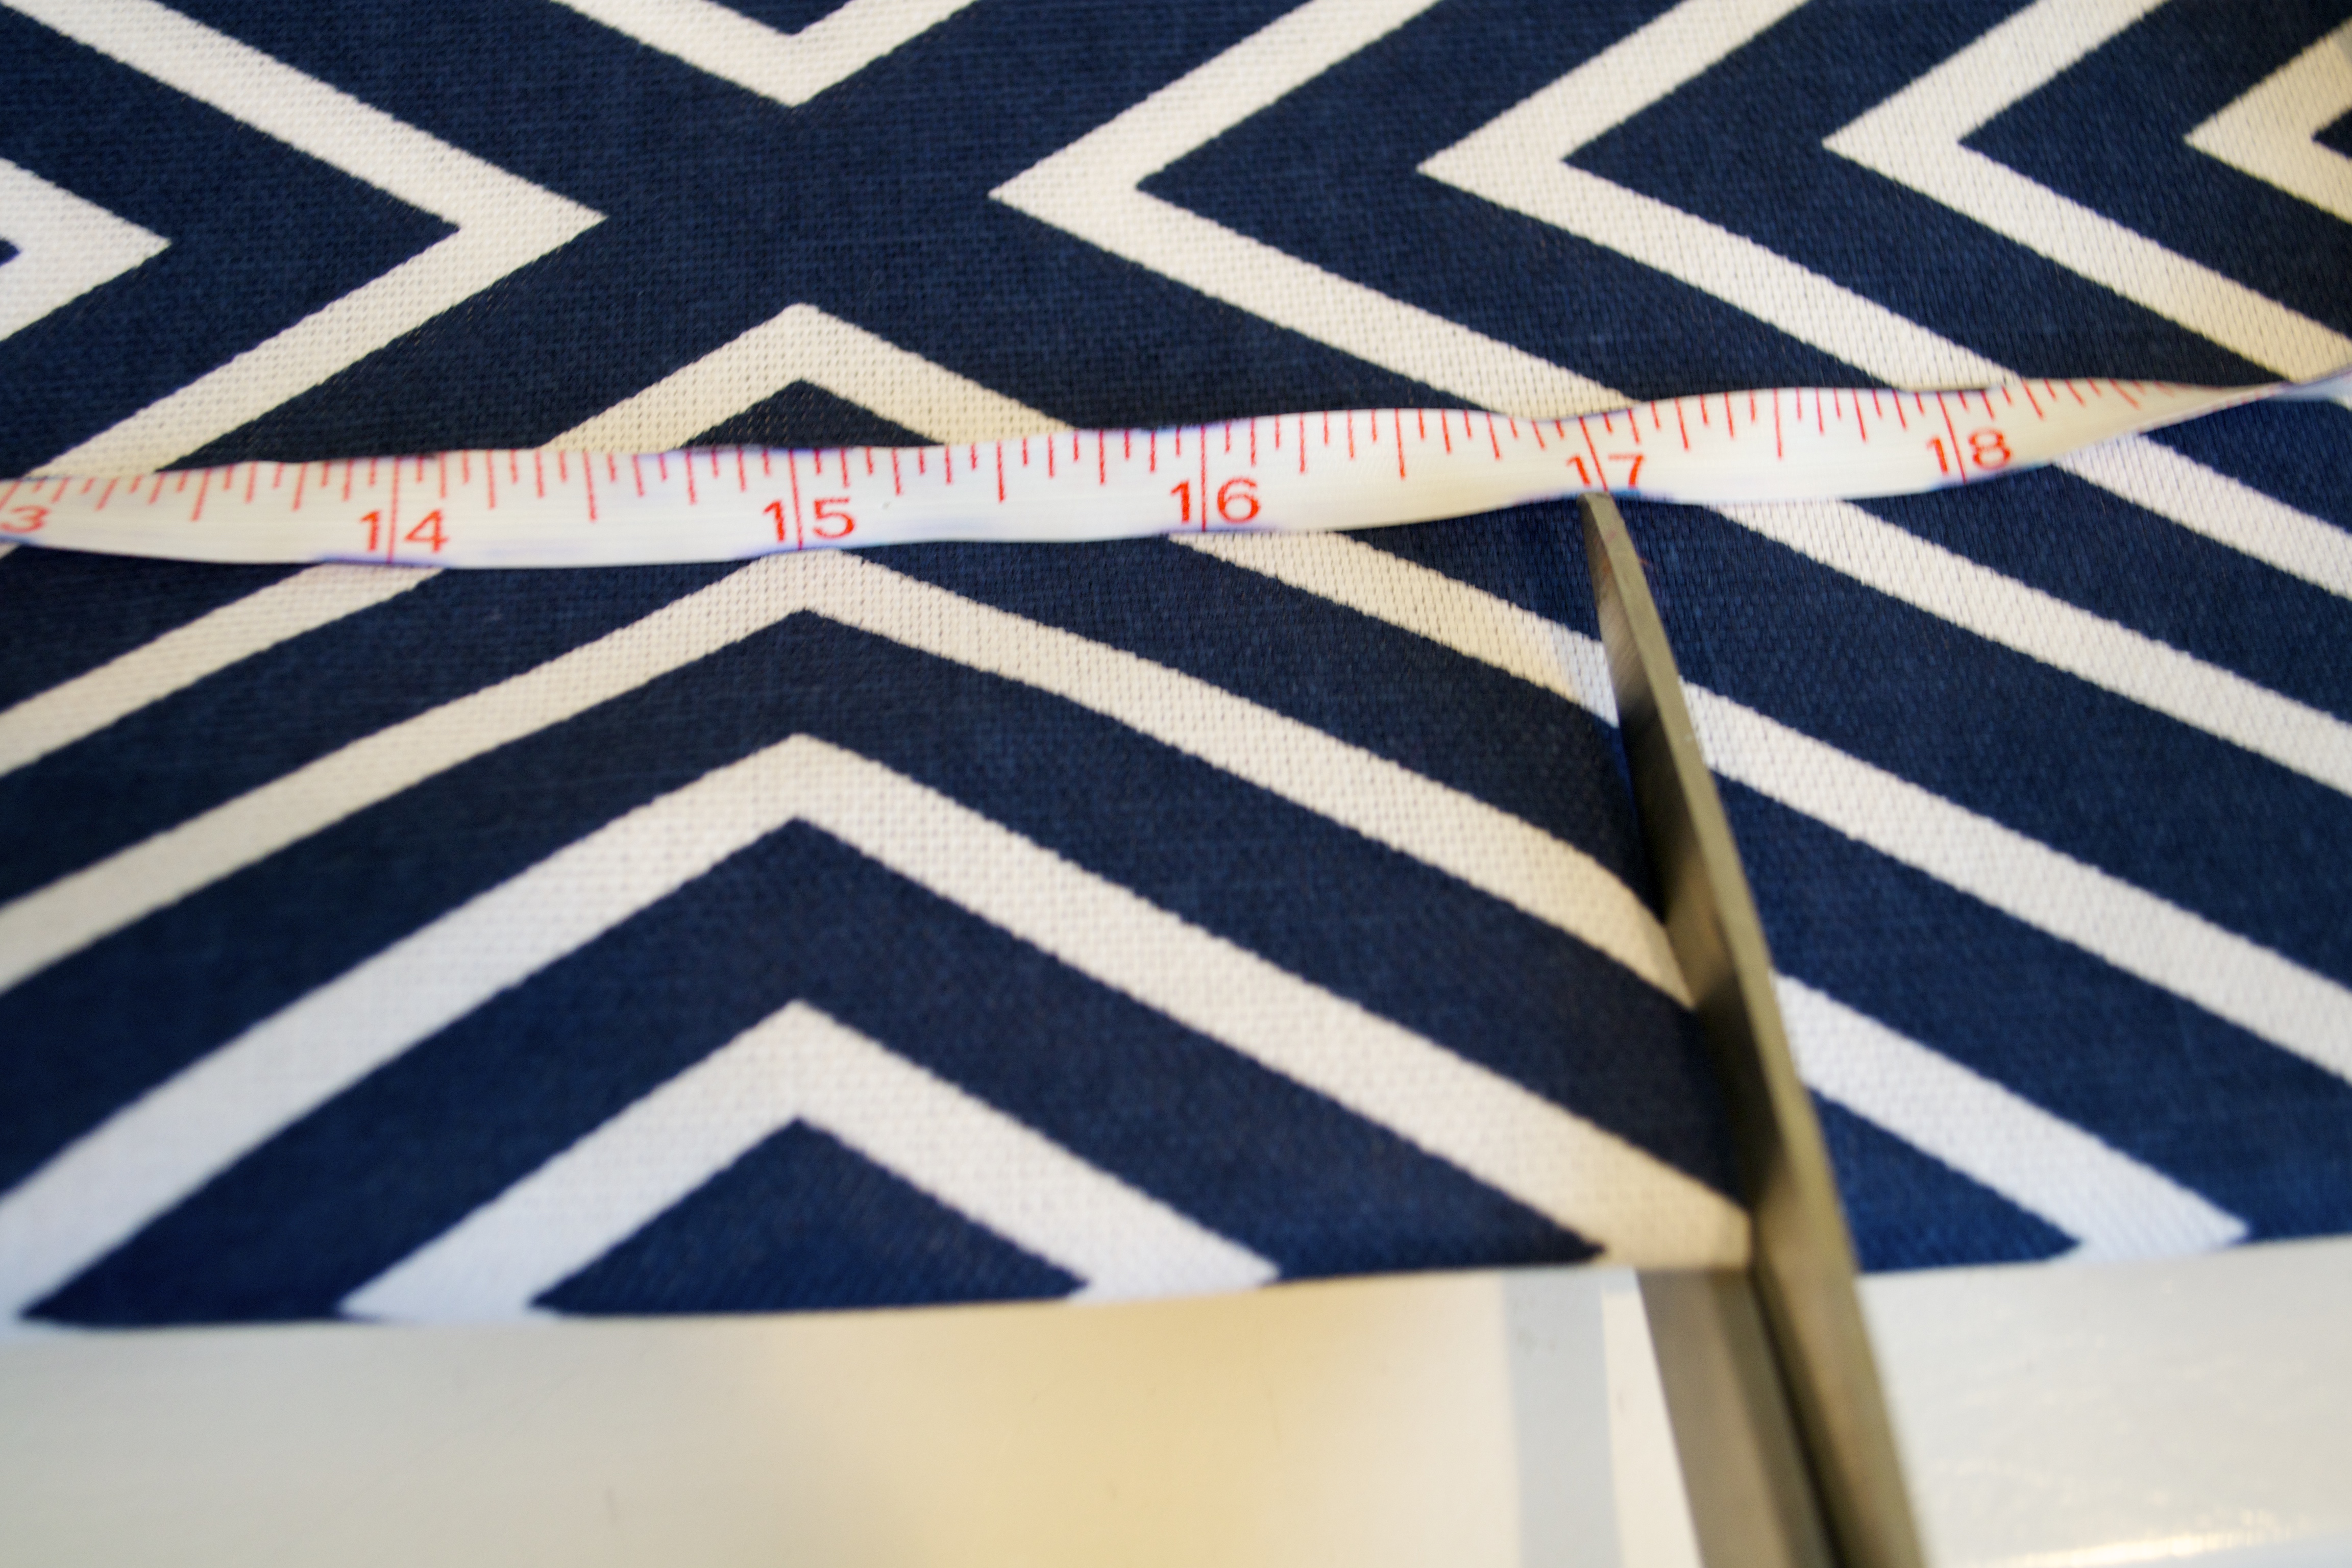
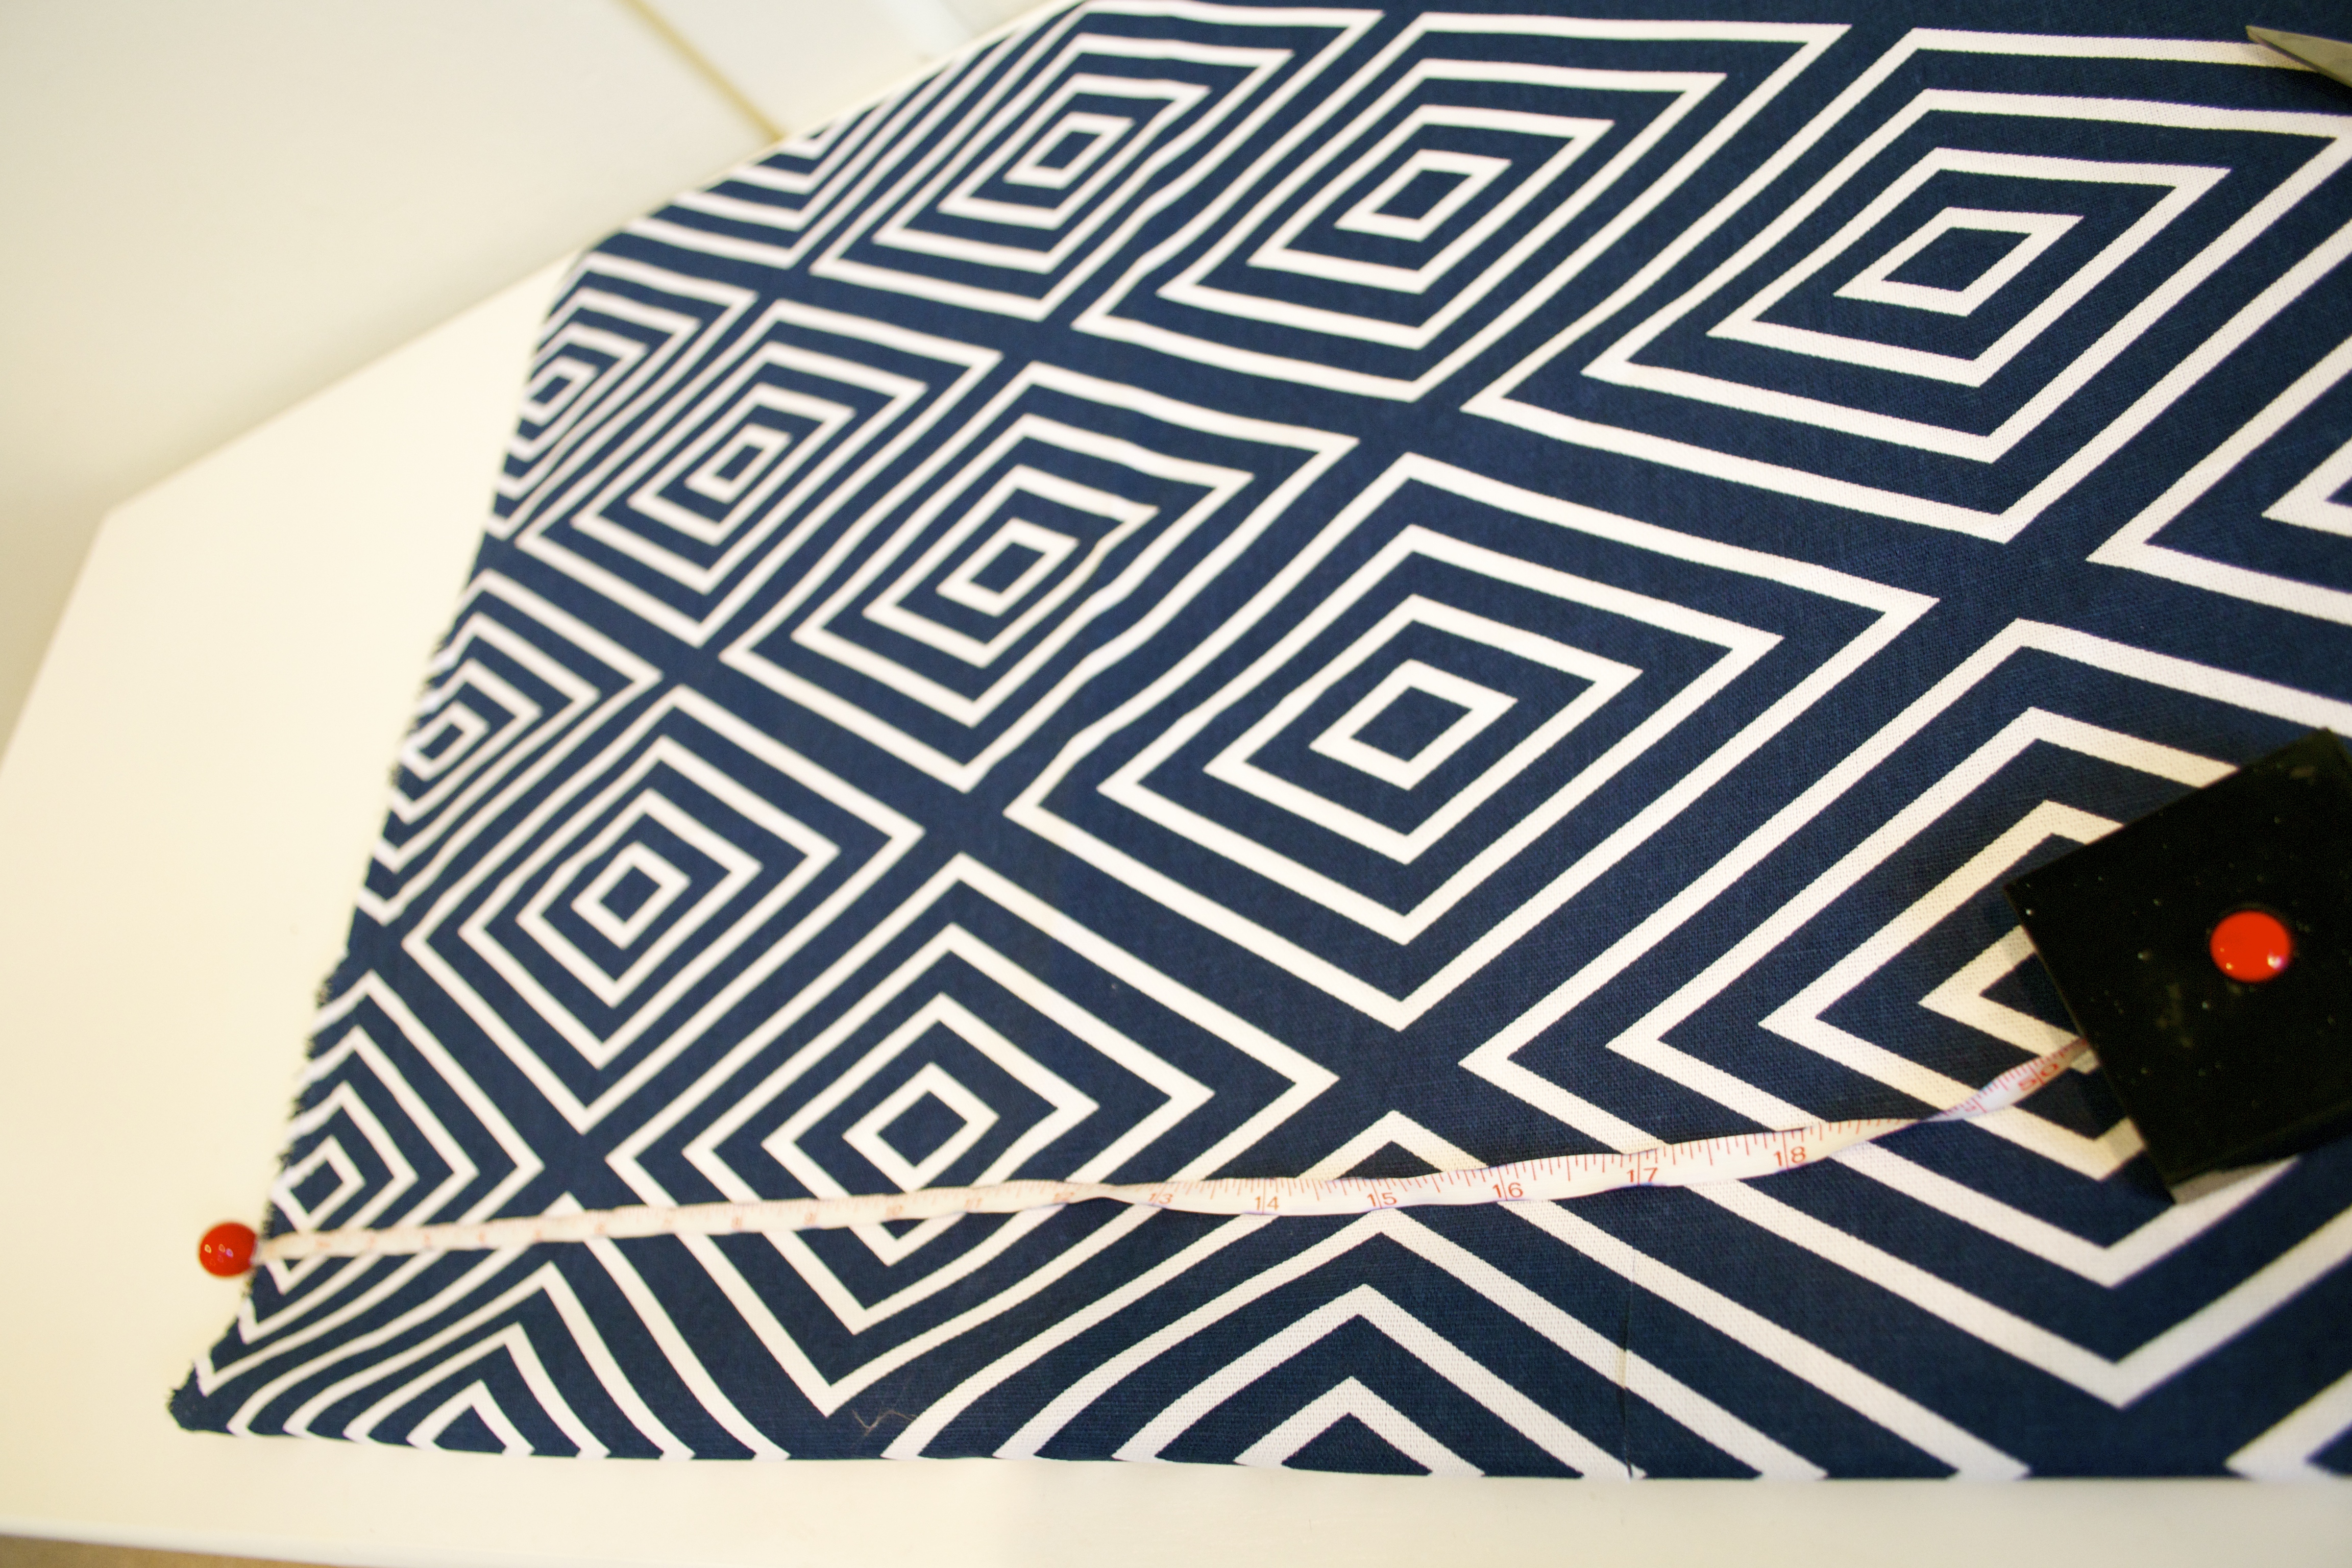
- Keep your canvas fabric folded in half. Measure 17″ down the long (folded) side of the fabric, and cut your fabric at the 17″ mark. This will make your bag 17″ wide.
Step 2:
- Take your suit fabric (the one you are suing for your bow) and put it across the fabric you just cut to use for your bag.
- Make sure your bow fabric is 1″ wider than your bag on each side, then cut your bow fabric to that width.
- Once your bow width is cut, measure that bow fabric to be 8″ for length.
- Fold it in half on top of your bag so that both sides measure 8″, and cut off the excess fabric off the length of the bow fabric.
Step 3:
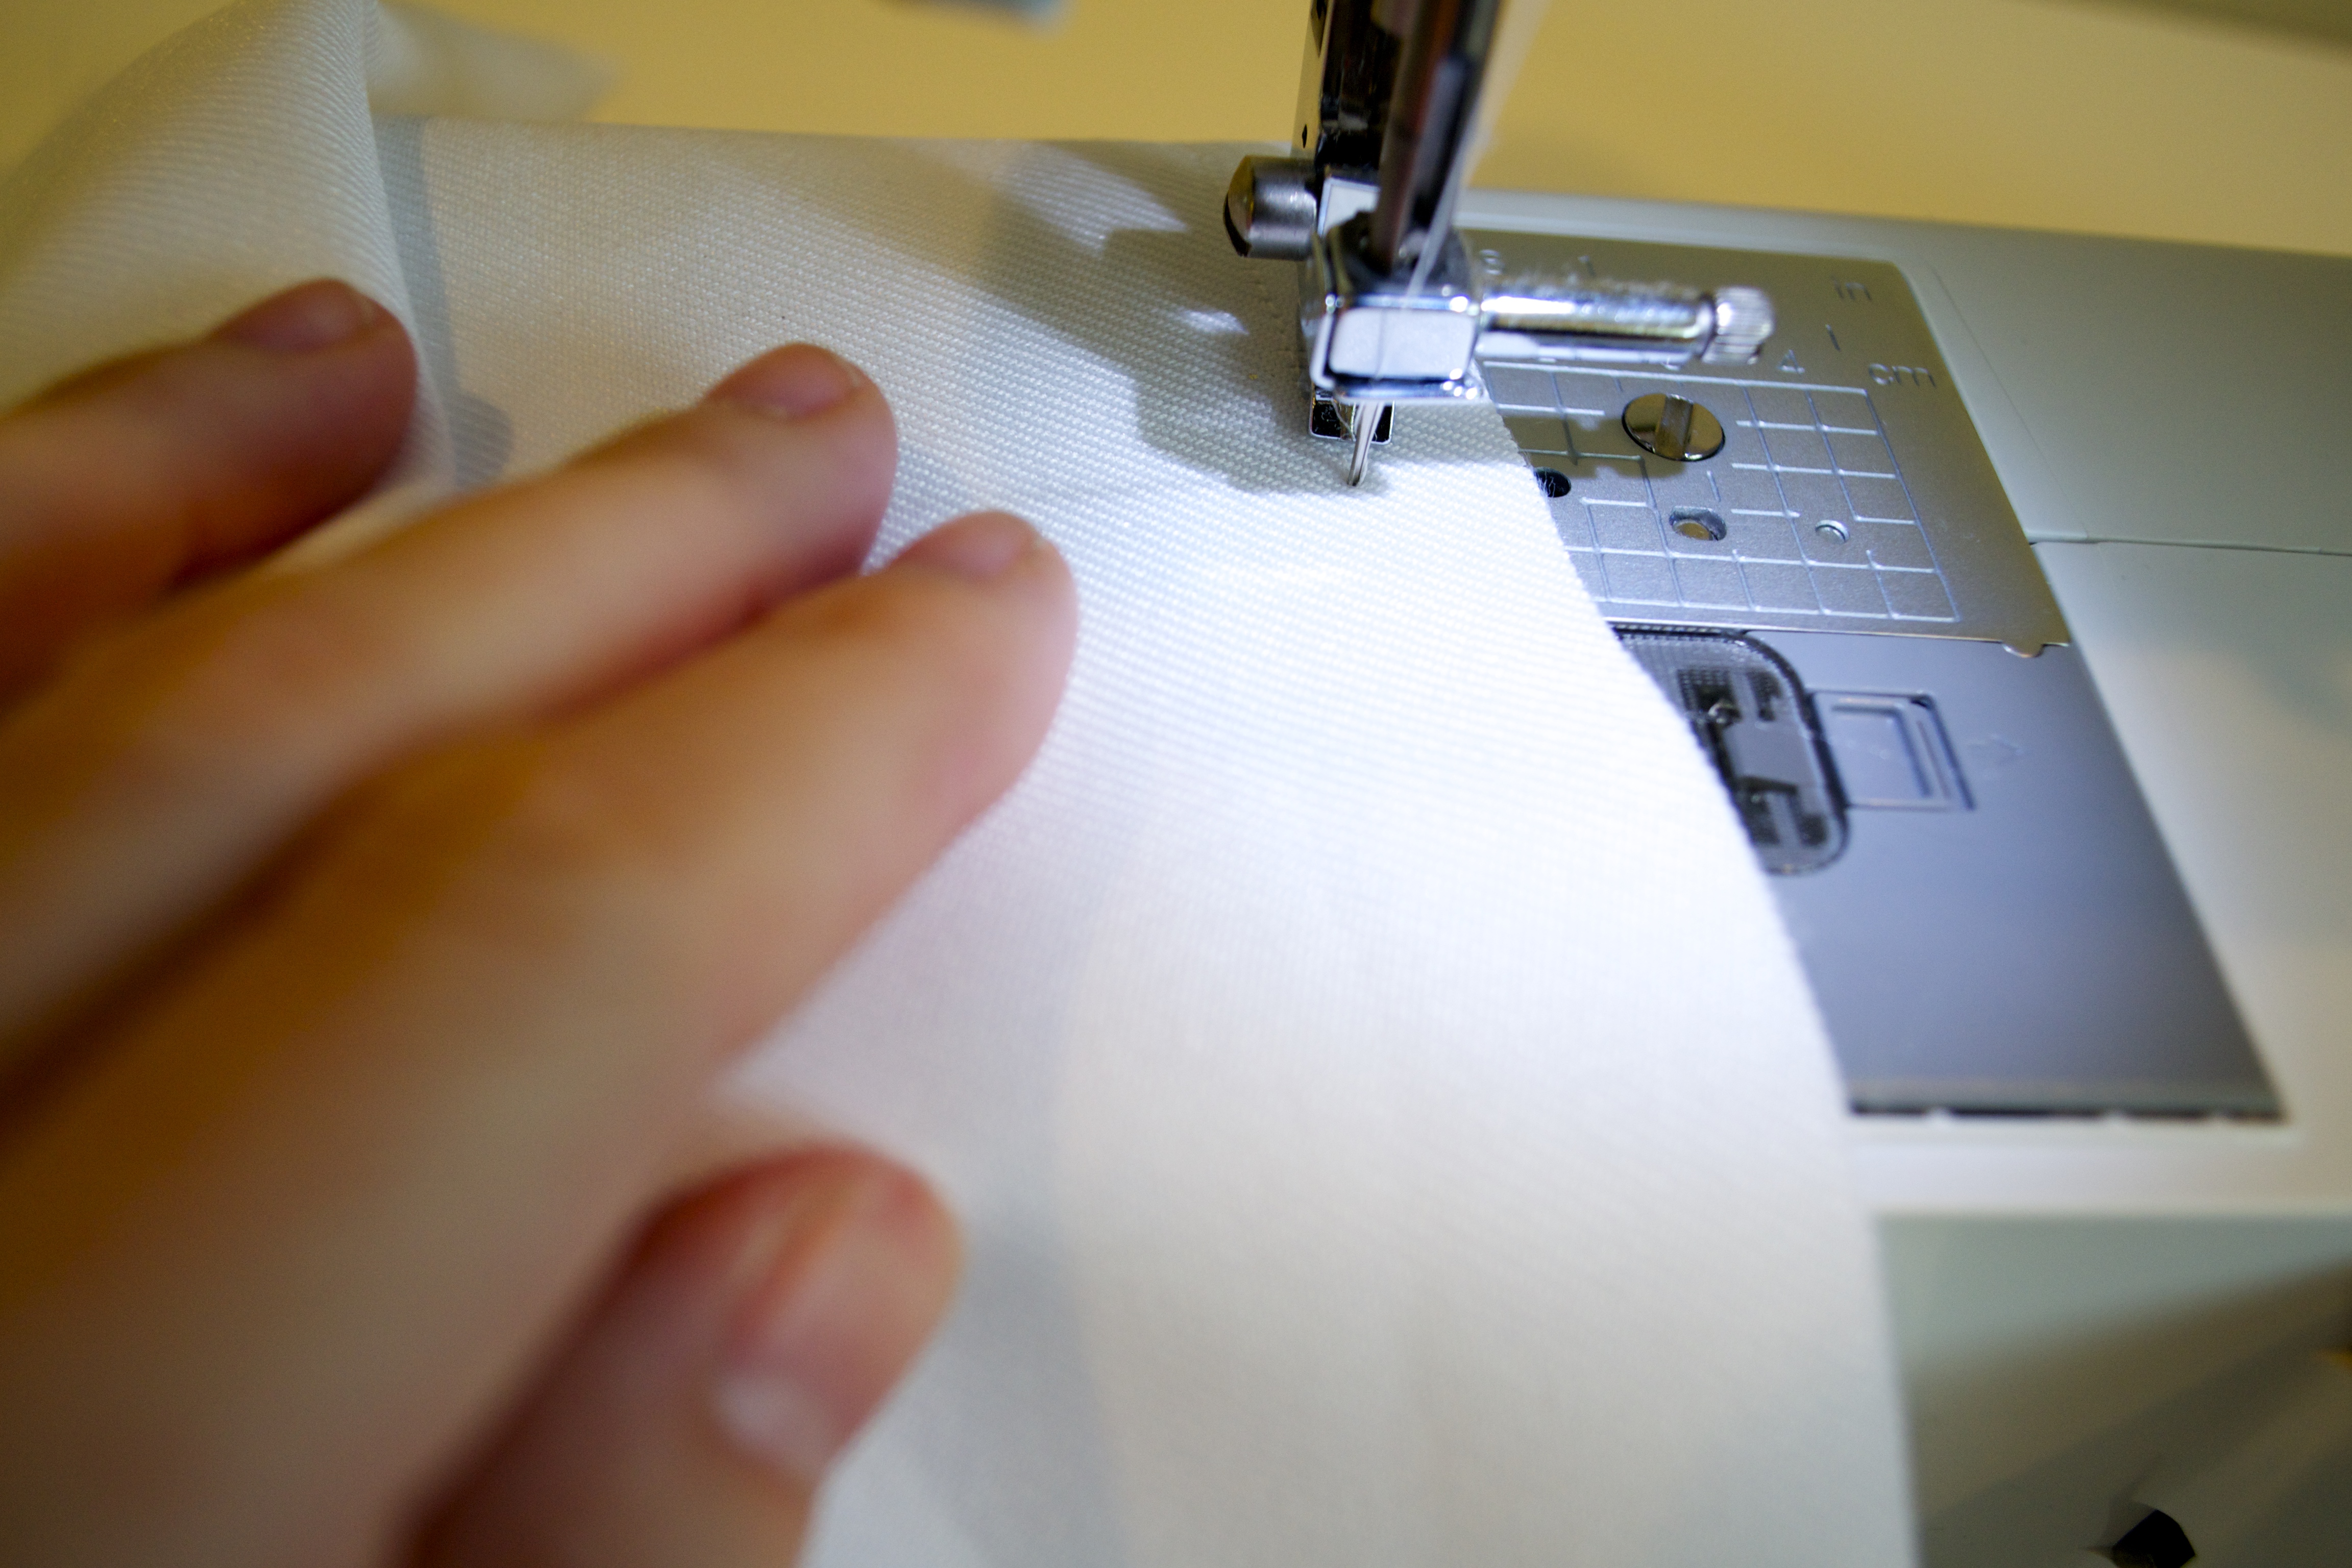
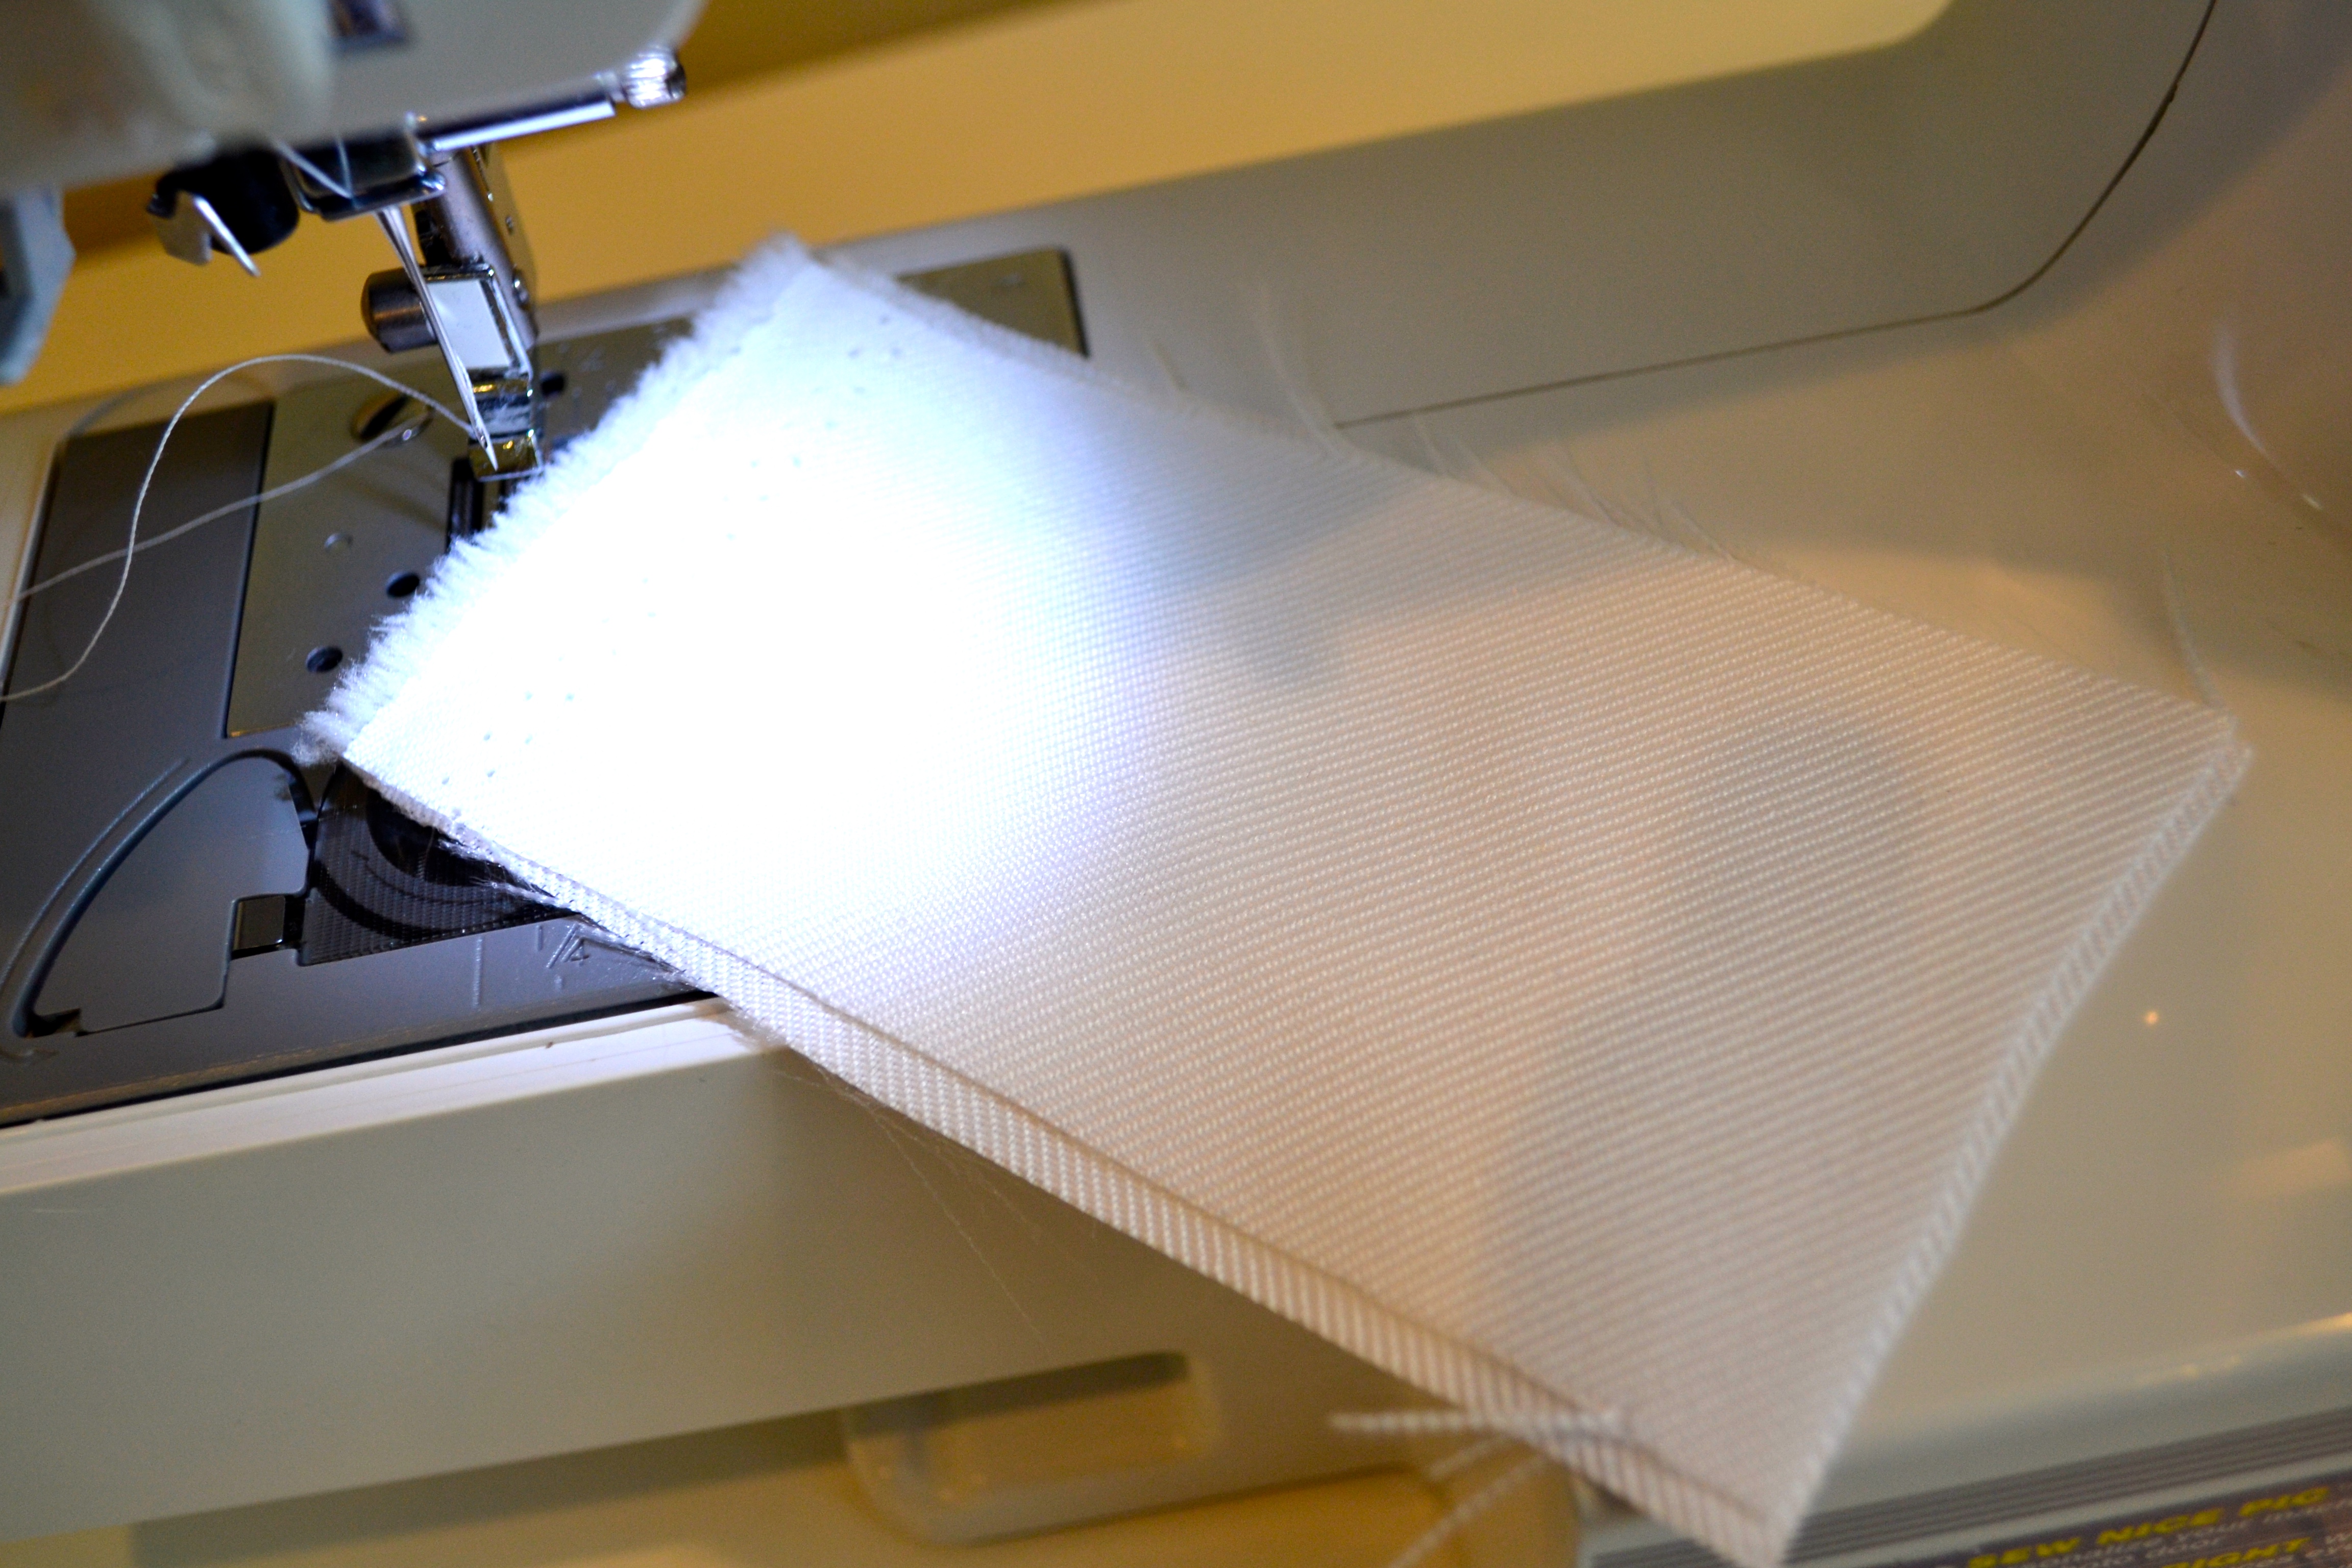
- Once you have the perfect size bow fabric (1″ wider than your bag on each size, and 8″ long) run the open sides of the fabric through your sewing machine and sew them together.
- Make sure when you do this, the front sides of the fabric are facing each other.
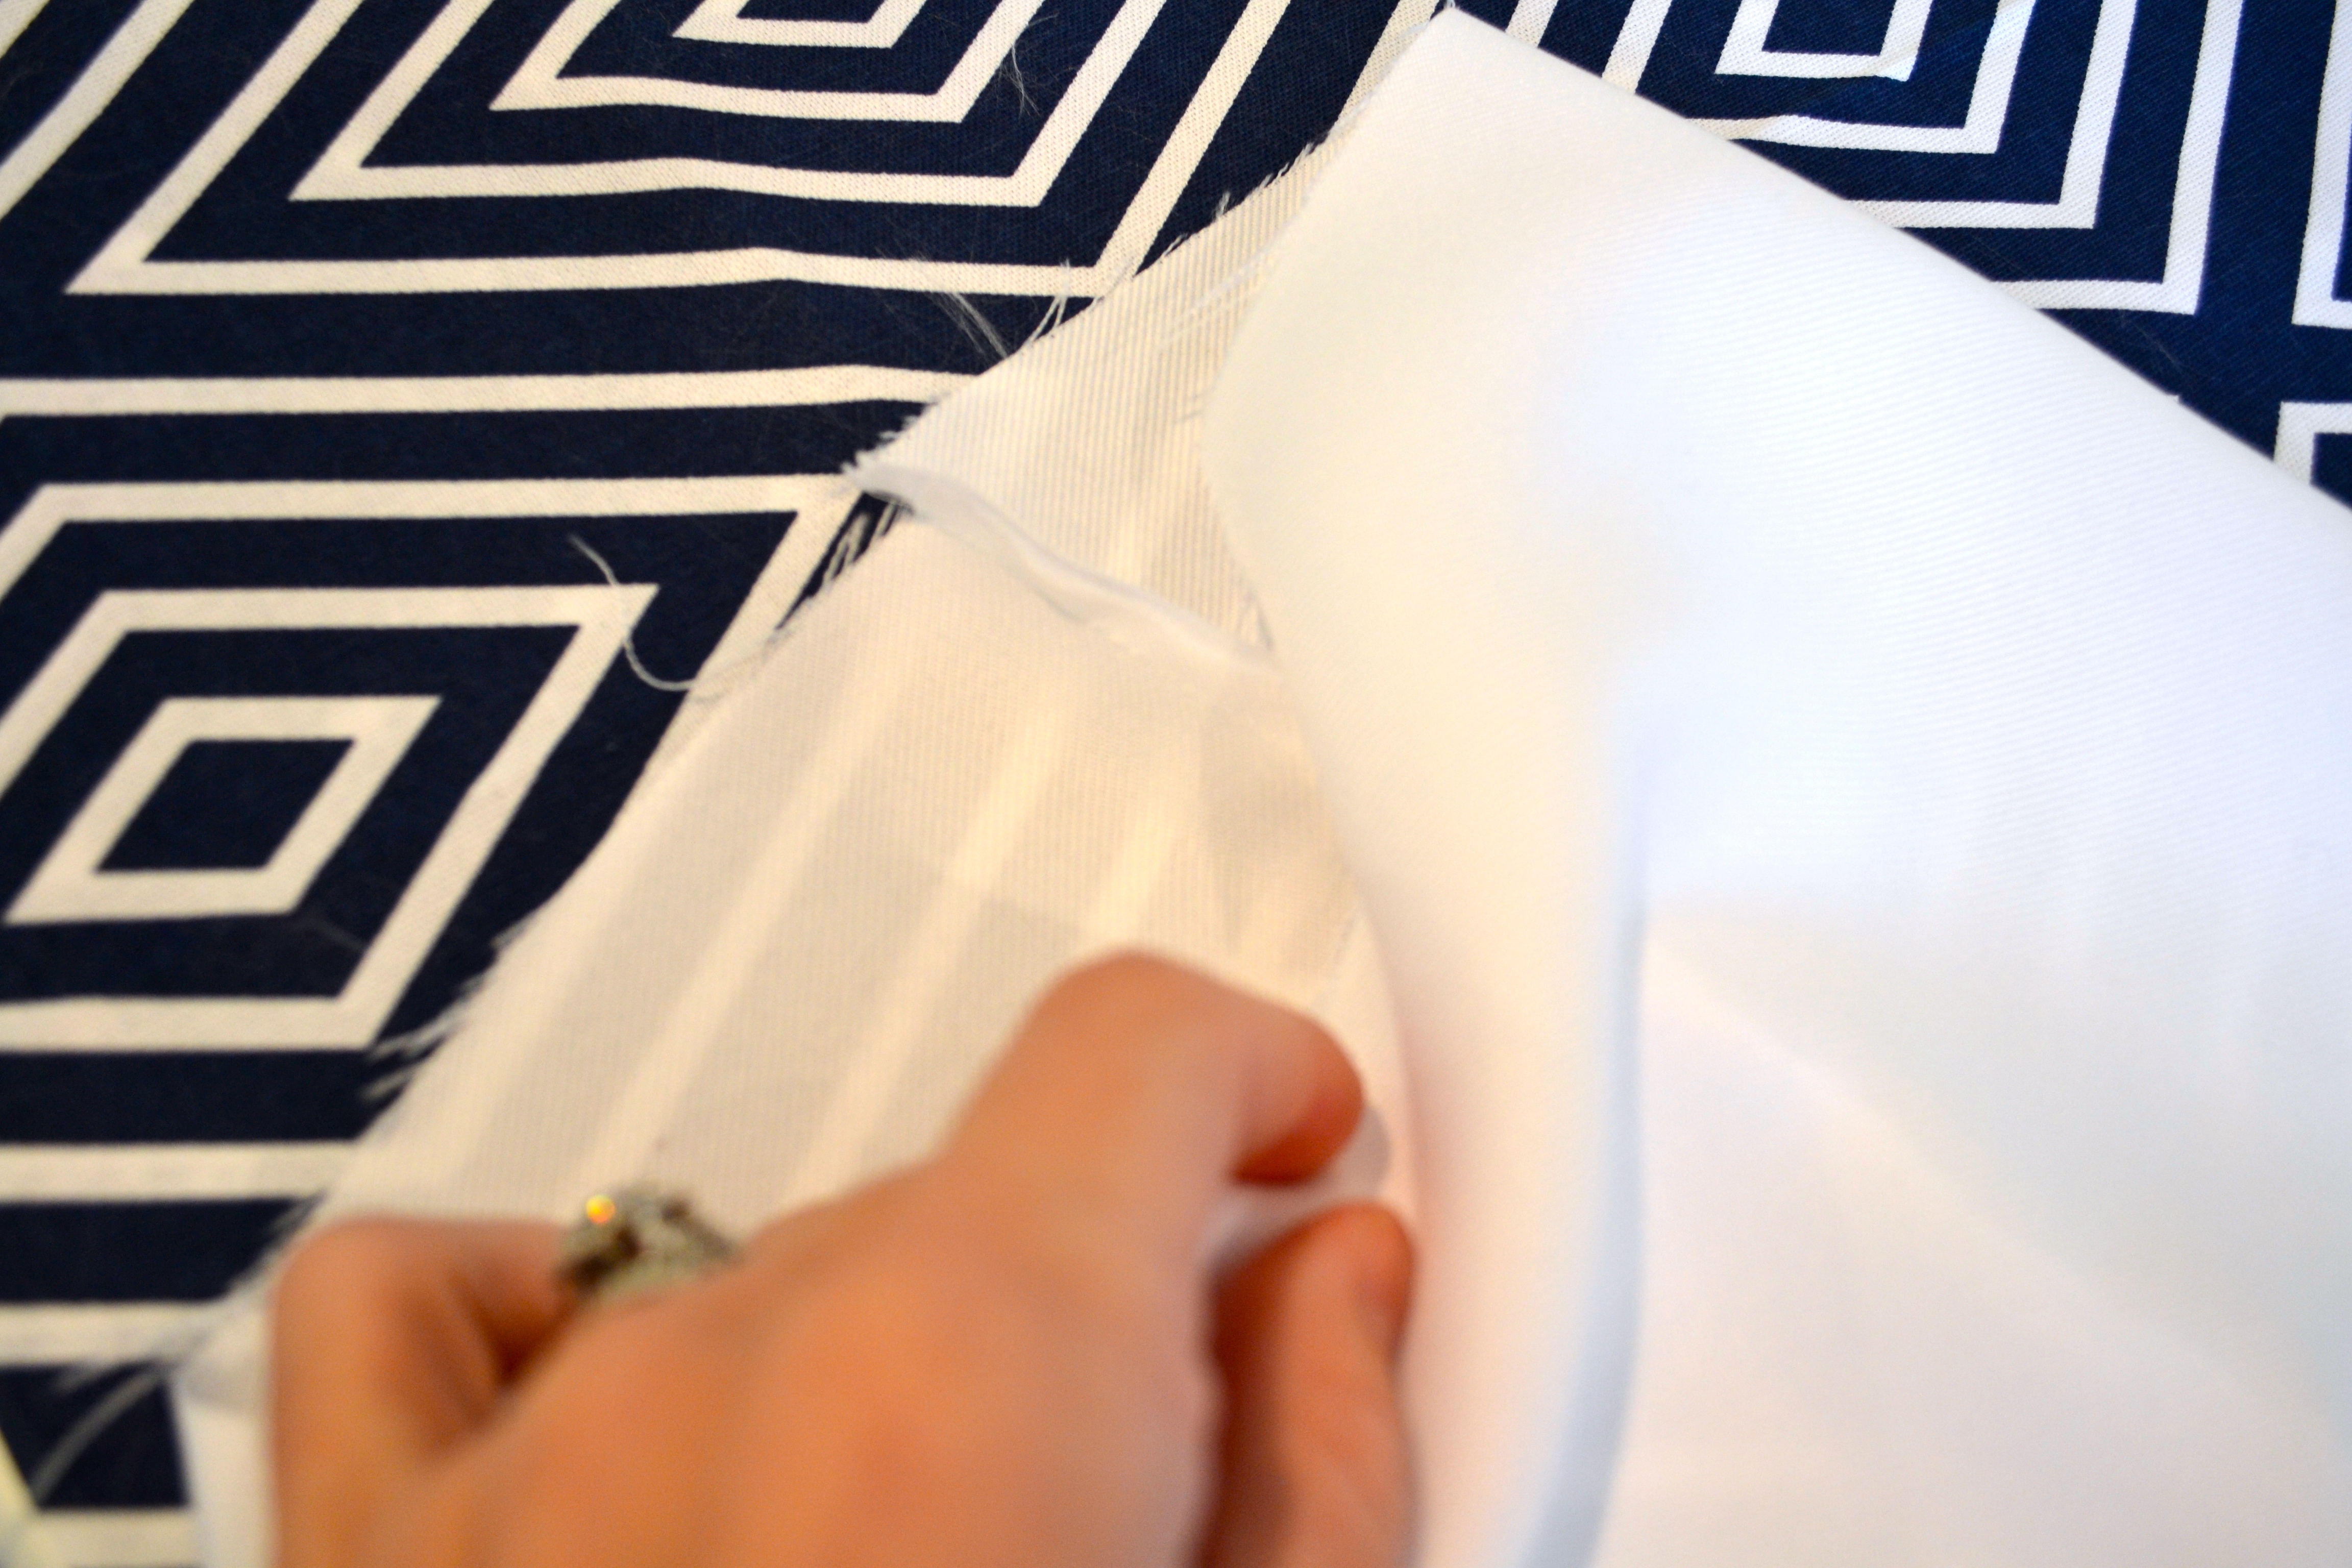
- Flip the fabric right side out, and lay the fabric flat against your bag fabric, with the seam side DOWN.
Step 4:
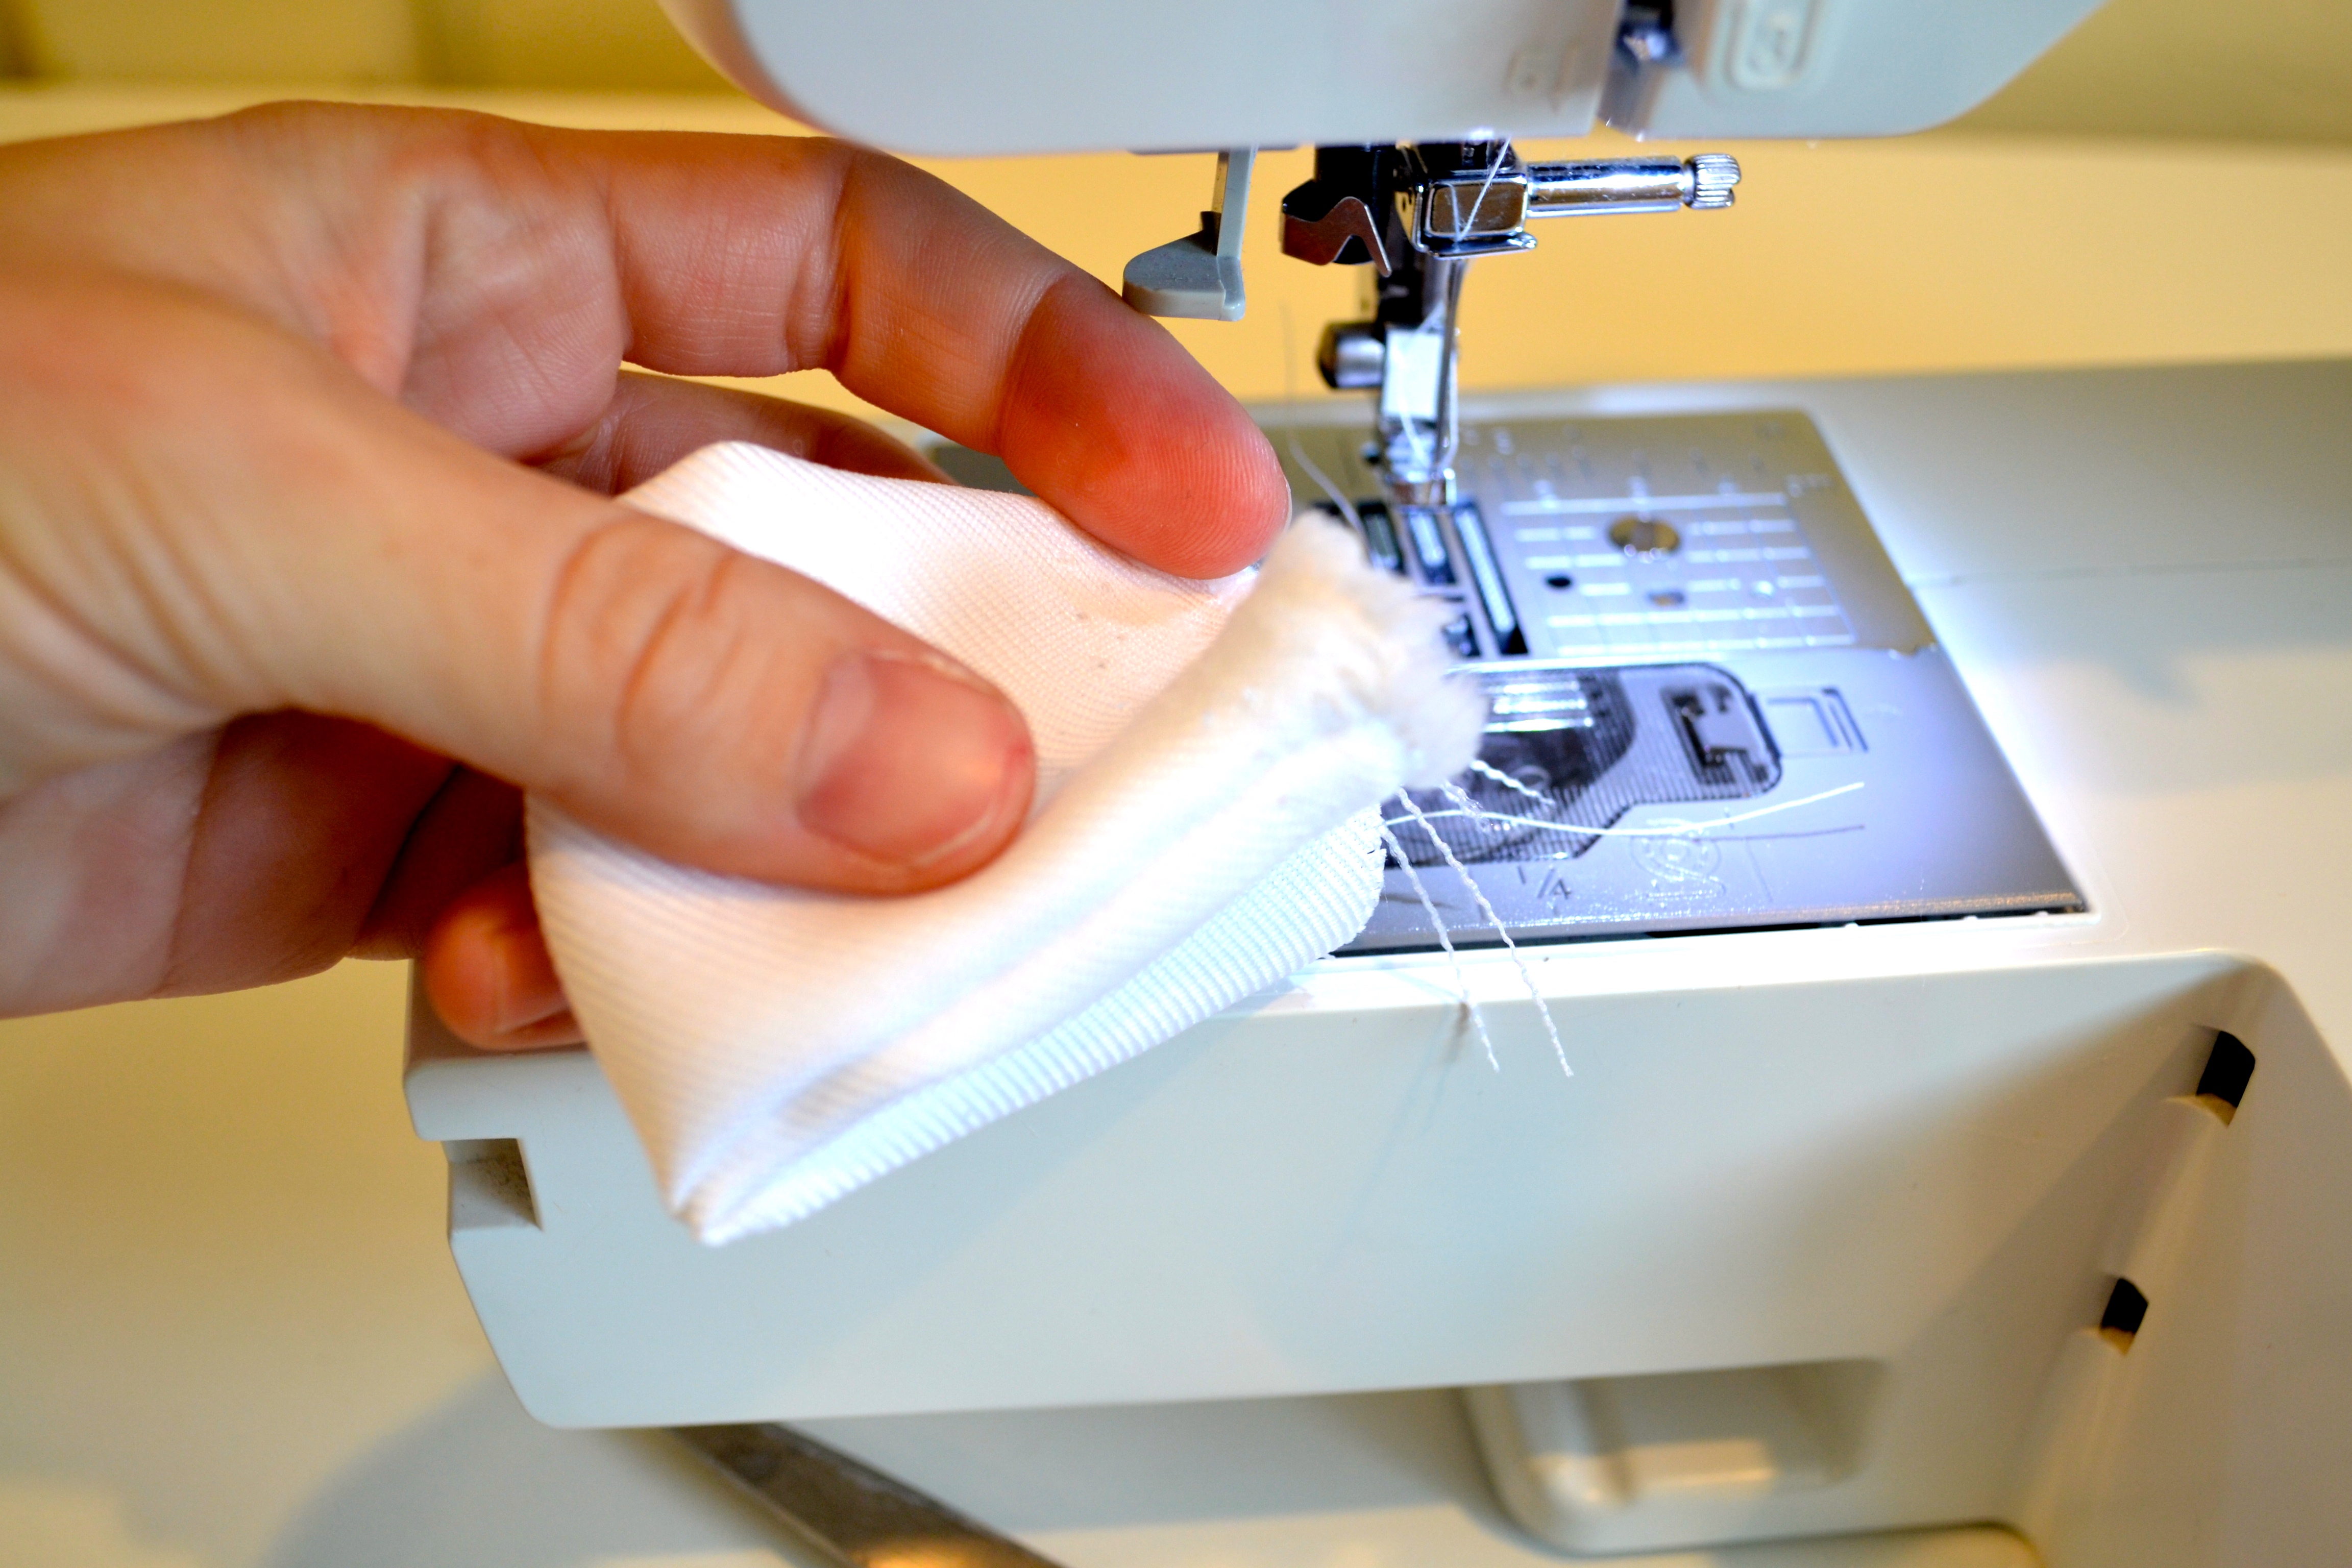
- Take some excess fabric you had cut off of your bow fabric, and sew it together on 2 opposite sides (right sides facing each other).
- Flip the fabric right side out, Then run it through your sewing machine once more, to sew the other two sides together, forming a loop with your fabric.
- Once the loop is made, turn the loop around so that the unfinished seam edge is on the INSIDE of the loop.
Step 5:
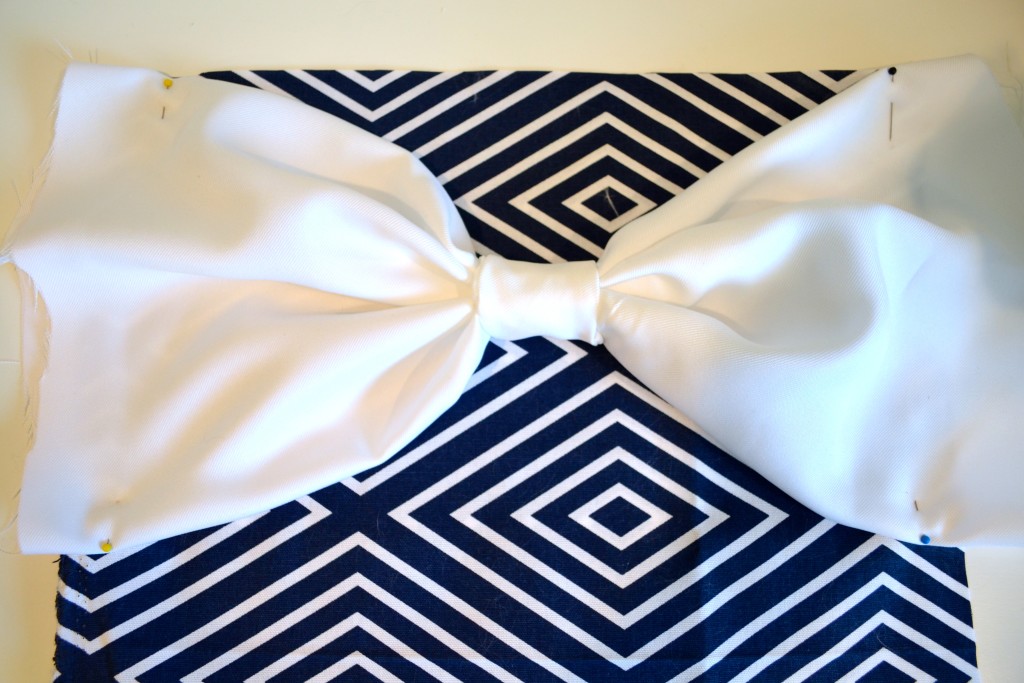


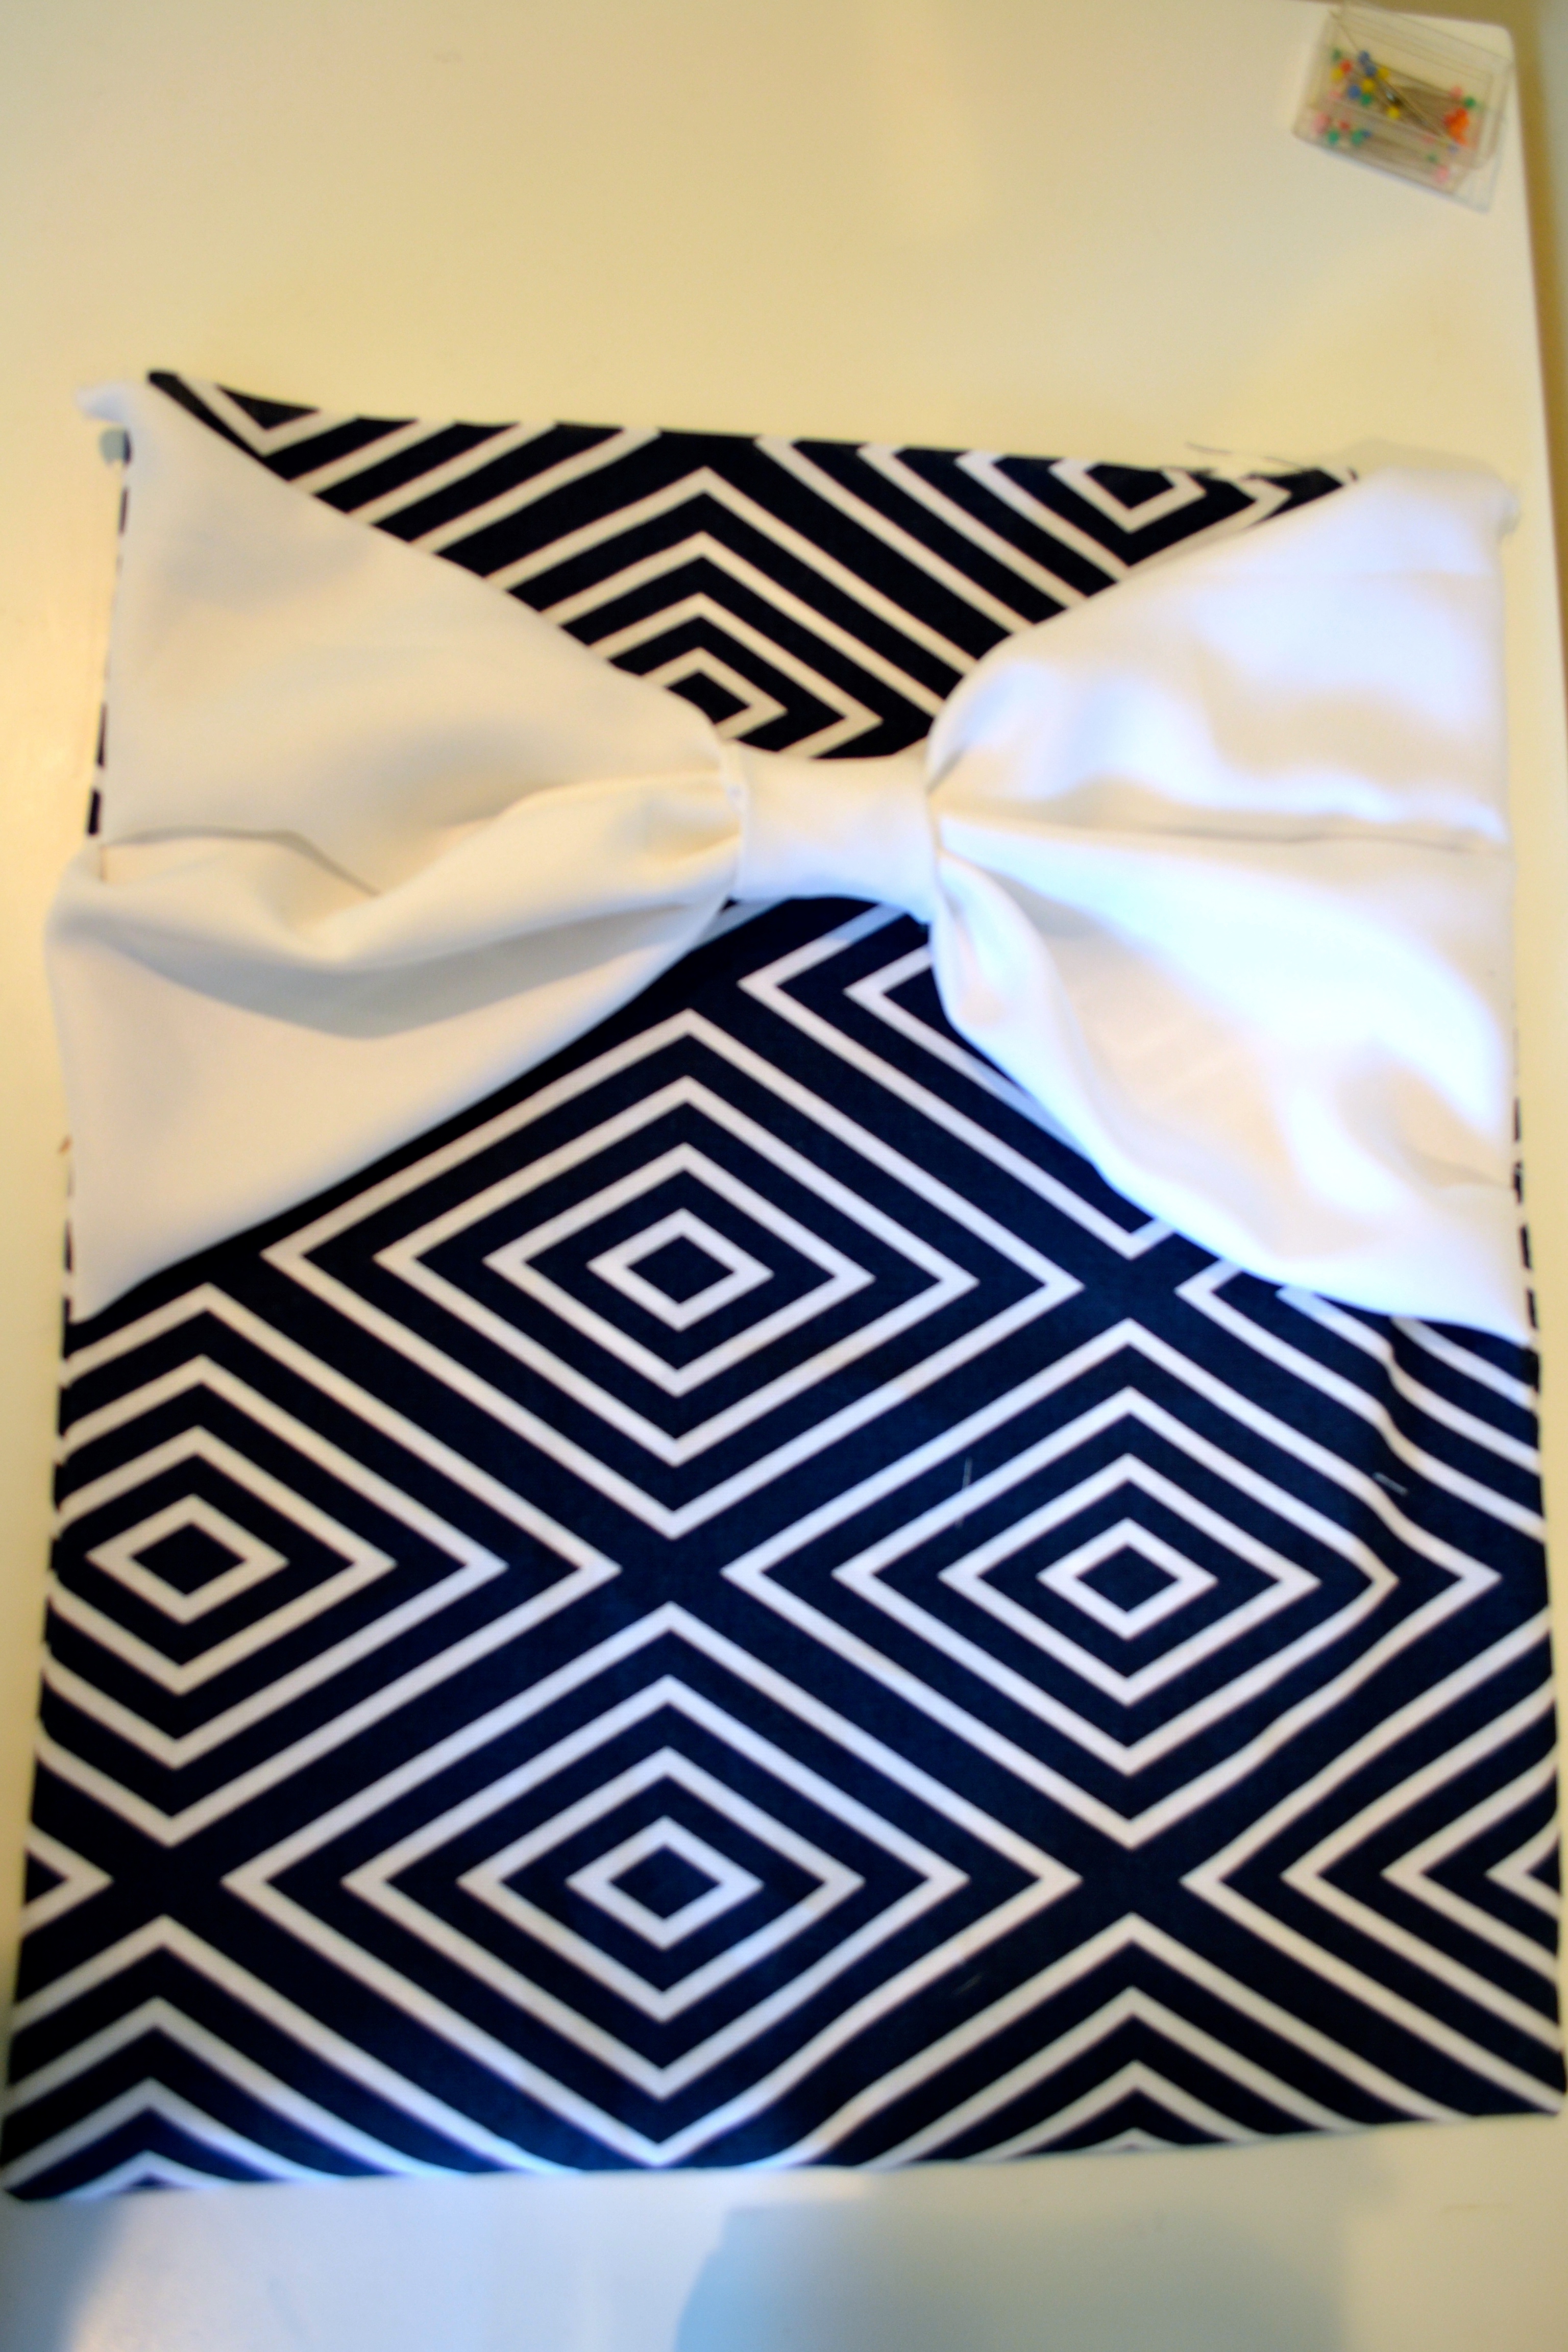
- Put the loop around one side of your bow fabric, and slide it to the center (so it looks like a bow).
- Pin the sides of the bow about 1/2 – 3/4″ from the outer edge of your bag fabric (on the FRONT side of your bag ONLY).
- Put your bag into your sewing machine (with the right sides of both the front and the back FACING each other – reverse side up), and sew the edges of the bag together.
- The two sides should still be connected at the fold at the bottom.
- When you sew the 2 sides together, make sure the bow fabric is sewn in between them as well.
- If your doing this the “no sew” way, you’ll have to use 2 separate strips of transfer tape to attach where the bow is. One strip in between the bow and the back side, and one strip in between the bow and the front side.
Step 6:

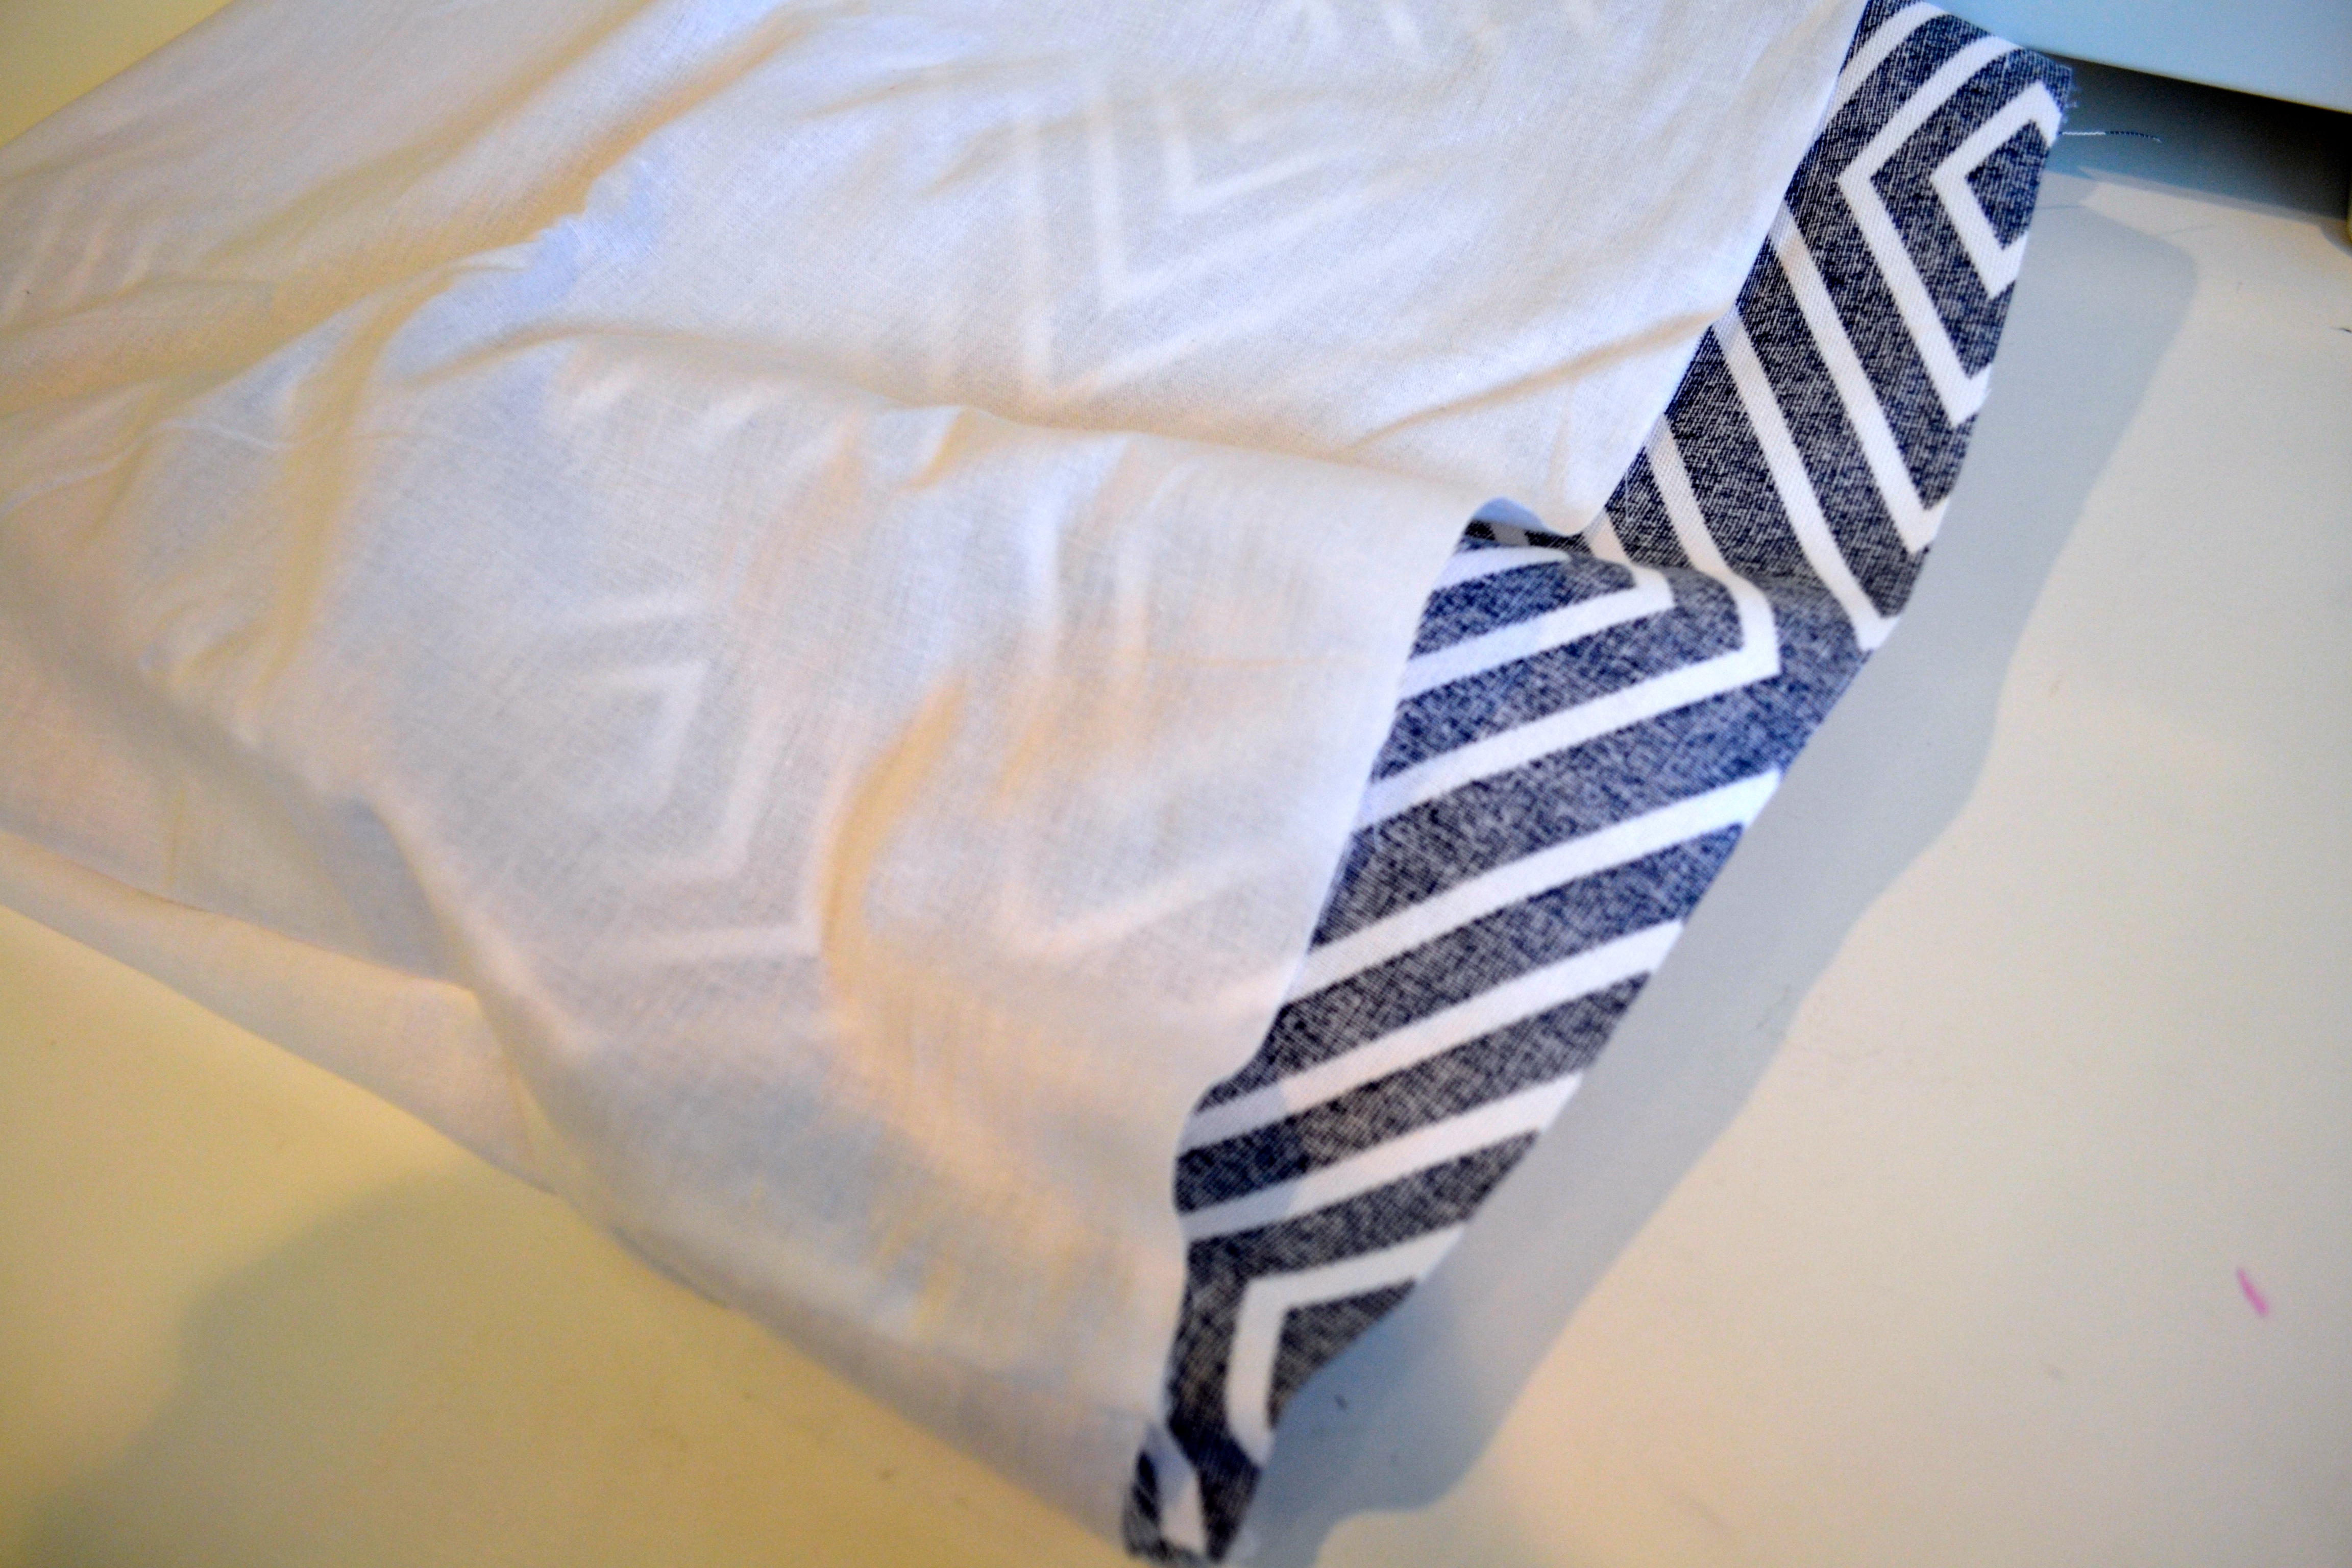
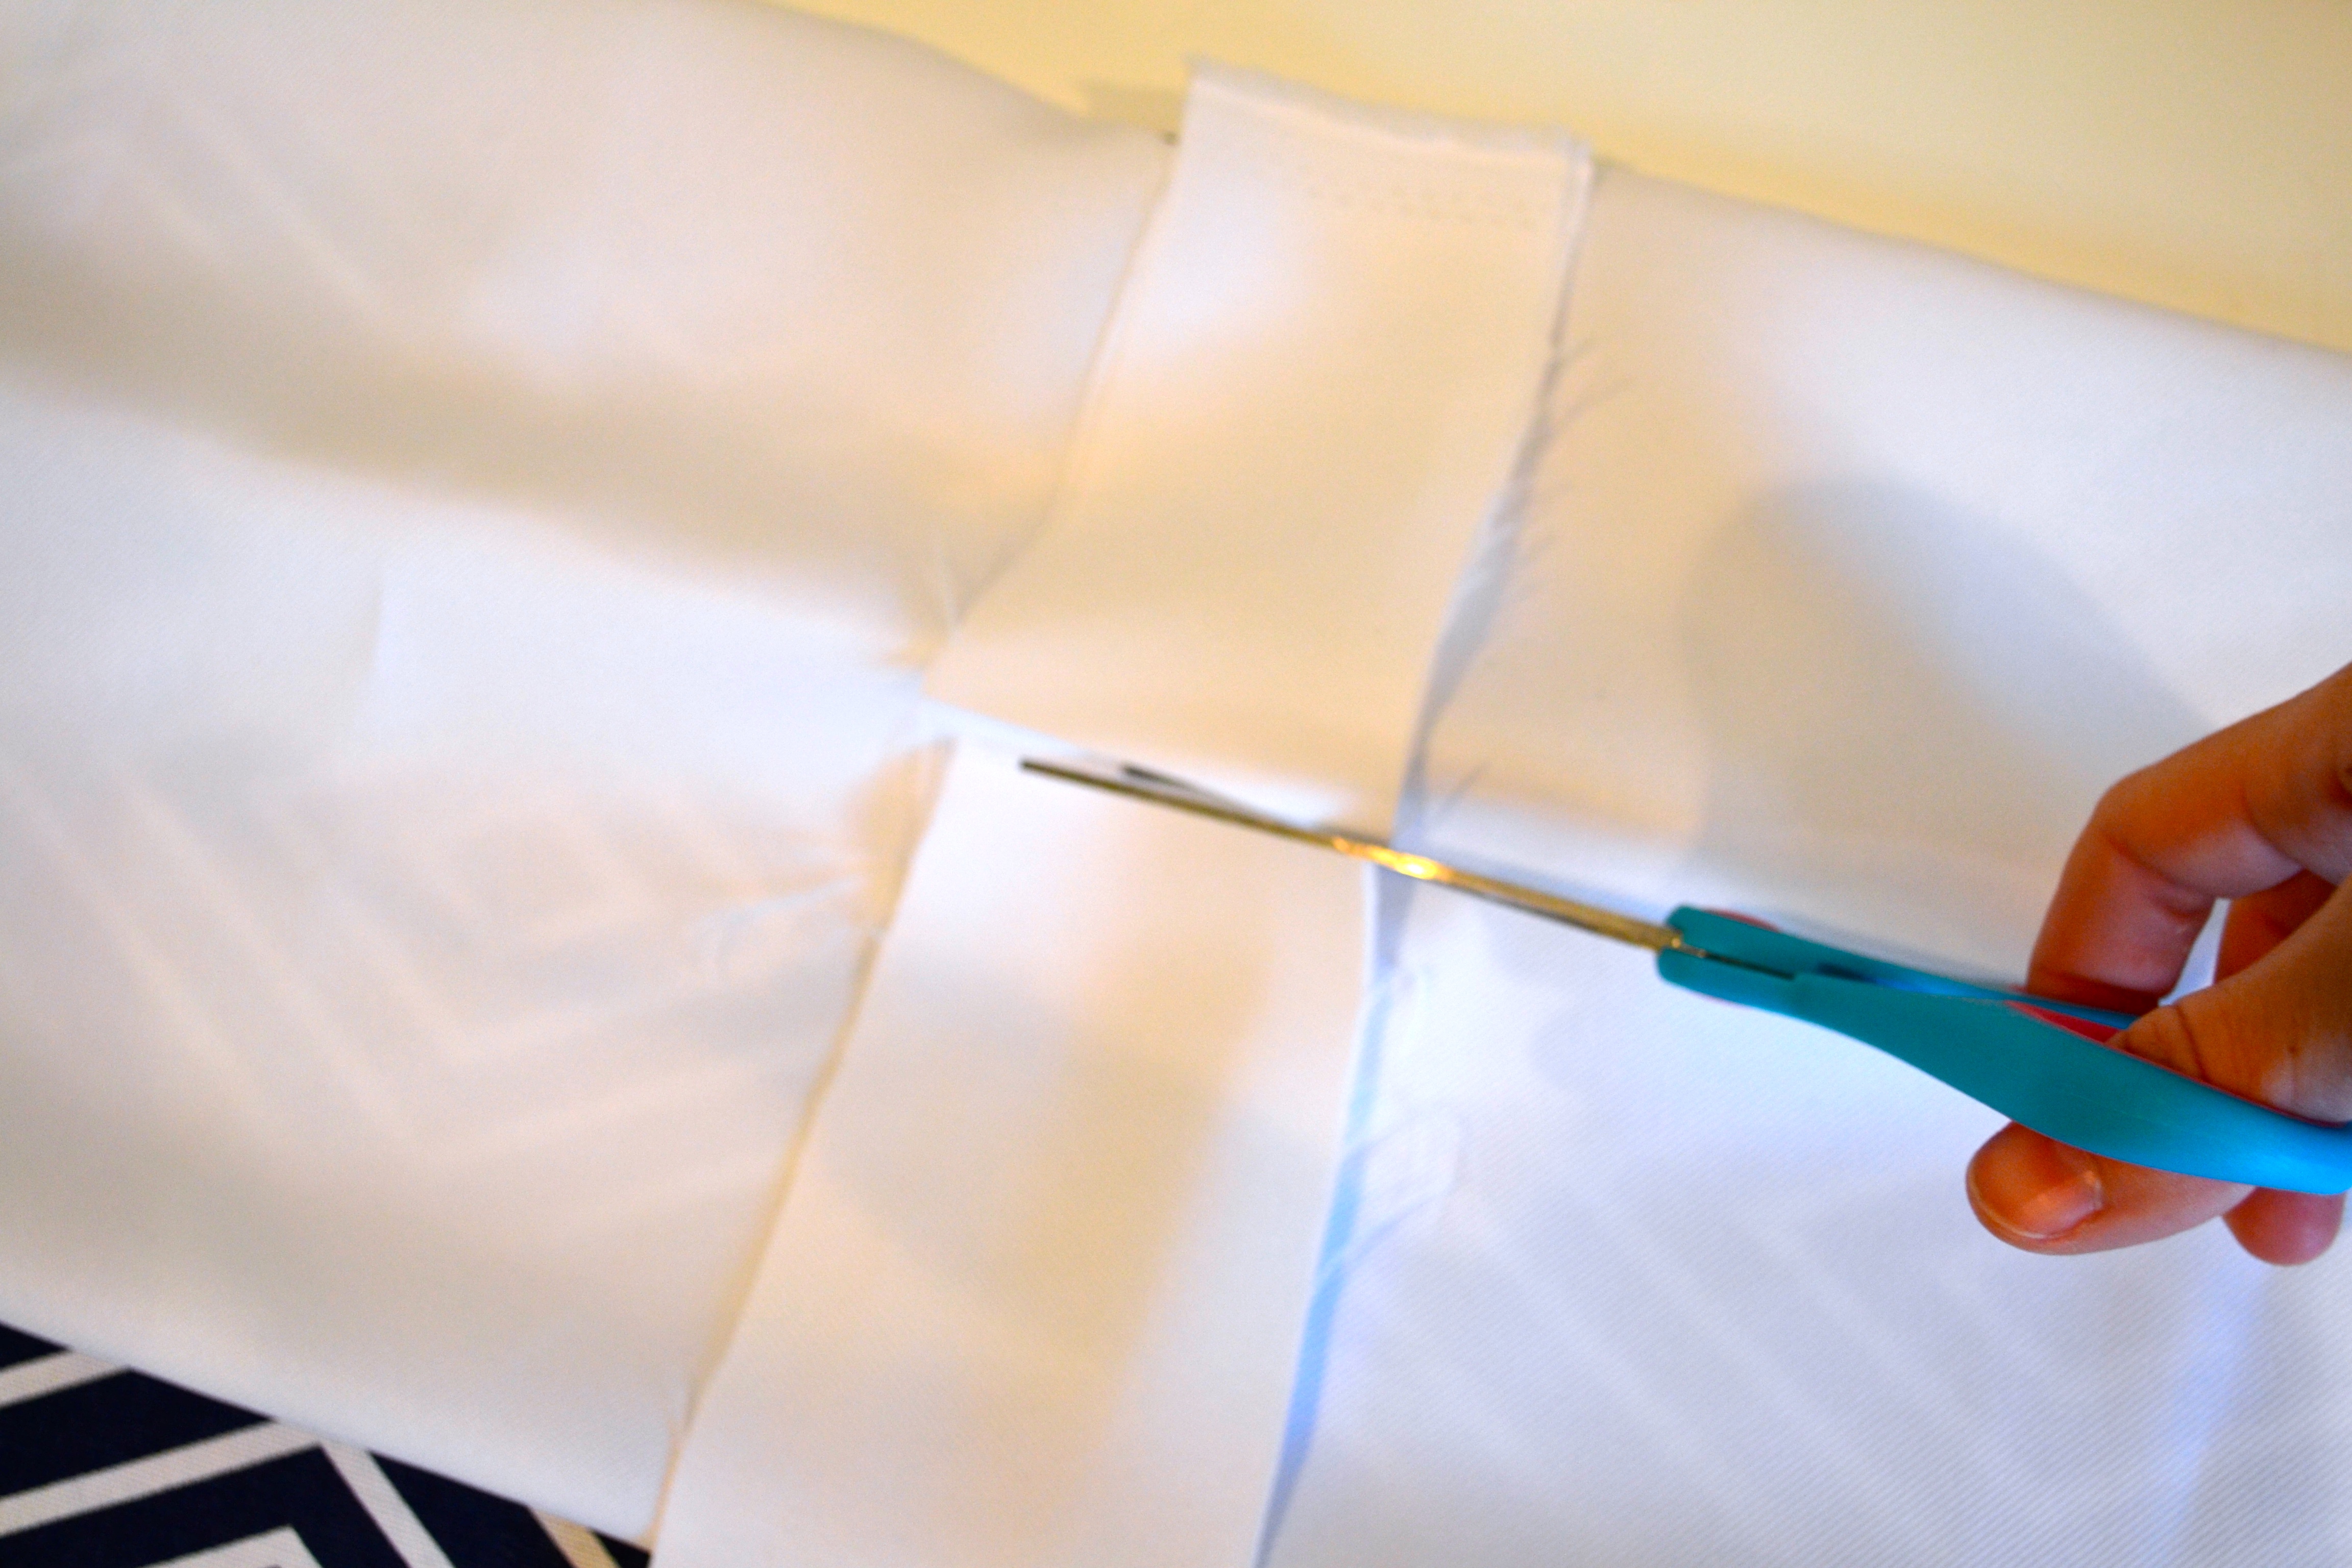
- Now, take your muslin fabric and measure it to be the same width and height as your bag fabric.
- Run it through your sewing machine the same way you did with the bag fabric, to create an inner bag with the same dimensions as your outer bag.
- Once the sides are sewn together, turn the muslin right side out.
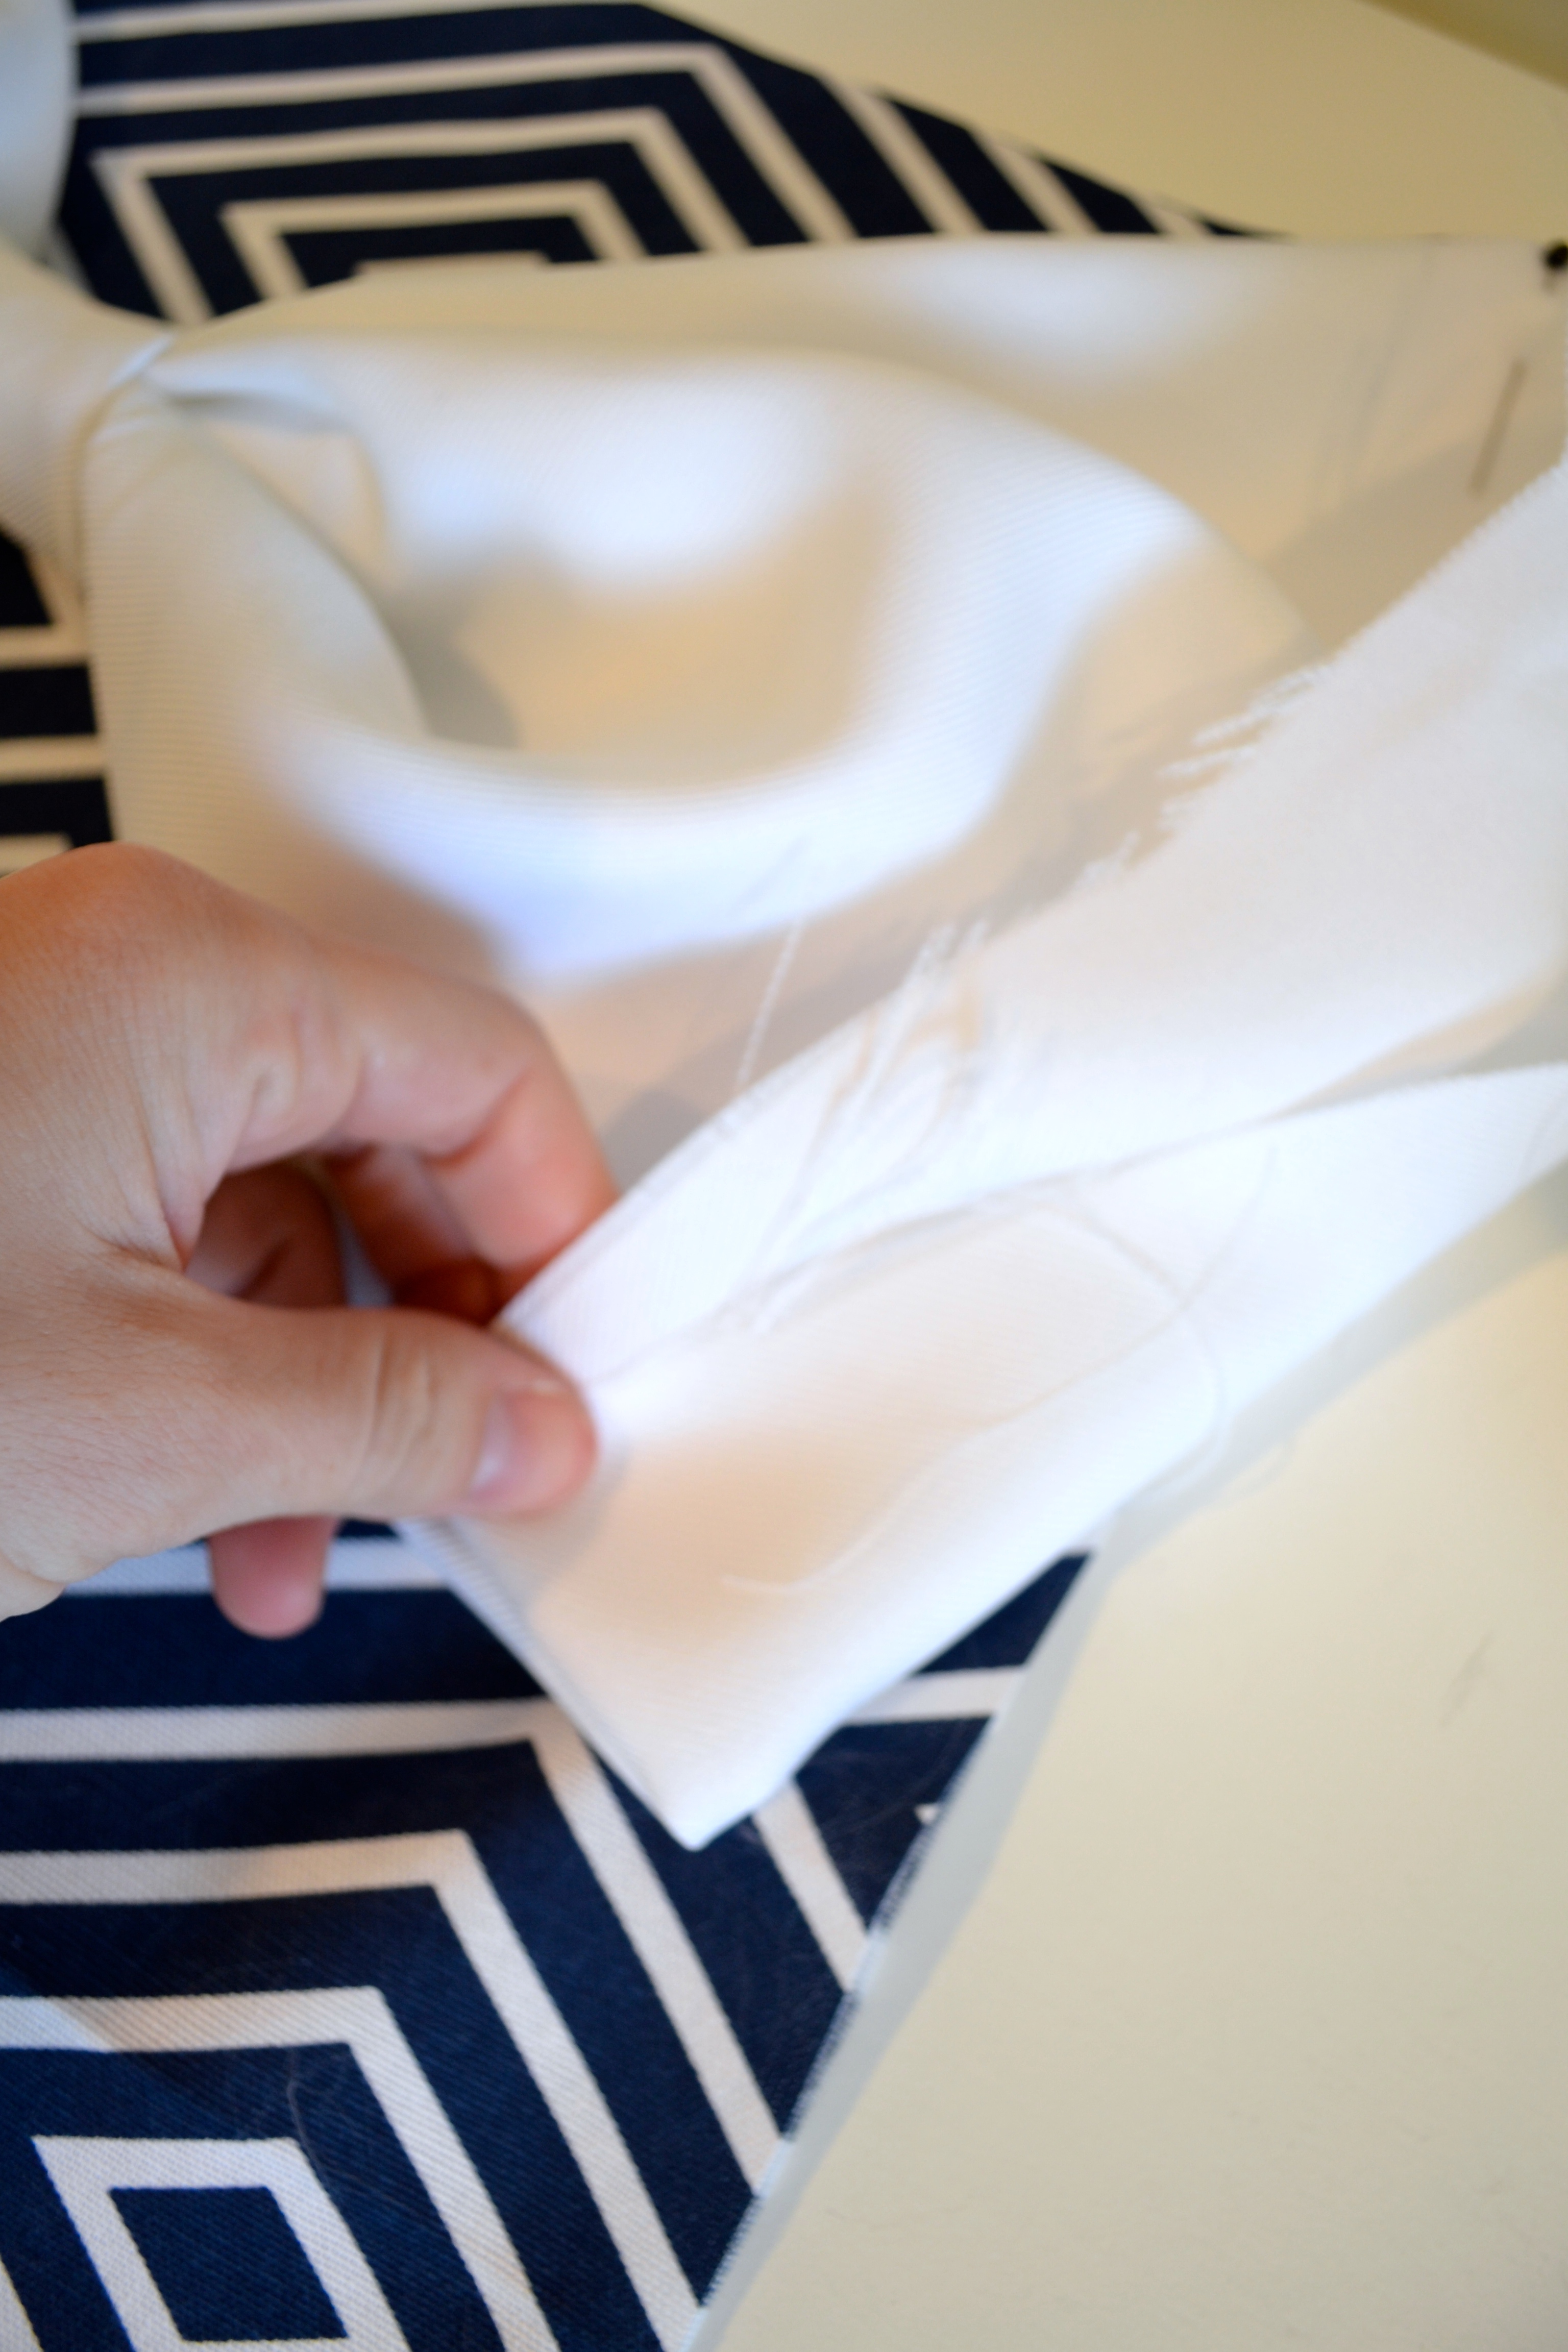
- With your bag fabric still turned inside out, slip the muslin back over the inside of your real bag.
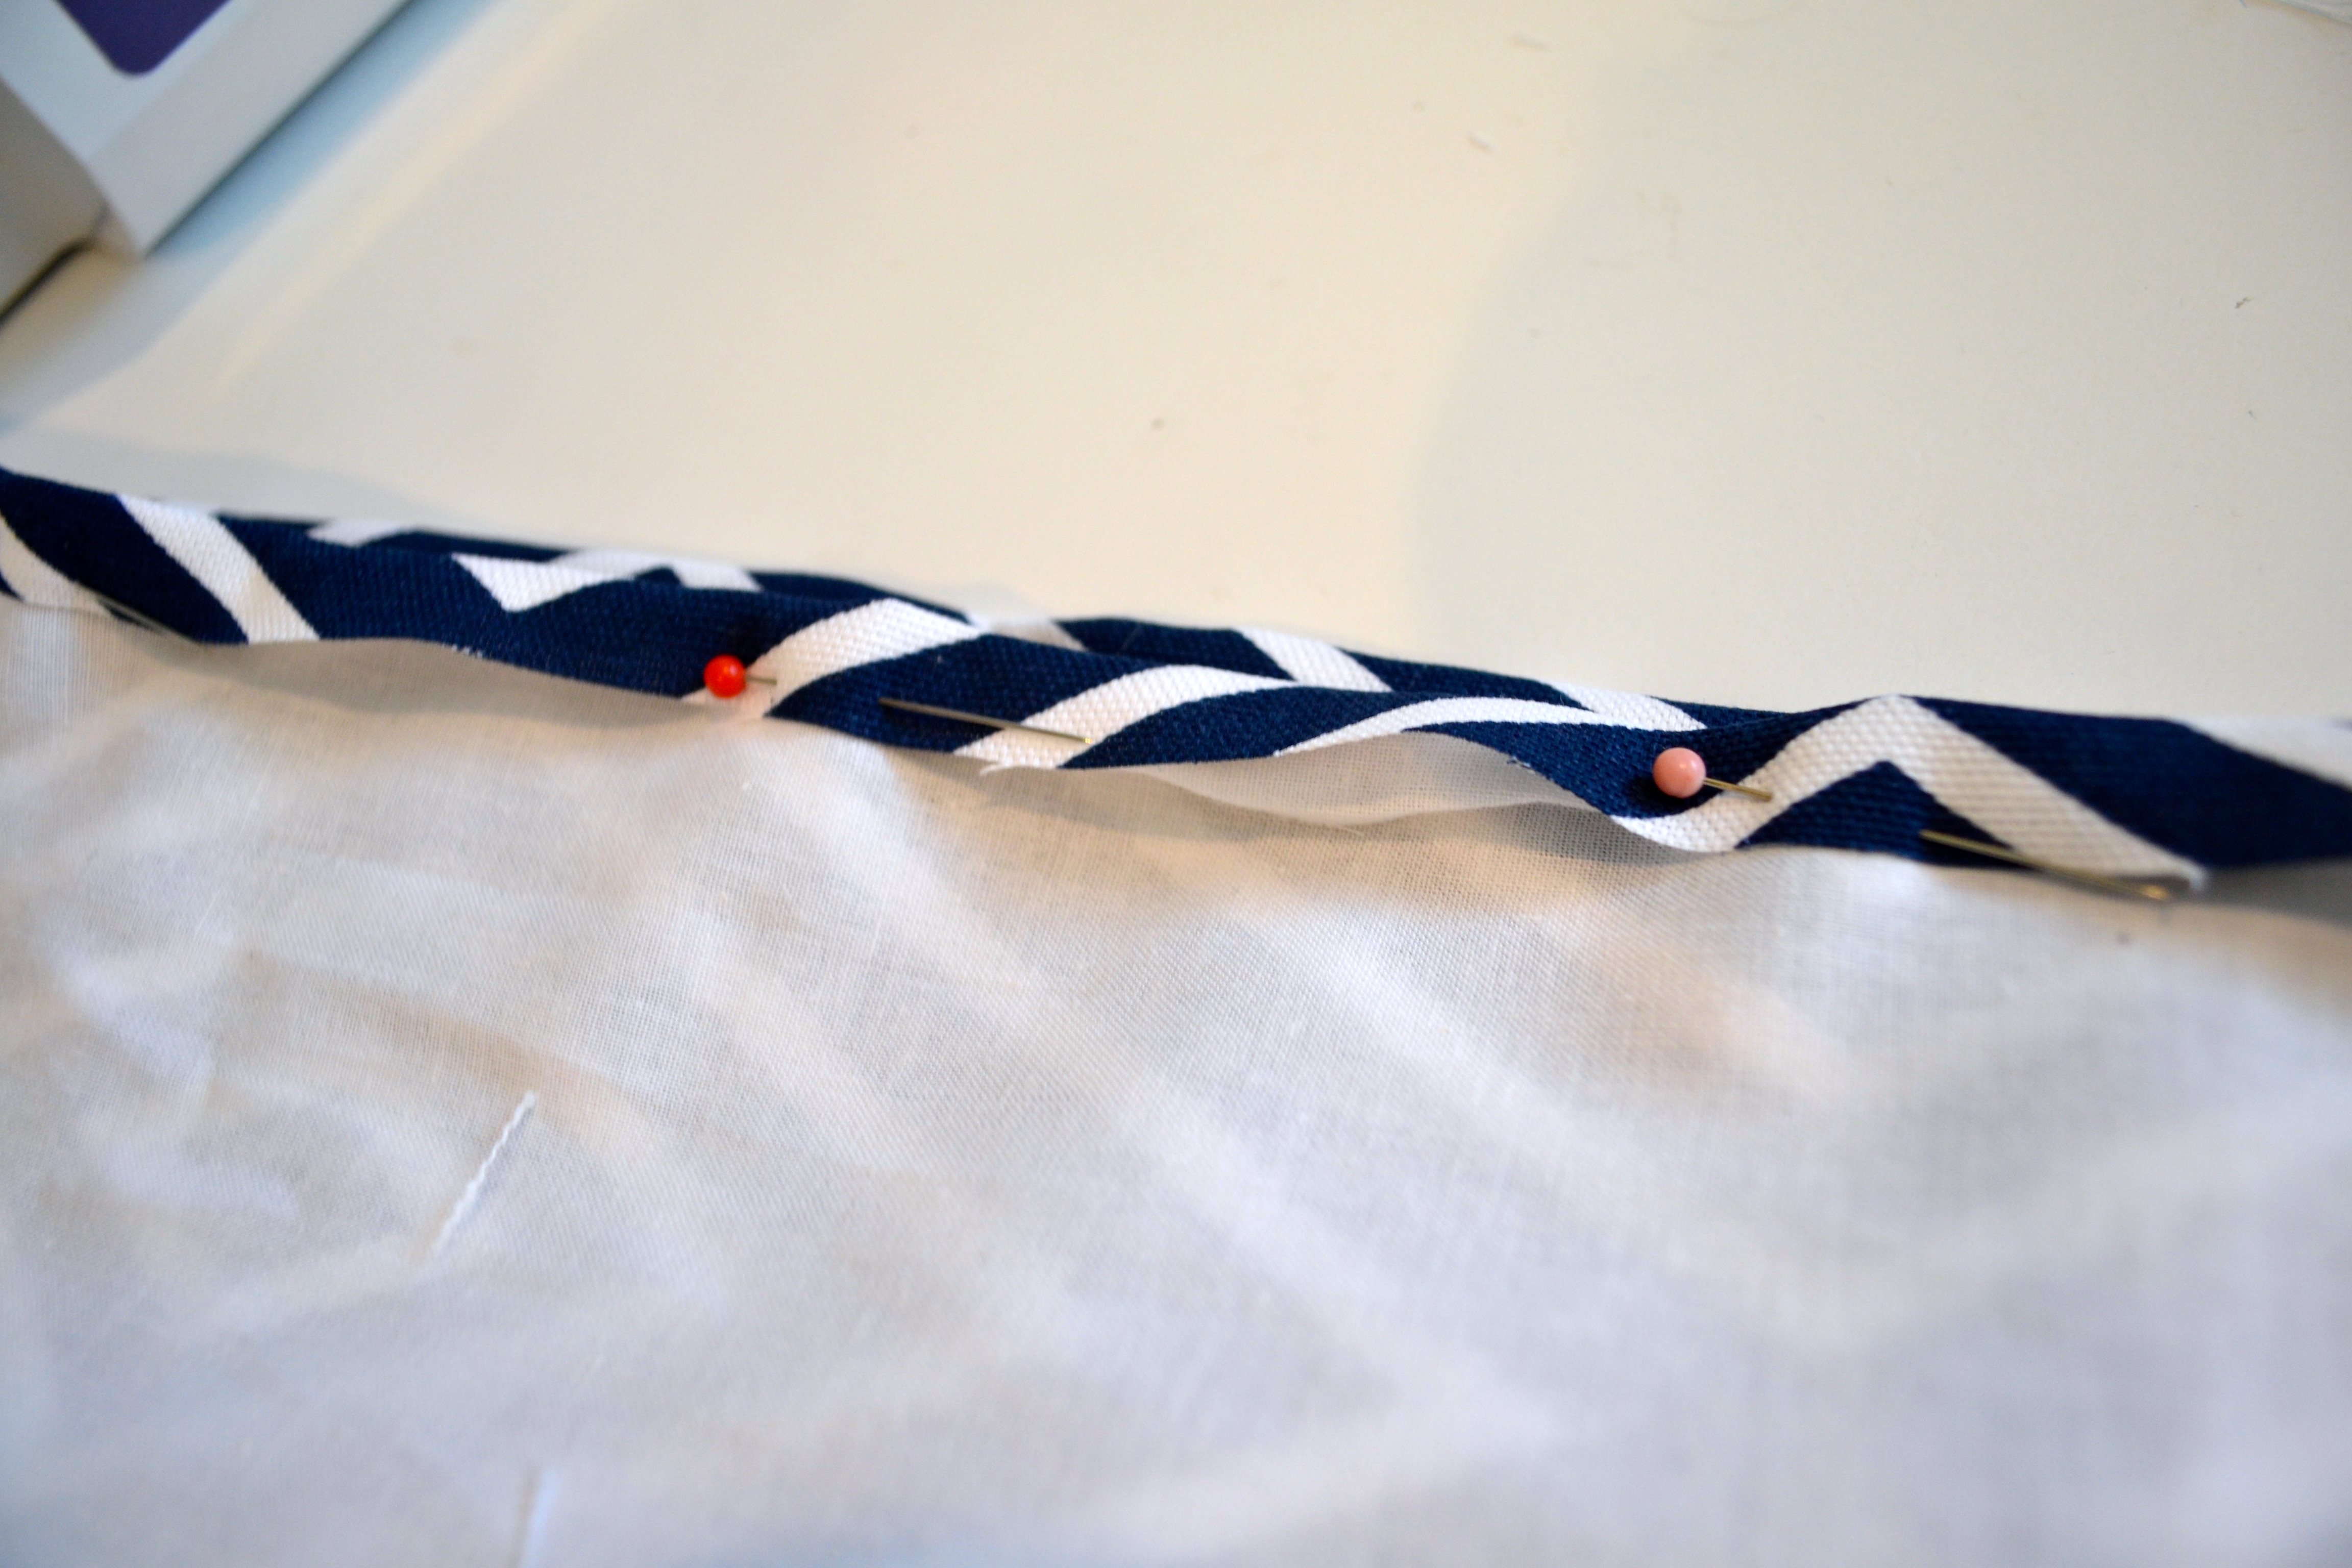
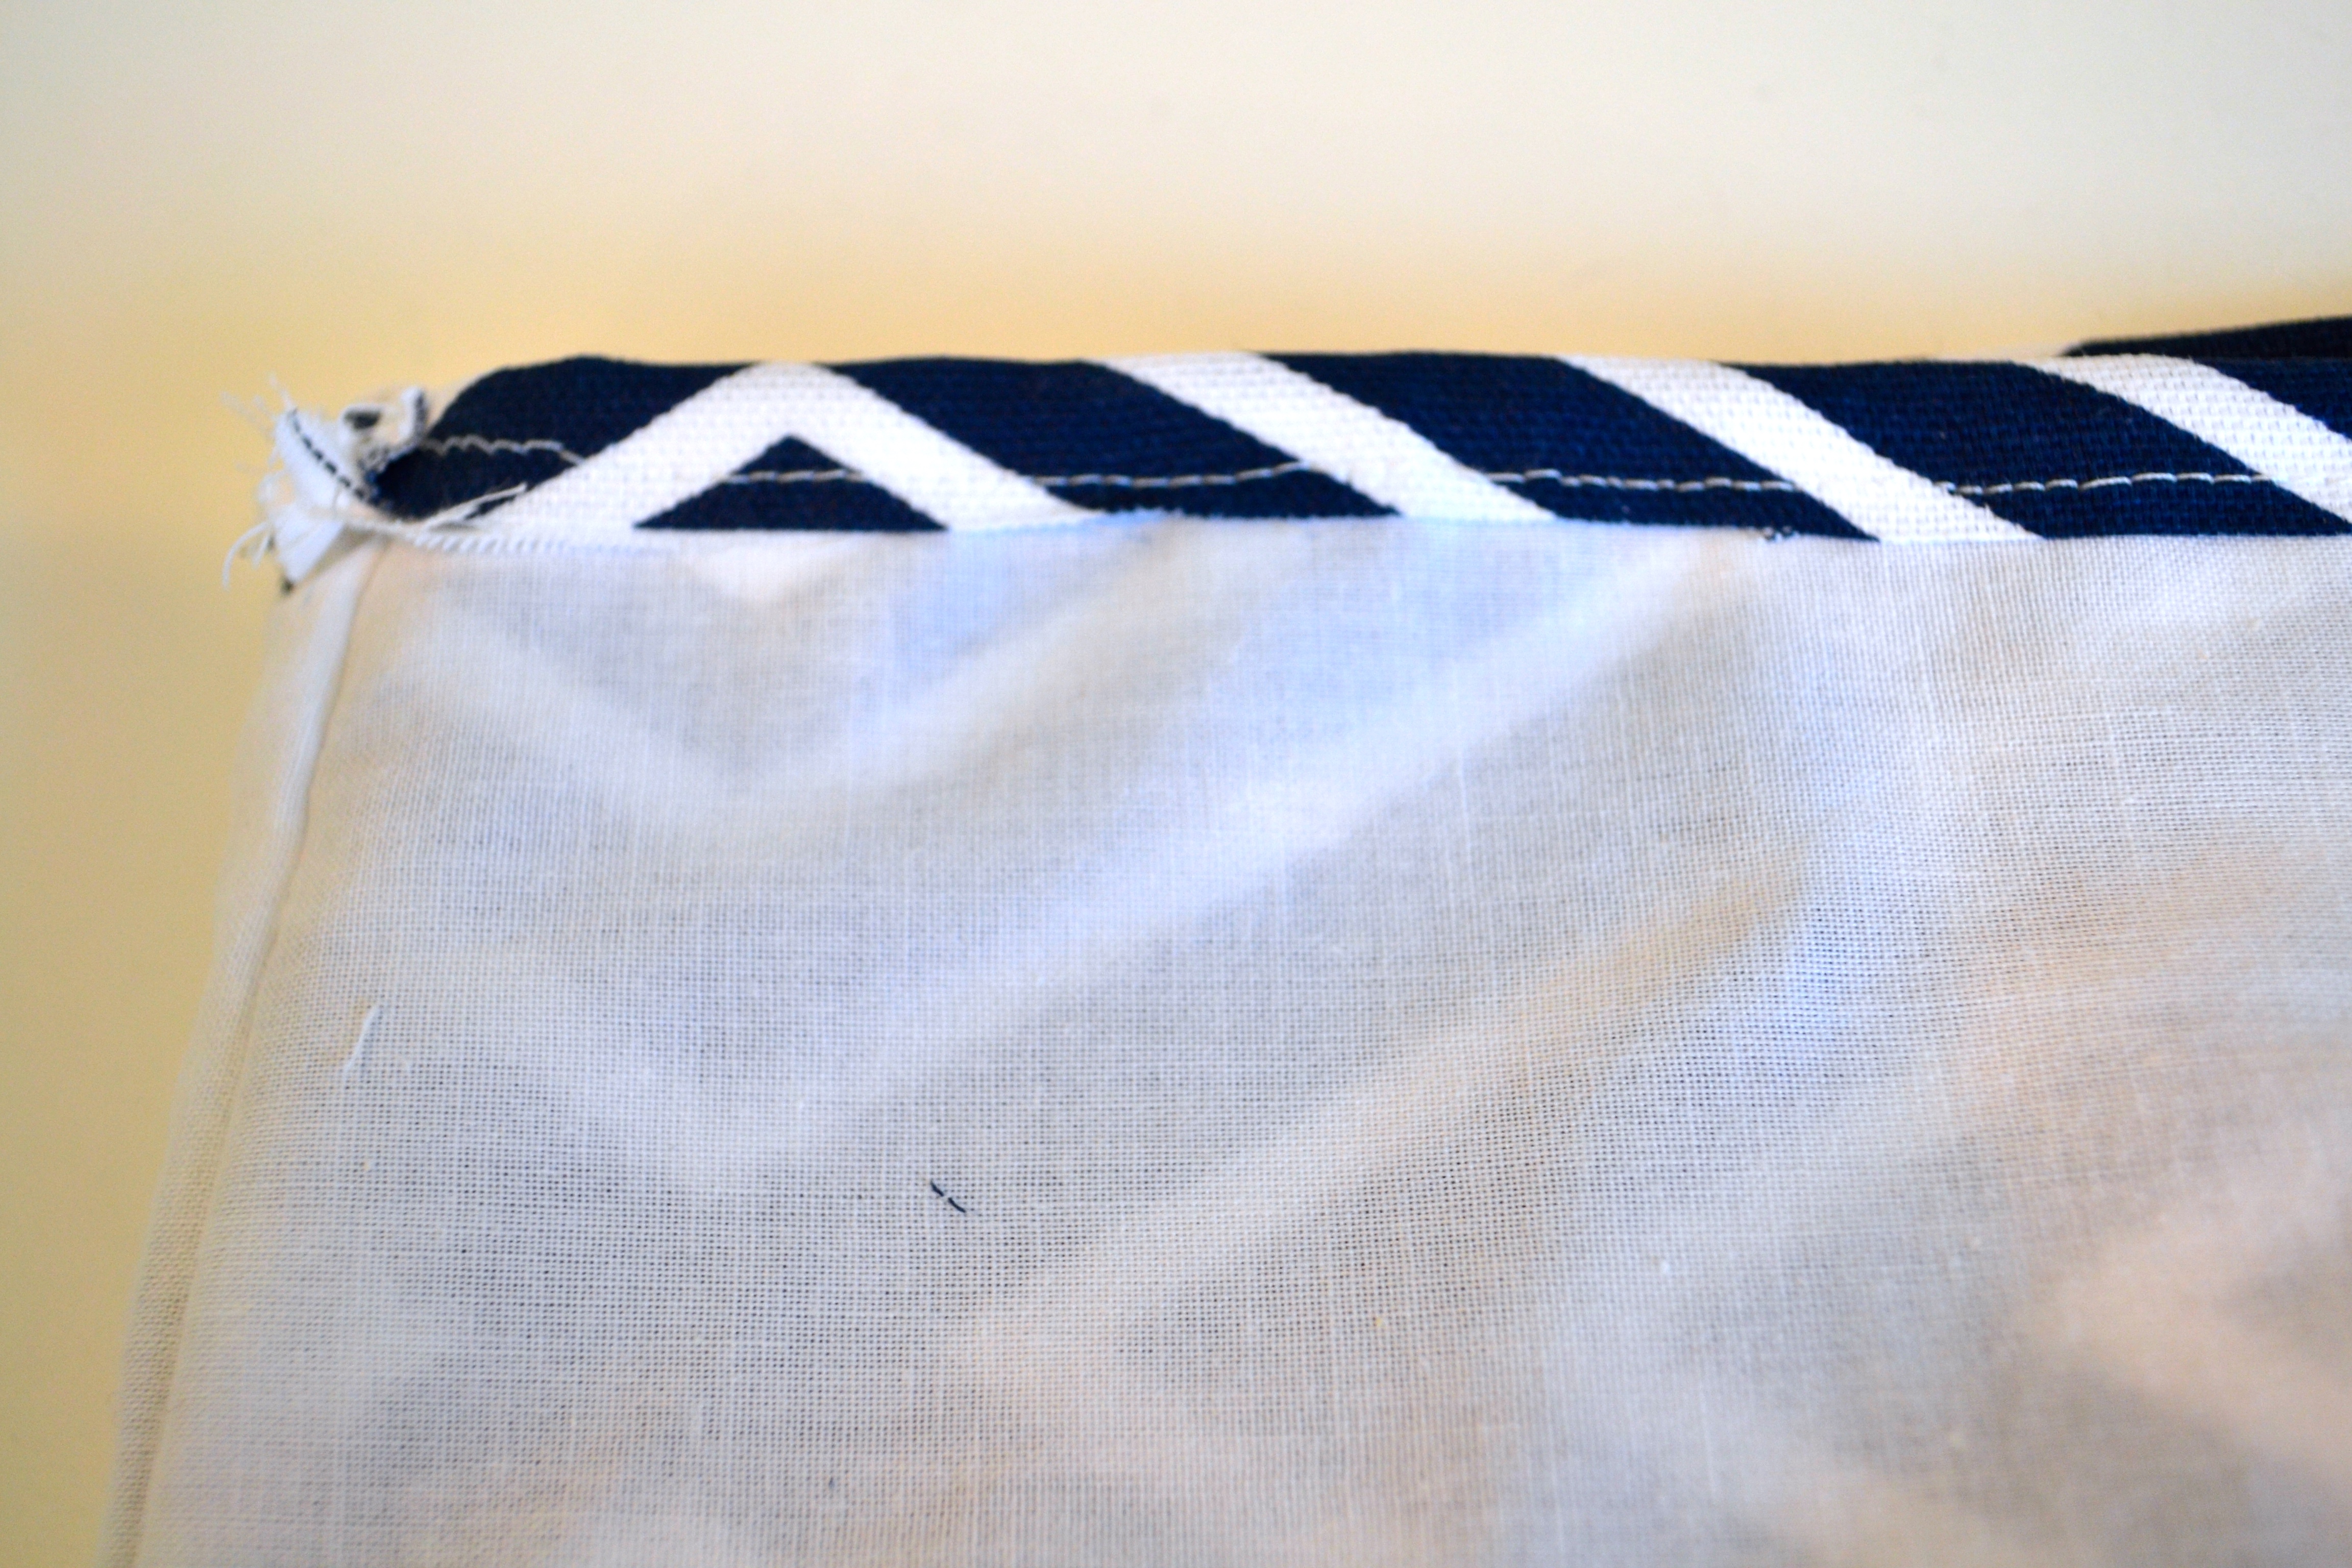
- Fold the top of your bag fabric over the top of the muslin fabric, and pin the edges down.
- Then, run the seam through your sewing machine, so that both fabrics are sewn together (and the seams are facing inward so you can’t see them.
Step 7:
- Take your eyelets, and place them exactly where you’ll want them to go on the outside of your bag.
- Take a parker and mark around the center of the eyelet, the opening.
- Do this for all 4 eyelets.
- Get your scissors, and carefully cut the fabric where the opening of the eyelet will go (for all 4 eyelets).
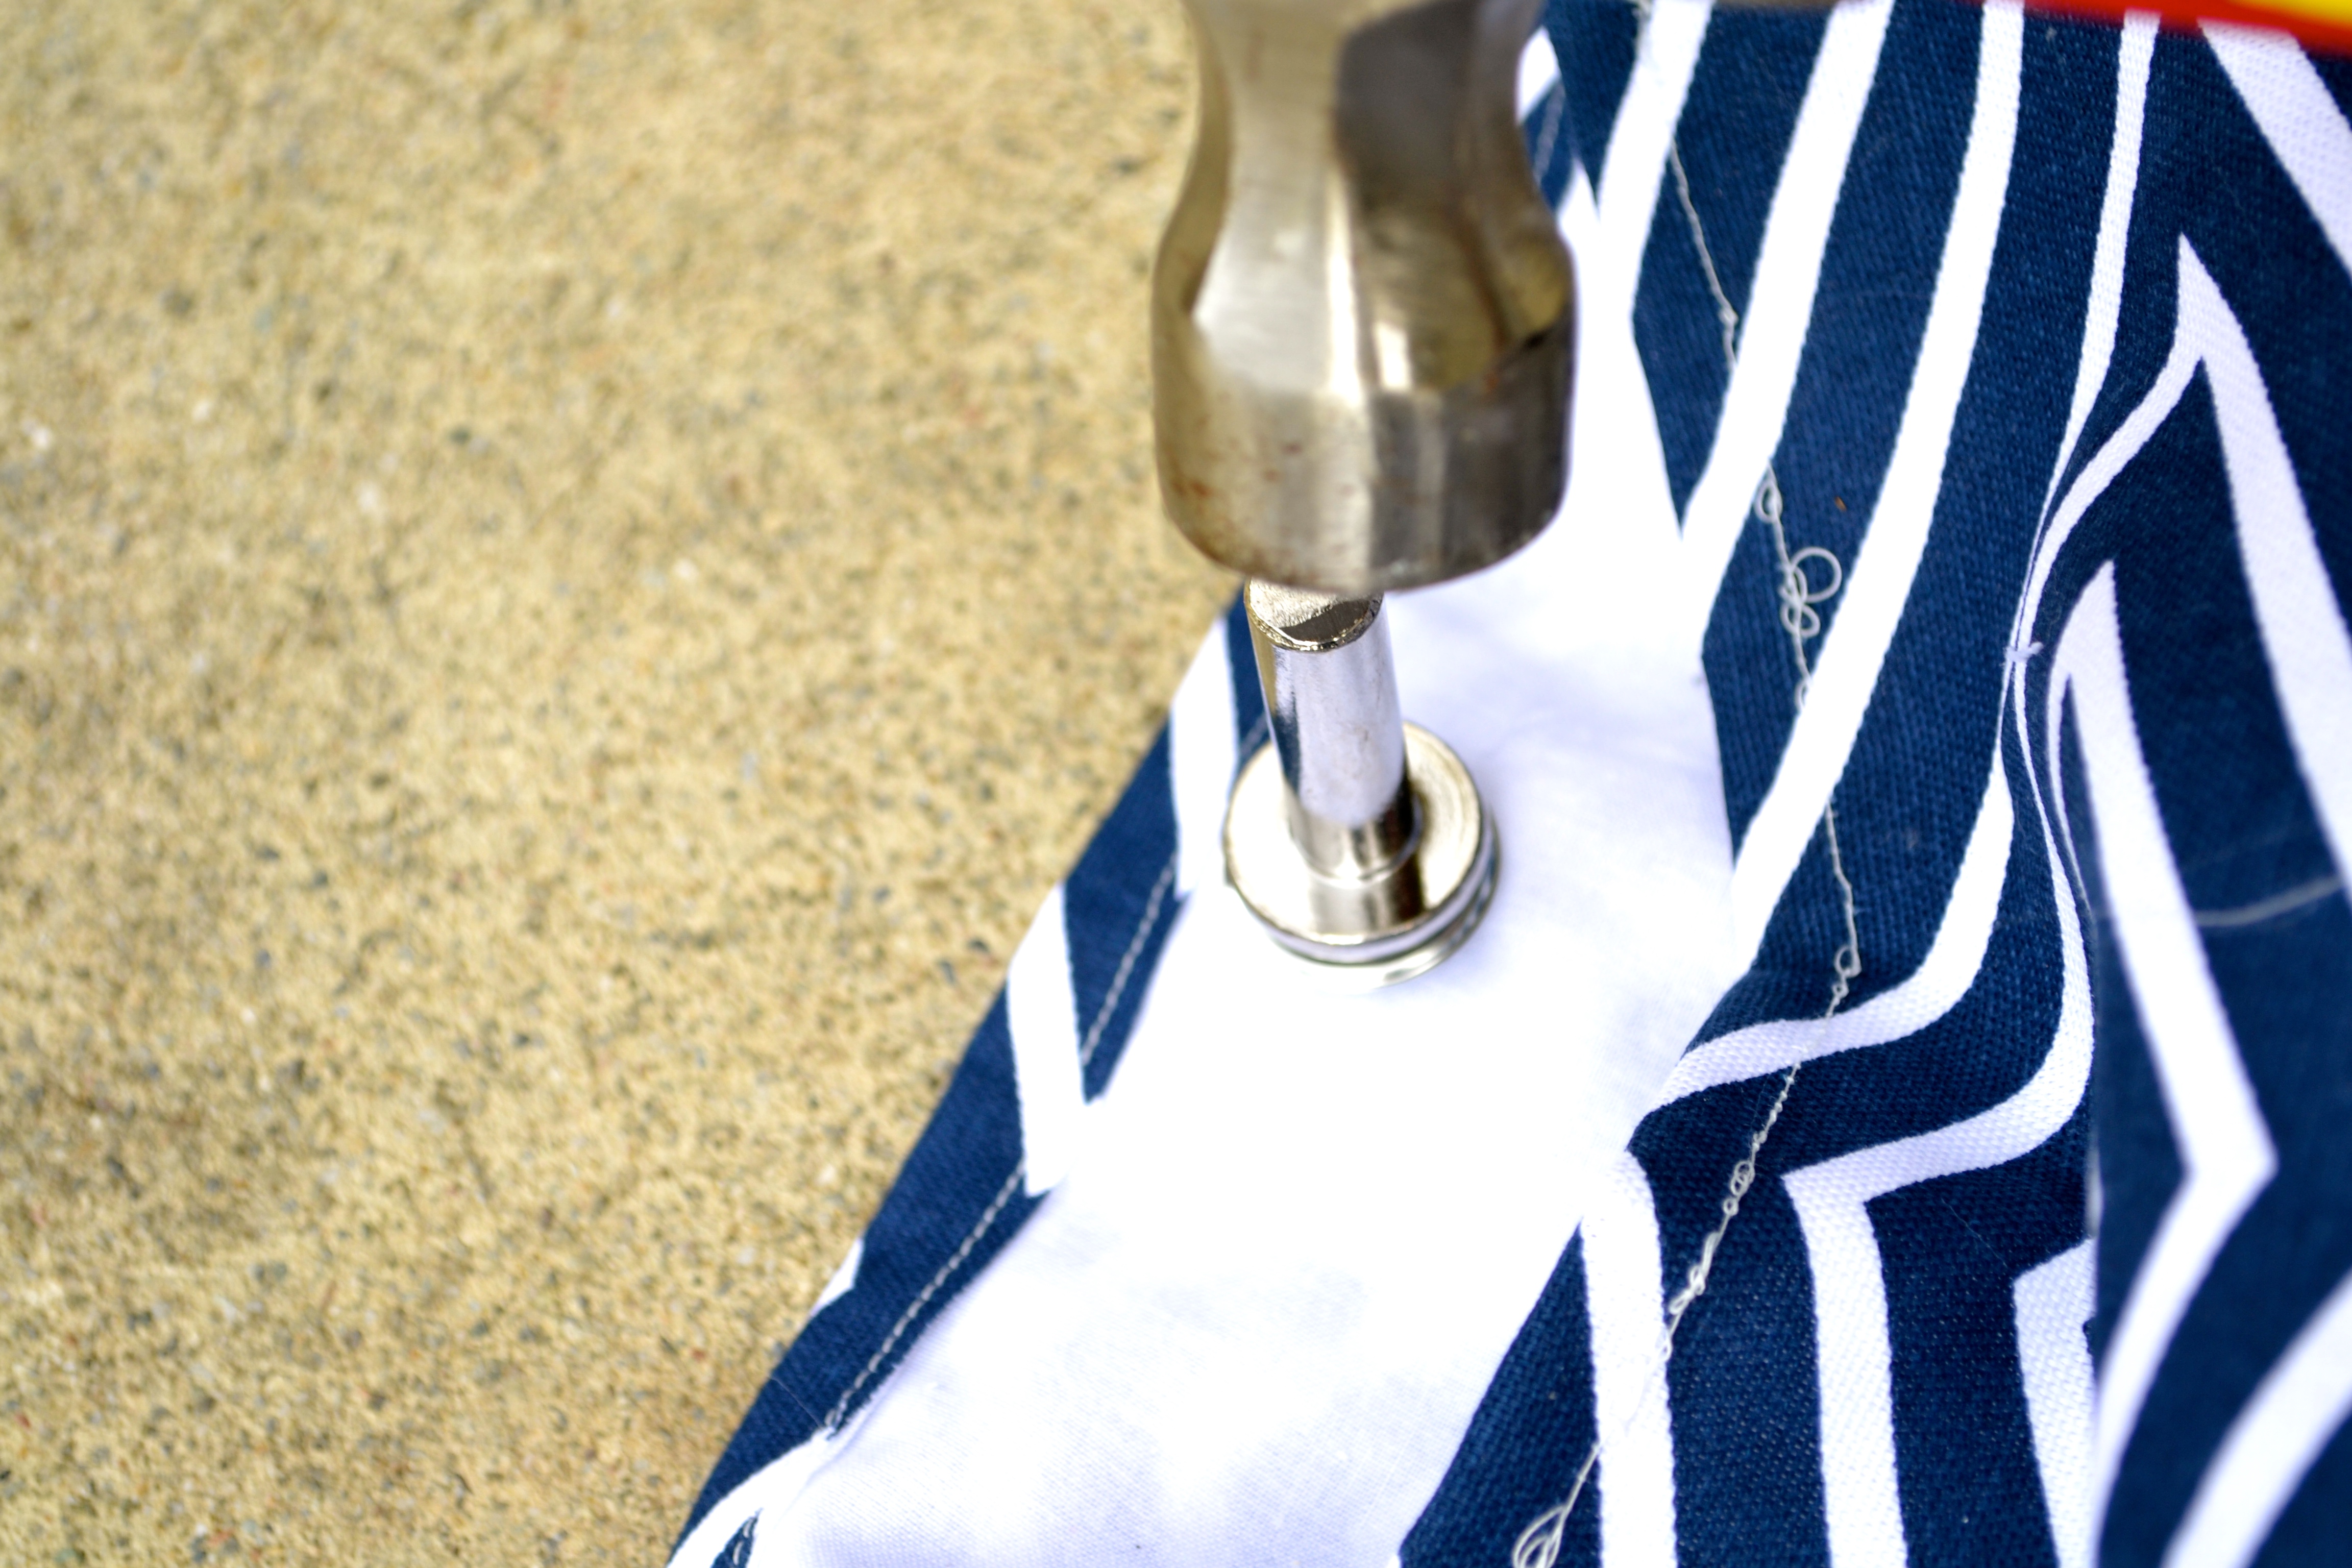
- Now, so outside on the concrete, place each eyelet exactly where you cut the fabric – and follow the instructions on your eyelets to hammer the 2 side of the eyelet together.
- I must warn you, you MUST do this on concrete. Tables are not hard or sturdy enough for the amount of force you need to hammer the 2 sides of the eyelets together.
Step 8:
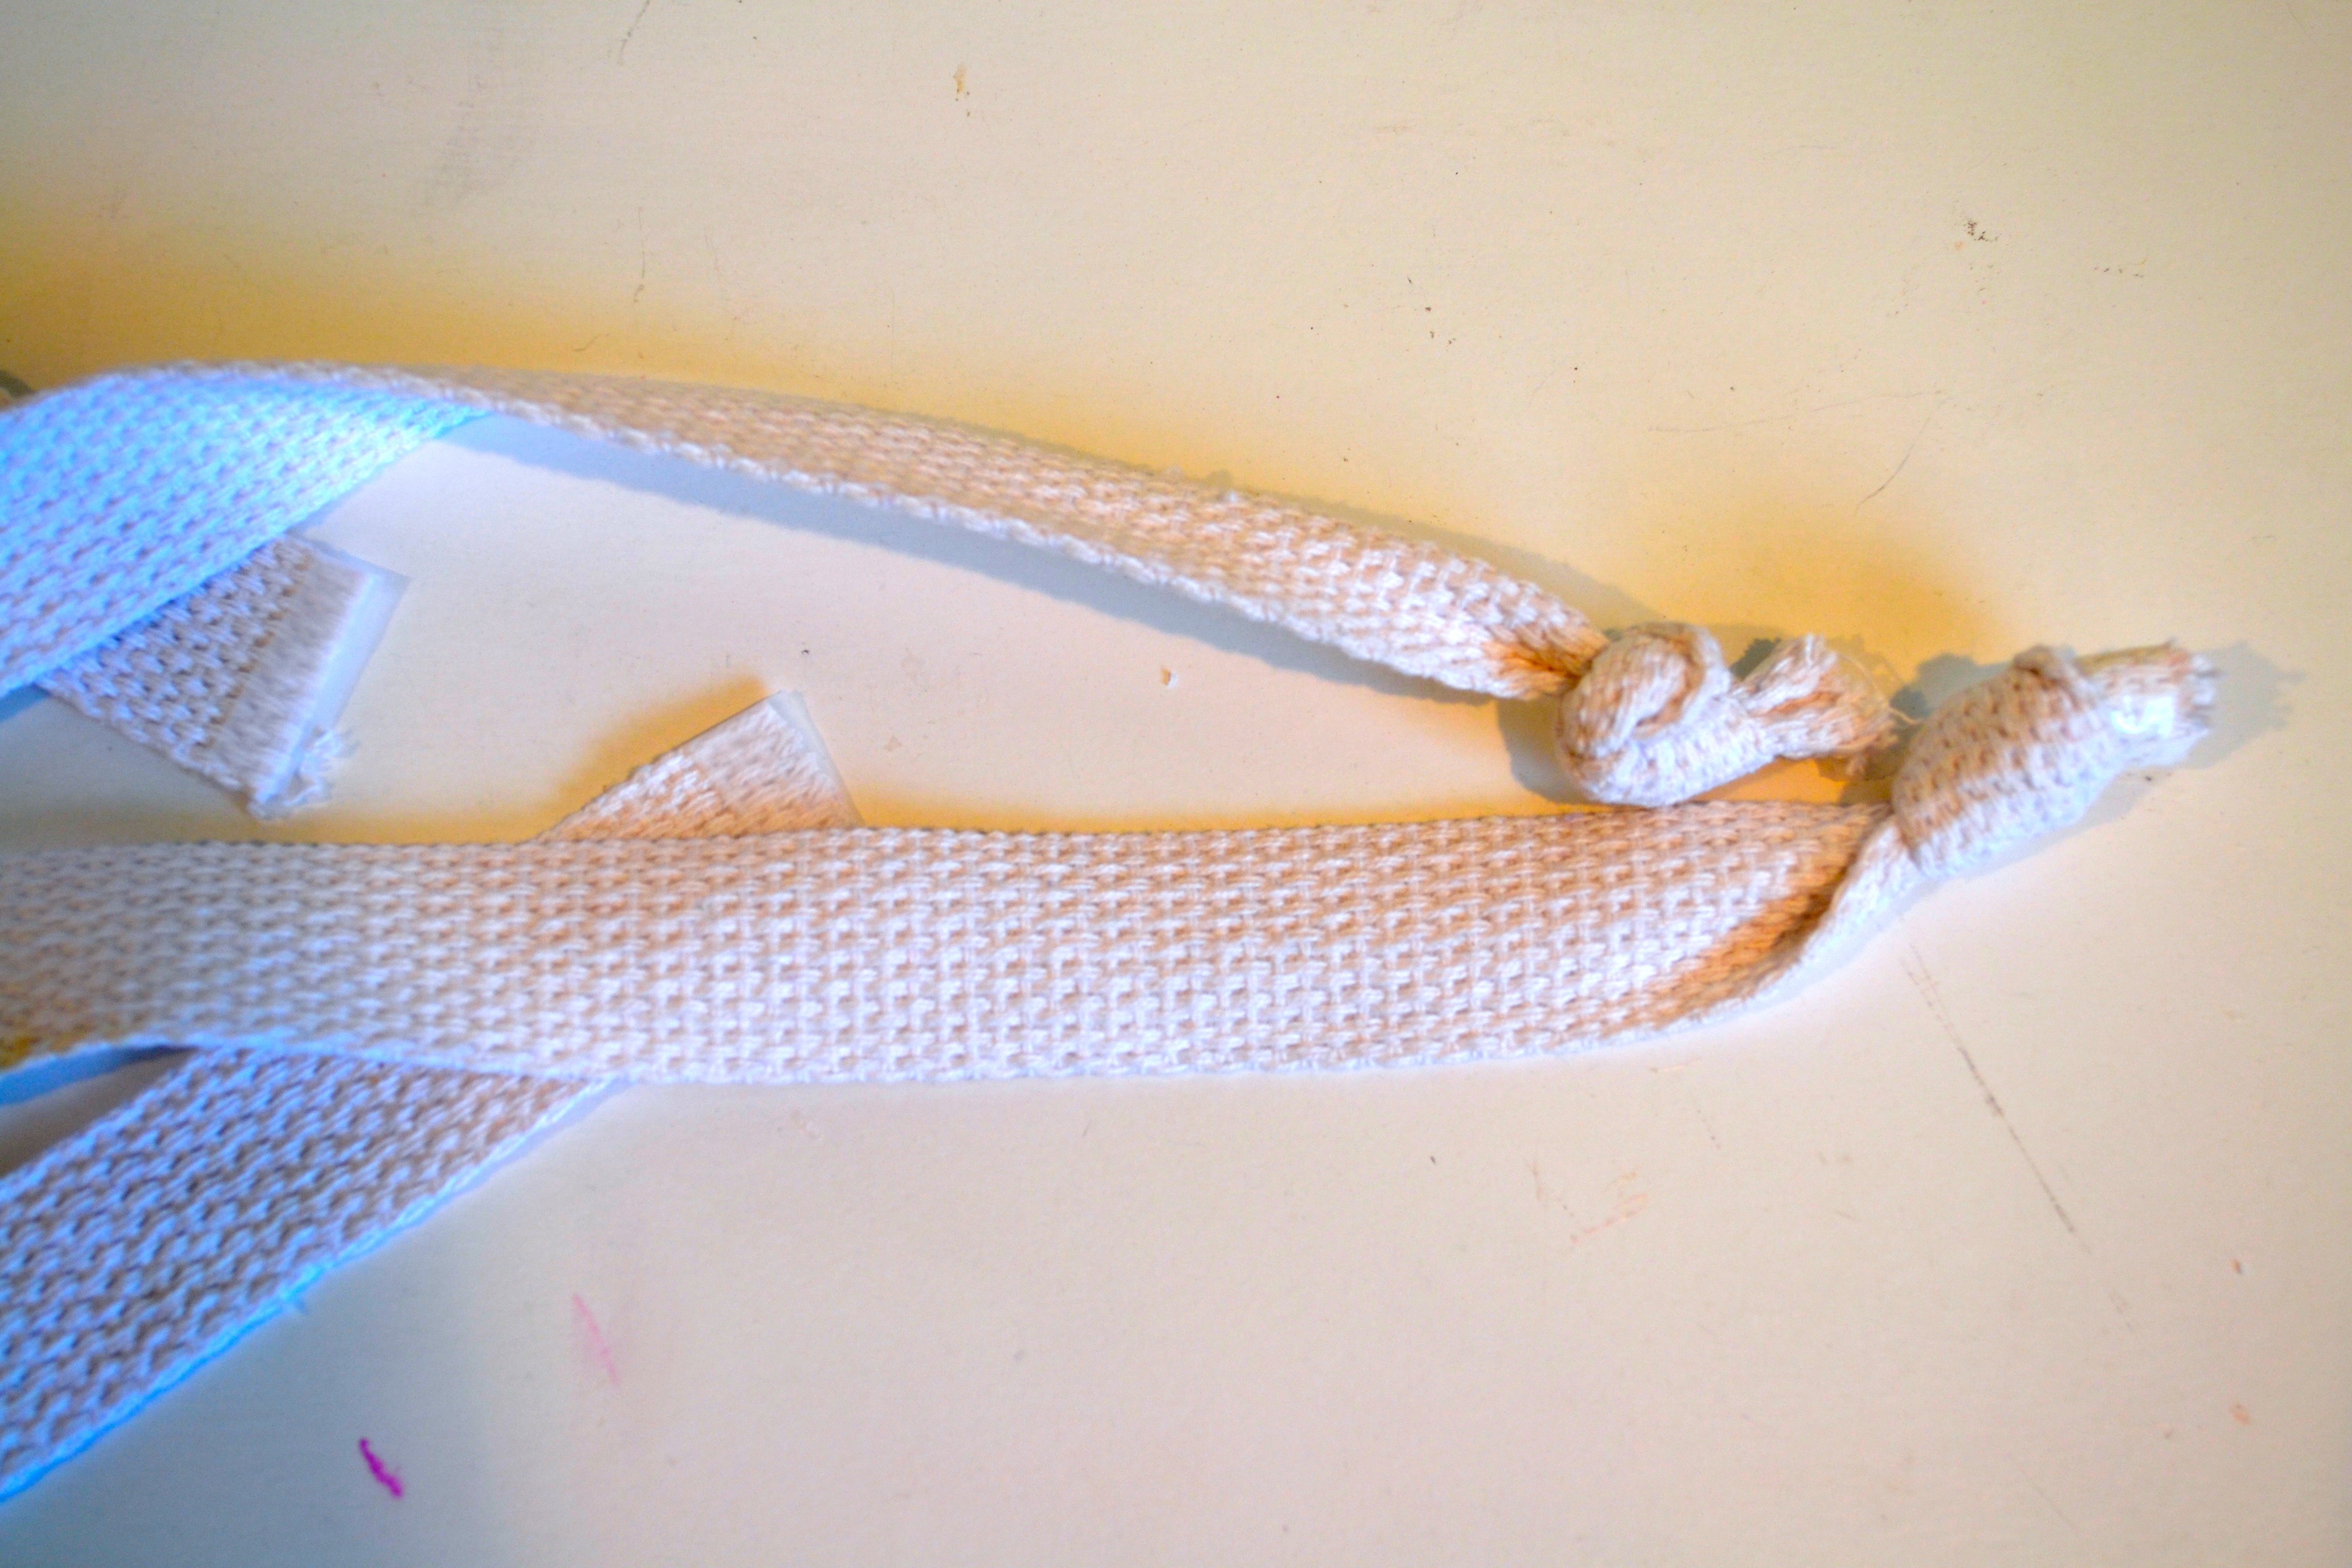

- Once the eyelets are set, take your braided ribbon/rope, and cut it in half.
- Then, take one end on each piece you cut, and tie a knot in it.
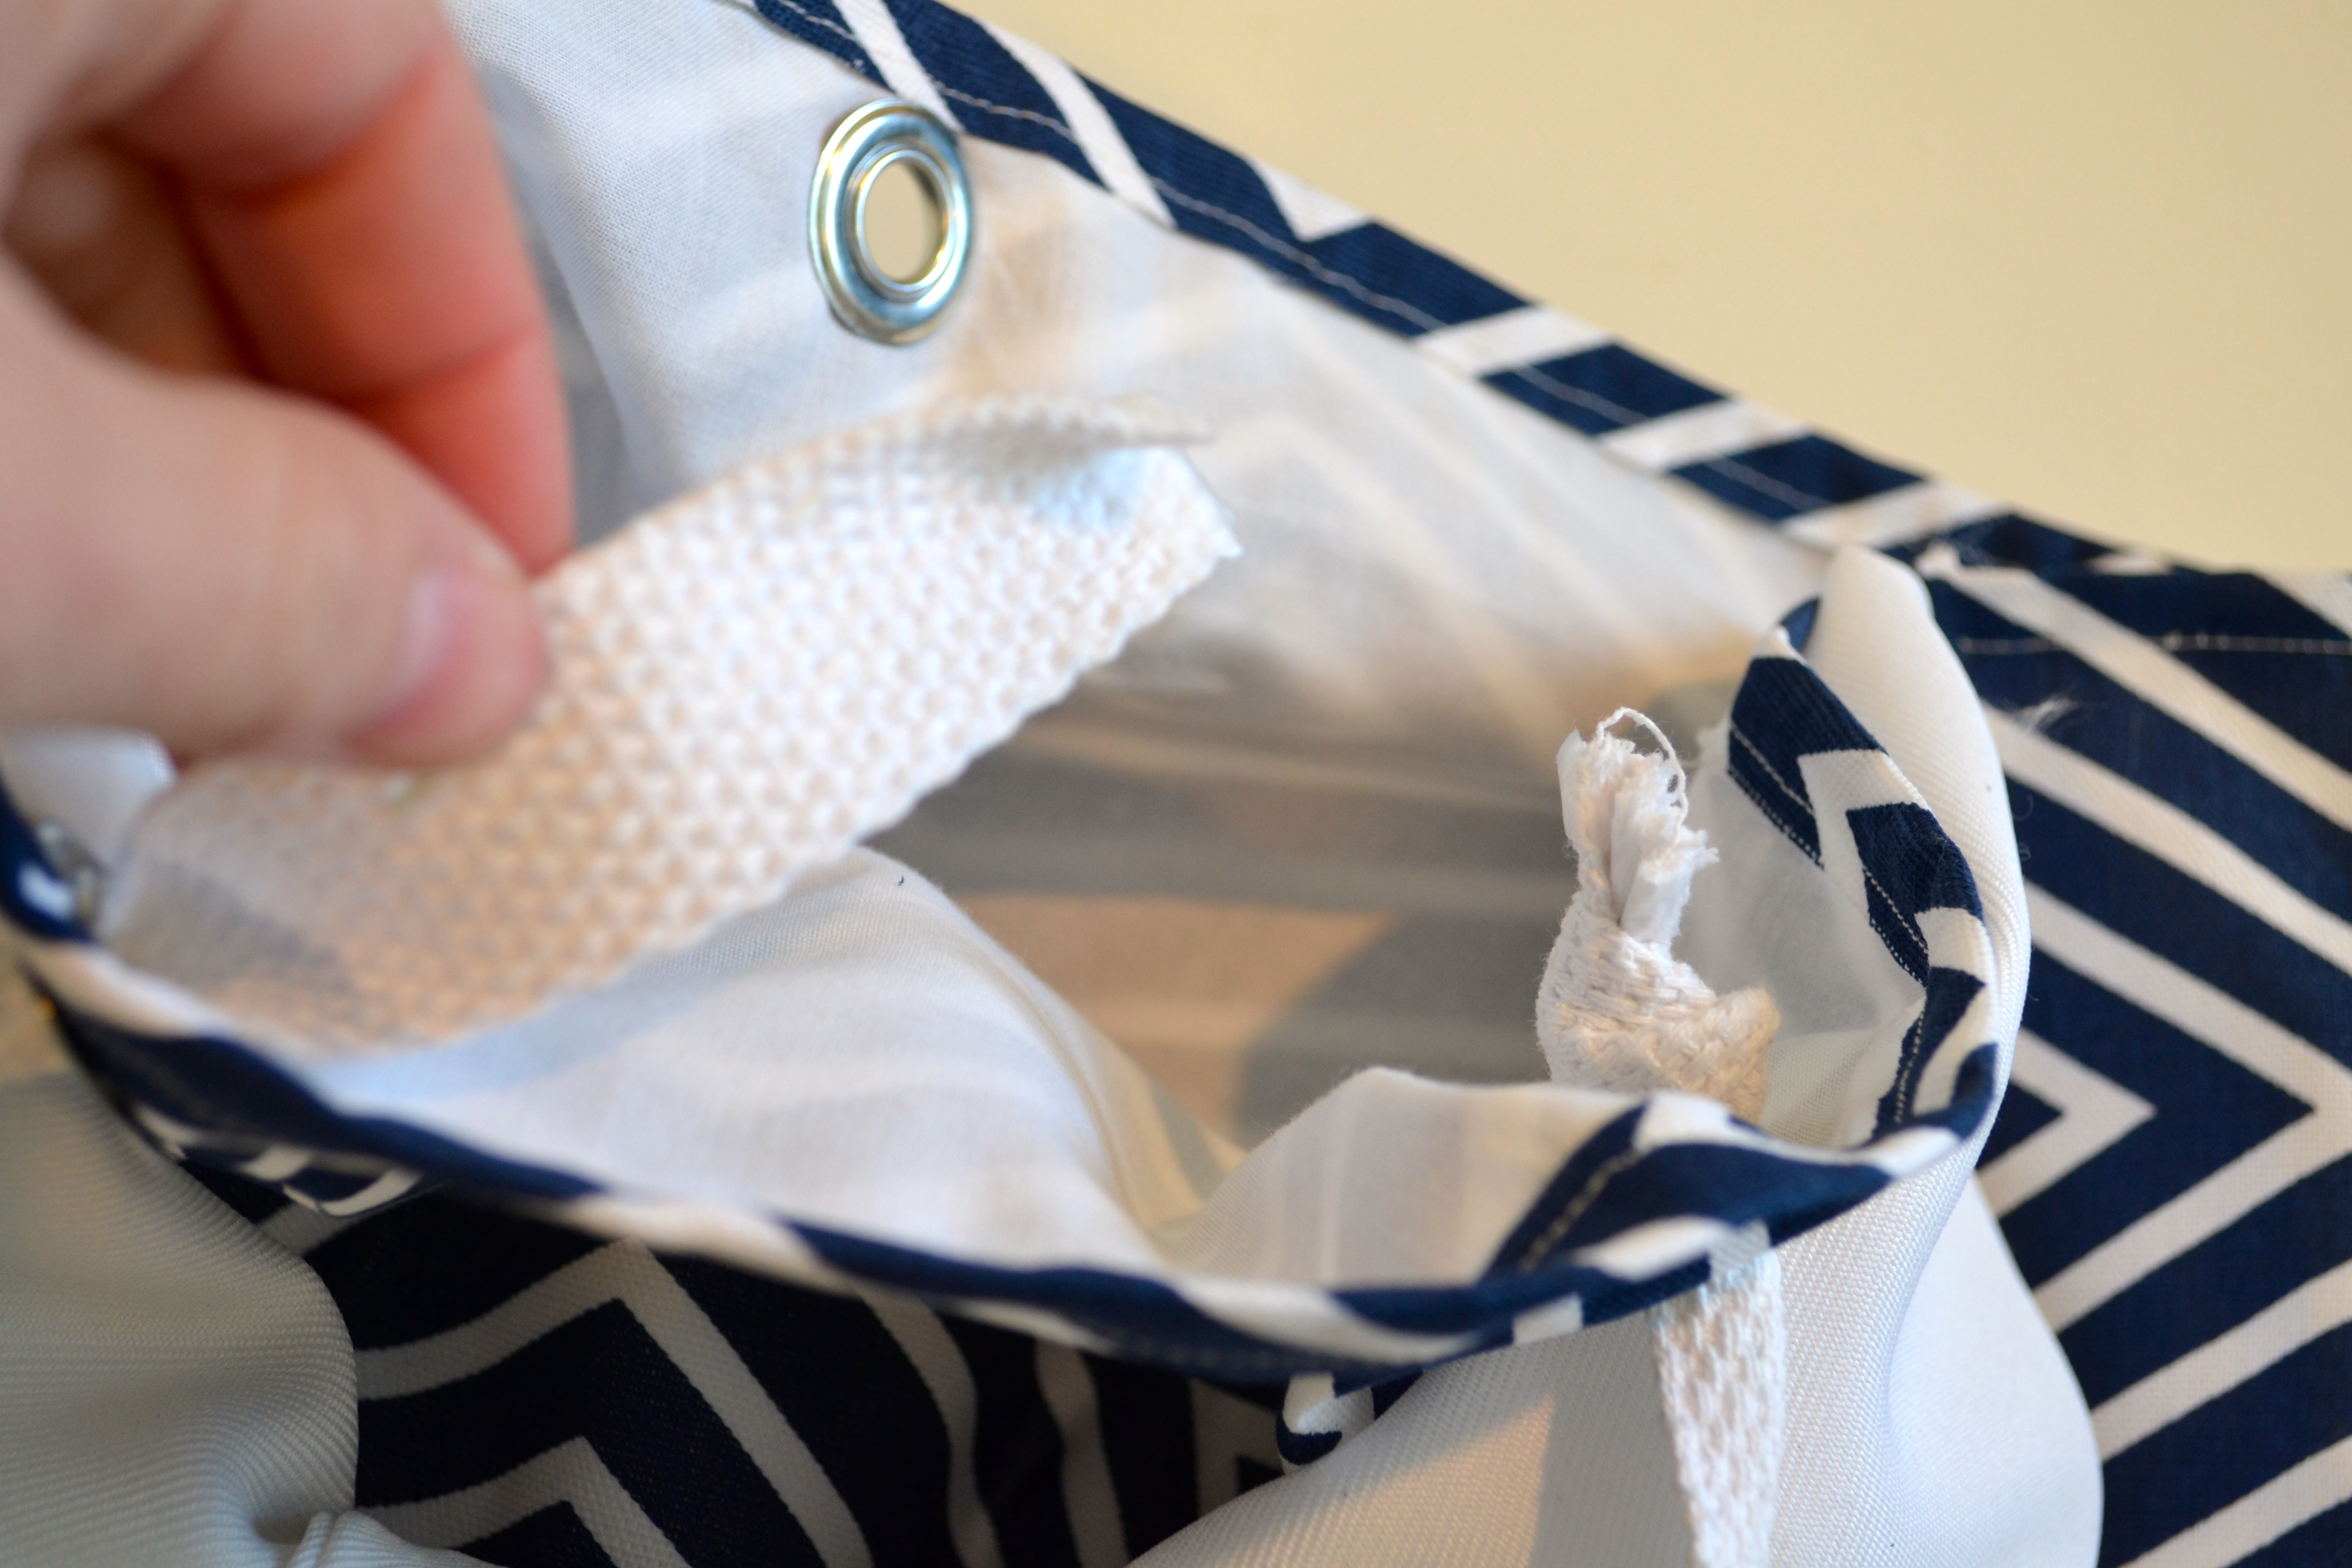
- Run the unknotted side of one piece of the rope from the inside to the outside of one of the eyelets on the front of the bag.
- Then, take the unknotted end of that same rope and again, run it from the outside to the inside of the eyelet on the other side of the front of the bag.
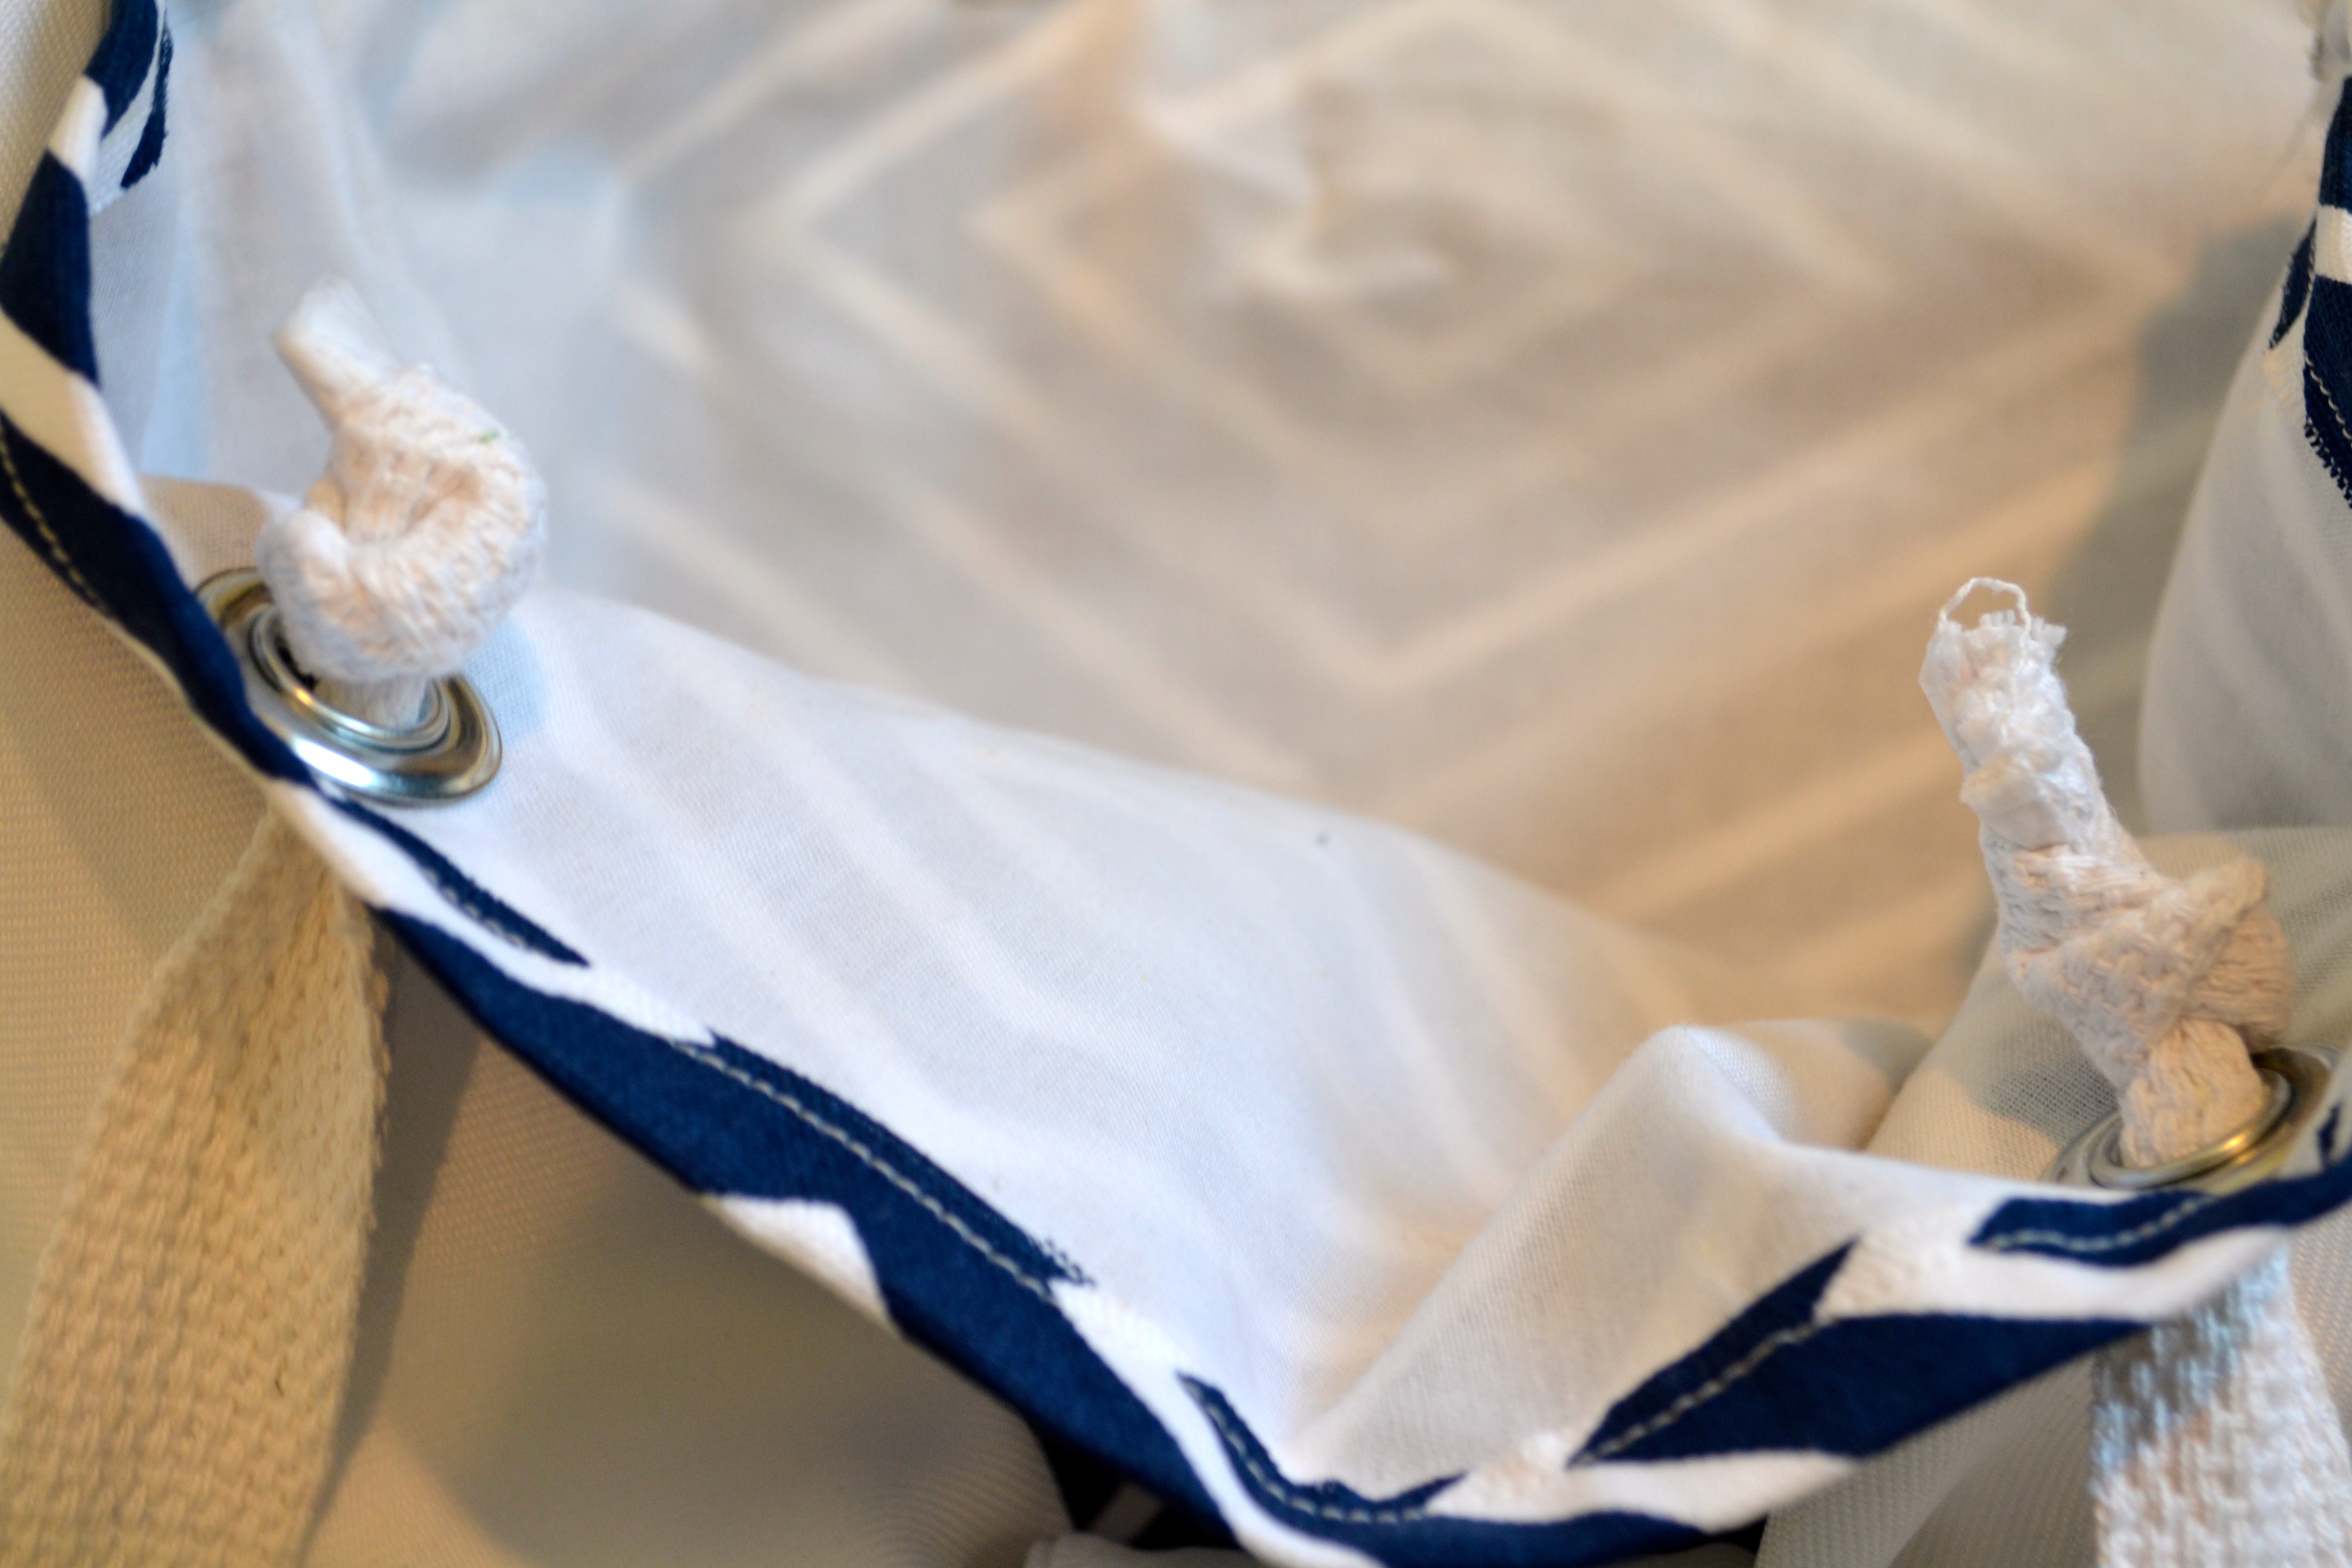
- Knot it off once it’s on the inside of the bag.
- Repeat this on the back side of the bag.
And ta da! Your preppy and personalized big bow tote bag is complete!
I know it sounds like there’s a lot of steps to this one, but it’s actually REALLY simple. Sometimes, I like to write LENGTHY descriptions (well, let’s be honest, most ALL of the time I write lengthy descriptions) just to make sure you understand each and everything I did to ensure a good quality end product. If you get tripped up by the descriptions, just take a look at the pictures and follow along. They should guide you through everything very simply.
But if seems too daunting for you, as always, I have them for sale in my shop (you can request custom fabrics and embroidery, too!). But if you want to make this adorable tote at home, BRAVO! Here’s a recap of everything you’ll need to DIY. I can’t wait to see pictures of your creations!
The Necessary Supplies:
- 1 yard of canvas or upholstery fabric (1/2 yard if only making 1 bag)
- 1 yard of white or cream muslin (1/2 yard if only making 1 bag)
- 1/2 yard of any color suit fabric (I used white to match my nautical pattern)
- 1.5 yards of braided ribbon/rope (for tote bag straps)
- Needle and thread
- Sewing Machine
- Double sided heat transfer tape and iron if you want to do this the “no sew way”
- 7/16″ eyelets (buy the kit if you don’t already have the tools to put the eyelets together)
- Hammer (this one doubles as a bottle opener, so you can enjoy a cold one while working on your project)
Leave a Reply