I’m not sure why, but lately I’ve been obsessed with the idea of striped walls. Not like a “Where’s Waldo” vibrant stripe, but just the subtle, thick stripes that make a room have oh so much character.
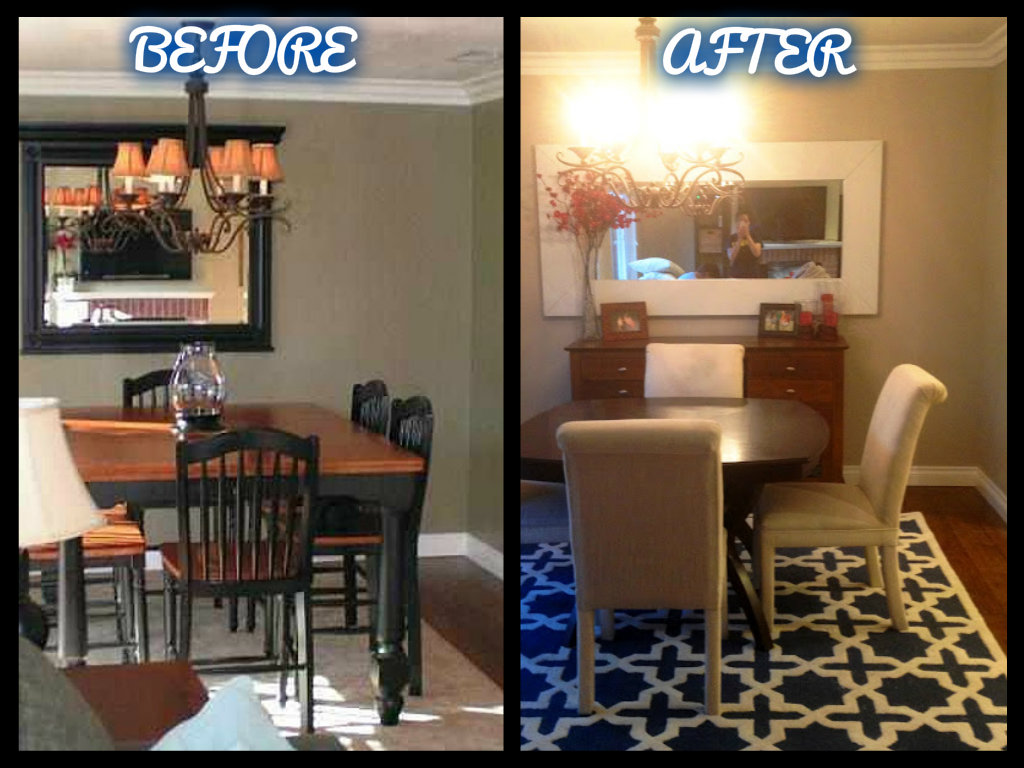
When Travis and I moved into our house almost 2 years ago, I went crazy painting different rooms, buying fancy decor to spruce it up, etc. The house was meticulously redesigned, it just needed a few cosmetic changes here and there.
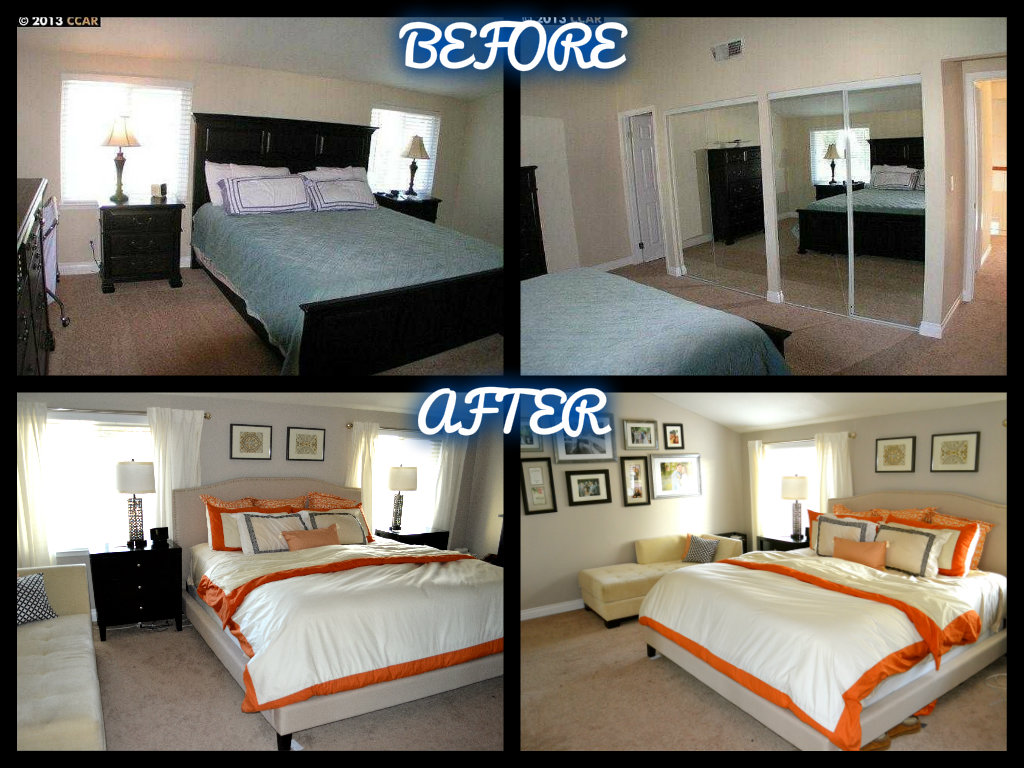
The master bedroom, kitchen, and dining room were the first to be tackled. I chose the perfect “greidge” – Martha Stewart “Sharky Grey” to cover the bland beige and puke green walls. As soon as I applied the paint, the rooms all seemed to open up and become a bit brighter and more welcoming. Perfect!
Next, the kitchen cabinets needed to change- PRONTO! The previous owners had installed beautiful oak wood cabinets. And although the cabinets themselves were gorgeous, the color was definitely NOT. I was going to try to do these myself (one more DIY project), but the kitchen is such the focal point of the home. And the cabinets were already so nice, I couldn’t just toss them and get new ones if I messed up. So instead, I hired a professional painter to refinish the cabinets in a Kelly Moore “Swiss Coffee” white.
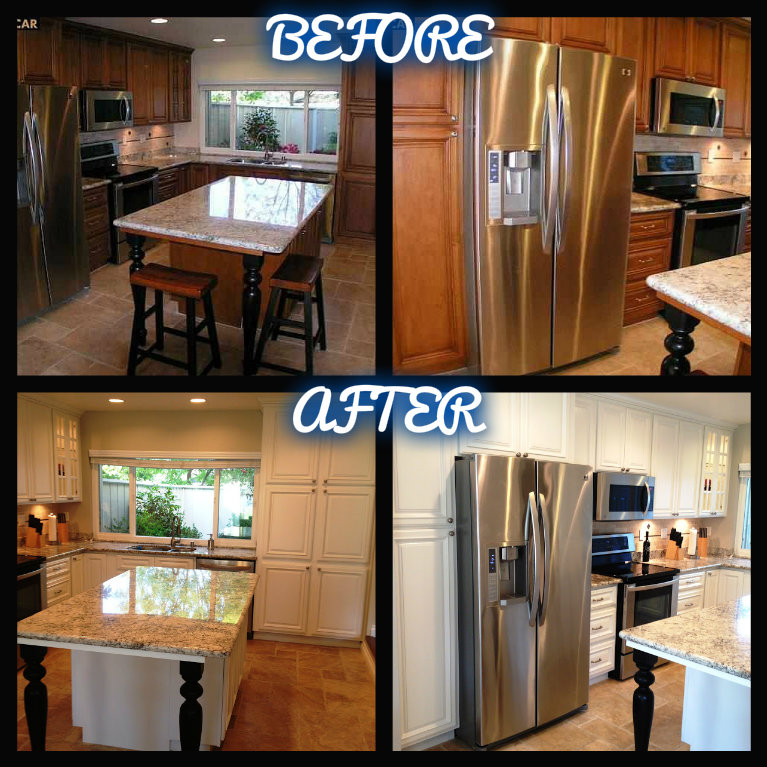
Again, it opened up the kitchen to seem like a larger, more welcoming space which was EXACTLY what we wanted. Woo hoo!
I don’t know if it’s because of the move, or the few projects I did do took a lot out of me, but when it came to re-doing anything in our office and our guest bedroom, I decided to leave them be. The guest bedroom wasn’t so bad. It was painted the same color as the rest of the walls in the house- a plain beige. I could spruce up the room with some cute furniture and wall decor to make it homey and picture-perfect.
The office however, was the previous owner’s nursery, and it was painted a bright green color. I think I might have just been tired when I decided that I didn’t mind the paint color, and it was going to stay.
But after a full year of staring at bright green walls – that absolutely did not go with the decor or vibe of the rest of the house – it was time for them to go!
The room was already decorated with dark brown furniture. So I needed a home office design idea that would not only go with the chic look of the rest of the house, but that would also go with the furniture in the room.
I then thought – what if I striped the walls with off-white and beige? Maybe add a couple matted art prints in dark frames to the walls for a sophisticated office look, too. My wheels were spinning, but my husband wasn’t sold. He HATED the idea of striped walls and thought they would look tacky. But I had a clear vision, and I guess I just had to prove him wrong.
How I Got Started with My Home Office Design
I went straight to The Home Depot and spent a couple hours searching for the perfect colors. I wanted the stripes a color that wouldn’t look too outrageous, but enough of a statement so that the contrasting colors could clearly be seen. After much debate, I finally went with Behr Premium Plus Chocolate Froth and Whisper White (one gallon of each -FLAT sheen).
Next, I bought the following supplies to complete my painting project:
- 3M Painters Tape w/ Edge Lock Protection (ensures paint won’t drip through paint edges).
- Angled paint brush (for painting ceiling and floor edges)
- Paint rollers and paint tray set
- Tape Measure
- Marker
Then, I went quickly home and got to work.
Steps To Stripe Room Walls
Step 1:
- Paint your entire room the lighter color of your stripes. If you’re doing beige and off white like me, use your off white and paint the entire room that color.
- Go over it with a couple coats of paint to make sure there are no gaps in color.
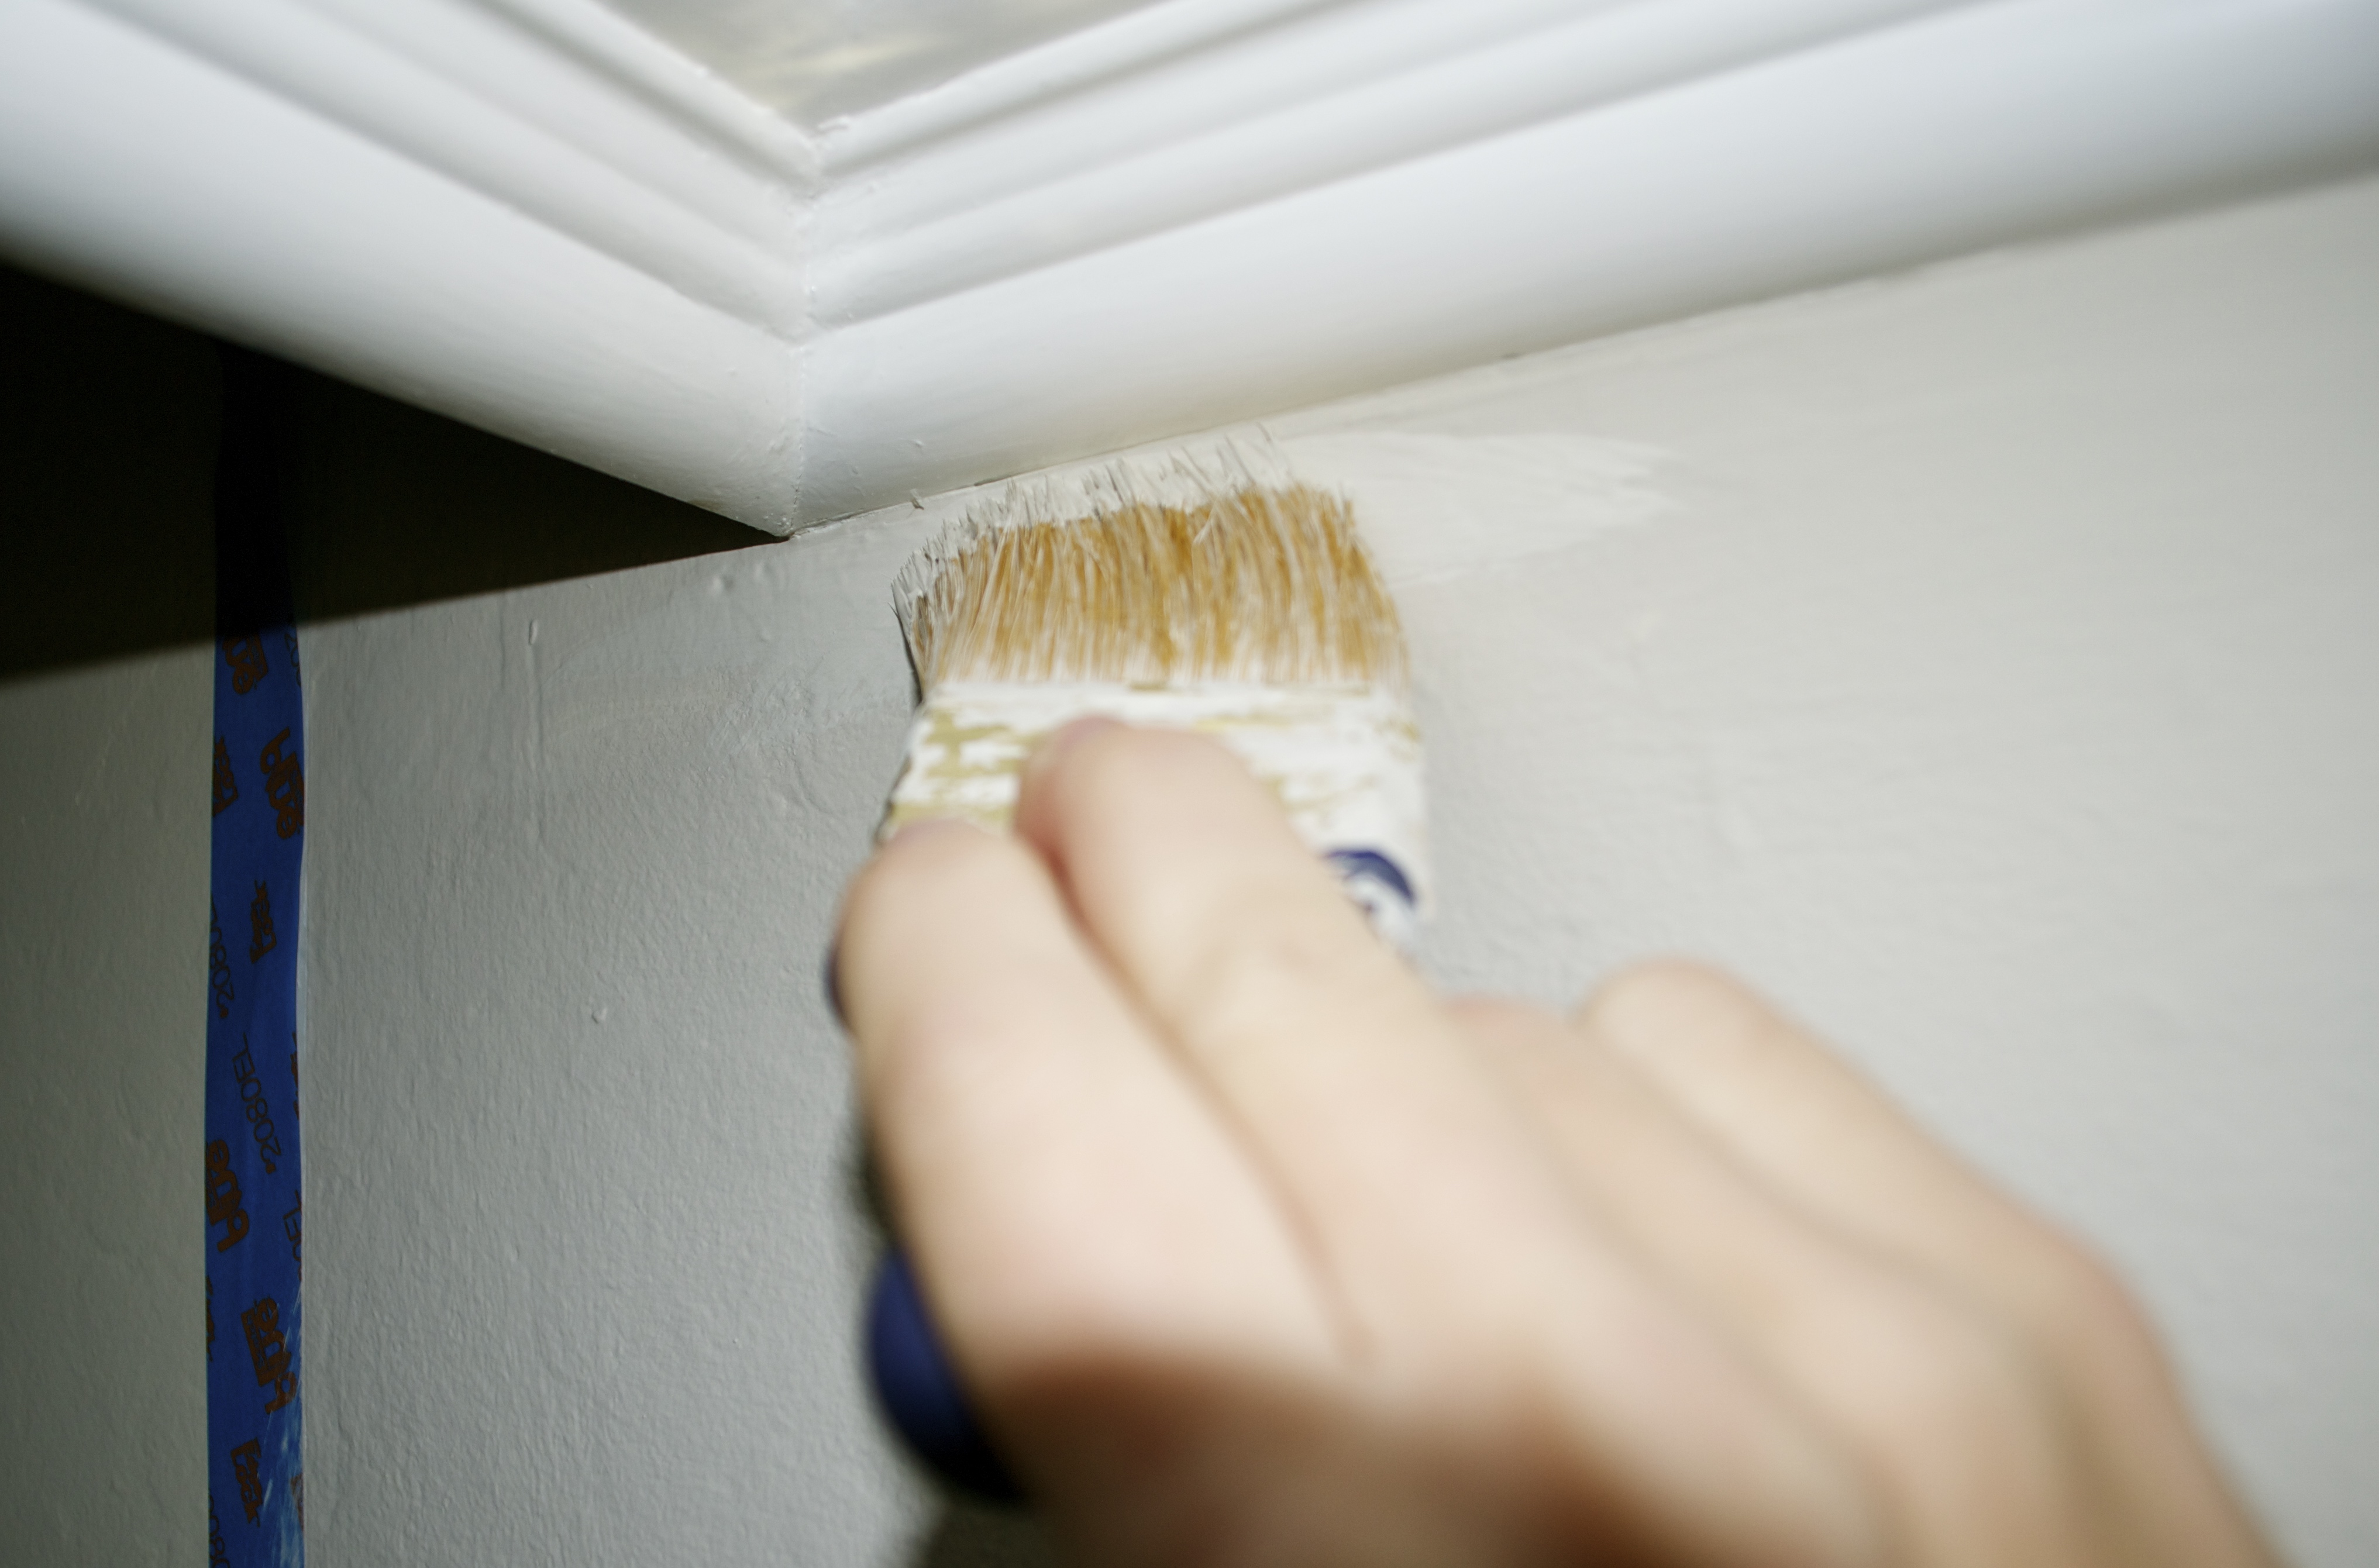
- Use your edge brush to paint the top, bottom, and edges of the wall. It saves a ton of time taping off the ceiling and floor from the paint. You’ll be using enough tape later!
- Let it dry overnight
Step 2:
- Measure the room from floor to ceiling.
- Divide that number by how thick you want the stripes to be.
- Example: If you want 12” stripes, divide the total by 12. If you want thinner 6” stripes, divide the total height by 6, or whatever thickness you prefer.
- I wanted thick stripes. My walls measure 86” from floor to ceiling. I divided that number by 12, and got 7.16.
- I rounded that down to 7, and knew I would be having 7 stripes on my walls.
Step 3:
- Make the markings on your walls every 12” (or however thick you want to make your stripes).
- Make sure you put a small mark every couple feet for every line you’ll be drawing. You don’t need to draw the entire line (the tape will do that for you) but you want to make sure the tape is straight. So a dot every couple feet does the trick.
Step 4:
- TAPE! This is where using your noggin comes in.
- Decide whether you want a light or dark stripe to be the first on your wall. I went with the darker stripe first (since I have crown molding and floorboards, I wanted the tan to offset those).
- Start rolling your tape along the markings you’ve made for your first stripe. If you decided on your first stripe being the darker color, the place the tape BELOW the markings, with the top edge along the markings.
- If you’re going with your lighter color for the first stripe, do the opposite, and put the BOTTOM edge of the tape on the markings for the first stripe.
- Continue down the wall in this fashion
- Using the TOP of your tape to line the bottom of the dark stripes and the BOTTOM of your tape to line the TOP of the dark stripes.
- Since your lighter lines are already painted (when you painted the entire room) you want the tape to fall mostly in the light paint.
- Using the TOP of your tape to line the bottom of the dark stripes and the BOTTOM of your tape to line the TOP of the dark stripes.
Step 5:
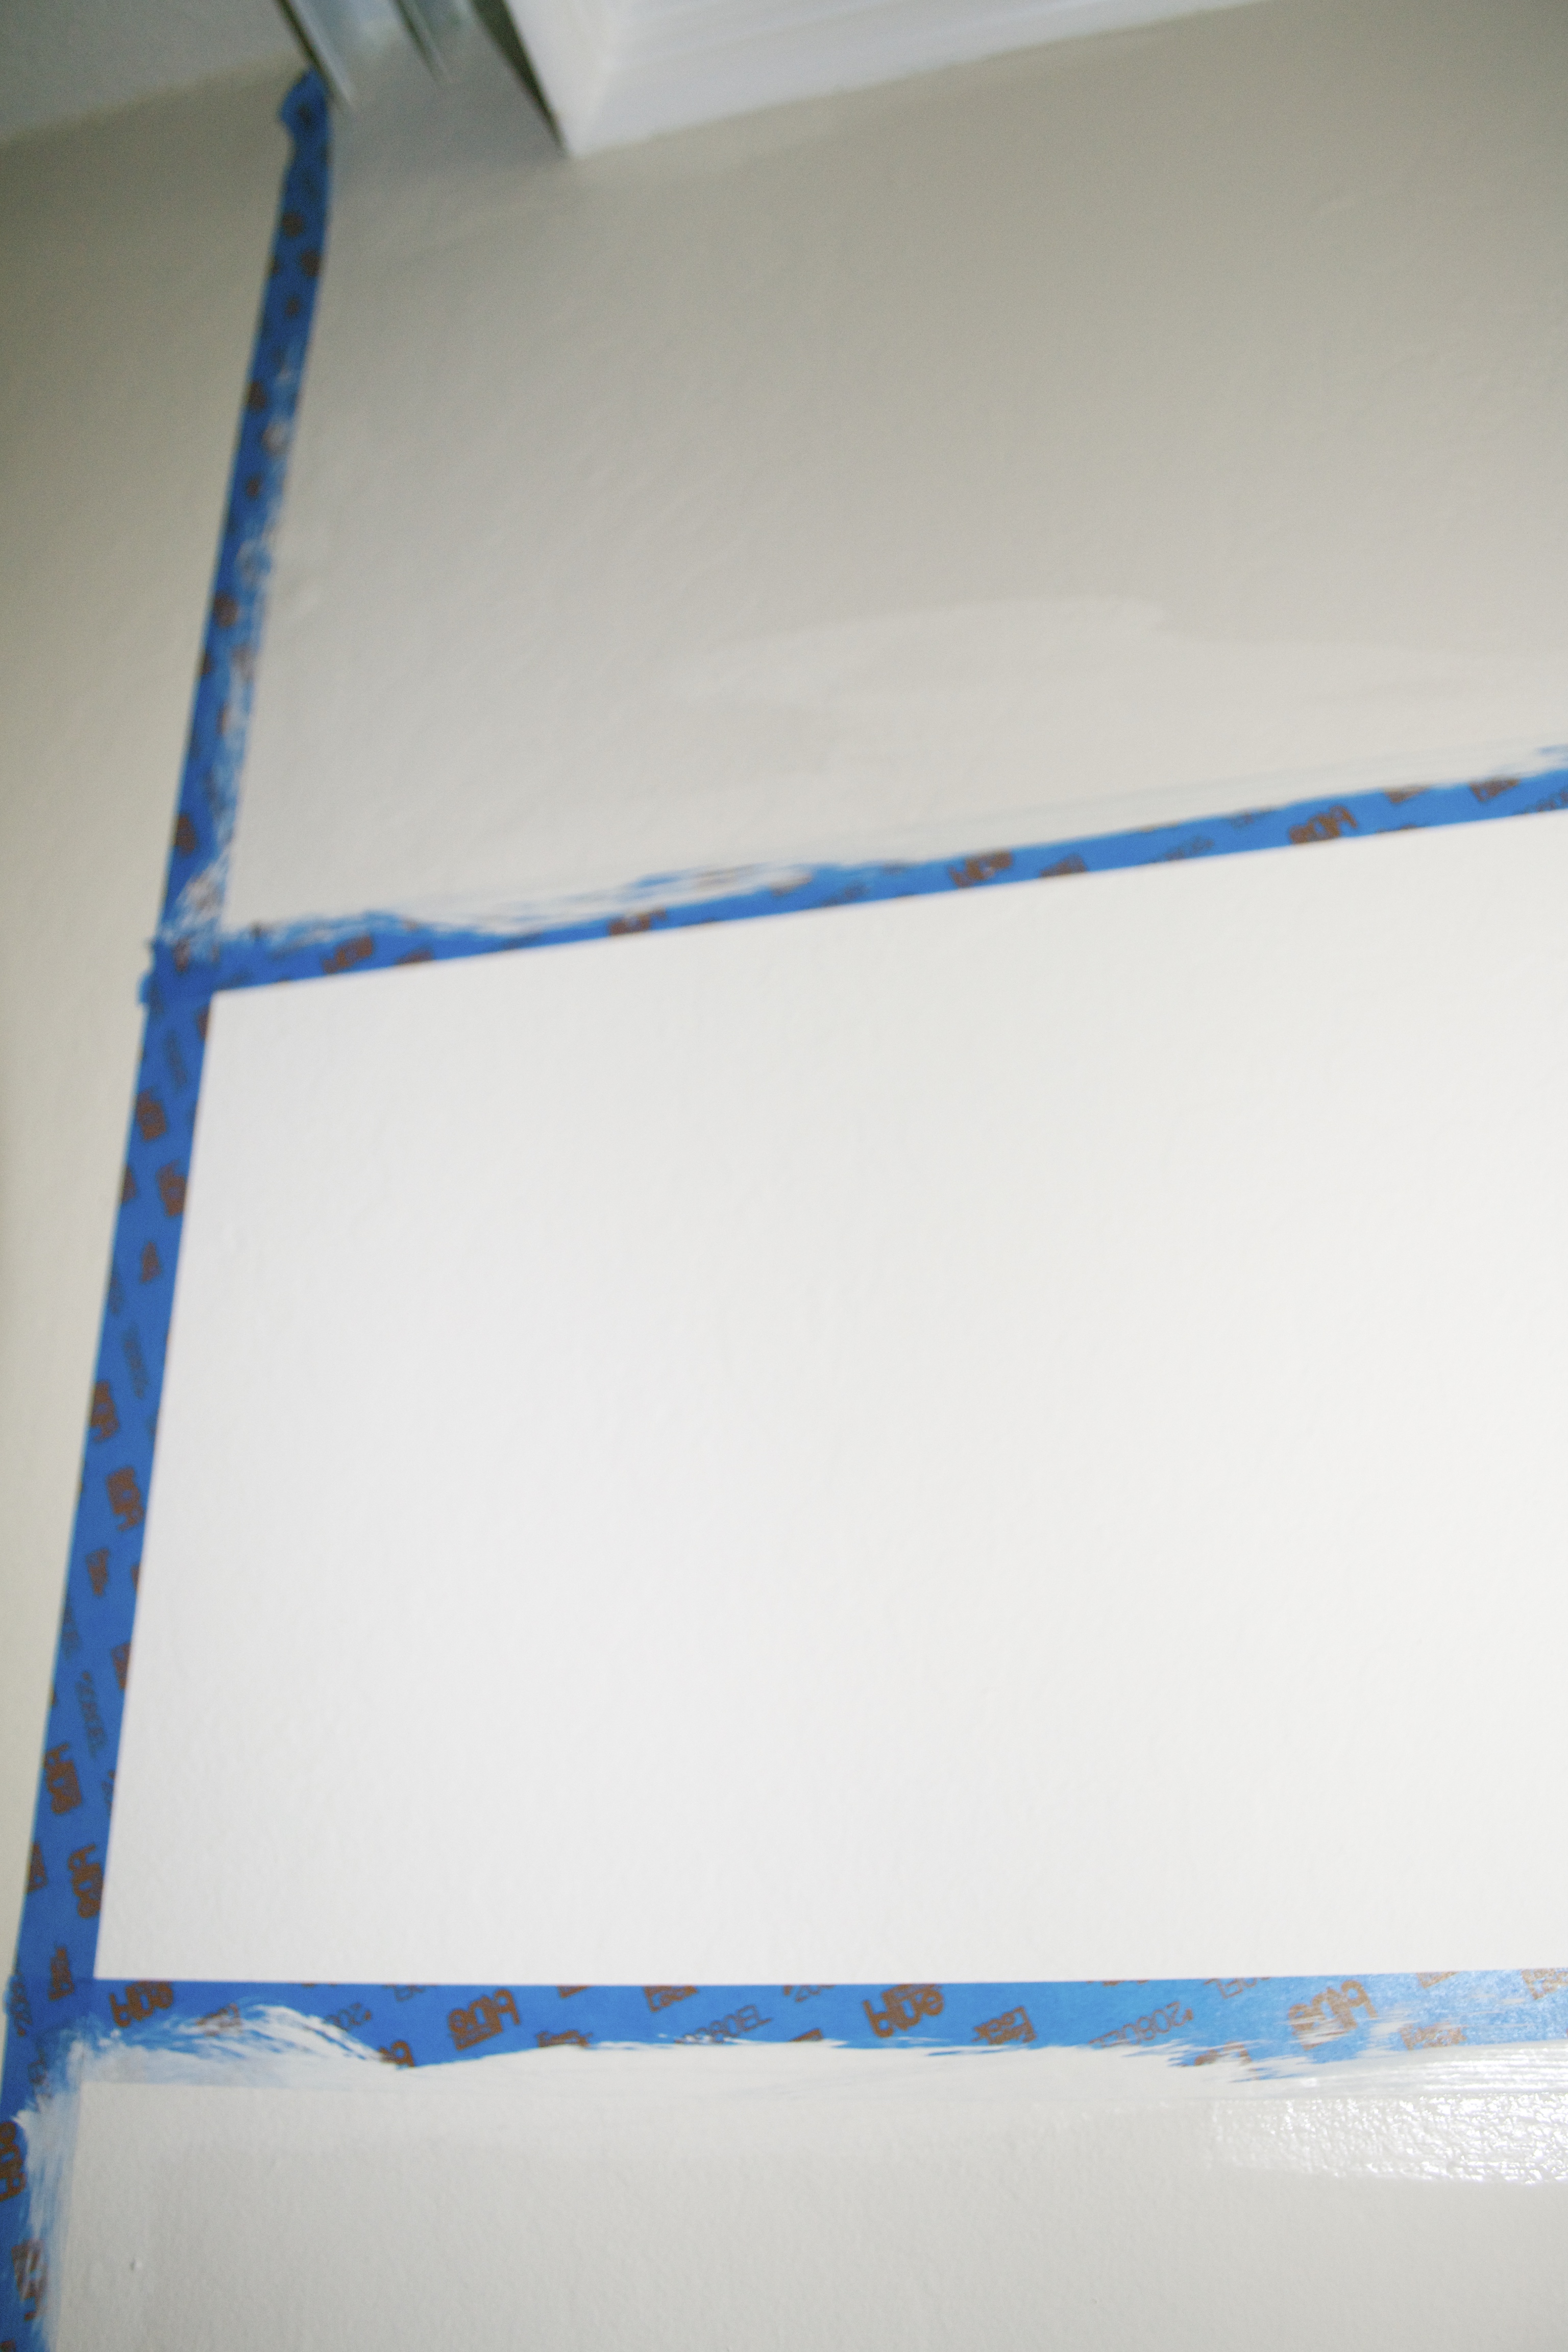
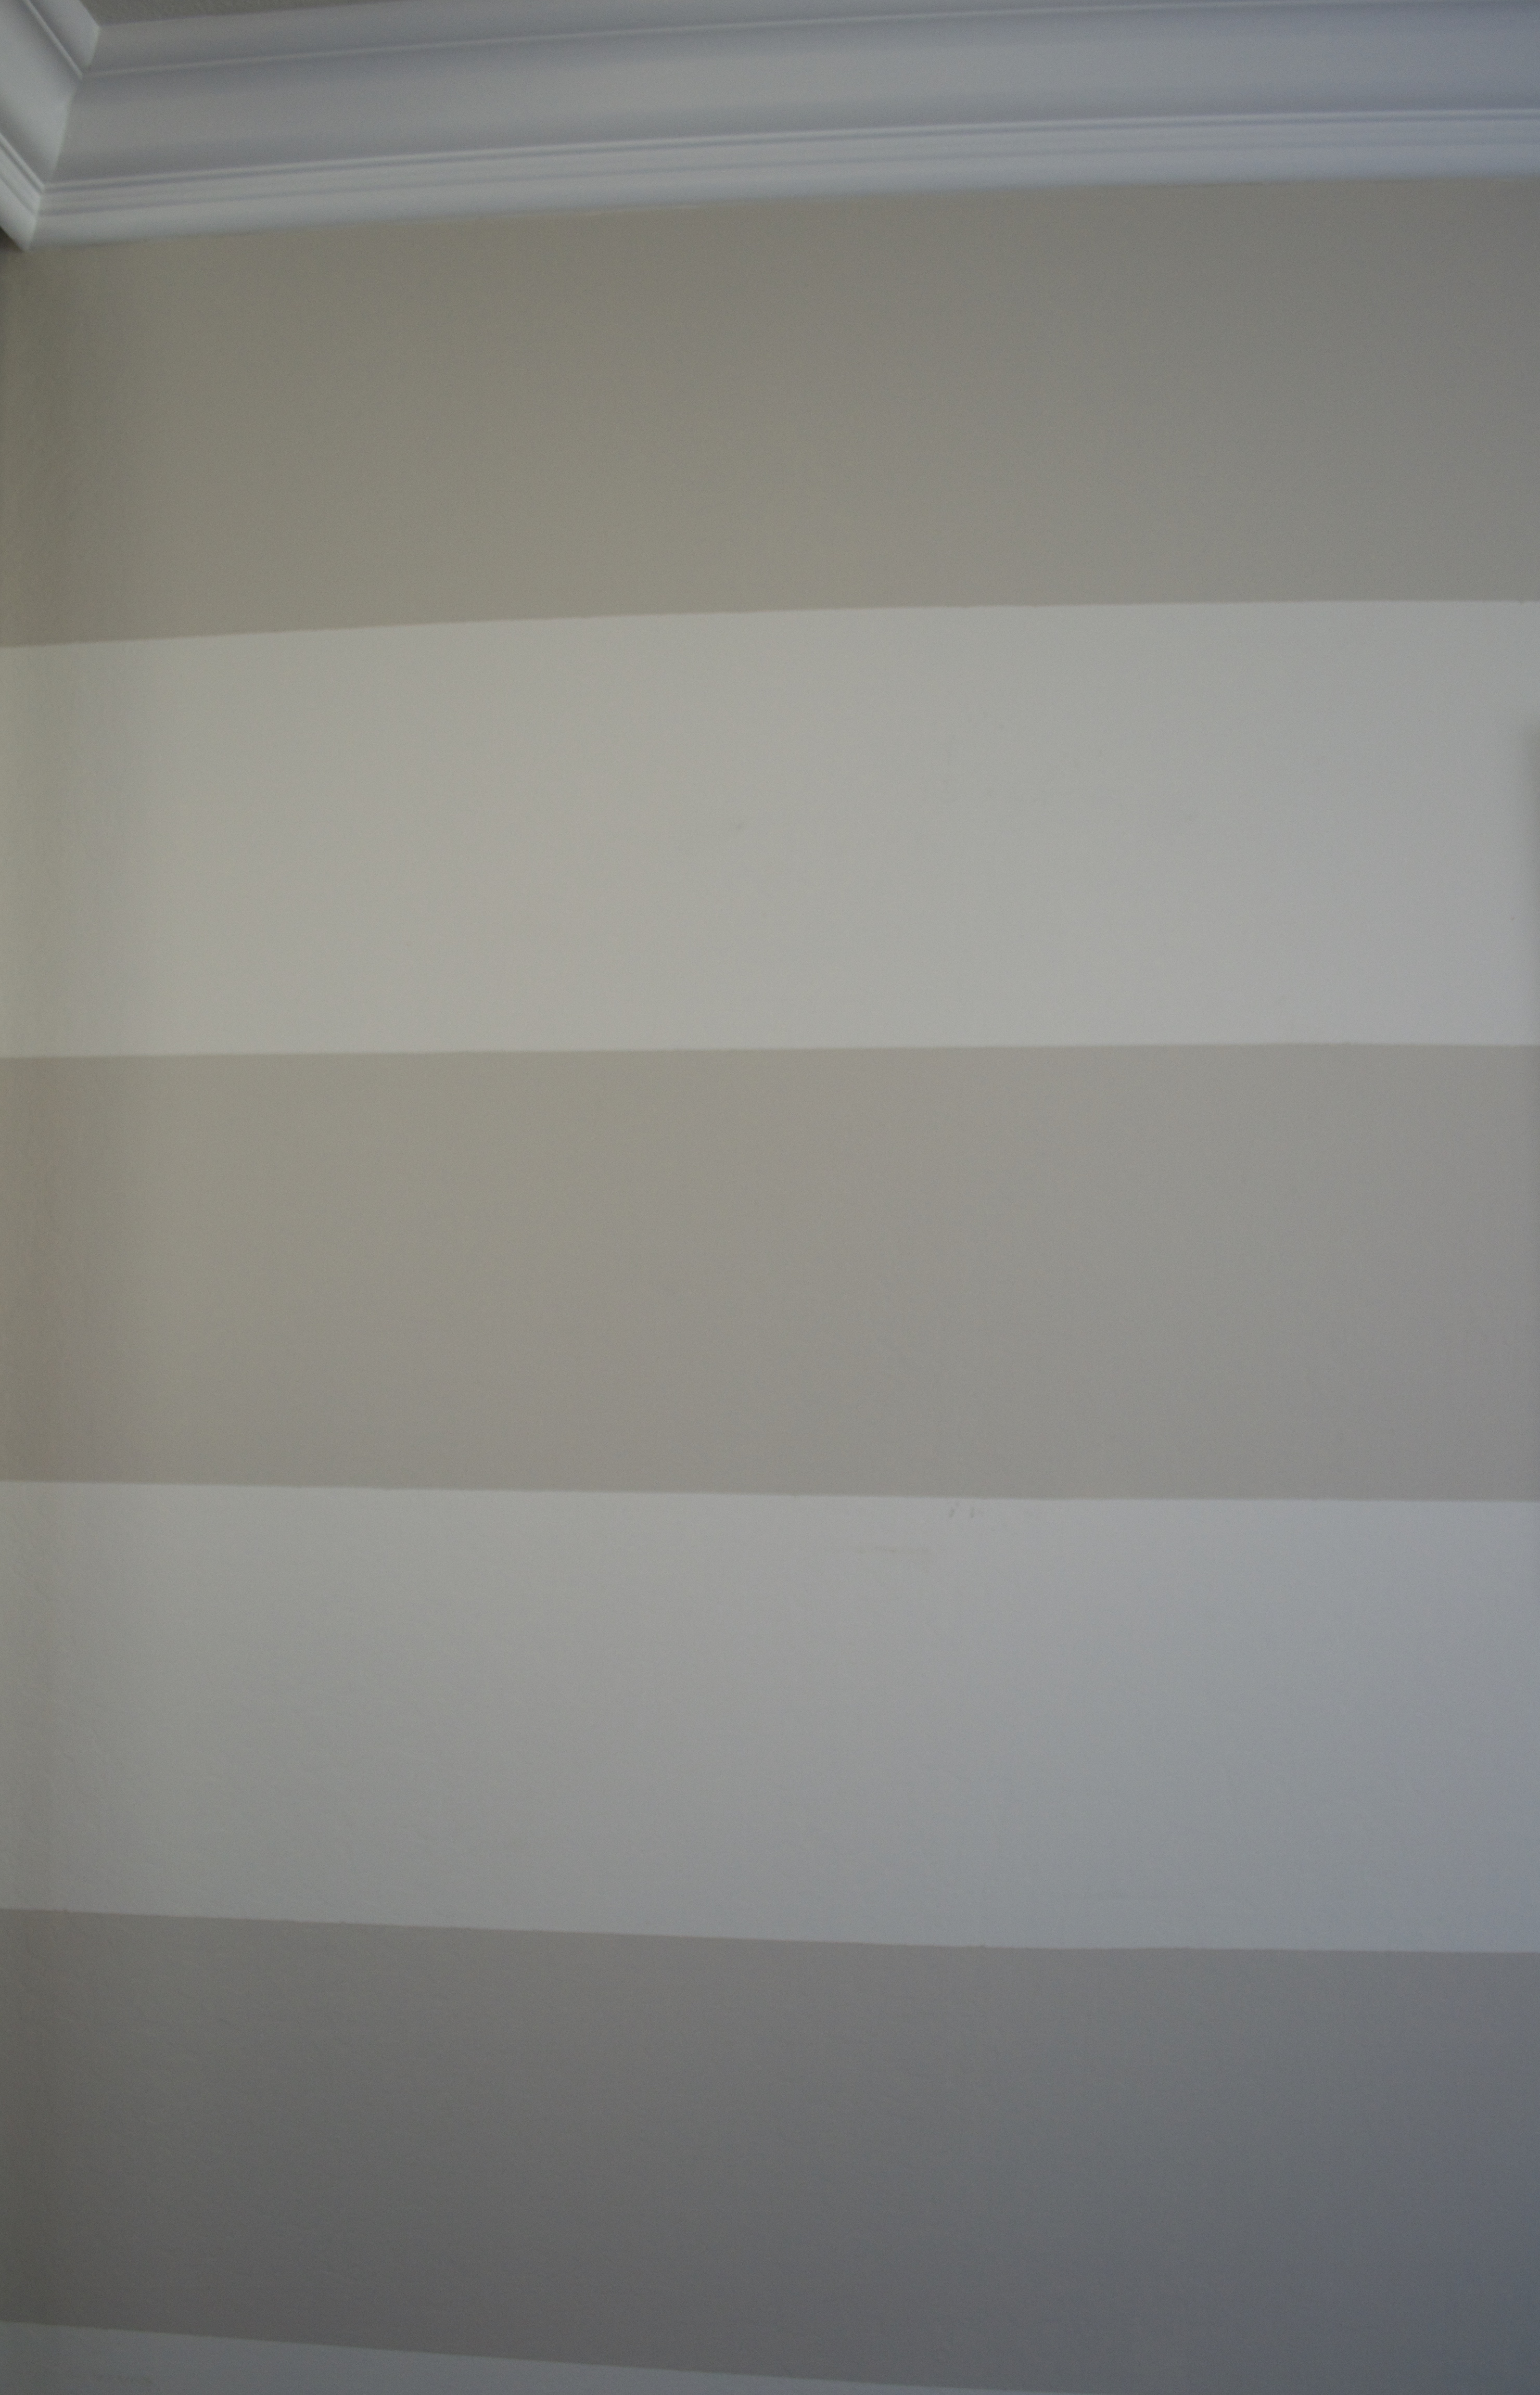
- Once your wall or room is COMPLETELY taped off in blue tape lines, PAINT!
- Take your beige paint (or whatever darker color you’ve chosen, and with a paint roller, paint INSIDE the lines of the dark stripes.
- Do not be afraid to get paint on the tape (as you see in the picture above). It will NOT seep through (if you’re using the Edge Painters tape).
- Go over the stripes twice to make sure there are no gaps in the paint.
- Let dry overnight.
Step 6:
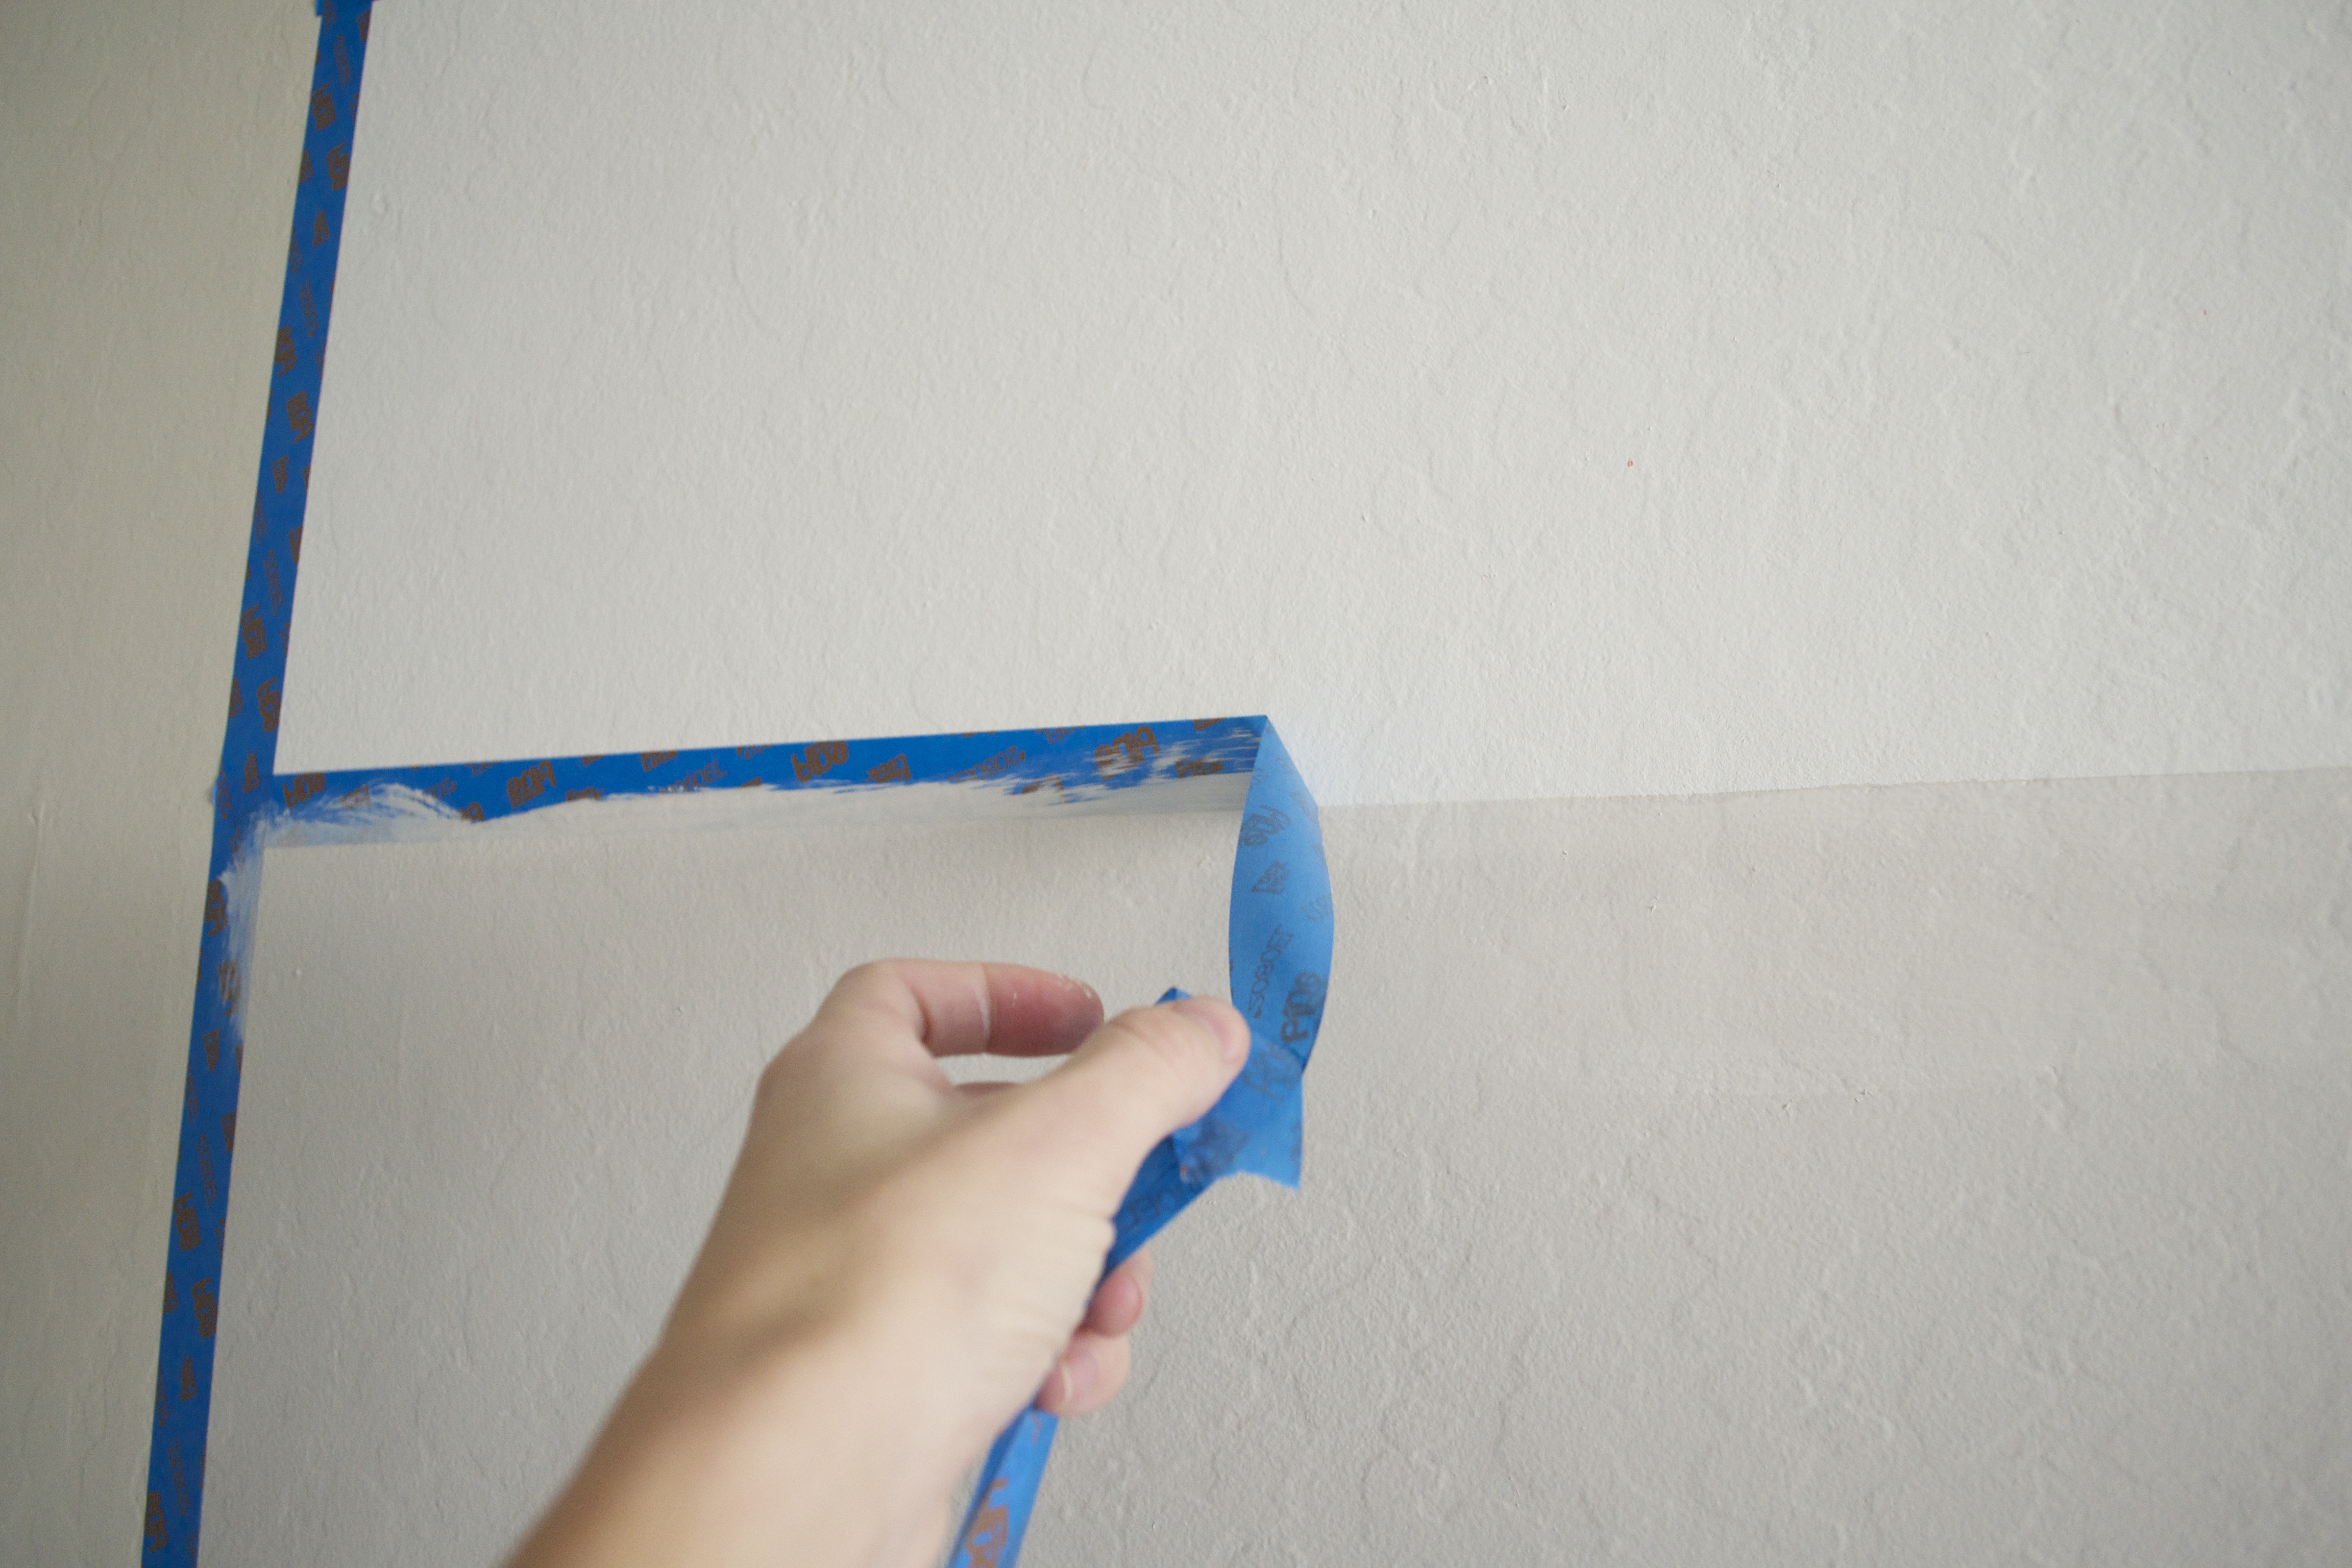
- Once the paint is completely dry, remove the tape.
- Voi La! Perfectly striped walls.
Additions to Spruce Up the Striped Walls In Your Home Office
Once I was finished, as I mentioned above, I wanted some BIG frames with mats for some artwork. The furniture in the room was already a dark wood, so I thought some black frames with colorful art would add the touch of color and sophistication the room needed.
I found these frames that worked perfectly for me:

But if that’s too pricey for you, these are a cost effective alternative I was considering:

Then, I got this pad of DIY gallery art to fill them:

I was thinking about these…

… but my husband vetoed them since we needed something not so feminine for our shared office space. I still love them for a space of my own … one day!
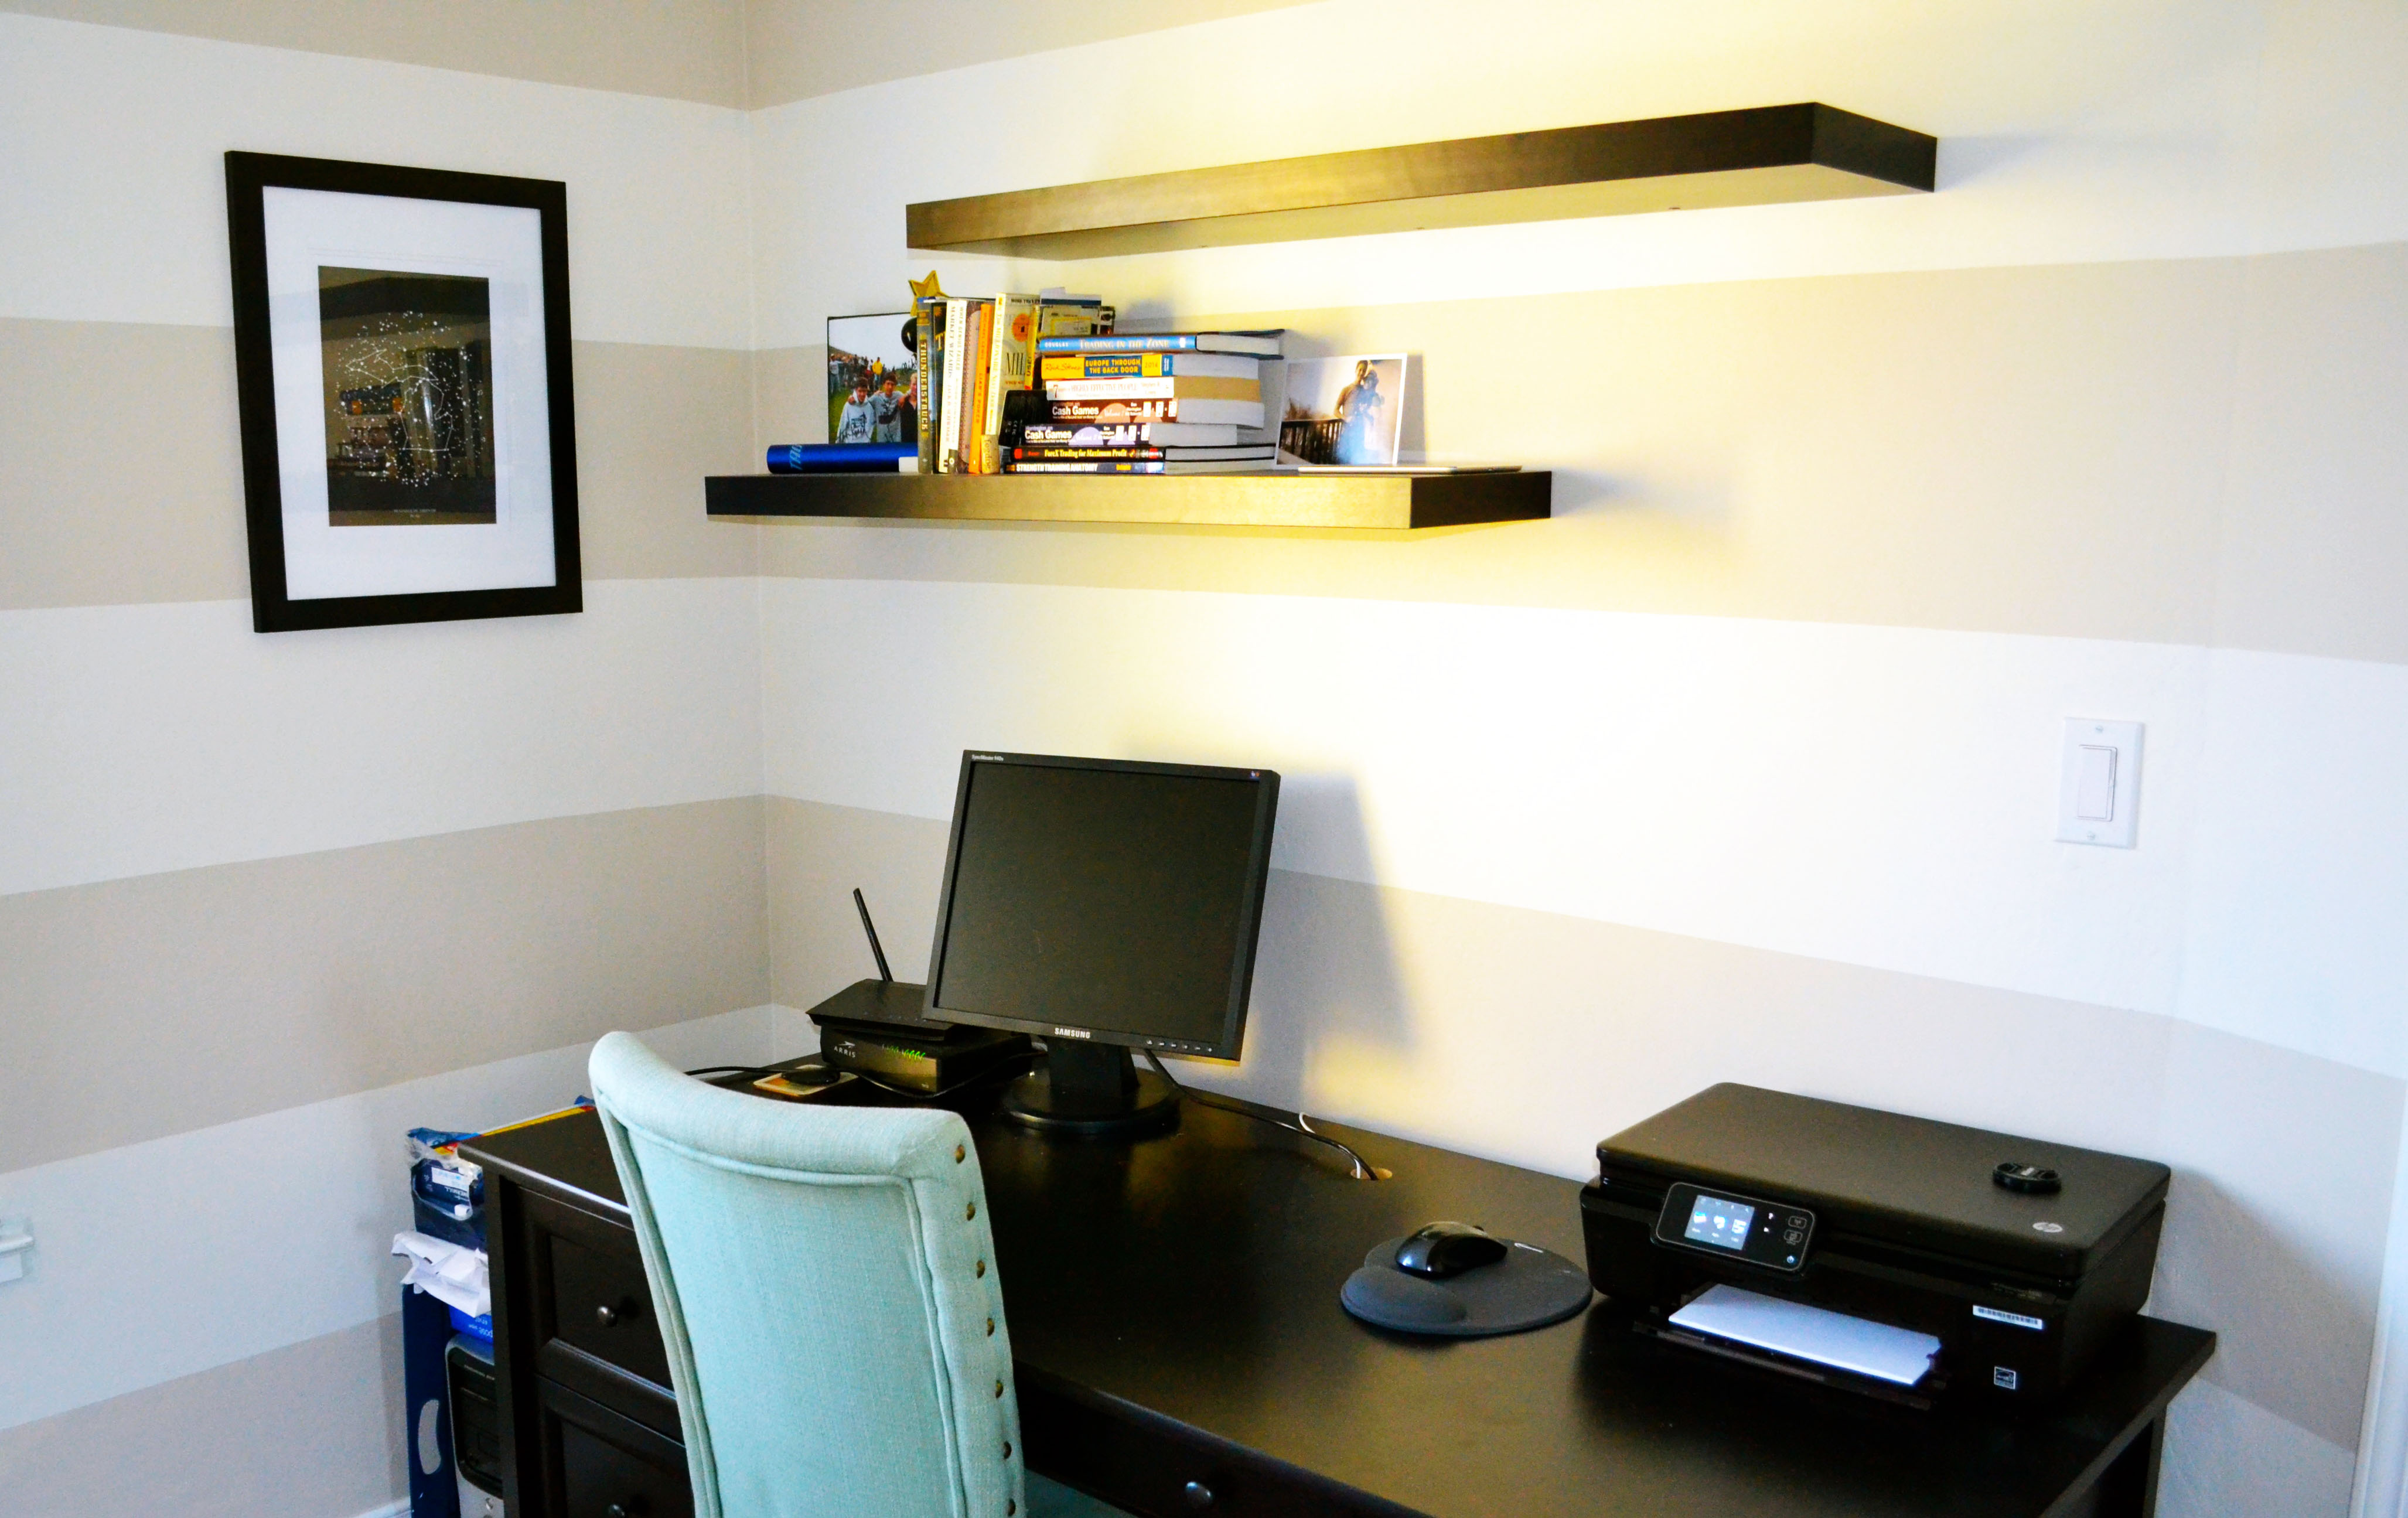
To finish the room off, we repositioned these dark wood shelves above the desk in the room to add some floating storage, without having a desk hutch. They added some storage space, without cluttering the room and making it feel smaller than it already was.
Finally, and this was a battle, I decided to keep the extra bed in the room. You can replace it with some cozy chairs like these:

Or a futon like this:

But I was insistent on keeping the bed. This WAS our office, but I enjoyed having the luxury of an extra room to sleep in should we have a few overnight guests. What can I say, it’s the hostess in me. It doesn’t exactly scream HOME OFFICE, but I like it there. It’s up to you whether to have a bed, or replace it with something more practical for an office environment.
This was the final result:
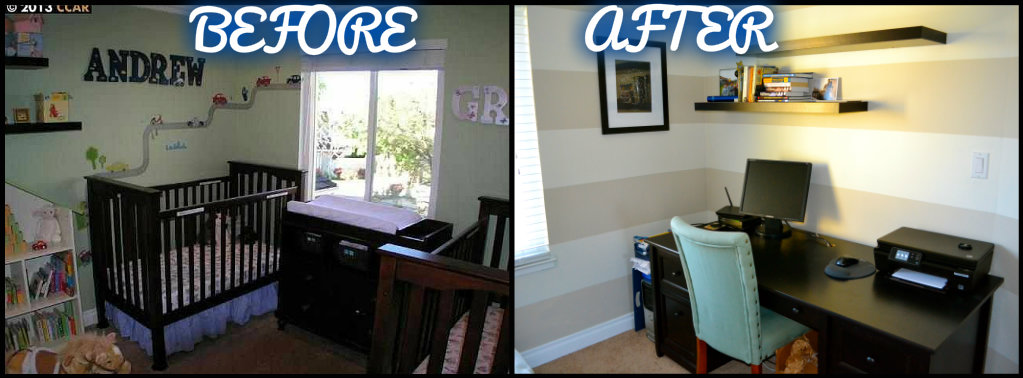
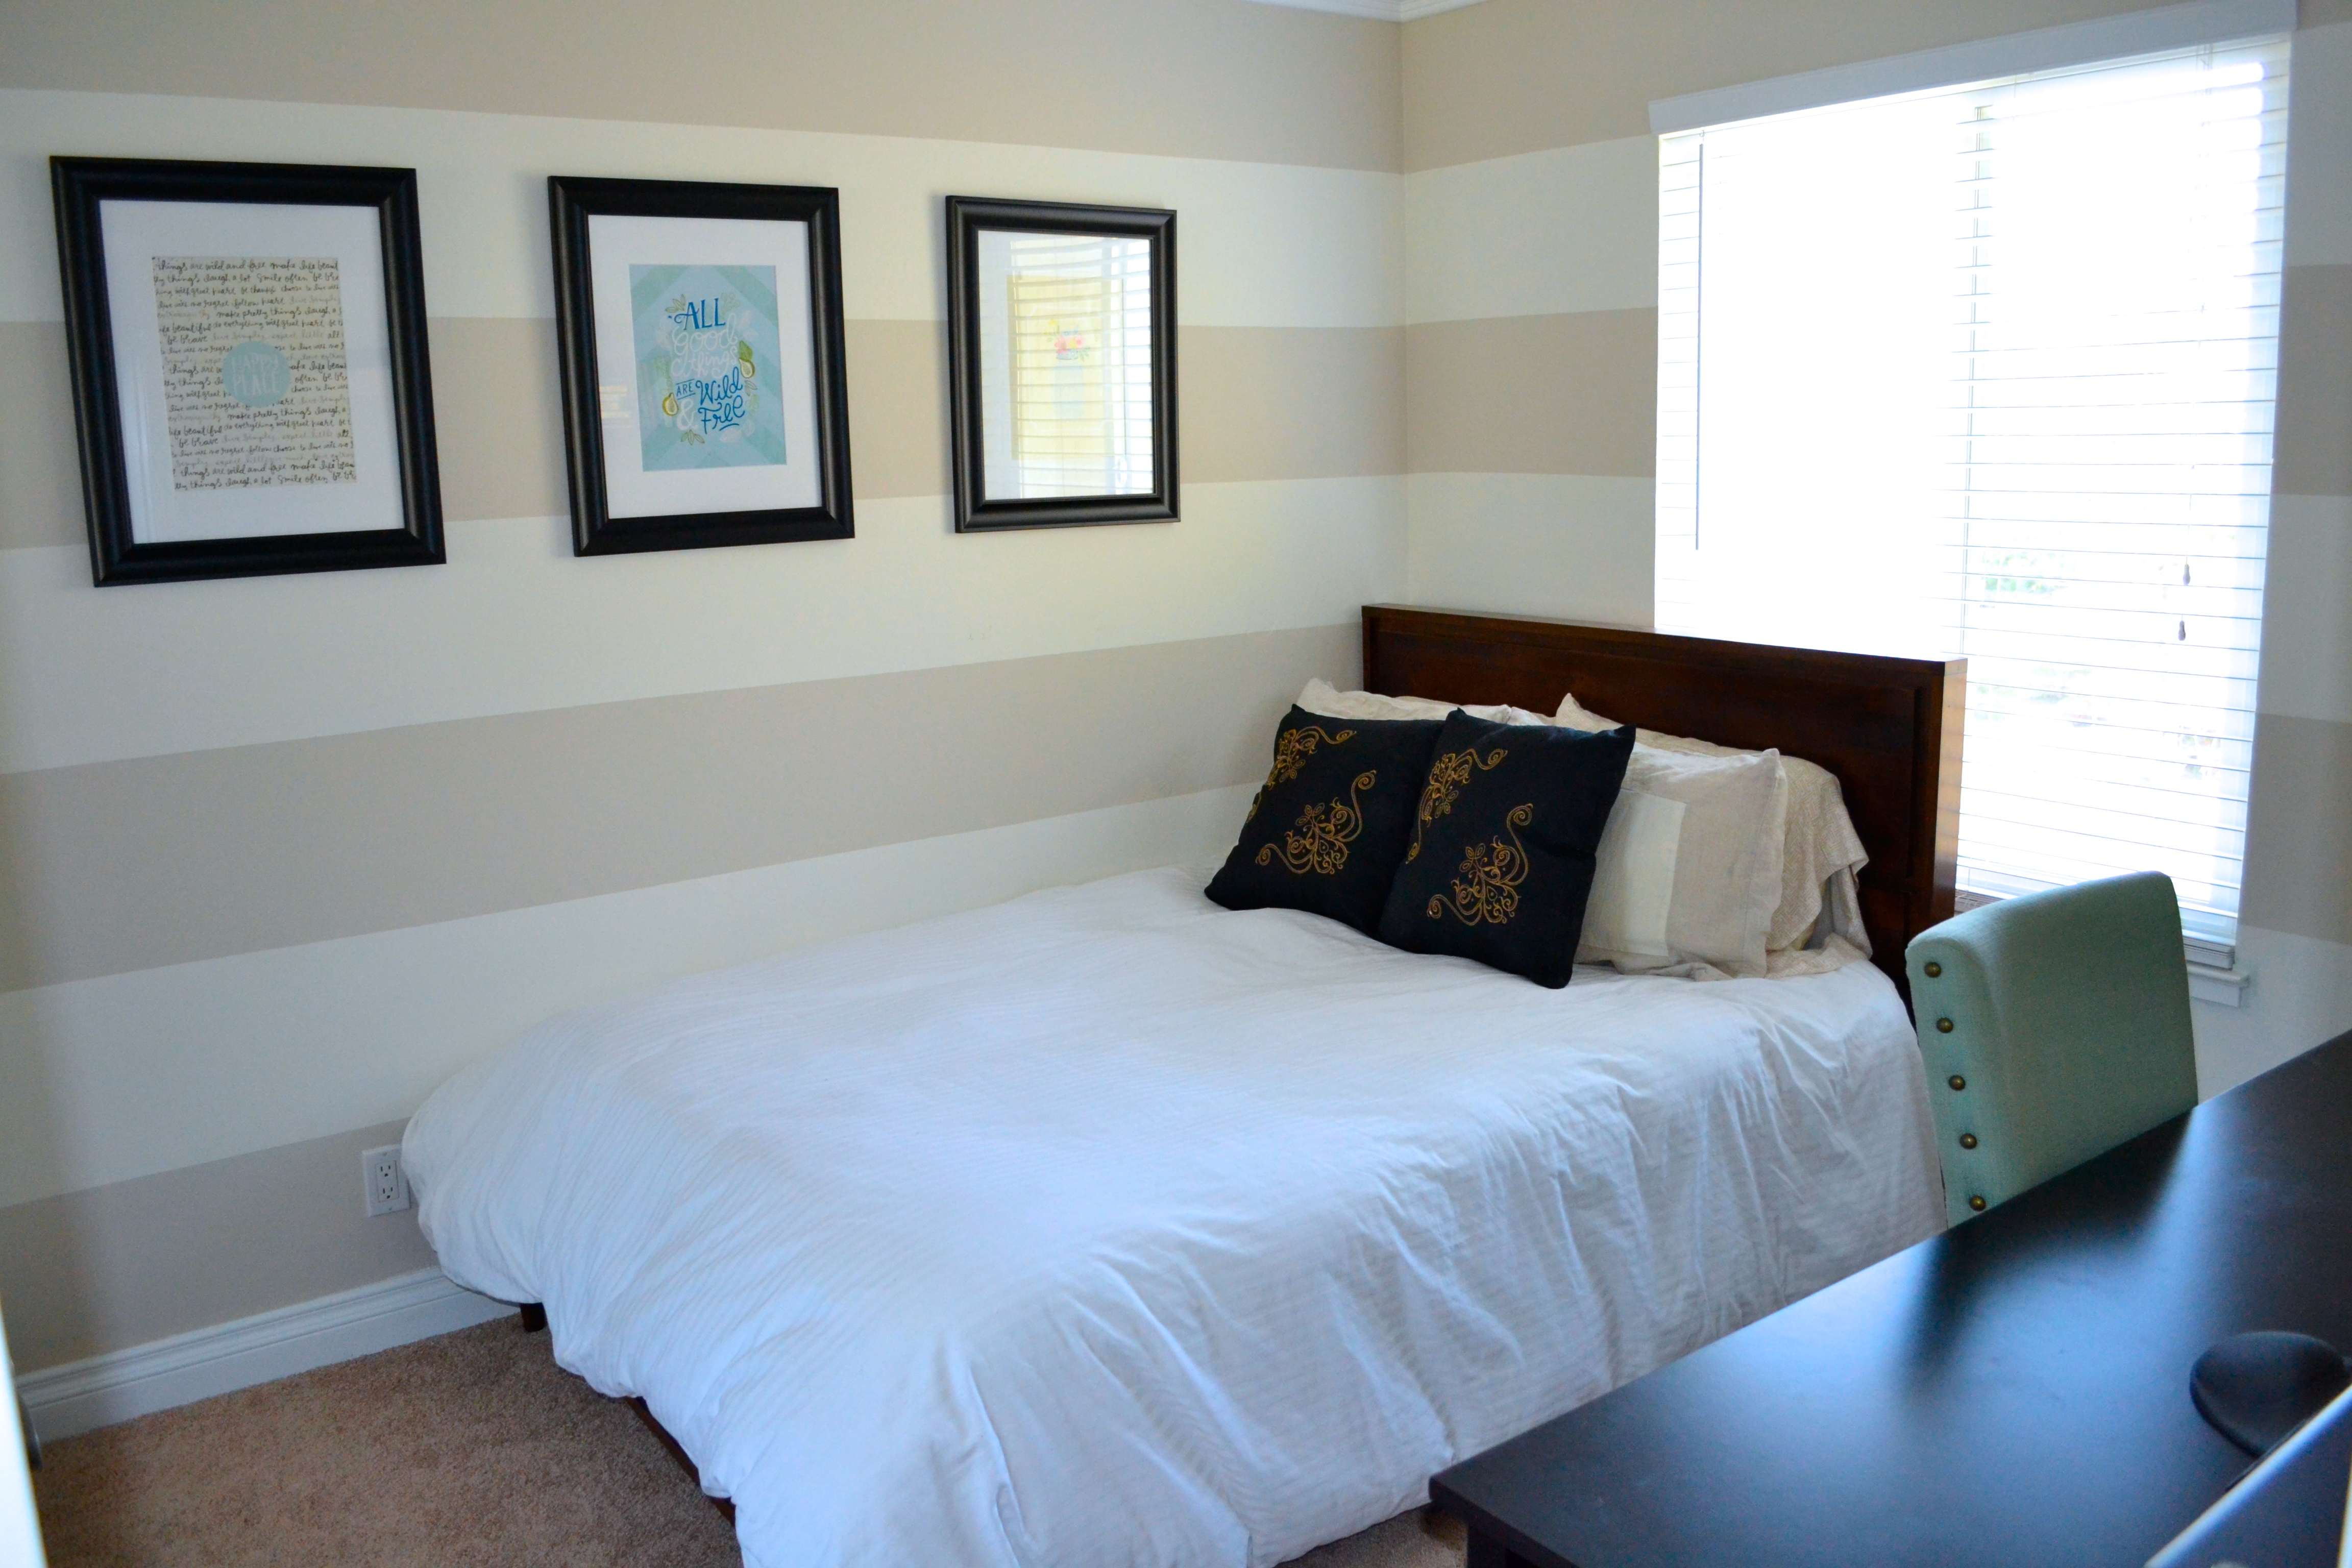
What do you think? Pretty cool change, huh? All in, I spent $150 – $75 for the paint and paint supplies, and $75 for the frames and artwork. A total room transformation for under $200, I’d say it was WELL worth the money. Don’t you agree?
Again, you don’t have to do yours EXACTLY as I did mine. But use these steps as a guideline for your own home, and to spark your creativity! And whether you’re striping an entire room, or just one wall, the steps are still the same.
If you want to DIY striped walls in your own home, here are the supplies you’ll need:
- 1 gallon of Behr Premium Plus Chocolate Froth (FLAT sheen).
- 1 gallon of Behr Premium Plus Whisper White (FLAT sheen).
- 3M Painters Tape w/ Edge Lock Protection (ensures paint won’t drip through paint edges).
- Angled paint brush (for painting ceiling and floor edges)
- Paint rollers and paint tray set
- Tape Measure
- Marker
- 16×20” frames (matted to hold 11×17” picture – I used 4)
- Less expensive version here
- 11×17” DIY Wall Art
- Different option of travelers art here
Leave a Reply