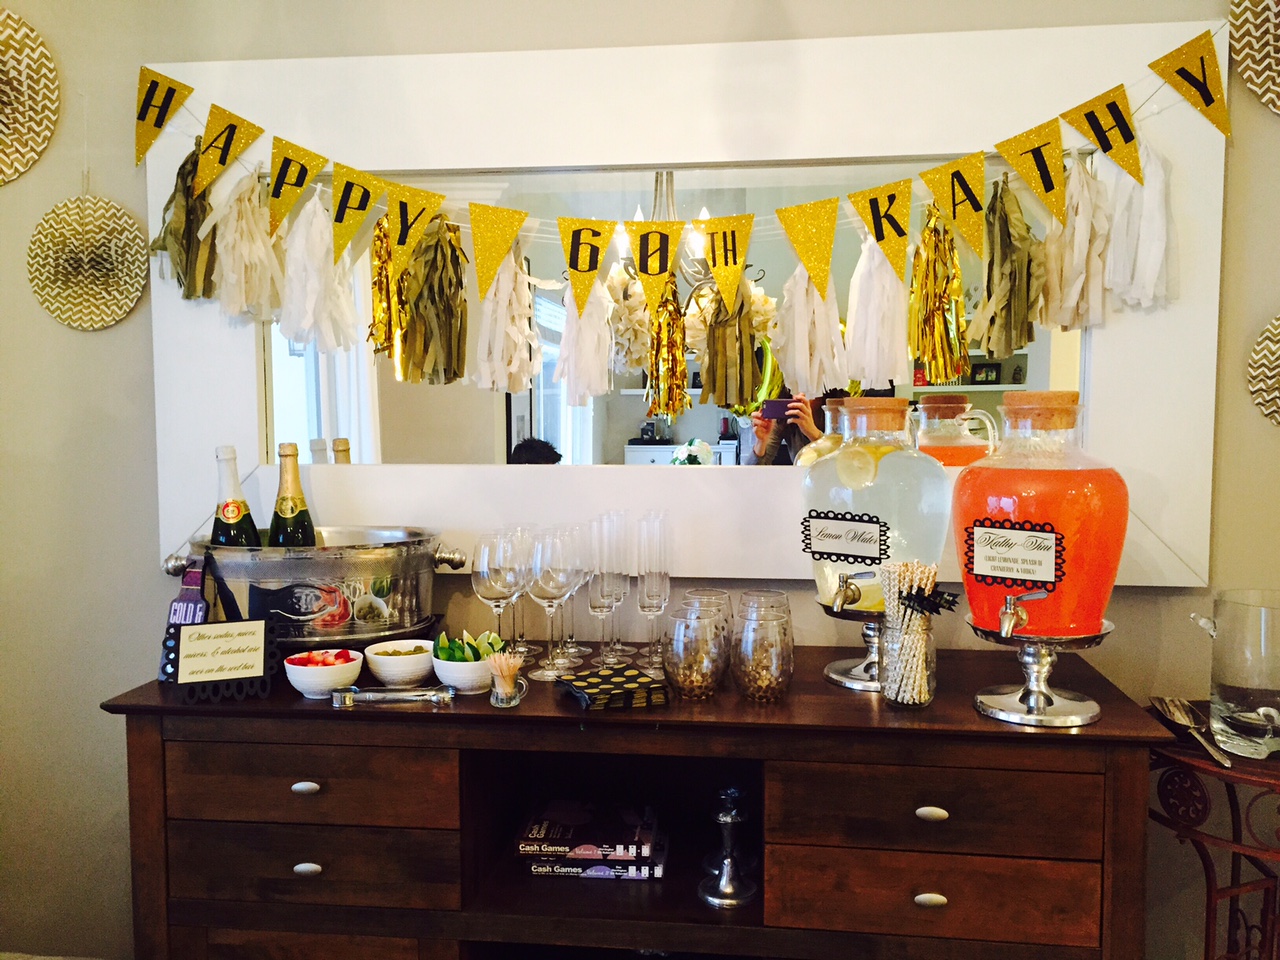
A couple weeks ago I showed you pictures from the party I threw for my mom’s 60th birthday. It was such a hit, and with so many DIY touches, it makes the golden celebration super easy to replicate!
Luckily for you, I’ve already given you the tutorials on a few of the DIY items to get you started:
DIY Custom Sparkle Banner
DIY Tassel Garland
But there were a couple touches, in particular, that got people talking: the invitations and the table runners. I have no idea what it is about these two things that ALWAYS seem to stir up a conversation (especially since they seem so trivial in the initial planning process) but they always pack a big punch. Believe me!
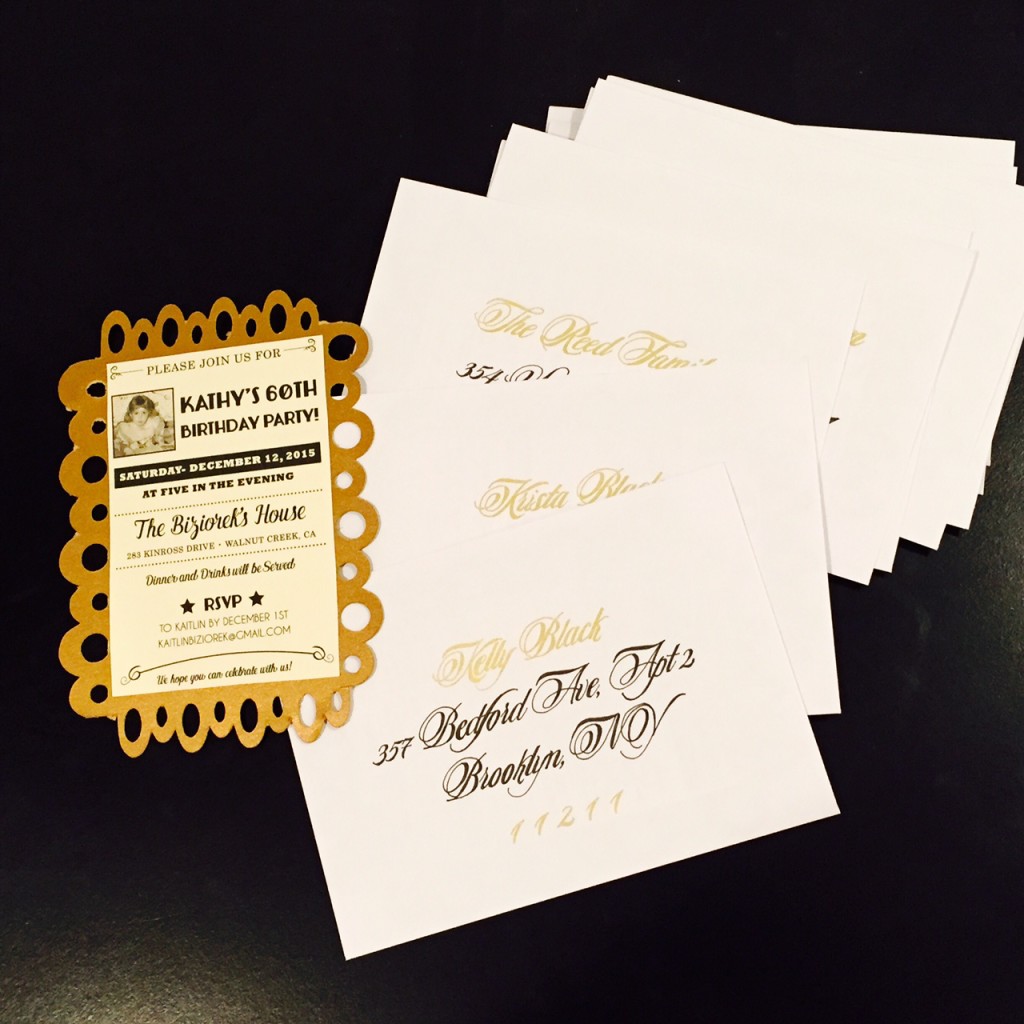
Custom DIY Invitations: The First WOW!
First of all, can I just mention that my light box has been one of the best purchases I have ever made! Ever since I bought it in December 2013, I have been hand calligraphing every single piece of mail I send out. I make sure to take special care when it’s for a big event, such as this one.
But let me just say, that when people open their mail and see an envelope that just LOOKS fancy, they get excited. Pair that with a witty, custom invitation, and your party just started off leaps and bounds ahead of anyone’s expectations.
Now I know, stationary can get expensive. I spent almost $1000 on my wedding invitations for 75 recipients, and I just planned another shower where I spent $75 for invitations for 30 people.
Well, what if I told you that if you just spent a little extra time and effort, you can have this WOW factor without breaking the bank?
Yep, that’s right. Even if you’re not a designer (and I most certainly am not) there are plenty of available designs out there that you can put together yourself with just a few at-home supplies, and a little TLC.
Just follow the instructions below for your own DIY invites that will be even more impressive than any store bought ones you’ll ever find!
A Quick DIY Invitations Tutorial:
The Necessary Supplies:
- PDF Design (you can make one, or buy one. I bought mine from this Etsy shop).
- Cardstock for invitation (color of your choosing – mine’s cream)
- Cardstock for backing (color of your choosing- mine’s gold)
- Envelopes (mine were A7 size- 5.25×7.25″)
- Light tracer and calligraphy pens (gold and black)
- Home printer
- Silhouette Cameo or other home cutting machine
- If you don’t have one of these , it’s ok. You can also cut the background cardstock by hand with scissors. Just keep in mind it won’t be as intricate as mine. However, if you use scrapbooking scissors, they often come in fun shapes for you to cut out fun designs. Or even large hole punches that punch out cute shapes – be creative!)
Step 1:
- Use my easy calligraphy tutorial to hand calligraphy all your envelopes with addressees names and addresses. It’s super easy, even a novice can do it (hint: you’re not really learning calligraphy, you’re just tracing it!).
- I used these gold pens and these black pens to make mine and they worked PERFECTLY (getting fine-tipped pens to trace the calligraphy is the KEY!).
Step 2:
- Find a design you like (either by making it yourself or buying a design off Etsy and downloading it).
- Once you have your design, make sure you make it the size you want.
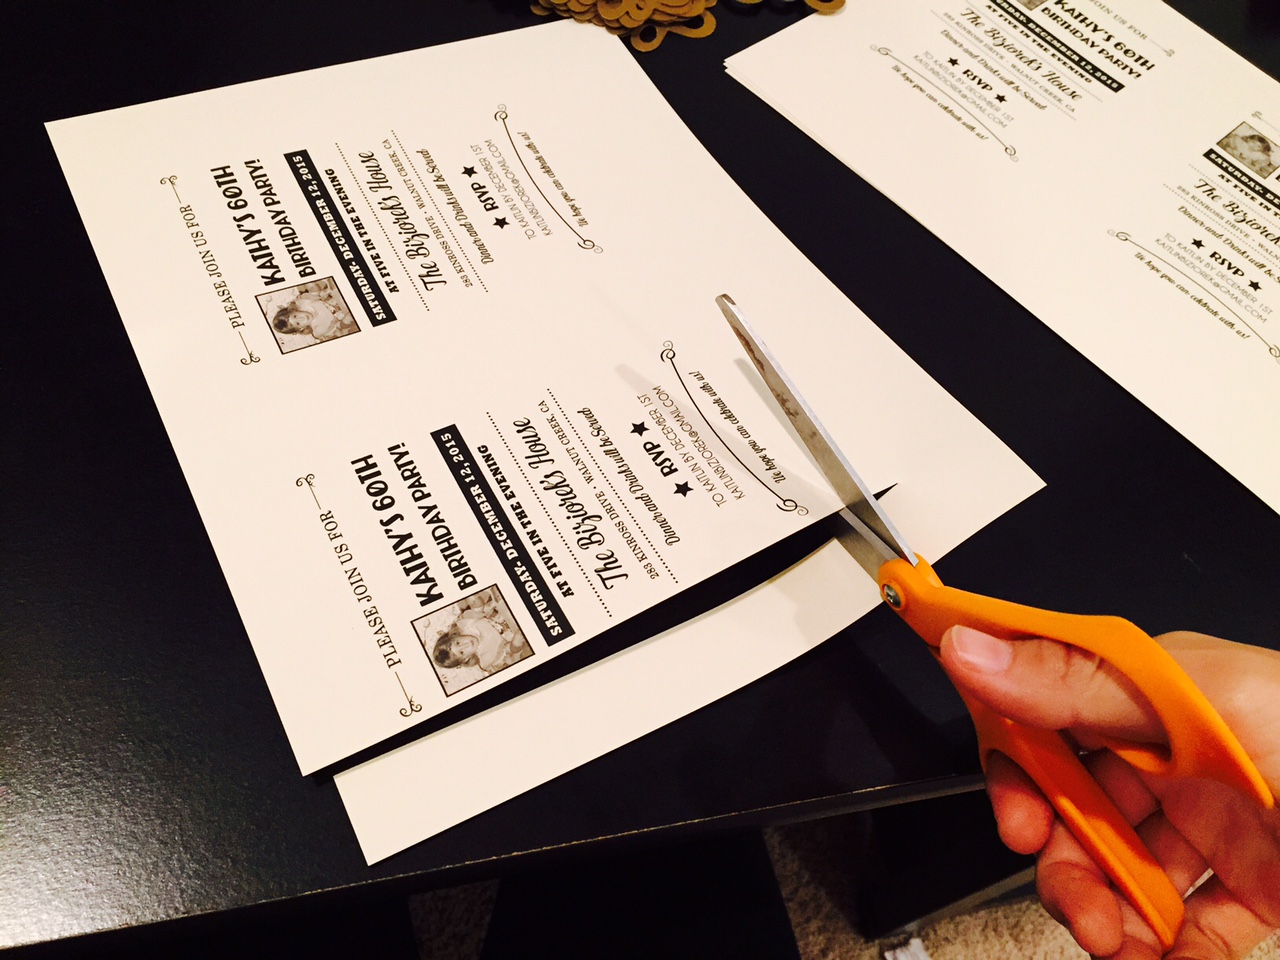
- I do this by inserting it as a picture into a WORD document and sizing it using the top and side ruler bars. My invite design was 4×6″ because I wanted to make a 1″ border and the entire invite 5×7″. So I was able to fit 2 of my invites per page on a Word document.
- Then, print it out on your home printer. Make sure to use heavy cardstock so there is some weight to your invites.
- Finally, cut your printed invites out – making sure they’re the exact size you want them to be (mine were 4×6″)
Step 3:
- Cut out your border using your Silhouette Cameo (or by hand if you don’t have one).
- You can make one of your own, or copy my design (I didn’t save it, sorry!). Just make sure it’s the TOTAL size you want your invites to be (5×7″ for mine). Or, just buy cardstock that’s already 5×7″ (link here). No cutting necessary!
Step 4:
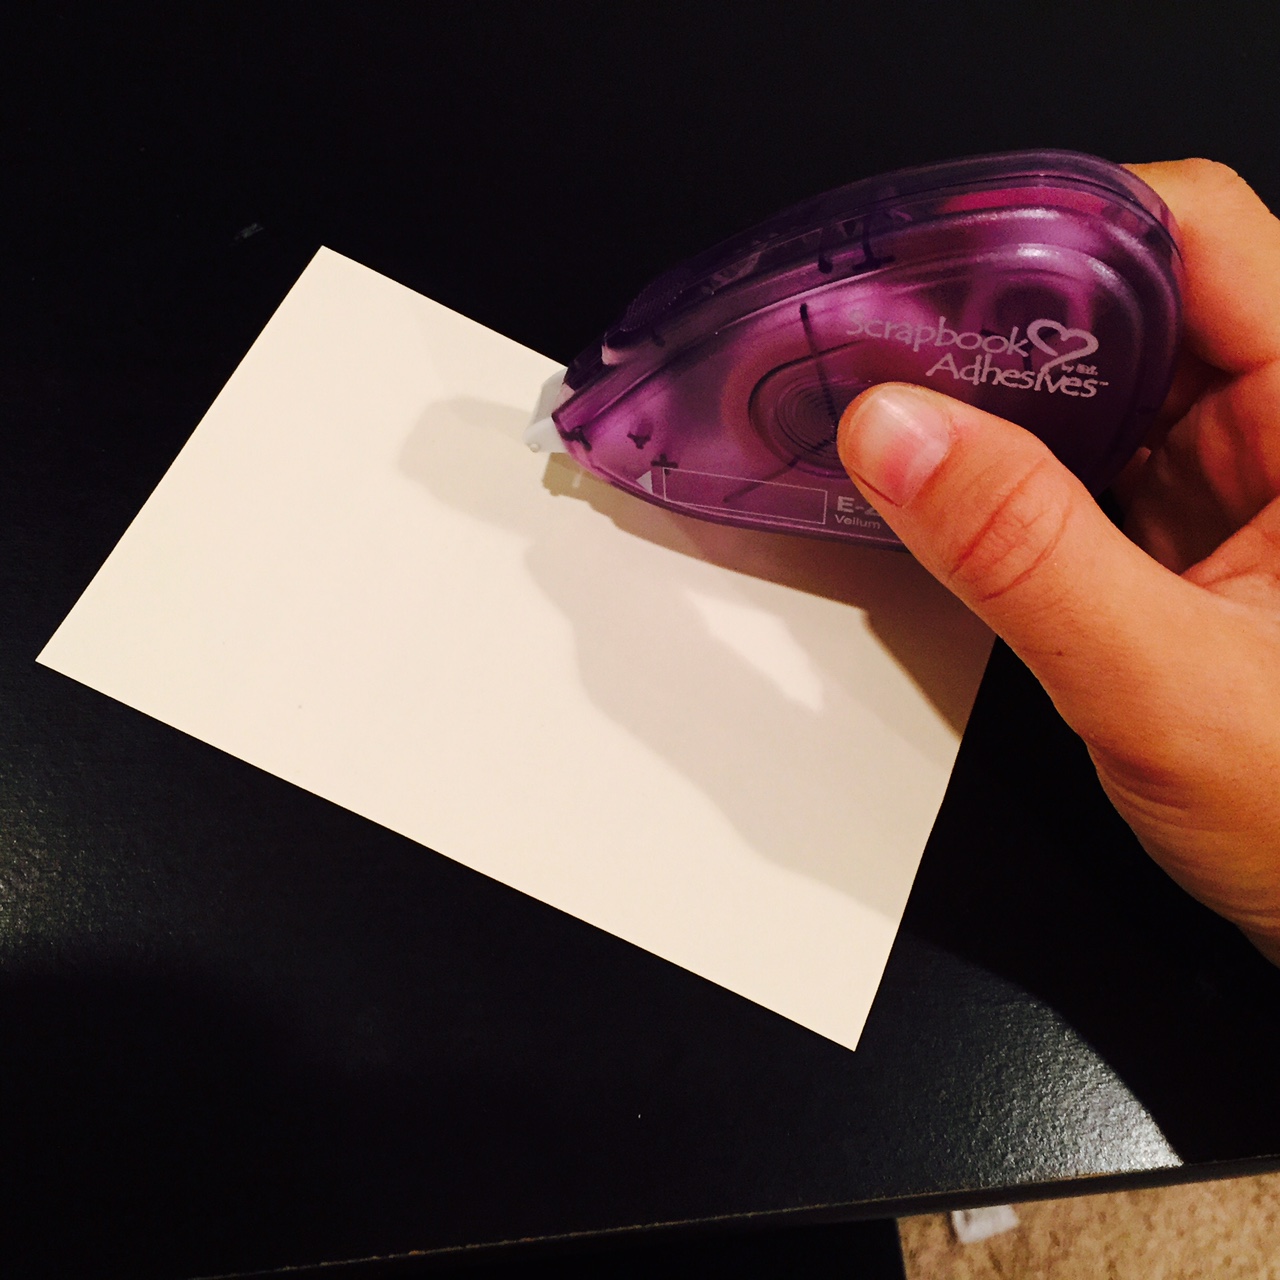
- Once everything is printed and cut, take your double sided adhesive tape and roll it onto the back edges of your printed invited (the smaller, 4×6″ one).
- Then, stick that piece on top of the paper you’ll be using for the edge piece (the 5×7″ paper).
- Repeat on the back if your invite is double sided.
And Ta da!! There you have it. A simple way to bypass the expensive stationary retailers and get something even more special and incredible for your big event!
I have to tell you that at least HALF of everyone that RSVPed, did so by starting off the conversation with how amazing my invites were. I was amazed they were STILL talking about them when they came over for the big party. Obviously, they made quite an impression (if I do say so myself). I just can’t believe how easy they were!! Score one for the DIY lady 🙂
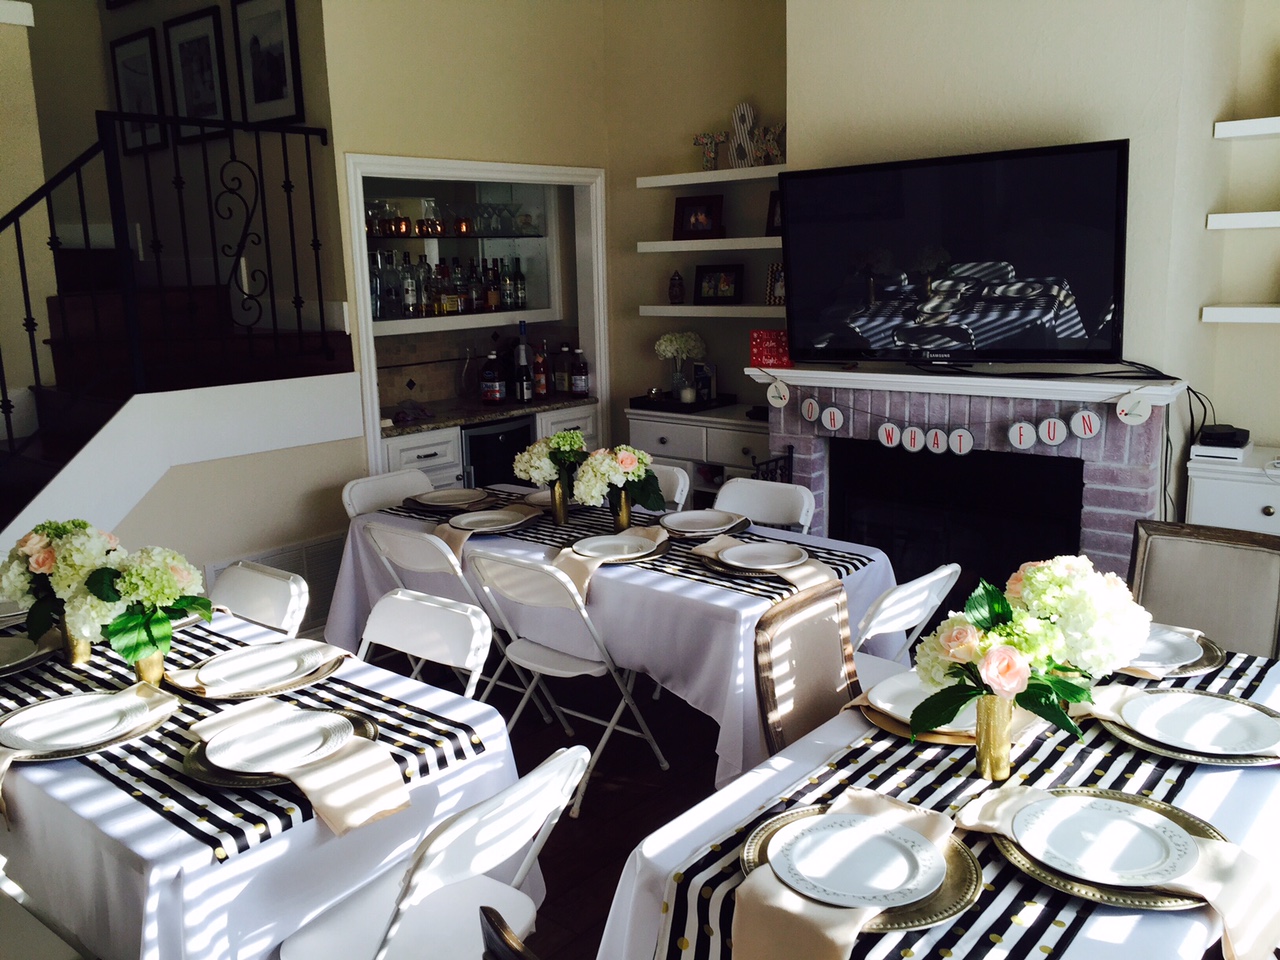
DIY Table Runners: The Biggest Little Eye Catcher
Table runners seem like such a SMALL thing. However, can you imagine this setting WITHOUT them:
or this one:
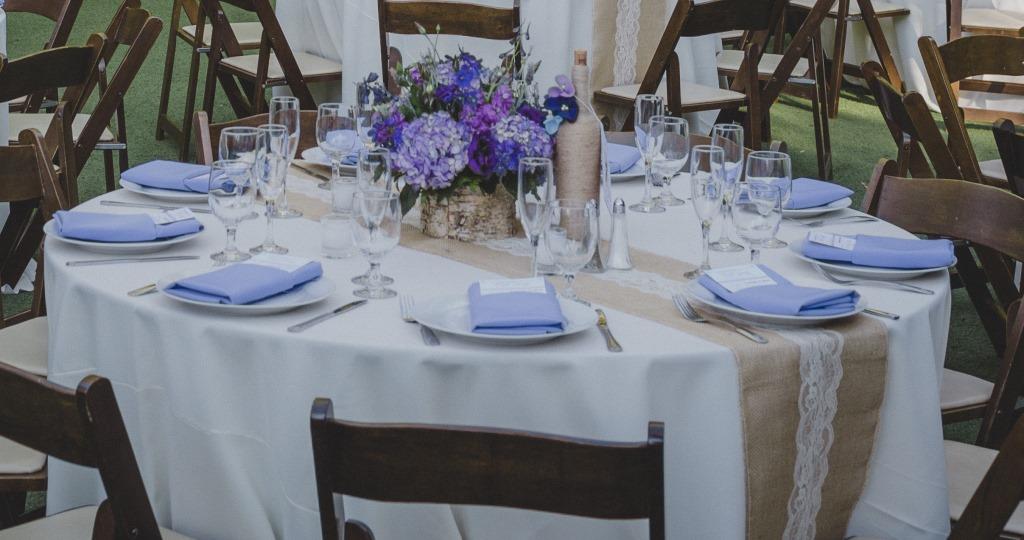
Yea, that’s what I thought. Was would have been bland table settings were completely spruced up and given life by something as simple as a table runner! You may not even realize it, but by adding a splash of color to your party with a simple table runner is the easiest way to make your party POP!
Now, the tricky part is always finding the exact runner you need for the look you’re going for, that goes with your party’s theme, and doesn’t cost an arm and a leg. After all, although important, it IS just a runner – after all. And I, for one, refuse to pay the same price for a table runner what I would pay to buy the rest of the table.
That’s where my DIY table runner ideas first came to play. I first wrote about my burlap and lace runners I had made for my wedding (and saved myself a small fortune). But, that’s just one way to make runners, and didn’t apply to the golden birthday party I was throwing. For this, I needed an entire piece of fabric – just a specific color. And to get the exact color I wanted, I was going to find the fabric and make them myself!
Now, don’t be daunted by this task. Making these runners is a lot easier than you think – even if you don’t own a sewing machine. As I always do with sewing tutorials, since we’re just working with straight lines for the table runners, I’ll show you how to make them both the SEW and NO-SEW way!
A Quick Table Runner Tutorial
The Necessary Supplies:
- At least 2 yards of fabric (for every 2 table runners).
- If you have an odd number (and want to save money) you can always order the EXACT amount of fabric you need (1 yd per 1 runner) However, if you don’t get fabric in a multiple of 2 yards, one of your table runners will have a seam down the middle. Totally up to you.
- Sewing Machine
- Thread
- Double Sided Heat Fusible Seam Tape (if doing NO SEW option).
NOTE: If you want to make these NO-SEW, just follow along with the tutorial. But instead, every time I tell you to SEW something, use your double sided seam tape, and fuse the edges together with an iron and heat instead of sewing them together. MUCH simpler, and nobody will be able to tell the difference.
Step 1:
- Take your fabric and fold it in half (lengthwise).
- Then, cut your fabric down the middle. So if you have 2 yards, you’ll still have 2 yards of fabric, just not as wide.
Step 2:
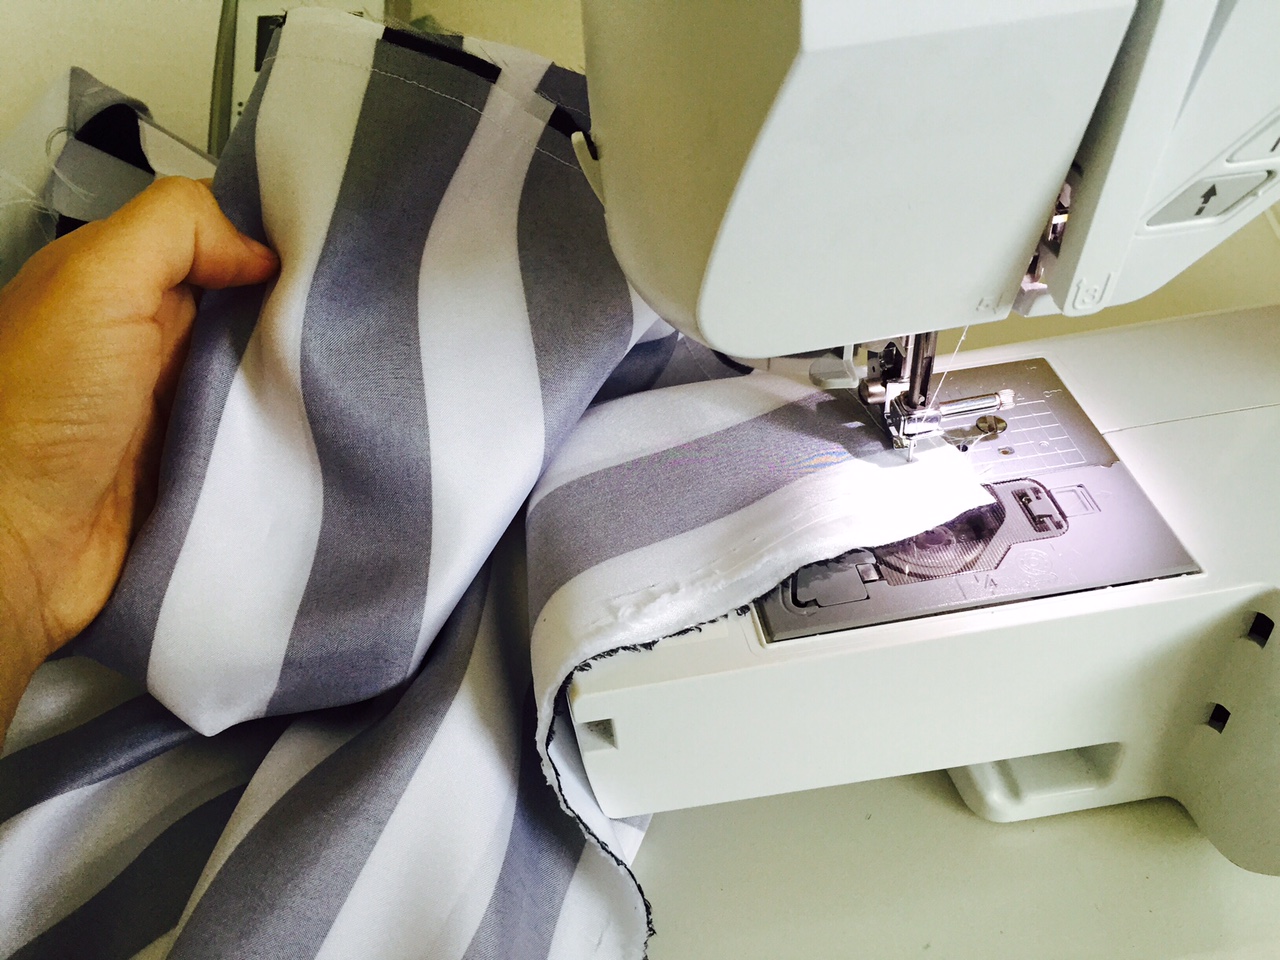
- Once cut, take one piece of cut fabric and tuck the edge under about 1/2″.
- Then, take your sewing machine and make a linear stitch along the edge.
- If you’re doing this the no-sew way, place your fusible table in between the top of the fabric and the edge you fold under, and then iron them together so the edge is fused to the under side of the fabric “runner”.
- Continue this process until you have tucked all the edges under and sewn (or ironed) around all edges).
- Then, repeat with your other half piece of fabric. Each piece will measure 72″ long, and will vary on width (depending on how wide the fabric is to begin with).
Step 3 (OPTIONAL):
- If you DO NOT want to buy your fabric in multiples of 2 yards, and only want to purchase 1 yard per table to save money- you can totally do that too! However, what you must do is repeat step 1 (cutting the yard of fabric lengthwise) and THEN before repeating step 2, you must sew the 2 long pieces together in the center.
- This will make one long table runner WITHOUT having to buy extra fabric. However, this runner WILL have a horizontal seam in the middle of it (as you can see above). Totally up to you, though.
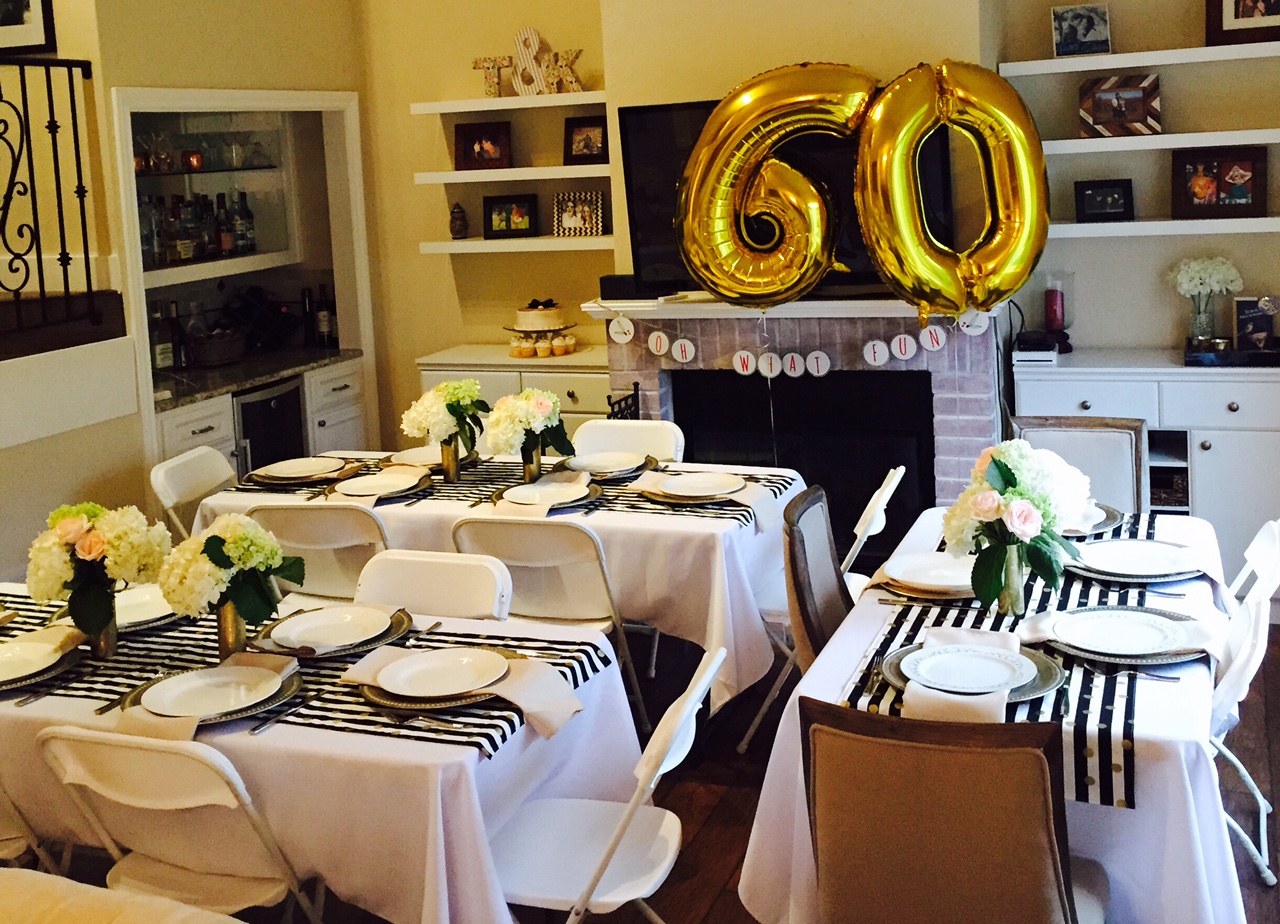
And voi la! Don’t you think the black and white stripes totally bring out the gold accents? Maybe I’m biased, but I really like the look of these stripes with the gold. I thought it completely brought the entire theme together in a way nothing else could have (humble bragging there, a bit).
Anyway, enough about my parties. I just wanted to show you that even the simplest little decorations can go a long way. And they’re so easy to DIY – there’s not need to spend a fortune, or hire anyone to help you out.
Half the reason people don’t throw more parties is one, because of the hassle, and two, because of the stress. This should be a stress-free process people! Parties should be enjoyable for EVERYONE -those throwing and attending alike. And hopefully, by using a few of my DIY tips and tricks, your next party will be:-)
But just to give you a quick recap, here’s everything you’ll need to complete the DIY party decorations above:
DIY Invitations:
- PDF Design (you can make one, or buy one. I bought mine from this Etsy shop).
- Cardstock for invitation (color of your choosing – mine’s cream)
- Cardstock for backing (color of your choosing- mine’s gold)
- Envelopes (mine were A7 size- 5.25×7.25″)
- Light tracer and calligraphy pens (gold and black)
- Home printer
- Silhouette Cameo or other home cutting machine
- If you don’t have one of these , it’s ok. You can also cut the background cardstock by hand with scissors. Just keep in mind it won’t be as intricate as mine. However, if you use scrapbooking scissors, they often come in fun shapes for you to cut out fun designs. Or even large hole punches that punch out cute shapes – be creative!)
DIY Table Runners:
- At least 2 yards of fabric (for every 2 table runners).
- If you have an odd number (and want to save money) you can always order the EXACT amount of fabric you need (1 yd per 1 runner) However, if you don’t get fabric in a multiple of 2 yards, one of your table runners will have a seam down the middle. Totally up to you.
- Sewing Machine
- Thread
- Double Sided Heat Fusible Seam Tape (if doing NO SEW option).
HAPPY CRAFTING!
Leave a Reply