Last week I gave you a fun dessert to try: heart shaped chocolate lollipops. They’re a fun alternative to a traditional cake pop, but are MUCH less time consuming. However, they aren’t cakey…. AT ALL. When you’re throwing a party, you most likely want some sort of cake on your dessert table. I know I did.
There are so many ways you can go about this. I’m usually a HUGE cupcake fan, and I really love the idea of a cupcake cake (when you spread frosting over a row of cupcakes to make them look like one whole cake. It’s pretty cool). But I really wanted my cake to be a focal point of my dessert table at the baby shower I was throwing, almost a statement piece.
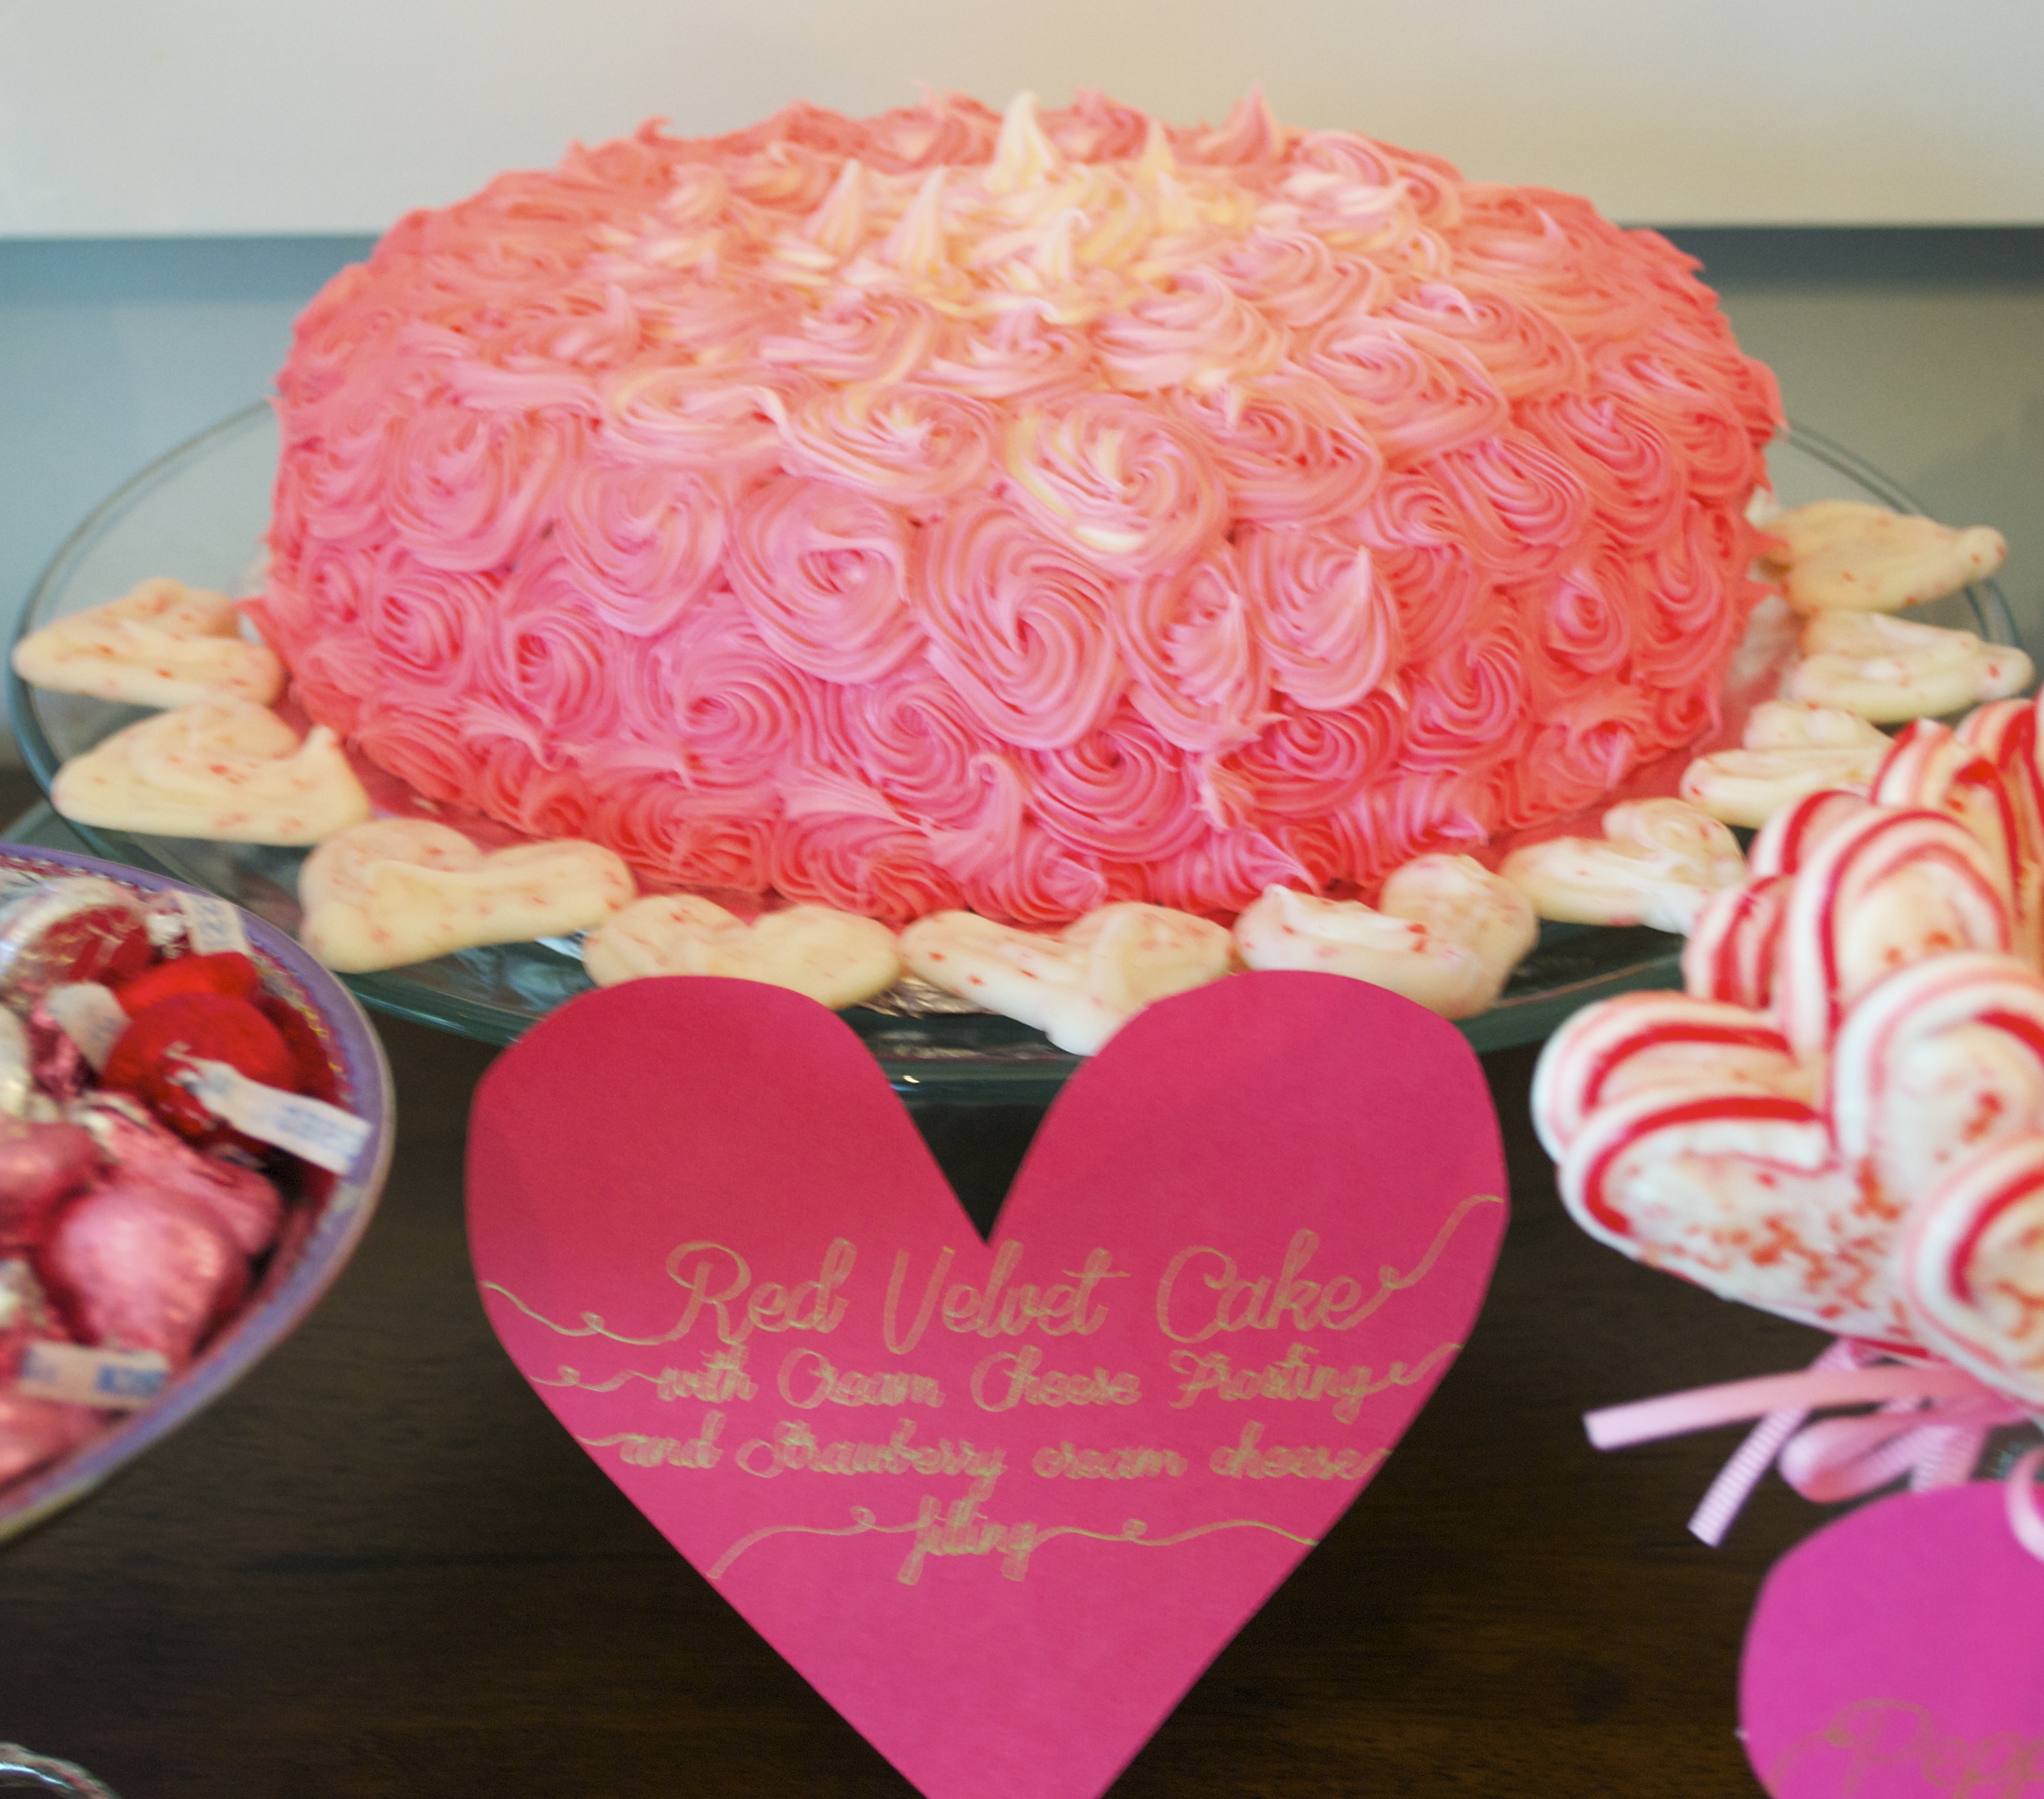
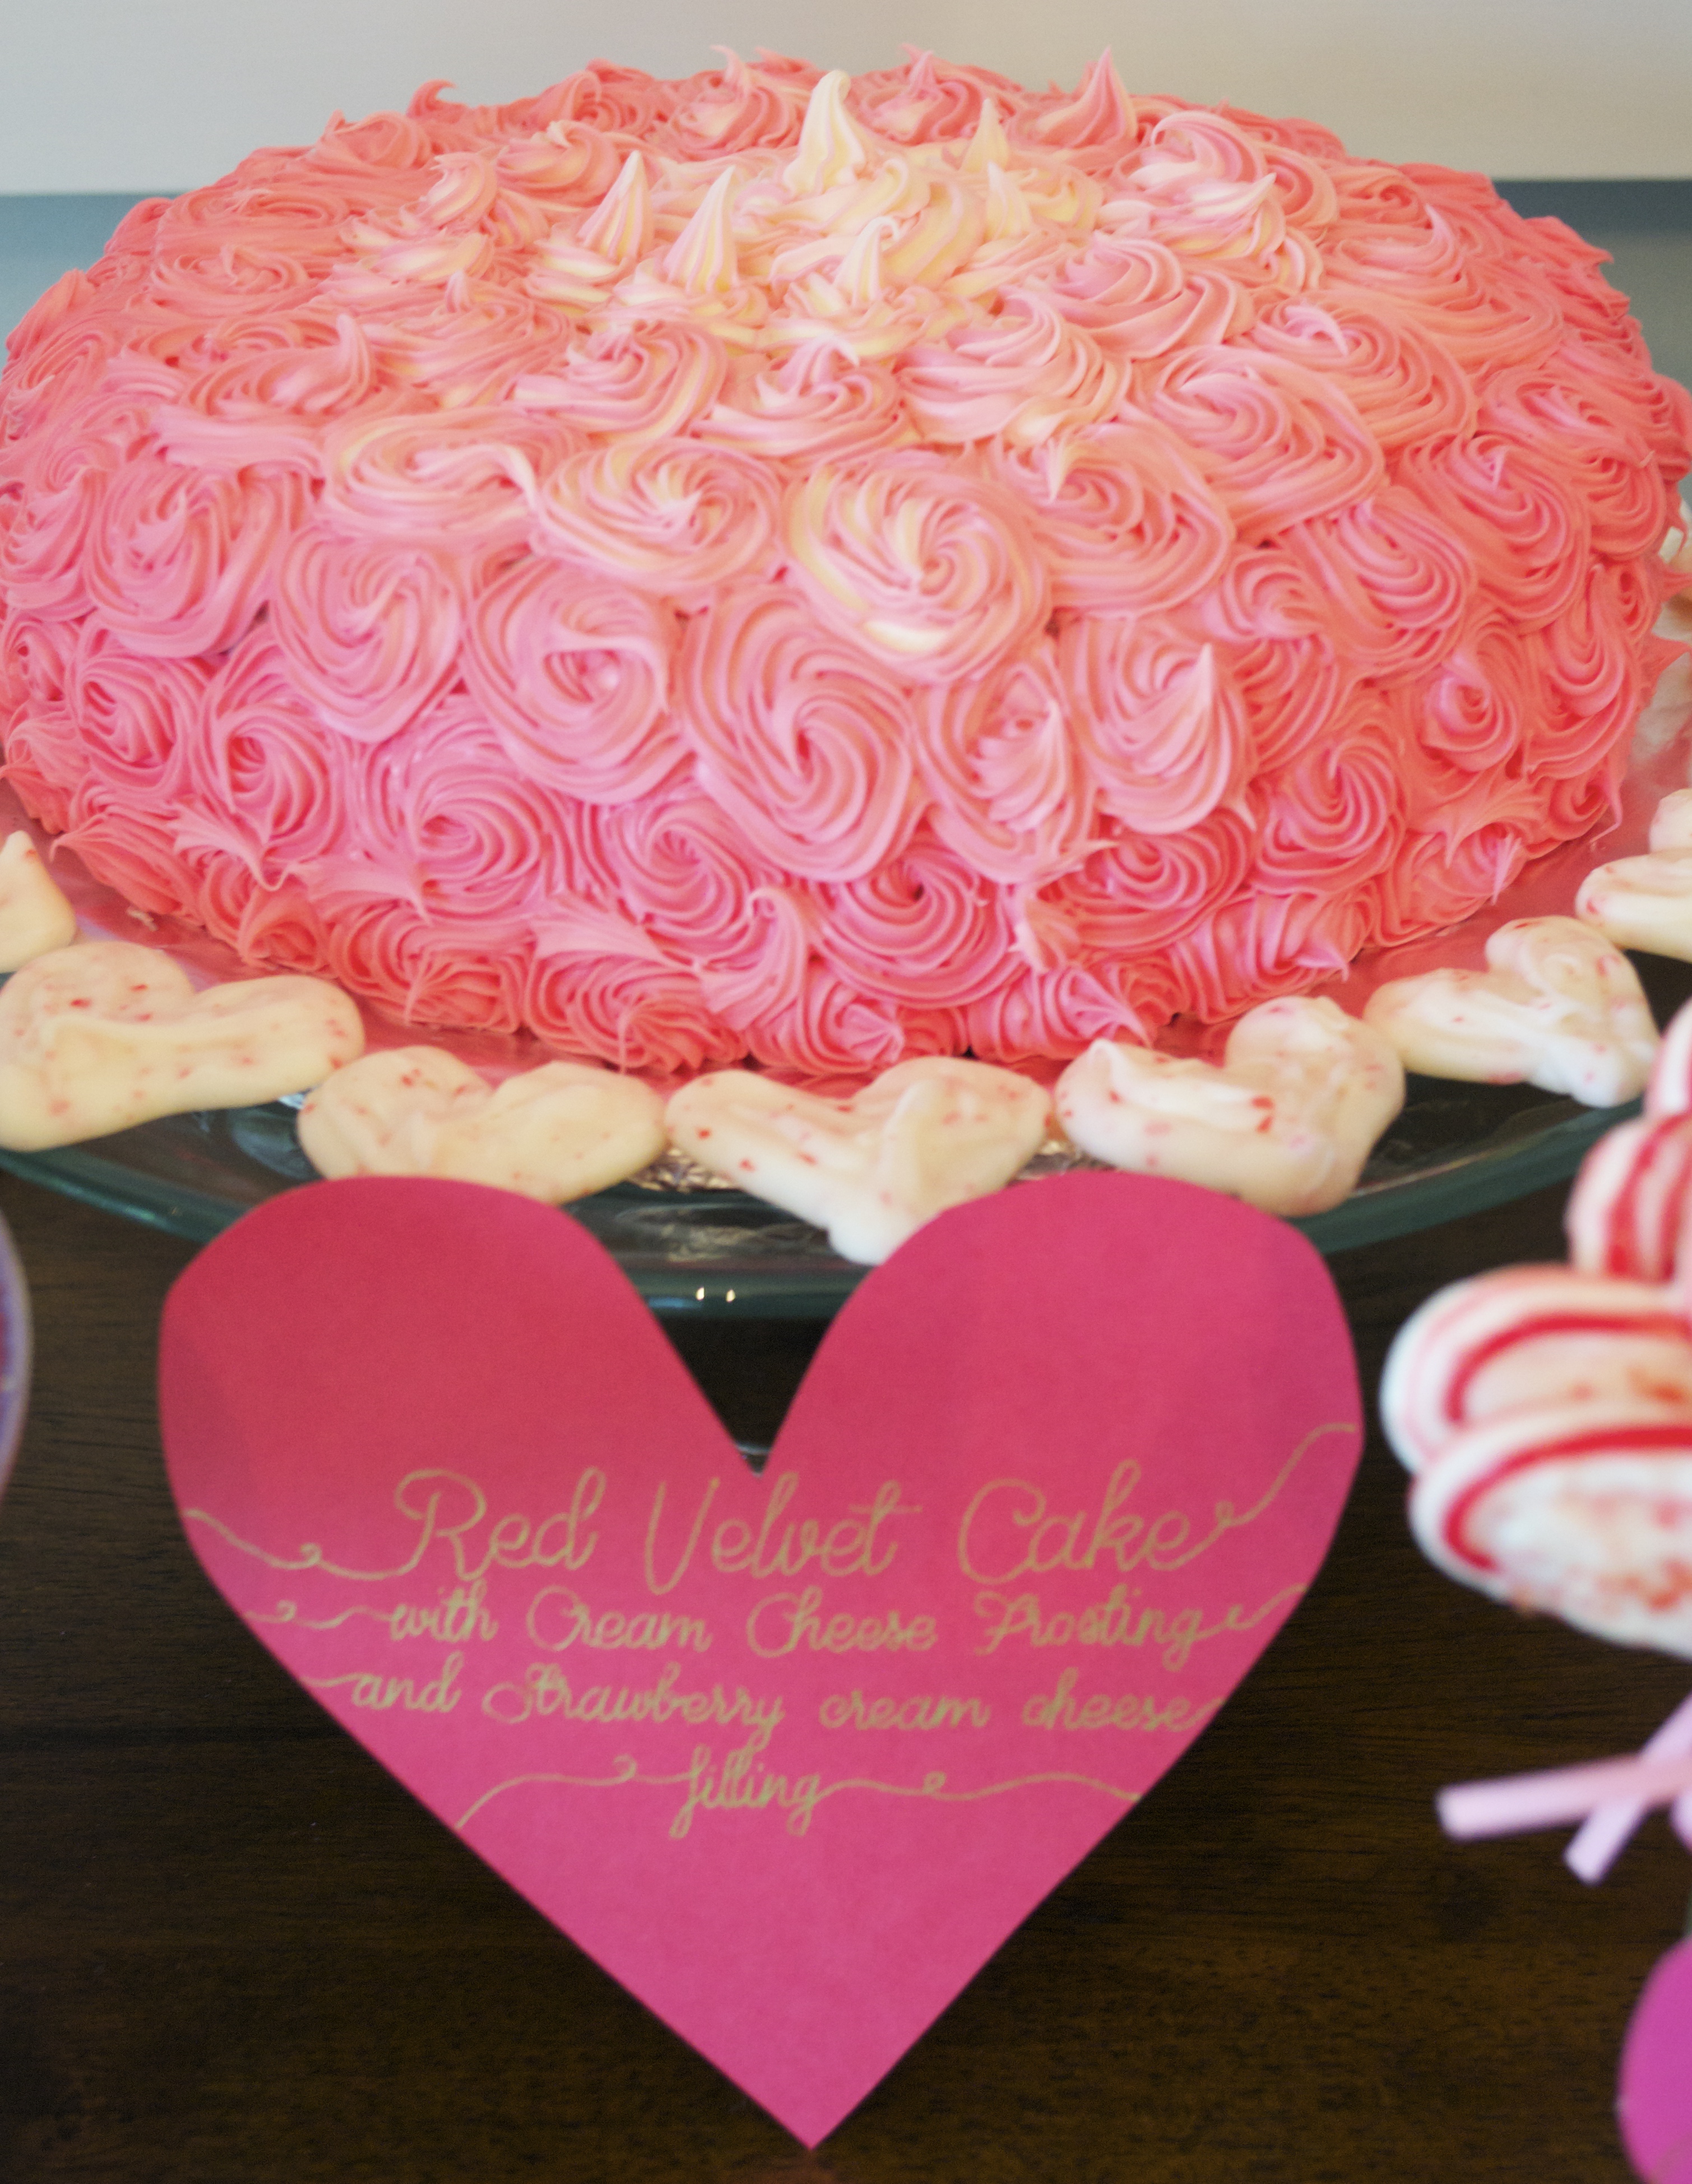
I’d seen a lot of pictures lately of rosette cakes, and was kind of obsessed. If you don’t know what I’m talking about (or couldn’t tell from my picture), it’s those circular cakes that are piped with frosting to look like tiny roses all over the cake. They’re not new, but they’re really cool looking and look very intricate. But I’m not the BEST with frosting. I tend to get very anxious once the cake comes out of the oven and try to frost too quickly, causing the frosting to warm up and run. It never looks the way I plan.
I also decided to make the rosette ombre. As if frosting the cake in little flowers wasn’t enough! I think making the the frosting go from white to dark pink gives the cake the little extra something that makes it looks much more expensive and elegant. Almost like an extra decoration without adding anything extra (except some drops of food coloring).
But I can tell you it was MUCH more simple than I had originally imagined. So if you think you’re not crafty or good with your hands, I need to tell you NOT TO WORRY ABOUT IT! Frosting cakes is 100% not my forte, but this one was easy enough to do, and do it right. It looked great when I was finished, and took almost no time to complete.
The hardest part (for me anyway) was waiting for the cake to bake, and then to cool…. COMPLETELY! But you can be doing lots of other things while that’s happening, so take advantage and don’t sit there waiting for the cake to bake or for it to cool down. If you do, you may get impatient and your frosting will run and it’ll be a disaster. PATIENCE IS KEY!
Below, I give you the tools you’ll need, as well as the step by step instructions, to make your own ombre rosette cake.
Steps to Make an Ombre Rosette Cake
The Necessary Tools:
- Cake Mix (flavor of your choice)
- Icing (2- possibly 3-, 16oz tubs of Supermarket frosting)
- Icing piping set (I upgraded to the 18 piece set for an extra $2.75)
- Food Coloring
- Strawberry Filling
- 2, 9” round, nonstick baking pans
Step 1:
- Preheat your oven to 350 degrees.
- Prepare your cake mix as instructed on the box.
- Pour ½ the mix into one 9″ round pan, and ½ the mix into the other.
- Put in the oven and bake as instructed on the box.
Step 2:
- Once done, put your cake pans in your refrigerator to cool, about 2 hours.
- Make sure they are COMPLETELY cool before removing them from your refrigerator.
Step 3:
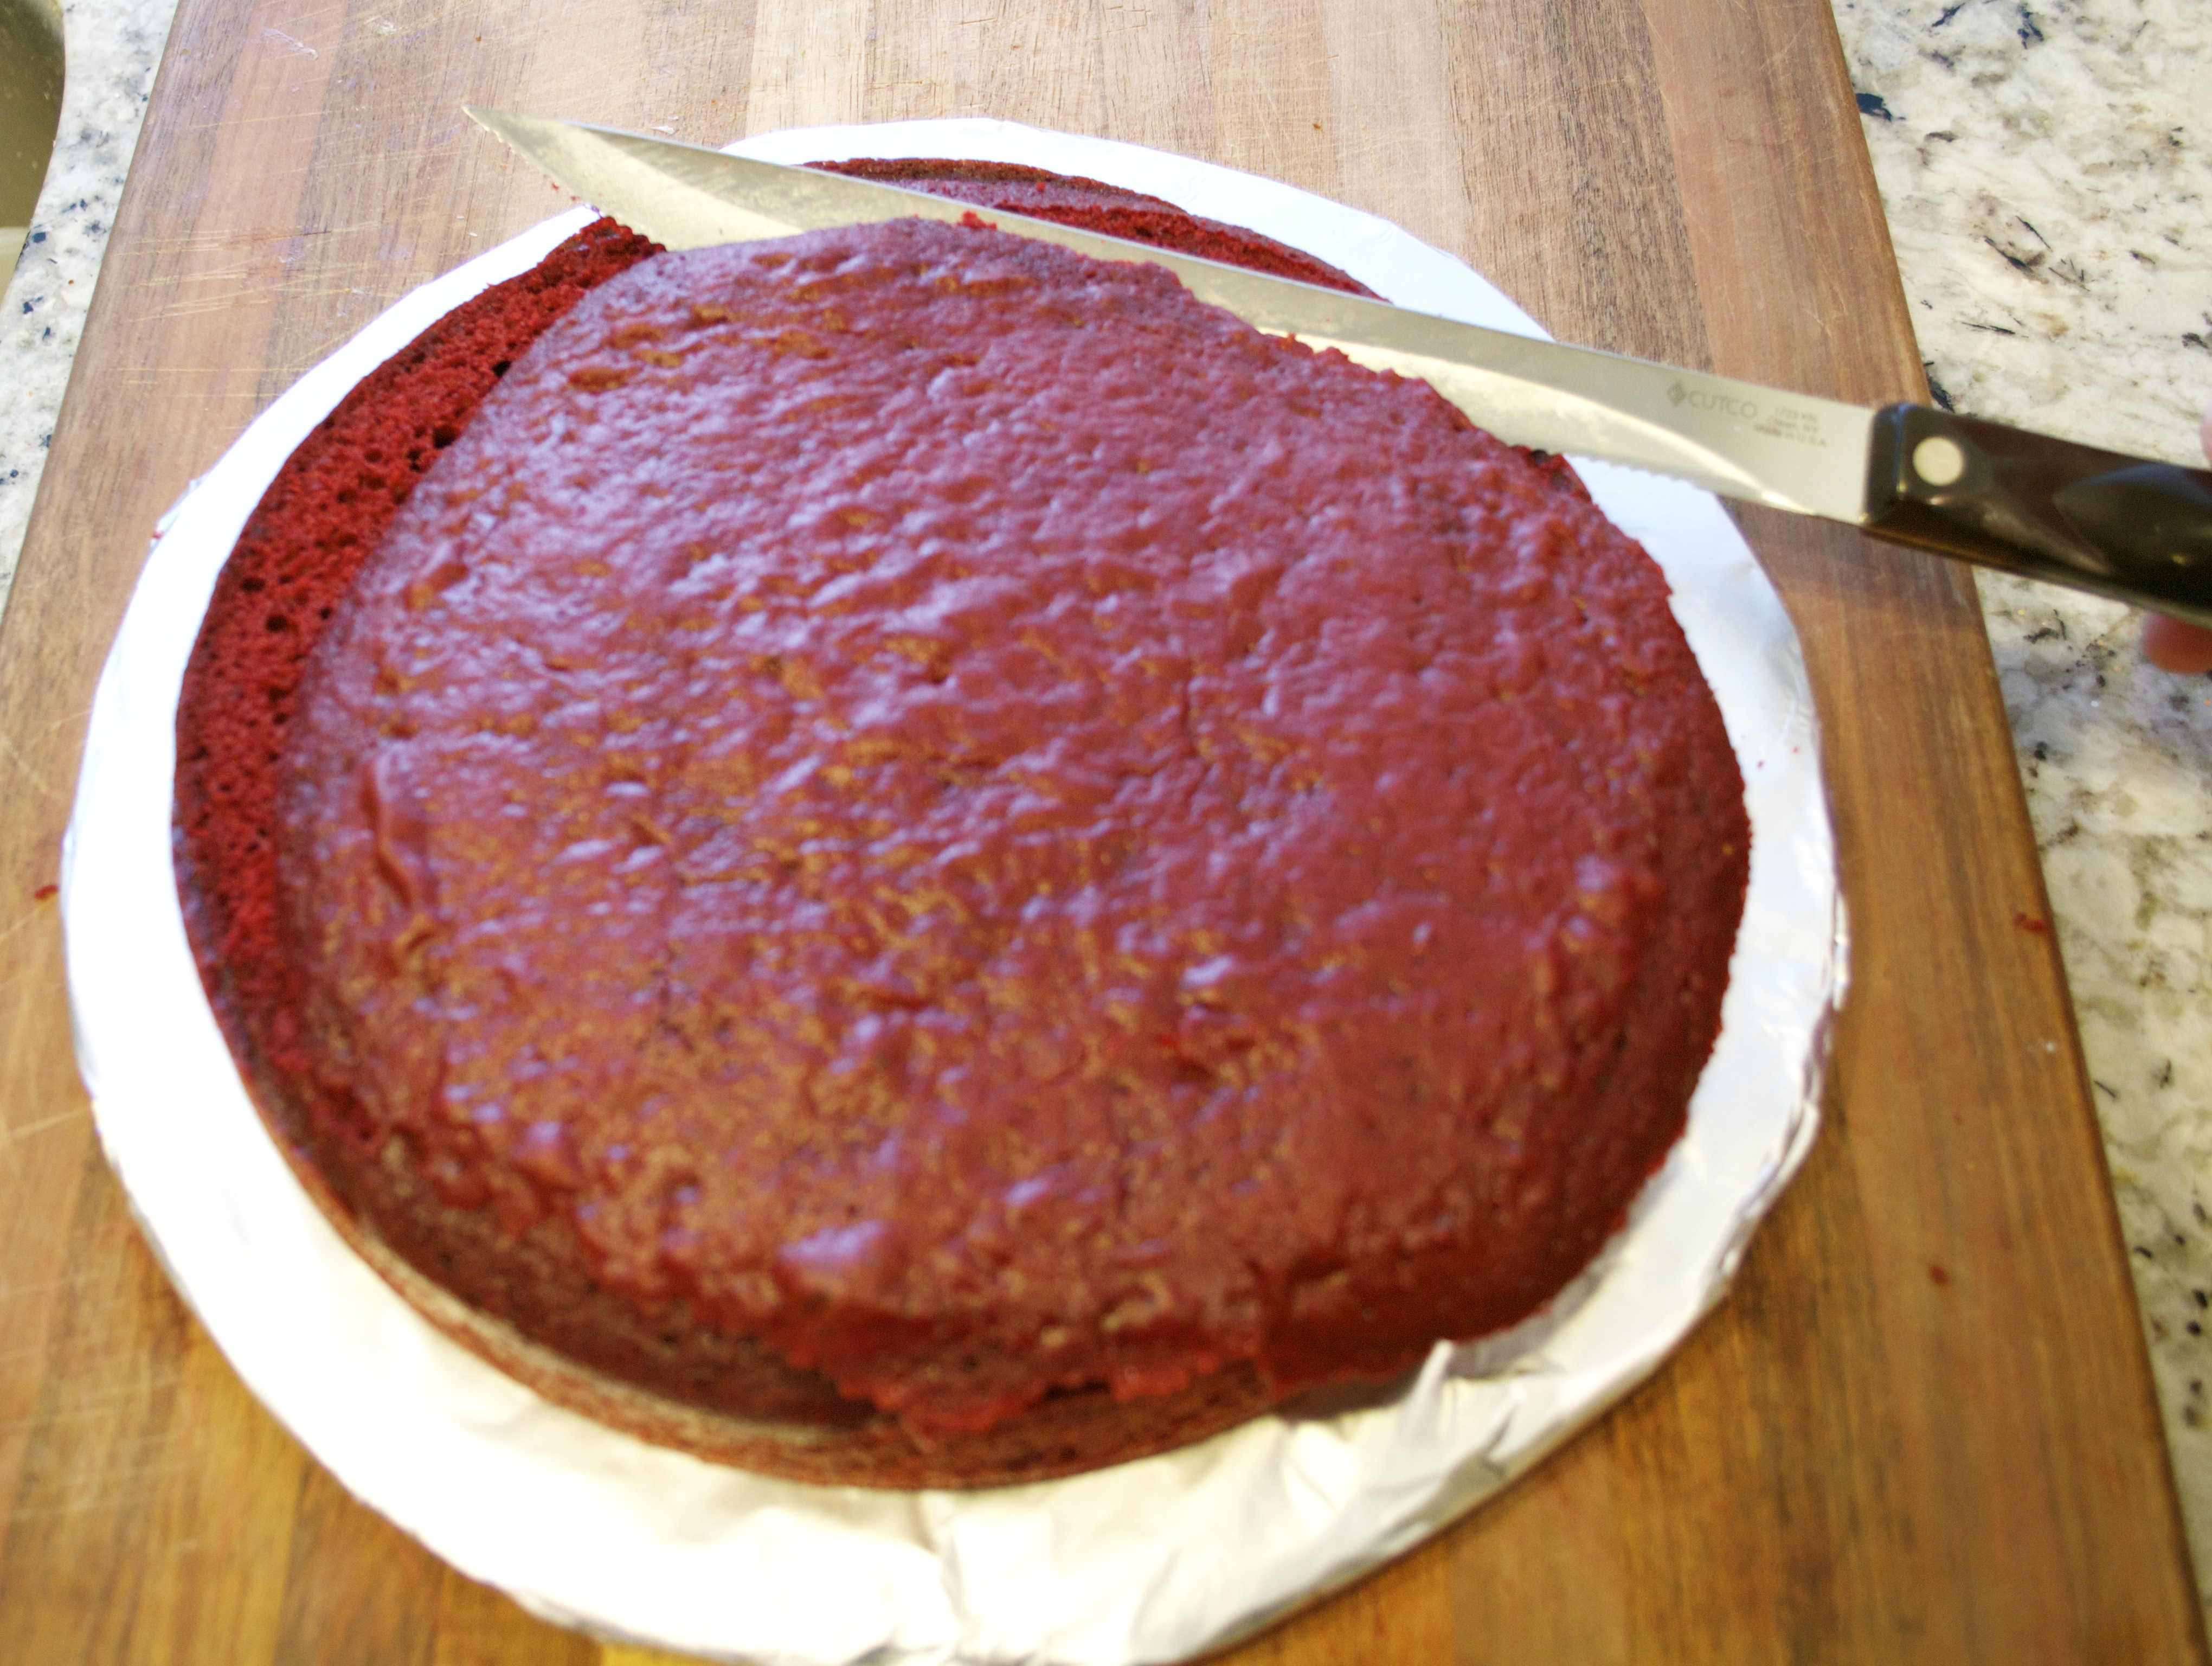
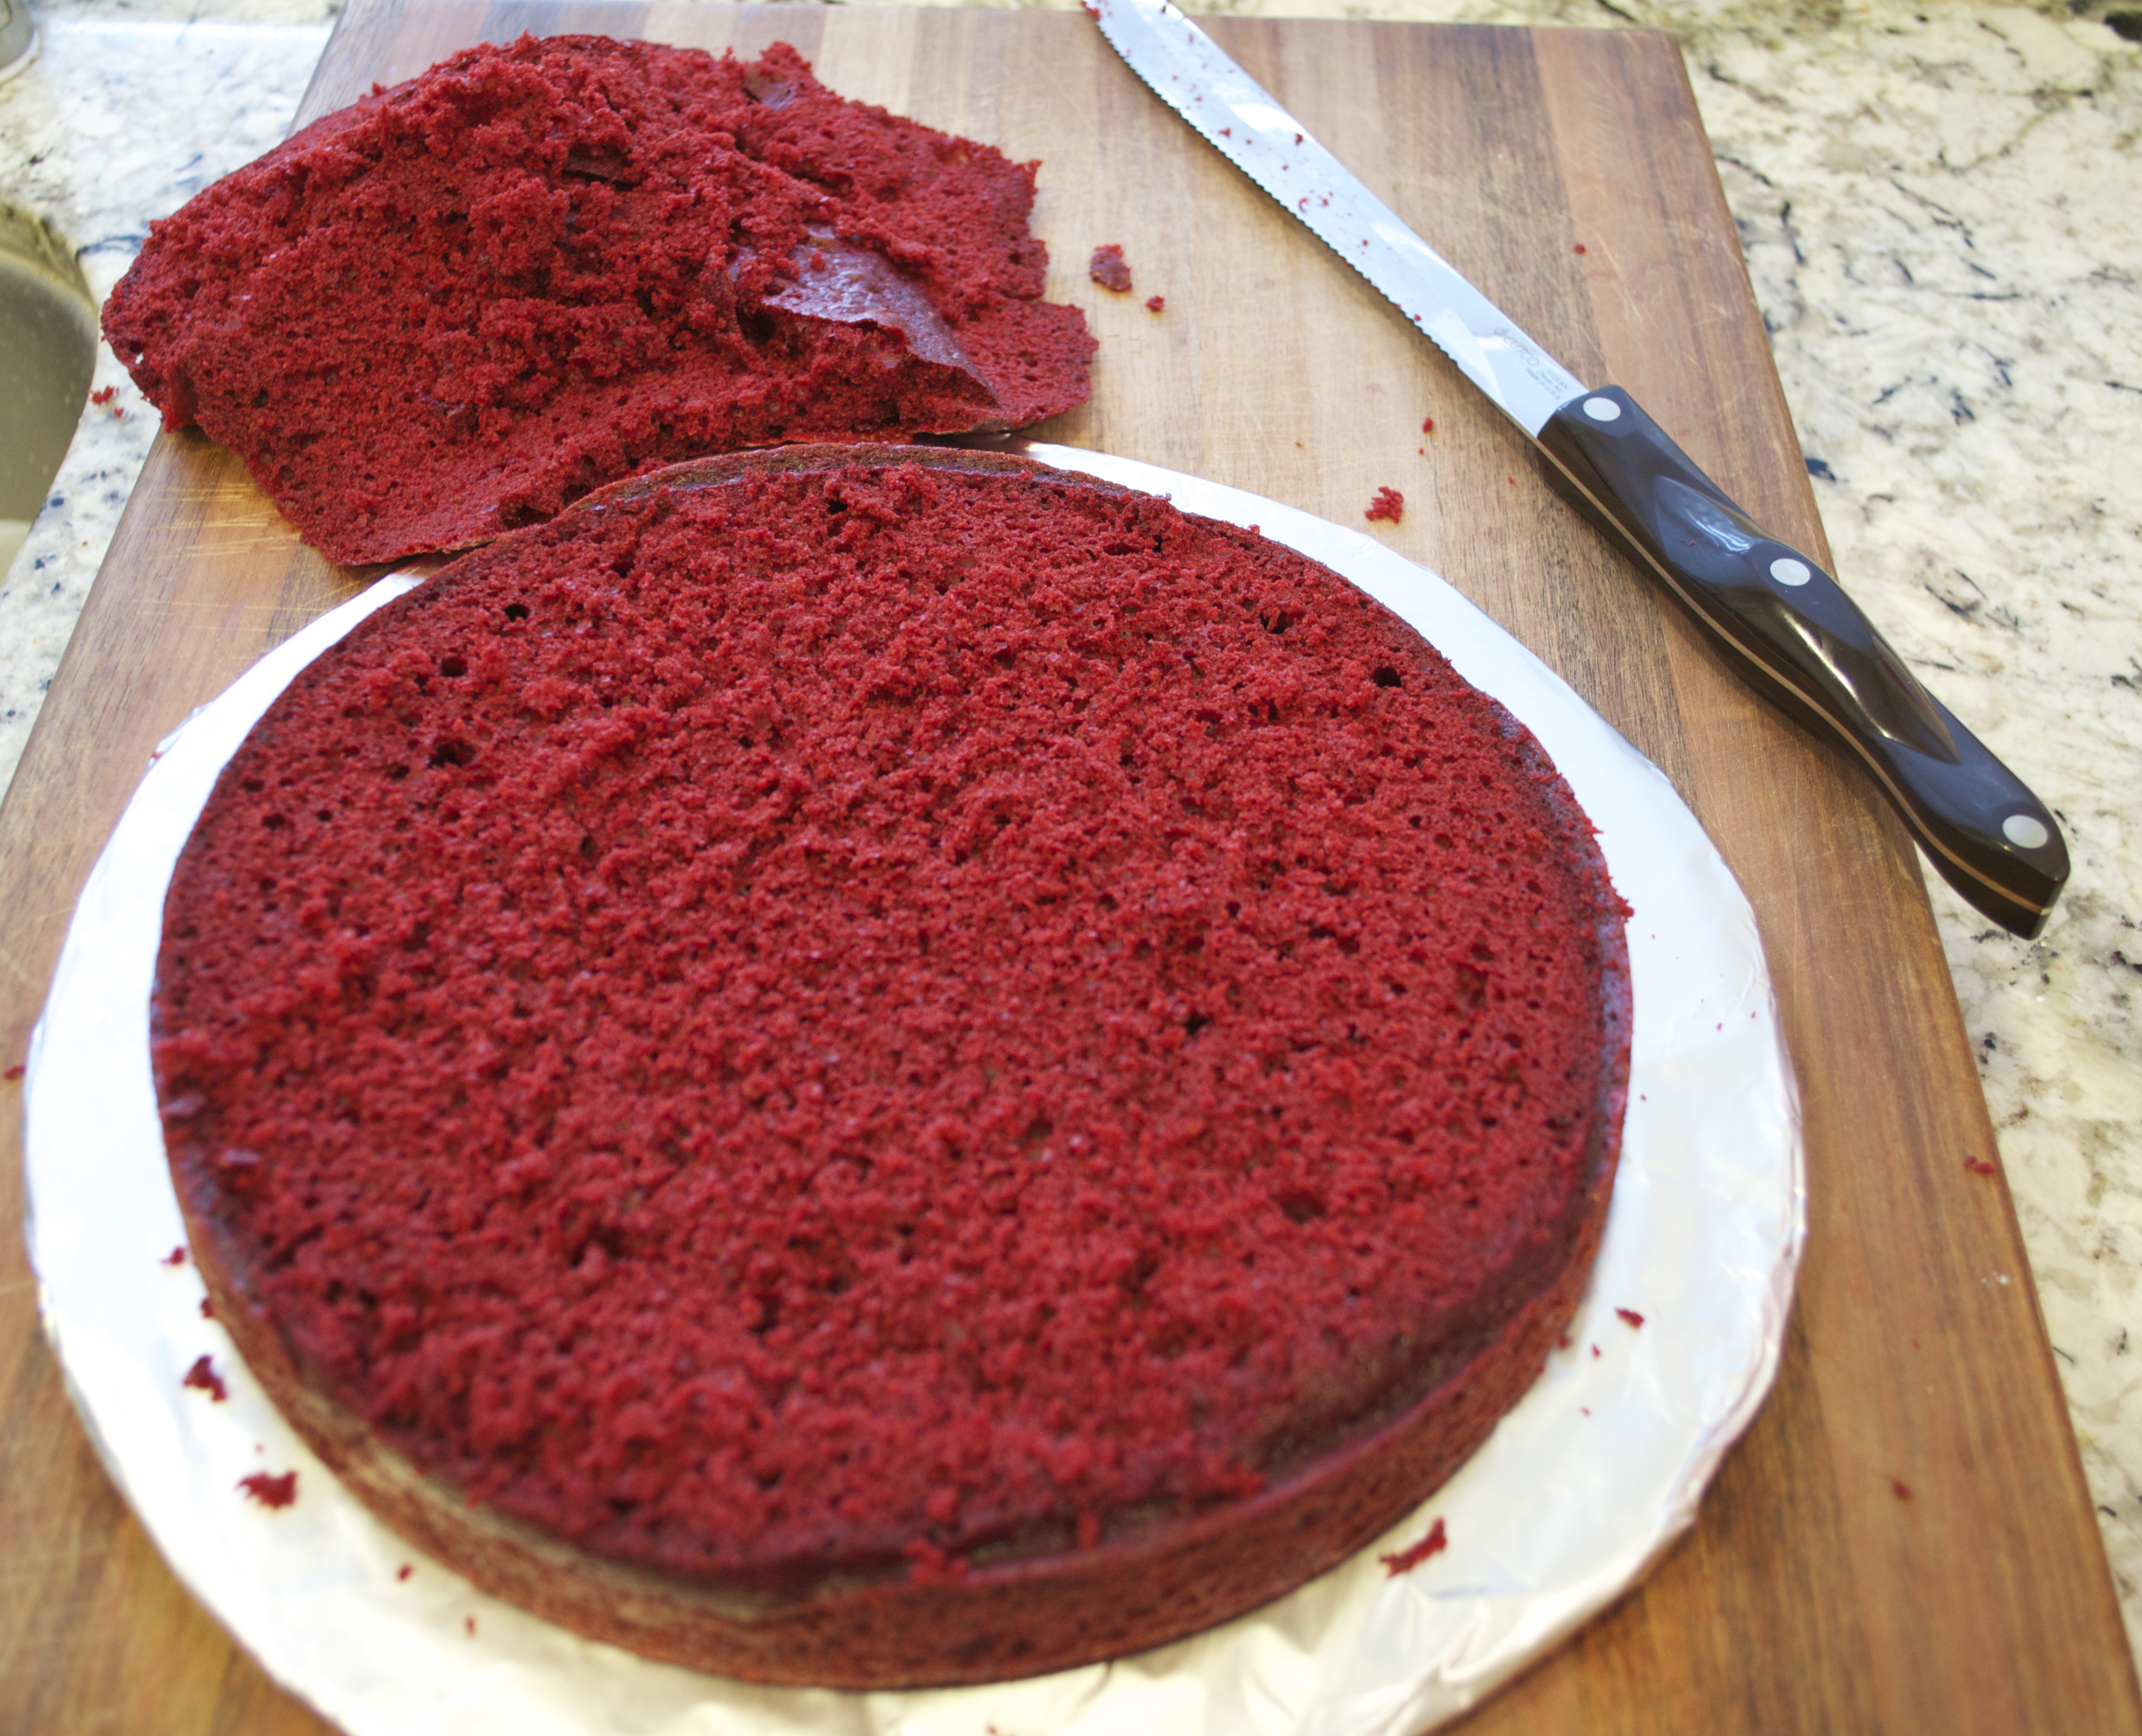
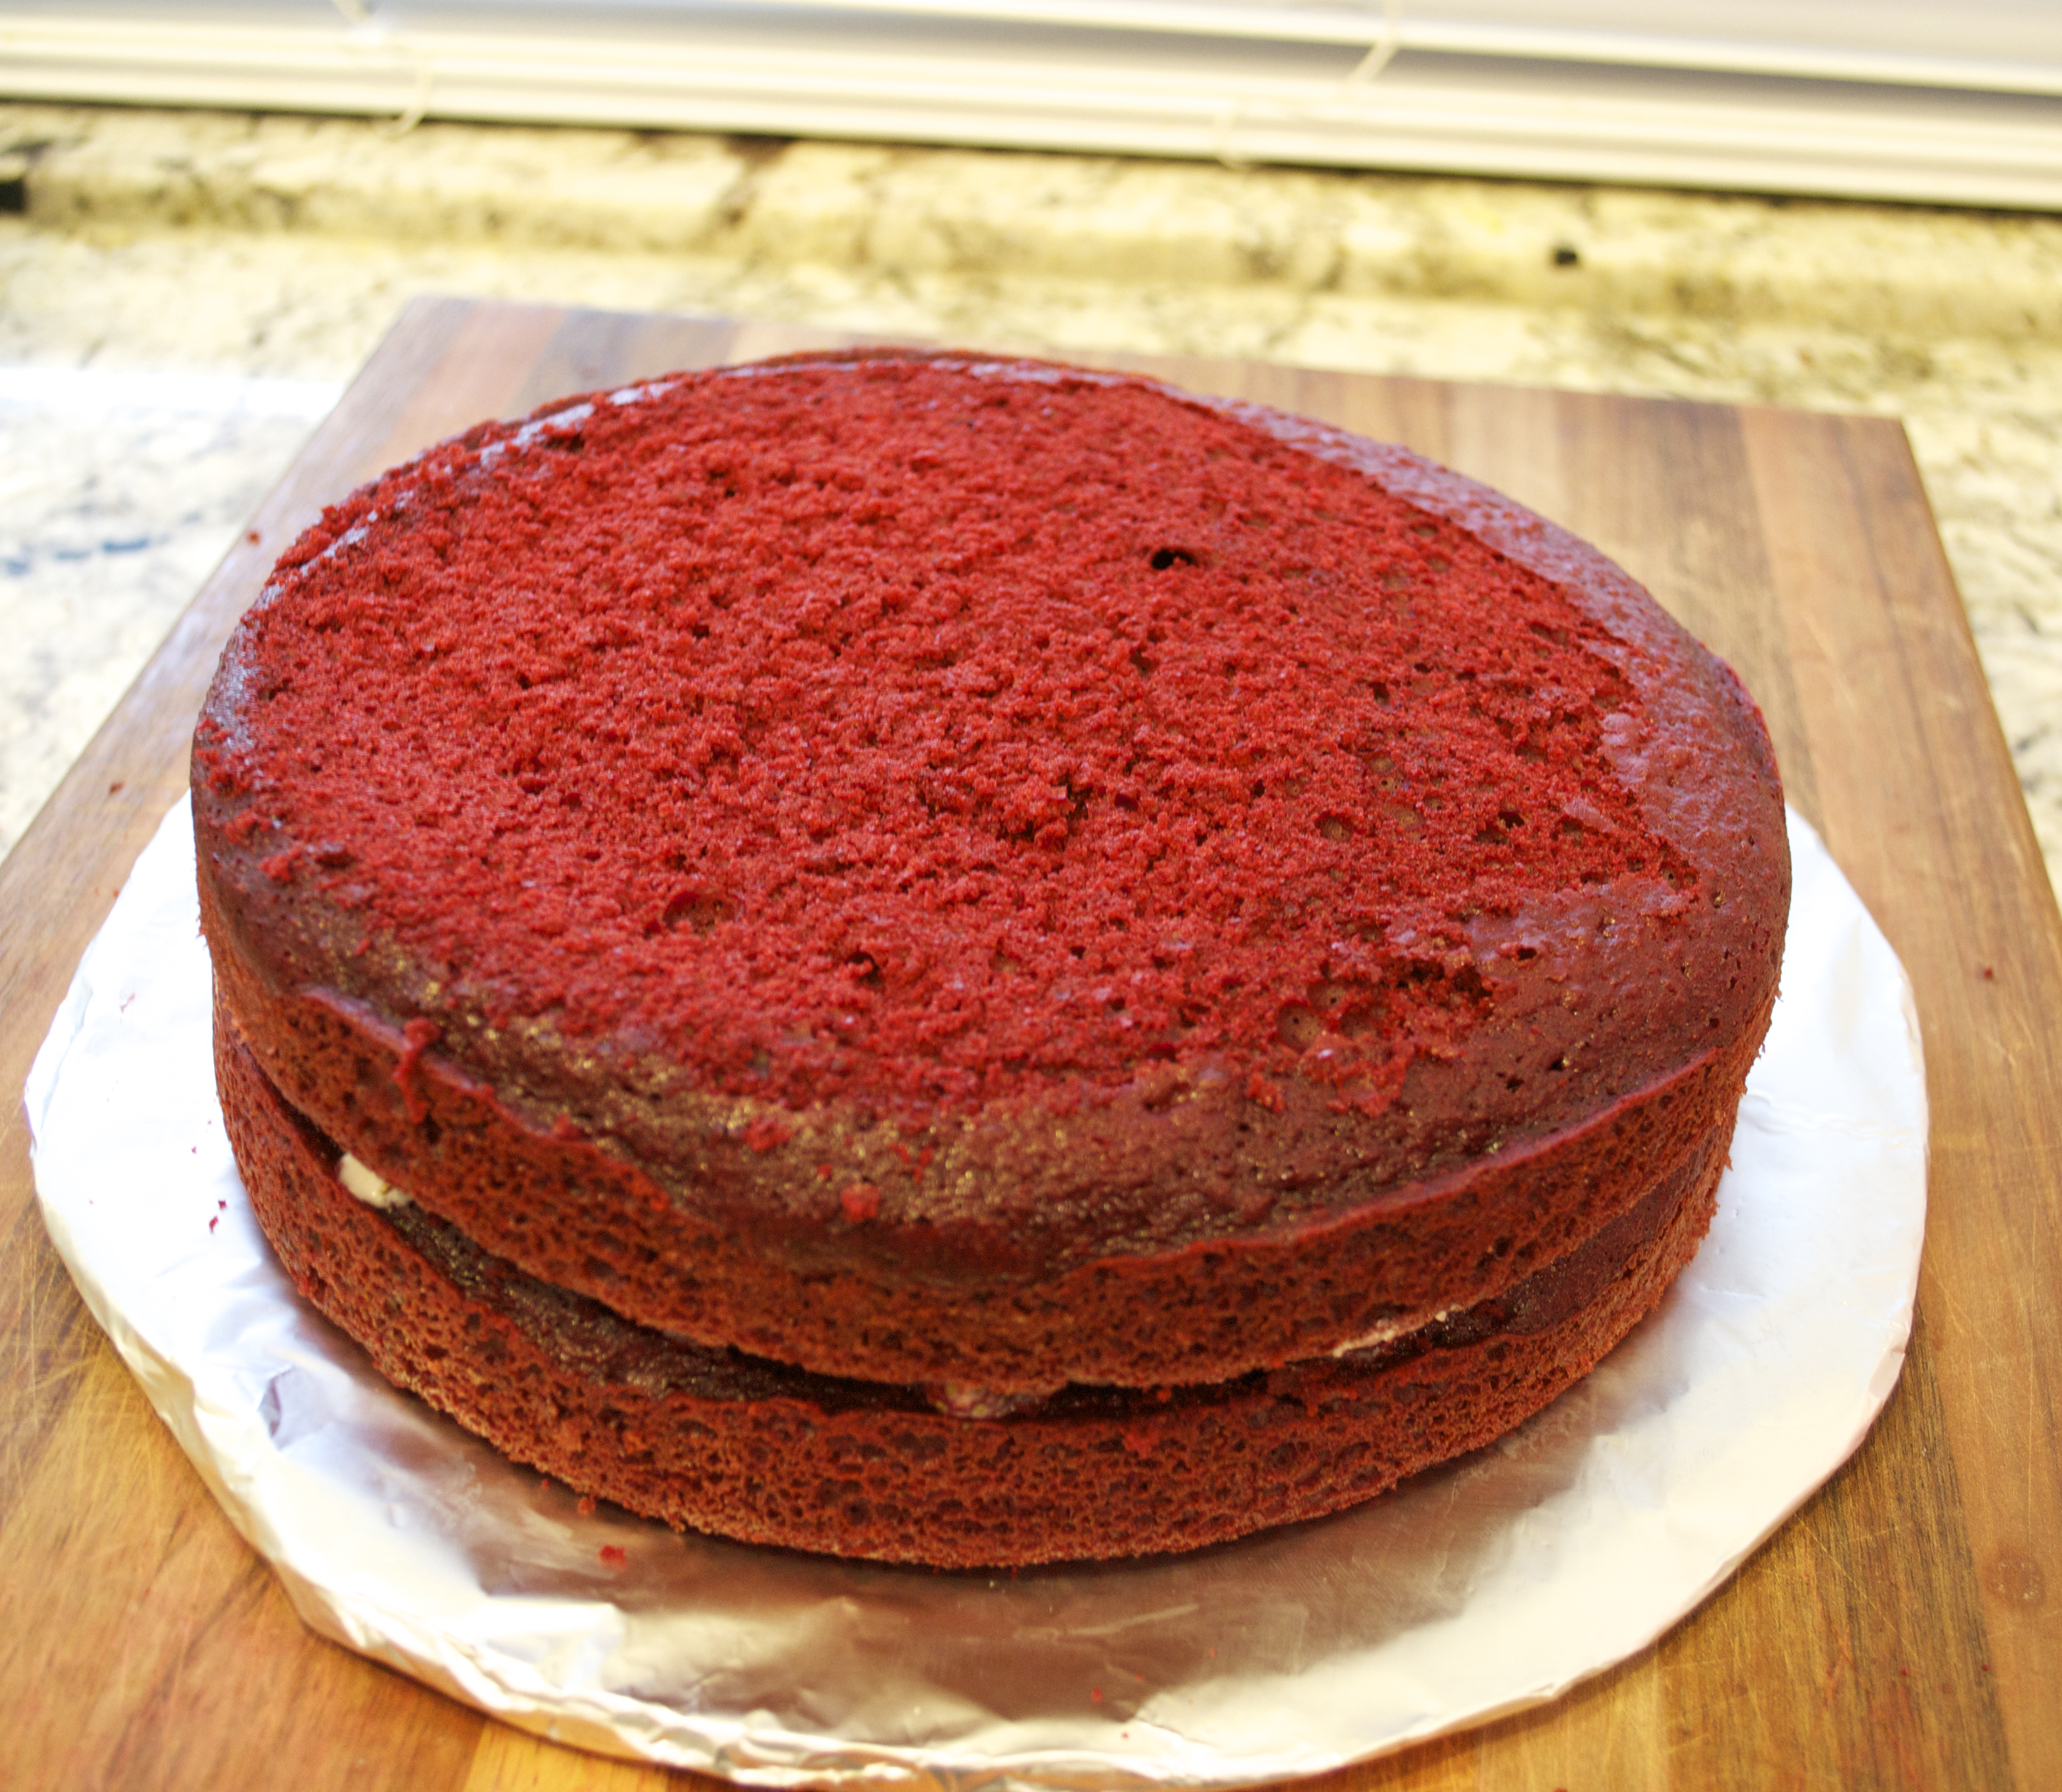
- Take your cakes out of their baking pans and place them on a cutting board.
- Cut the tops off of each cake, making them completely flat on top.
Step 4:
- Take one of your cakes and place it on the surface you’re serving your cake on.
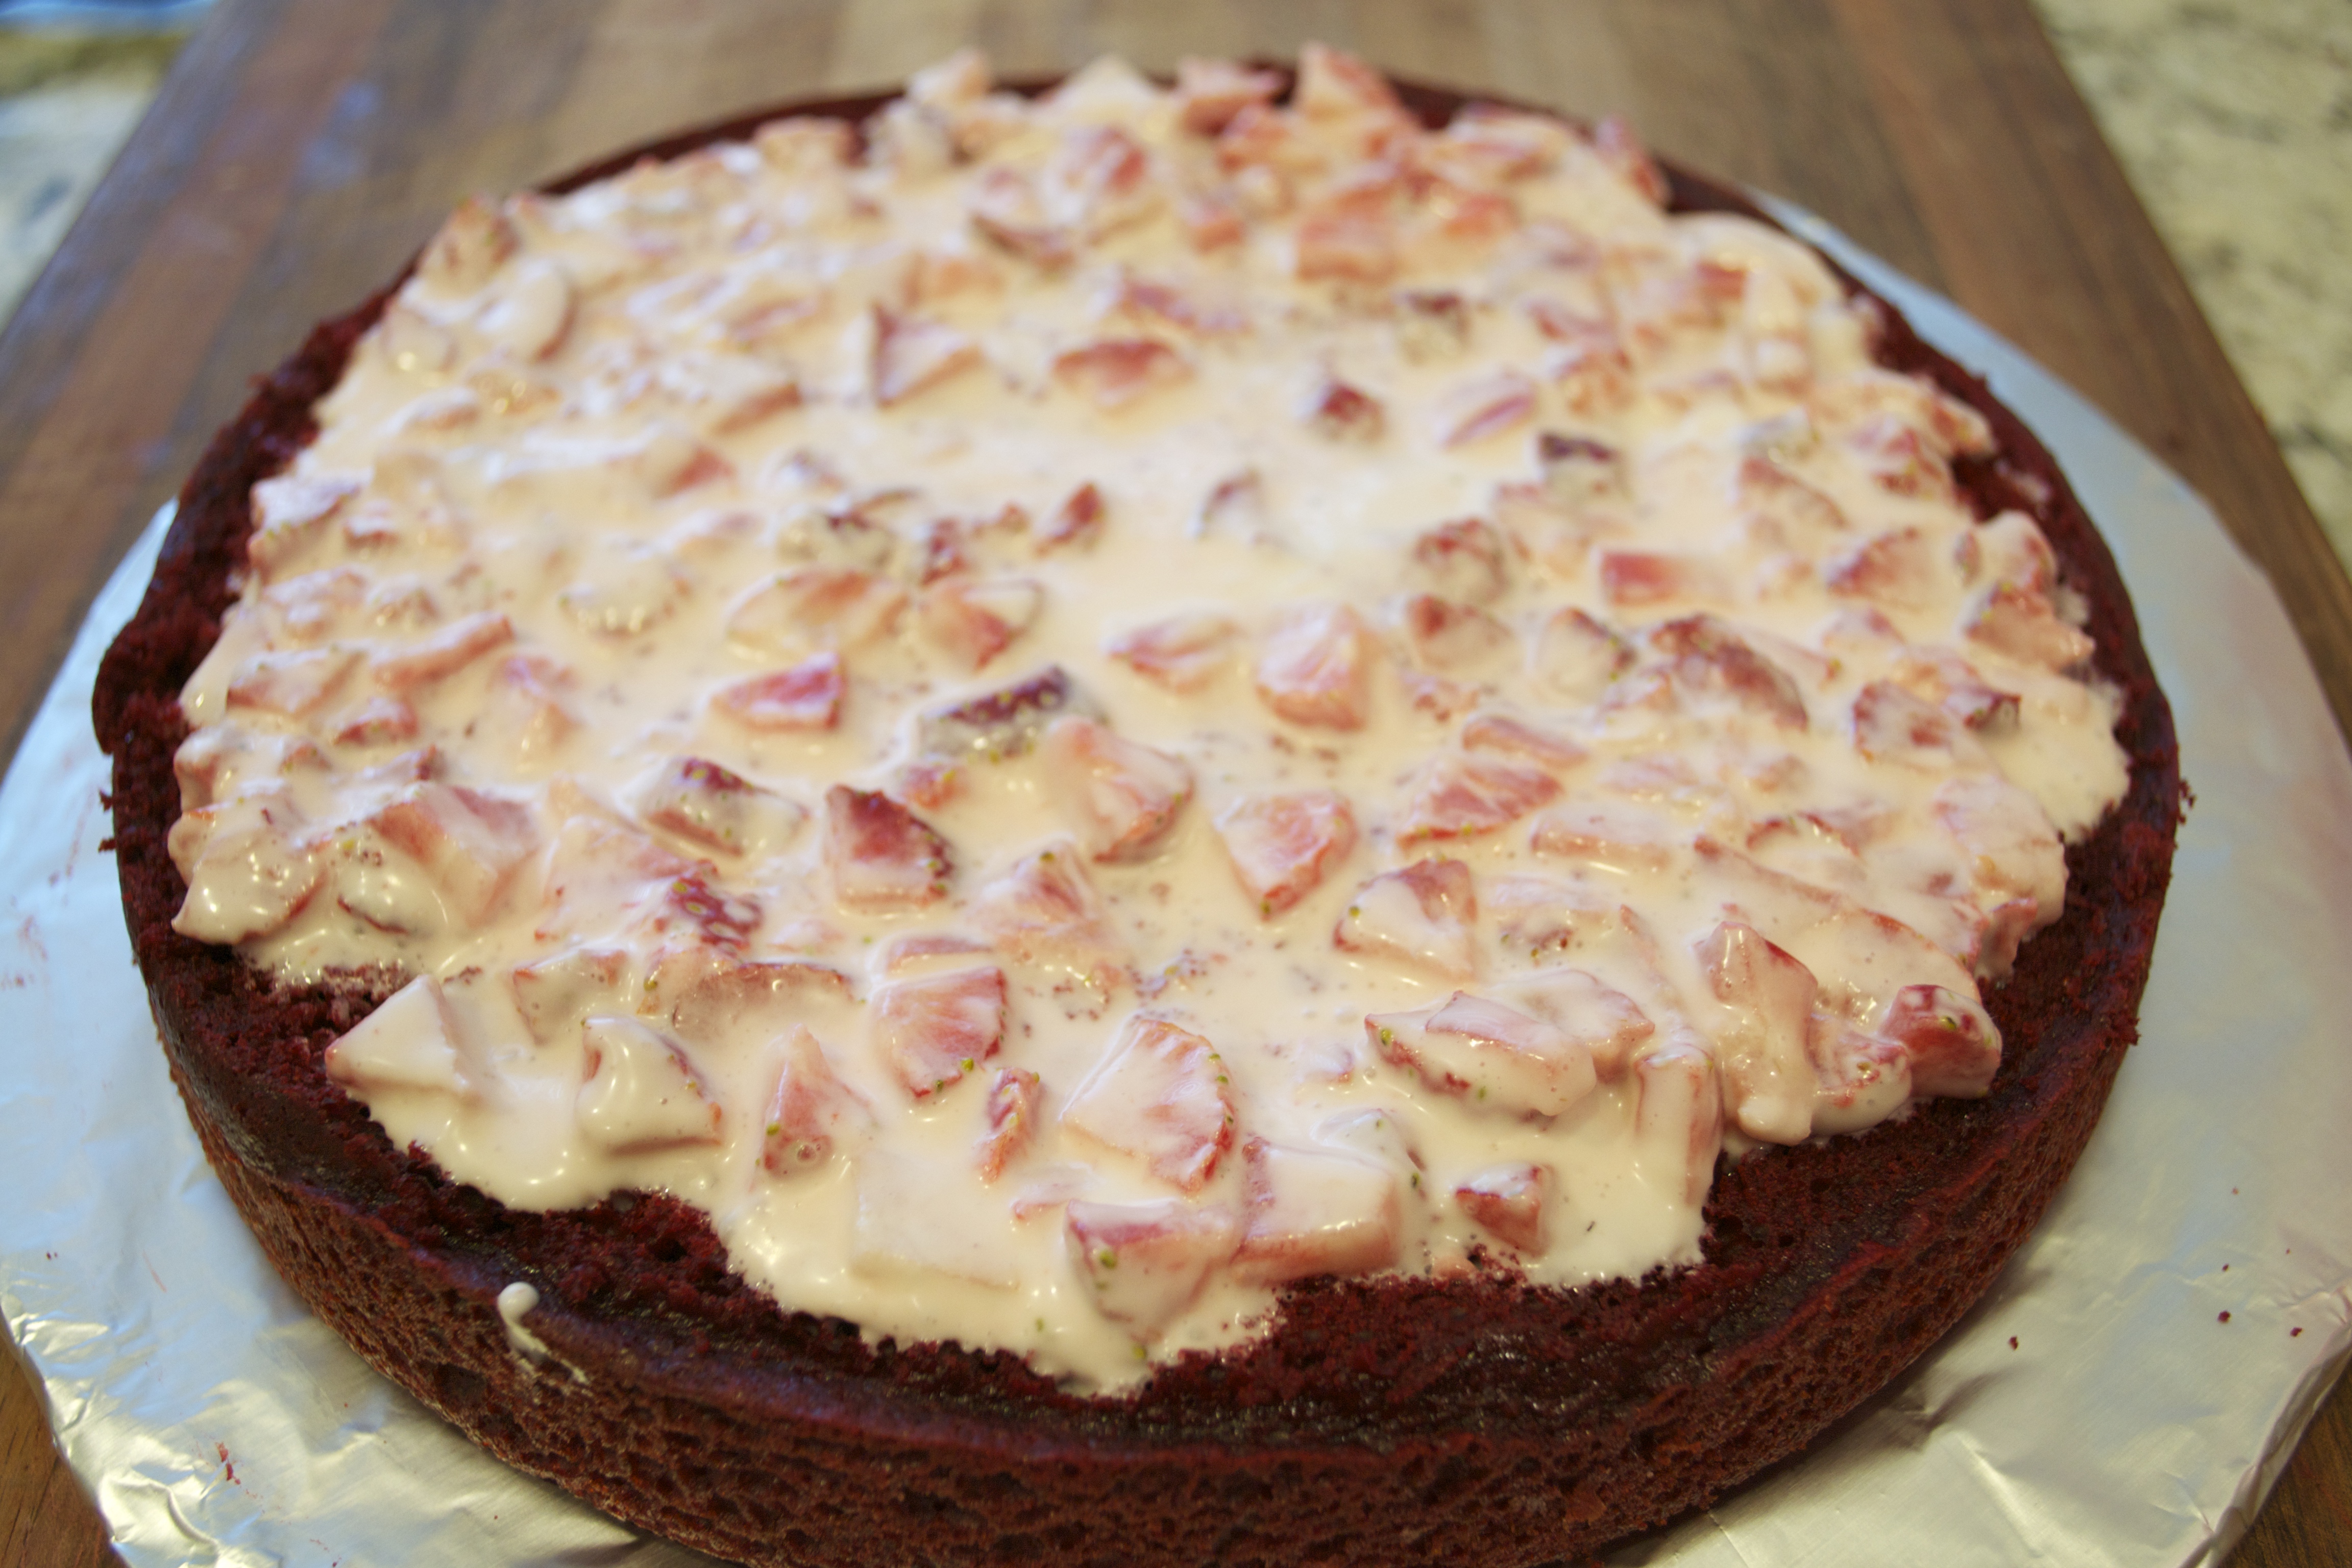
- In a separate bowl, take your strawberry filling and mix it with a few ounces of your frosting.
- Frost the top of the cake that is on your platter.
Step 5:
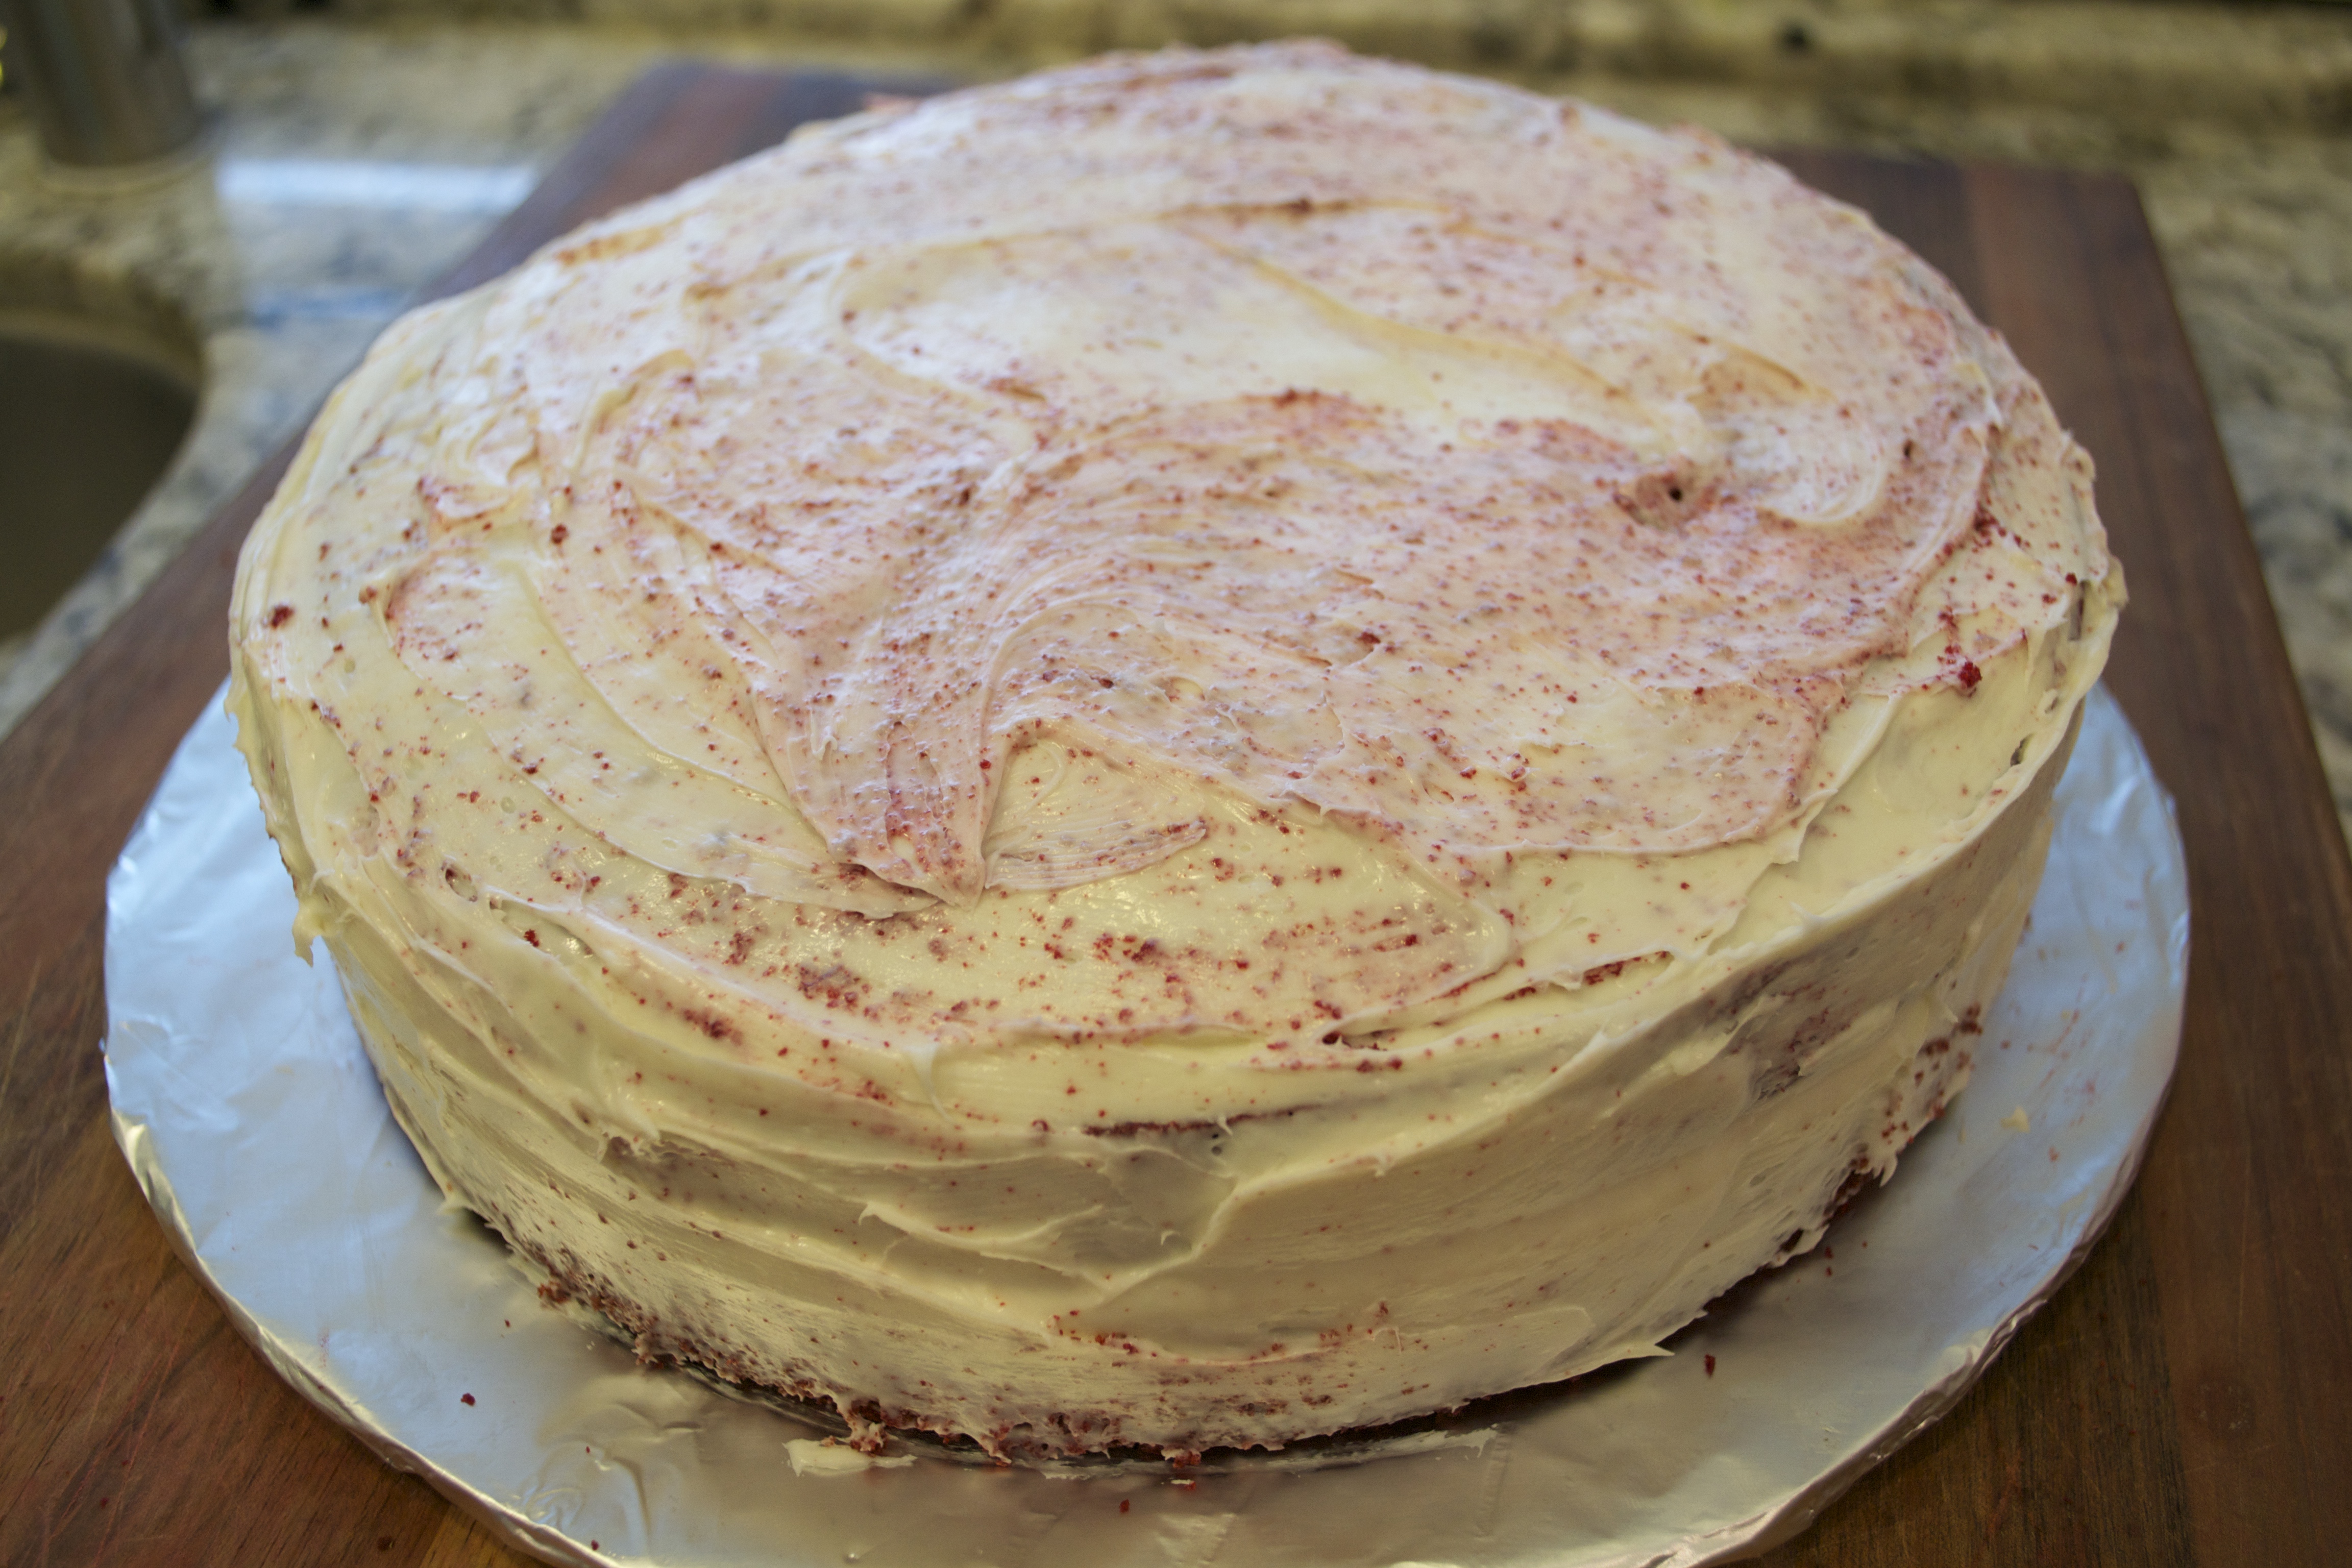
- Take your other cake (that is still on your cutting board) and place it on top of the cake and strawberry filling.
- Take a few more ounces of frosting and lightly frost your entire cake, top to bottom, with a butter knife.
- Place it back in the fridge for another hour to let the filling and frosting set.
Step 6:
- Take your cake out of the fridge.
- In a separate bowl, mix about 6-8 ounces of frosting with 15 drops of red/pink food coloring (or until the frosting is a dark pink).
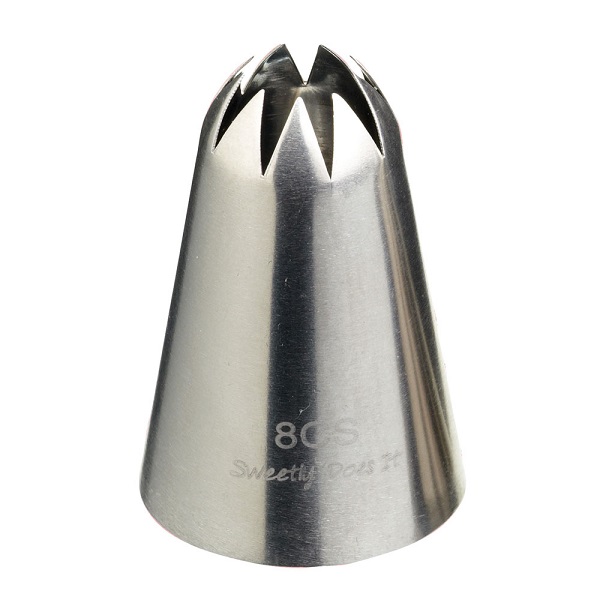
- Put the star tip on the end of your piping bag, and fill the bag with the icing you just colored pink.
Step 7:
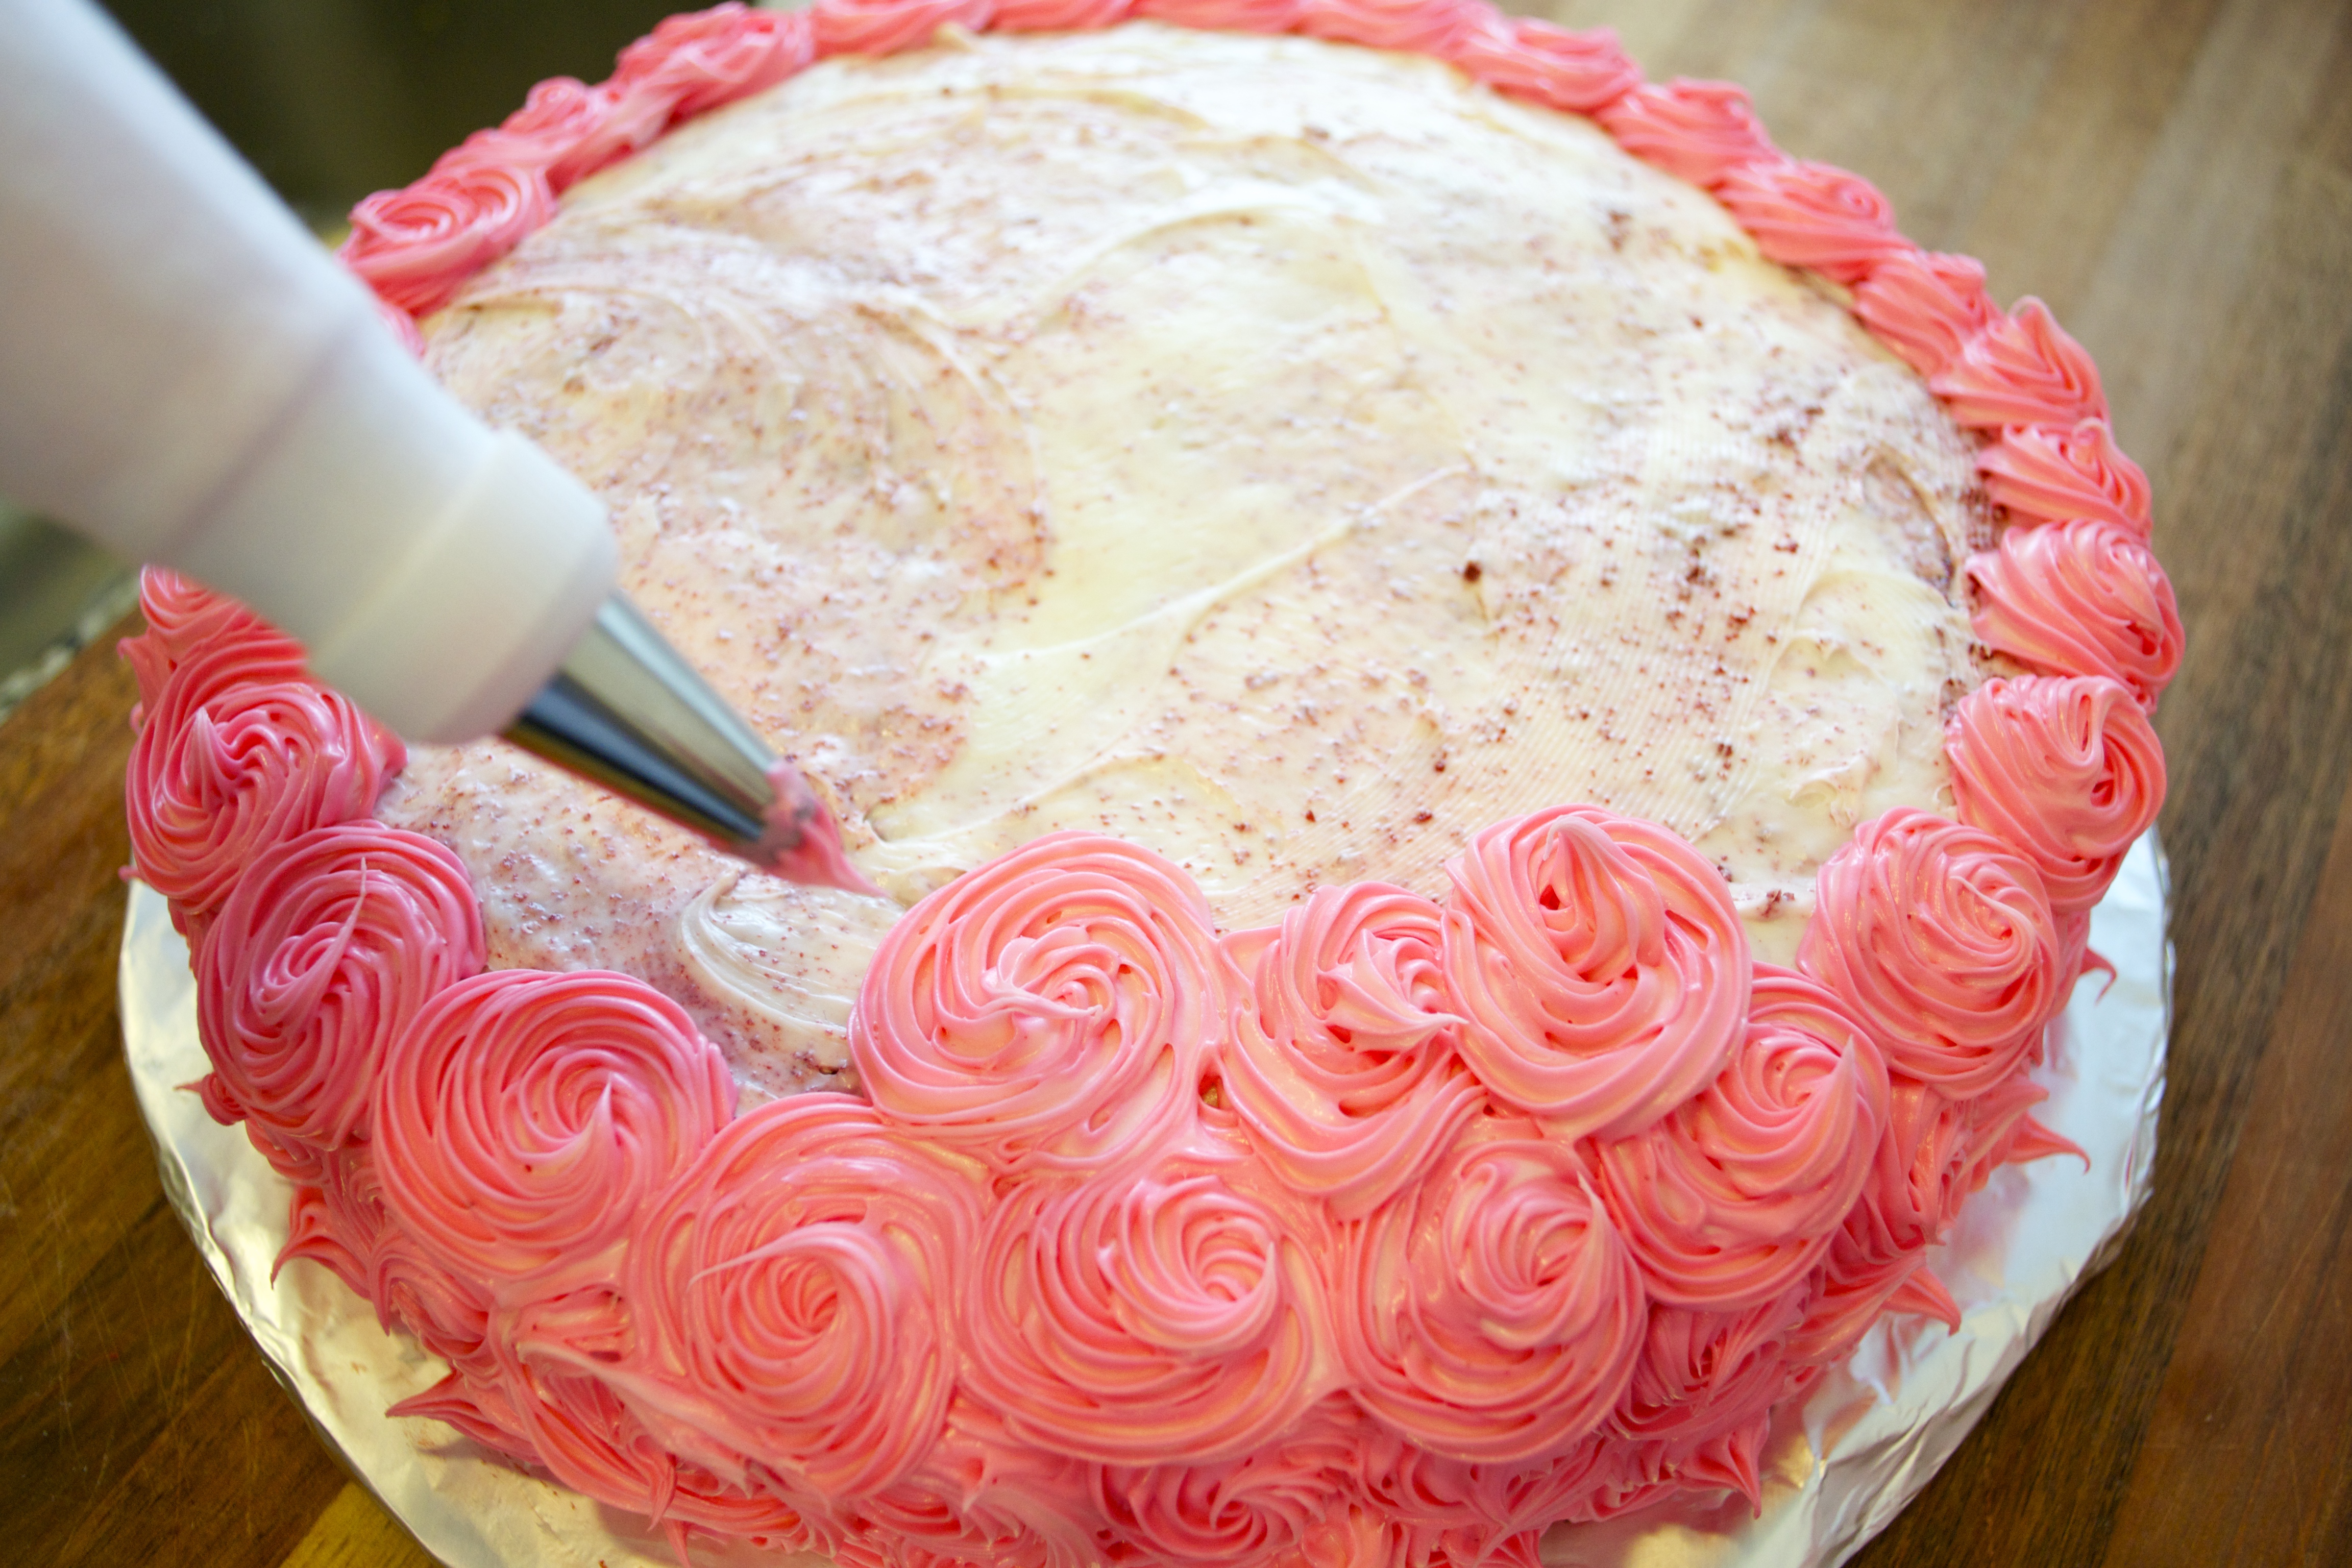
- Start at the bottom of your cake, and make a spiral shape with the frosting, turning your icing bag and star tip as you make your spiral, and finishing the spiral in the center of itself.
- Congrats! You’ve made 1 rosette.
- Continue this all the way around the bottom of the cake, and move your way up the side.
Step 8:
- Once you’ve run out of dark pink frosting, make some more (with icing and red food coloring).
- This time, instead of 15 drops, use about 5 to color the frosting (making it a much lighter shade of pink – the dark pink reside will still blend with your new lighter frosting).
- Fill your icing bag and continue piping with your star tip and spiral motion up the sides and top of the cake.
Step 9:
- After running out of icing in your bag this time, continue to ONLY place uncolored white frosting into the bag. The pink already in the bag will blend with the white frosting so it continually gets lighter and lighter as you go.
Step 10:
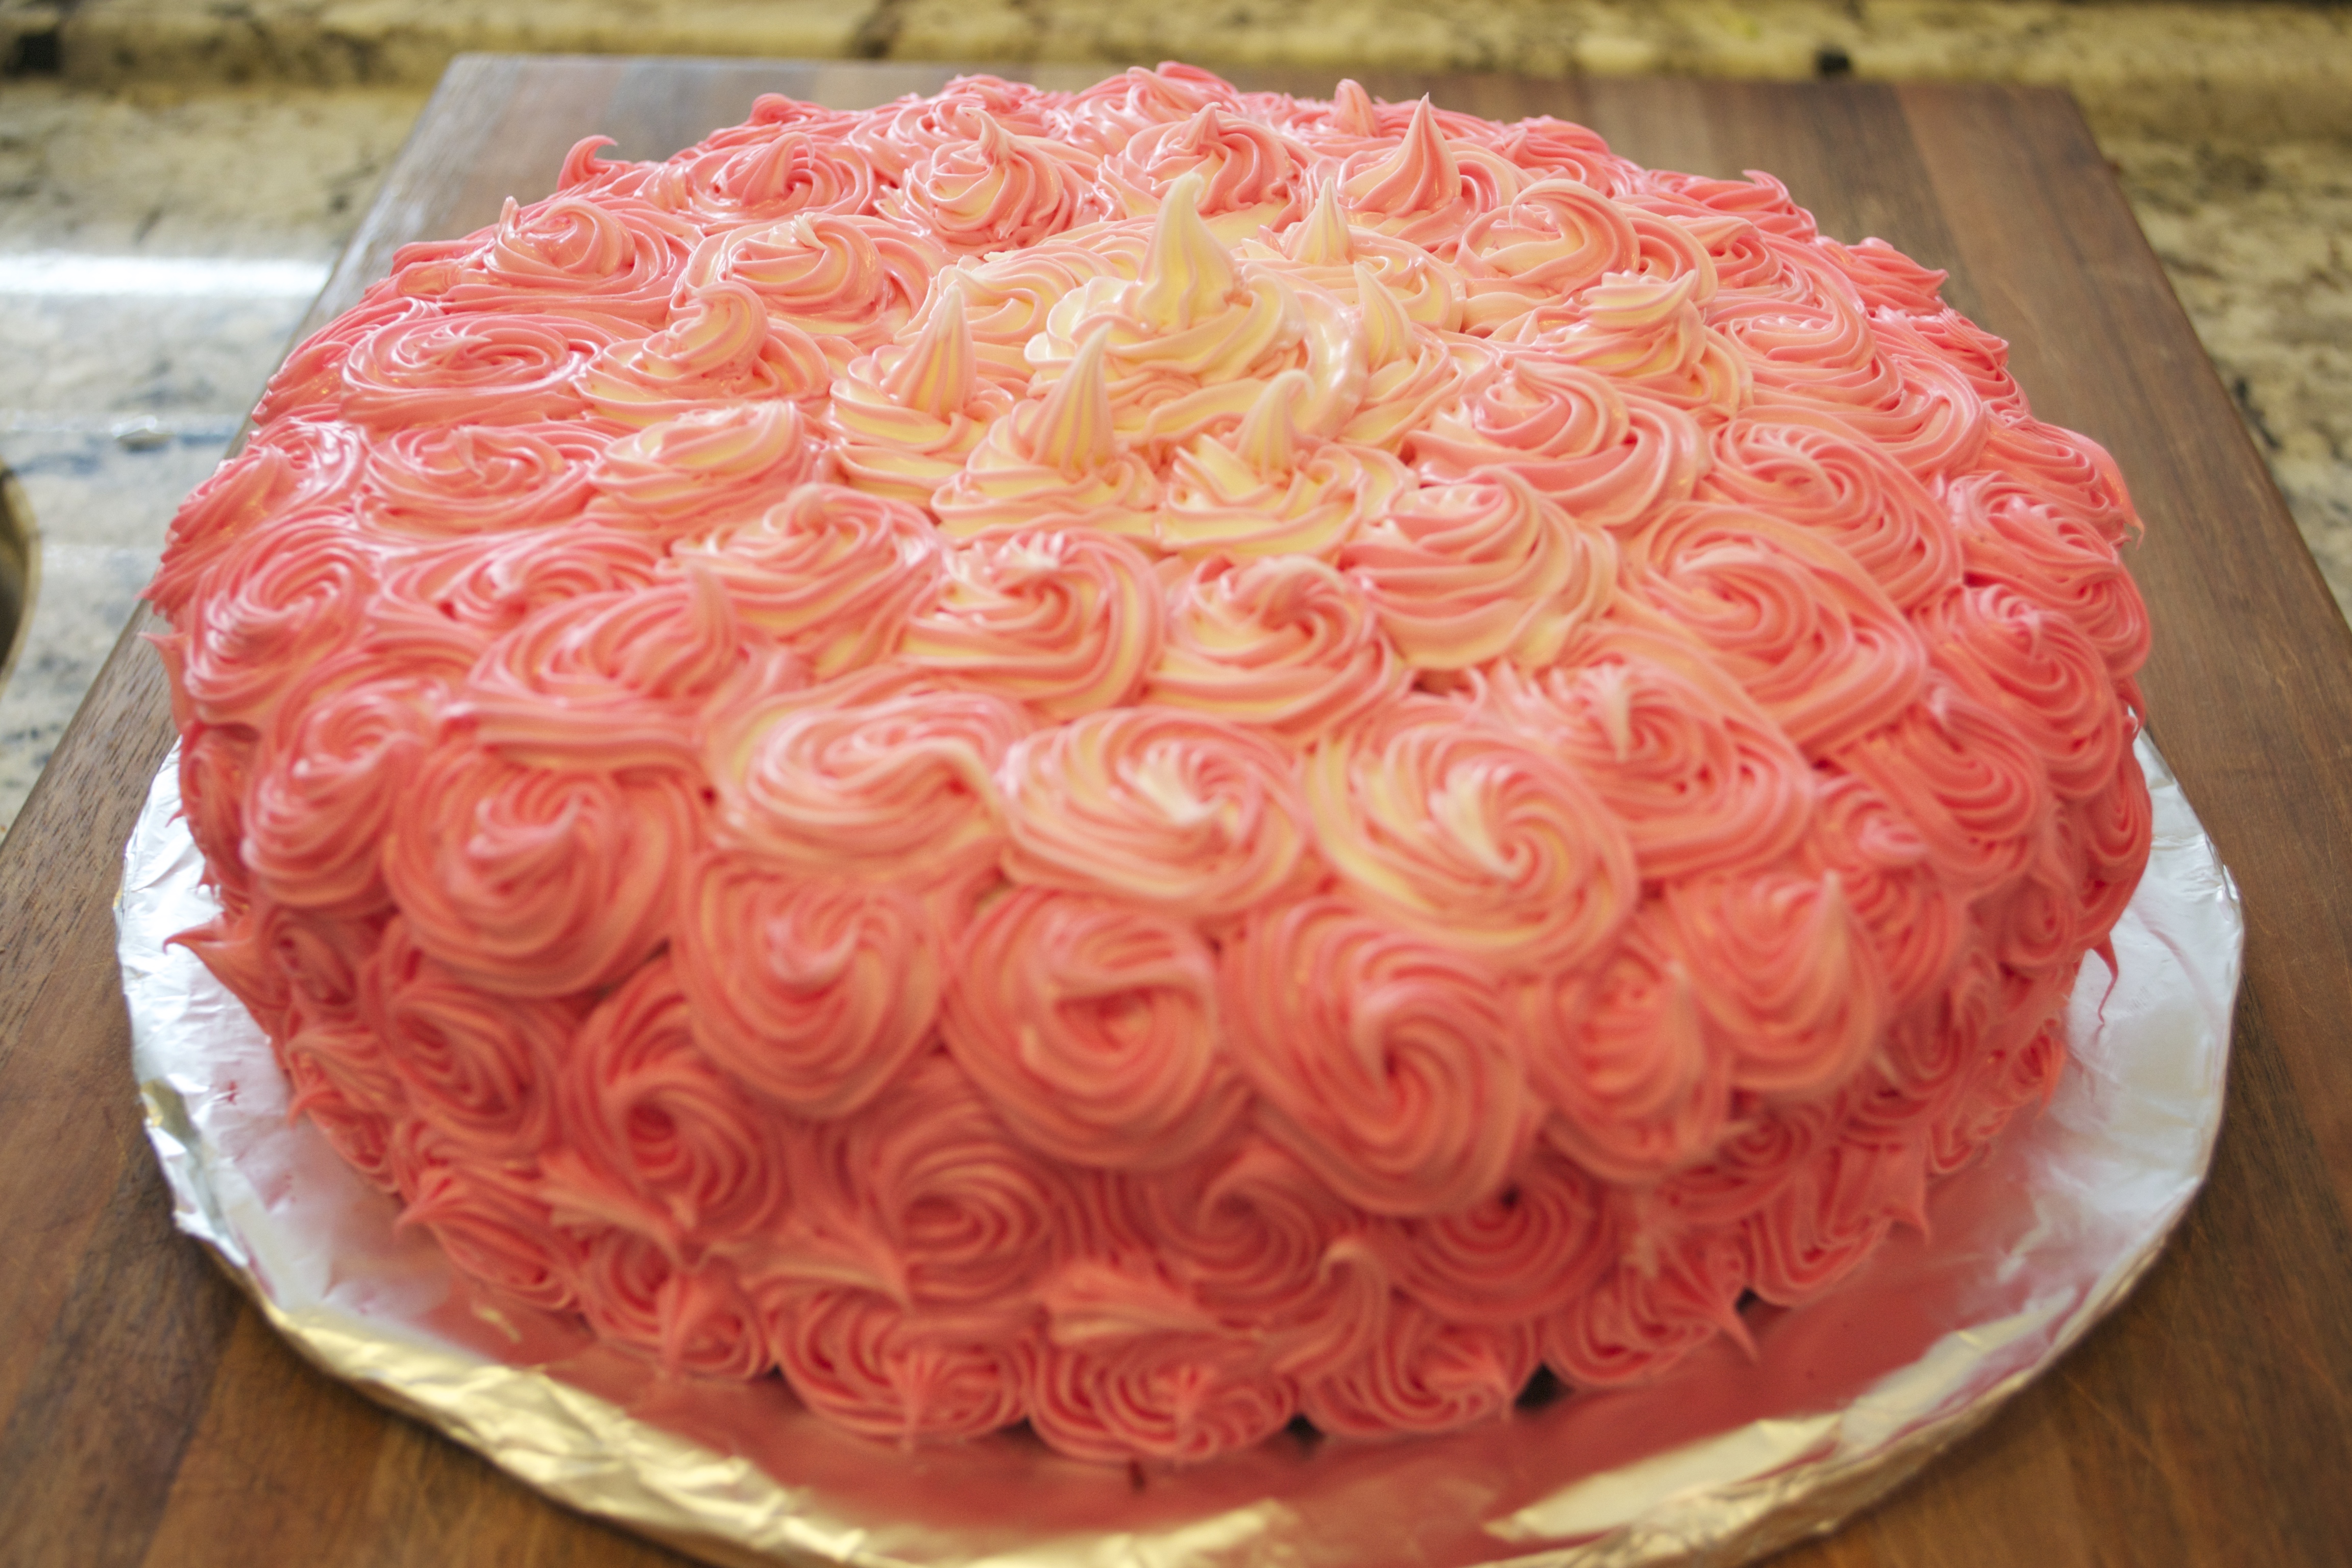
- Once you reach the very top, make one last rosette in the center of your cake.
Ta da! Now you have yourself a professional, chic looking ombre rosette cake. Bakery quality, for a fraction of the price.
Making the Perfect Rosette Cake for Your Occasion
Make sure to put your cake back in your refrigerator until party time! You want to make sure not only that the rosettes can set, but that they don’t run or melt if left out in room temperature.
And again, as in all my tutorials, this can be customized to your specific tastes and color needs. Try using chocolate filling instead of strawberry. Or a lemon cake with lemon frosting. Or rainbow instead of hombre for a little kid’s birthday party (hello, first birthday smash cake anyone?).
This tutorial can spread over a wide variety of themes and occasions. However, you must be willing to be PATIENT, and not rush things. If you can do that, then happy baking!
And again, just to recap, here’s everything you’ll need to DIY your own rosette cake:
- Cake Mix (flavor of your choice)
- Icing (2- possibly 3-, 16oz tubs of Supermarket frosting)
- Icing piping set (I upgraded to the 18 piece set for an extra $2.75)
- Food Coloring
- Strawberry Filling
- 2, 9” round, nonstick baking pans
Leave a Reply