Someone once told me that style seems to circle around every 20 years or so, and reinvent itself from a past decade. Recently, I’ve been seeing the 1994 overall trend sneaking its way back into the mainstream. And although that’s not a trend I particularly ever want to see (or participate in) again, the flower crown trend is.
History of the Flower Crown
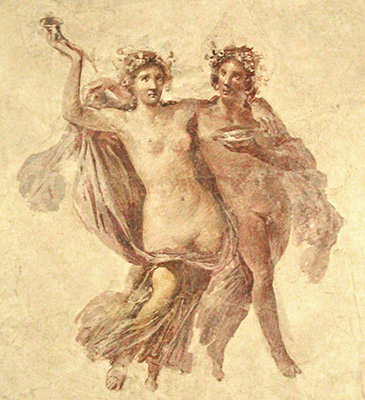
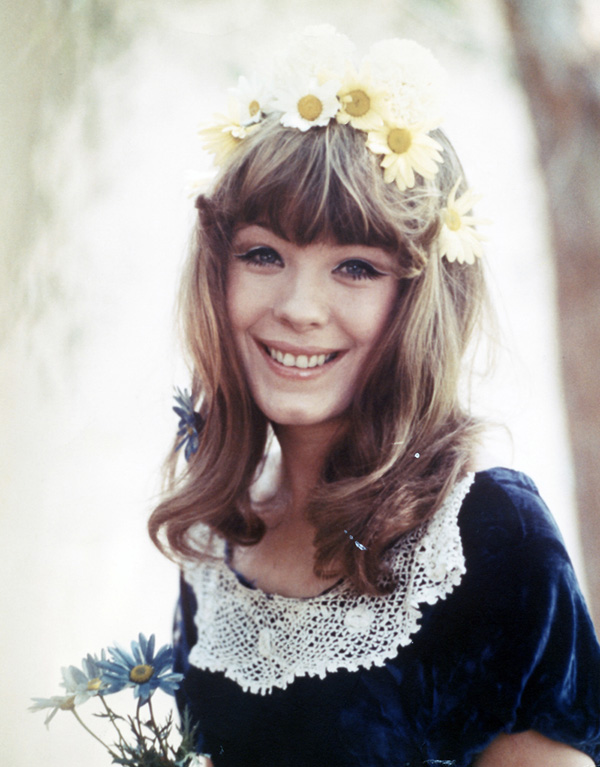
You can trace flower crown all the way back to ancient Greece, in the form of laurel wreaths that were worn during special occasions to honor the gods. They were brought back into fashion during the Victorian era, by Queen Victoria herself, as she adorned one for her own wedding. And most recently, during the 1960s, flower crowns were worn by hippies to symbolize peace and love – the main ideals their movement stood for.

The flower crown is also an integral part of many cultures. In both Ukraine and China, it is part of traditional folk dress. In both cultures, flower crowns are associated with marriage and fertility, and are an important tradition in wedding ceremonies.
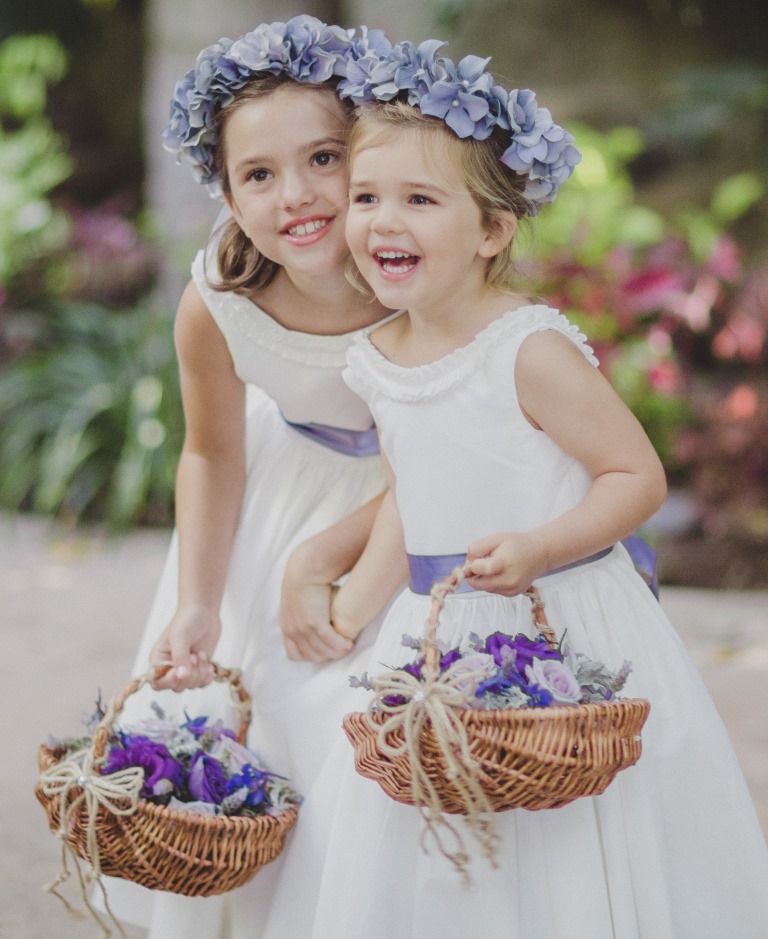
Today, again, our culture has become completely obsessed with flower crowns. Not only are they favored by teeny boppers at music festivals, but now we are seeing babies wear them for photo shoots, and they’re extremely popular for brides and wedding parties.
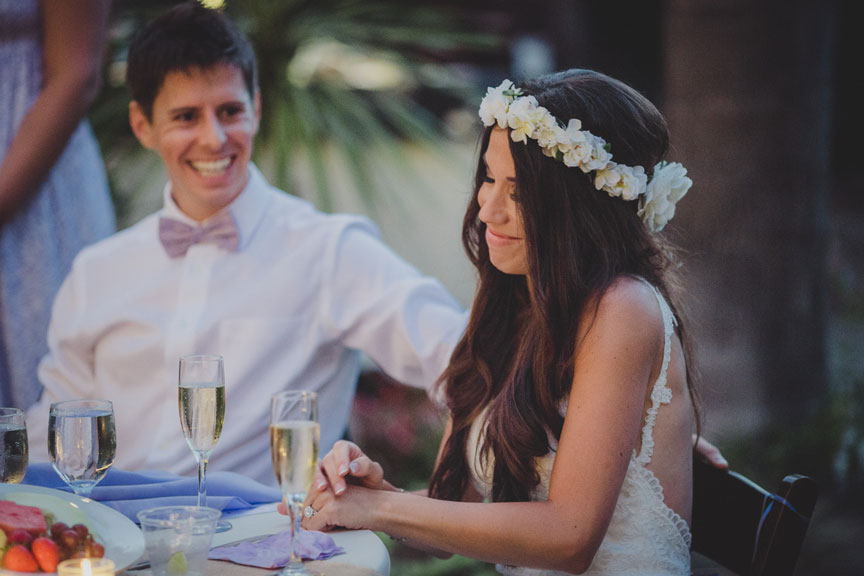
My mom wore one for her wedding in 1983, and I again, for my August 2014 wedding. Possibly because they are a symbol for love, fertility, and celebration are why flower crowns seem to be a timeless adornment. We just can’t seem to get enough of them!
My DIY Flower Crown Story
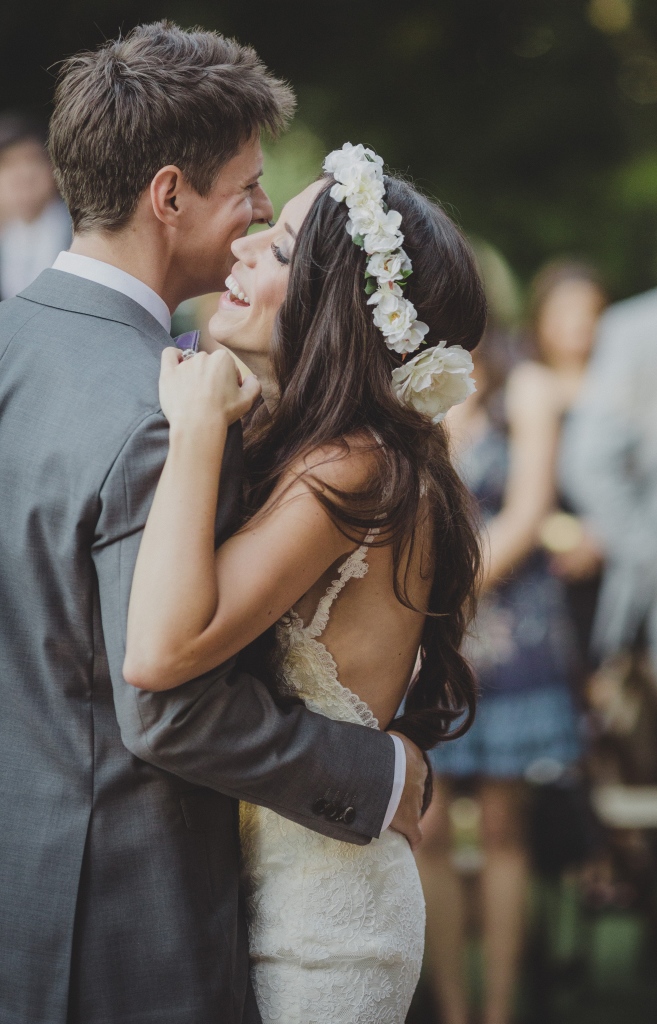
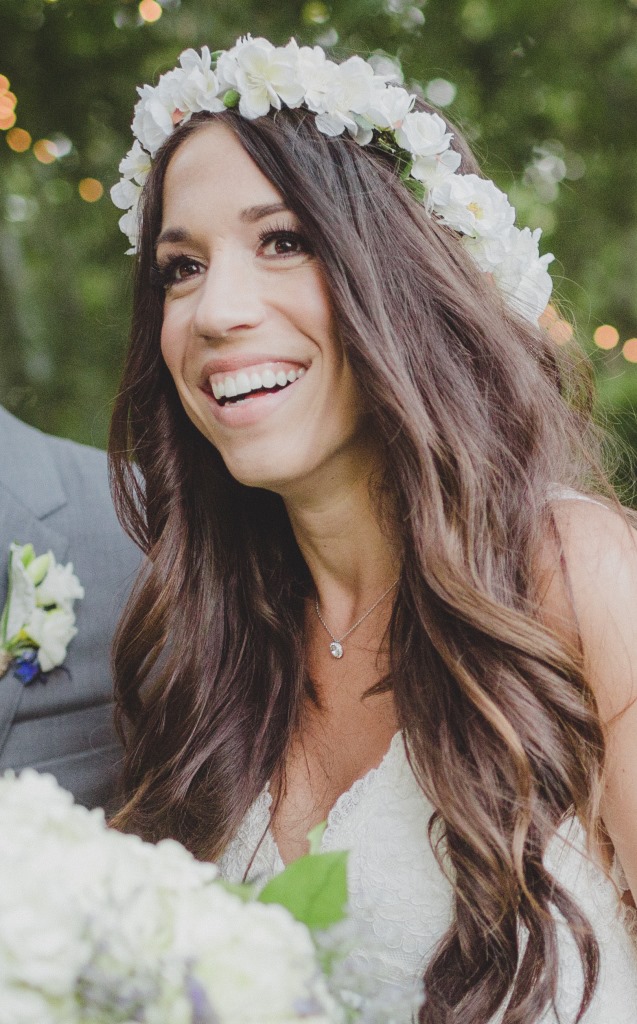
When I was planning my wedding, I knew the flower crown was a piece I had to have. I was getting married outdoors, and it just seemed like the perfect accessory for the reception (I wore a traditional veil for my ceremony).
But being the perfectionist I am, I wanted to take complete control of it. I had heard horror stories of friends who wanted flower crowns made by their florist, and the florist forgot. Or they had described what they wanted, and when their wedding day came, received only a headband of flowers instead of an entire crown. That was NOT going to happen to me.
However, when looking online for faux flower crowns, the prices were just as much as if I were to have it done by a florist. $80-200 for a floral crown… and most of them were not EXACTLY what I was looking for. Sure, I could probably message the people selling them to ask if they could make a custom one for me, but again, that would be extra $$. And would it really be EXACTLY what I envisioned?
So I took a field trip to Michaels to check out their floral section. I found the supplies I needed to make my own, the exact flowers I was looking for, and I ran to the register. Altogether, my flowers (for my flower crown and 2 others for my flower girls) plus my supplies came out to around $65. Not a HUGE savings if you look at the total cost. But splitting that amongst 3 crowns made them an average cost of $21.50 per crown. Not too bad if I do say so myself.
And putting them together was super simple. Below, I am going to show you how I put together, step by step, both my flower crown and my flower girls crowns. Hopefully, you too, will get some good use out of this fun tutorial.
Steps to Make your Own DIY Flower Crown
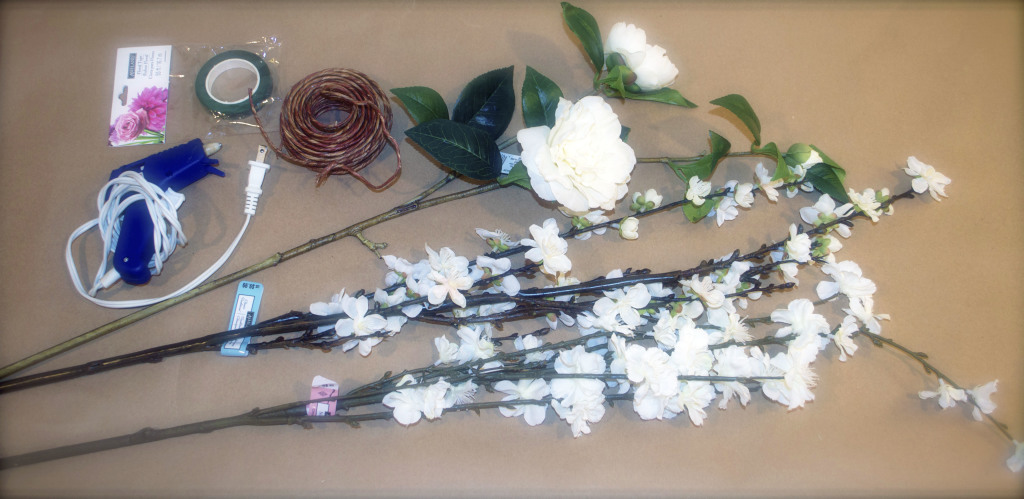
First, Let’s start with the necessary tools:
- Faux flowers (White and blue)
- Floral tape
- Coiled wire
- Wire Cutters
- Hot Glue Gun
- Ribbon (optional)
- Faux Pearls (optional)
The first part of this tutorial is on the complete, all the way around the head, flower crown I made for myself. Most flower crowns you’ll find online are adjustable and tie in the back with ribbon. That’s fine for most. But I wanted my crown to co completely around my head, with no breaks and no ties – completely non-adjustable to fit me perfectly.
Step 1:
Get a tape measure and put it around the circumference of your head where you want the crown to sit. (I have a rather large head, and mine measured 22” around the top of my forehead to the back of my head).
Step 2:
Take your floral wire and cut the exact length you just measured with the wire cutters (mine was a 22” long piece of floral wire).
Step 3:
Take your flowers and cut them individually off the stems with the wire cutters, leaving a little stalk of the end of each flower to adhere to the crown.
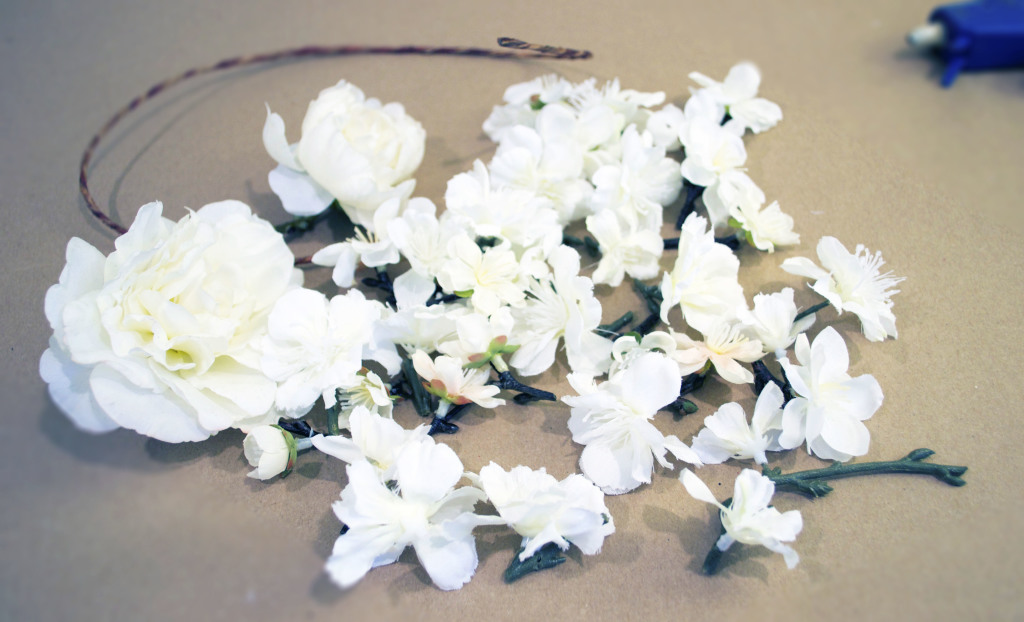
Step 4:
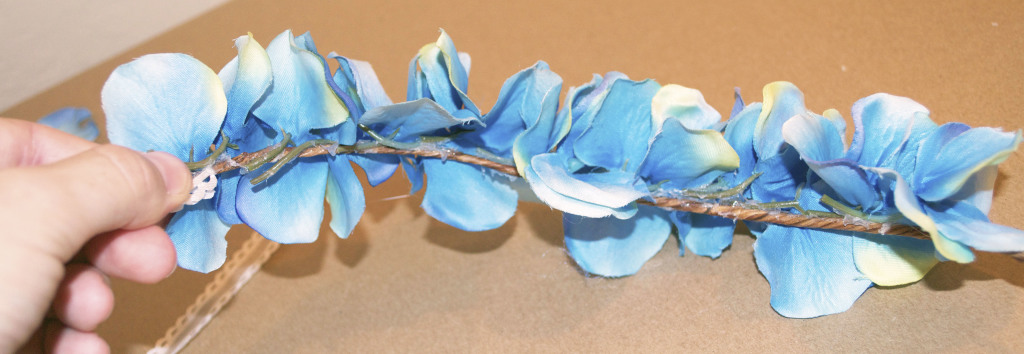
Take your hot glue gun and put a strip of glue on the tiny stalk still attached to the flowers you’ve cut. 1 by 1 glue them onto the floral wire (making sure there are no gaps between flowers).
Step 5:
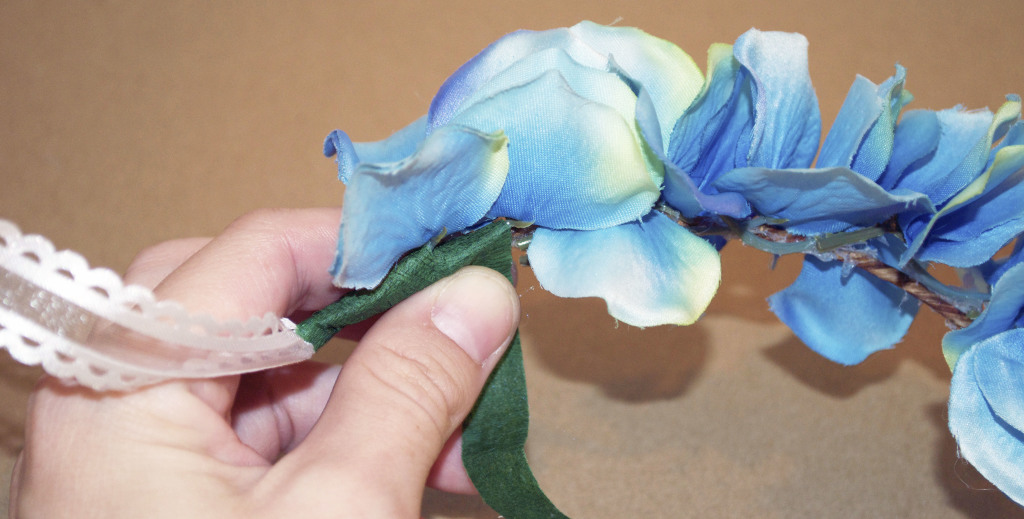
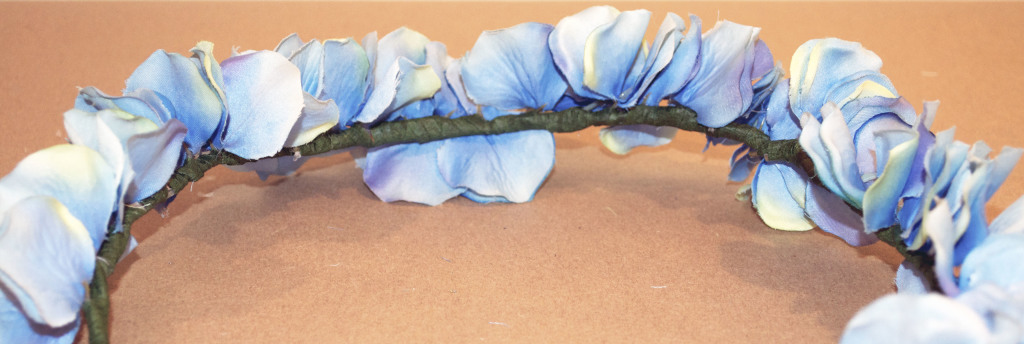
When you’re almost to the end, stop gluing and start wrapping the floral tape around the parts of the stems you’ve glued to the wire. (I find it helpful to cut the tape in long strips so you’re not constantly trying to maneuver the entire roll in and out of the flowers). You’ll want to wrap the tape around so that the flowers are not only secured tightly, but so you can no longer see the floral wire beneath the green tape.
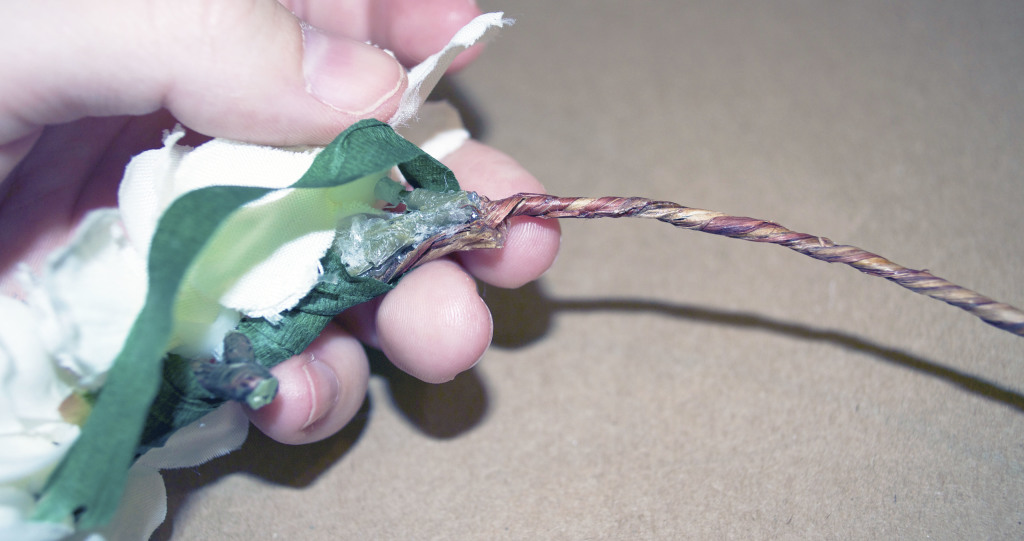
Step 6:
Glue both ends of the wire together, forming a complete circle. Then, wrap some floral tape around the joint a few times for a secure hold.
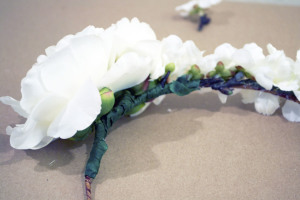
Step 7:
Glue the remaining flowers onto the wire, and repeat by wrapping the floral tape around the part of the stem you glued to the floral wire. Make sure there is no floral wire showing underneath the green tape.
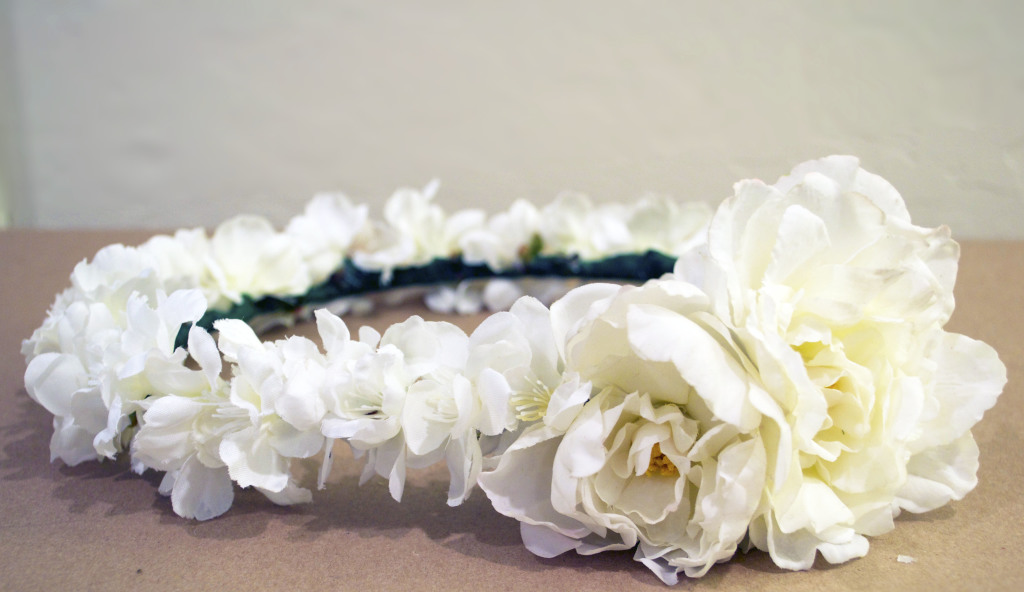
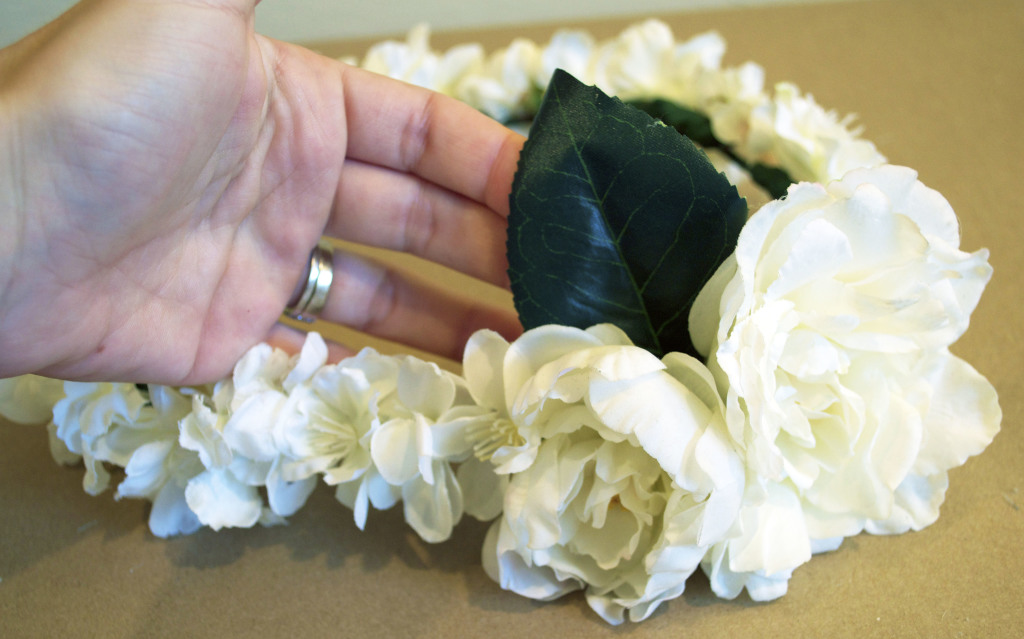
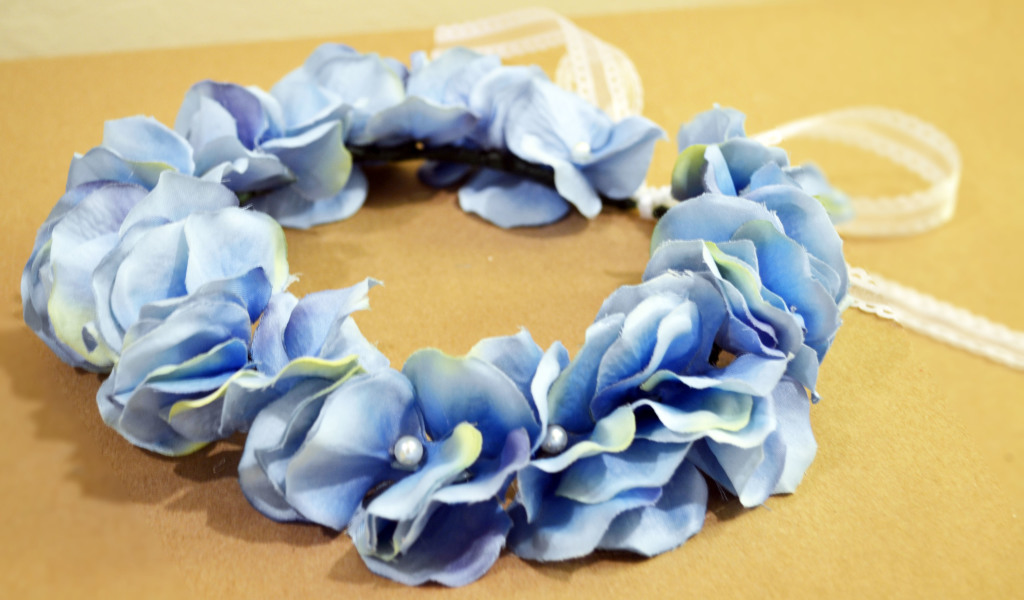
Ta da!! You’re done! I finished mine by gluing a couple leaves behind the larger flowers to add a little greenery. Feel free to add embellishments as you wish, but if you follow the steps above, you’ll have a complete, beautiful flower crown.
Steps to Create and Adjustable DIY Flower Crown
Now, if you’re looking for a more adjustable version, or wanting to make something for little girls, take the following steps…
Step 1:
Get a tape measure and put it around the circumference of the child’s head where you want the crown to sit. (I made both my flower girls crowns 6.5” in diameter, or 18” long).
Step 2:
Take your floral wire and cut the exact length you just measured with the wire cutters (mine was a 18” long piece of floral wire).
Step 3:
Take your flowers and cut them individually off the stems with the wire cutters, leaving a little stalk of the end of each flower to adhere to the crown.
Step 4:
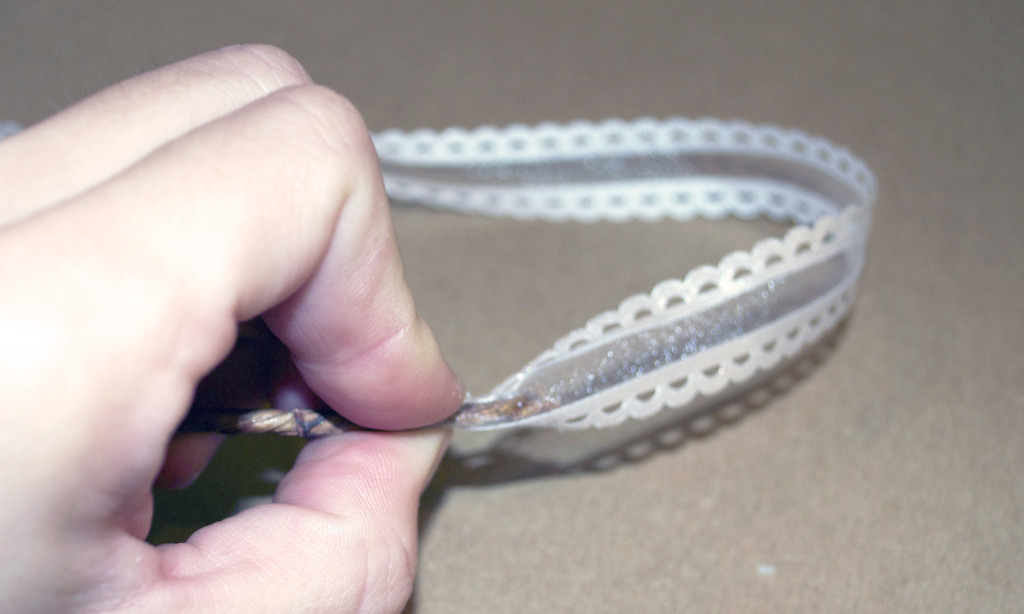
Cut your ribbon into 2, 20” pieces. Take your glue gun and put a strip of glue the end of each one (about 1”). Glue each piece of ribbon to the 2 ends of the cut floral wire.
Step 5:
Take your hot glue gun and put a strip of glue on the tiny stalk still attached to the flowers you’ve cut. 1 by 1 glue them onto the floral wire (making sure there are no gaps between flowers).
Step 6:
When you’re finished gluing all your flowers, start wrapping the floral tape around the parts of the stems you’ve glued to the wire. (I find it helpful to cut the tape in long strips so you’re not constantly trying to maneuver the entire roll in and out of the flowers). You’ll want to wrap the tape around so that the flowers are not only secured tightly, but so you can no longer see the floral wire beneath the green tape.
Step 7 (Optional Step):
To this crown, I added faux pearl embellishments in the middle of many of the flowers, to give them a sweet touch.
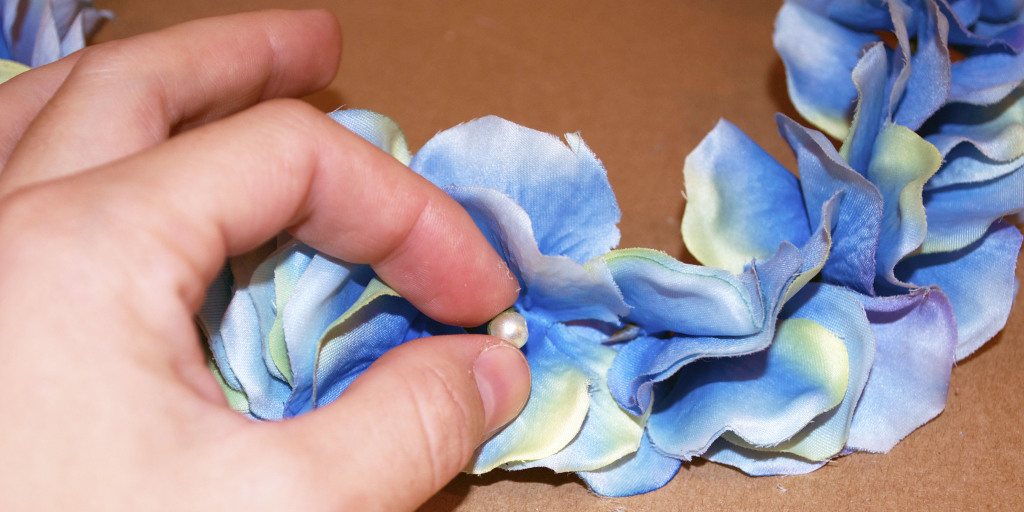
Ta da!! You now have a perfectly adjustable, floral crown.
Making The DIY Flower Crown in Your Own Vision
The steps above are a great start to make you own beautiful, boho headpiece. Take the liberty to make it your own! Play with larger flowers if you’re looking for a more dramatic statement. Ot try using thinner floral wire if you want to use really dainty florals, such as lavender or laurel. Maybe even use ribbon all the way around for more of a flexible headband instead of a crown…. Get creative!
And if you’re in a rush, you can always buy one custom made from my shop. But I encourage you to get out and try this project yourself. Because I assure you, if you can’t use it for an upcoming event, you’ll be able to use your creation in the future. This trend doesn’t seem to be going anywhere!
Just to sum it all up for you, here is the full list of supplies you’ll need to make your own DIY Flower Crown:
- Faux flowers (White and blue)
- Floral tape
- Coiled wire
- Wire Cutters
- Hot Glue Gun
- Ribbon (optional)
- Faux Pearls (optional)
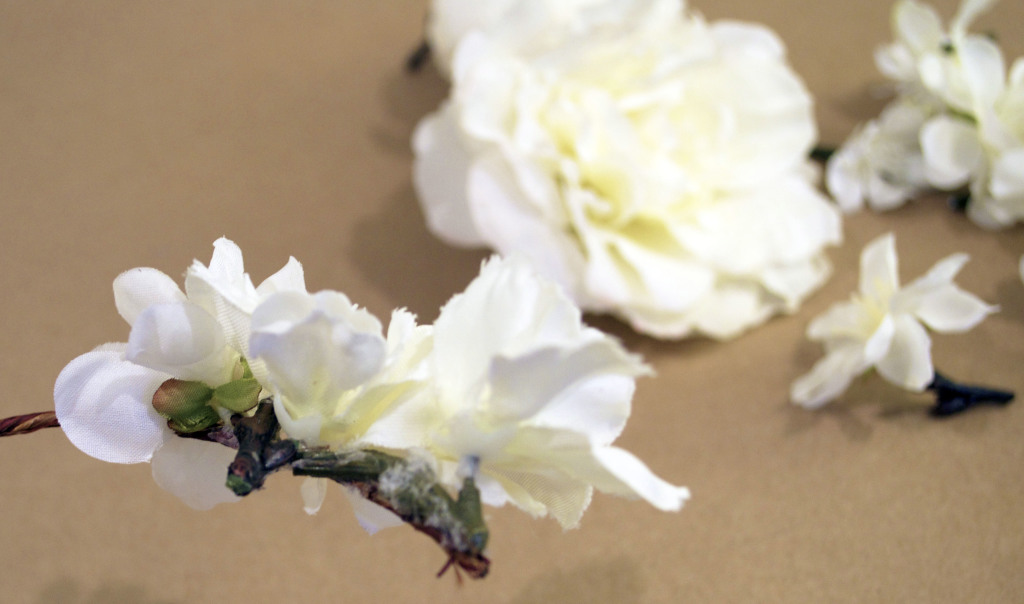
I love your tutorial – Thank you! What were the other white flowers that you used on the long branches? They look like peach blossom?
Hey Louisa- thanks so much!! So those flowers don’t say. I bought them from Michaels – Ashland Brand- and they say “Garden Bloom” on the tag. $12.99 per stem (of 1 large flower and 1 smaller flower). Hope that helps somewhat! xo