8 years ago I graduated college and moved up to San Francisco to start my adult life. I’ve learned many things over the past 8 years of living on my own, but I’ve found one theme to be consistent. No matter where I’m living, no matter how big, nice, organized, etc- there is NEVER ENOUGH ROOM. Ever.
I went from living with multiple roommates, to on my own, to a nice apartment with by boyfriend, and then into my own home with my husband. You’d think with every upgrade would come peace of mind that there would be a specific place for everything I have and need. WRONG.
The larger my living space became, the more I seemed to need (or just want). Maybe I began to spread out, realize I could do more with more space, and thus began to accumulate more? I have no idea what happened, but I can tell you this…I would bet money that you’ve experience the same phenomenon too.
And if you’re like me, and trying not to spend a ton of money every time you decide you need more room, storage containers are your best friend. You can pack things up tightly and neatly, and stack them up in your closest or garage until you decide you need them again. Because – let’s be honest- we all keep things because we “never know when we’ll use them again”.
But, what about those items you use on an everyday basis? You don’t want to pack them up in storage containers, only to have to haul them out every day from the storage abyss. But you also don’t want to invest in expensive furniture to organize it all. And, actual furniture is almost always too bulky for the room you have in your living space for everyday storage.
Well, today I have a foolproof solution for your storage problems. It turns storage organizers into actual, cute pieces of furniture that are compact enough to fit into even the smallest of spaces; but cute enough to have on display for easy, everyday access.
My Chevron Storage Organizer Inspiration
When I was starting Miss Bizi Bee, I needed more space to store my craft supplies. And I needed to organize them all in a way that I could access different supplies easily and quickly. I looked into storage containers, but they were too deep and too bulky. I also looked into rolling storage organizers, exactly like these:
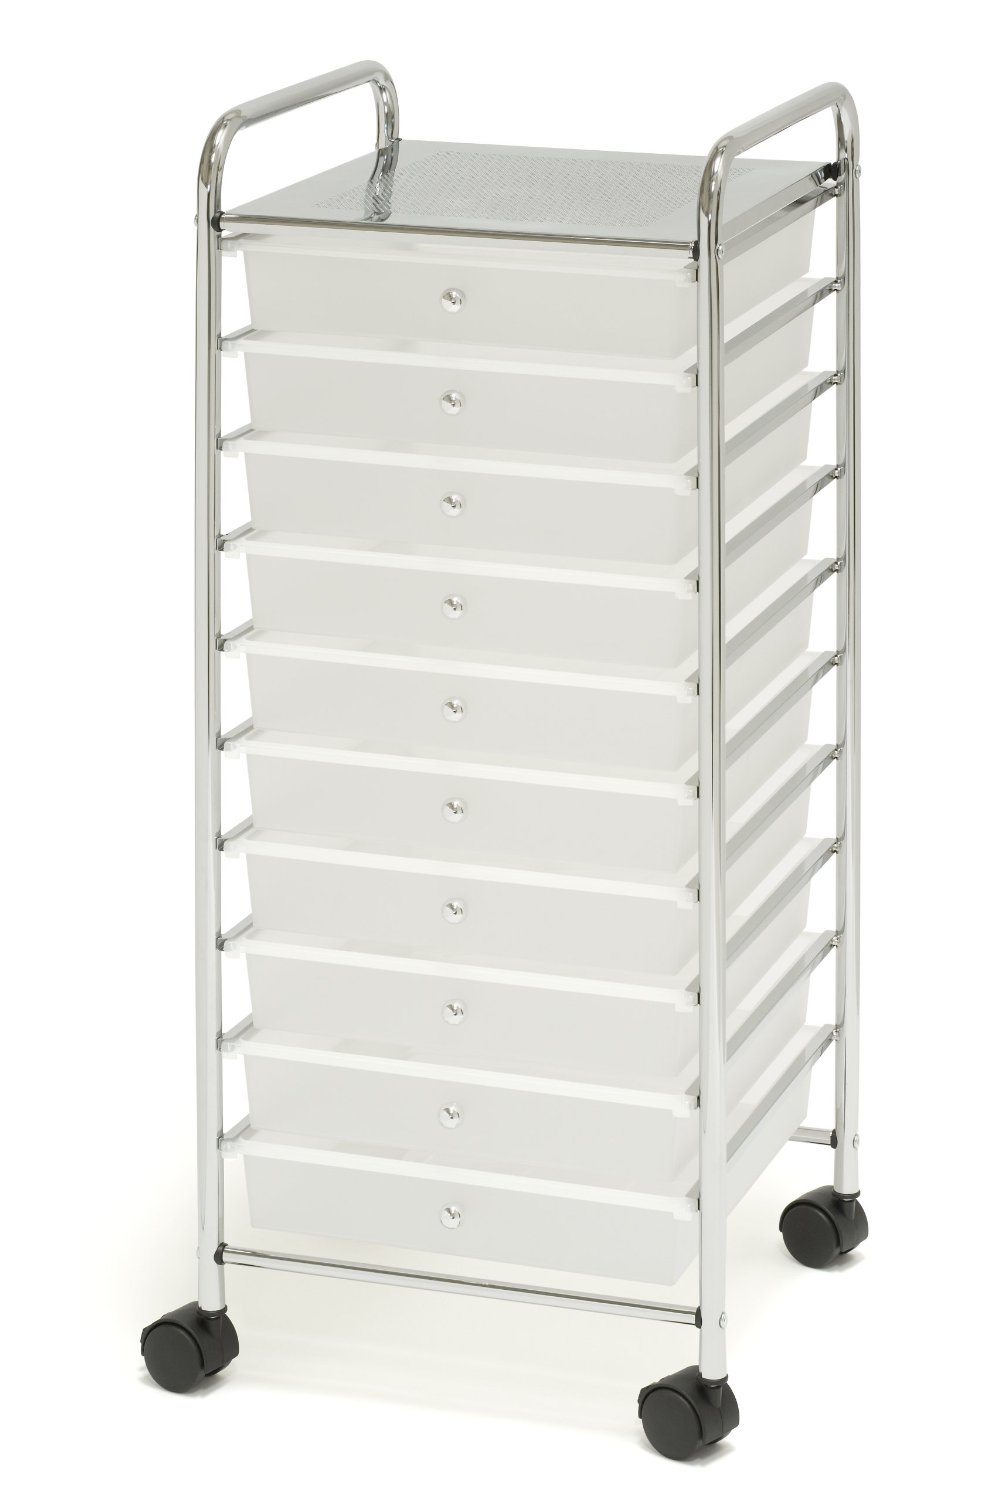
But they were so ugly. I wasn’t in college anymore, and I didn’t want my home to look as such. However, this was the EXACT kind of storage I needed – I just wanted it to look cute and go with the decor of my craft room.
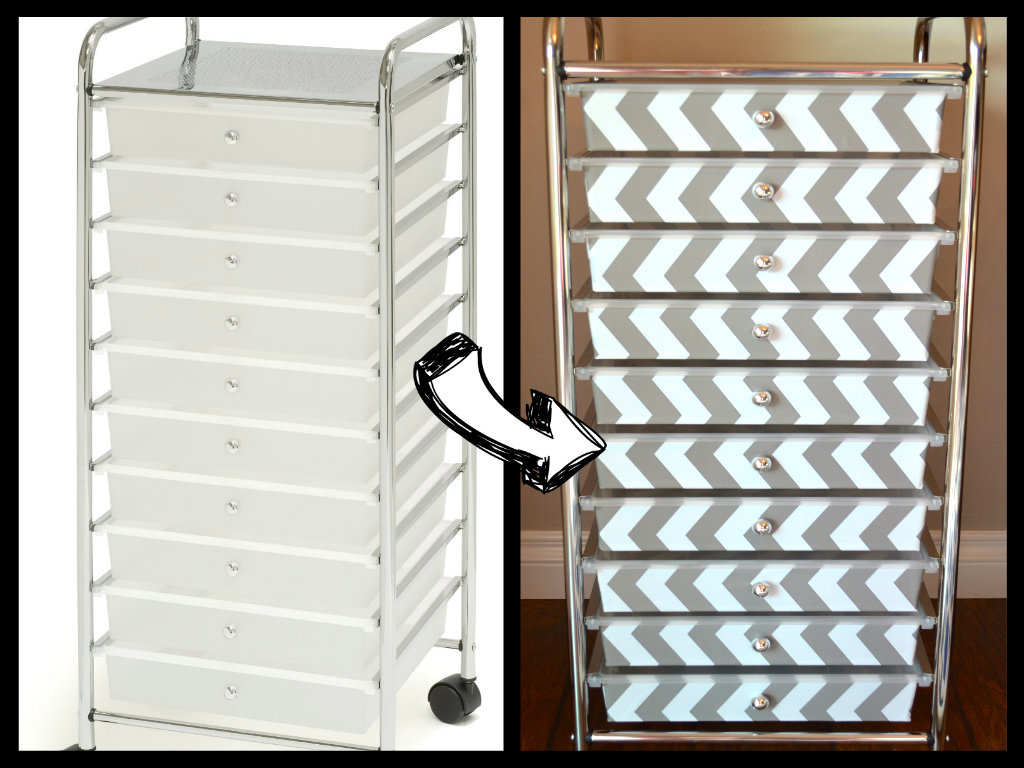
Then, a lightbulb went off. What if I could redesign this storage organizer into something cute, modern, and chic without spending a ton of time and money? Yes, I absolutely could…
The storage organizer I showed you above went from drab, to fab!
Below, I show you exactly the supplies you’ll need and the steps to take to make everyday storage organizers yourself. And all for under $60! Such a steal.
Steps to Make your Own Storage Organizers
The Necessary Tools:
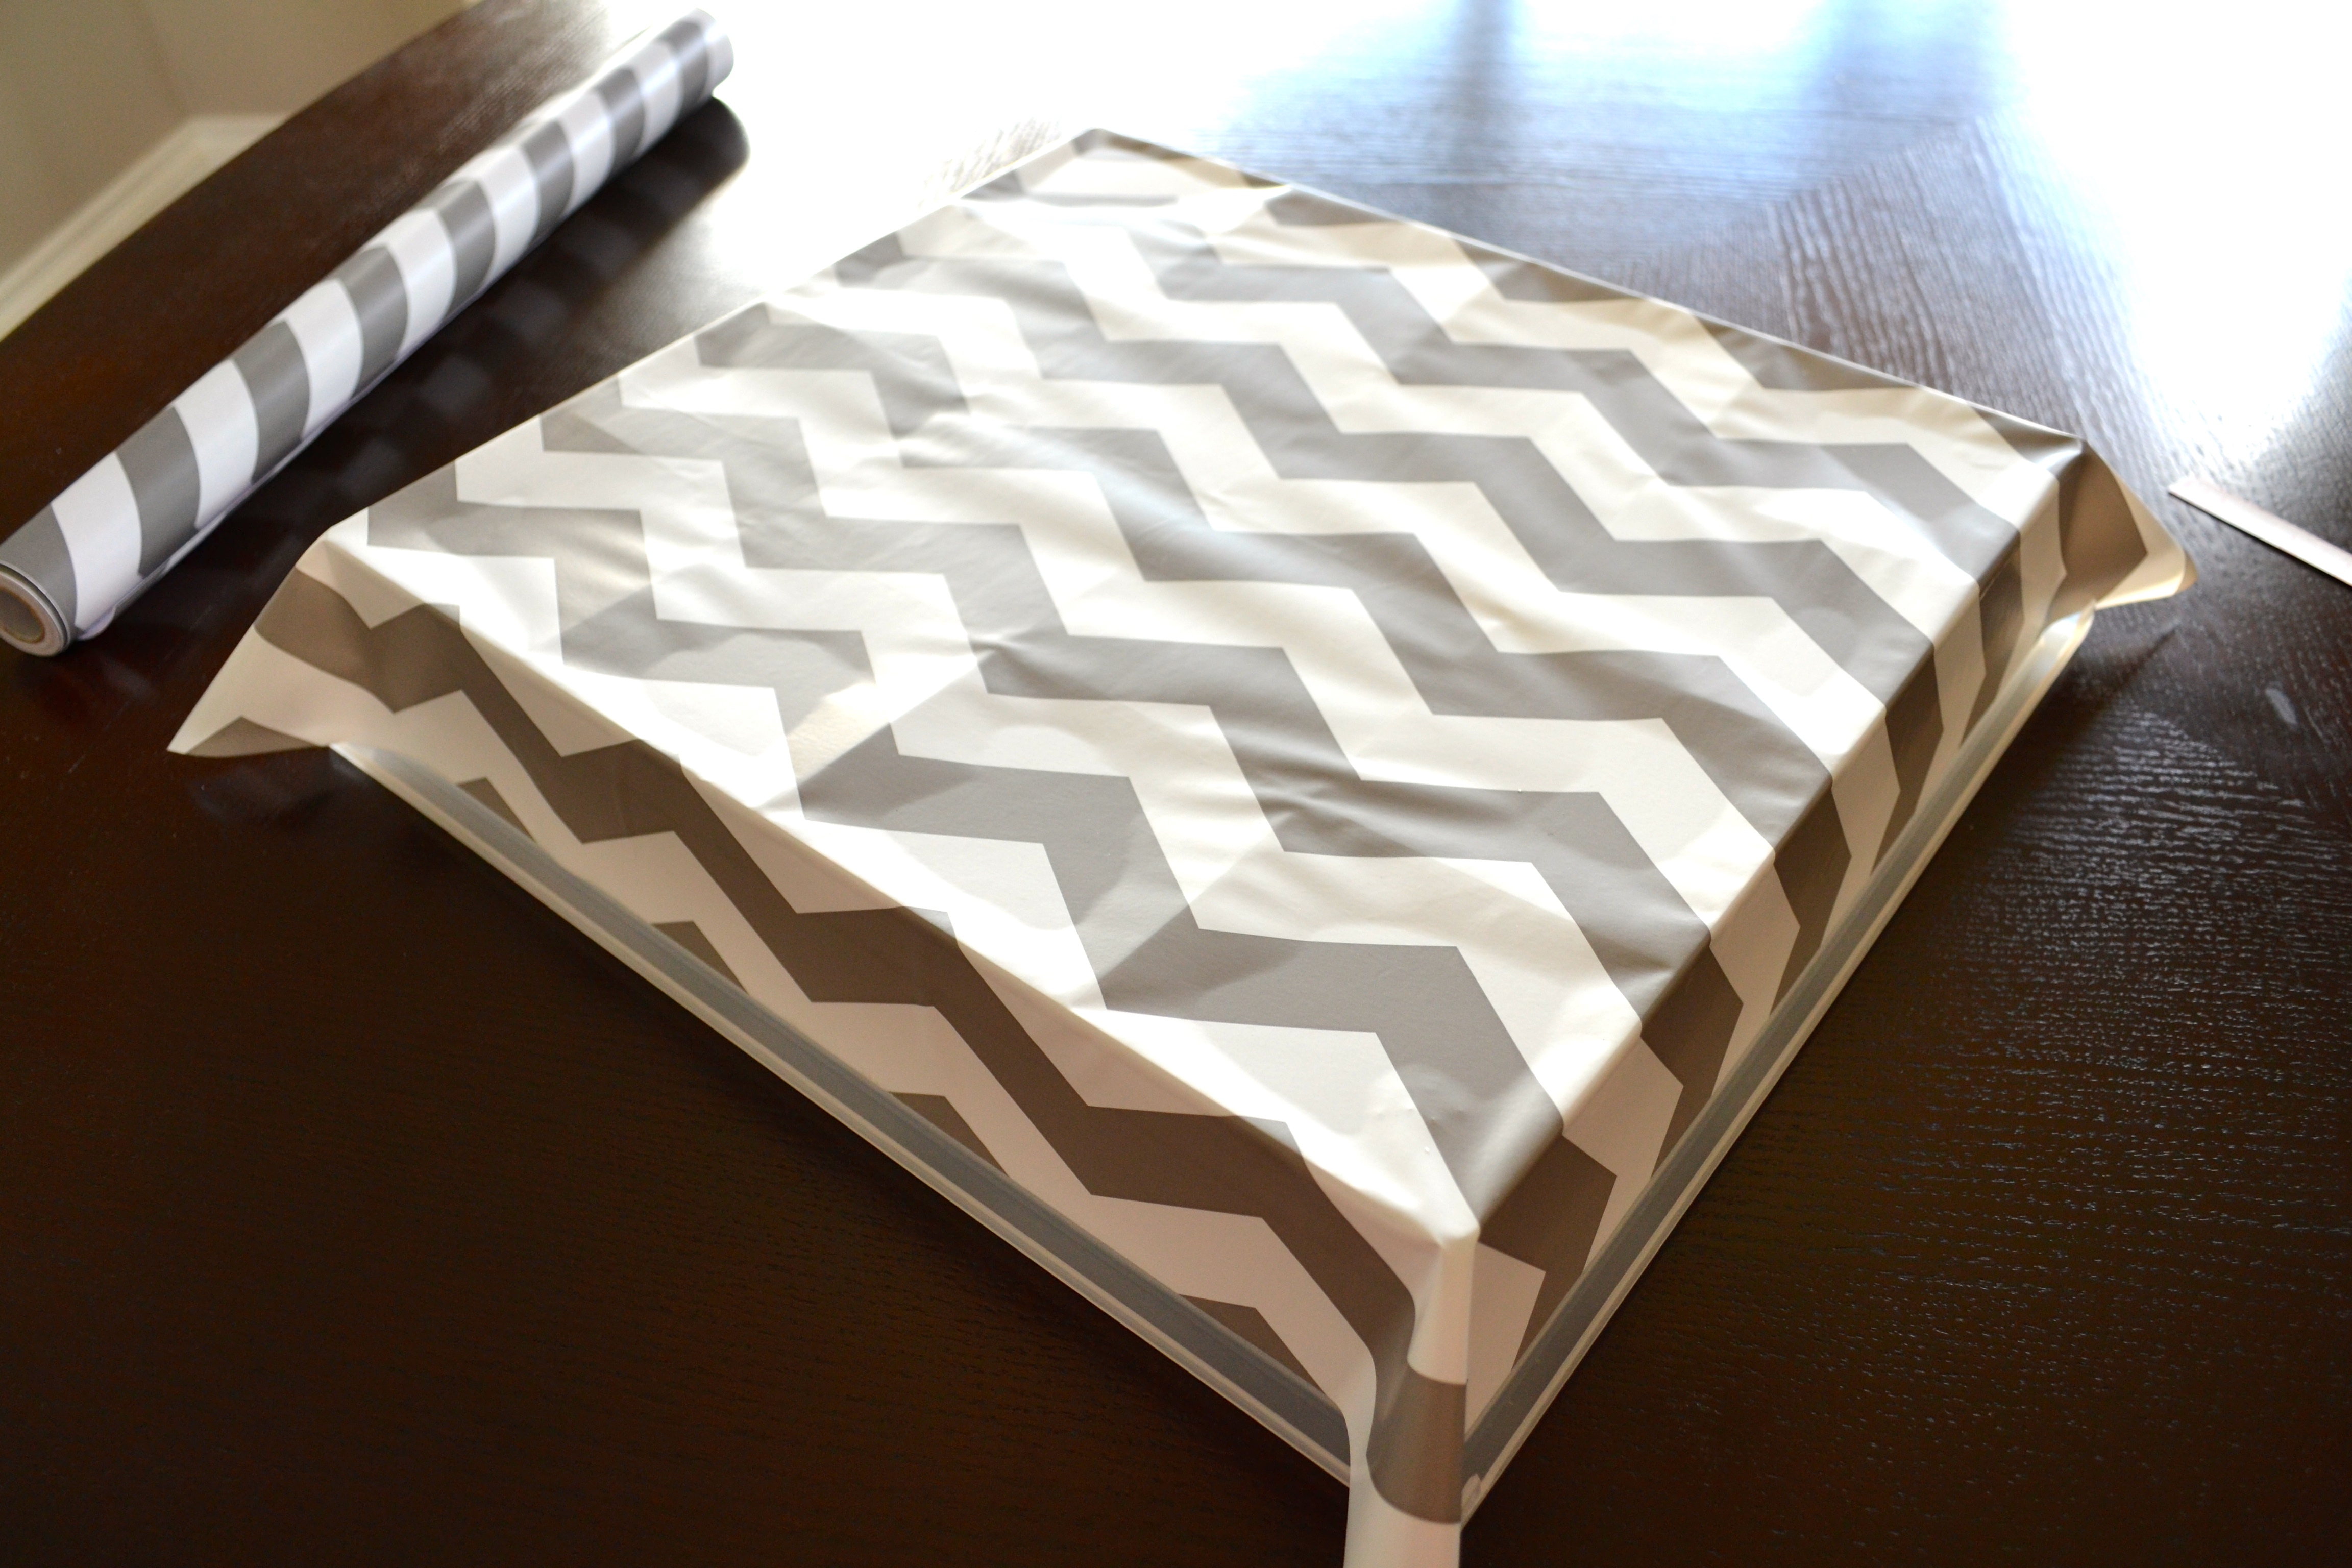
Step 1:
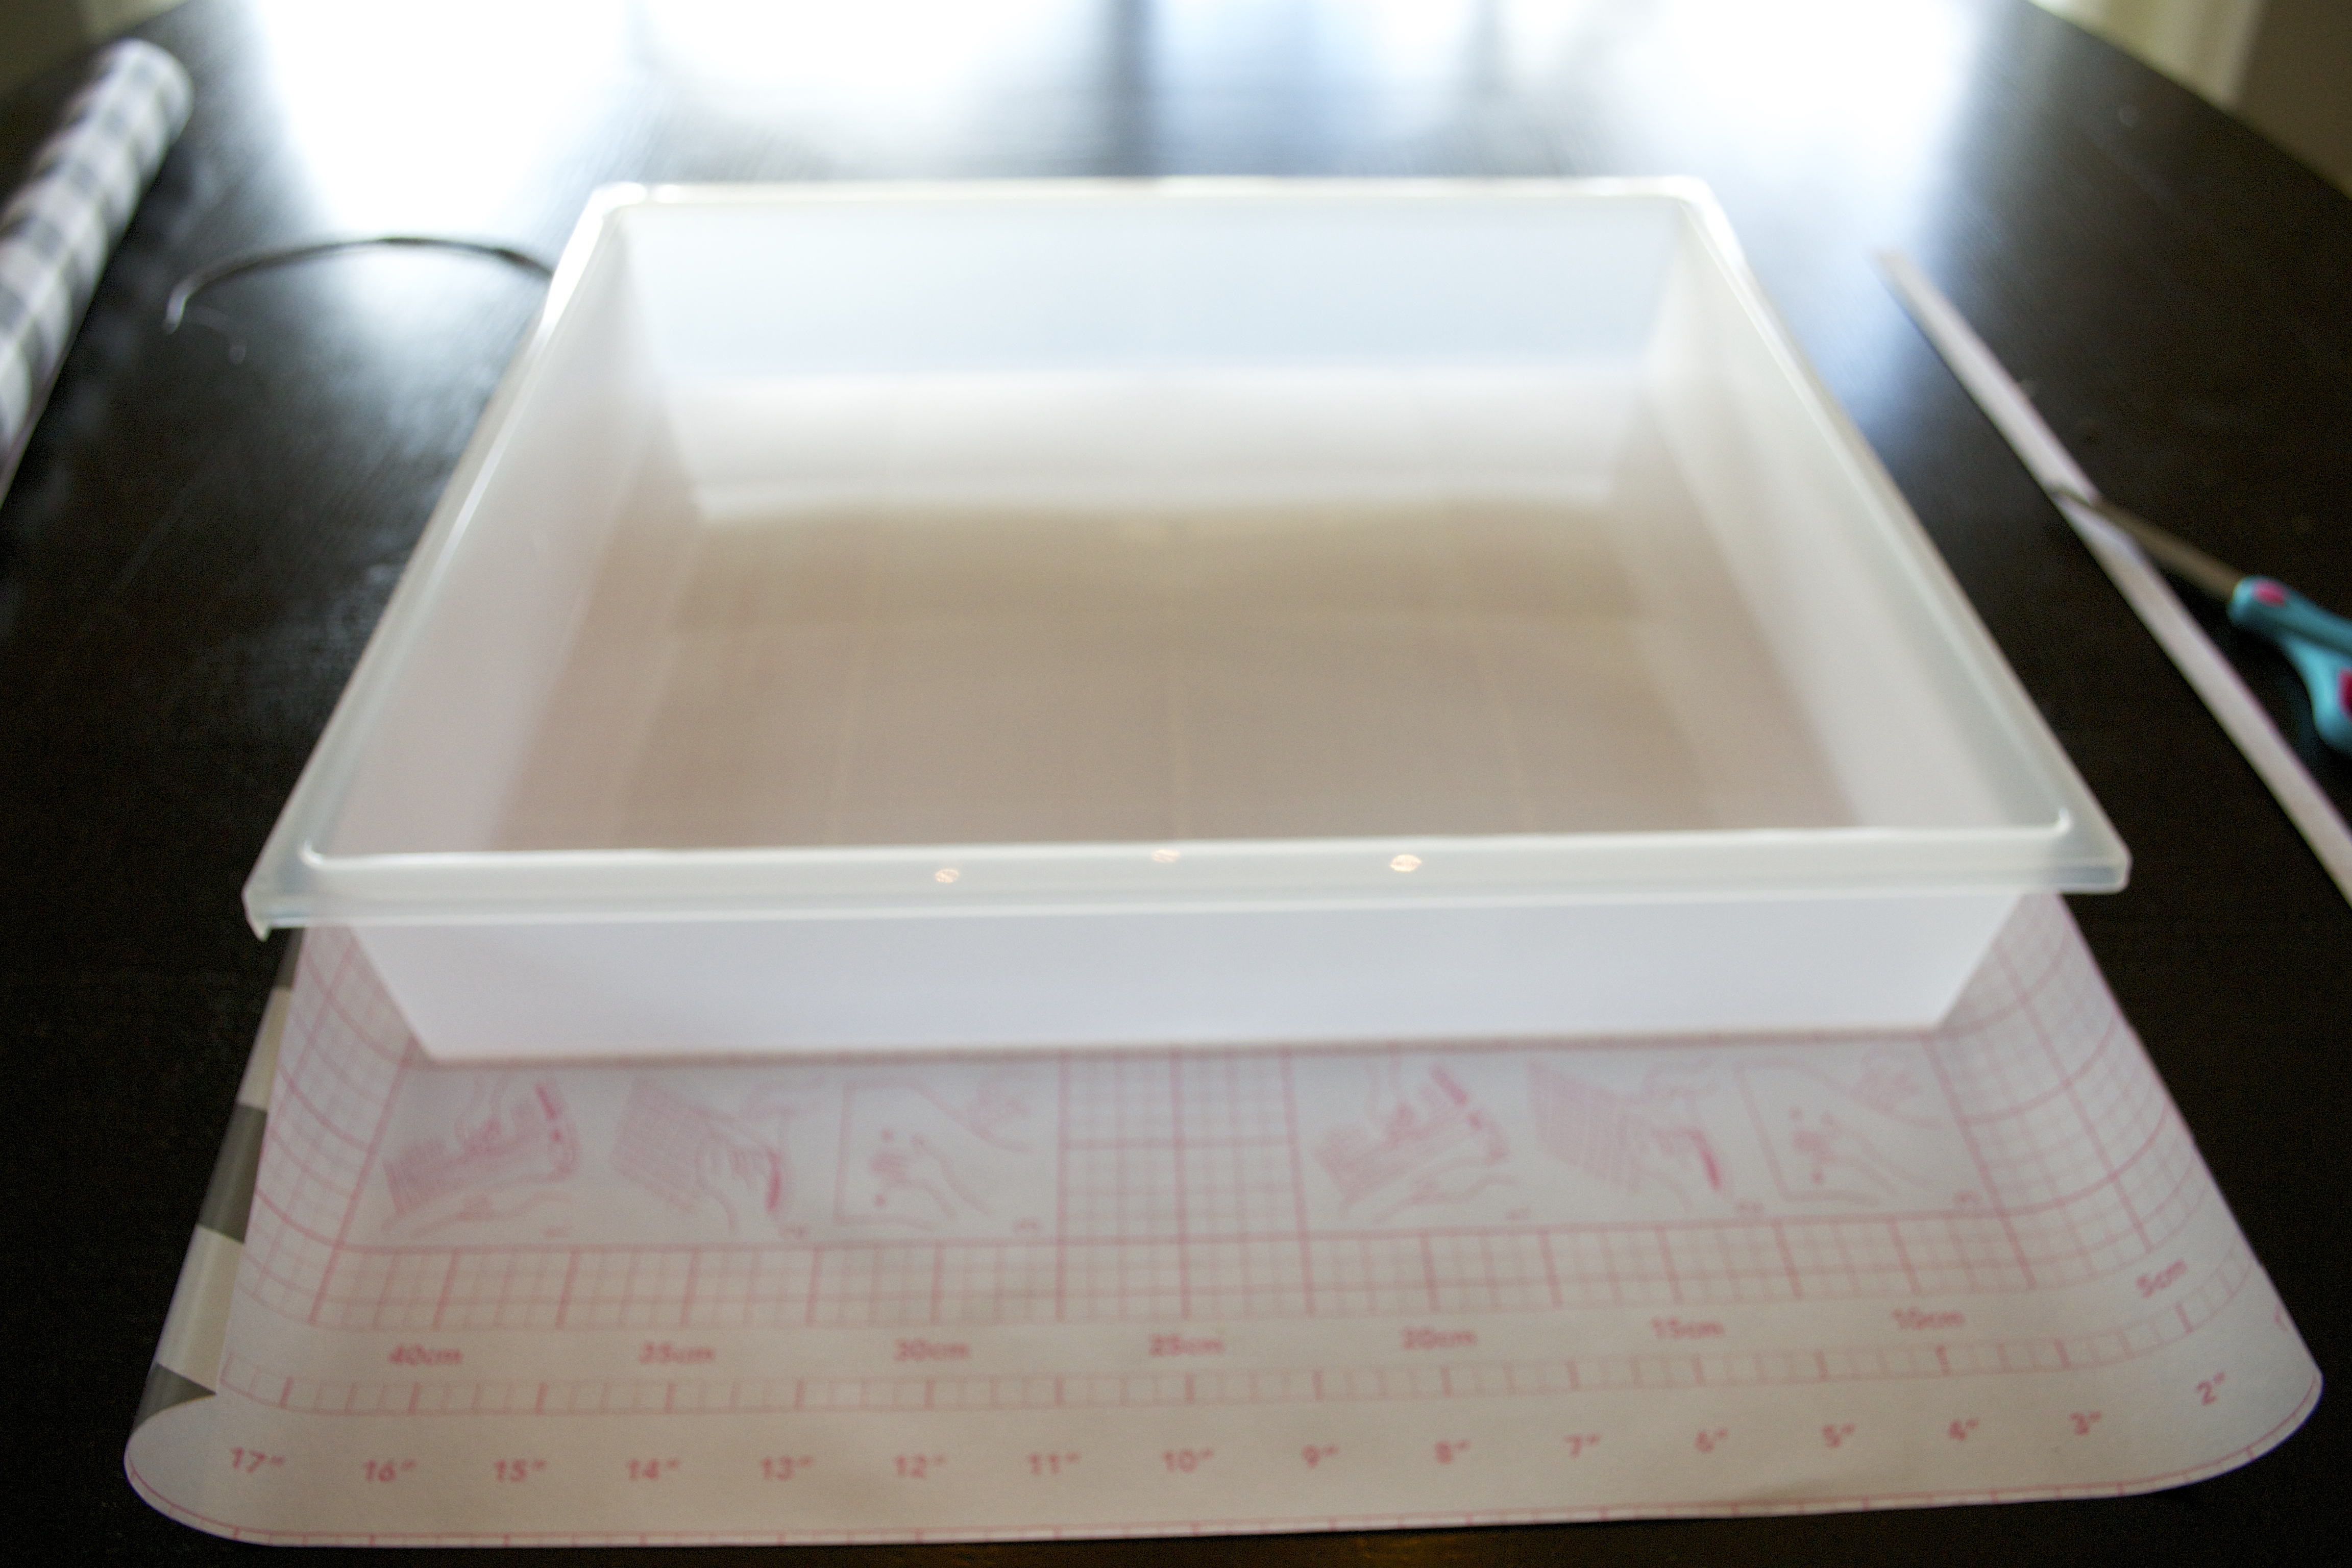
- Take your first drawer and lay it on a flat surface, face down on the surface.
- Take your liner and roll it out – starting on the front under the front lip, all the way over the bottom of the drawer (which should be face up) and all the way under the back lip.
- Cut the liner exactly where it hits the back lip of the drawer.
Step 2:

- Take the backing off the beginning of the adhesive liner.
- Place the sticky liner under the front lip of the drawer, and smooth it out with your hand or a credit card so there are no air bubbles or wrinkles in the lining.
- Slowly remove the backing off of the liner as you bring it around the bottom of the drawer, and under the back lip – sticking the lining to the drawer and smoothing as you go.
- There will be excess lining around the sides, front, and back of the drawer. DO NOT TOUCH IT. We will use it in the next step.
- The bottom of the drawers is uneven, so the liner will not be completely smooth. THAT IS OK. The bottom of the drawers are not visible once in the organizer frame.
Step 3:
- Take the excess lining from one side of the drawer, and stick it to the side of the drawer and under the lip – smoothing it as you go.
- If if lining is too ling to fit under the lip, cut it so it fits.
- Repeat this on the other side of the drawer. Do not touch the excess lining that is coming off the front and back of the drawer.
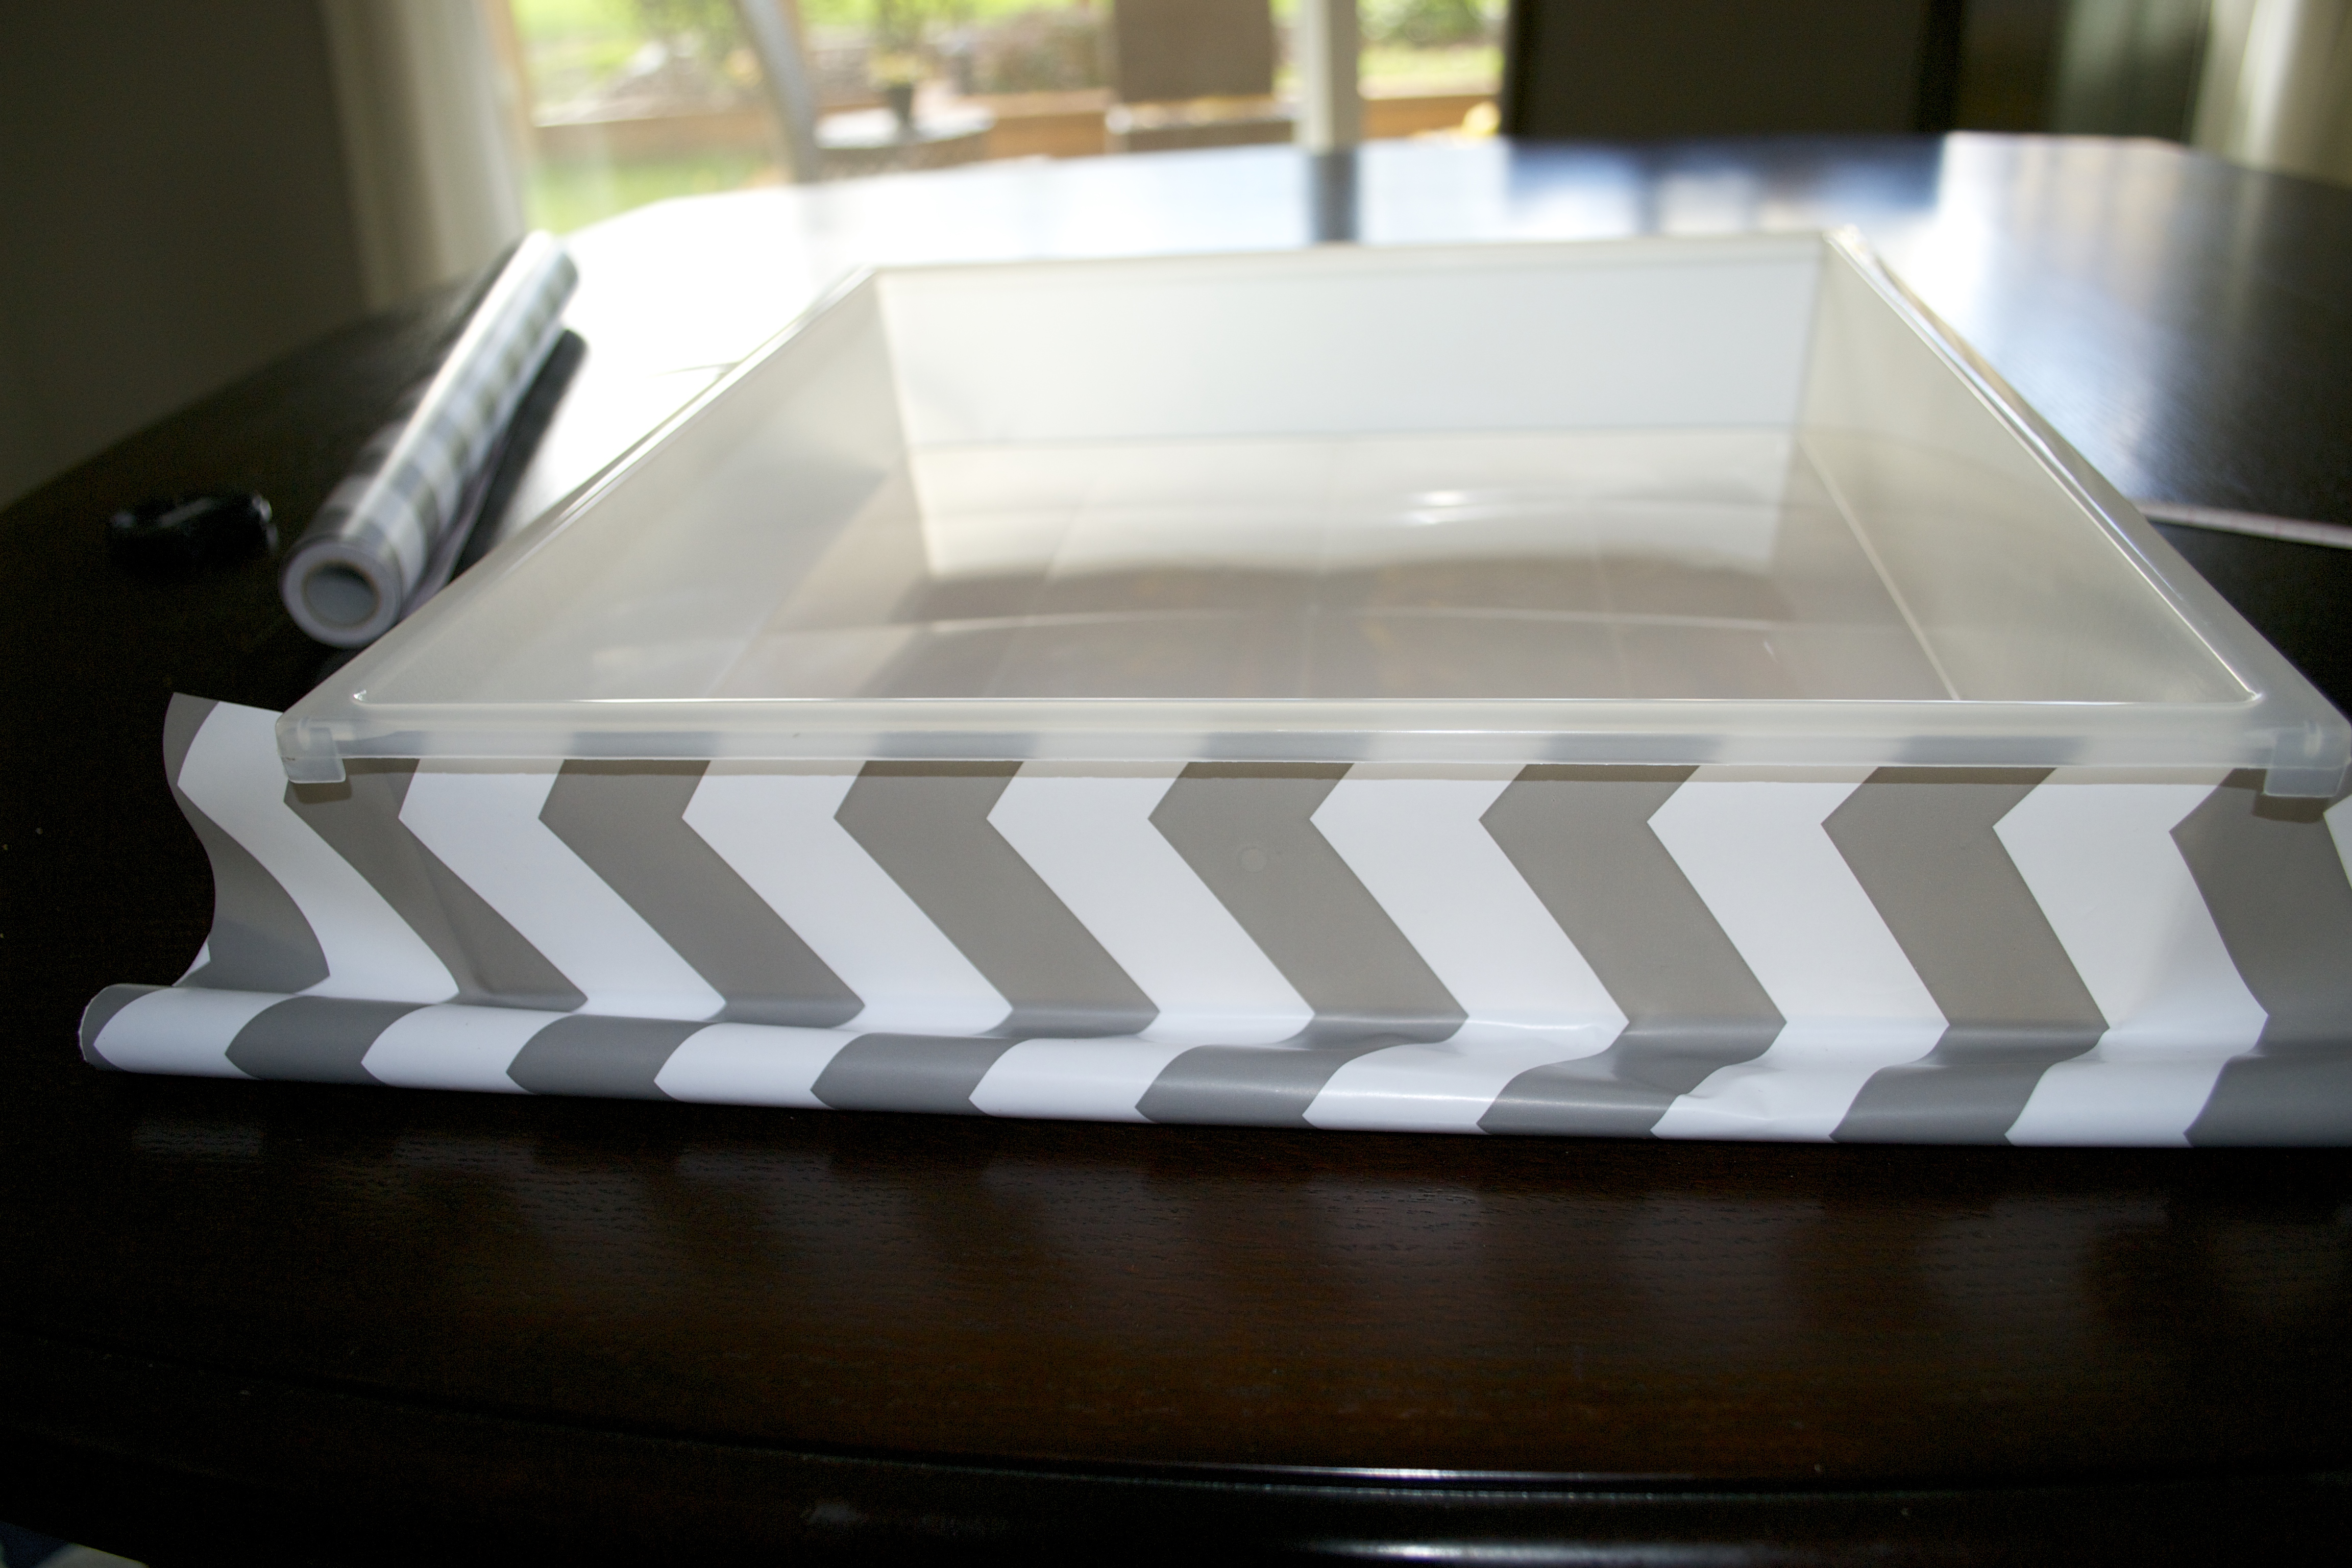
Step 4:
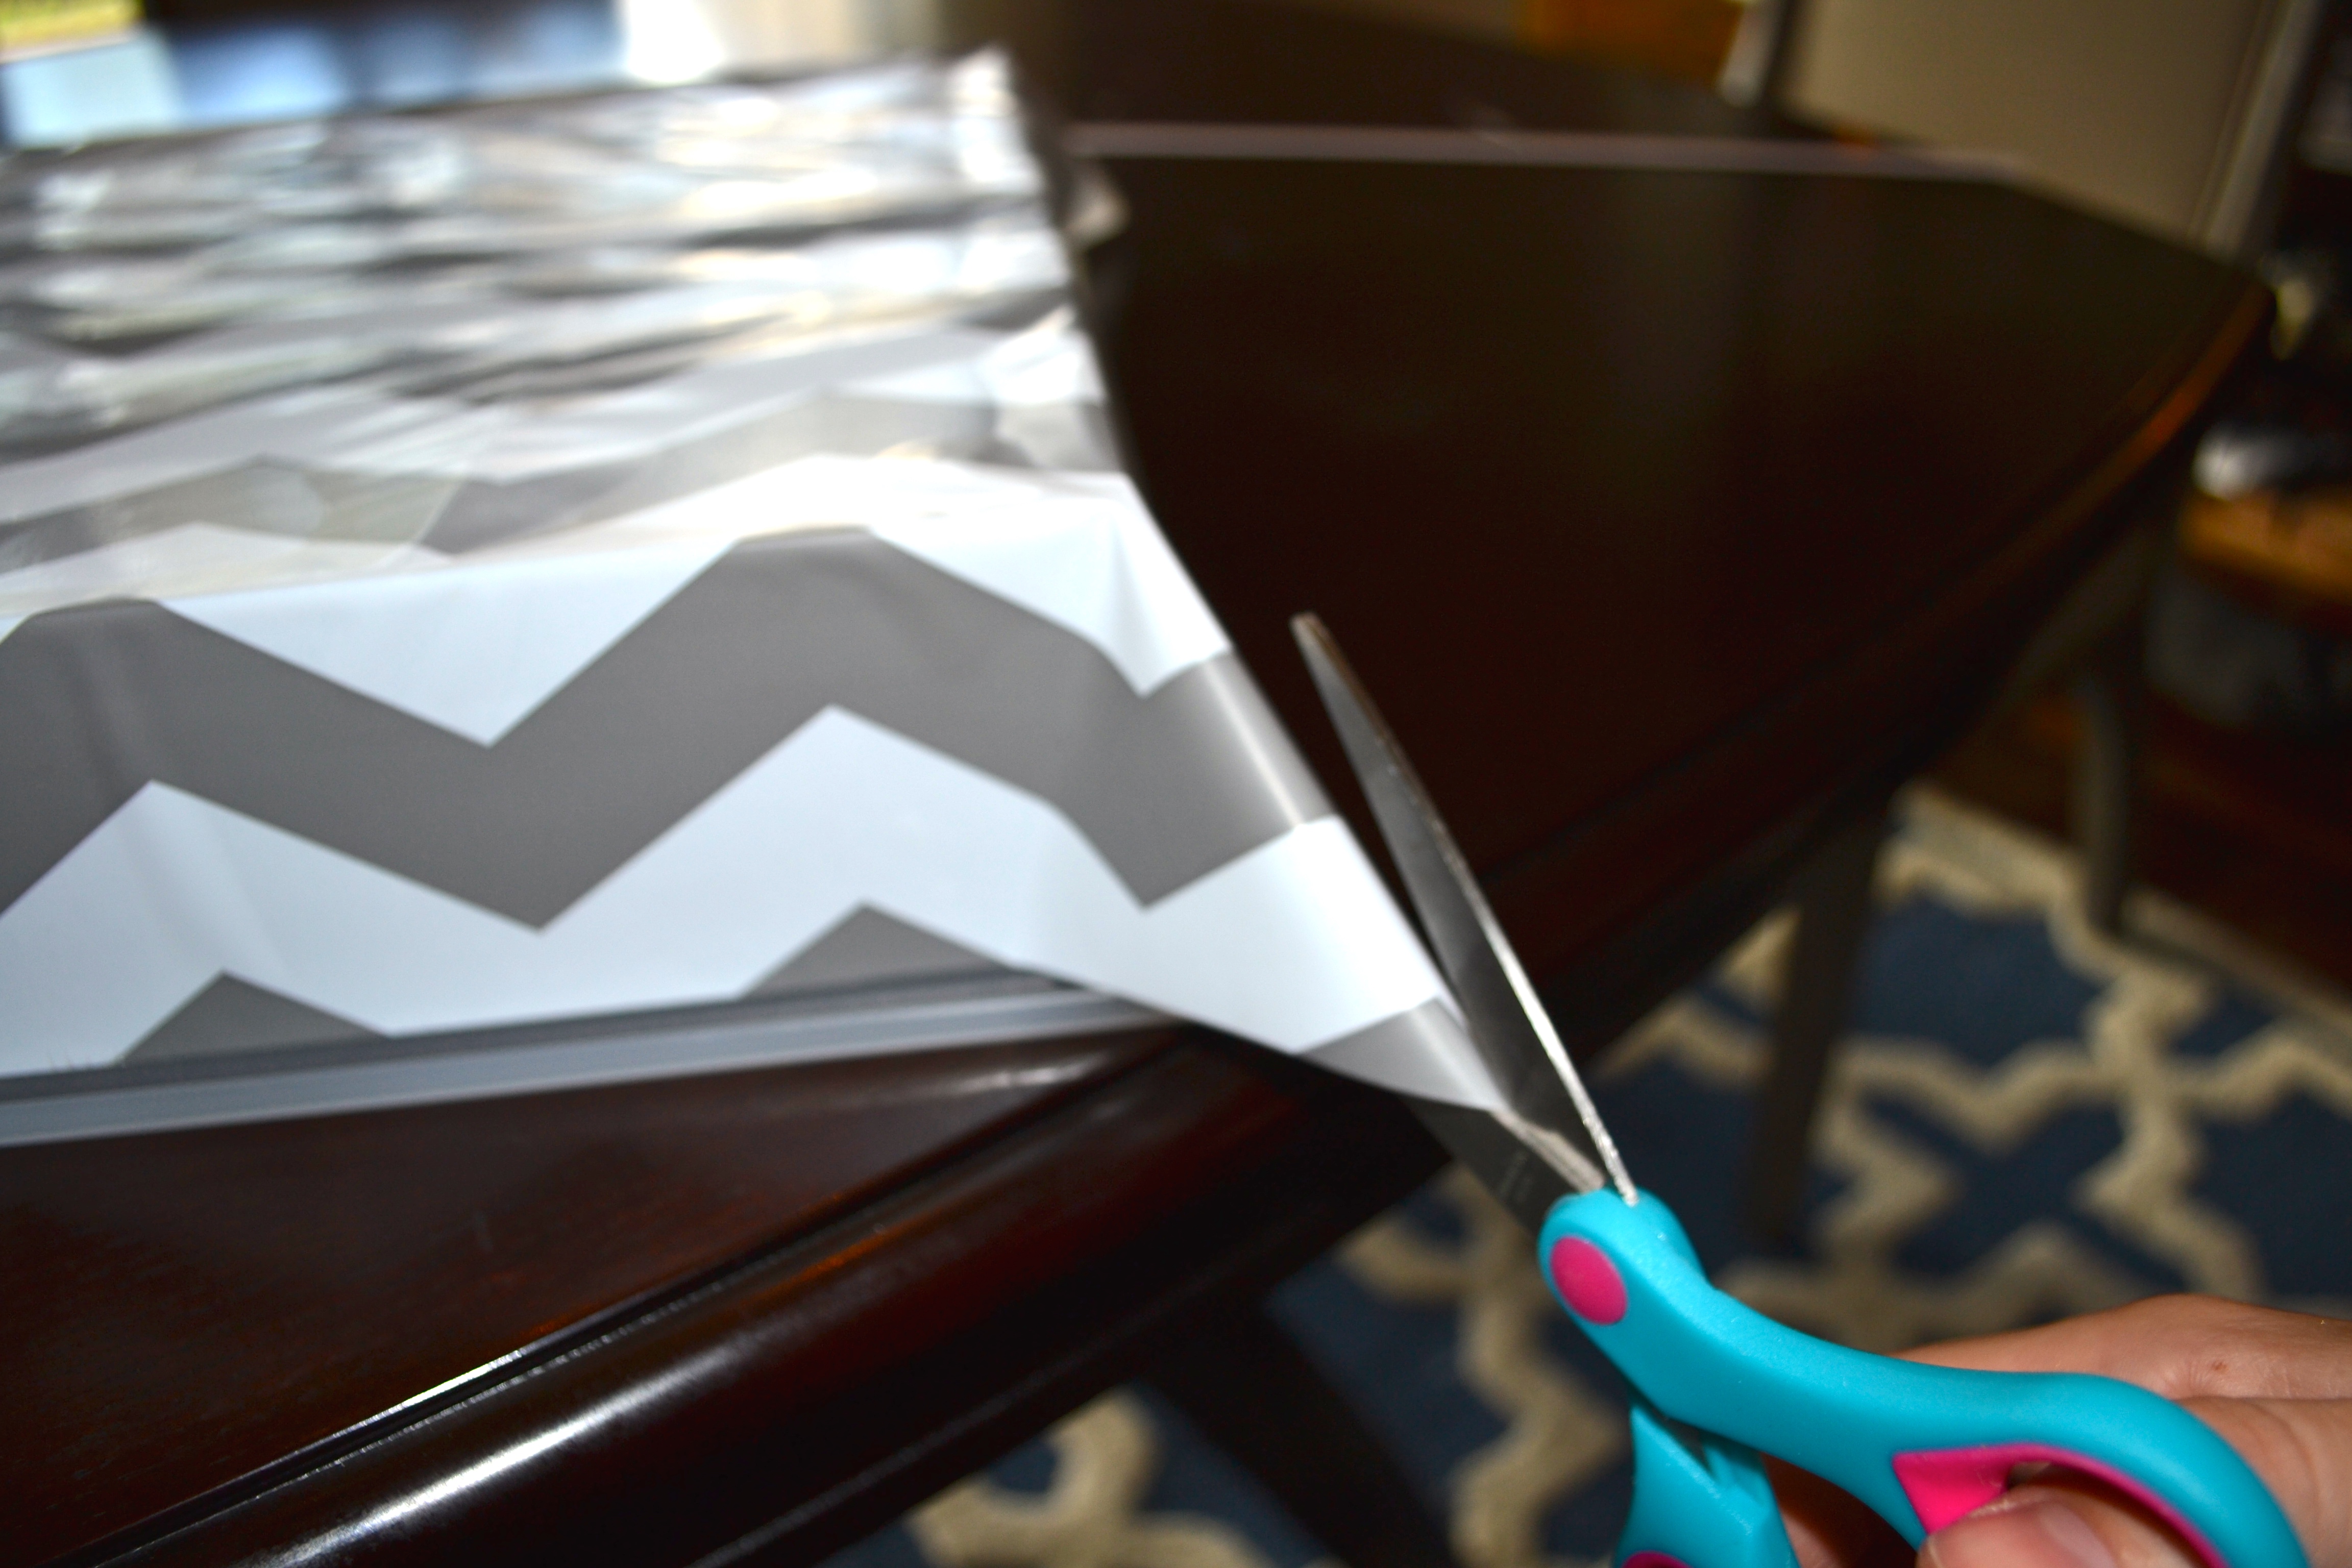
- NOW, we are going to work with the lining that is coming off the front and back of the drawer.
- Start with the front. Cut the lining where the edge of the front of the drawer ends (see picture).
- Wrap the excess lining around the side of the drawer, cutting off any excess that hangs below the bottom of the drawer.
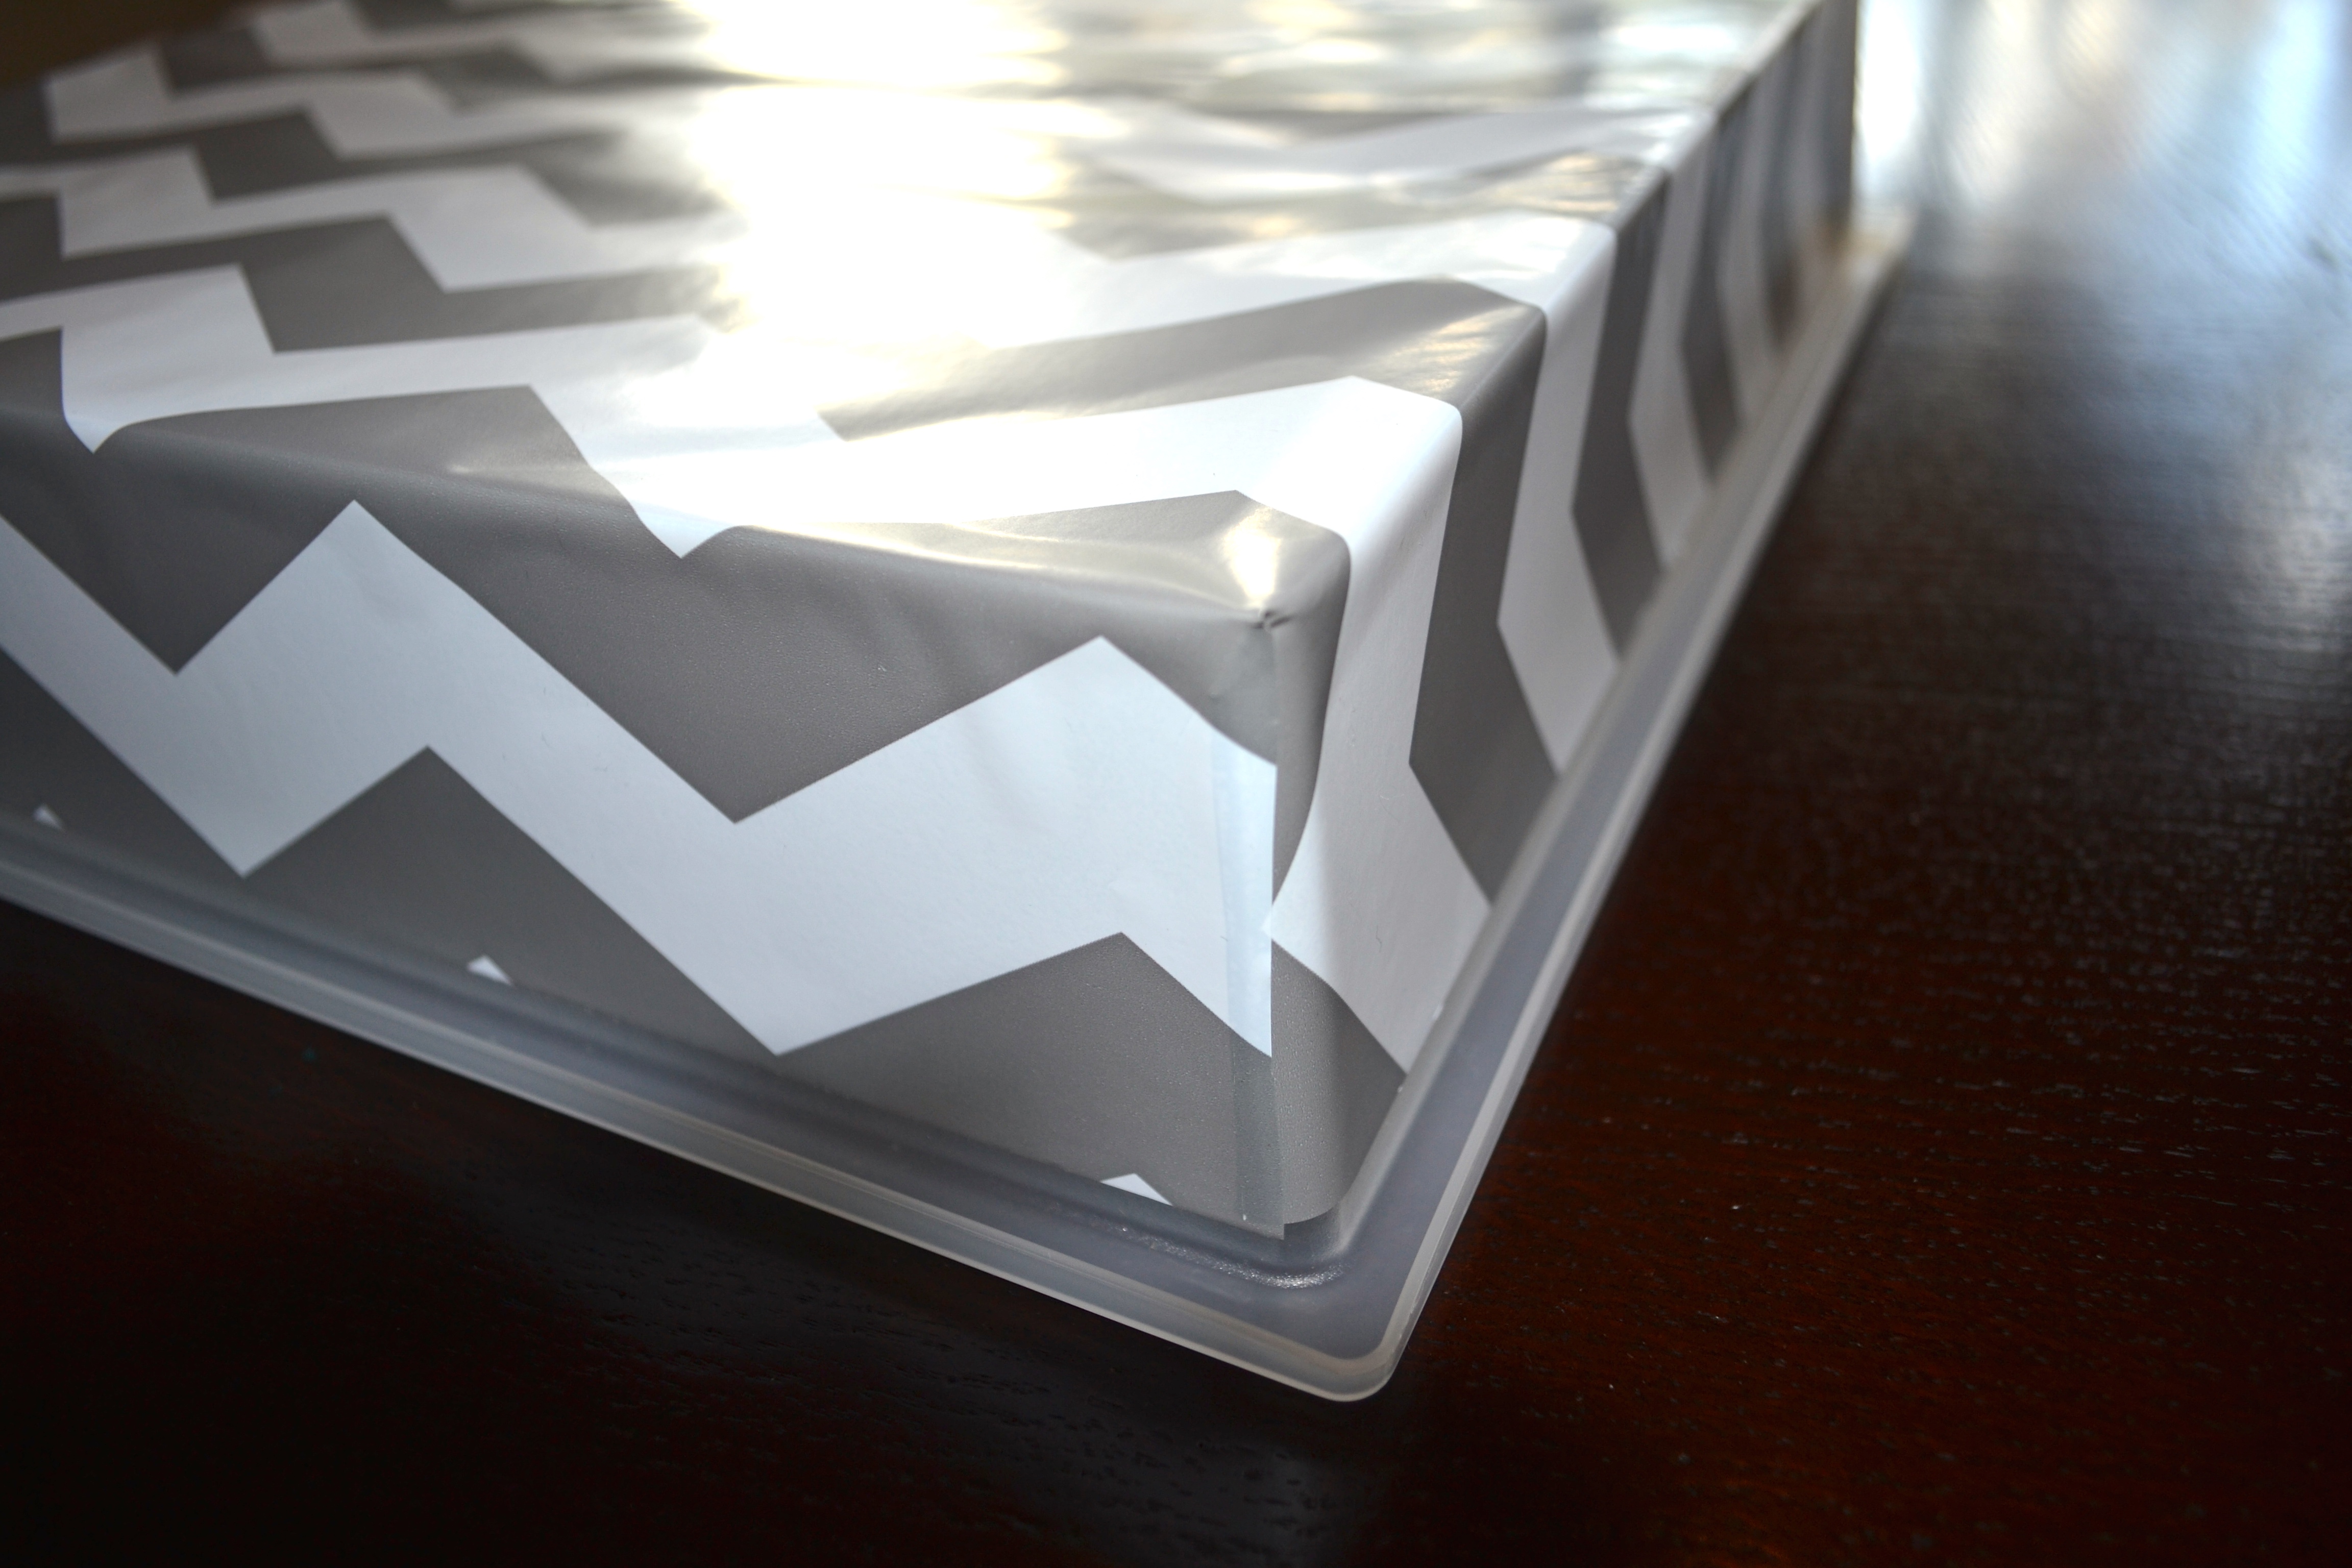
Step 5:
- Repeat step 4 for the other side of the front of the drawer, as well as both sides on the back of the drawer.
Step 6:
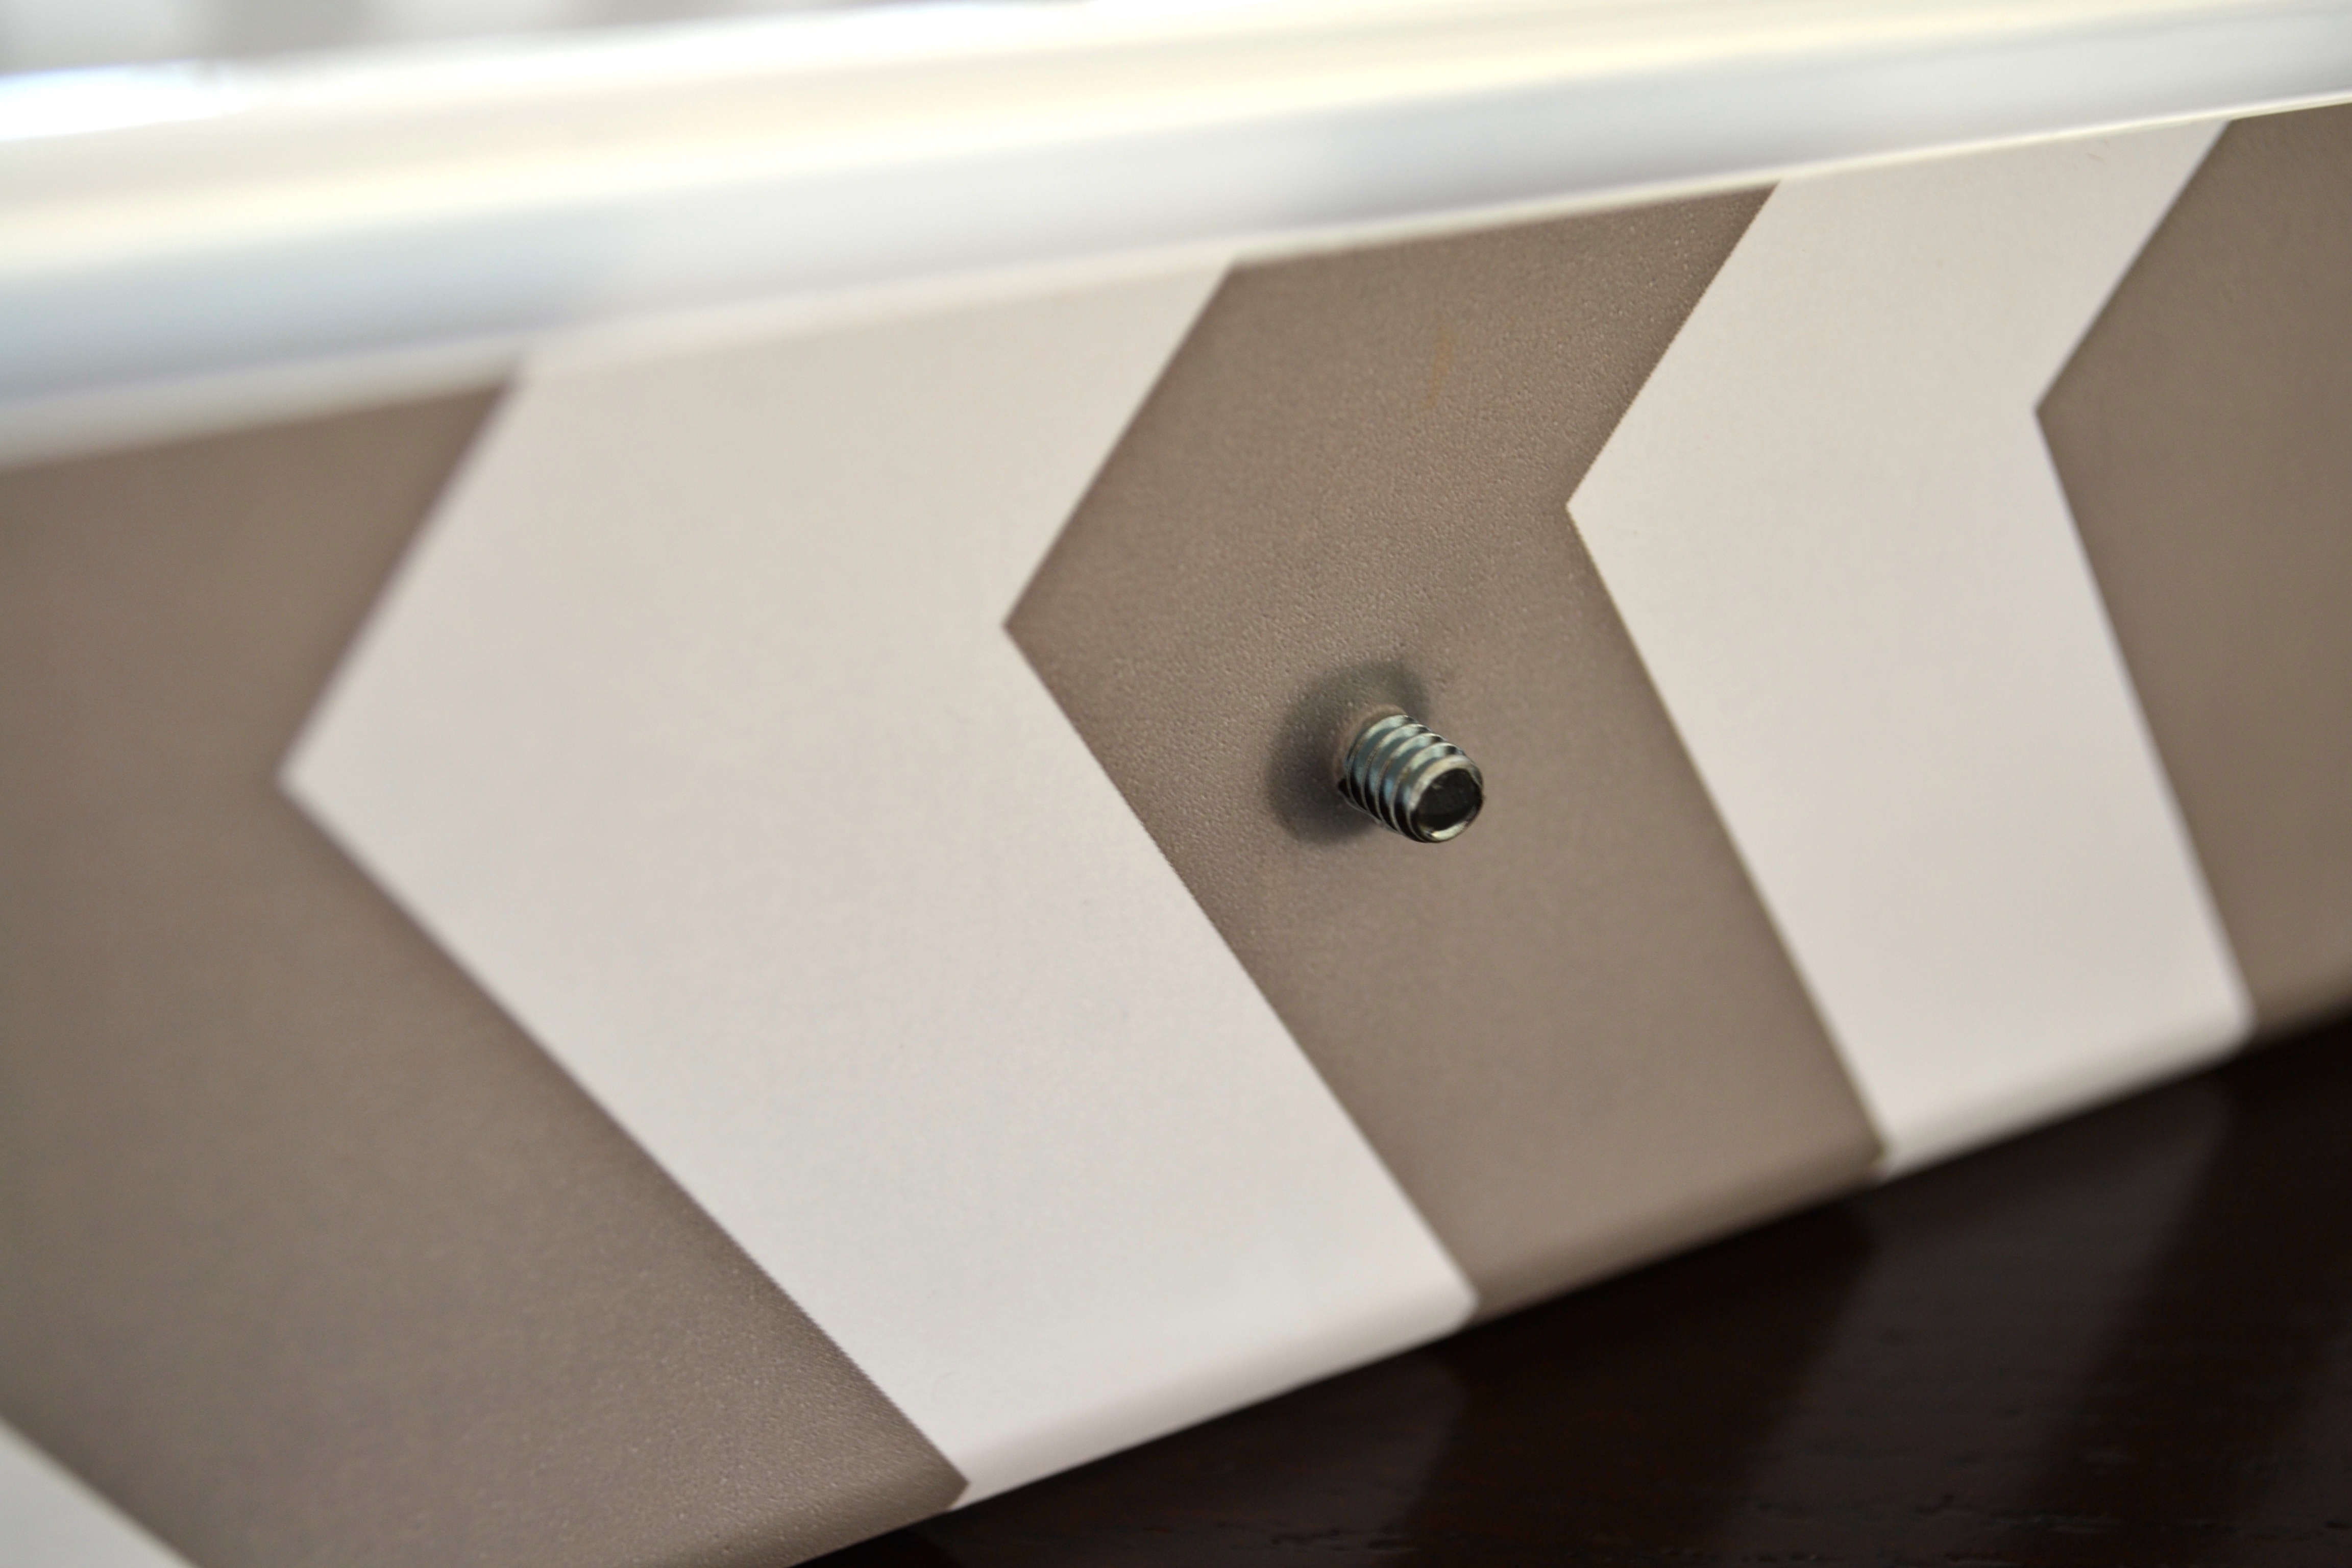
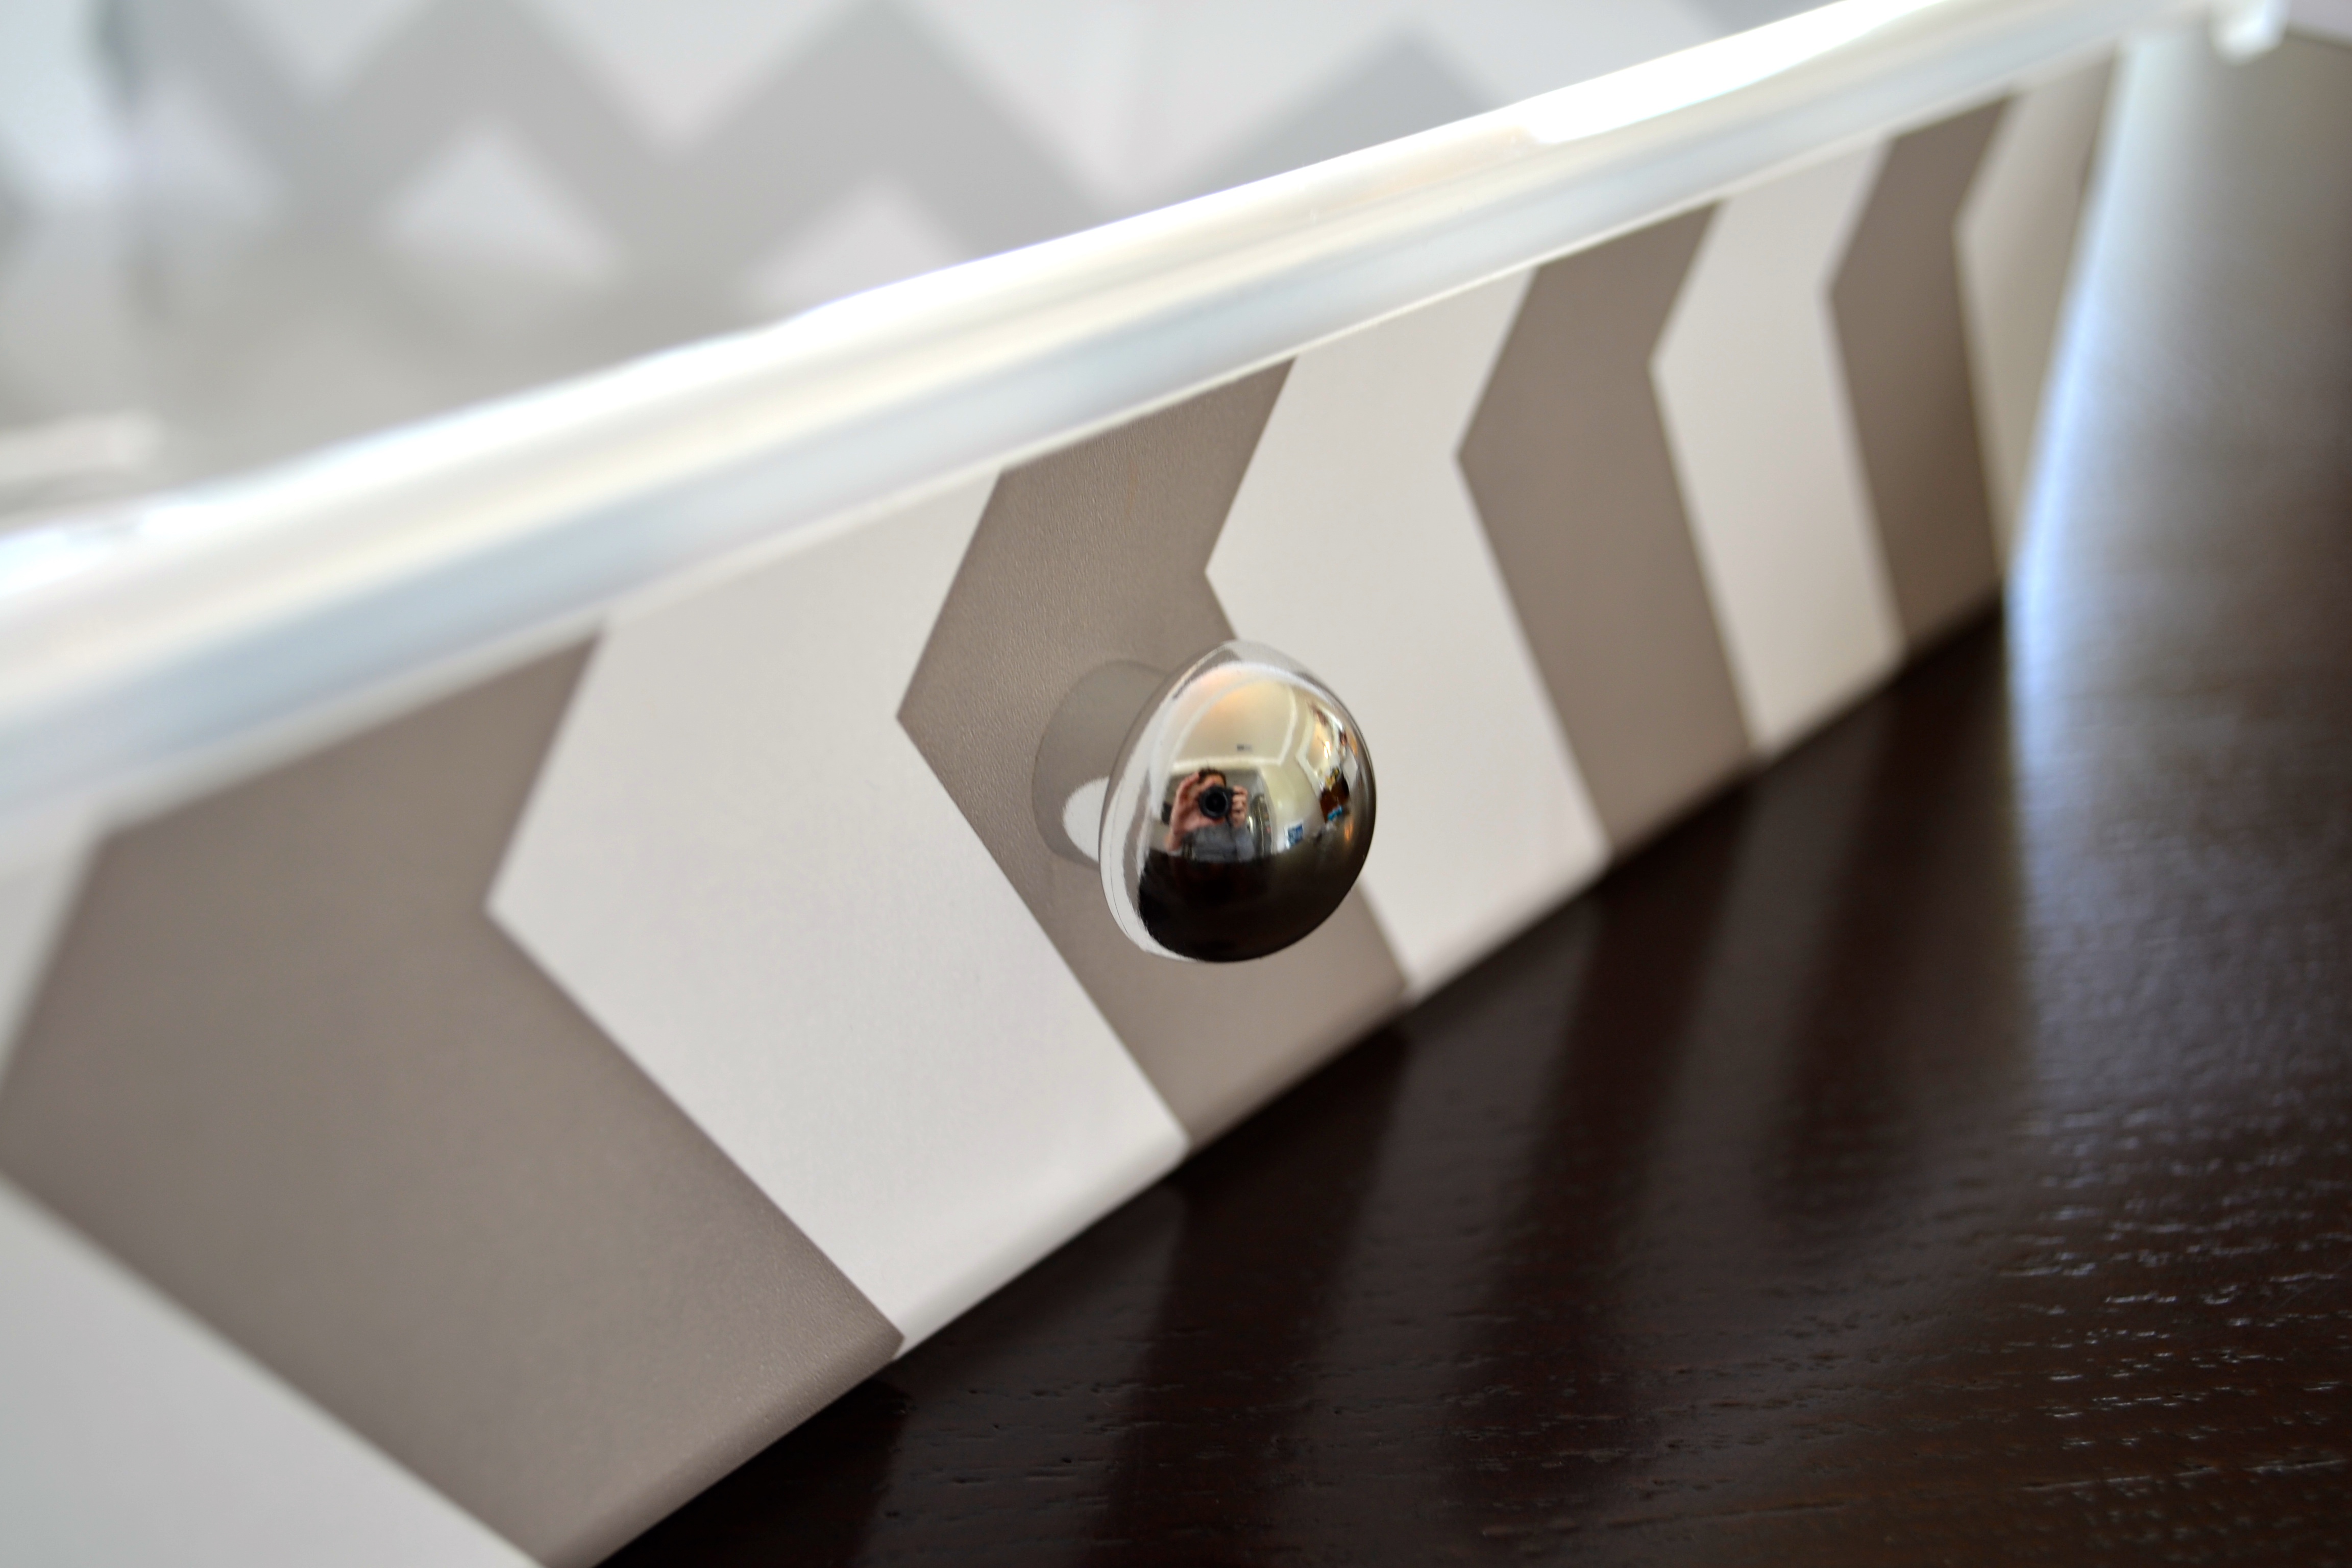
- Take your drawer knob hardware and poke a hole with the screw through the liner on the front of the drawer (the drawer will already have a pre-drilled hole for the screw so you know where it goes).
- Screw the front of the know onto the screw you’ve poked through the liner.
Step 7:
- Repeat steps 1-7 for the other 9 drawers.
Step 8:
- Put together the cart frame and insert the drawers into the frame.
- I omitted the casters to make mine a desk caddy, and not a rolling cart.
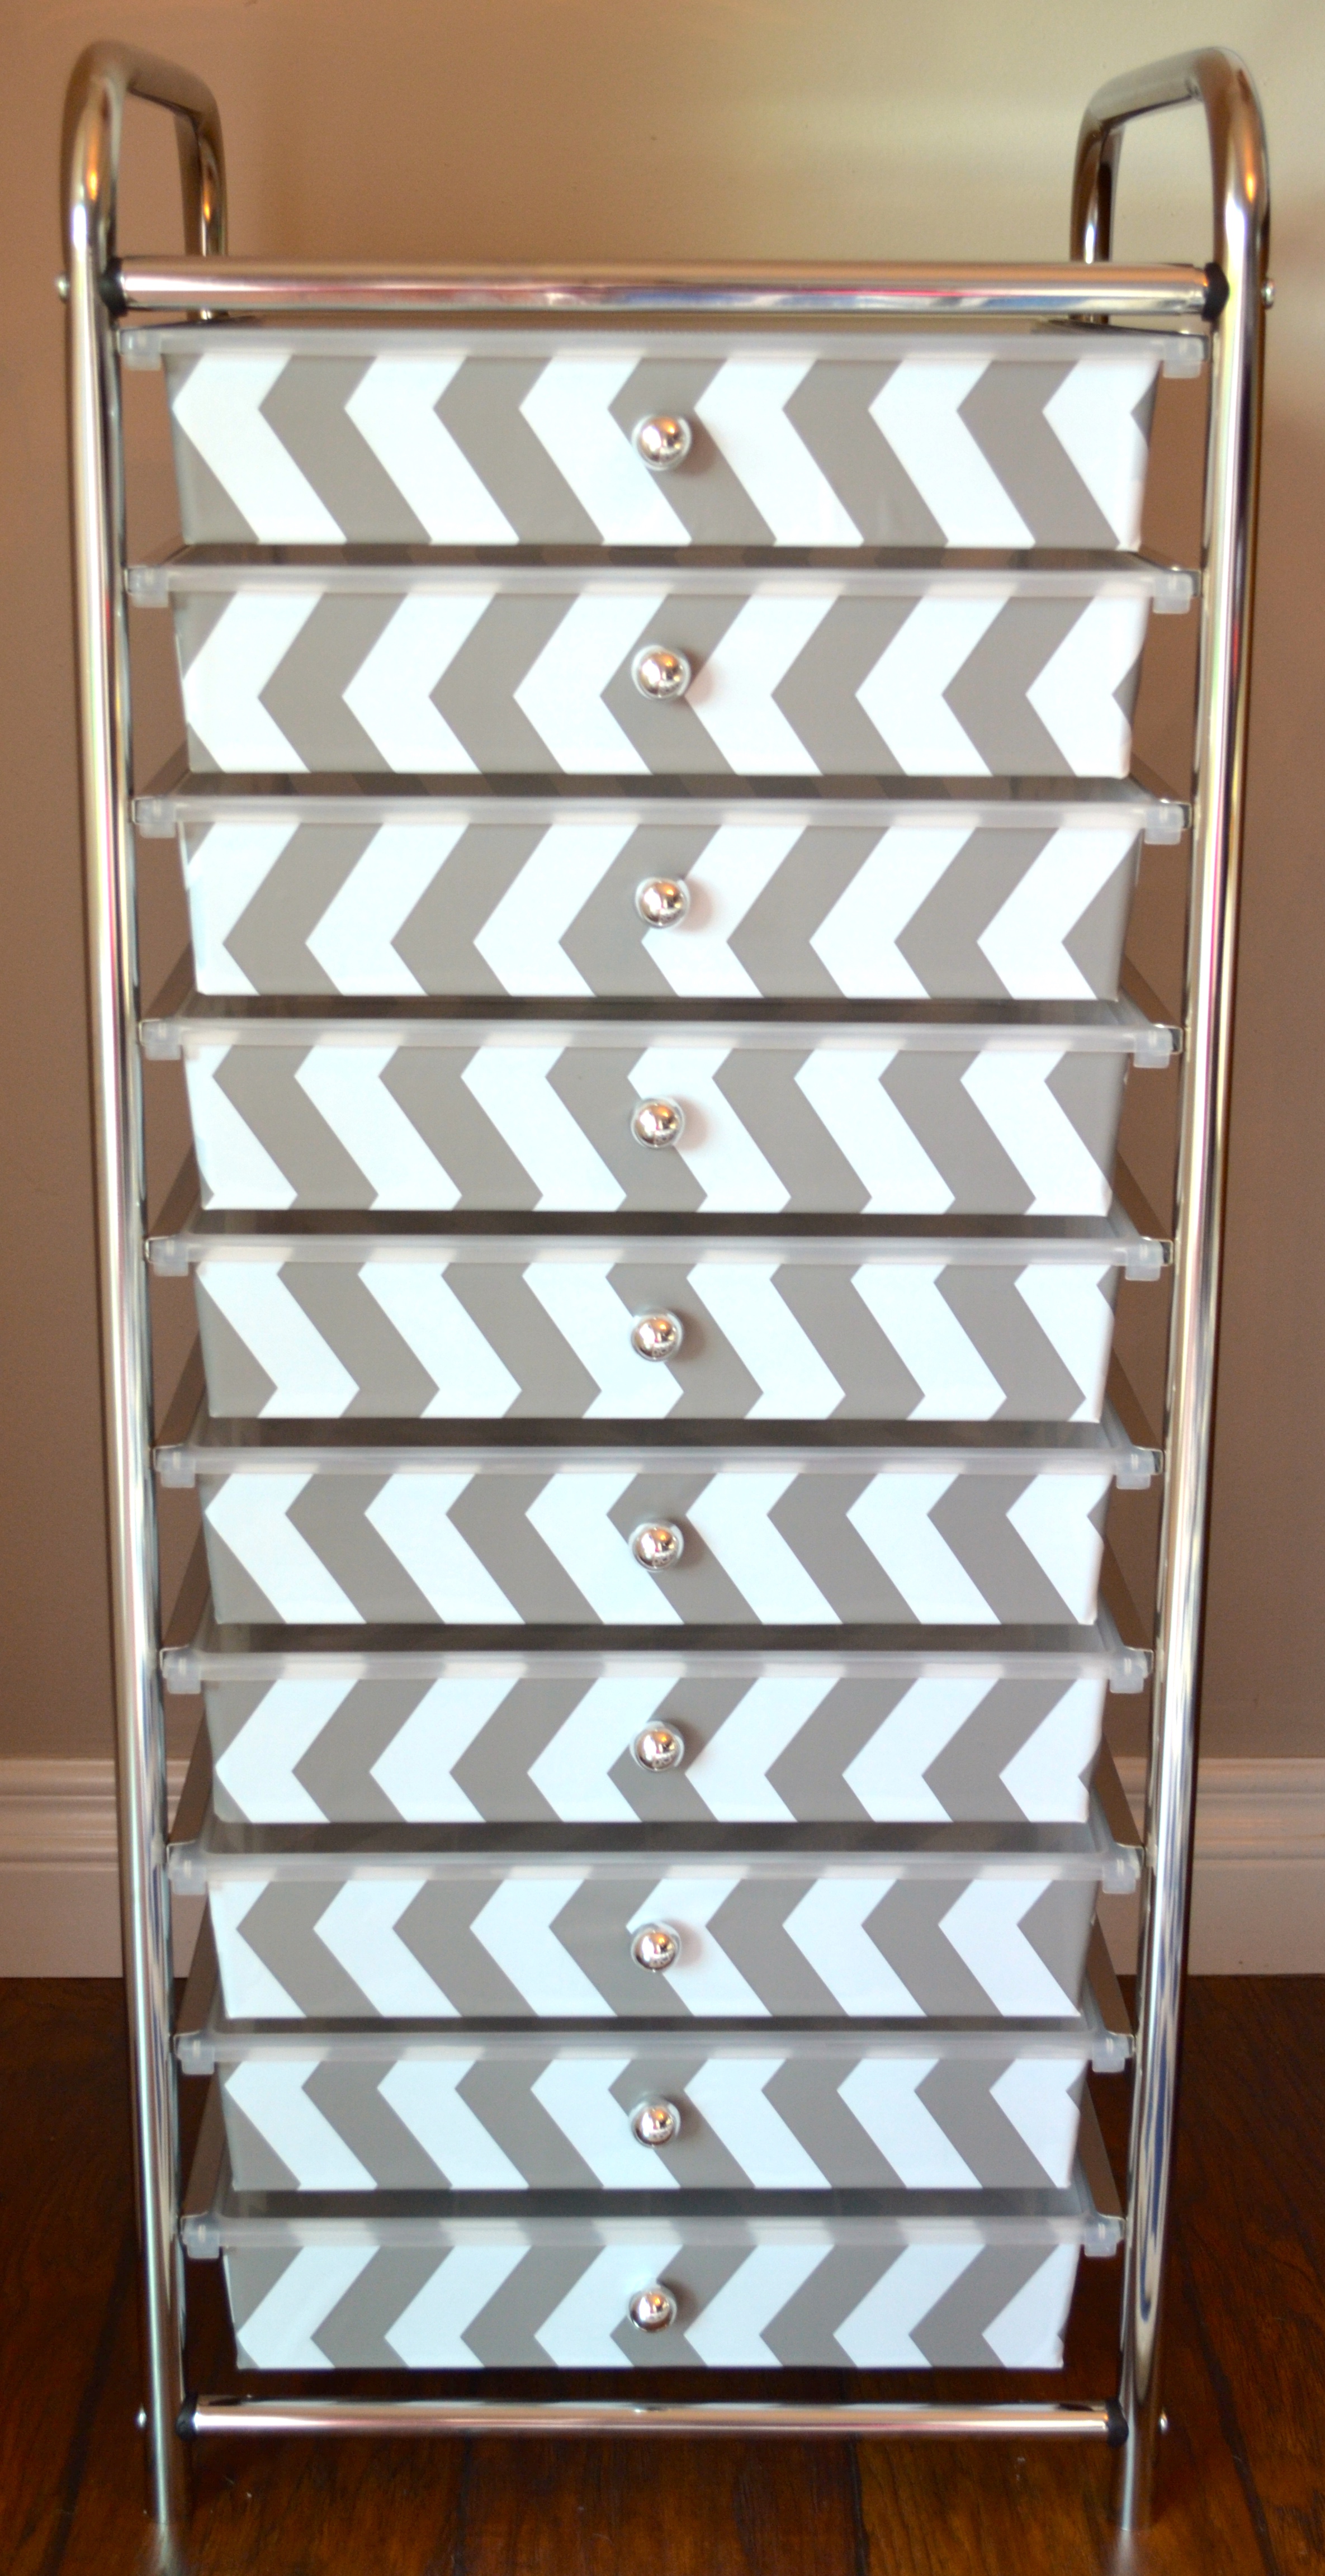
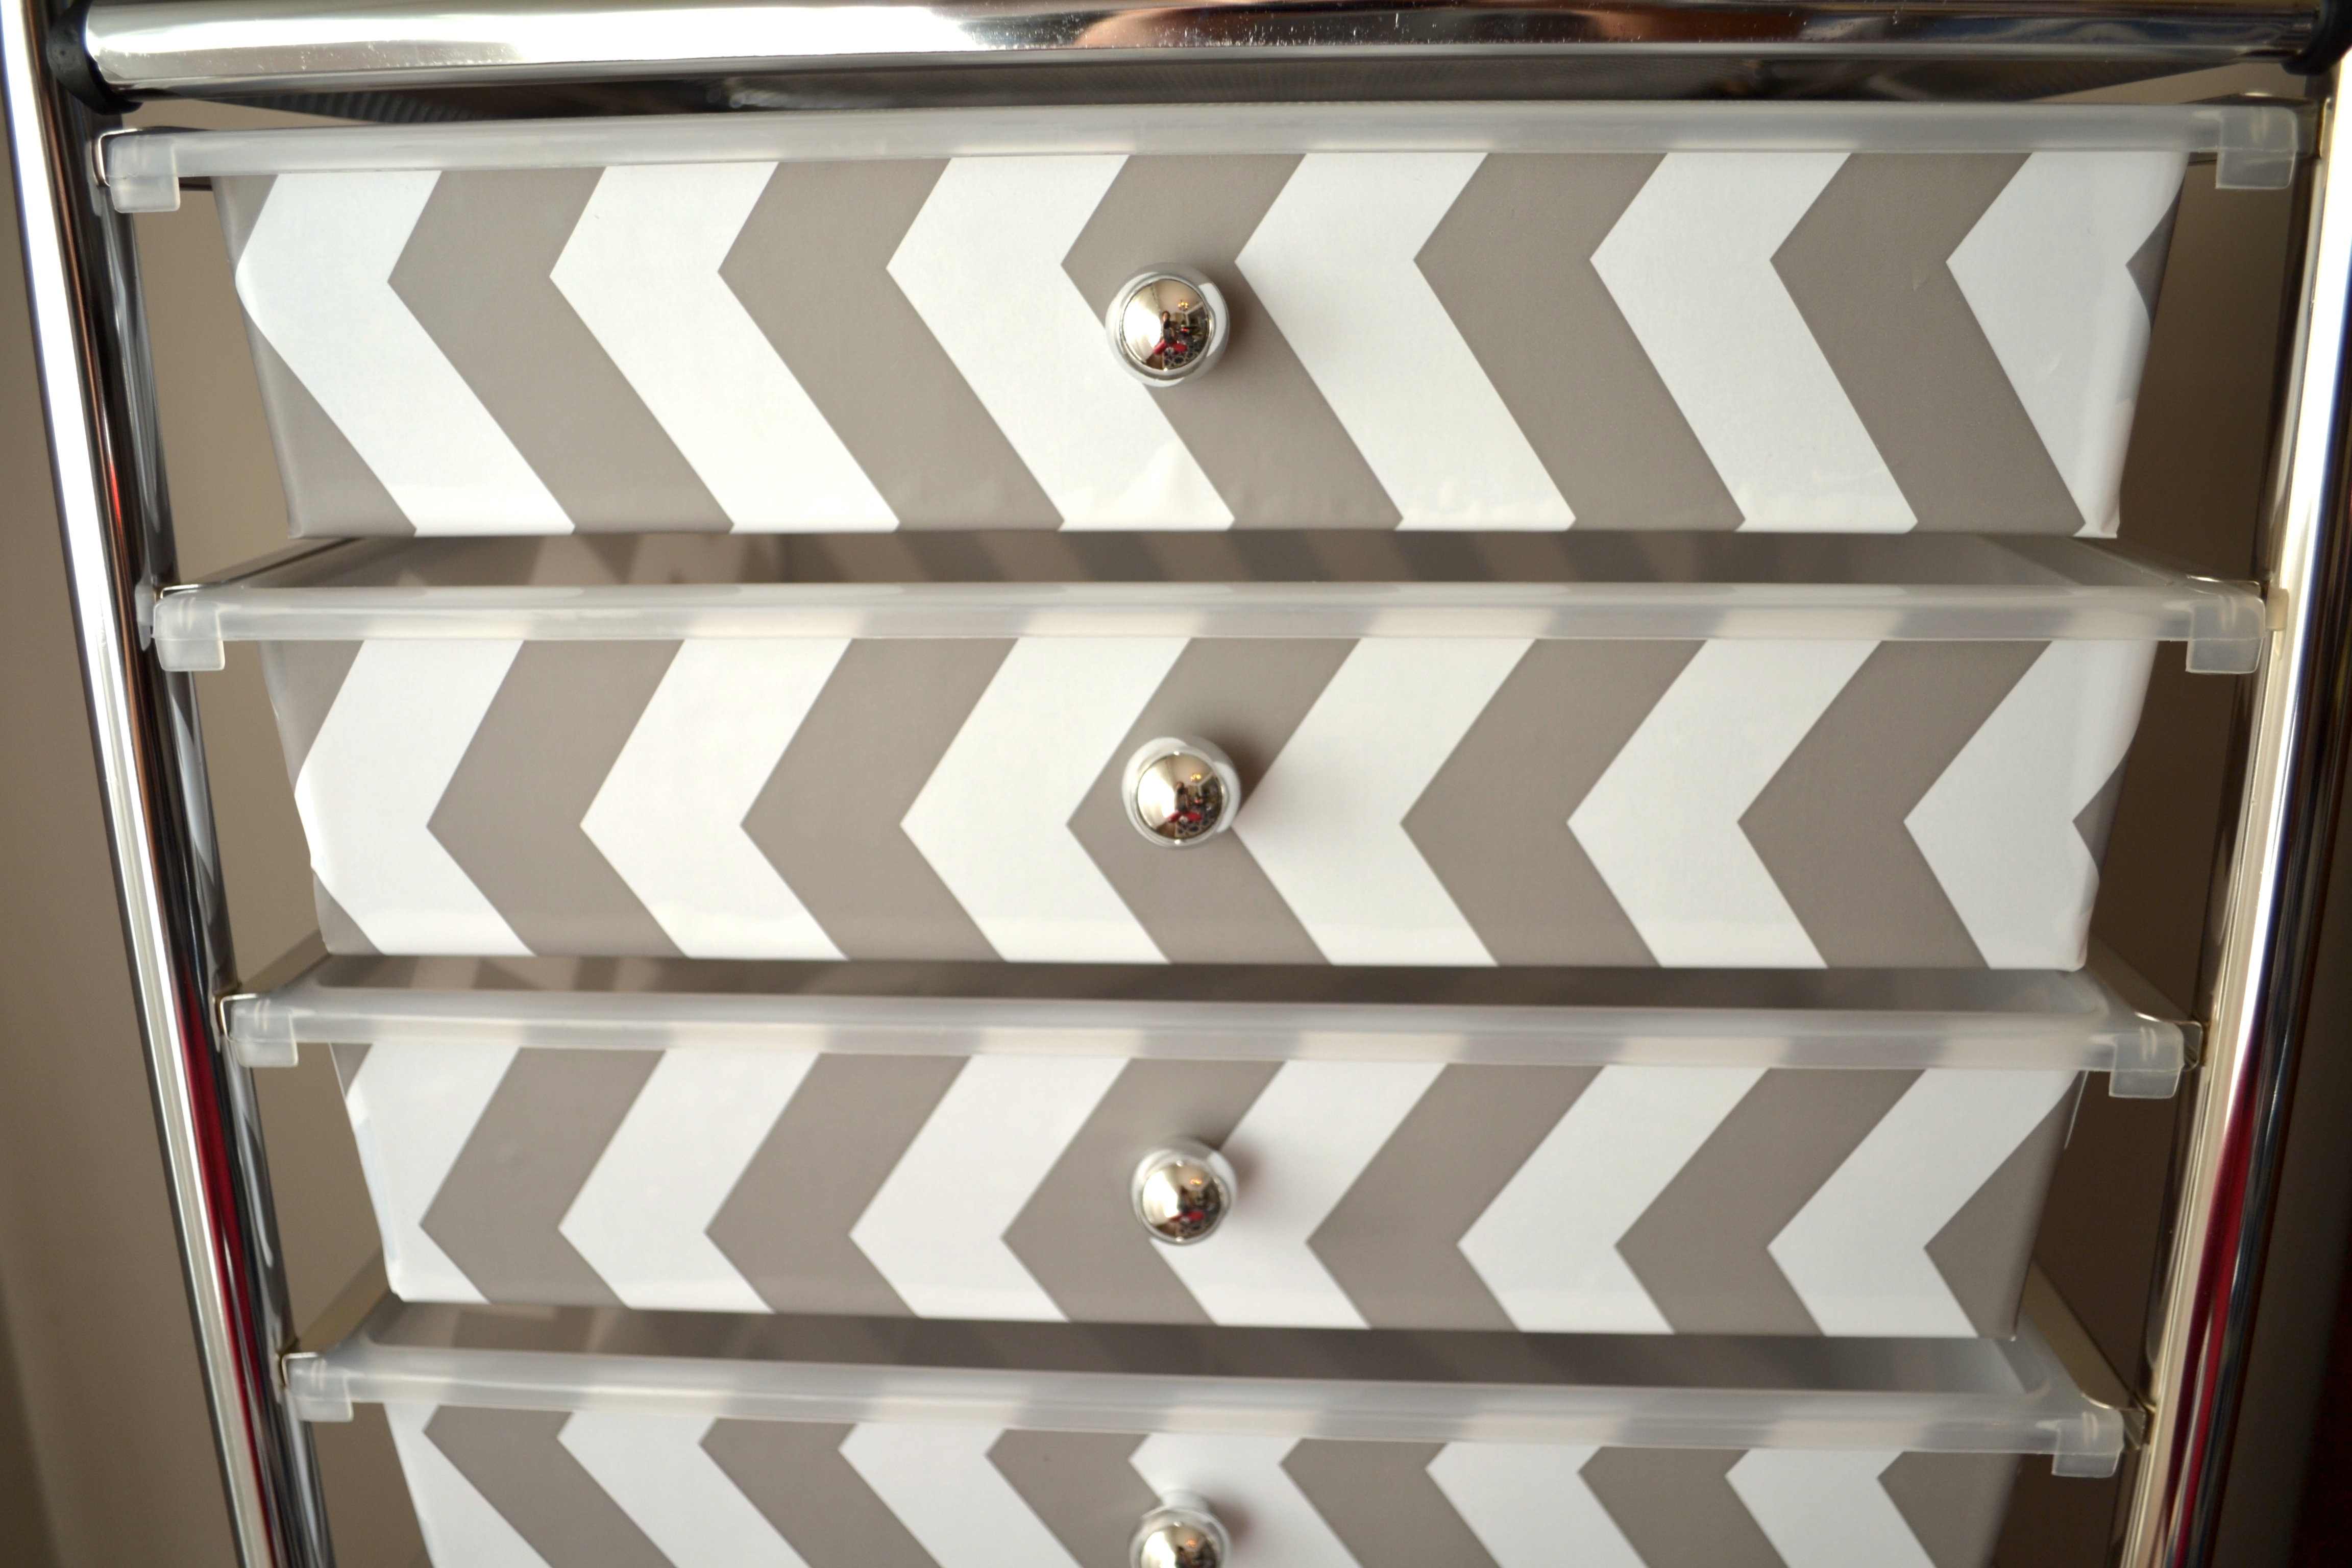
Voi La! Your customized chevron storage organizer is complete! And it’s so adorable!
So Many Different Ways to Customize Your Storage
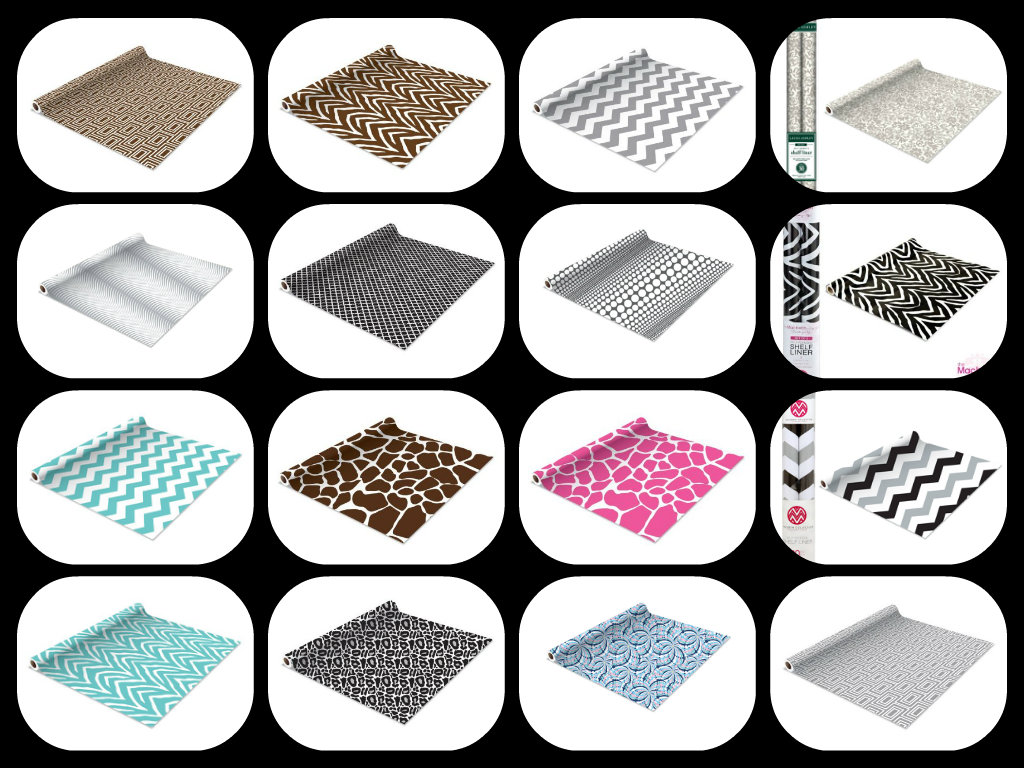
There are SO many other designs you can use to spruce up your storage organizers. The link here not only has the liner not only in grey chevron, but in these colors as well:
And it’s not just for crafting (although I LOVE it for my craft room). You can personalize storage organizers for your makeup/hair accessories, a child’s room, your kitchen knick knacks, and so much more! It’s compact, so it fits in almost any space, and it comes with casters so it can be mobile (if you want it to be).
All in all, this is a GREAT storage solution for those who are like me, and want to stay organized without taking up space and spending a ton of money. Just call me Miss Budget Bee 😉
Hopefully you’re inspired to DIY! And as always, here’s a recap of the supplies you’ll need (kept it simple this time):
Leave a Reply