Ah, I just love this project. I know I know, baby boy nursery DIY #1582… but I can’t help myself. I hope I’m as diligent and determined to make the perfect nursery for baby #2 once it’s time. I keep telling myself I won’t have any time to do all this again, but who am I kidding. Nobody. I absolutely LOVE doing this stuff. So even if I have to stay up until 2am to craft the perfect room, I probably will!
So when it came time for the rocker in Bizi Baby’s room, I had 3 criteria:
- It was comfortable
- It was WHITE wood
- It had a gliding foot ottoman to match
From all my years of nannying, I did learn a thing of two about these nursery gliders. I knew I’d be spending a TON of time in one, so it HAD to be comfy. And from all the rocking I’d done, I knew it was MUCH easier to get comfy if you could at least kick your feet up while rocking an infant to sleep. These were MUST HAVES!
And the white part.. well.. that’s just me being picky. I wanted all the furniture in the room to match, and I was going with a white crib, and white dresser (mostly). So naturally, I wanted to make sure the wood was WHITE on my glider. I also wanted the cushions to be grey or neutral, as to match the rest of the room.
In my crazy online search, I came up with 2 perfect ready-made options:
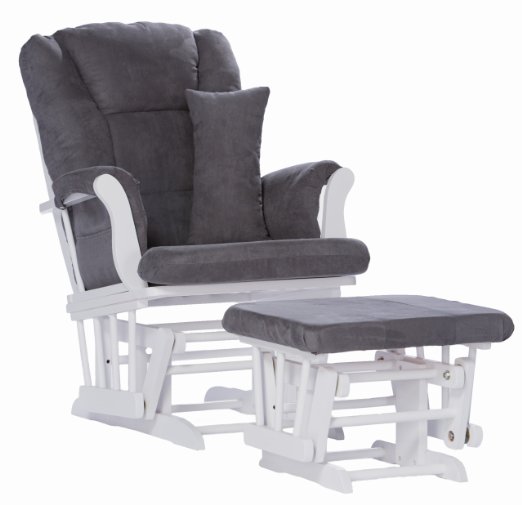
Wood Glider with Ottoman- Amazon
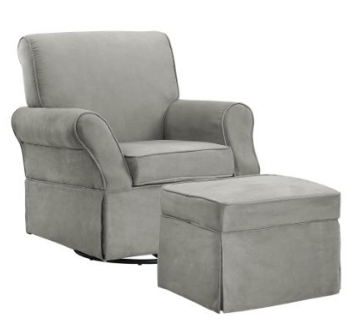
Swivel Chair with Ottoman- Amazon
I loved both! But the price difference was crazy. The wood glider was priced at $180, while the swivel chair was $350! And, the swivel chair was significantly bulkier than the wood glider (and Bizi Baby’s nursery is pretty tiny), so the swivel chair was immediately out.
I loved the glider, and decided to put it on my baby registry. But in my haste, I didn’t begin to realize that this baby was adding up in $$$. On my registry I already had an expensive car seat, stroller, swing, bassinet, baby carrier… the list goes on. Who was I expecting to buy my baby all this expensive stuff? The Queen of England? No. So I knew immediately I needed to figure out a way to cut costs, WITHOUT sacrificing everything I wanted and baby needed.
I’ll give you some tips later on how I purchased some of the big ticket items at virtually little to no cost to me or my loved ones. But for now, focusing on the chair 😉
The first thing to come off my list was the glider. I knew it didn’t need to be new (some baby things you HAVE to buy new, for safety reasons) so I was ok looking on Craigslist for a deal.
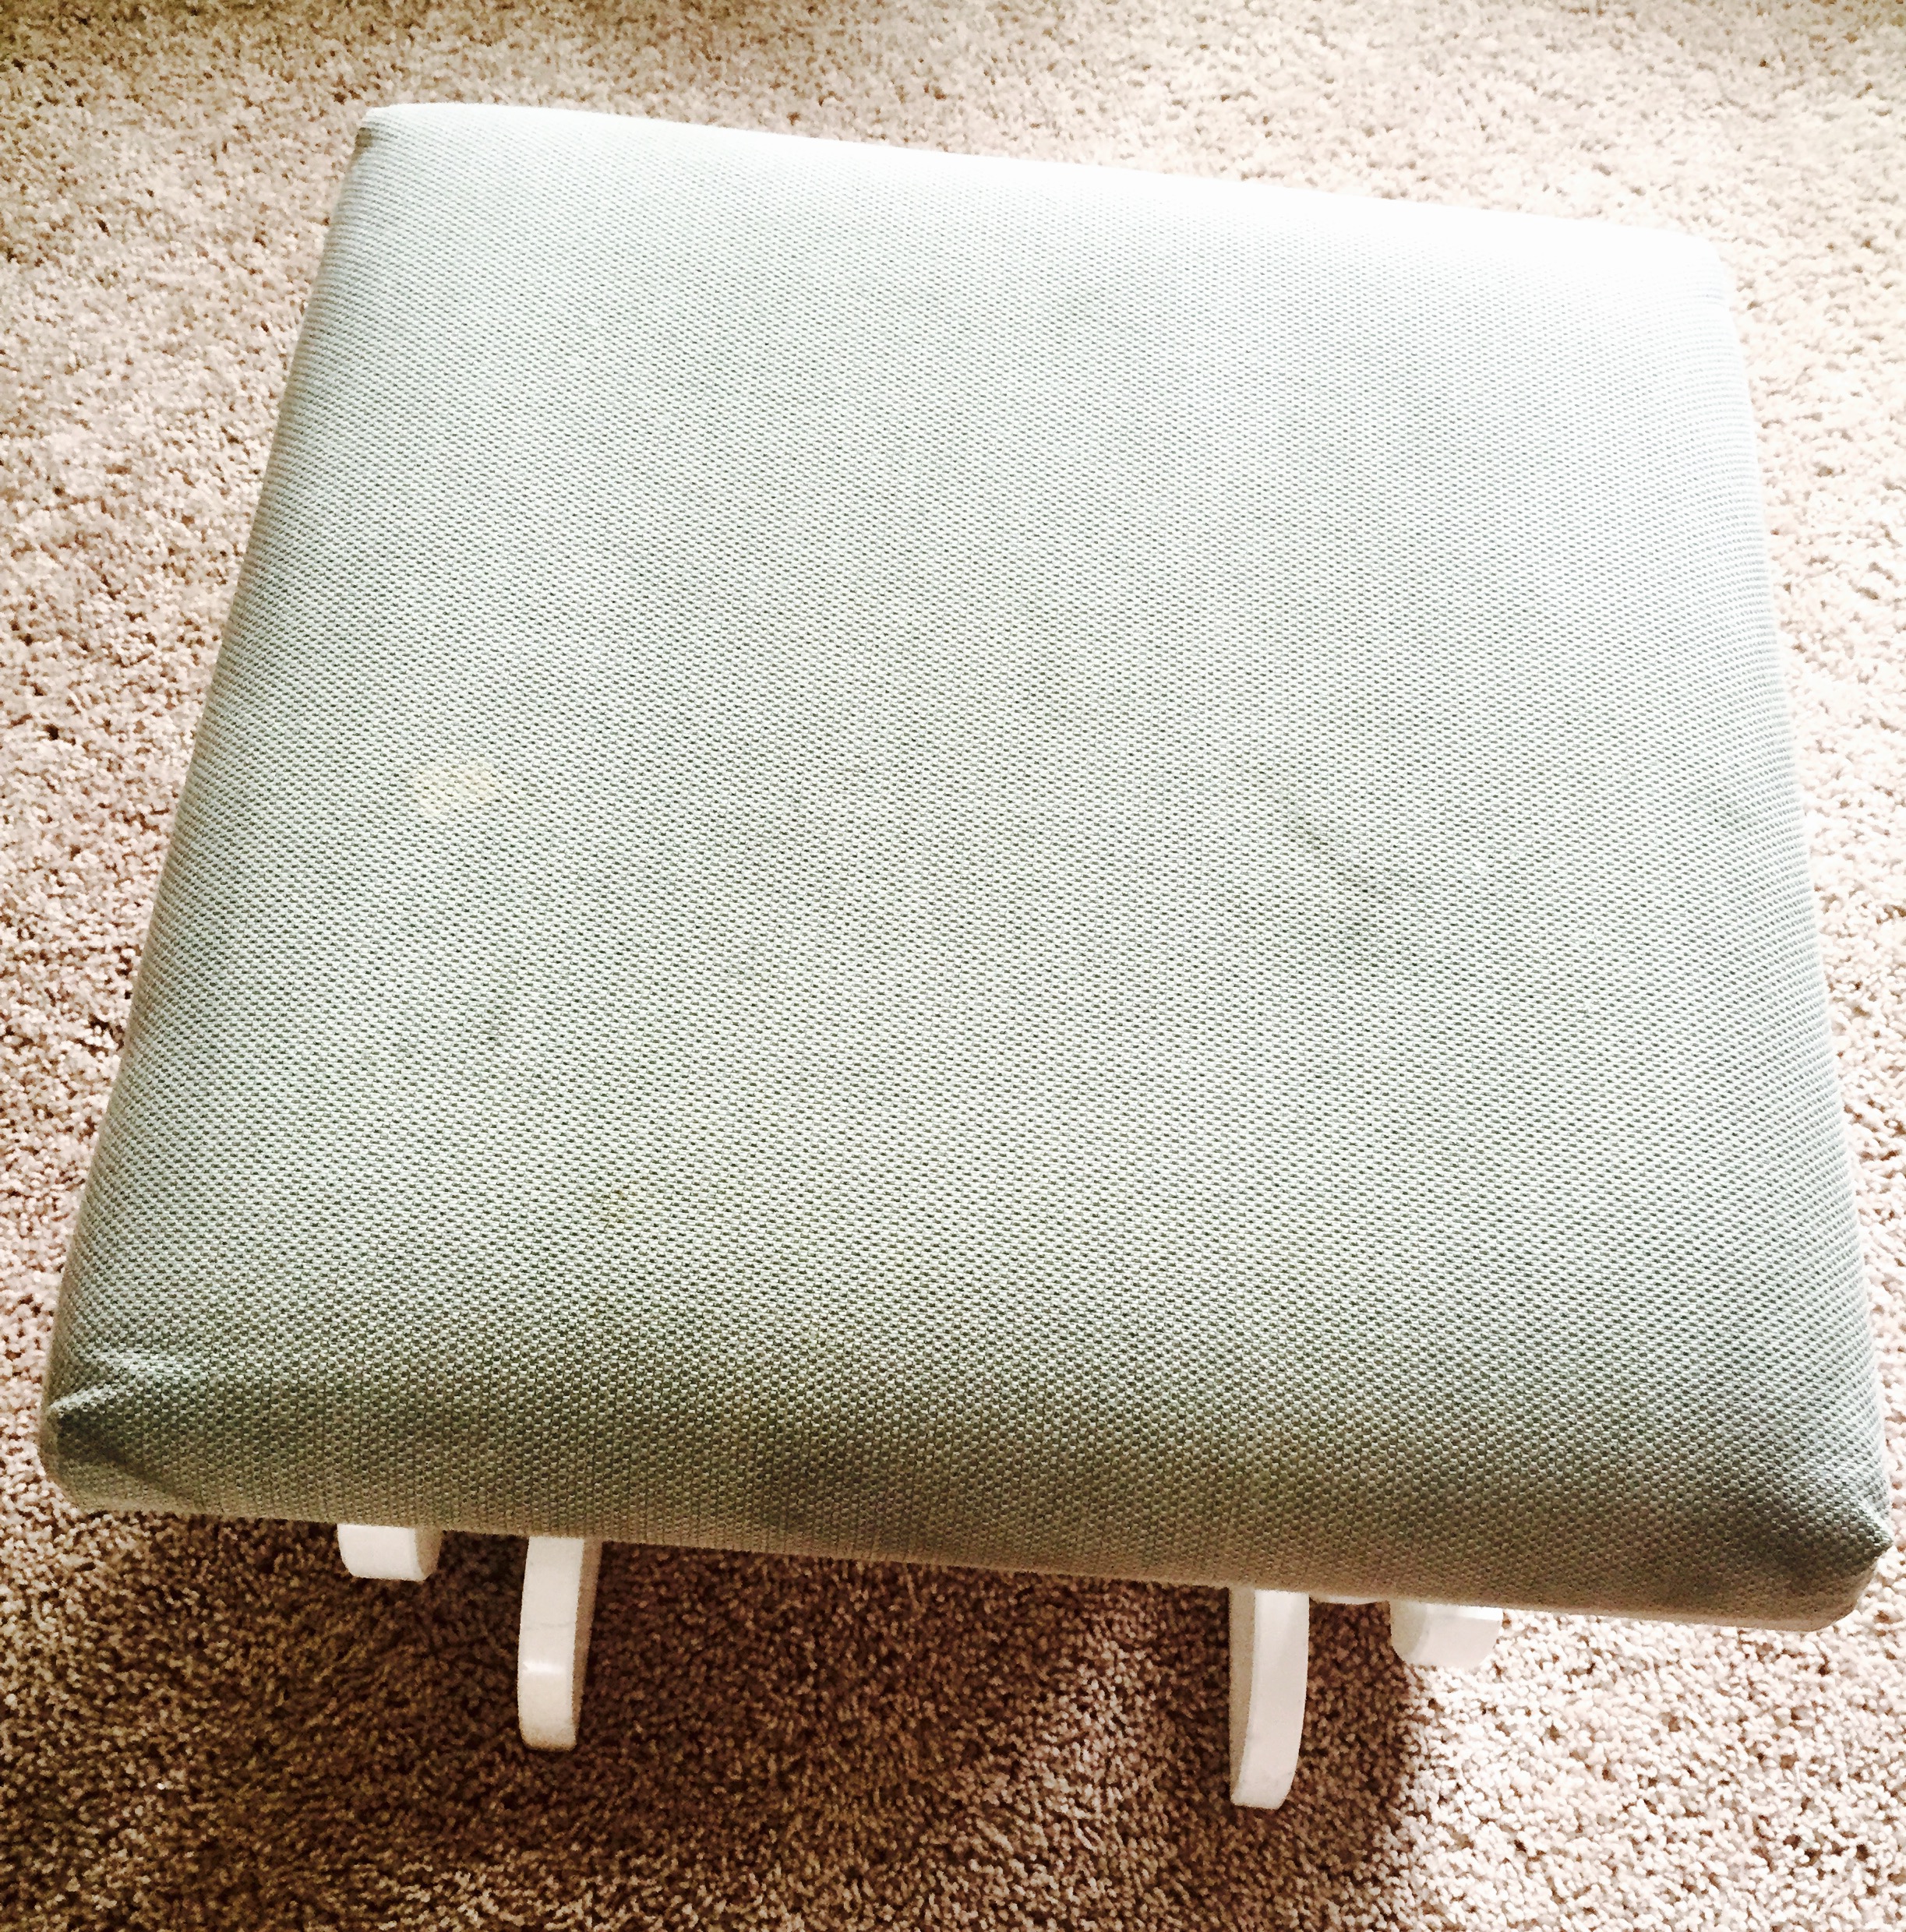
After some searching, I finally found the white glider and ottoman I was looking for! The only problem was, the padding was DISGUSTING. It was a sage green (which didn’t go with my nursery, at all) and it had stains all over it. Ugh! But the wood was perfect. So I got the seller down from her $75 asking price to $60 and picked it up the same day.
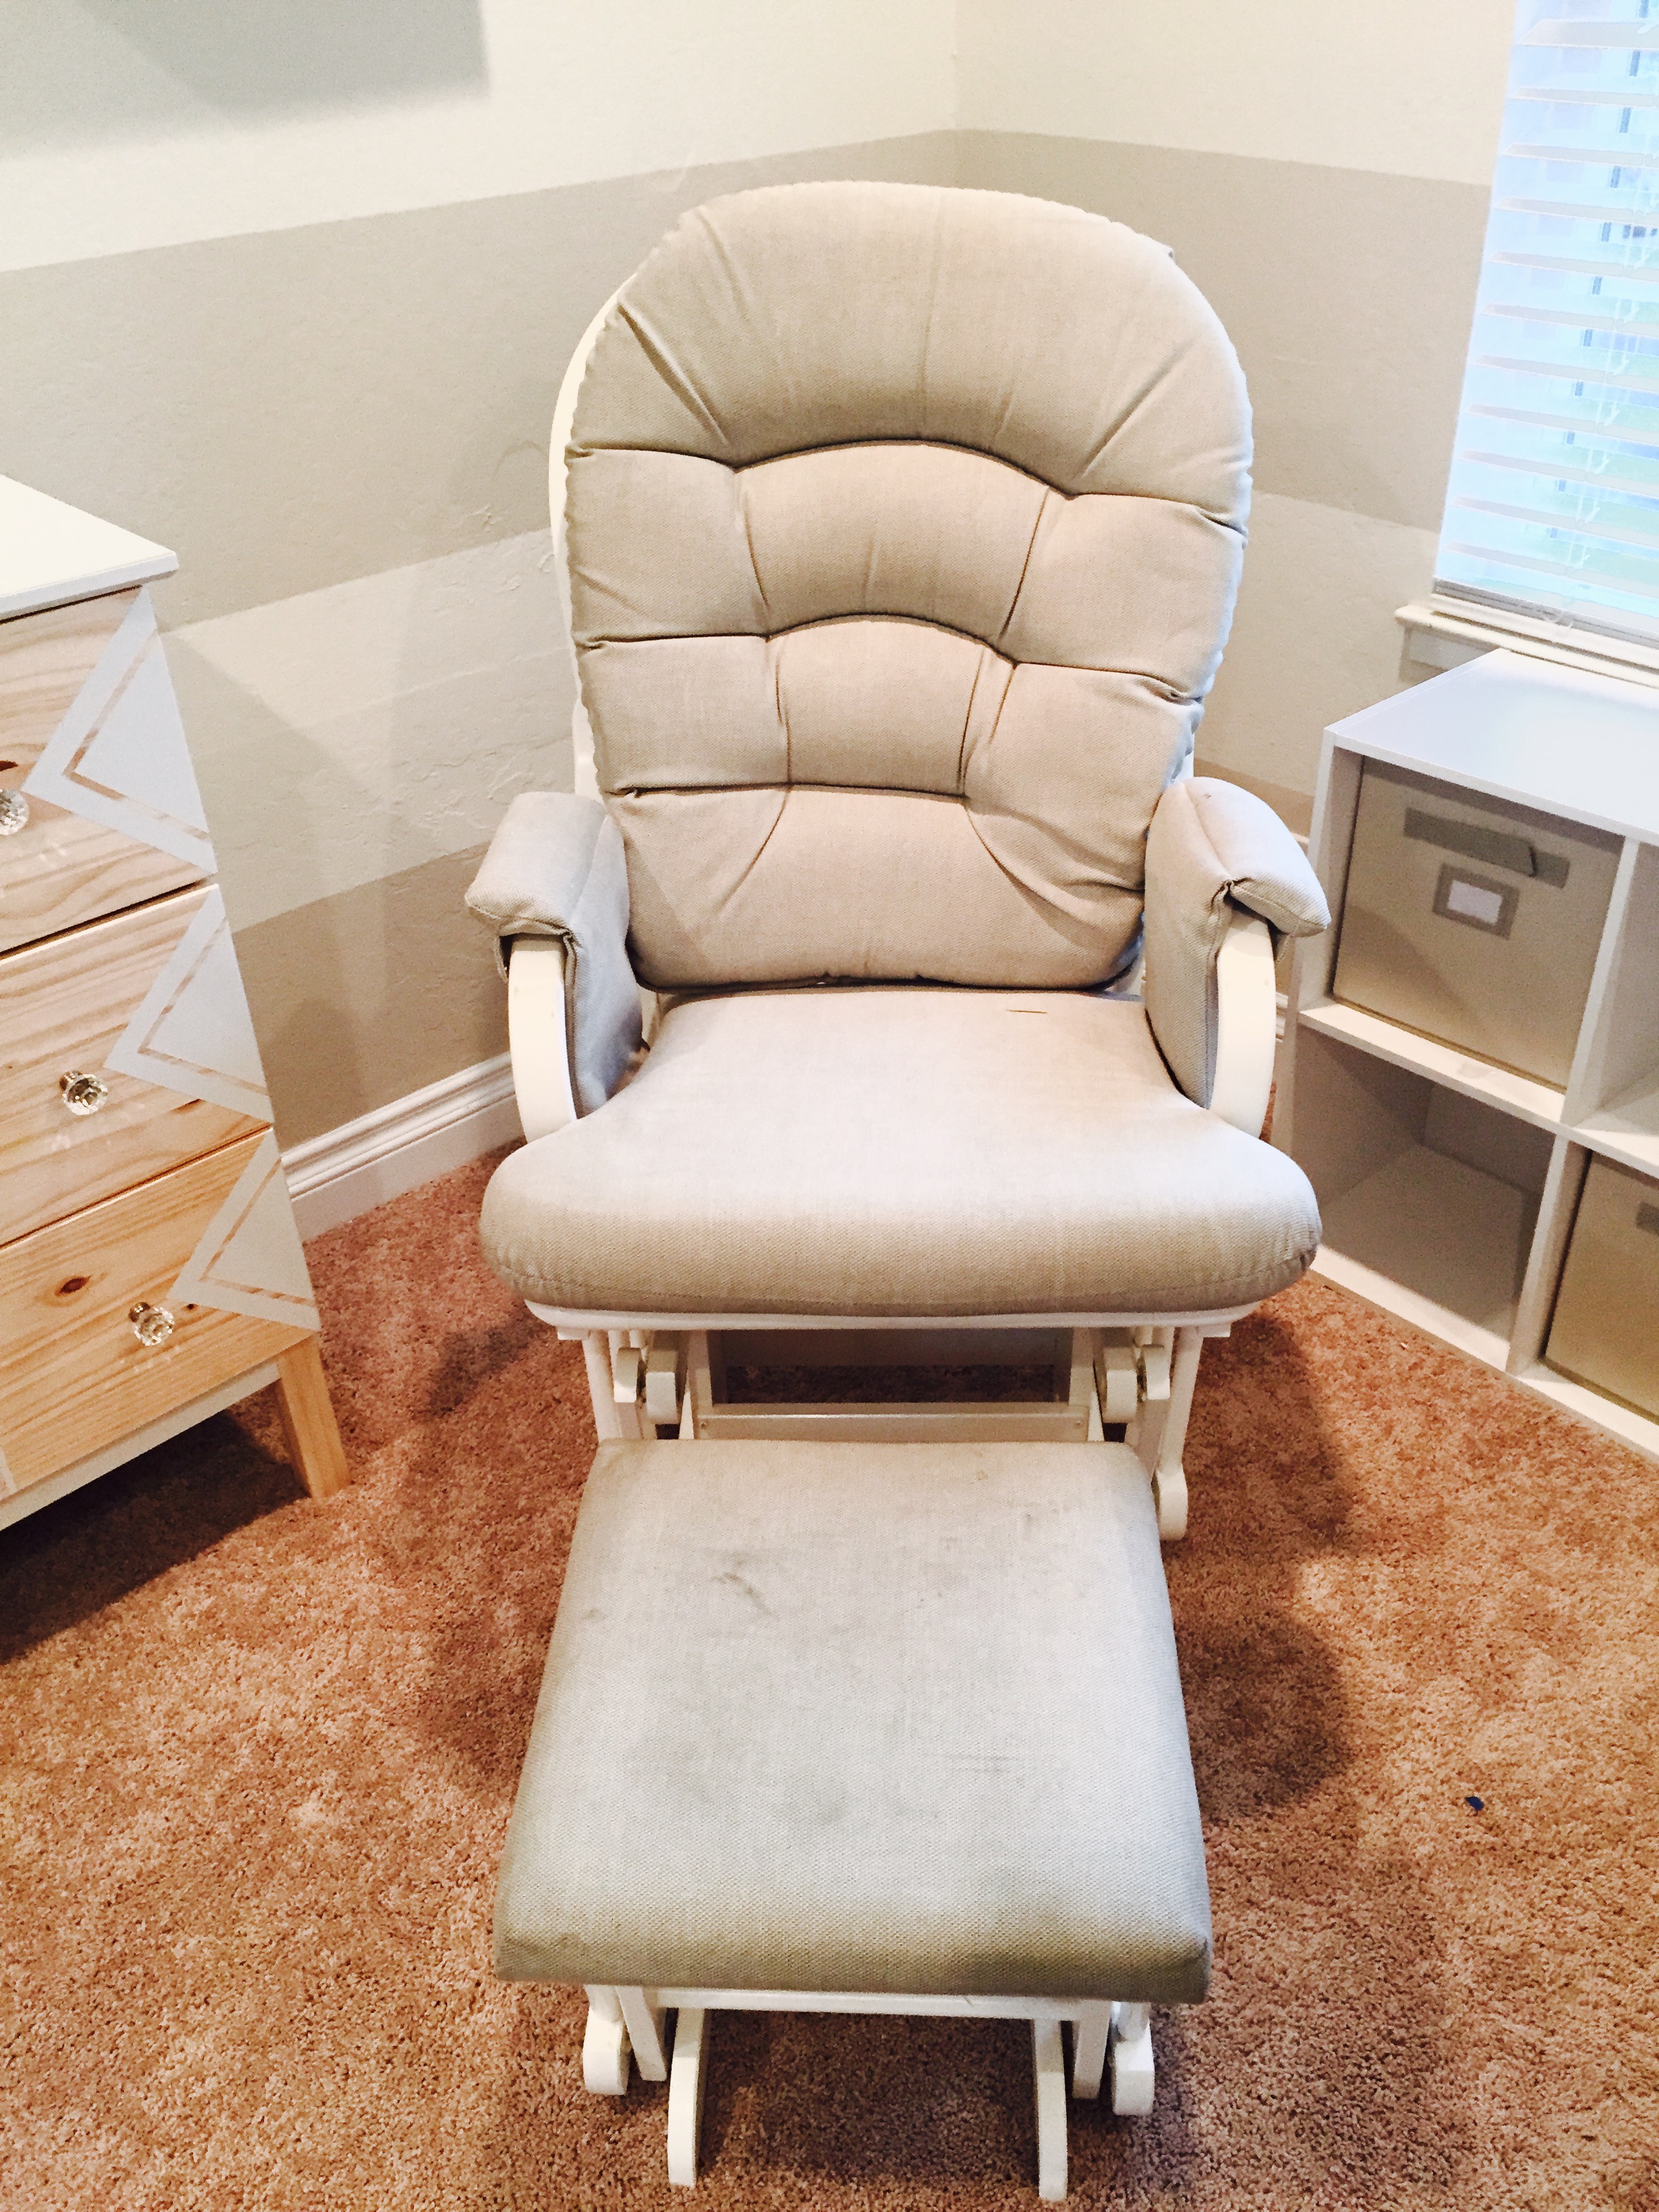
This picture makes it look a lot cleaner than it was!
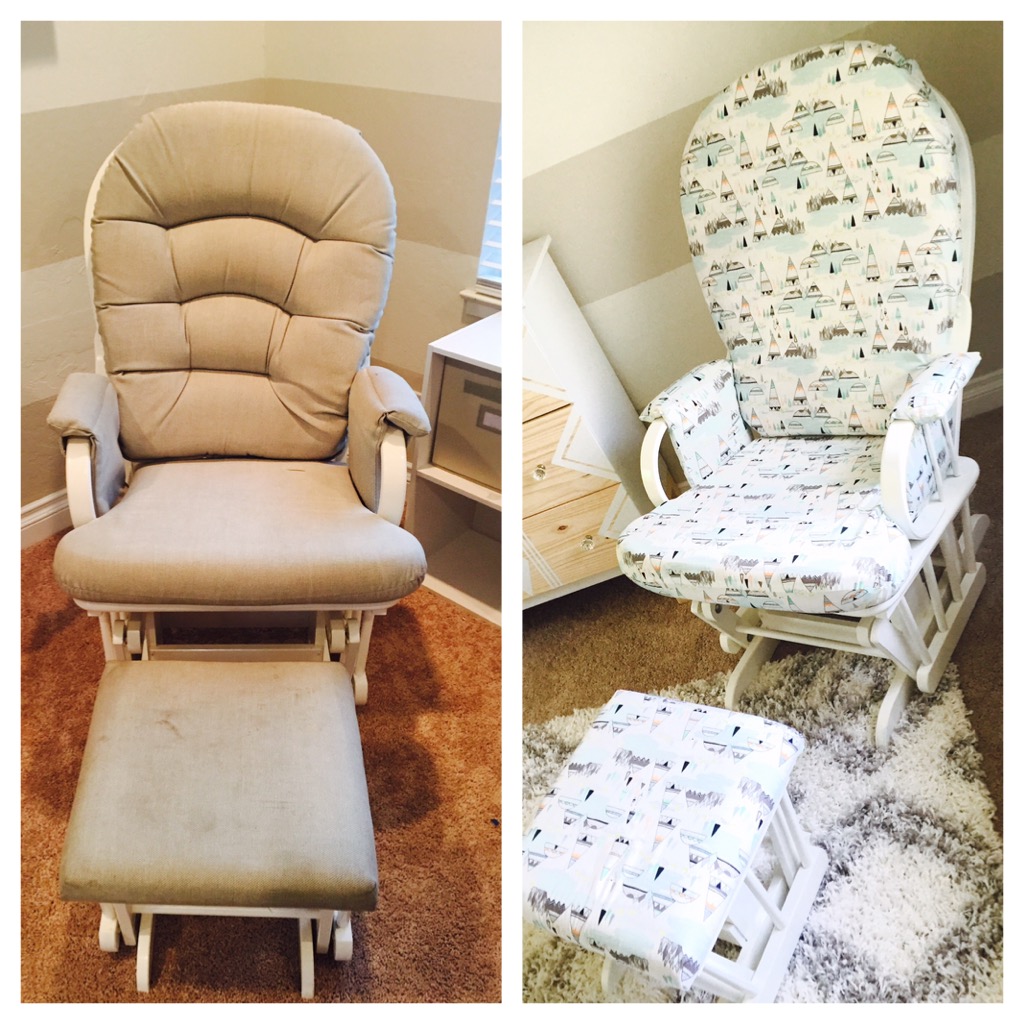
So I brought it home, ordered some fabric to re-cover it, and the rest is history! I turned someone else’s trash into the cutest little DIY rocking chair you ever did see.
I have to admit, it’s not the easiest project (well, the arm pads were the hardest. Everything else is relatively simple). I tried to re-use as much of the old padding as possible to save money and recycle.
But if you have (or find) an old rocking chair that doesn’t have pads at all (or you just want to start fresh), I would suggest buying this pattern and following it:
Otherwise, if you find something you can work with on Craigslist, BUY IT! And know that with confidence, you can follow my step-by-step tutorial below to re-cover those old and ugly cushions to make the cutest DIY rocking chair for your precious baby.
Steps to Make your Own DIY Rocking Chair
The Necessary Supplies:
- Glider Chair (the one I originally registered for)
- I got mine for $60 off Craigslist. But if you can’t find a good one, you can get an inexpensive one here, and just re-cover it with the fabric of your choice.
- 4 yards of fabric
- I used “Art Gallery Indian Summer” from Fabric.com
- Sewing Machine
- Needle and Thread
- Air erasable marking pen
- Sewing pins
- Scissors
- Screwdriver
- Staple remover
- Staple Gun and staples
- Ribbon (optional – for tying cushions onto chair instead of using snaps)
- Chair Cushion Pattern (and foam) if making cushions from total scratch without re-using old cushions.
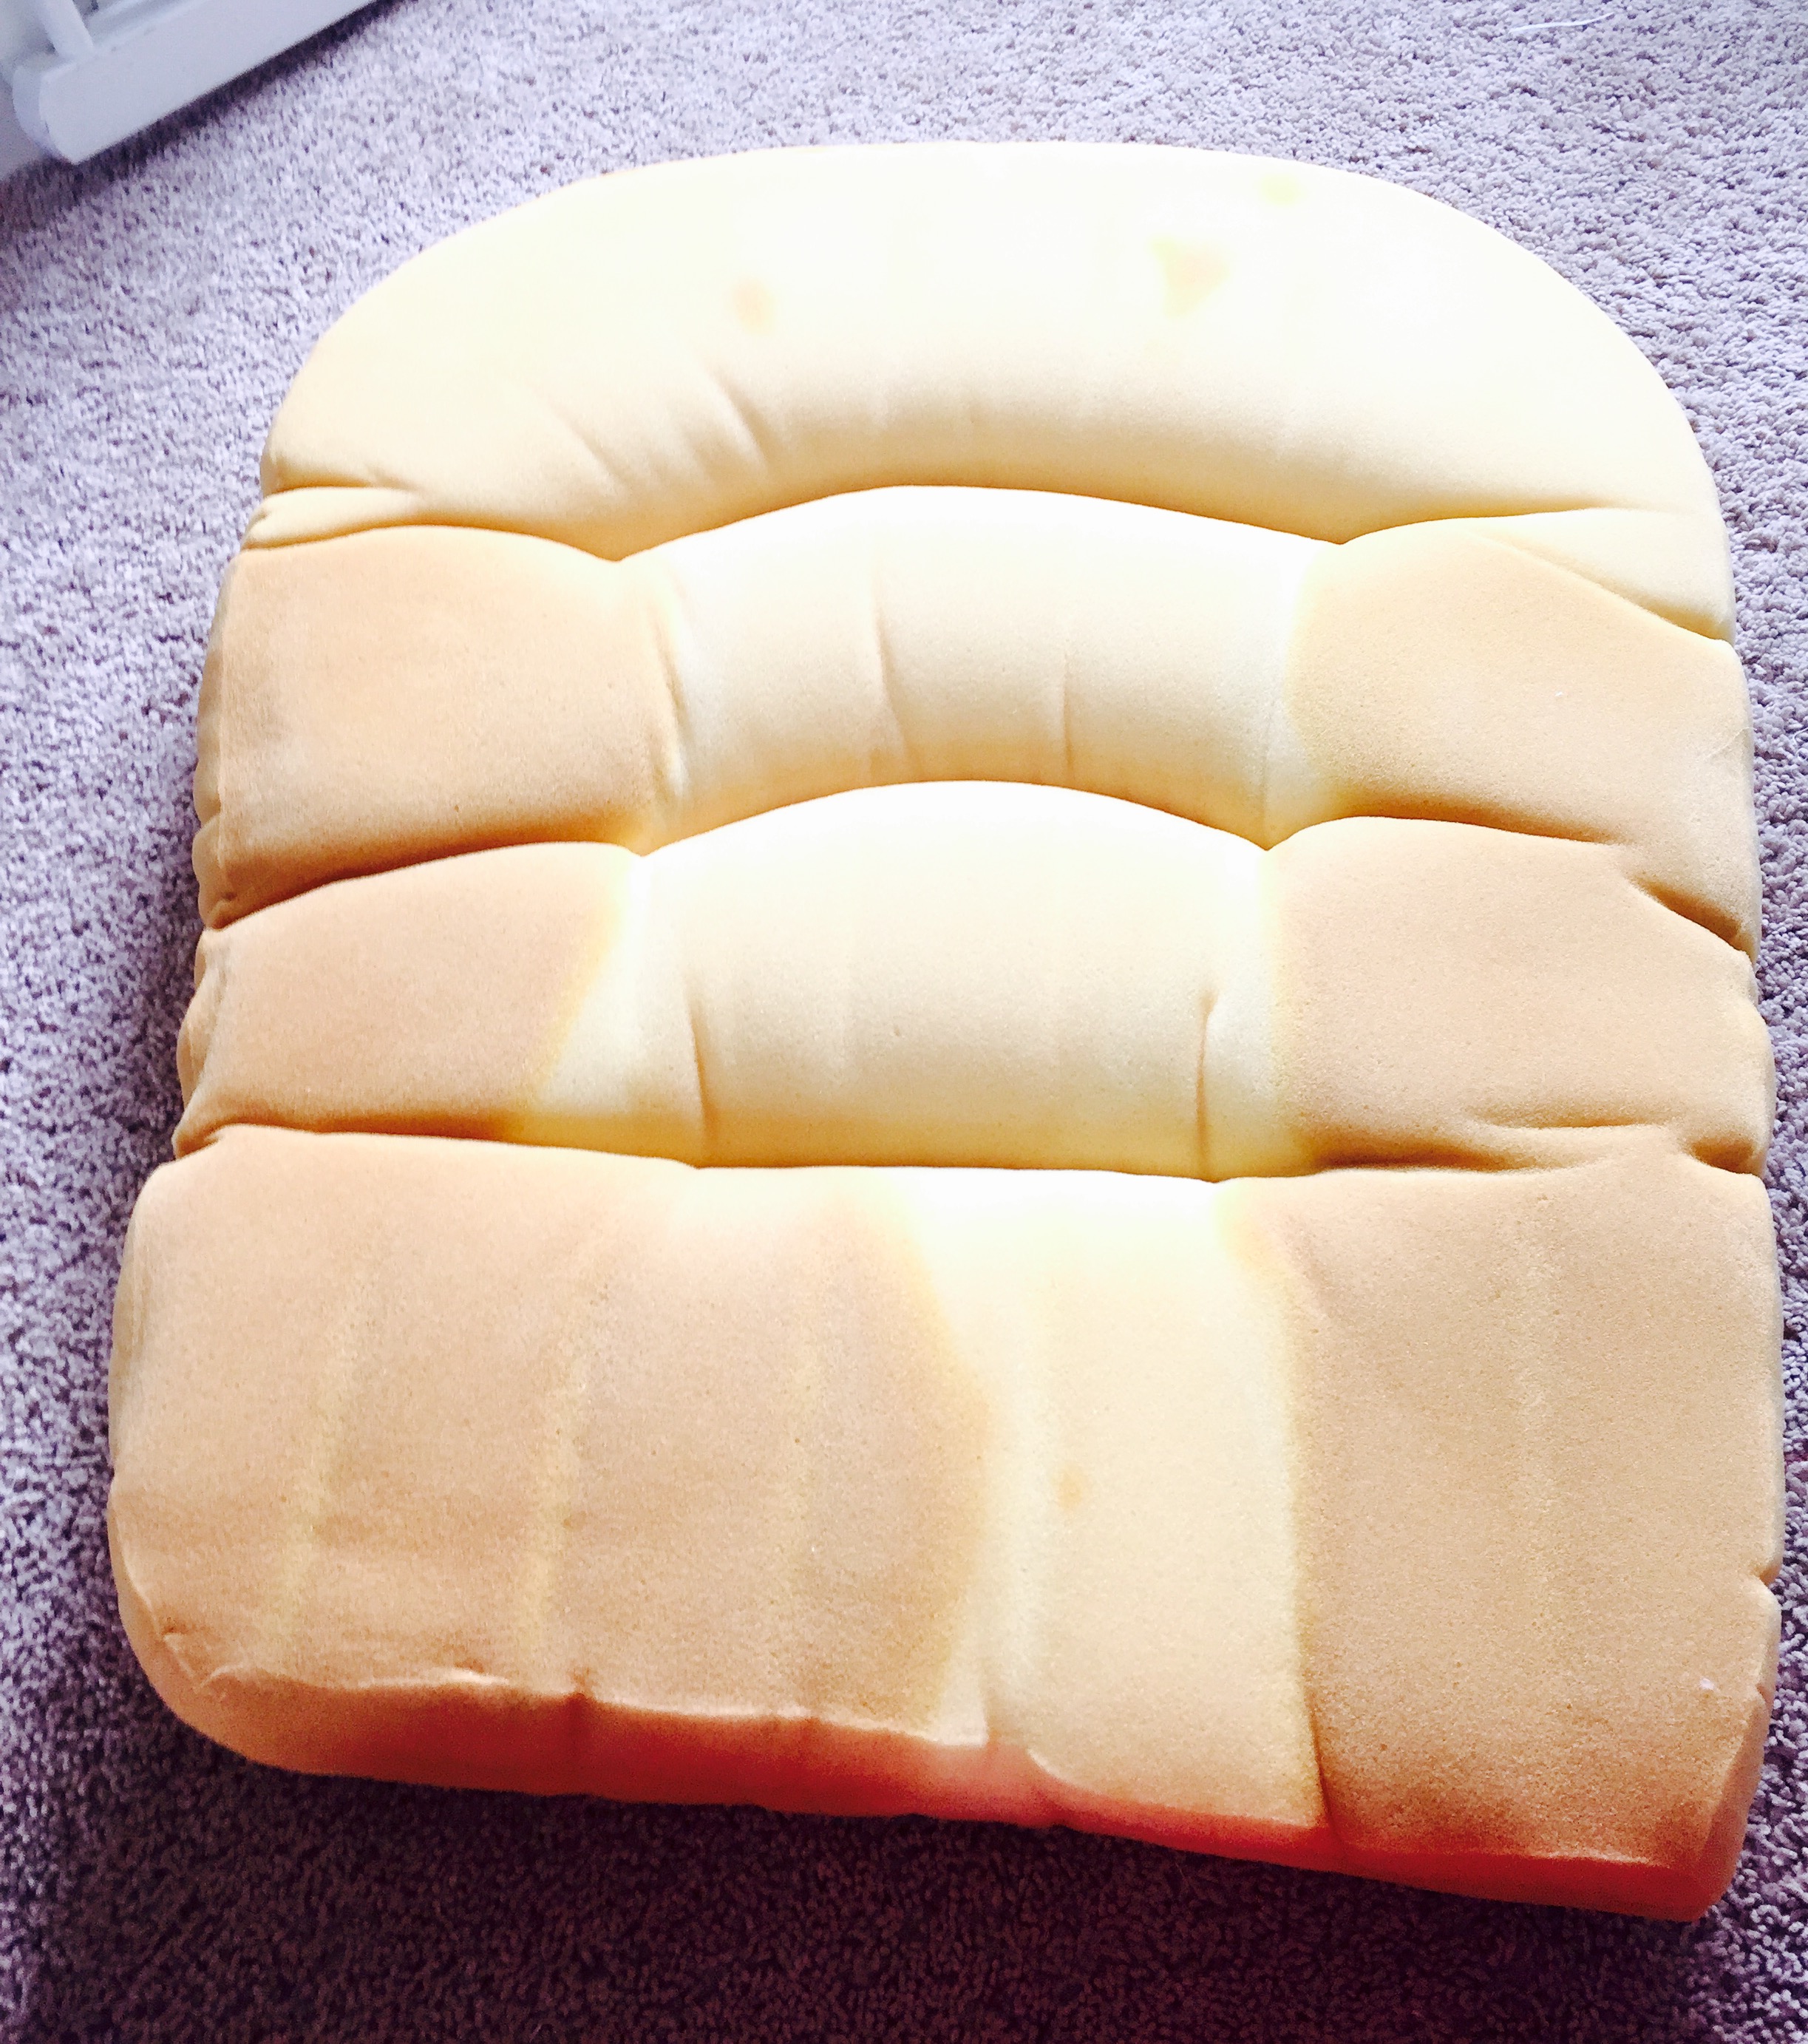
Step 1: Remove Cushions from Current Fabric Covers
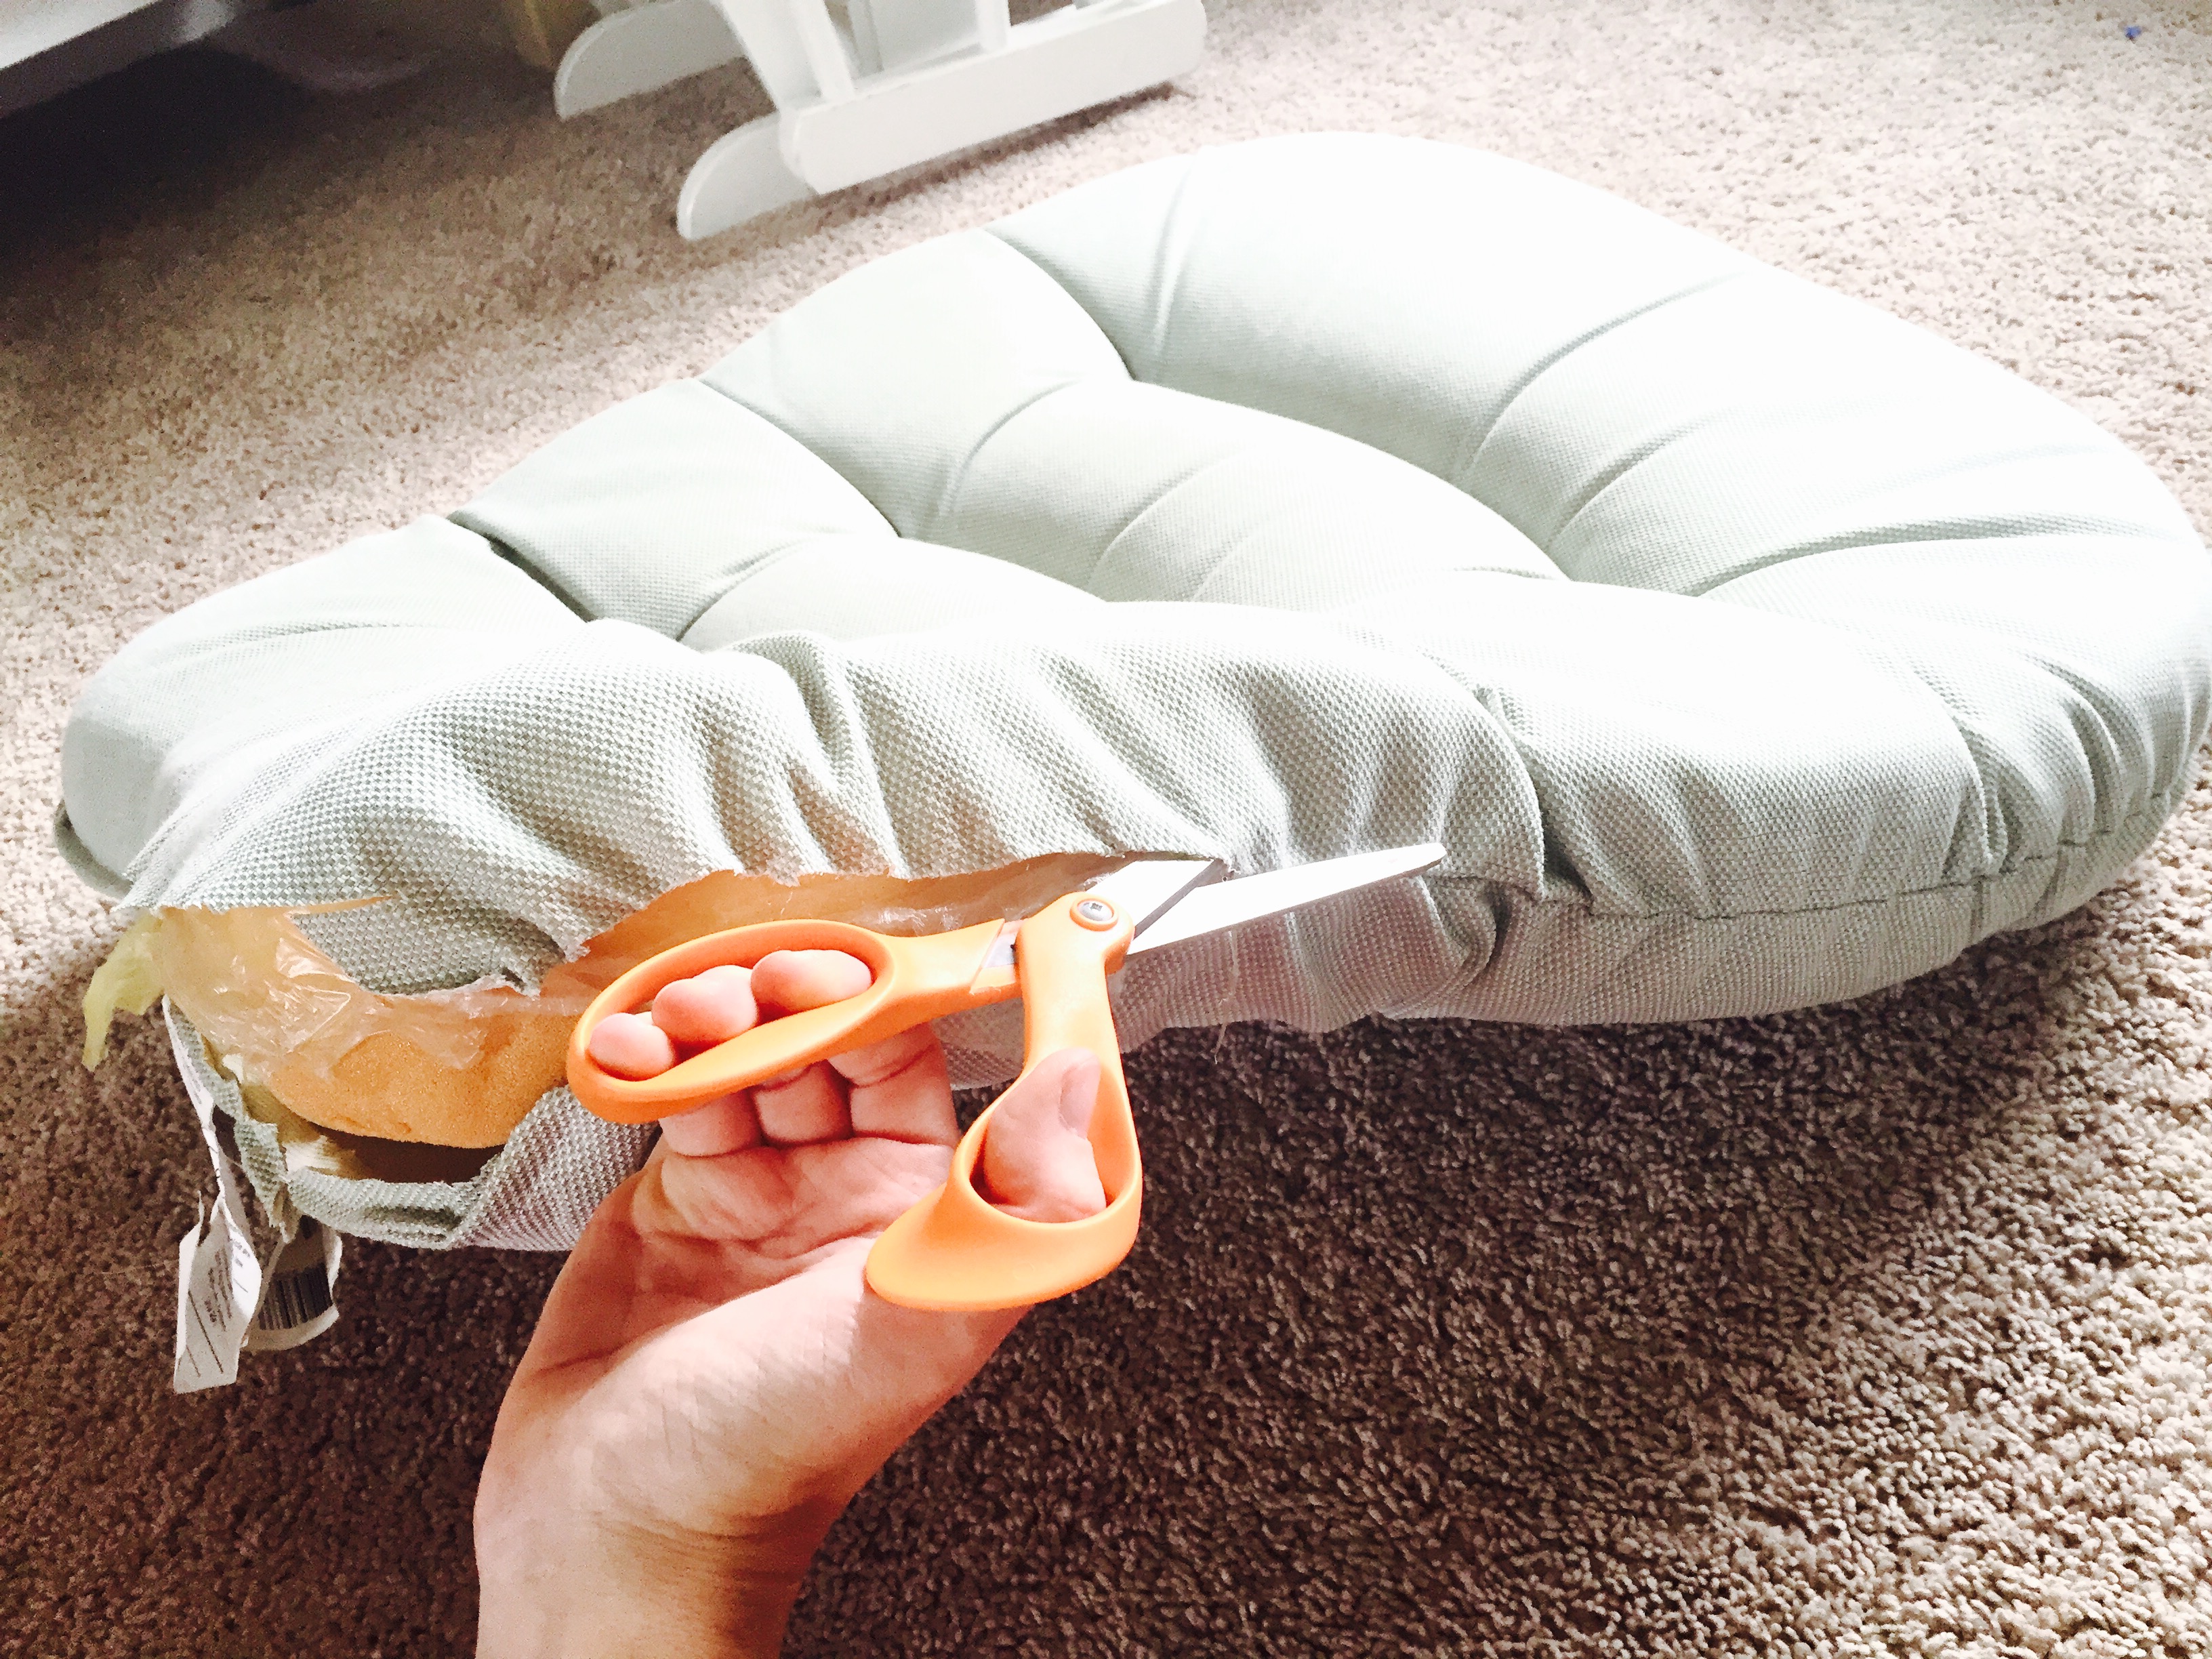
- First, cut the fabric off of the back cushion, at the middle seam. Take care to make sure you pull the fabric away form the cushion as you’re cutting, so as not to cut the inside cushion.
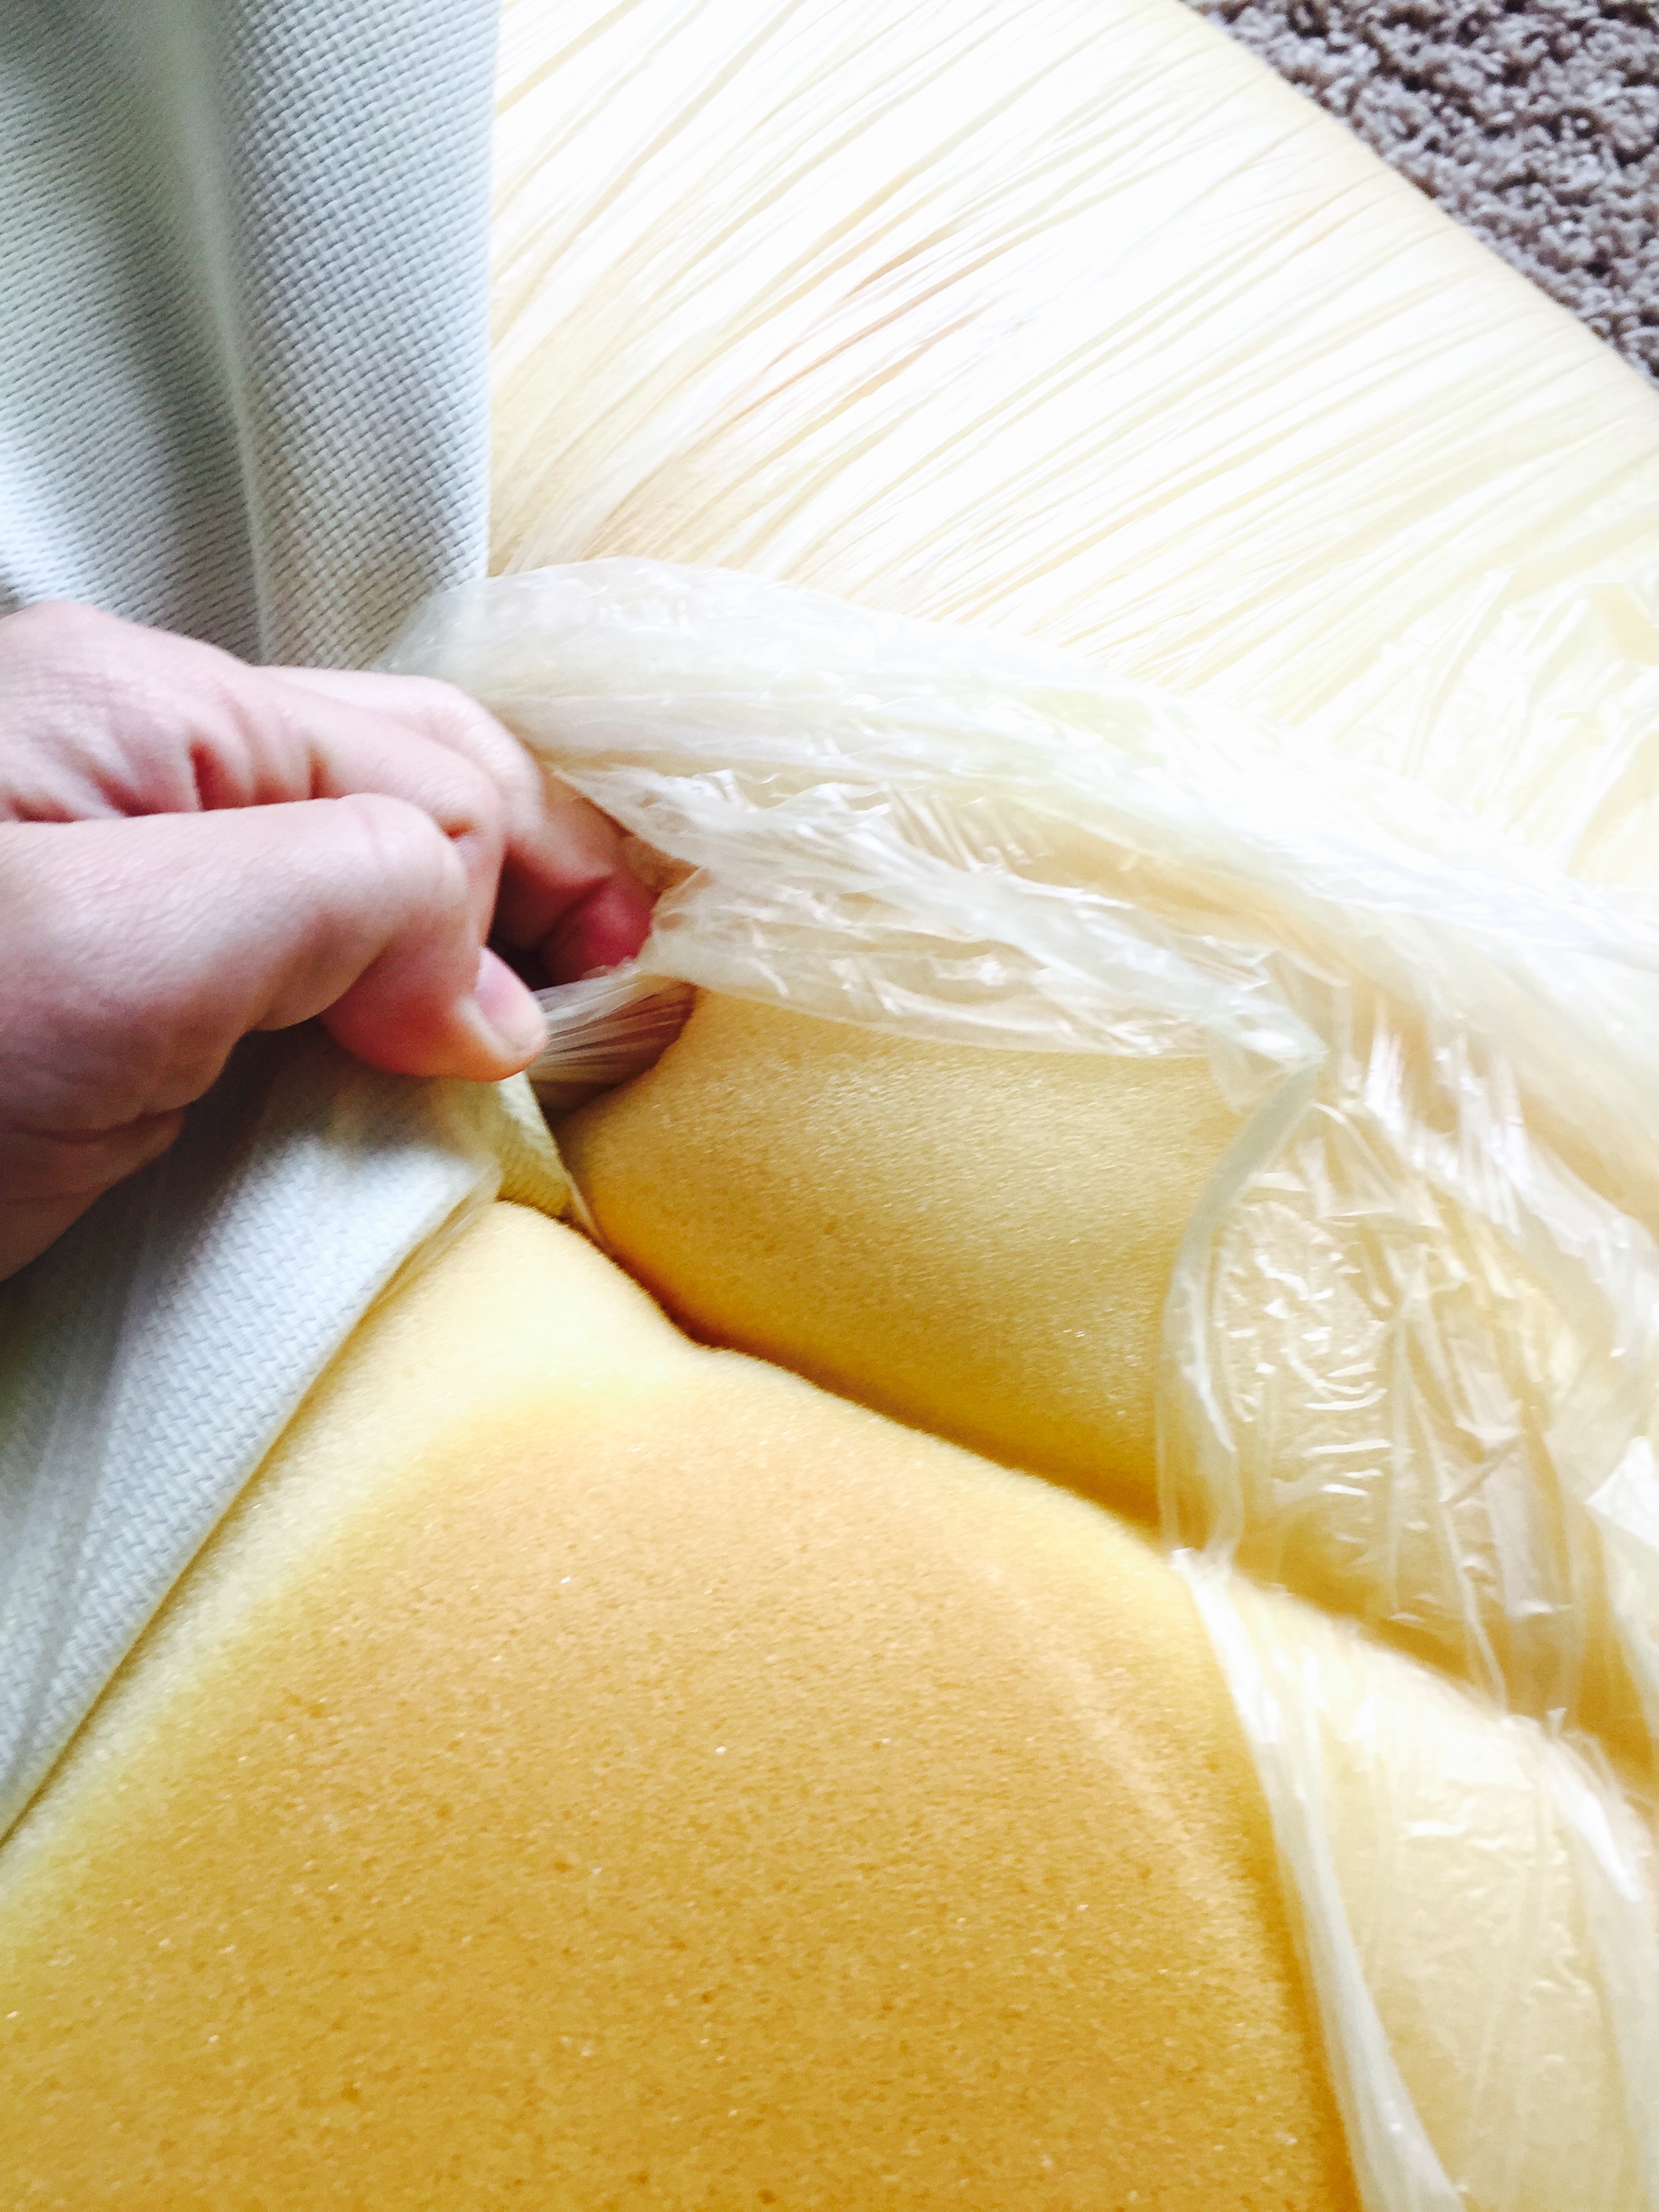
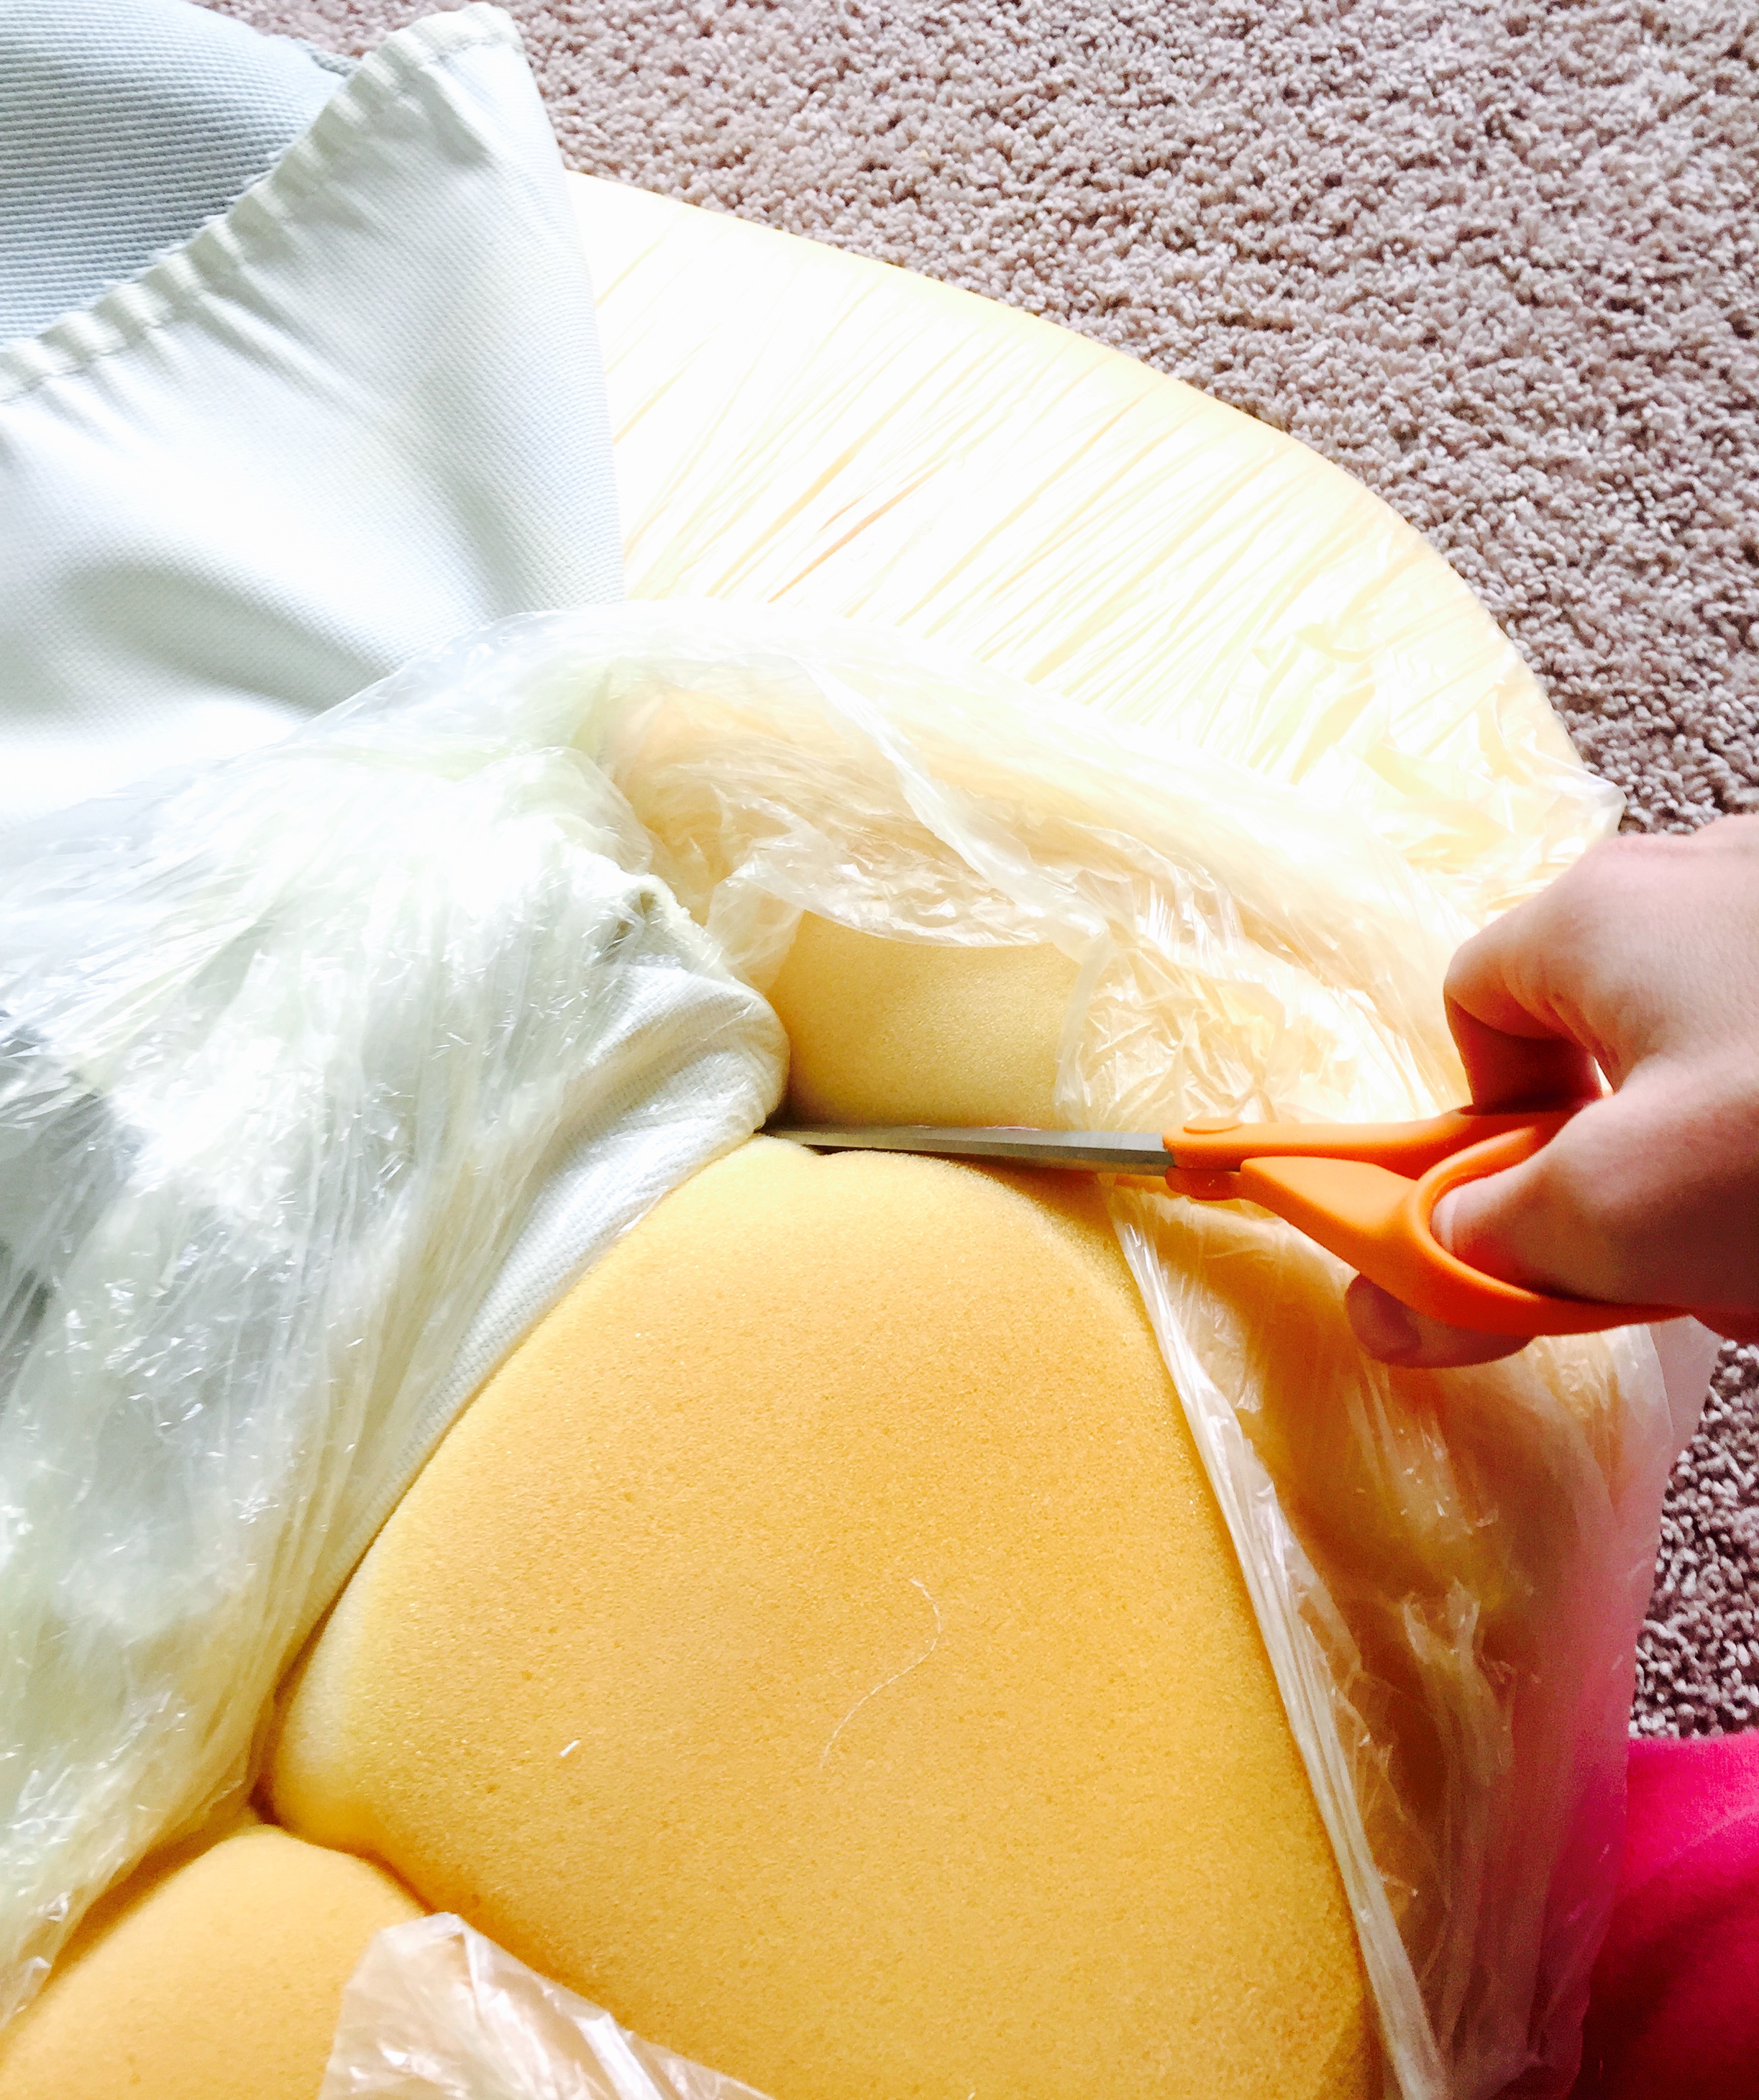
- Once you’ve cut the fabric at the middle seam, there is most often stitching through the MIDDLE of the cushion.
- Pull the fabric back tightly from the seam to expose the stitching, and cut it stitch by stitch until you’ve removed the cover and any plastic completely from the cushion.
Step 2: Trace Old Covers on New Fabric
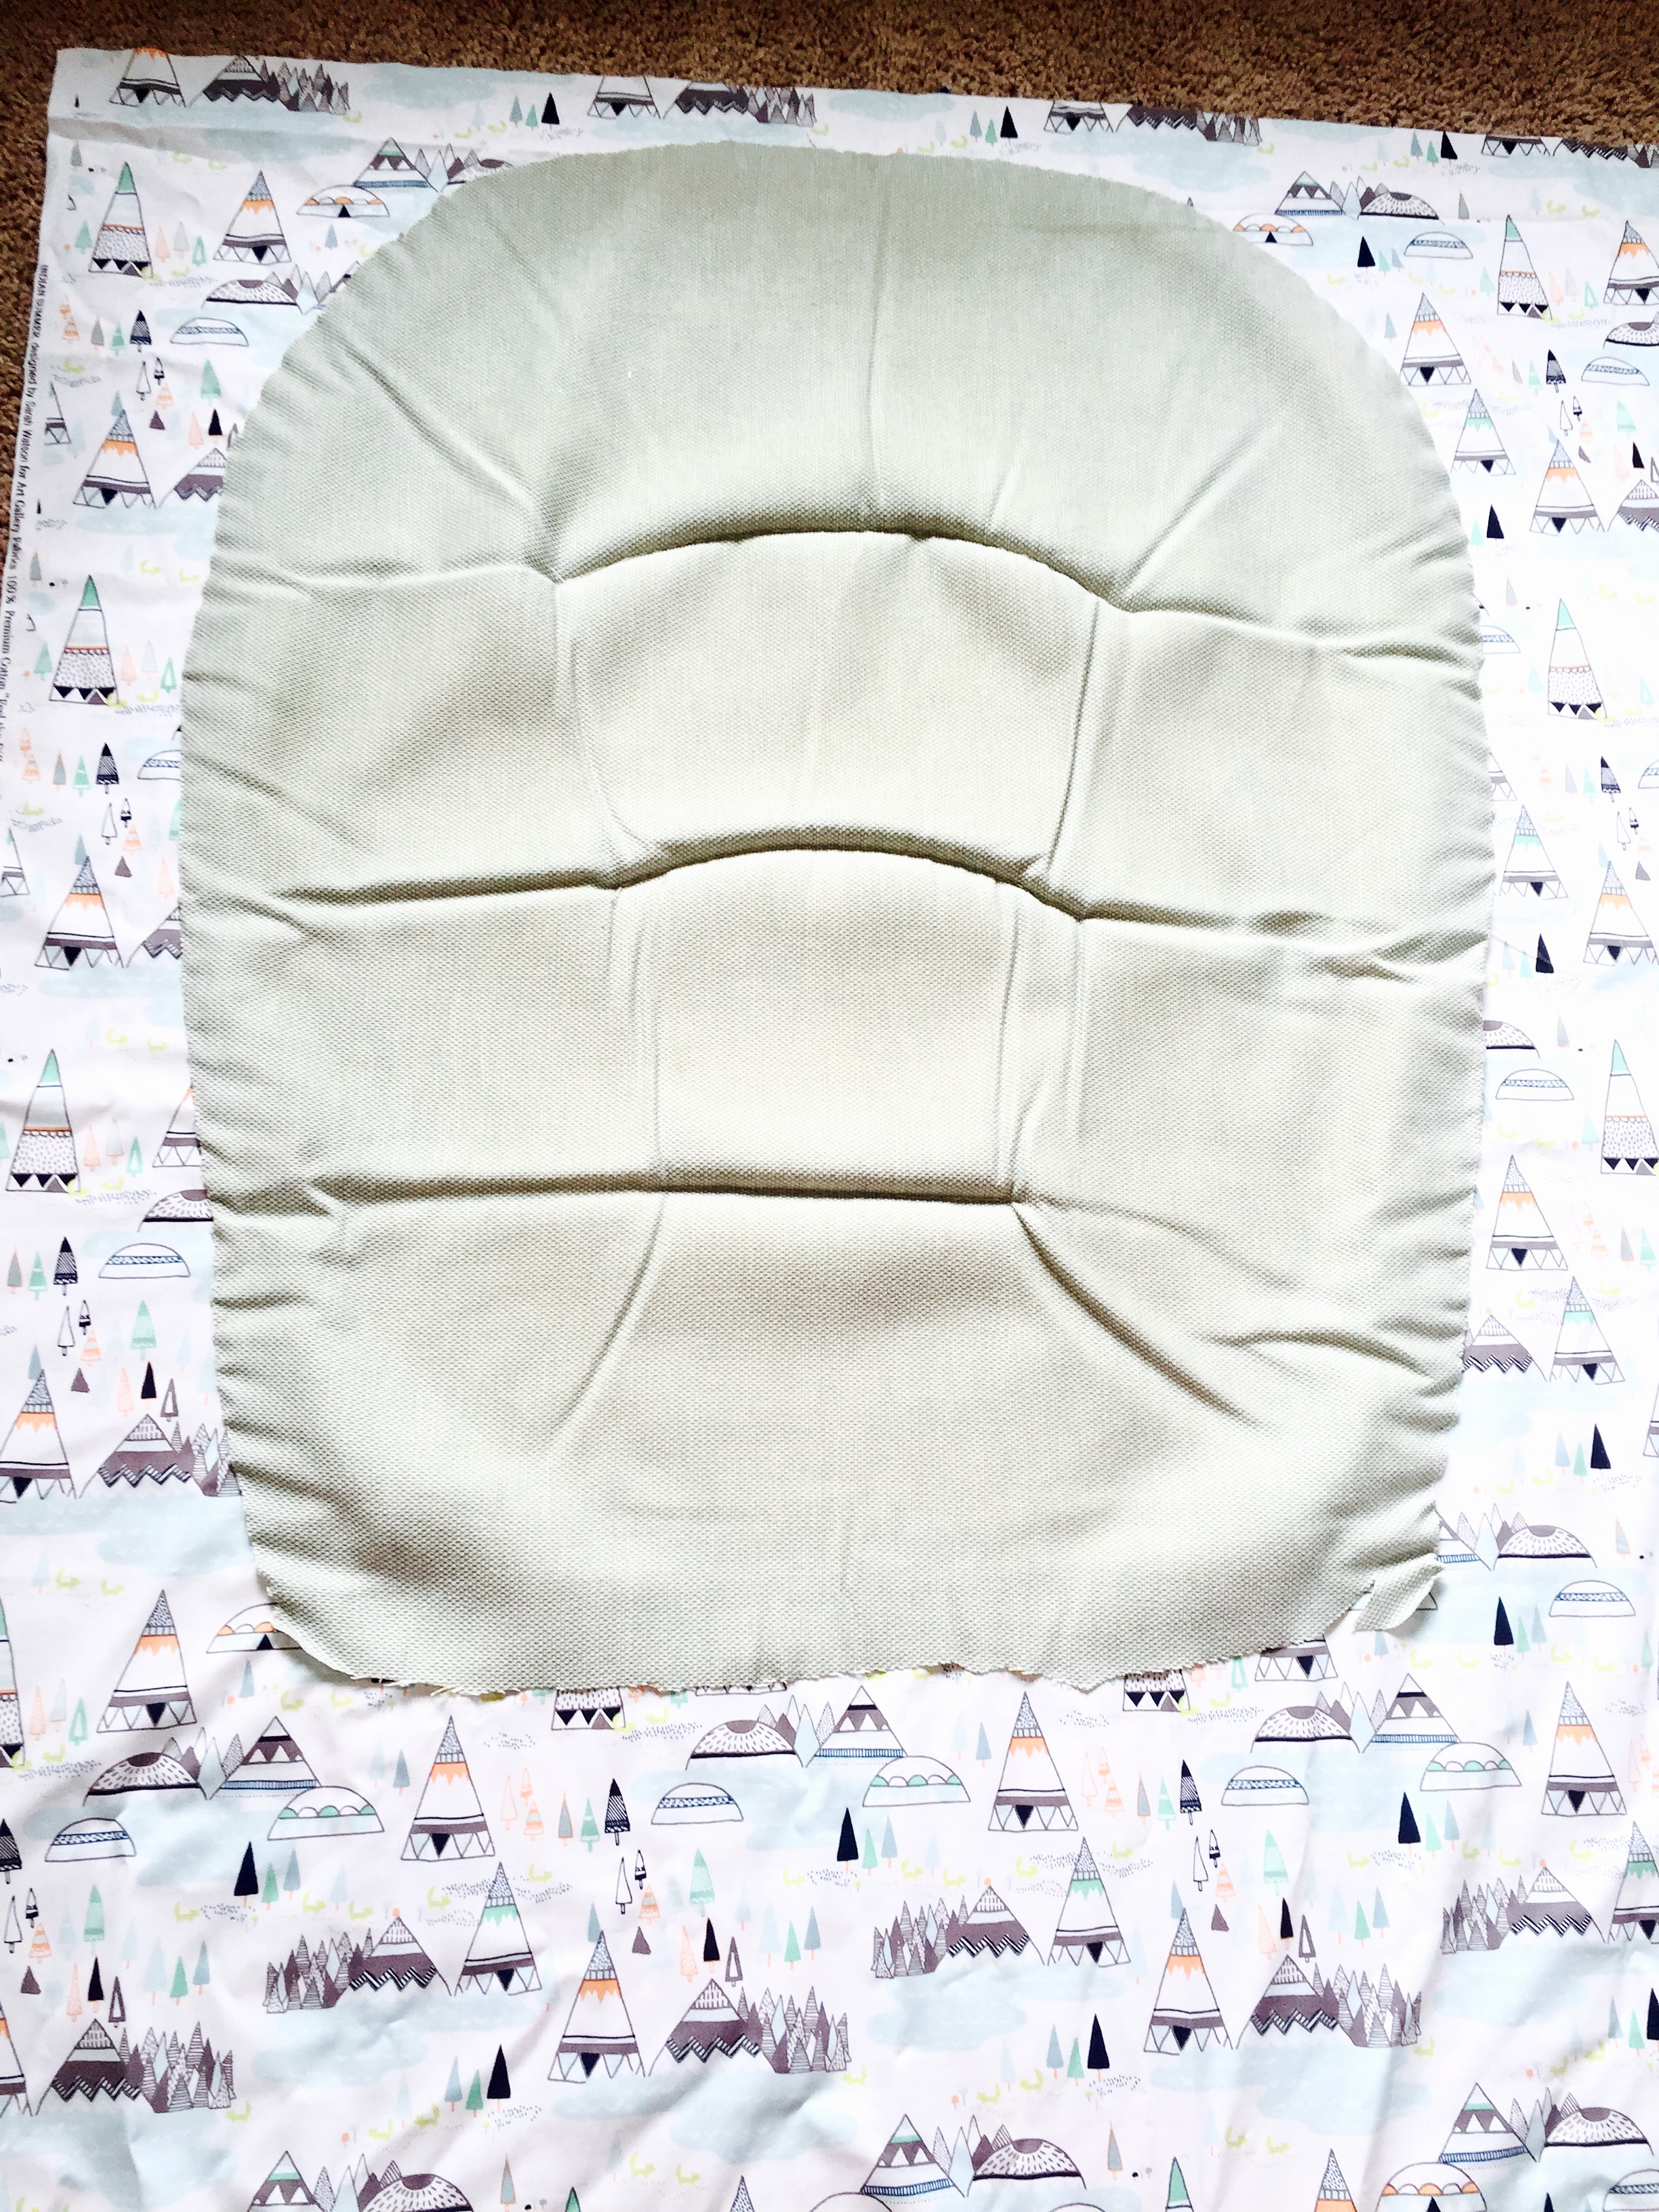
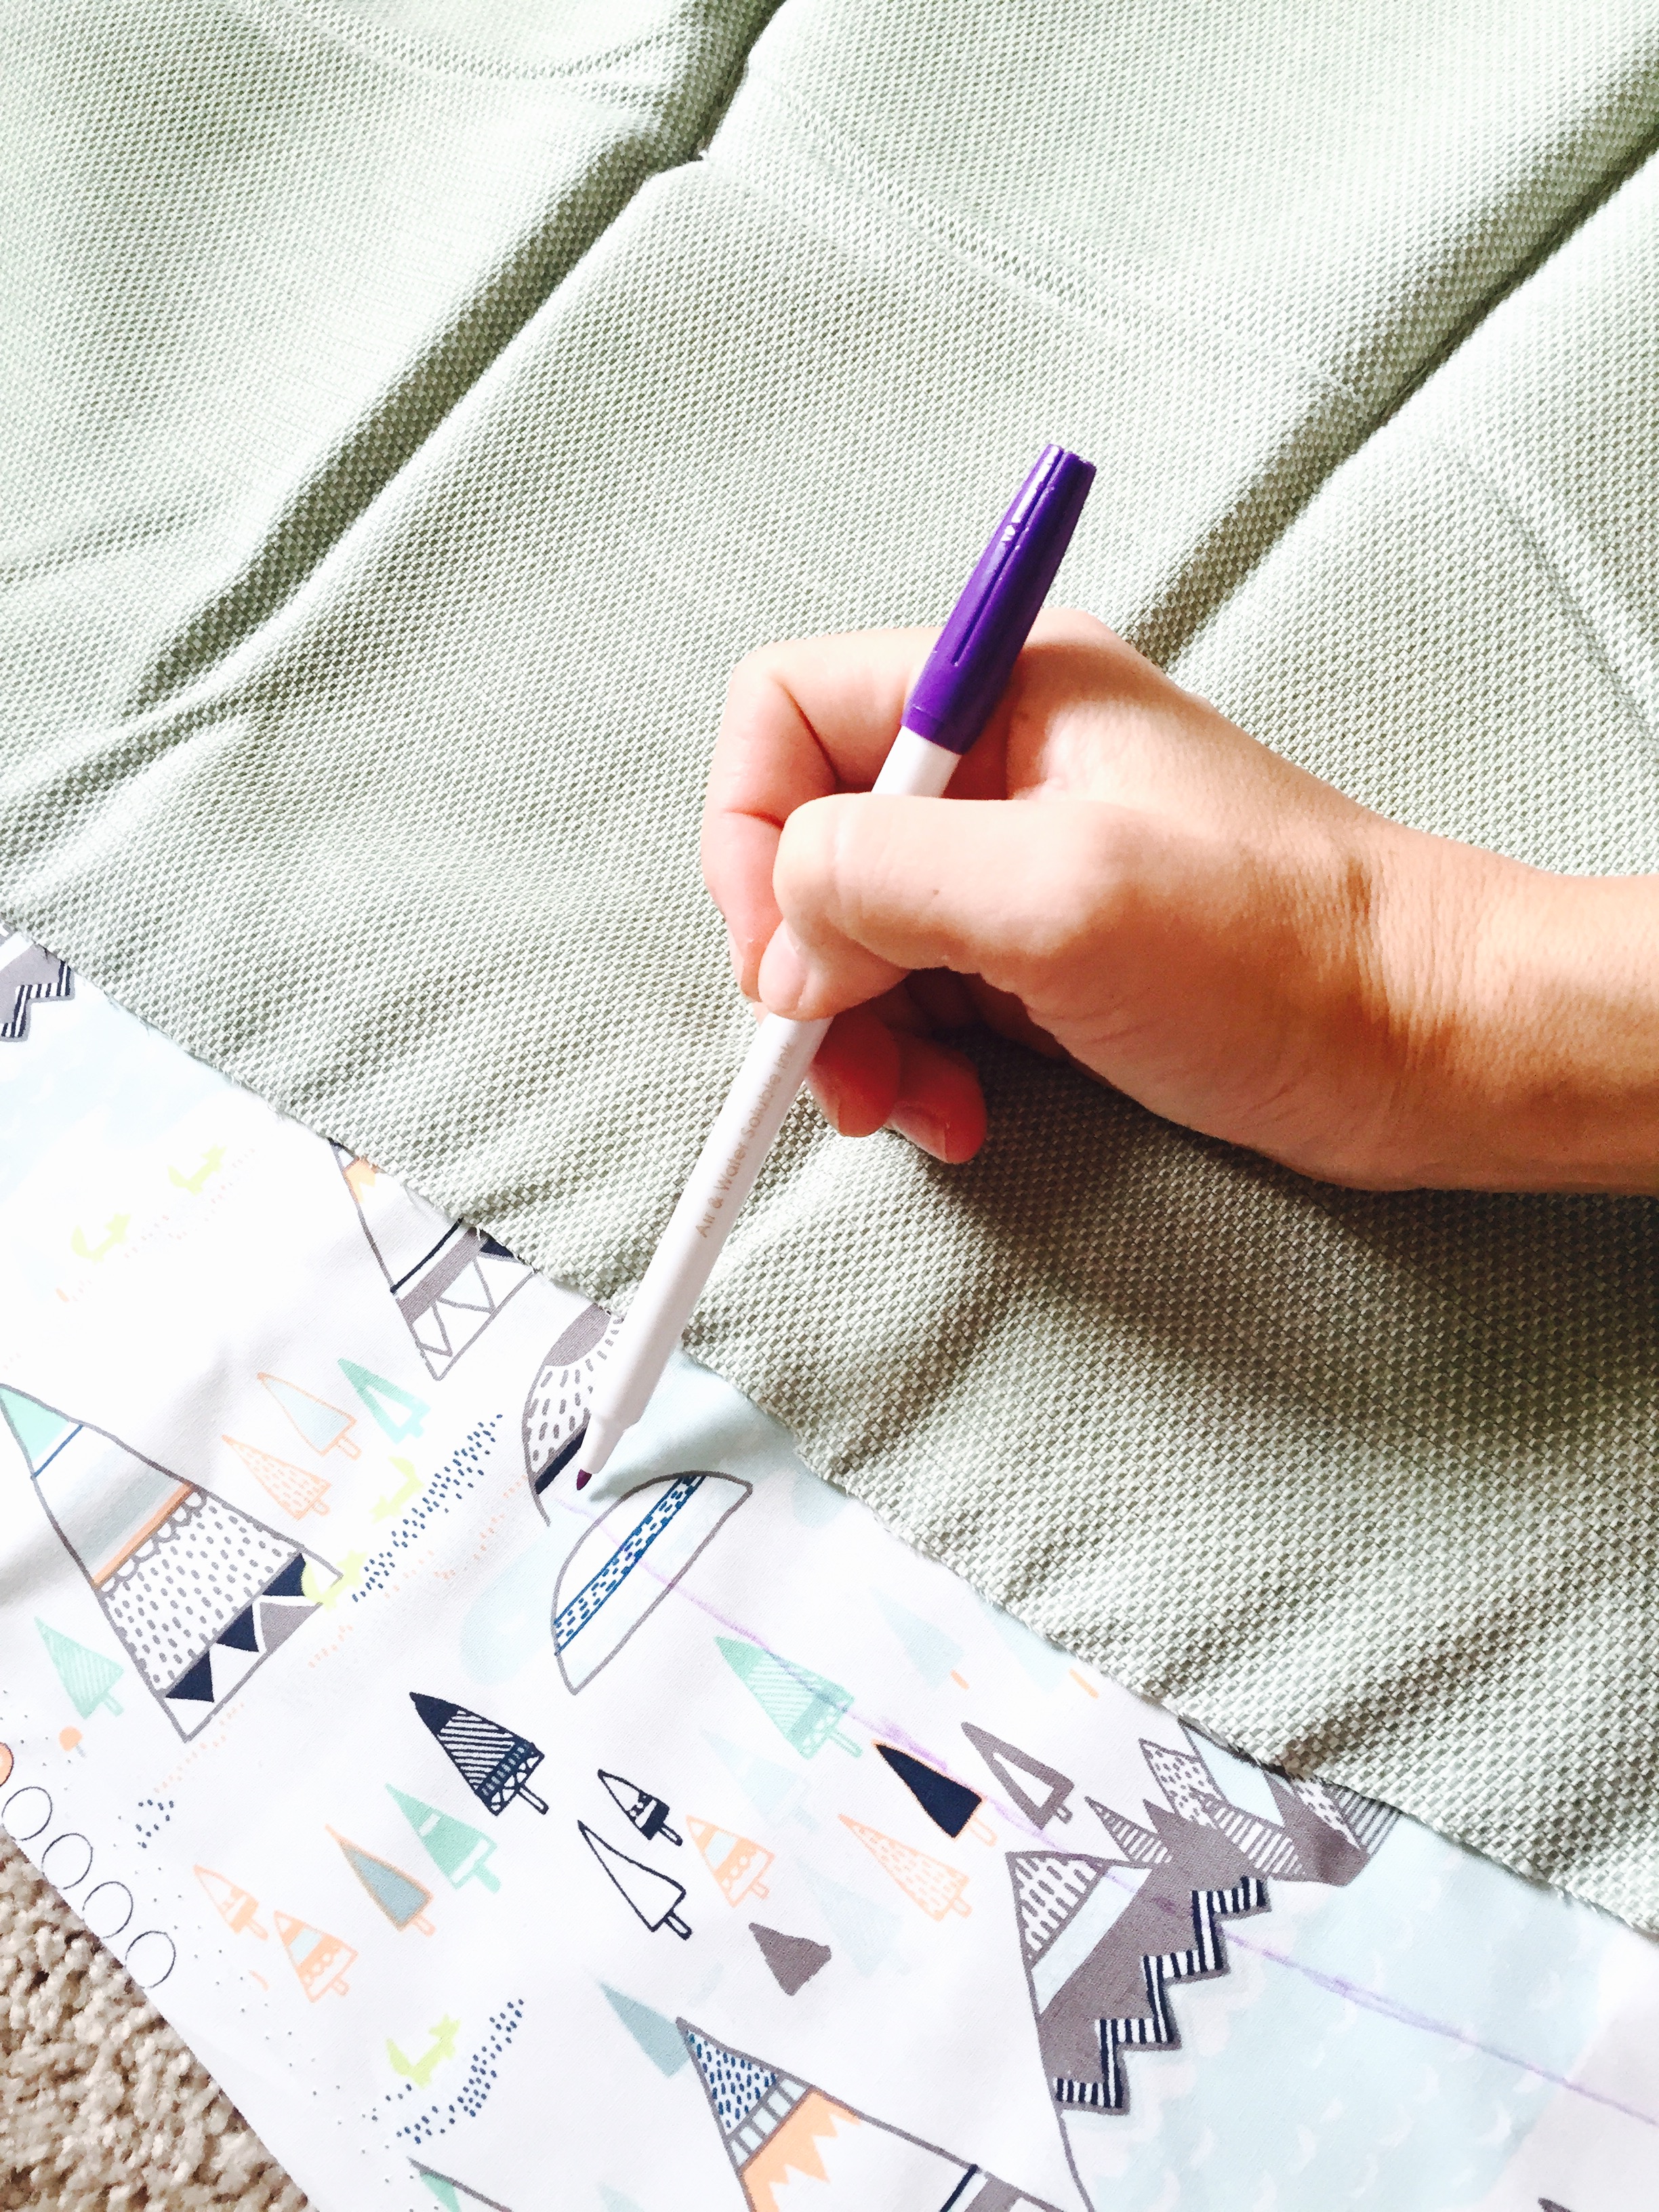
- Place the front half of the old fabric cover you cut off of your foam onto your the new fabric you’re going to use. Use it as pattern piece and trace around it with your air erasable pen.
- Then, do it again directly below your first trace, so you have 2 identical pieces of new fabric to cover the front and back of your cushion.
- TIP: Trace about .5-1″ larger than the fabric pattern. You’ll need room to allow for seams.
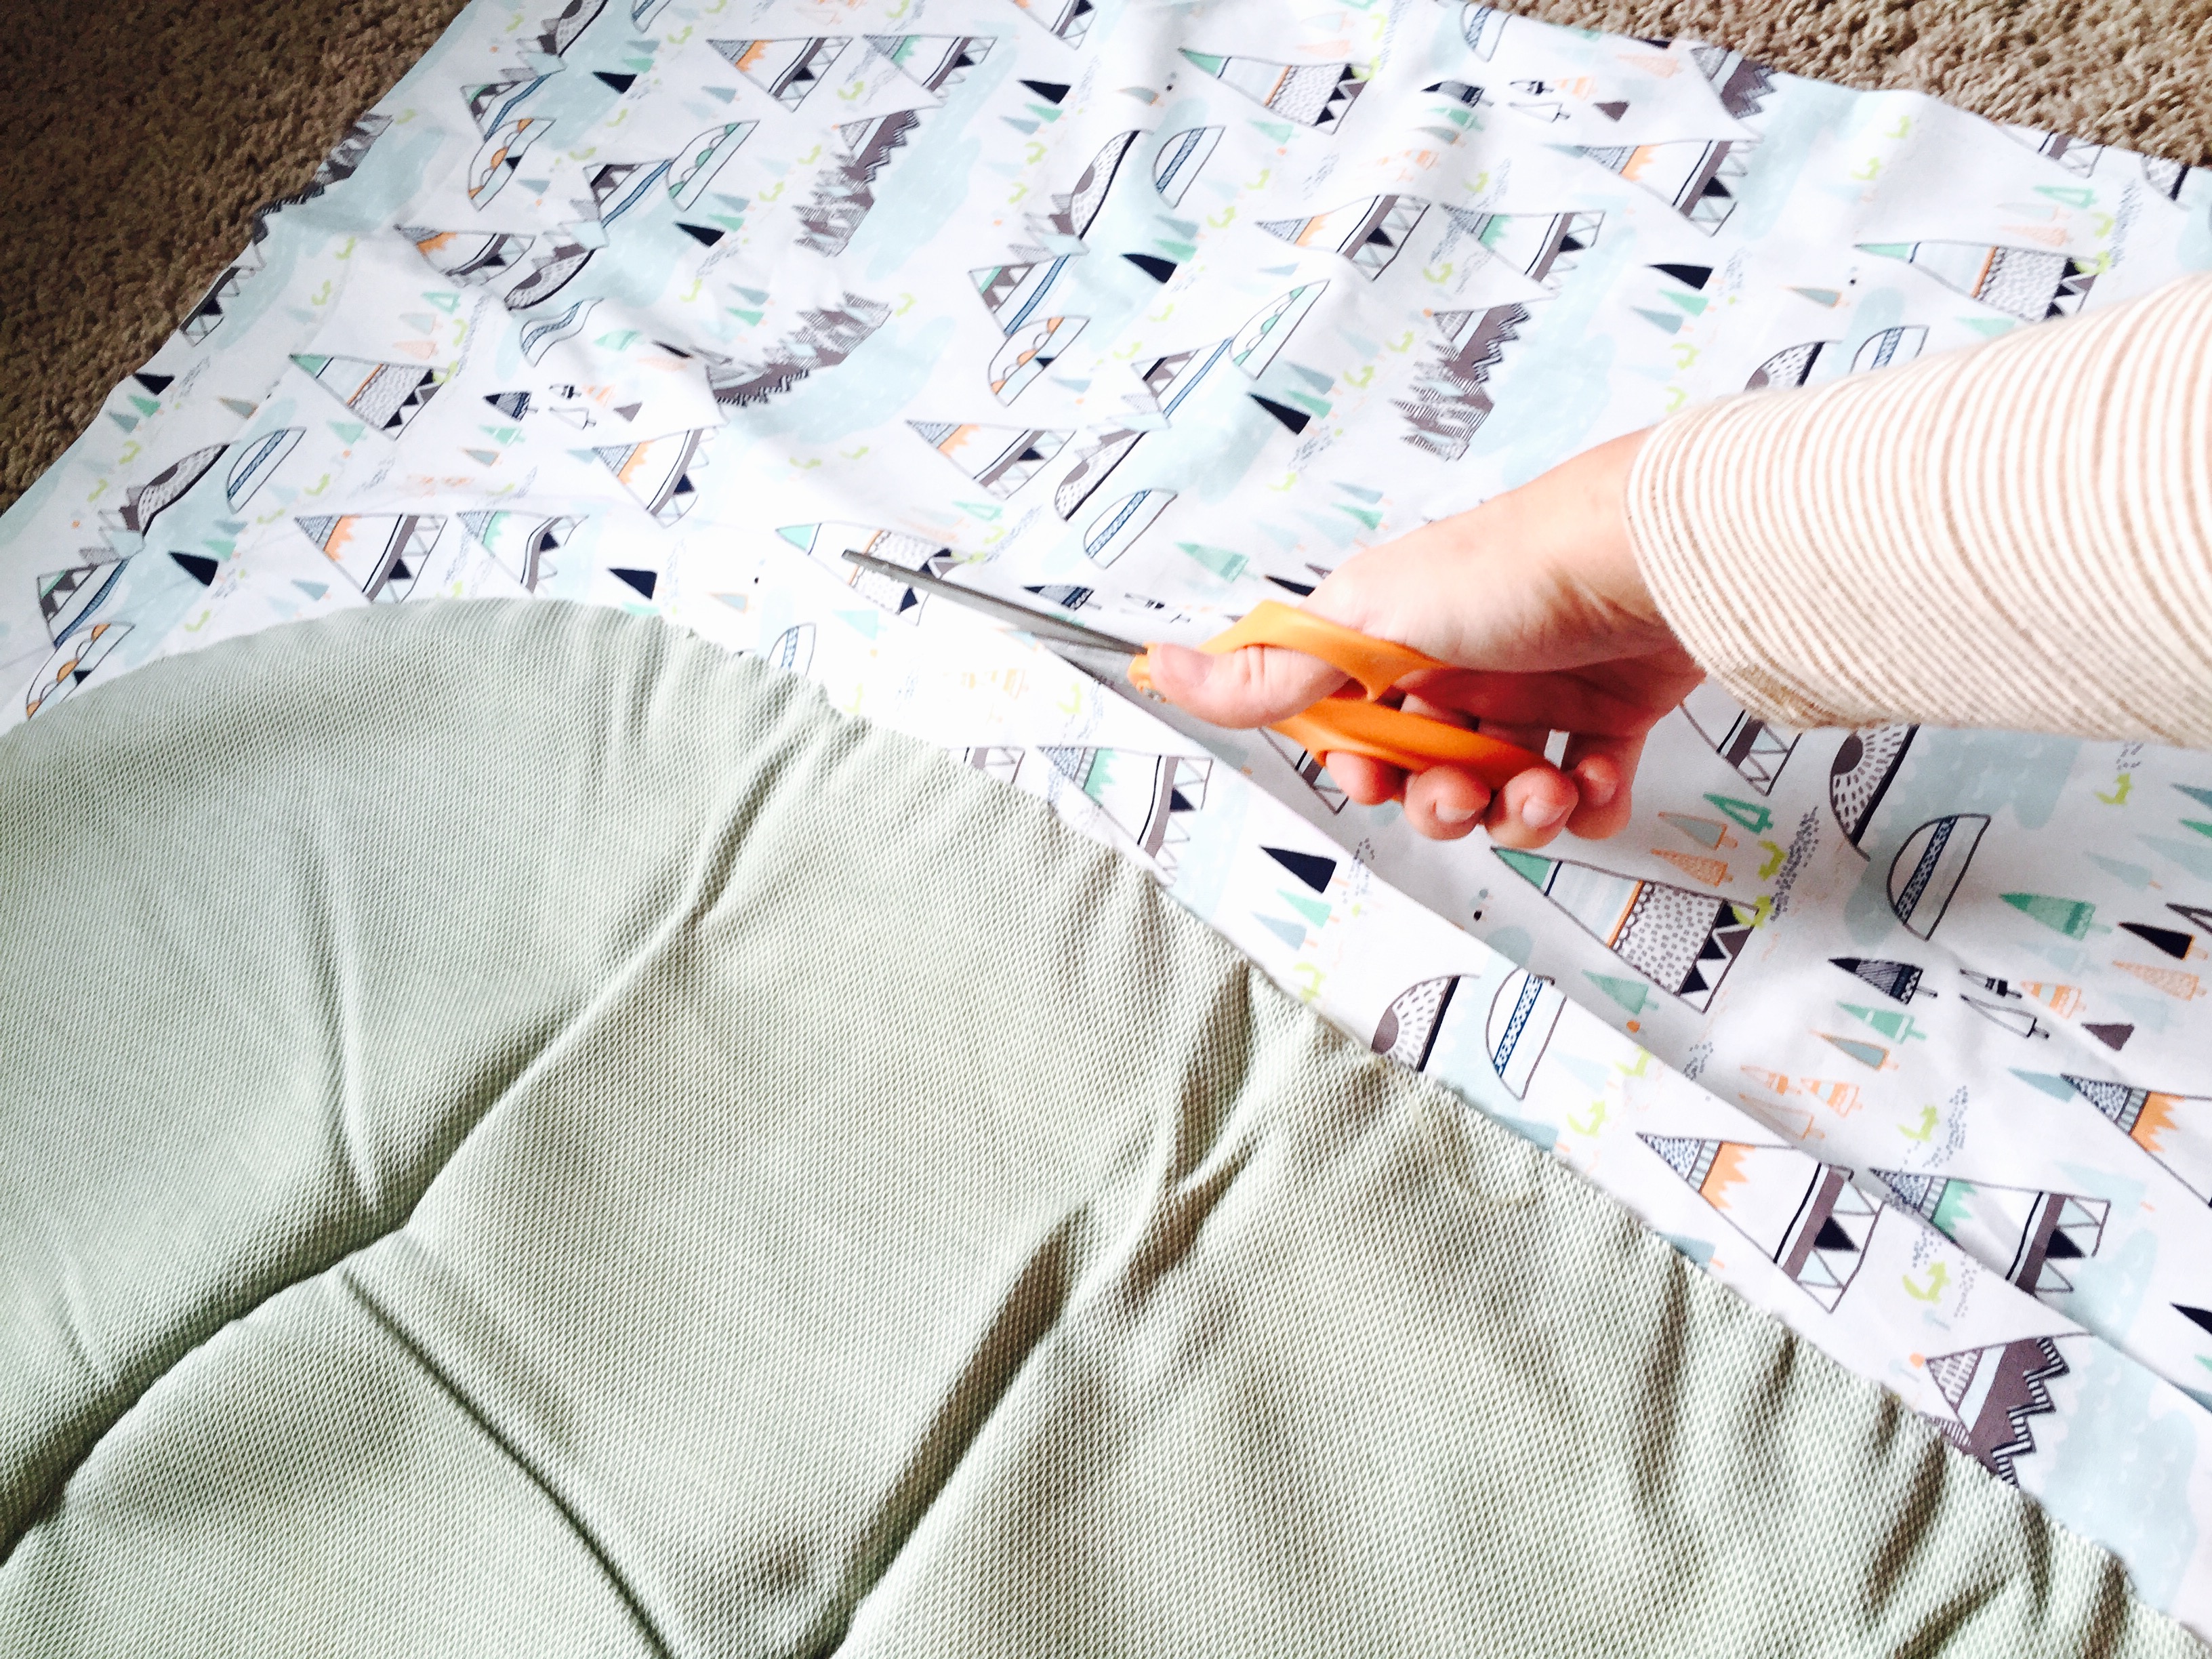
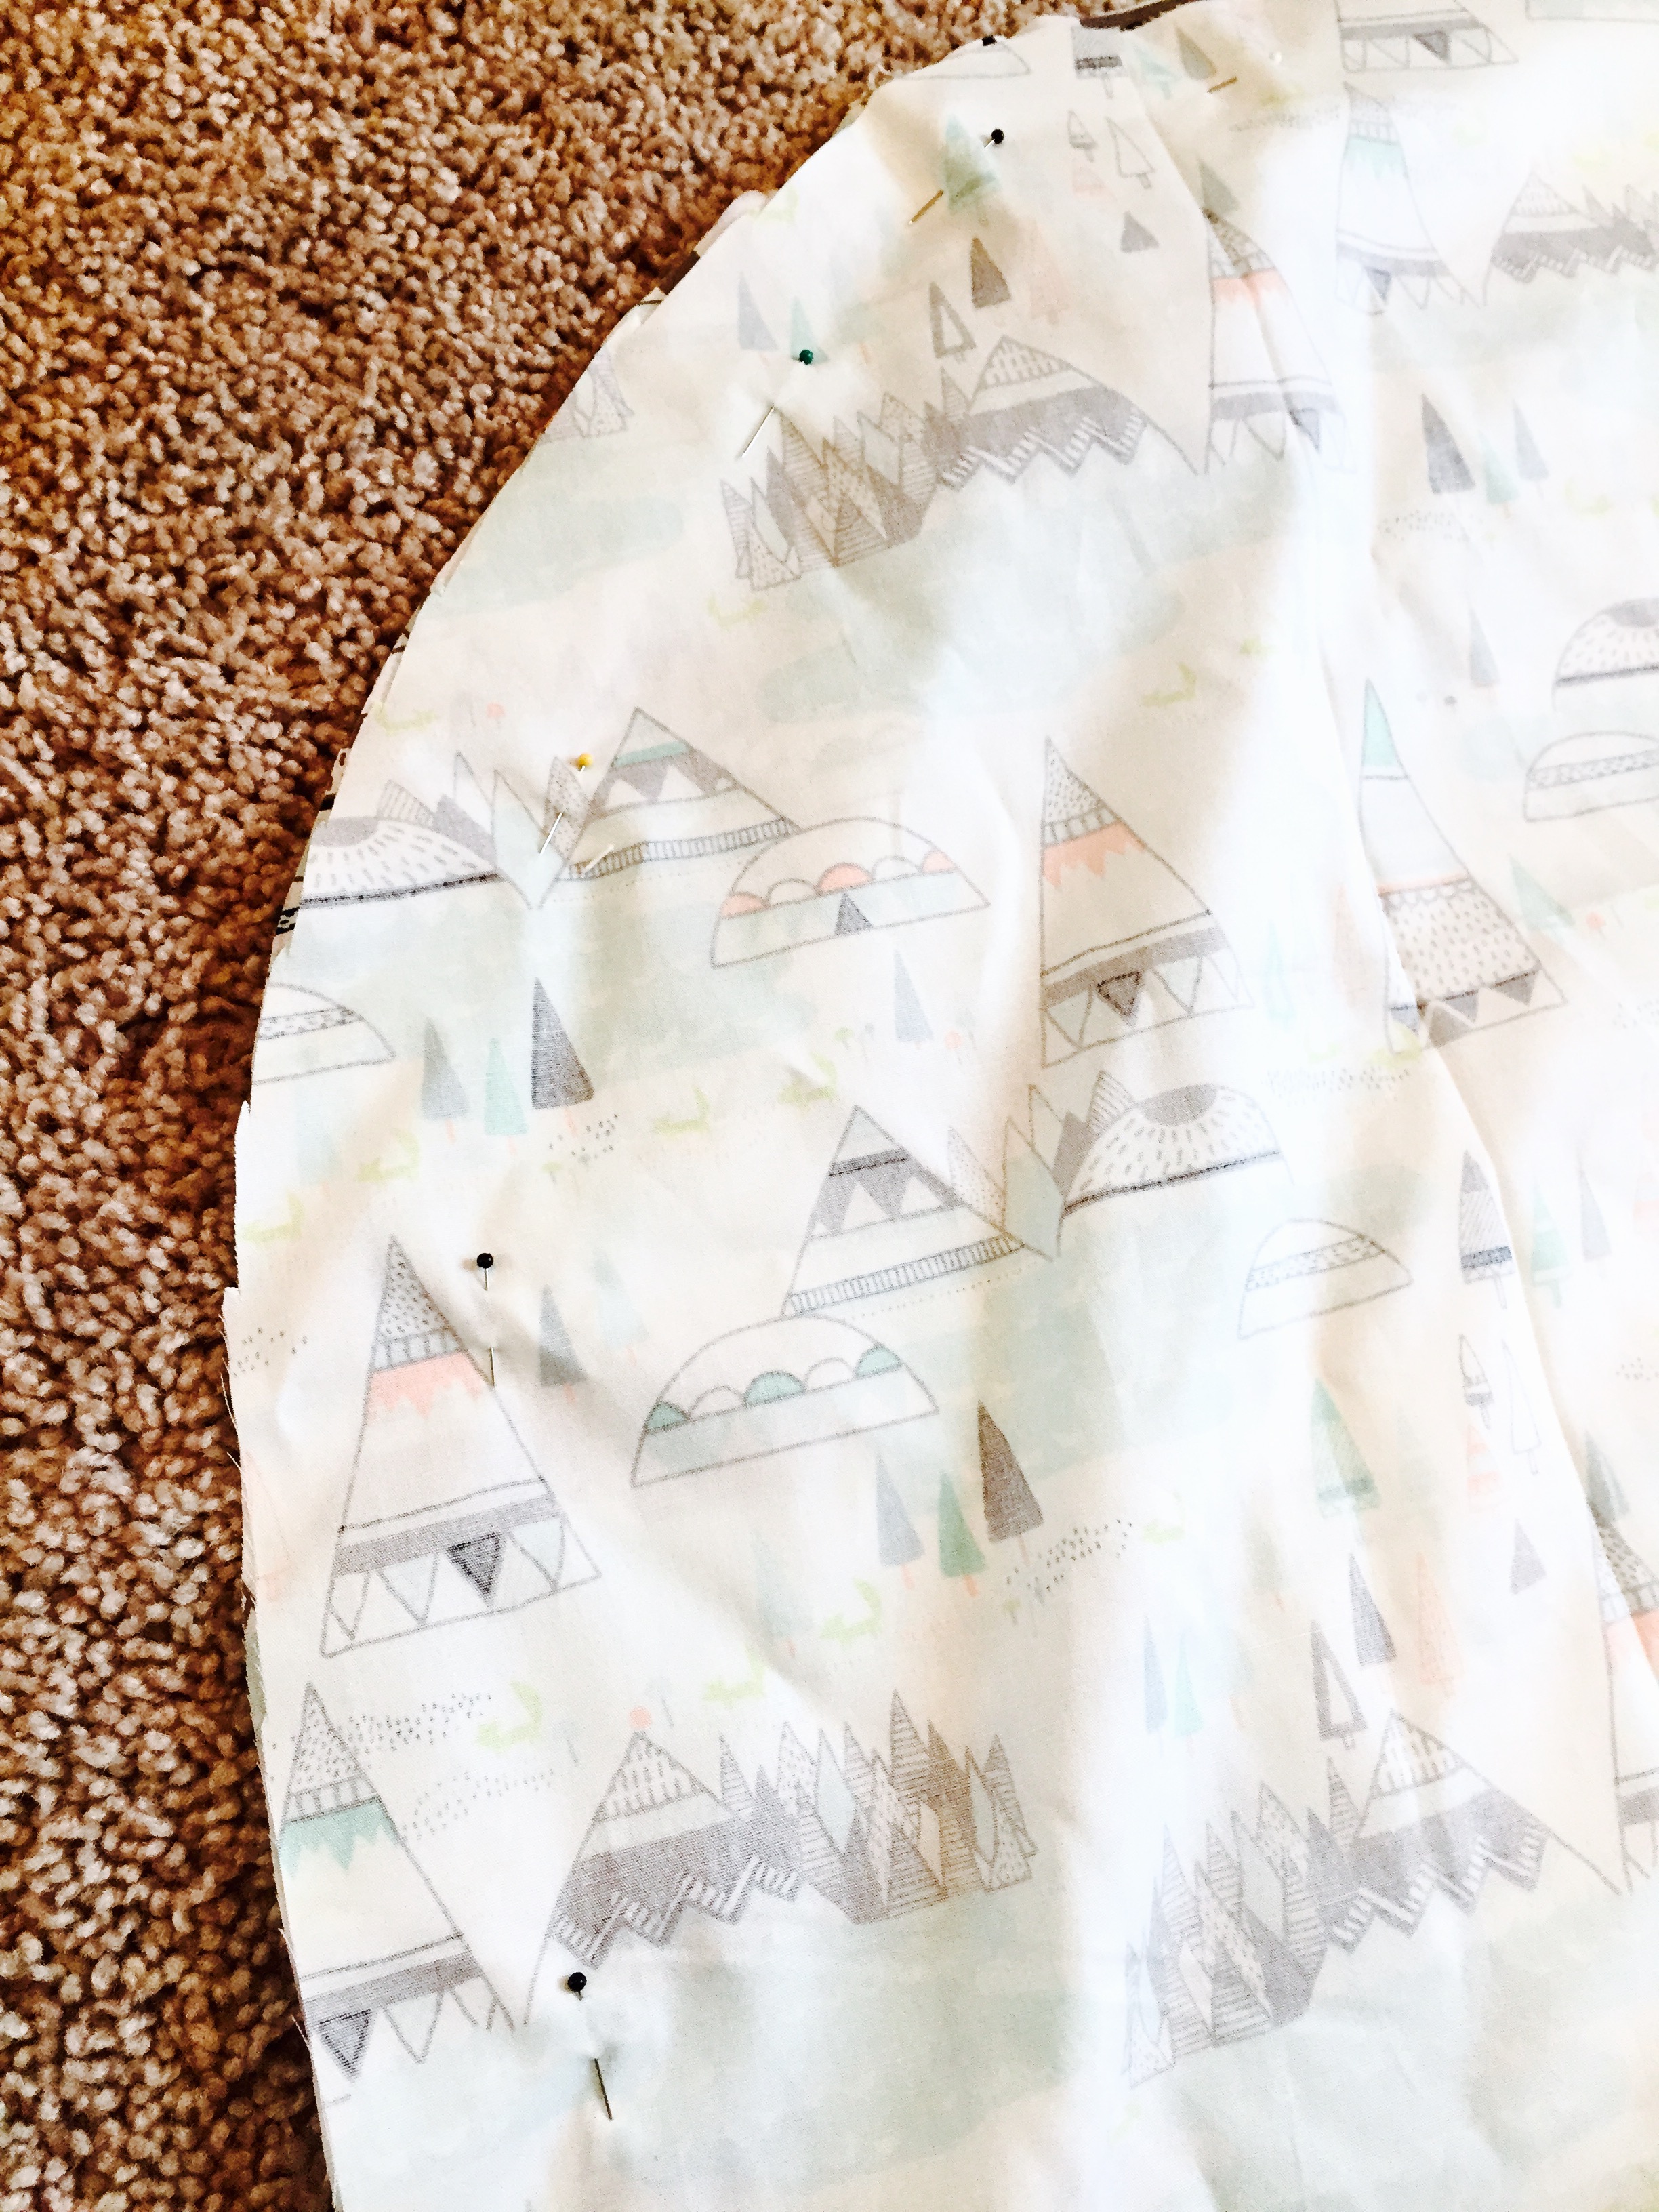
- Cut both pieces out from your fabric, and pin them together along the edges (right sides facing each other, wrong sides facing outward).
- Pin then a little inward from where you want your seam to be.
- Example: if you cut and extra .5″ out of fabric, pin along the .75″ mark inward from all edges.
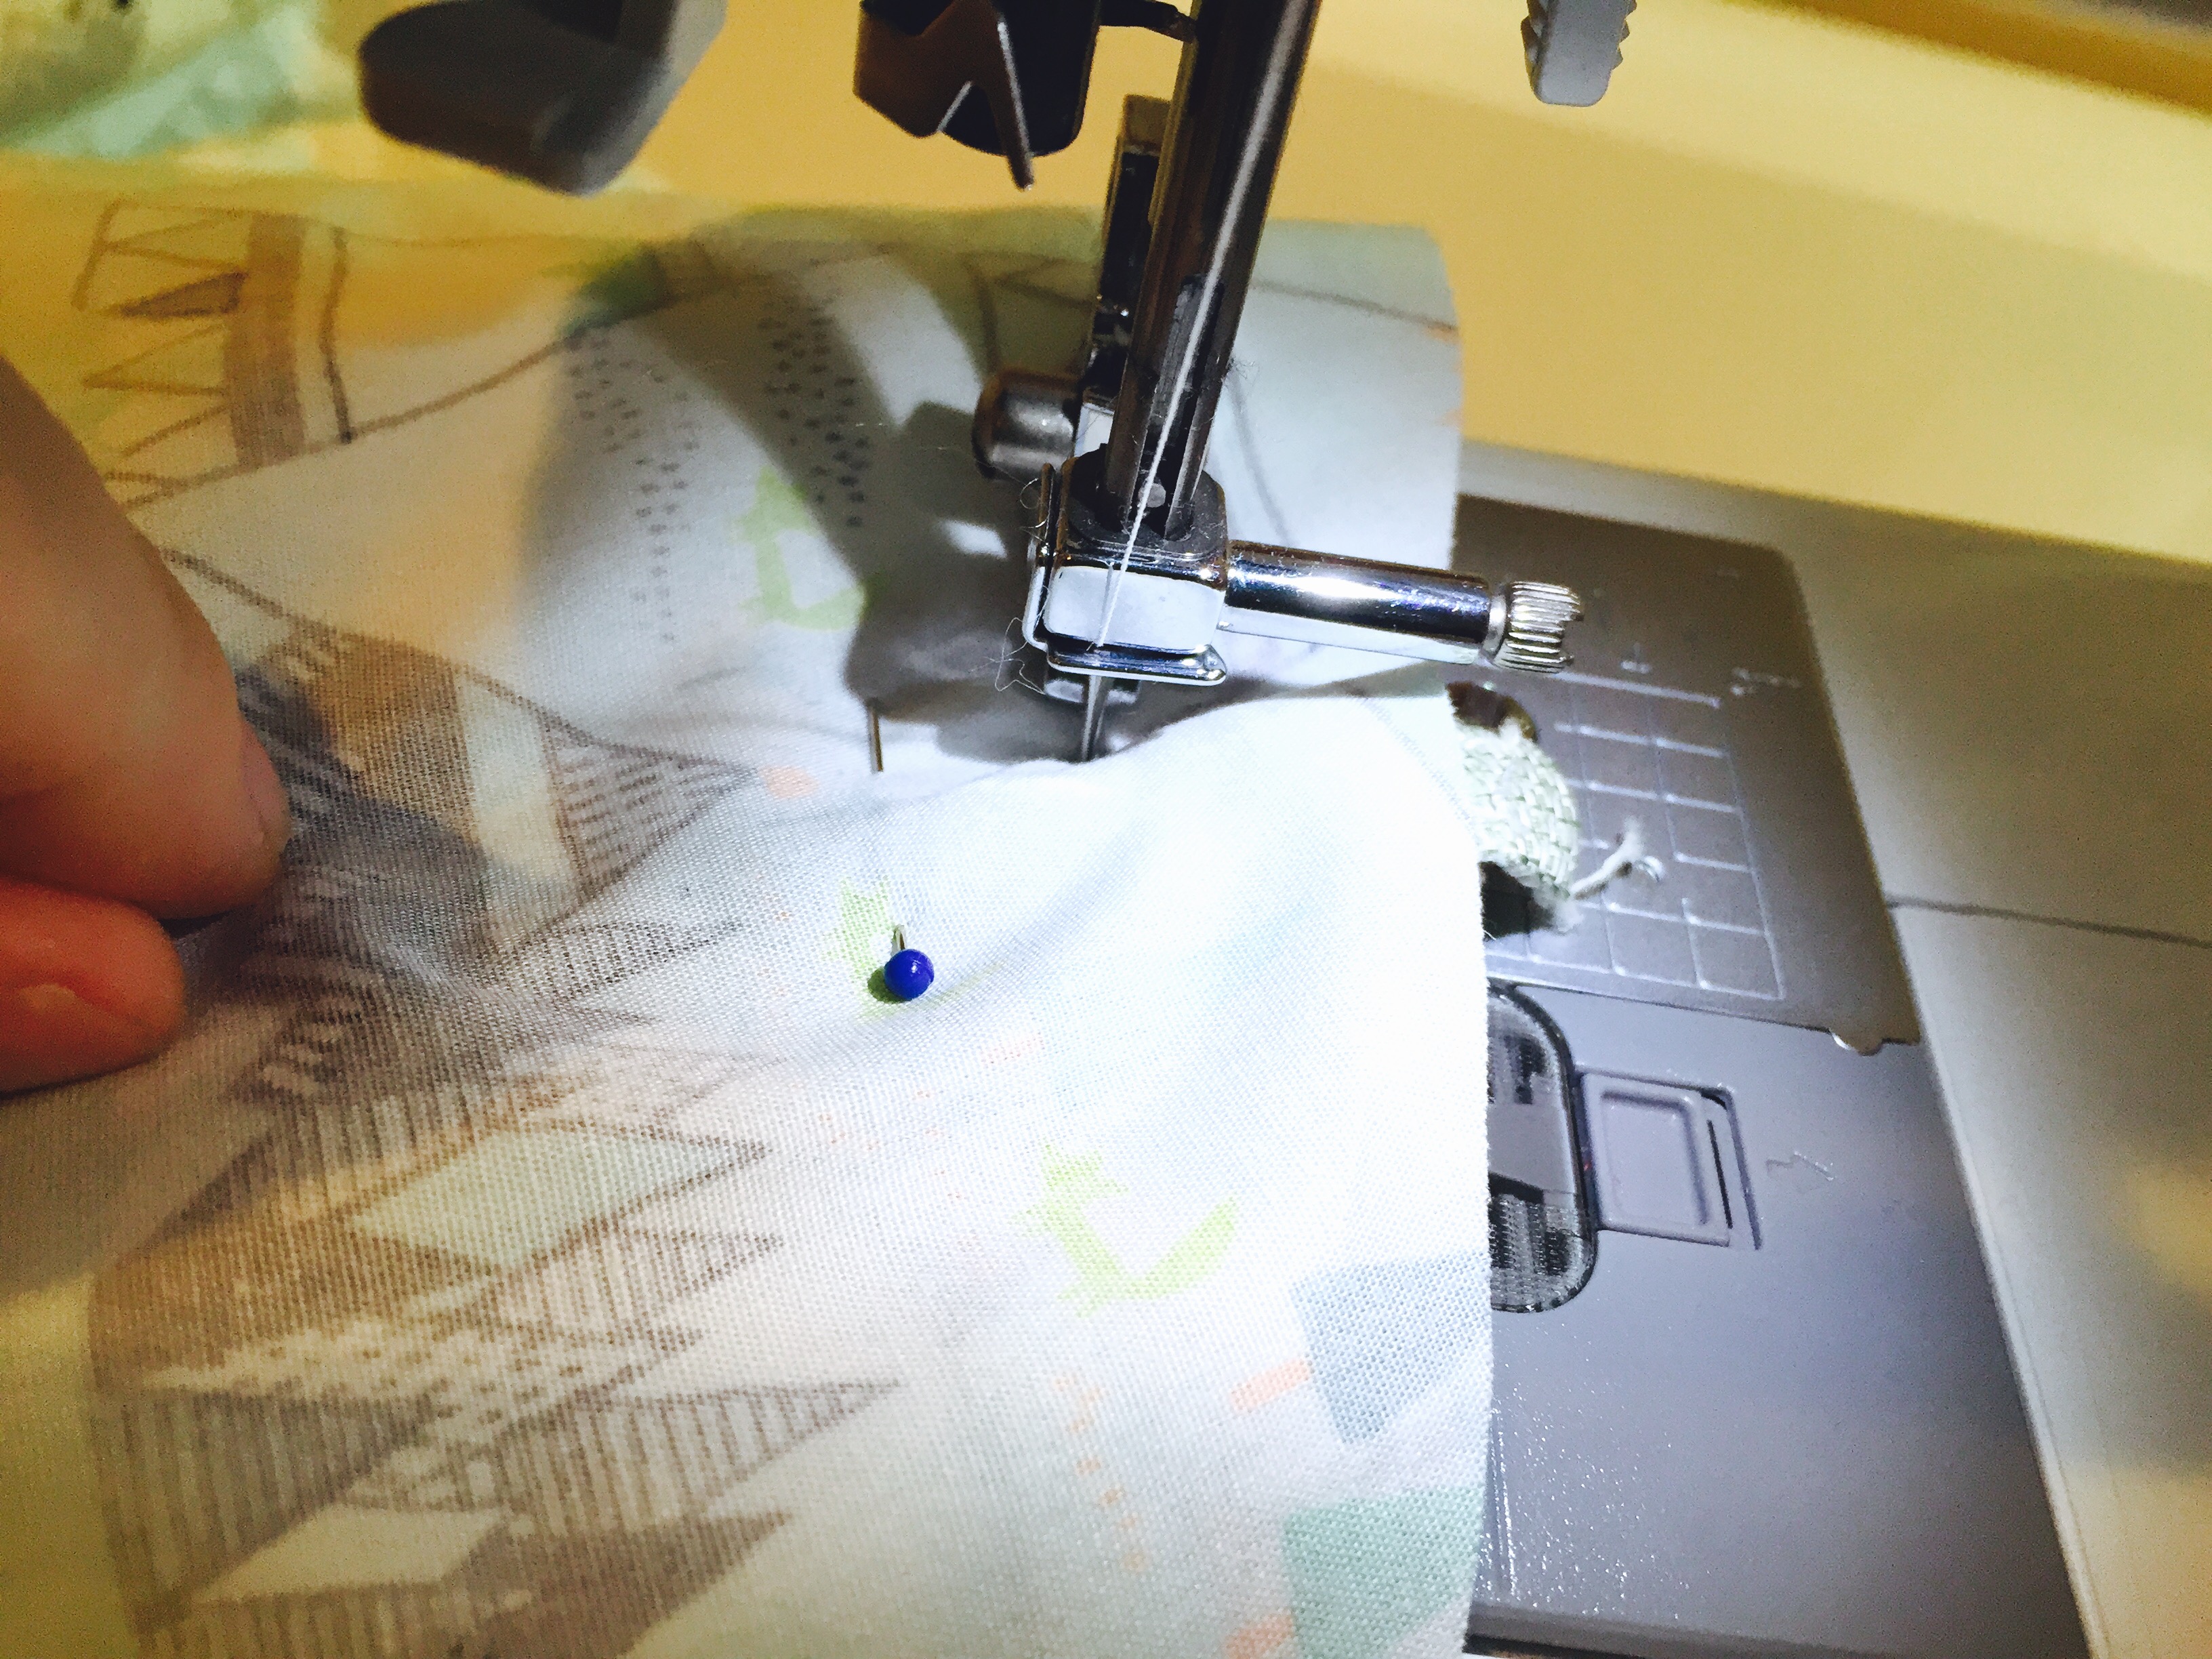
- Now, sew just along the outside edges of the pins with your machine.
- You’ll need to add ties to the top of the cover (or keep the original snaps, as I did) to attach your cushion to your chair. To do this, make sure your ties (or snap pieces) are inside your two pieces of fabric, and pointed towards the center.
- As you can see above, only the butt of the tie is sticking out (this is because what you can see while you’re sewing will eventually become the INSIDE of your cover, and you want your ties/snaps to be on the OUTSIDE. So you need them to be inward facing while sewing).
- Do not sew the bottom shut (leave it open to stuff the cushion in after).
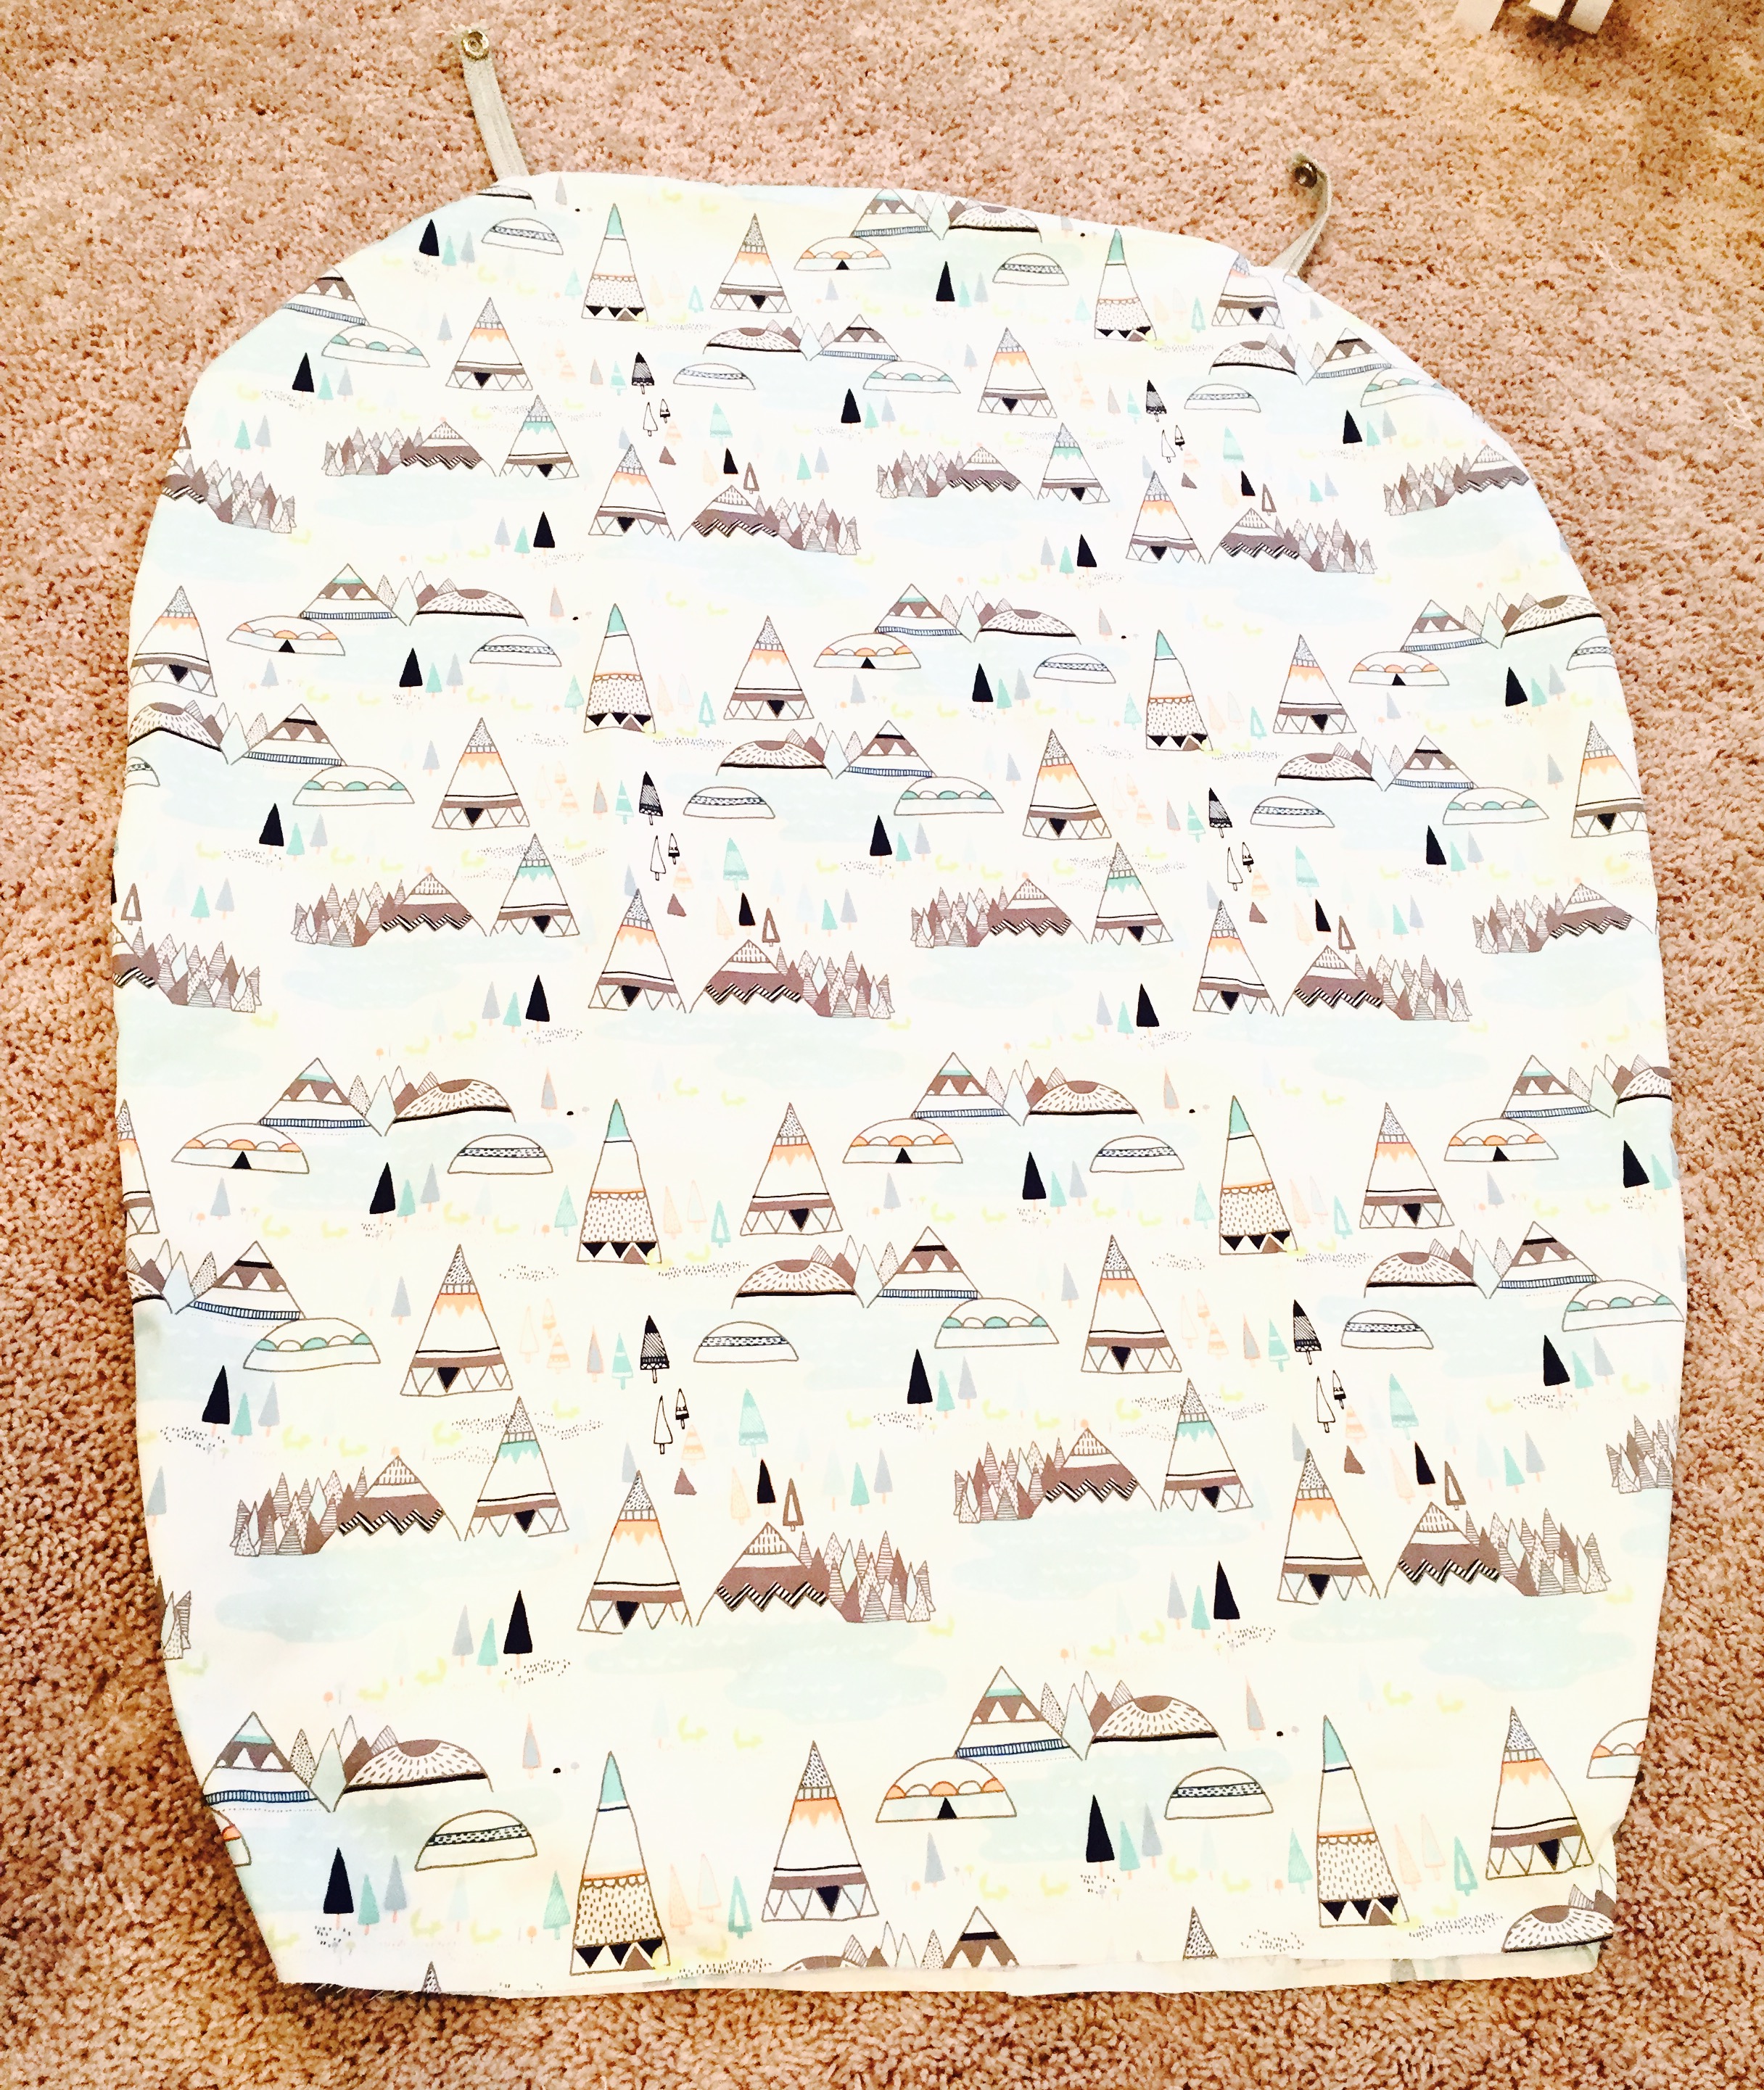
- Once everything else is sewn together, turn your cover right side out (you can see how my snap pieces attached perfectly in place in the picture above).

- Finally, stuff your cushion back inside your new cover.
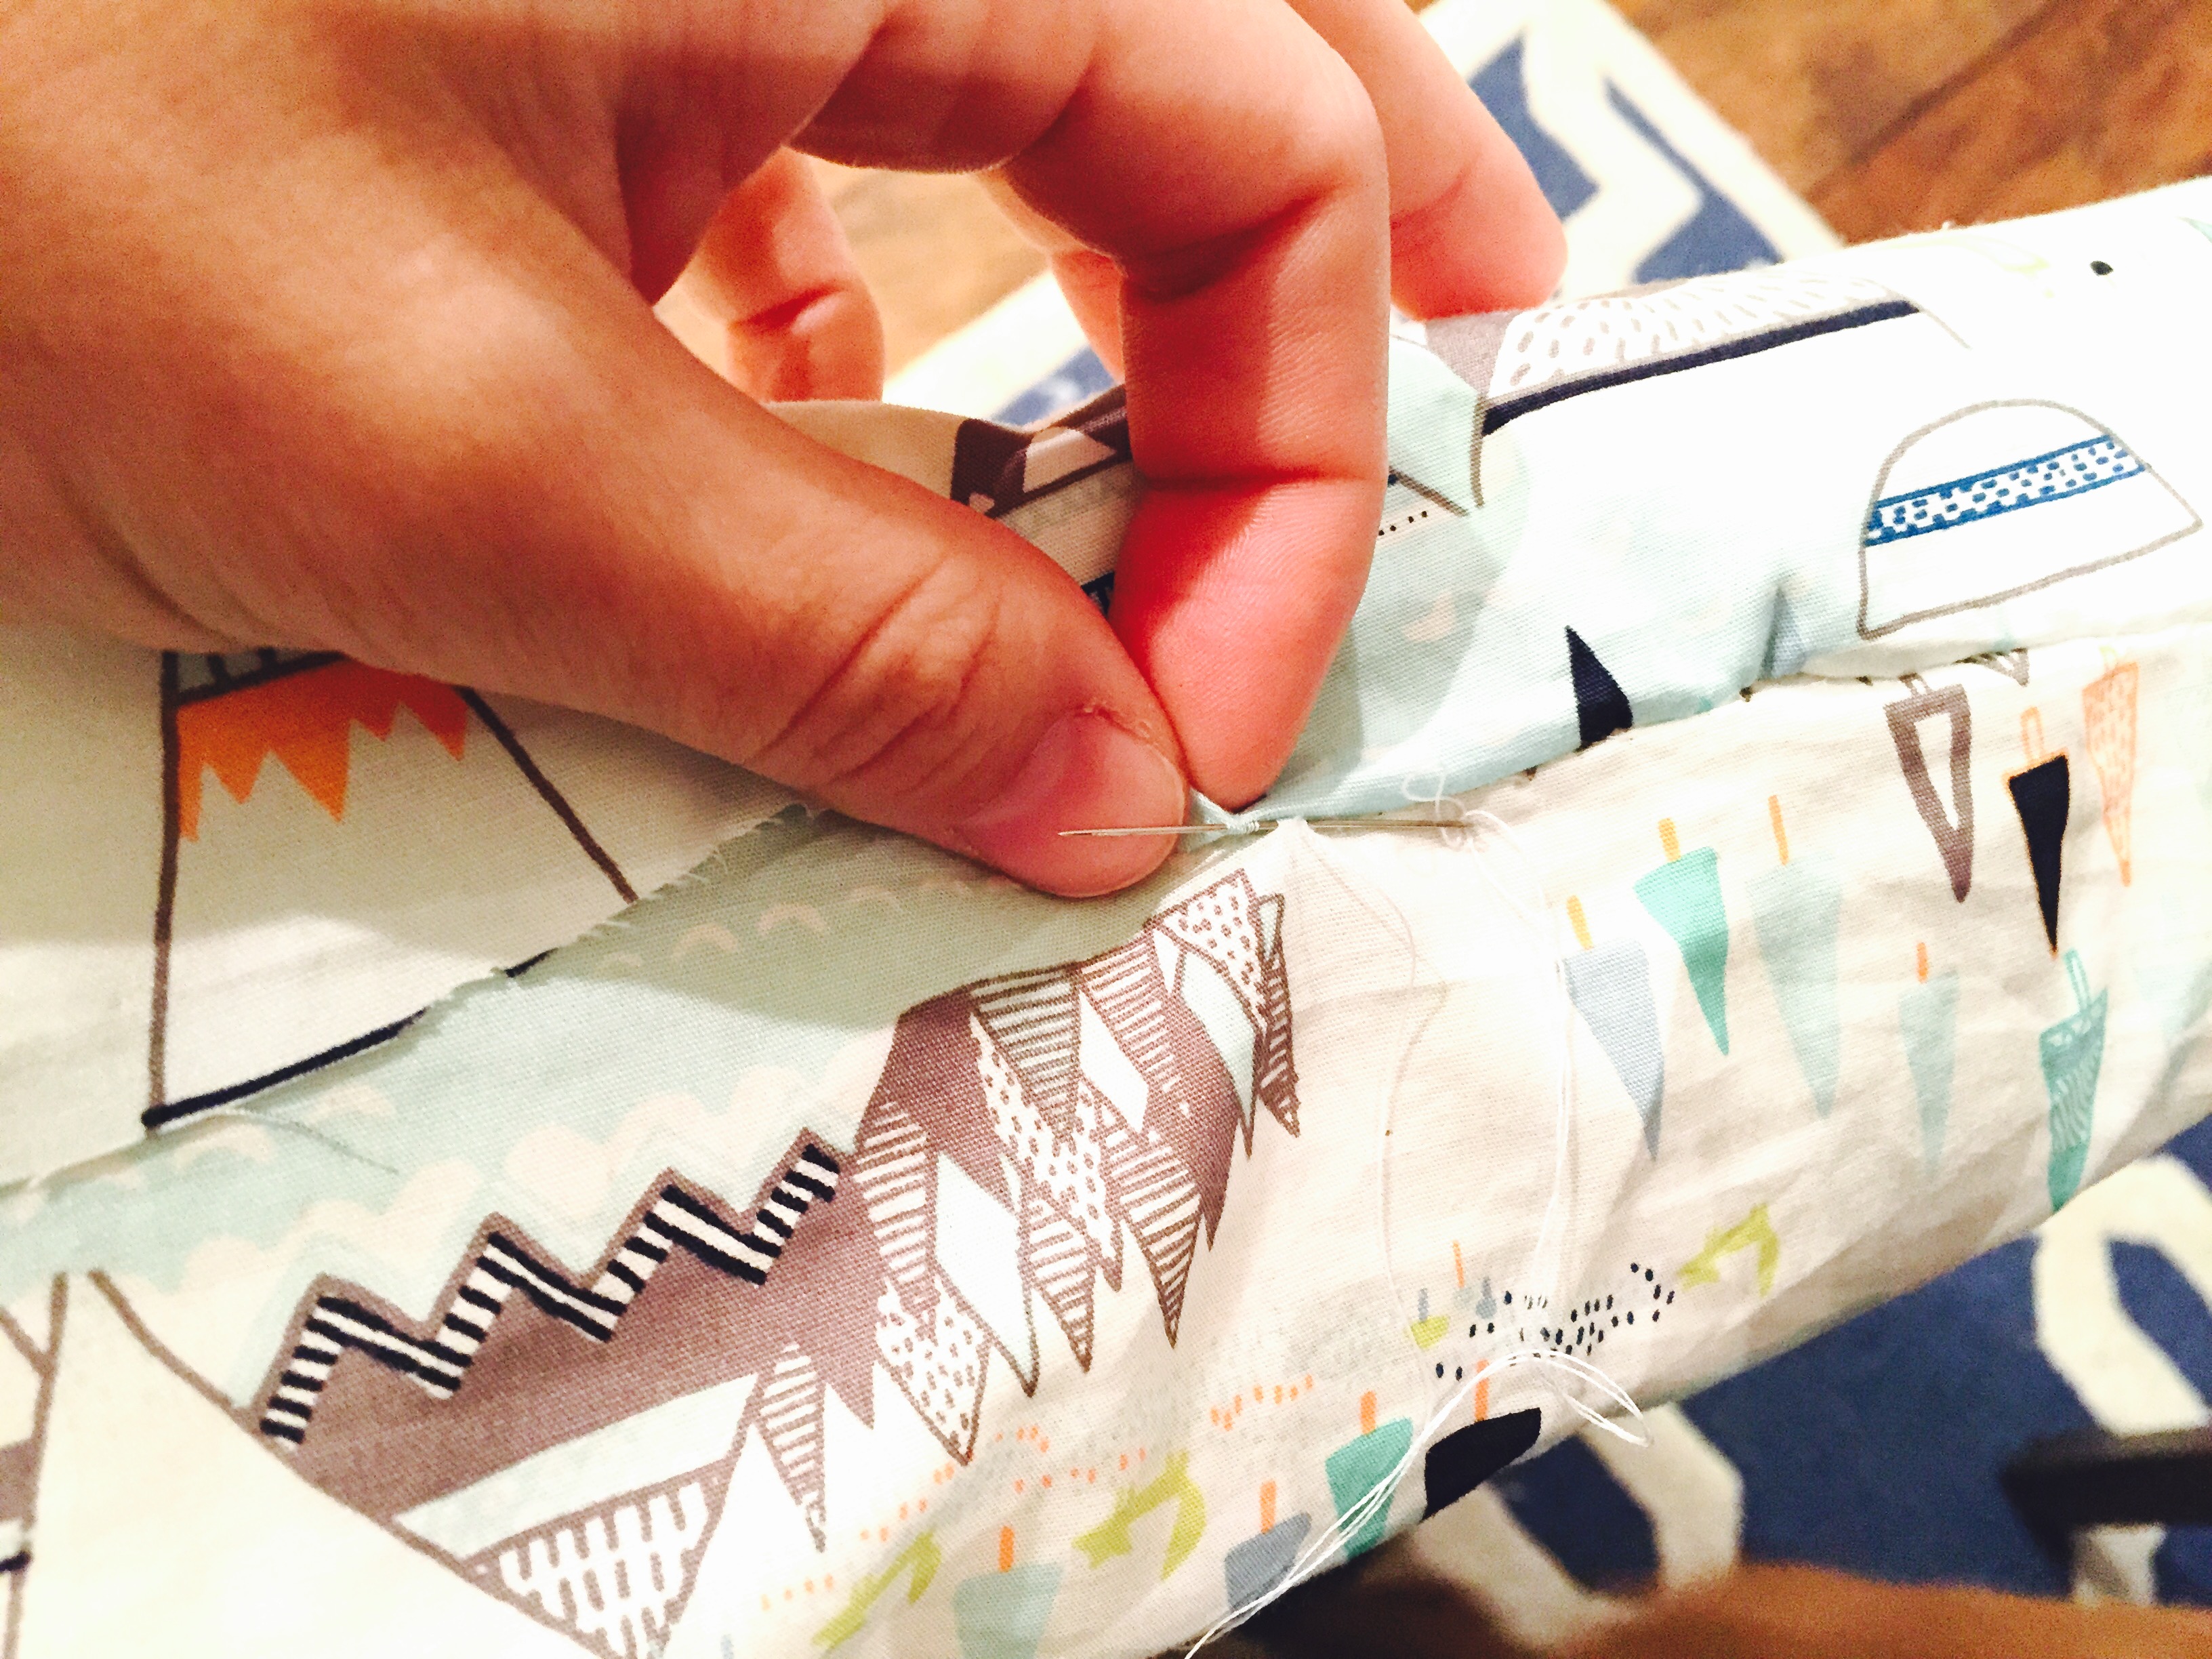
- Once in place, fold the excess fabric inward and create a nice folded seam at the bottom. Use a ladder stitch and stitch by hand to close.
- If you don’t know how to make a ladder stitch, I have some good instructions in this tutorial.
Step 3: Repeat Step 2 for Seat Cushion
- Repeat everything you did in Step 2 (on the back cushion) for your bottom cushion. EVERYTHING. They’re exactly the same (except for the cushion shape).
Step 4: Remove and Re-cover foot cushion
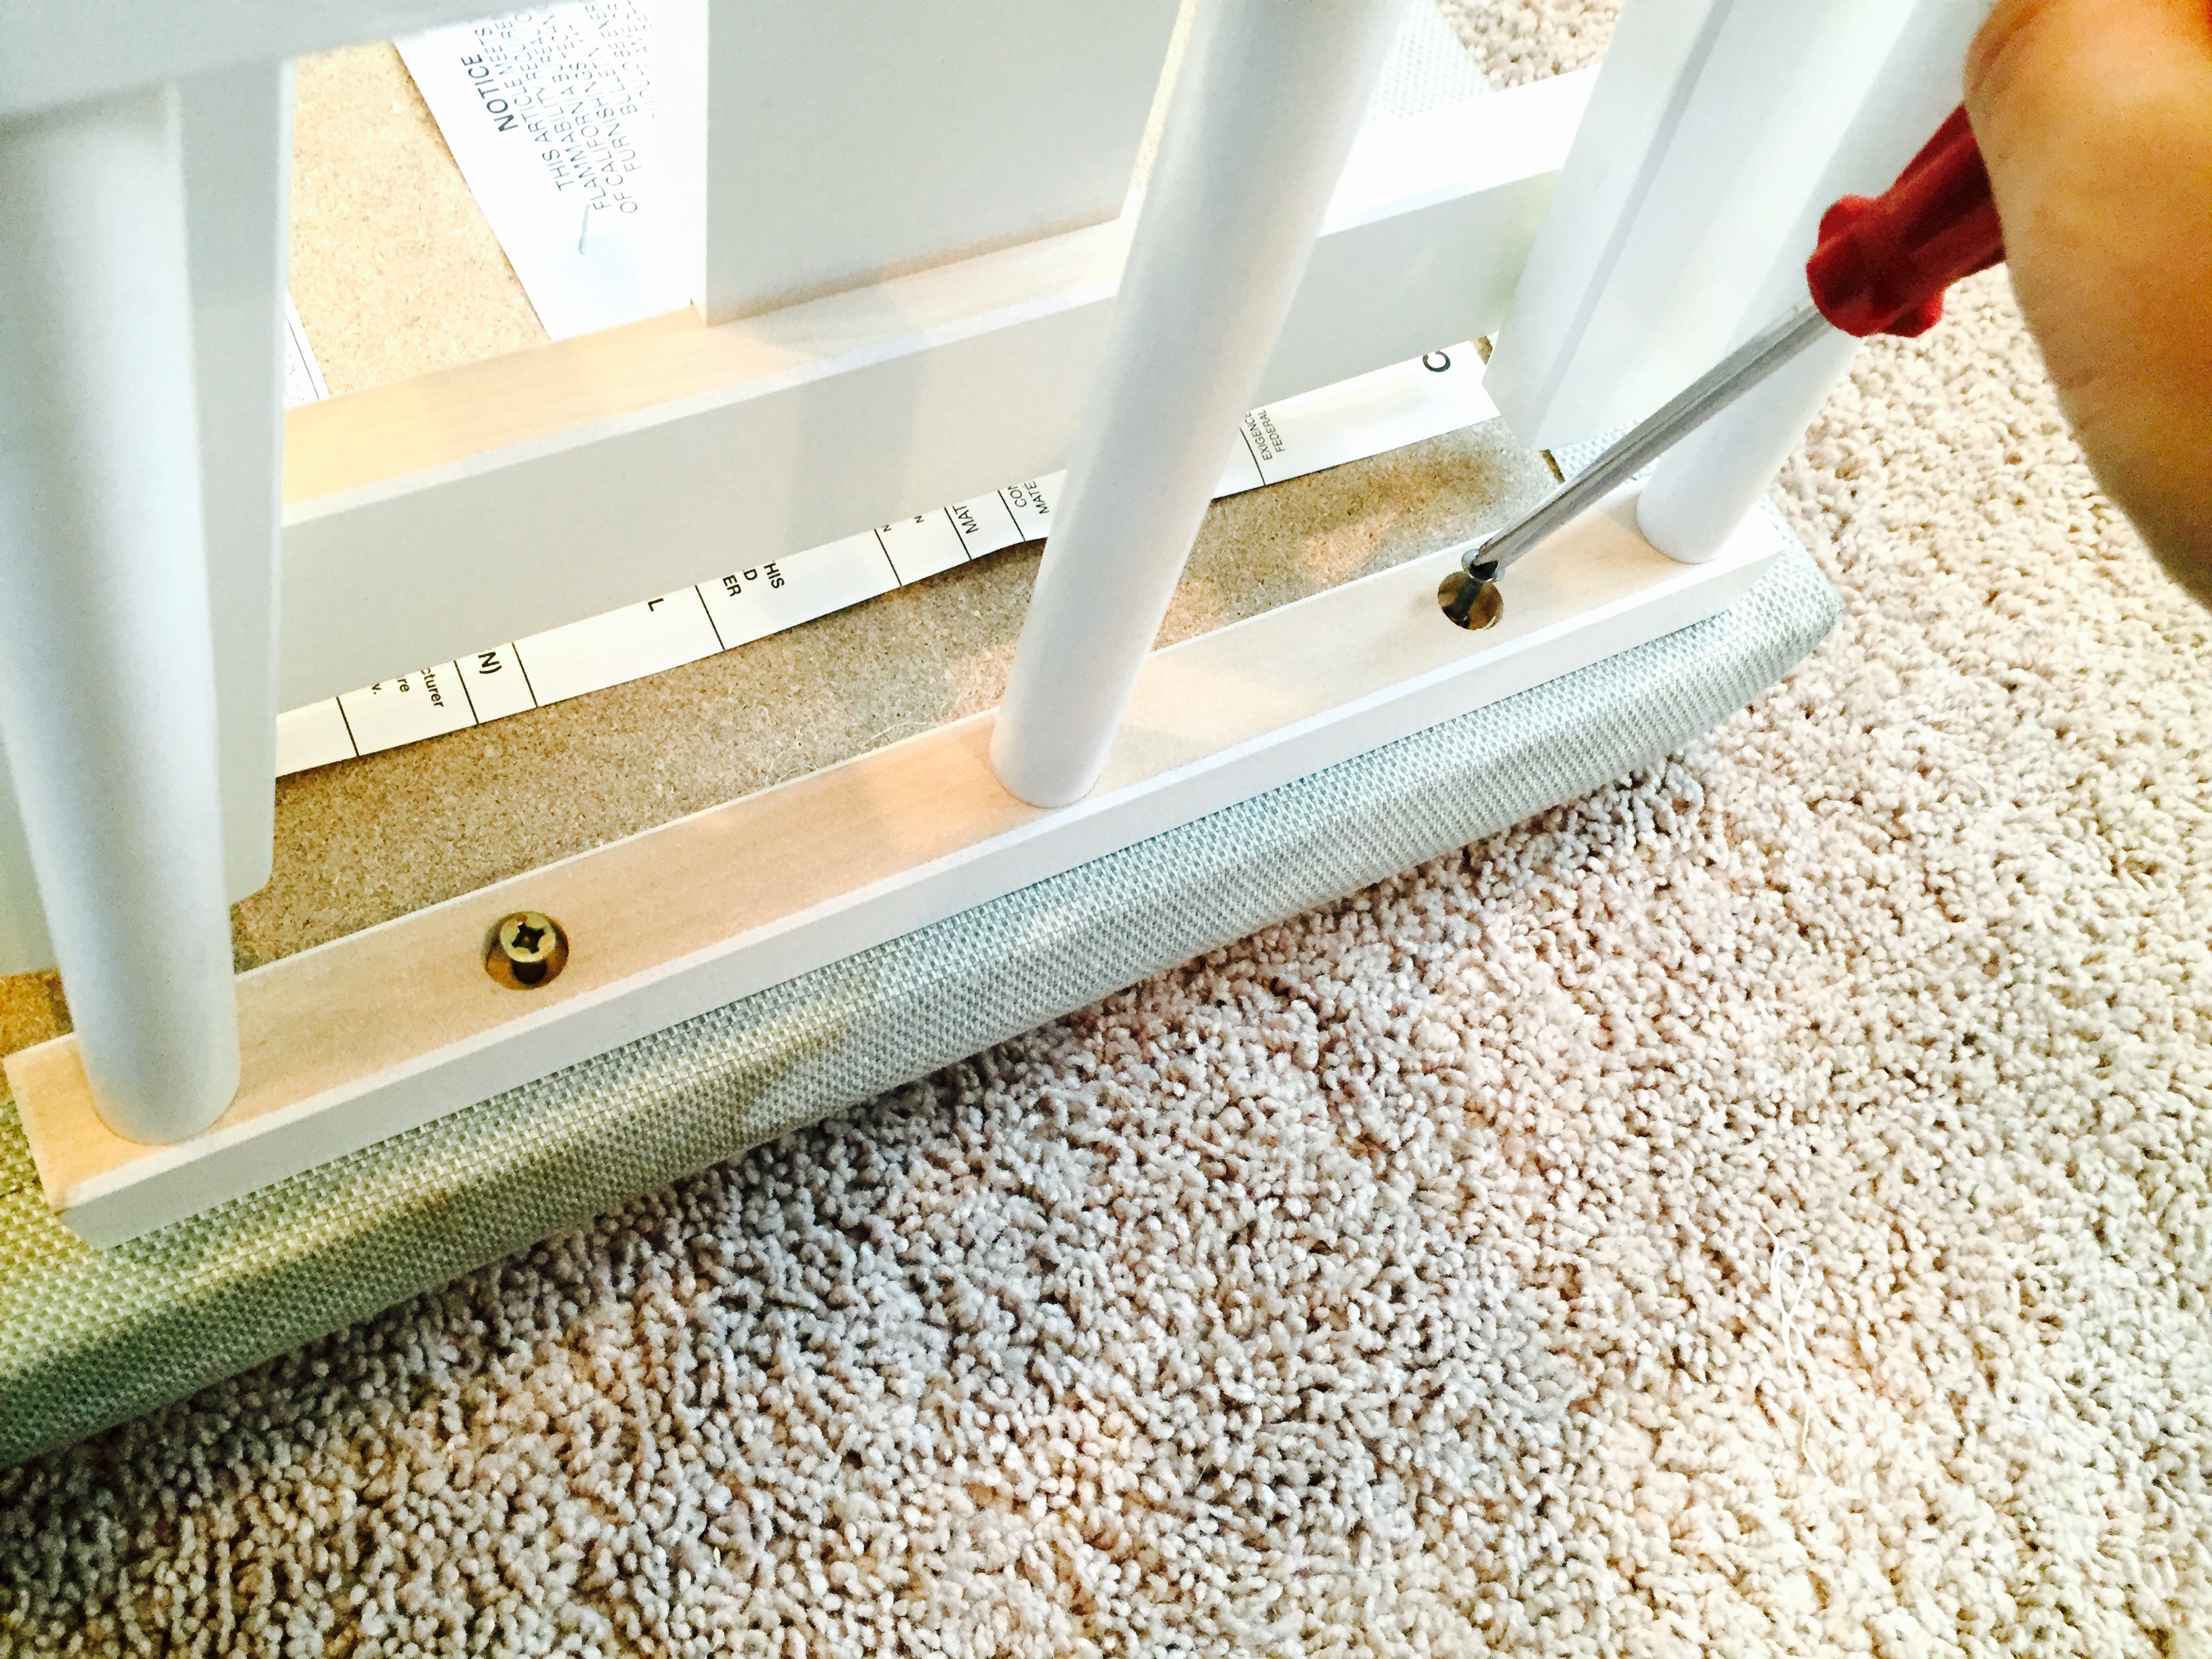
- First, remove the 4 screws that attach the wood glider to the bottom of the cushion. Once removed, keep and set aside.
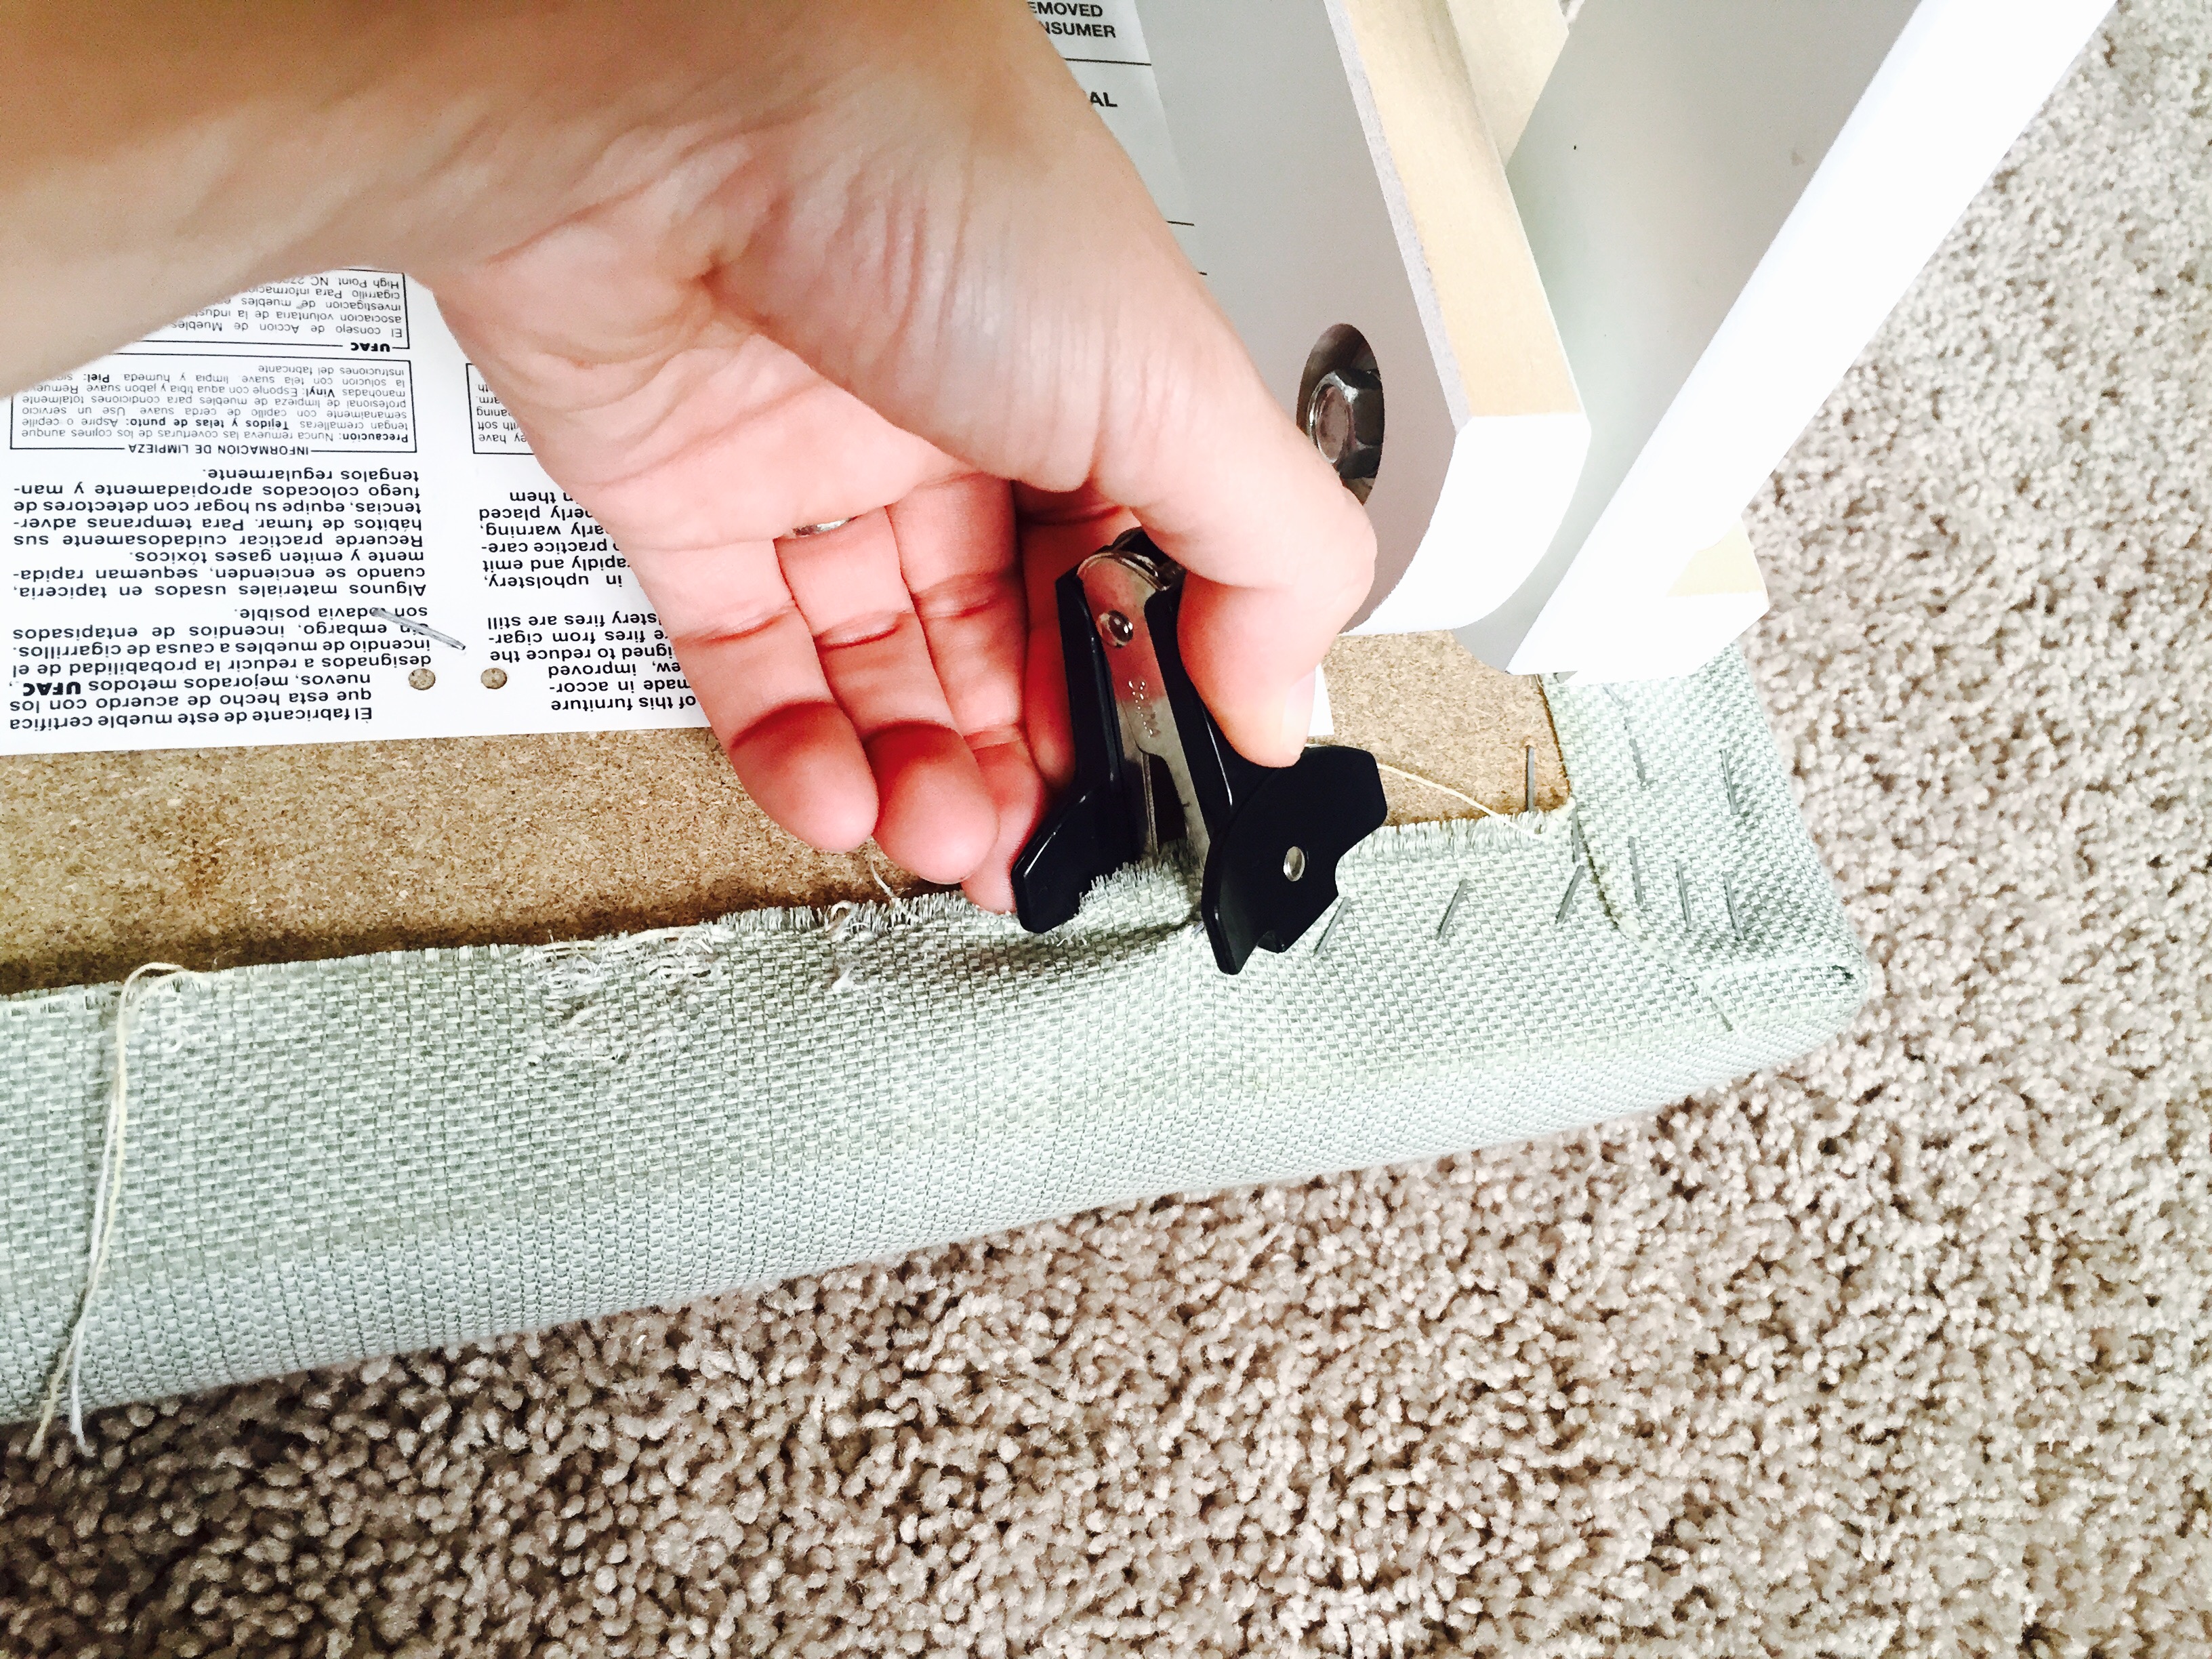
- The, take your staple remover and try to take out all the staples that are attaching the current fabric cover to the foot cushion.
- Tip: These can sometimes be REALLY TOUGH to remove. I ended up just removing a few on each side. Enough so that I could get my scissors inside and cut around the base to remove the fabric from the top.
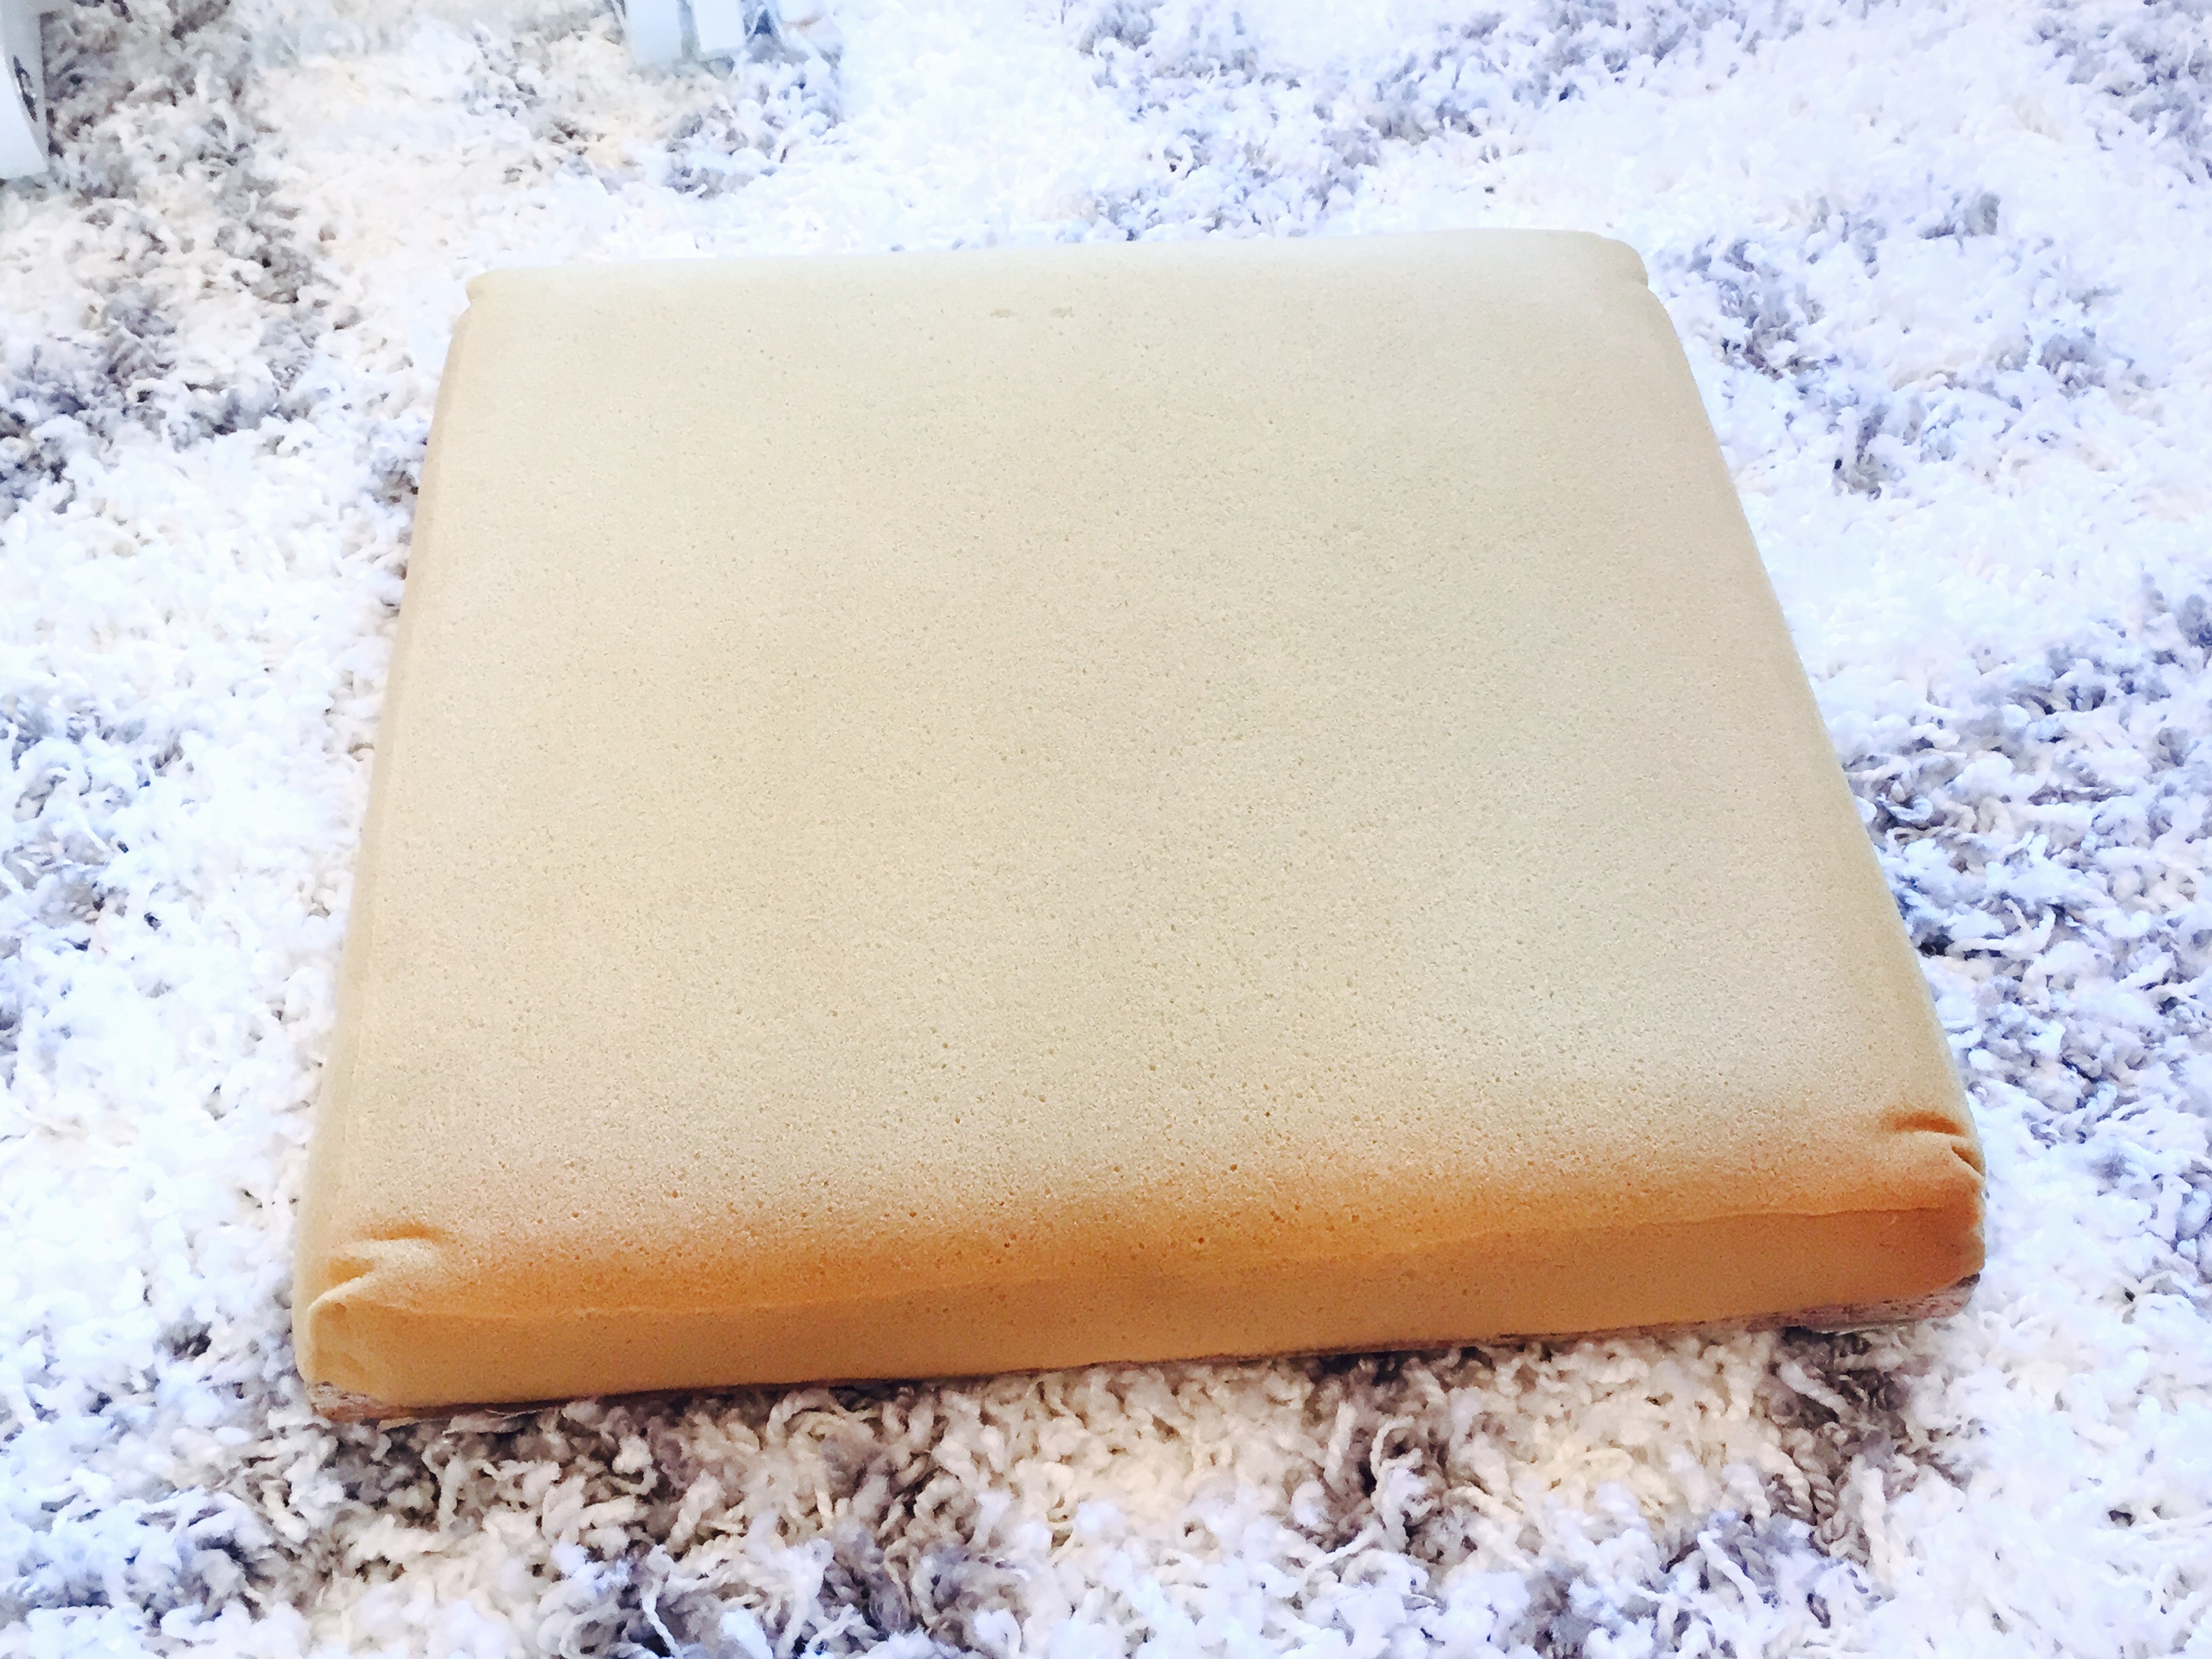
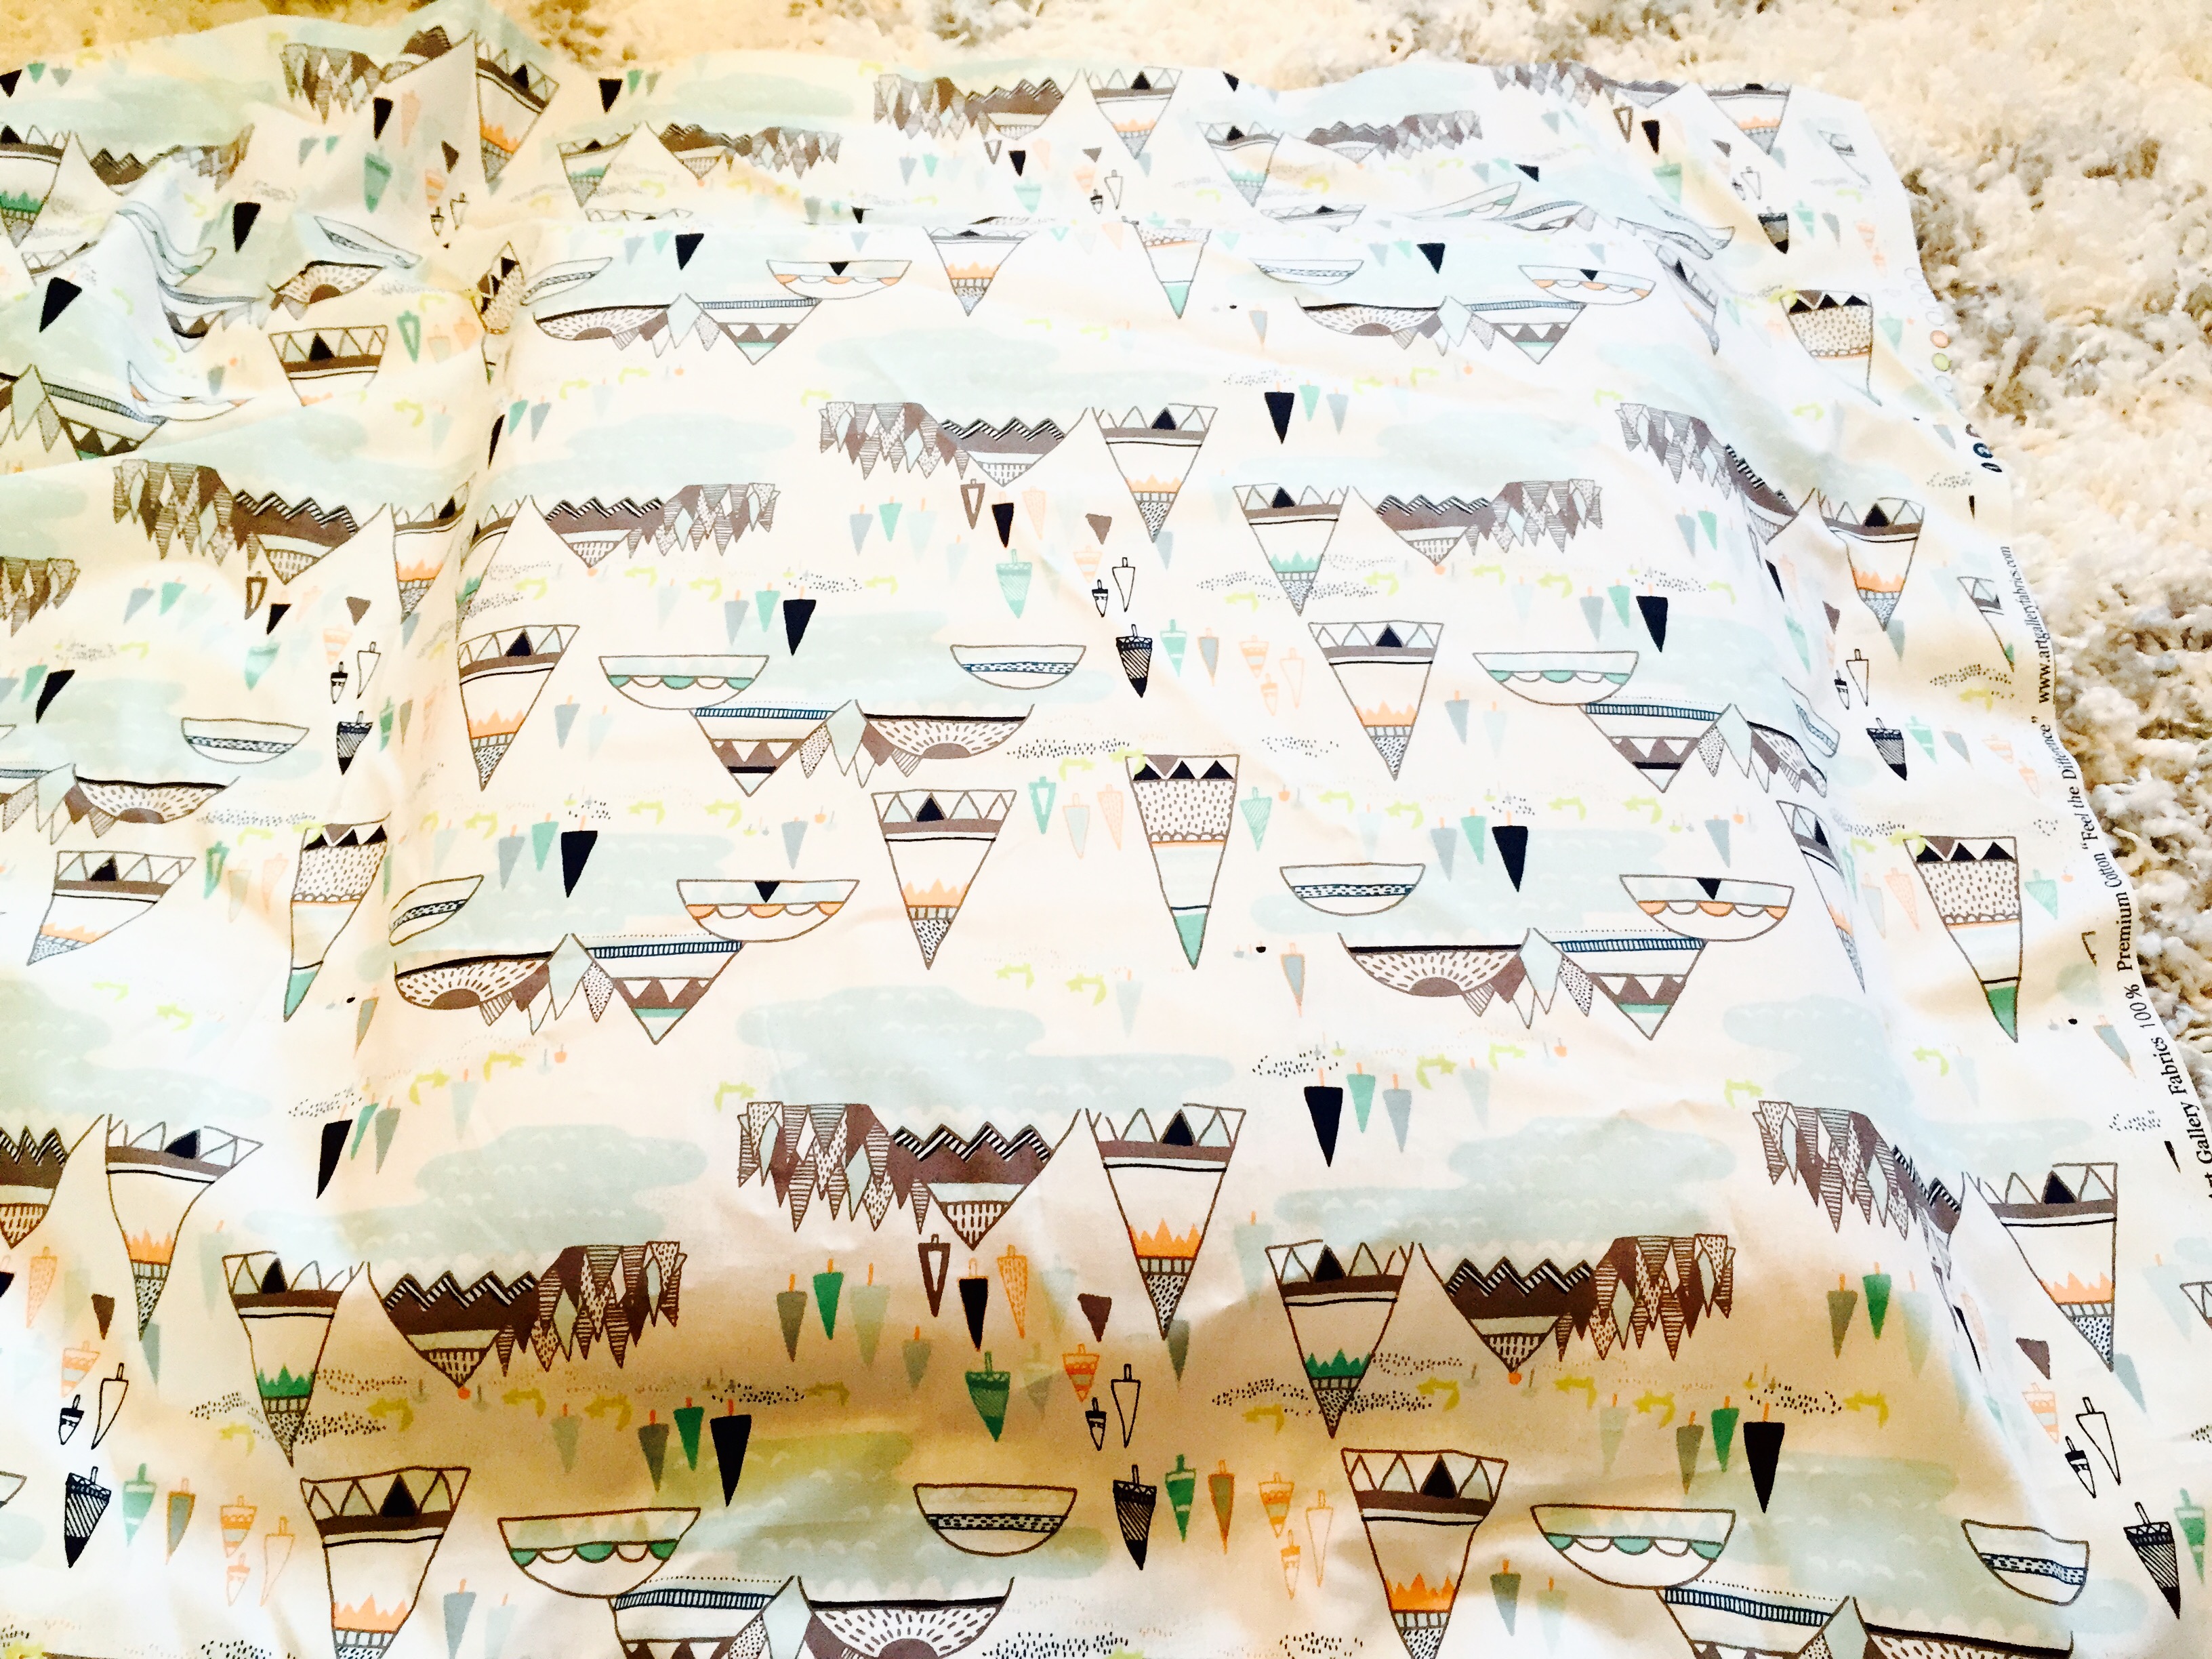
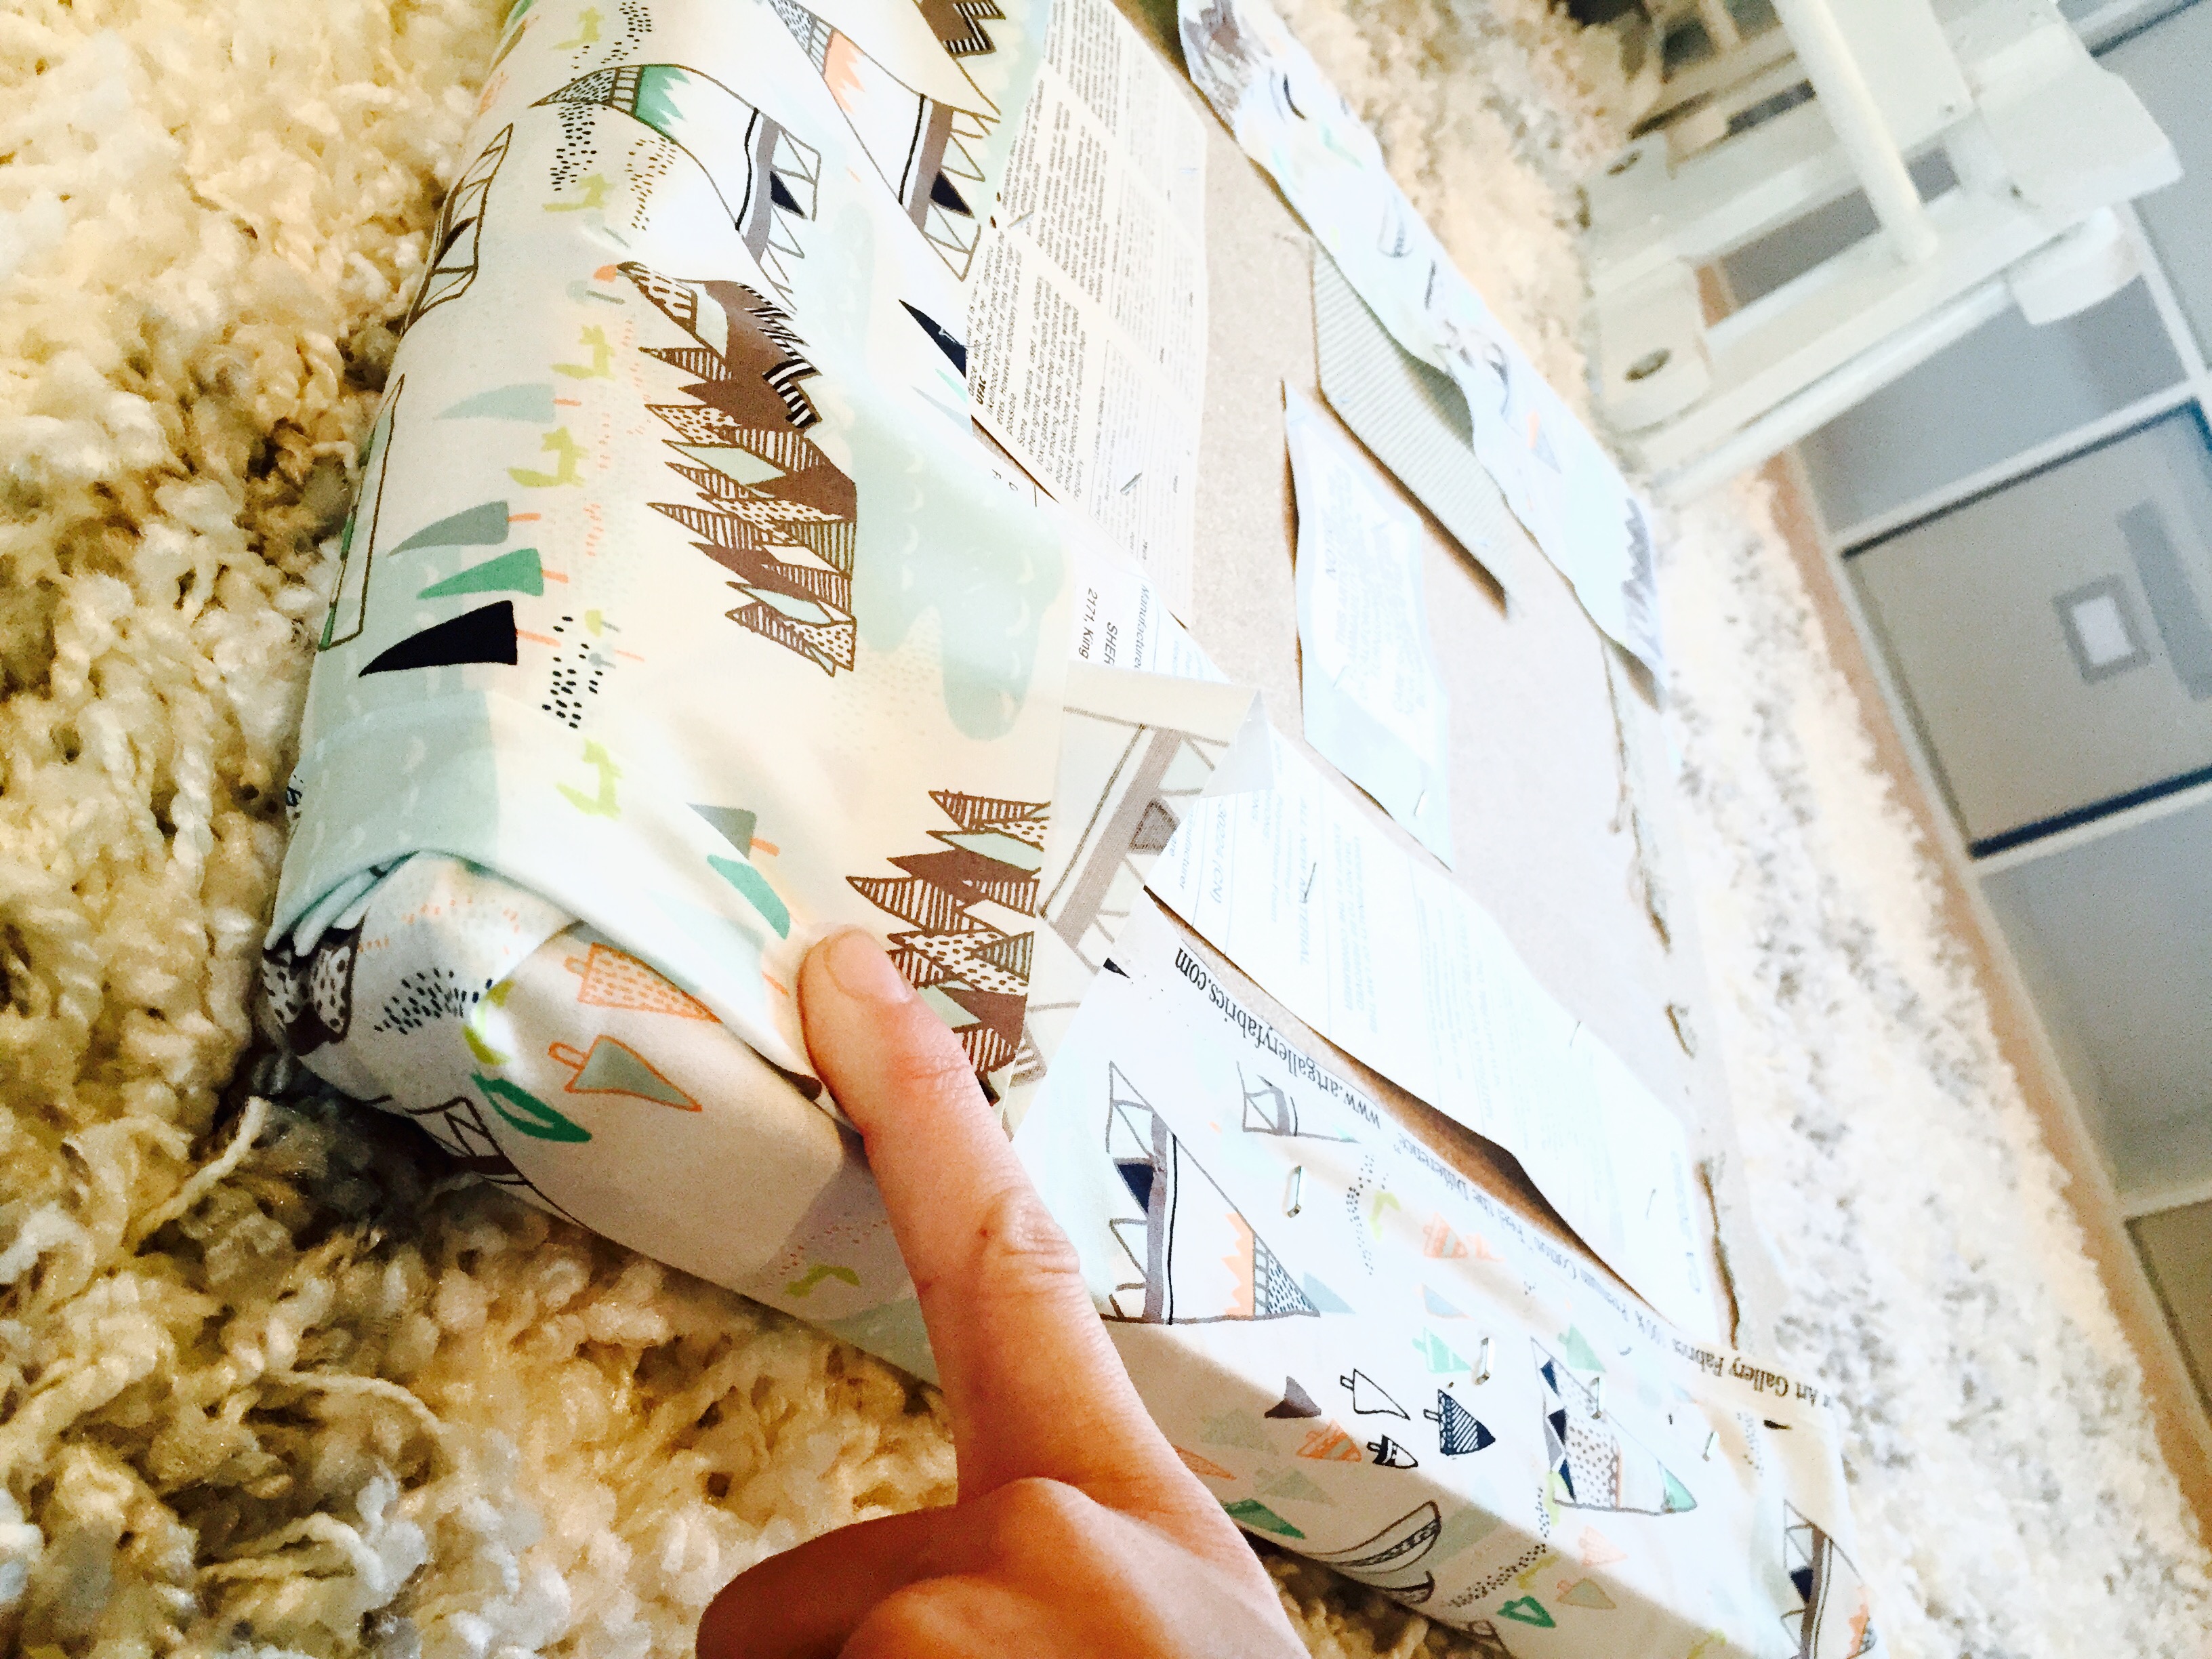
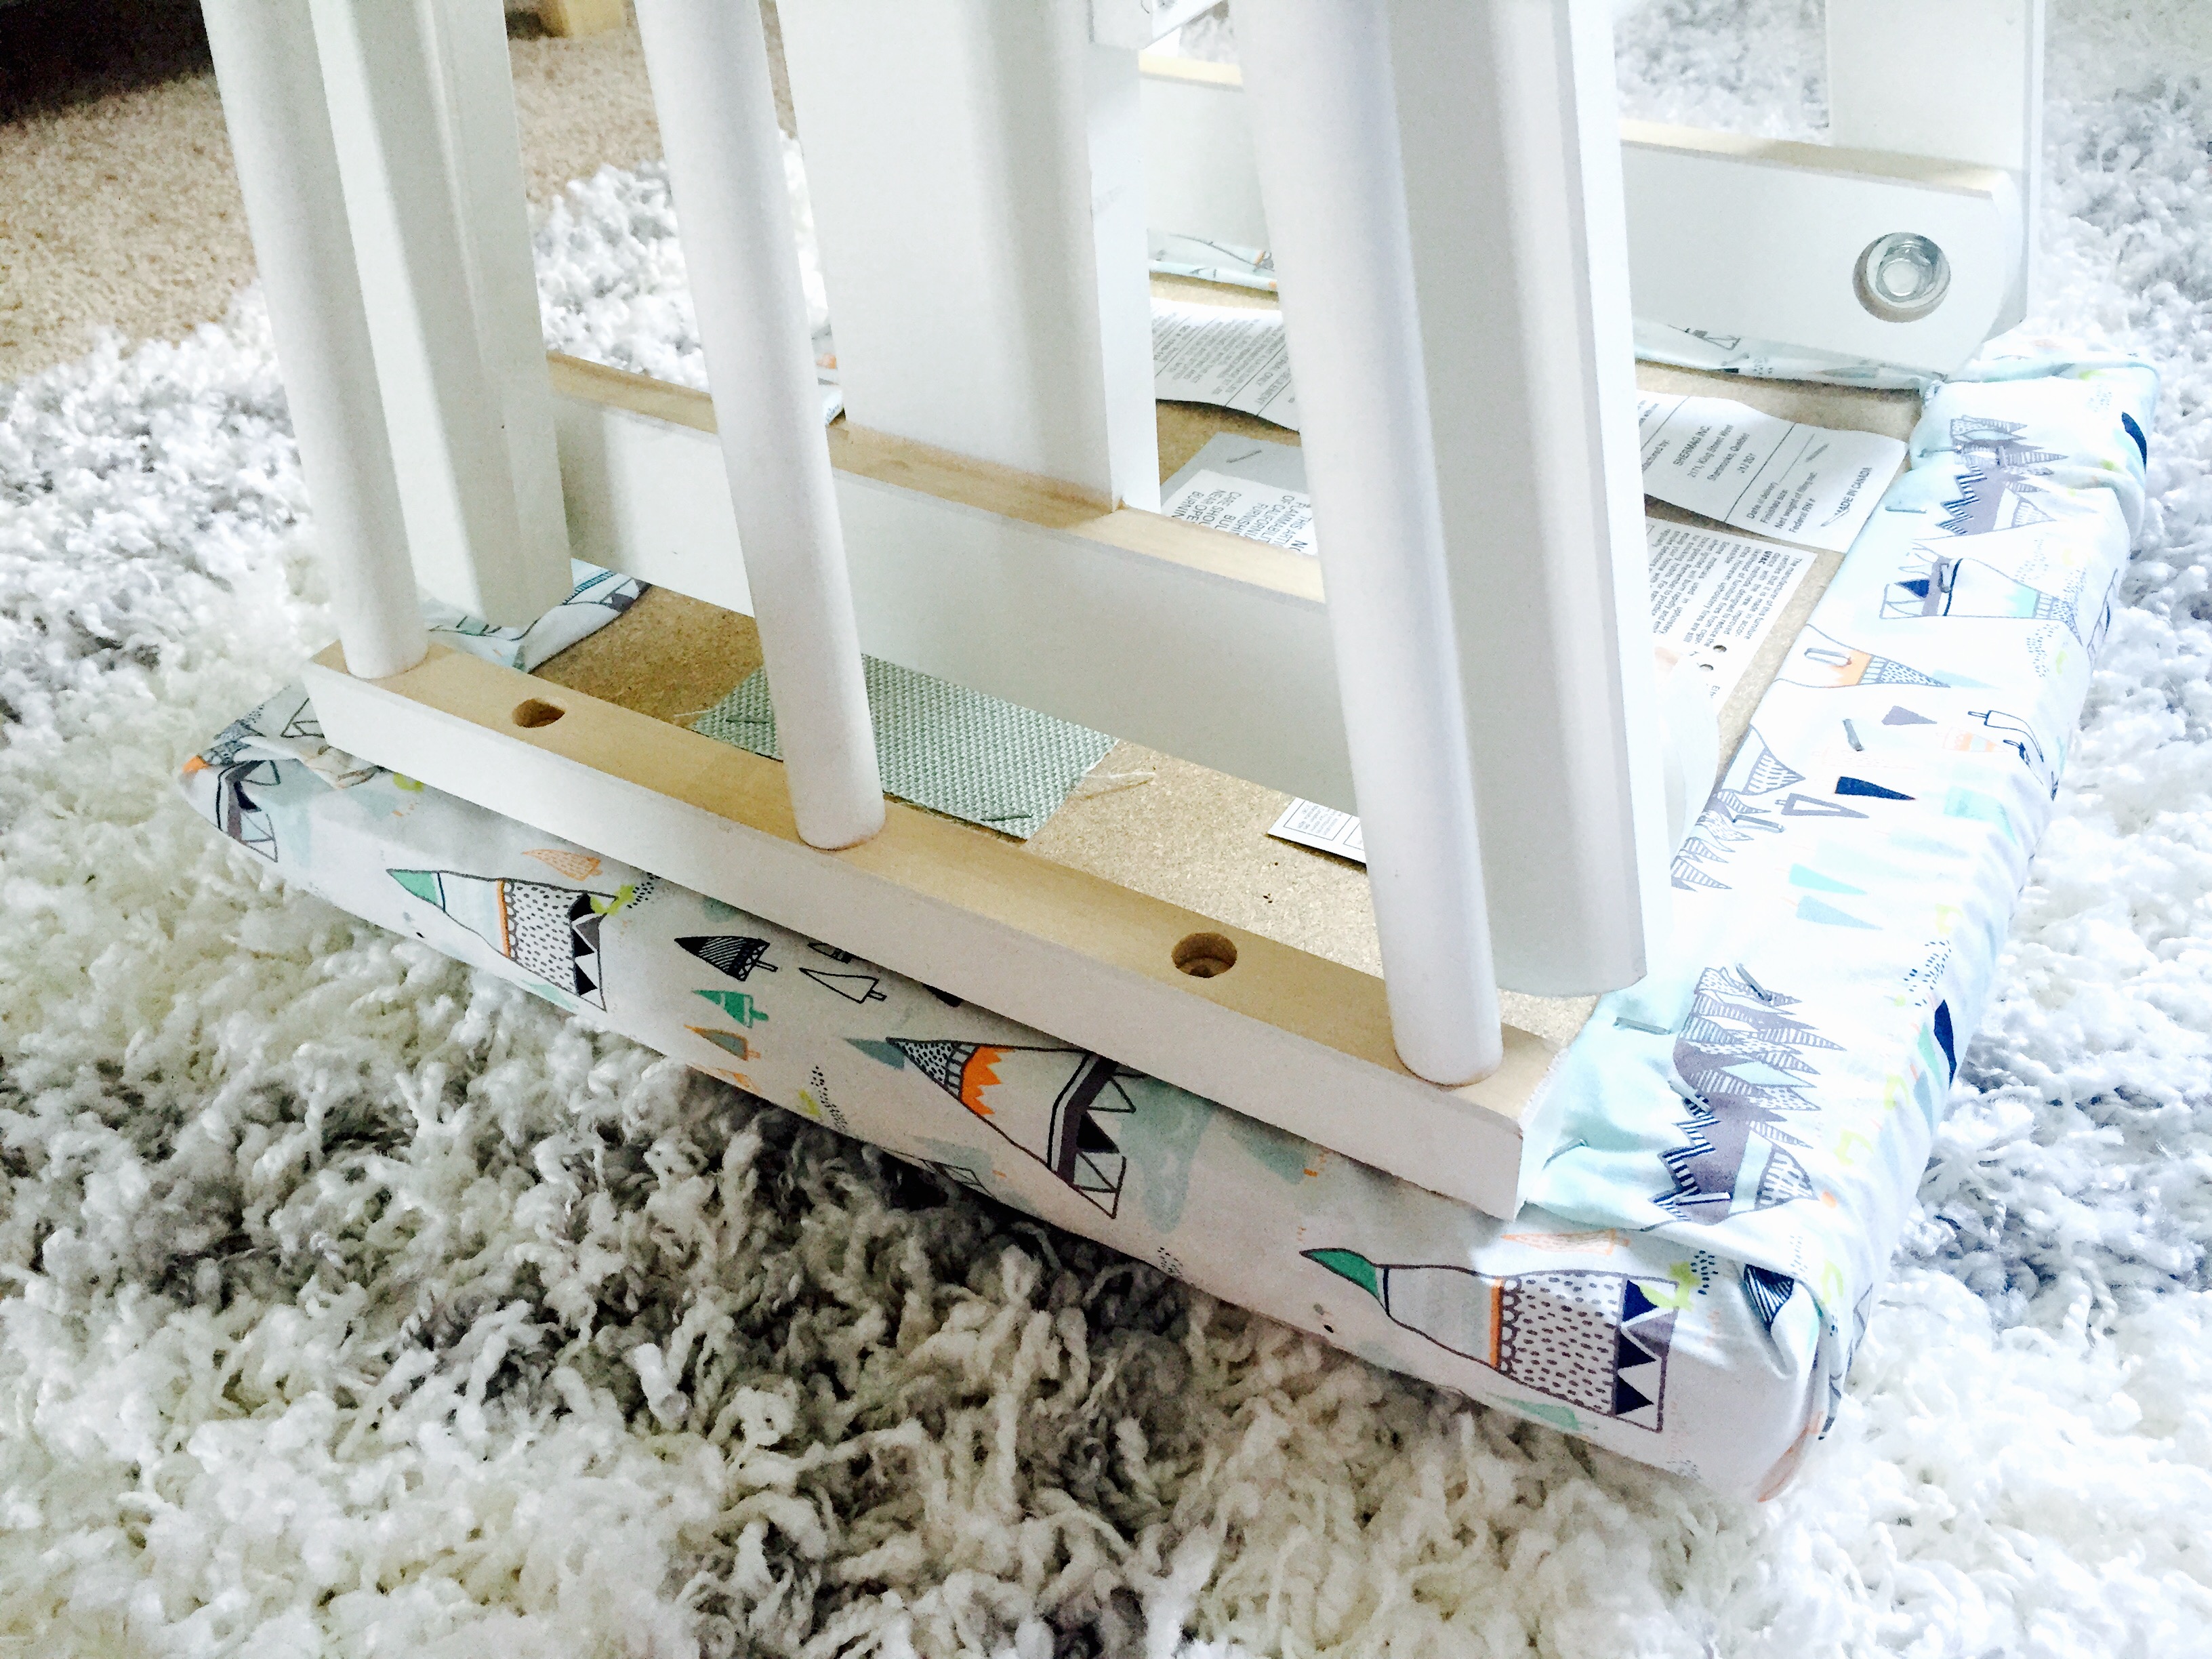
- Once the old fabric is removed, drape the new fabric on the top of the foot cushion.
- Then, fold the edges over (like you’re wrapping a present) and flip the cushion over so the bottom side is up.
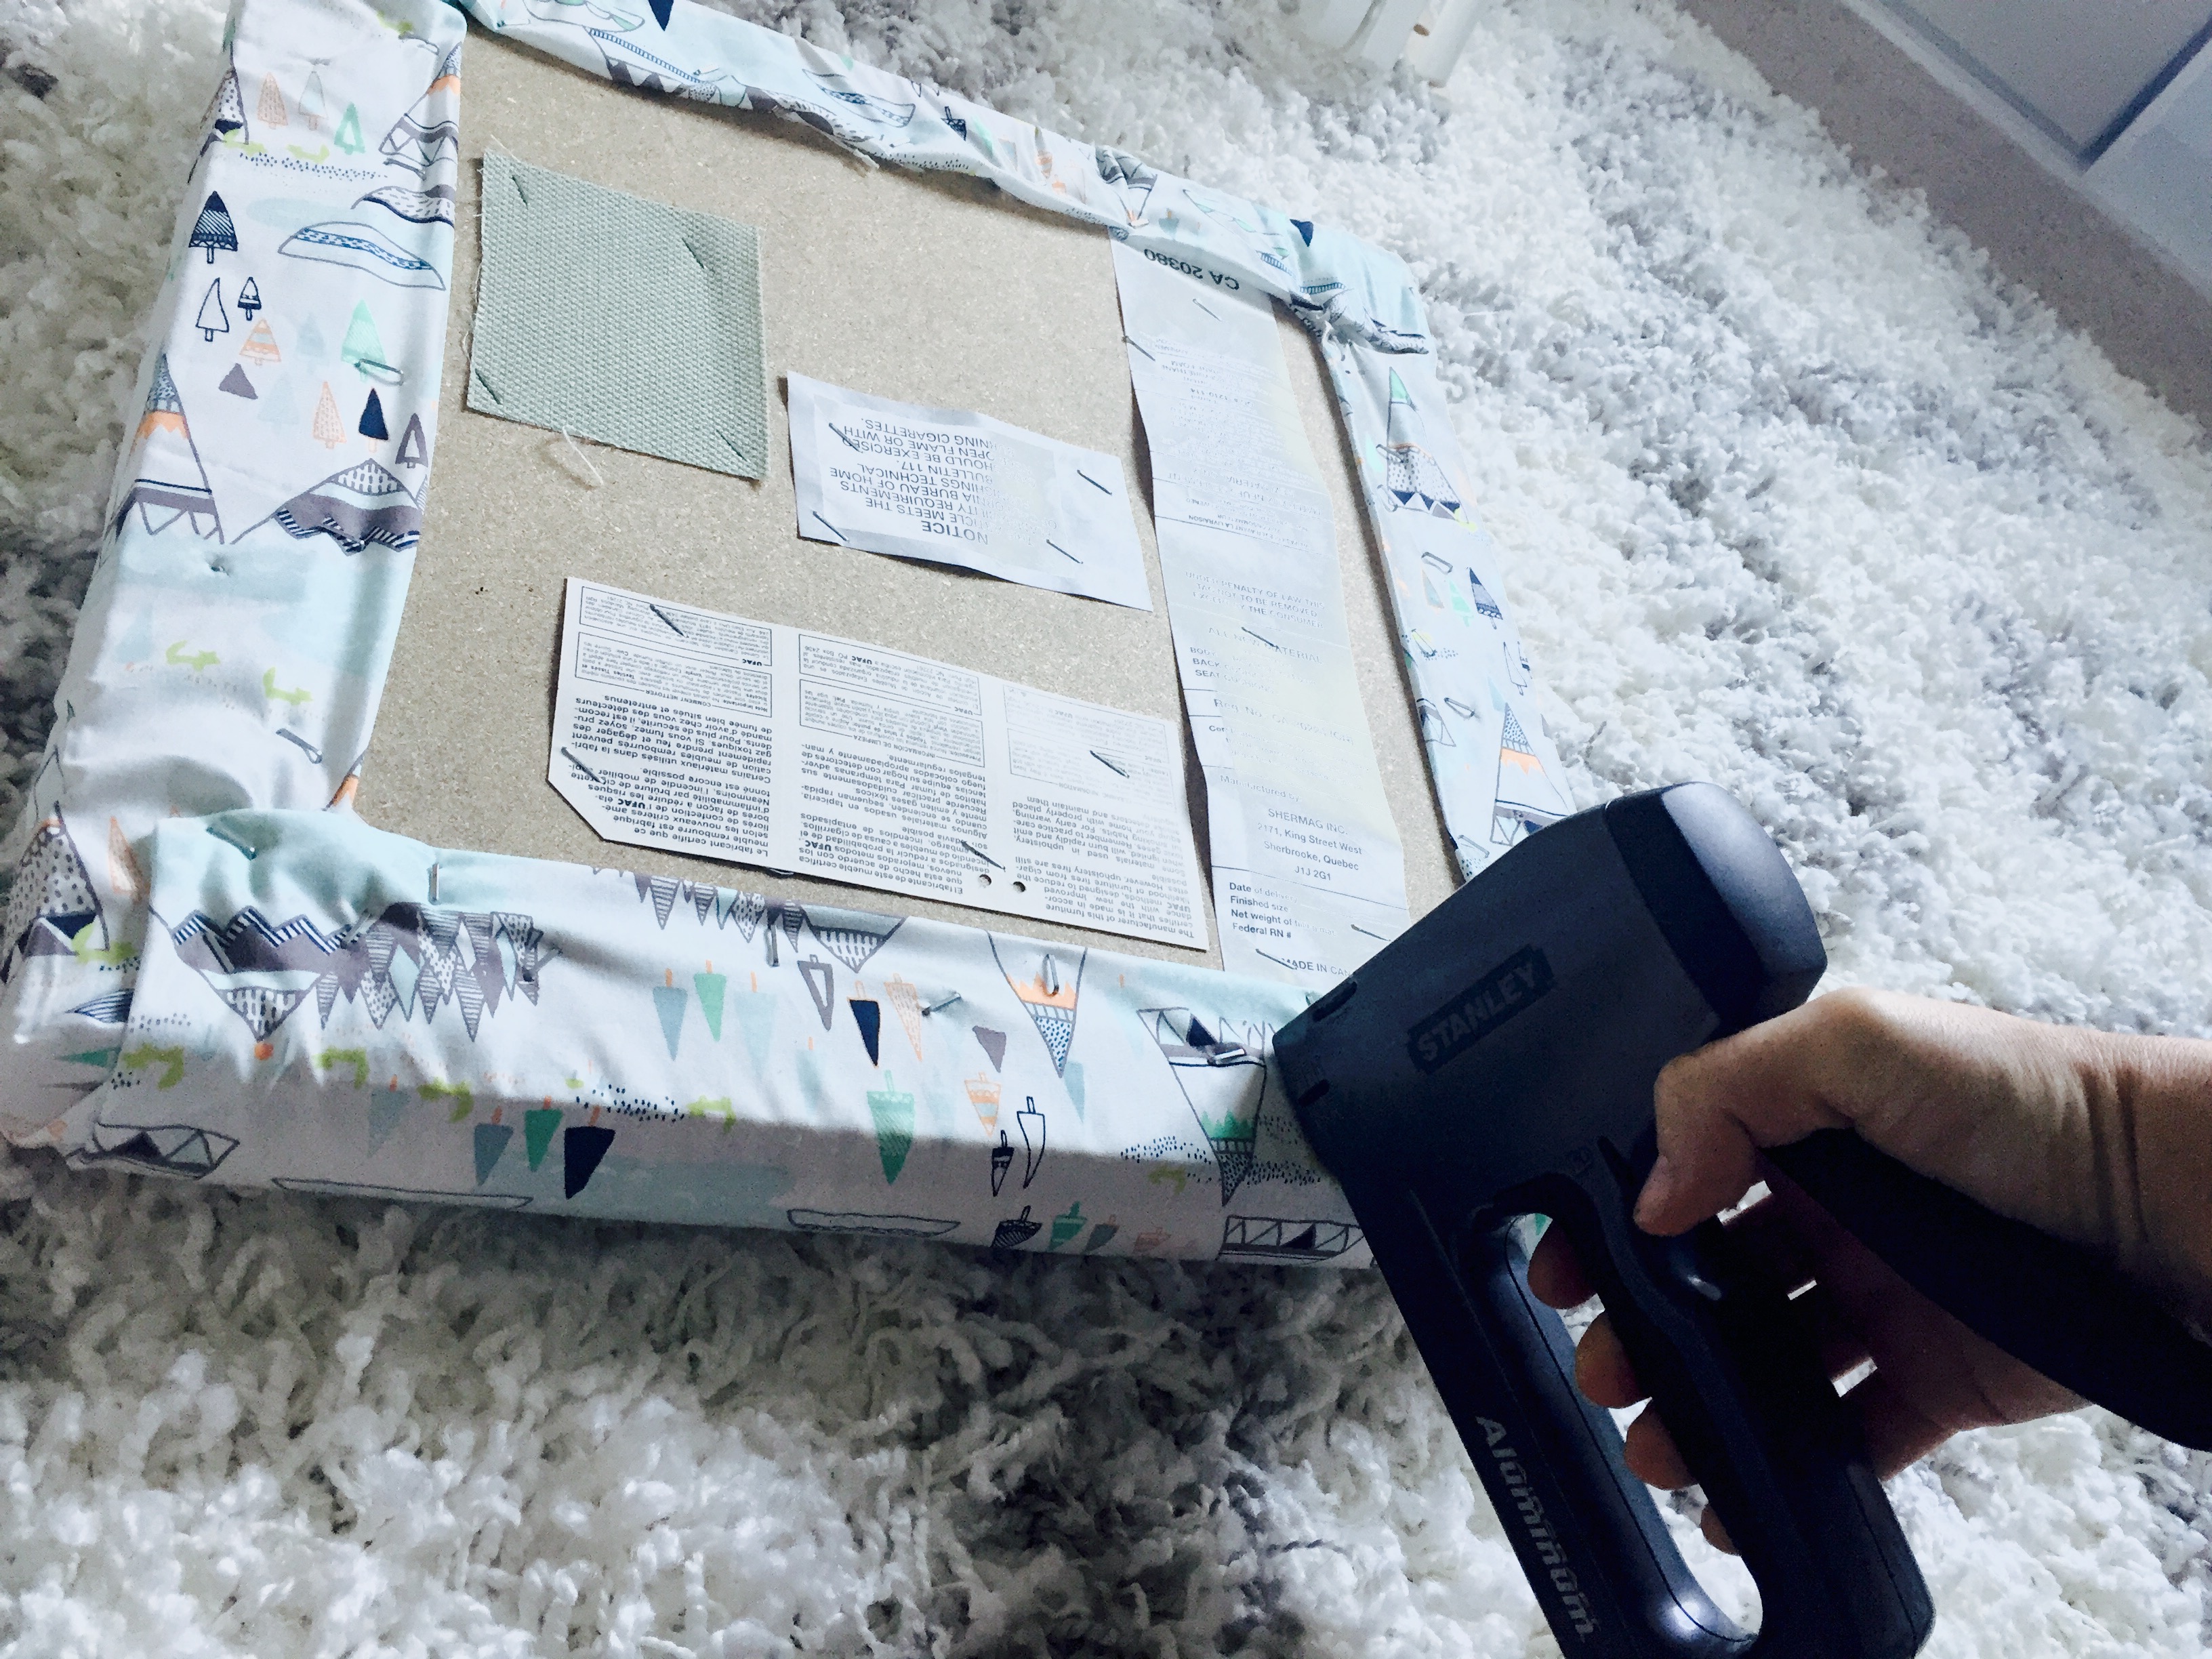
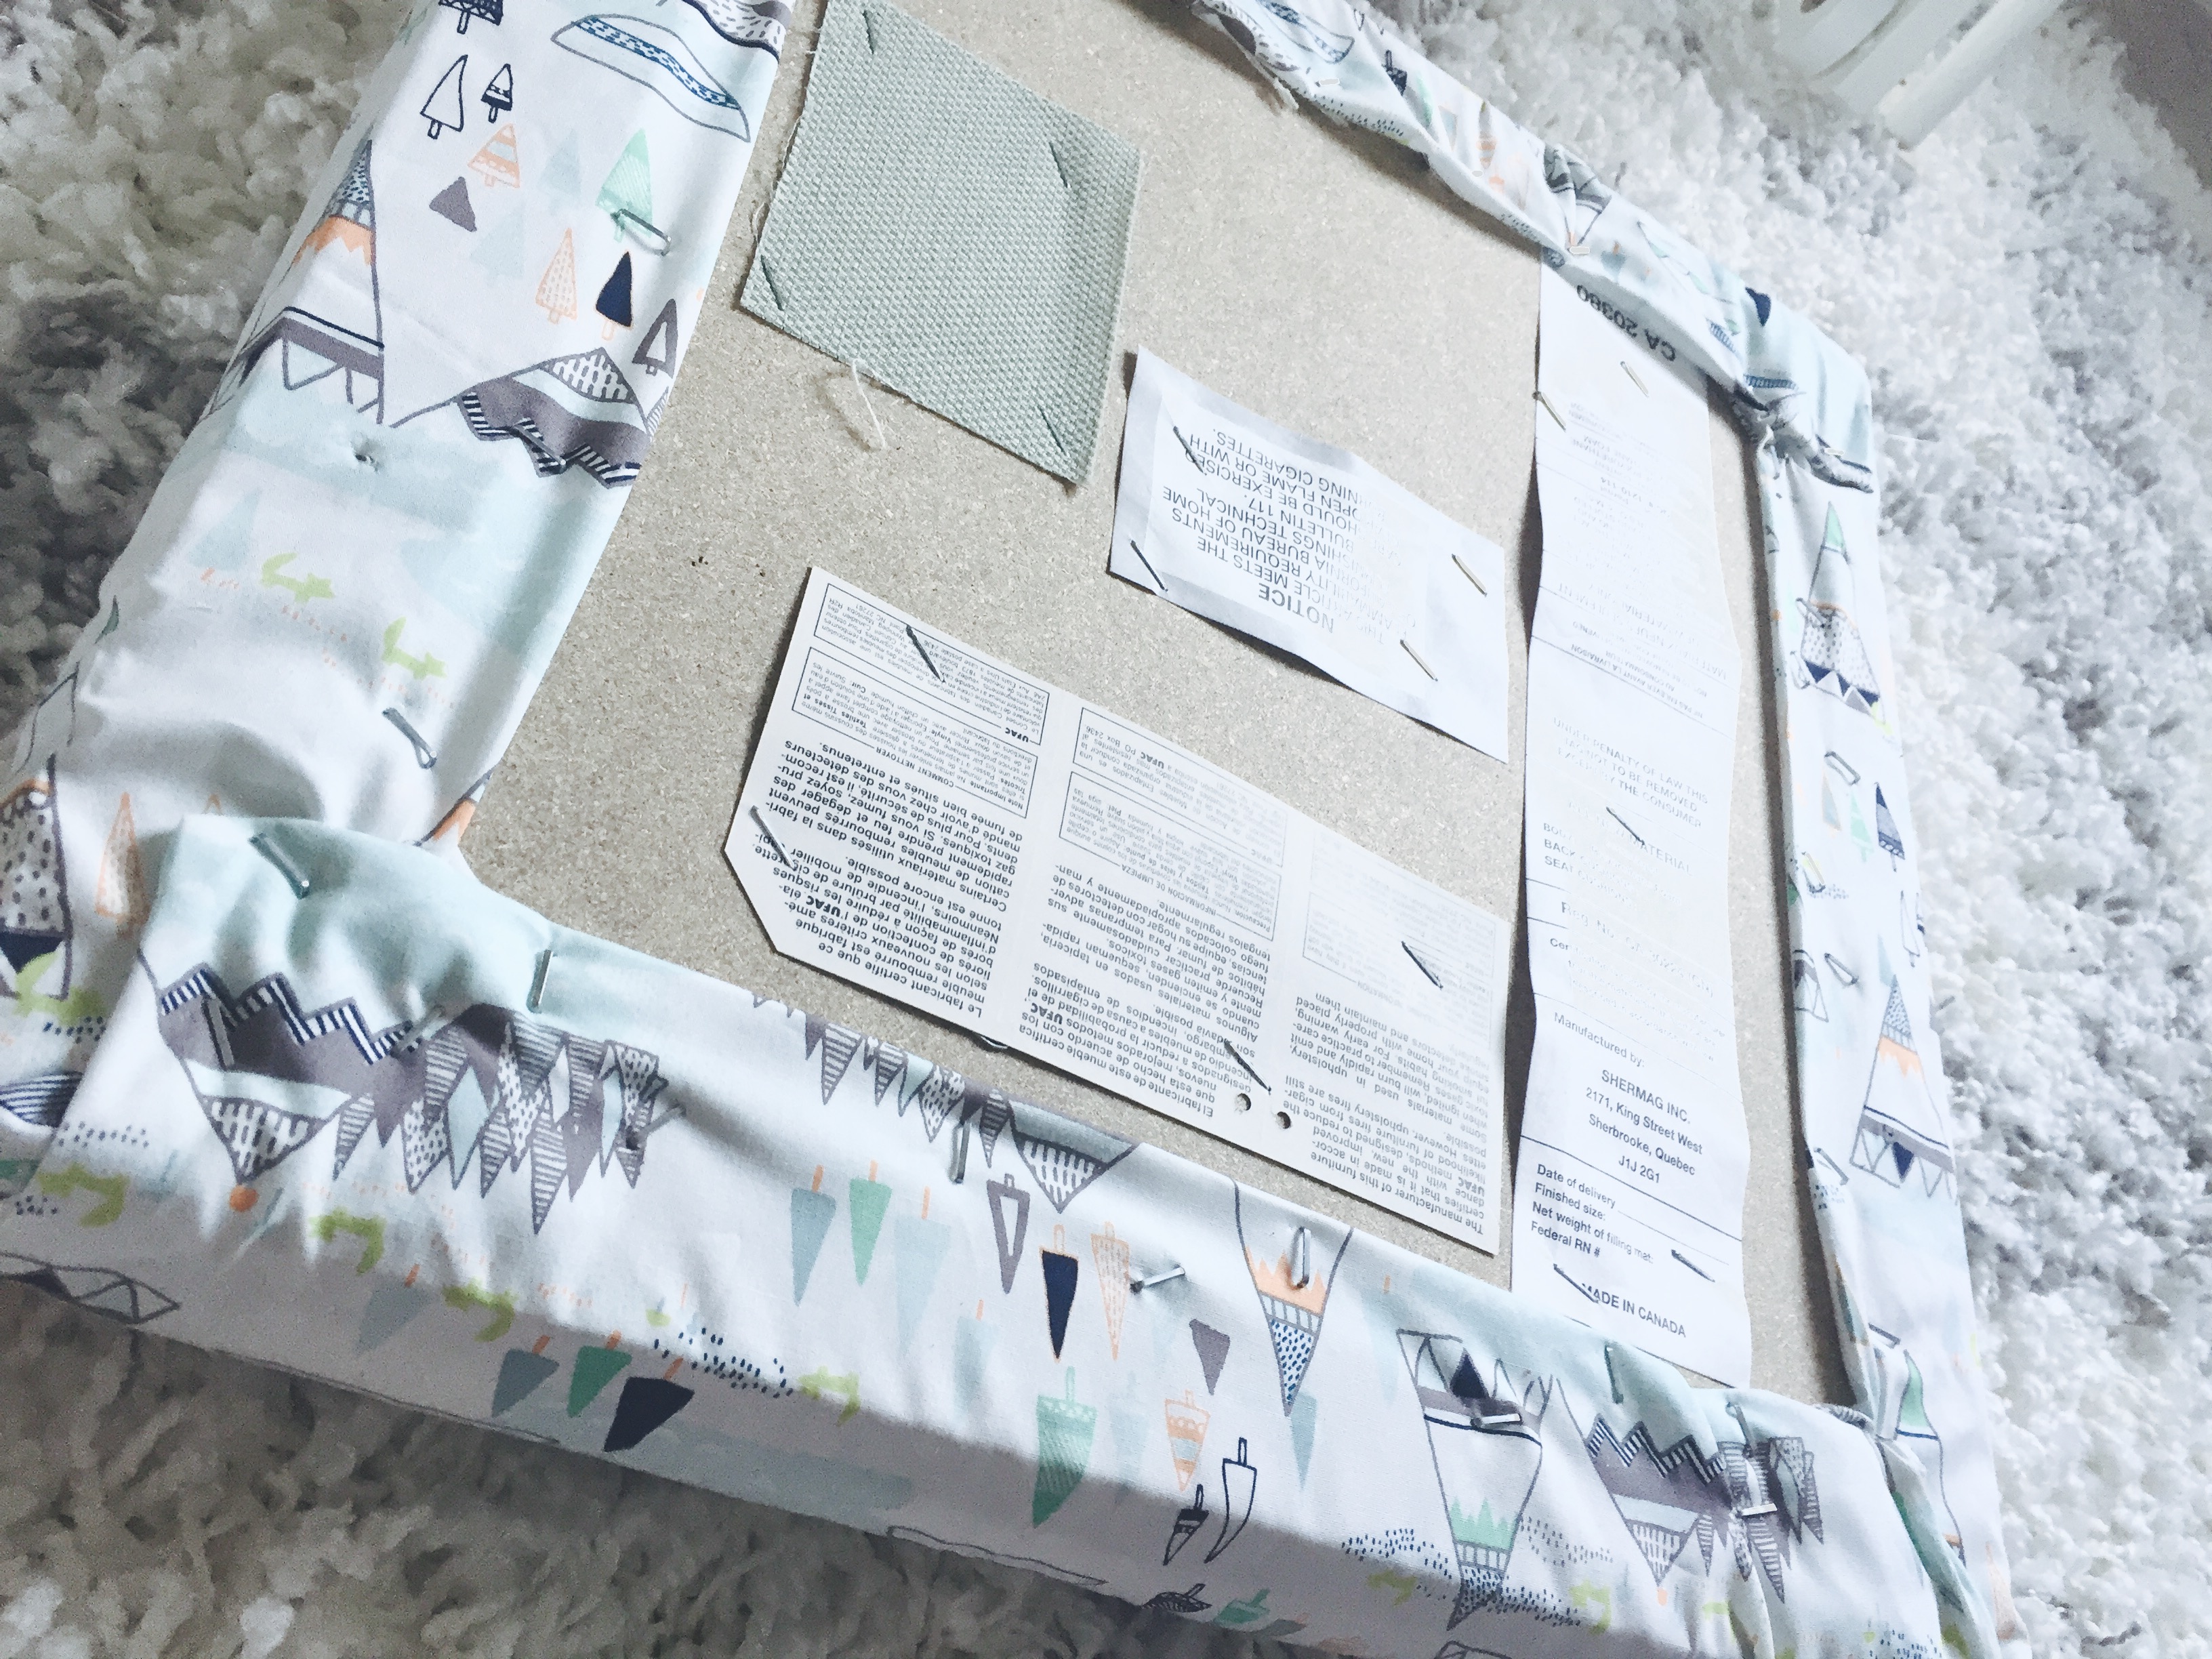
- Once the bottom side is facing up, cut off any excess fabric and fold the edges inward to create a seamless look.
- Then, use your staple gun to staple the fabric down the the chipboard bottom of the foot cushion.
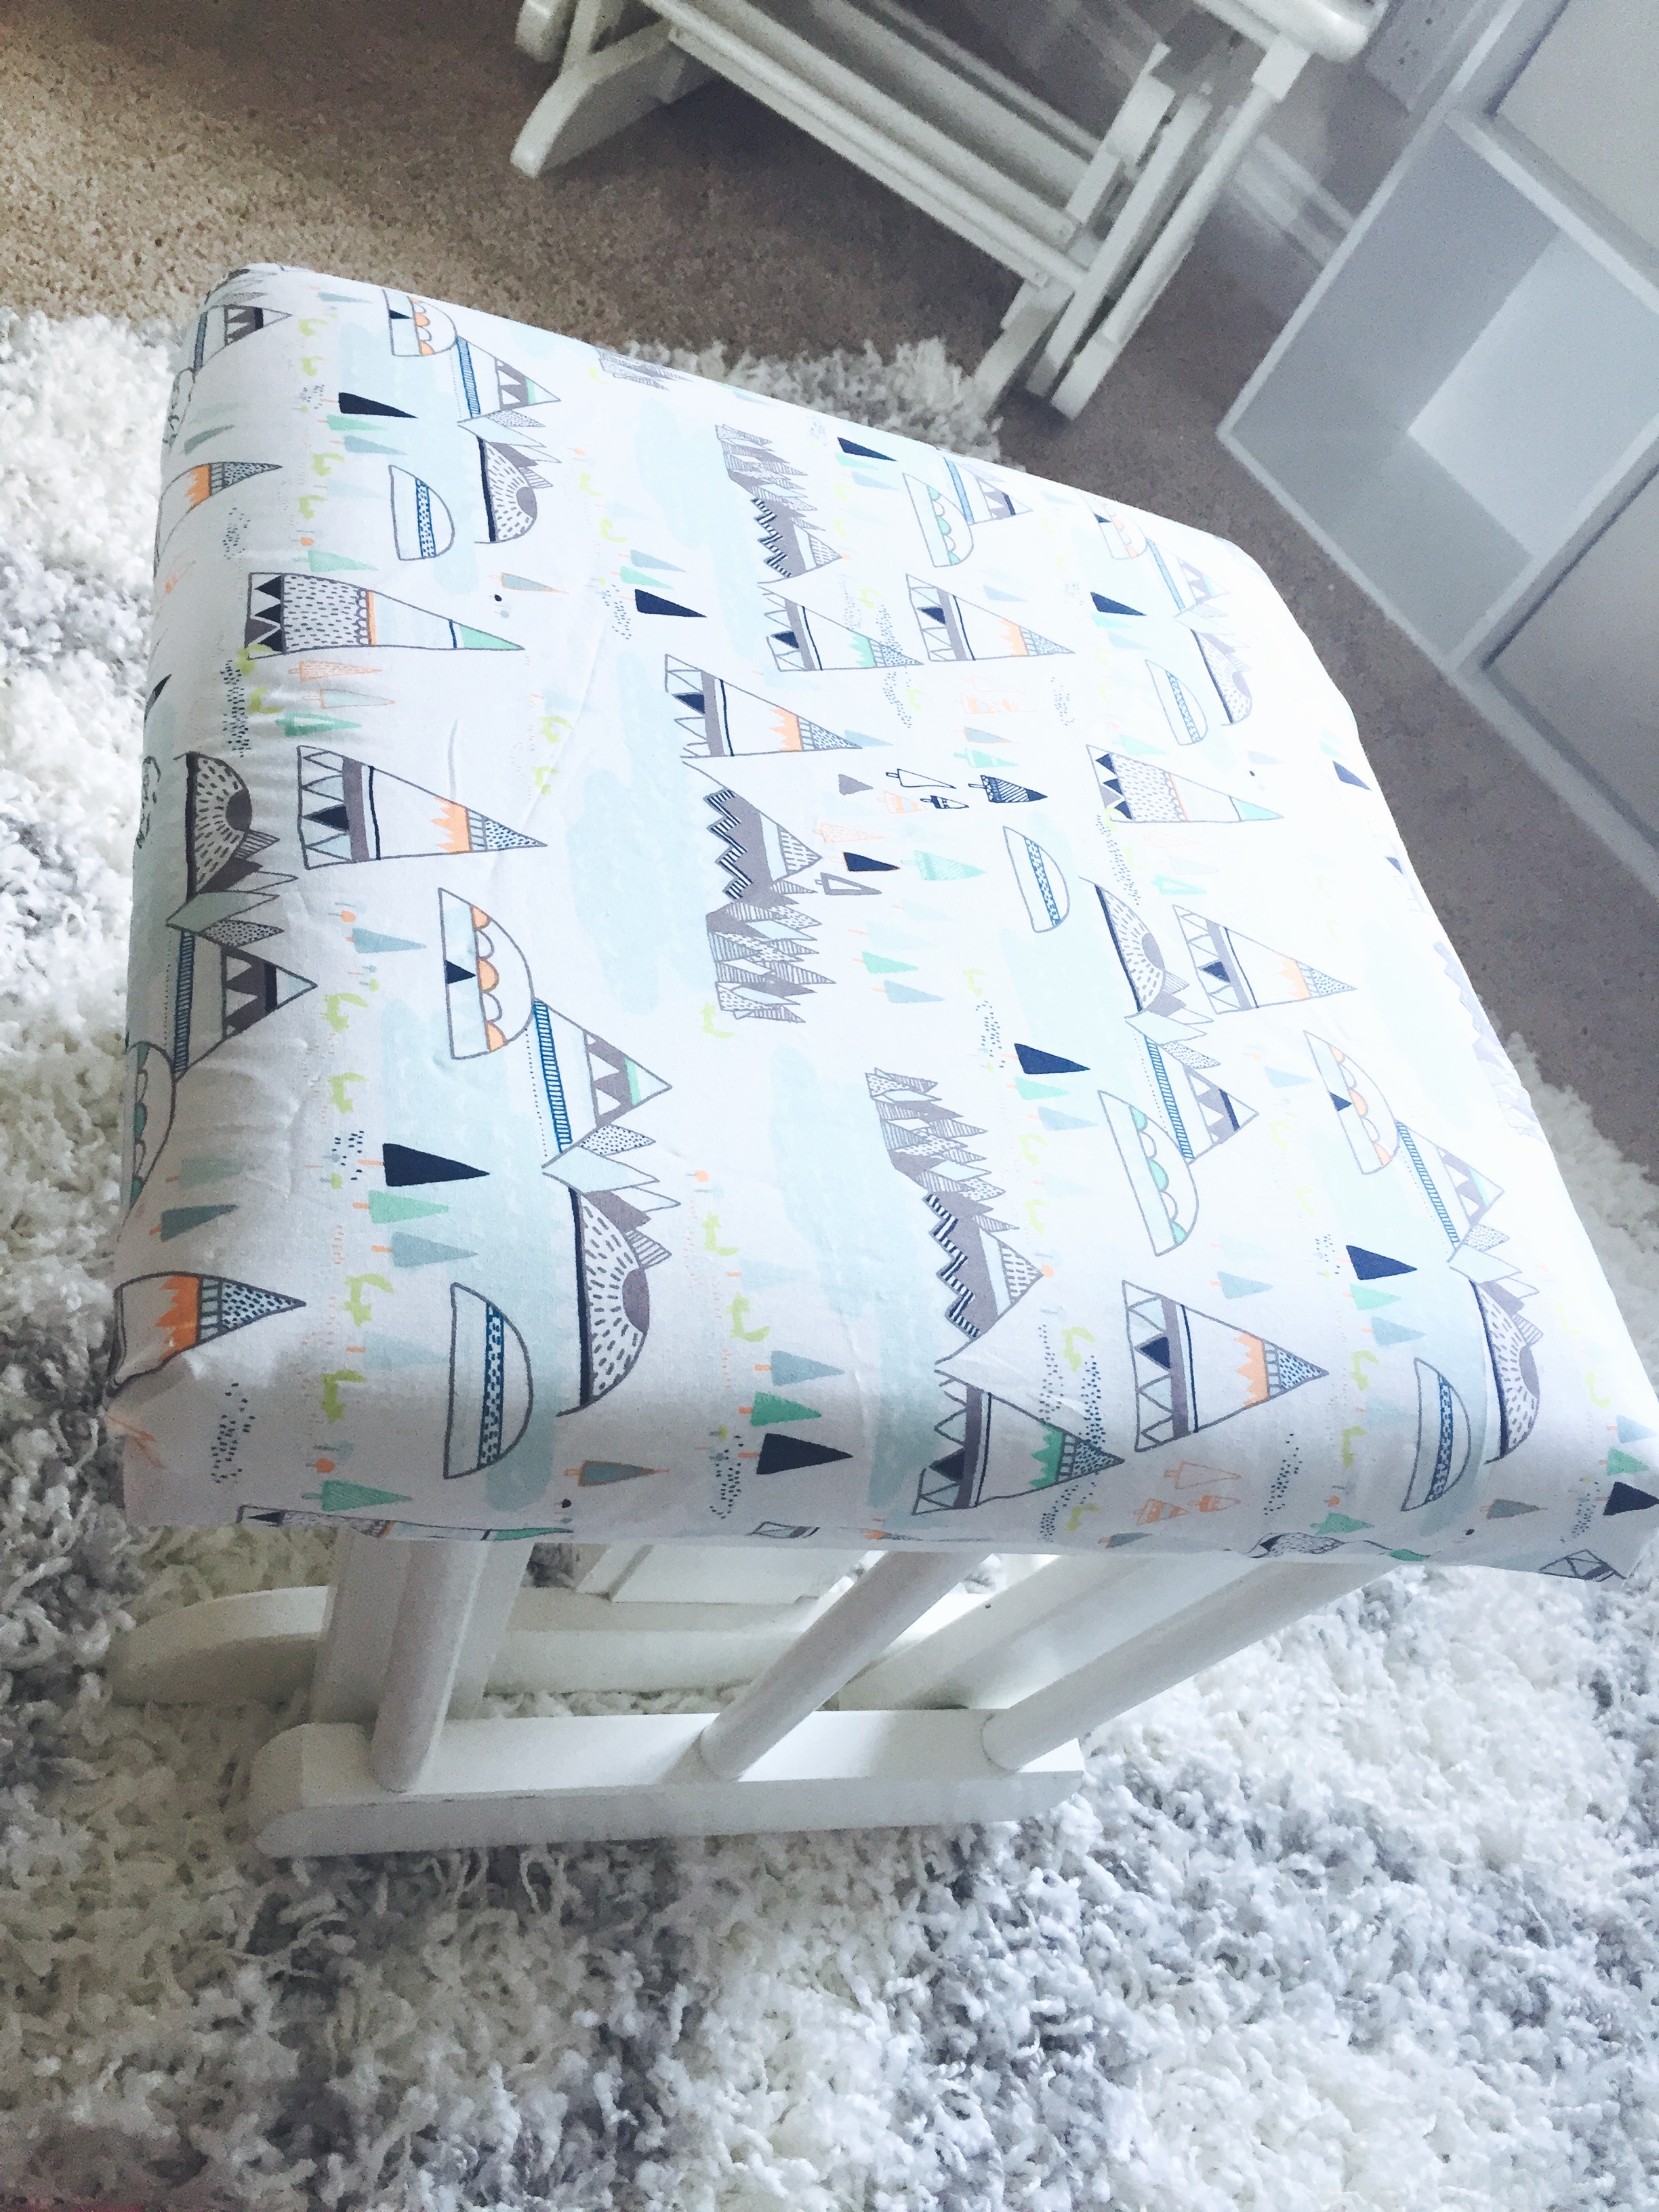
Step 5: Re-Screw Foot Cushion Back onto Foot Glider

- First, use your screwdriver to feel along the edges of the chipboard bottom of the foot cushion. When you feel a hole, use one of your screws to screw a hole into the fabric (or just cut a tiny hole with the tip of your scissors).
- By doing this, you can mark exactly where your holes are to screw the glider base back in.

- Then, place your wood glider back onto the chipboard bottom of the foot cushion.
- Line up the screw holes on the glider with the screw holes on the foot cushion.
- Use your screwdriver and screws to re-screw the glider back onto the bottom of the foot cushion.
Step 6: Re-cover arm Cushions with Snaps
- Ok folks, so this was the hardest part for me (and where it gets tricky if you’re trying to reuse the snaps). The arm cushions each had a little lip on the edge of them that was used to snap the arm cushions onto the chair. So I had to sew not only the cover for the cushions, but I had to sew little lip in the cover, as well.
- If you decide NOT to use snaps, and to use ribbon ties instead, forgo the lip entirely. Instead, just sew in ribbon ties as I told you how in Step 2.
- Doing this may be easier for a novice sewer.
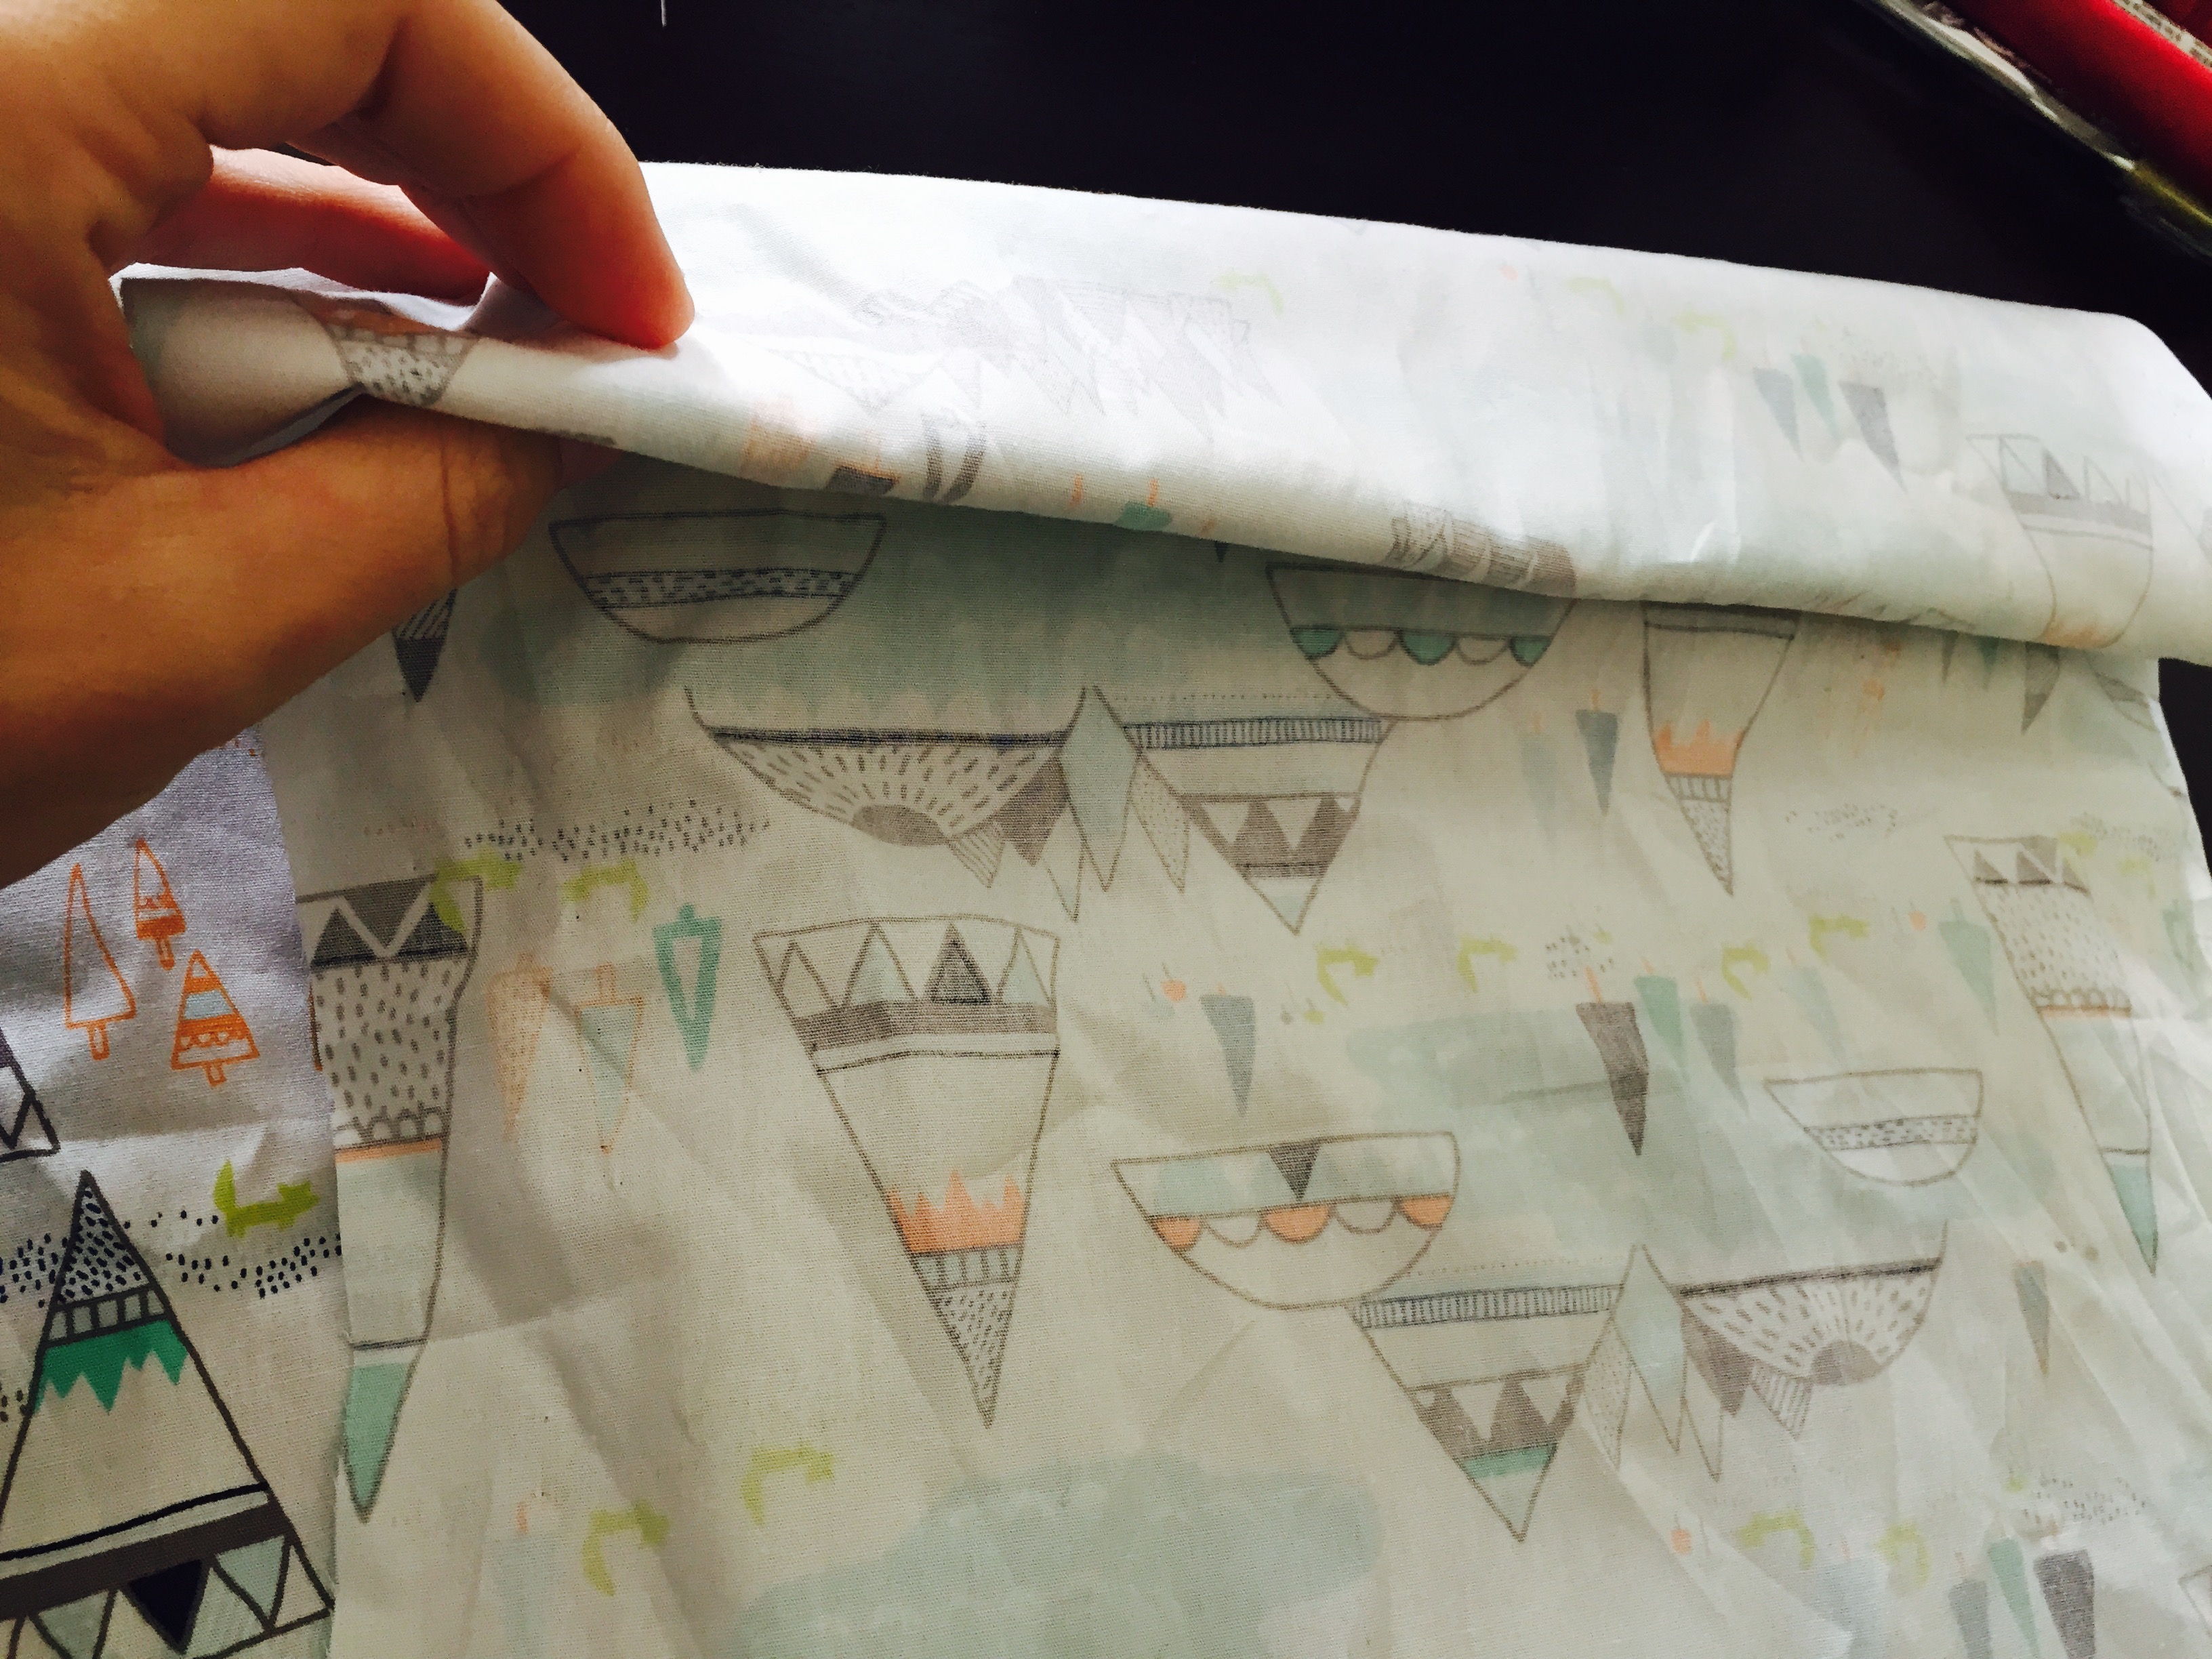
- To do this, I DID NOT remove the previous fabric, and only re-covered the arm cushions ON TOP of the previous fabric. It worked out well, in this case.
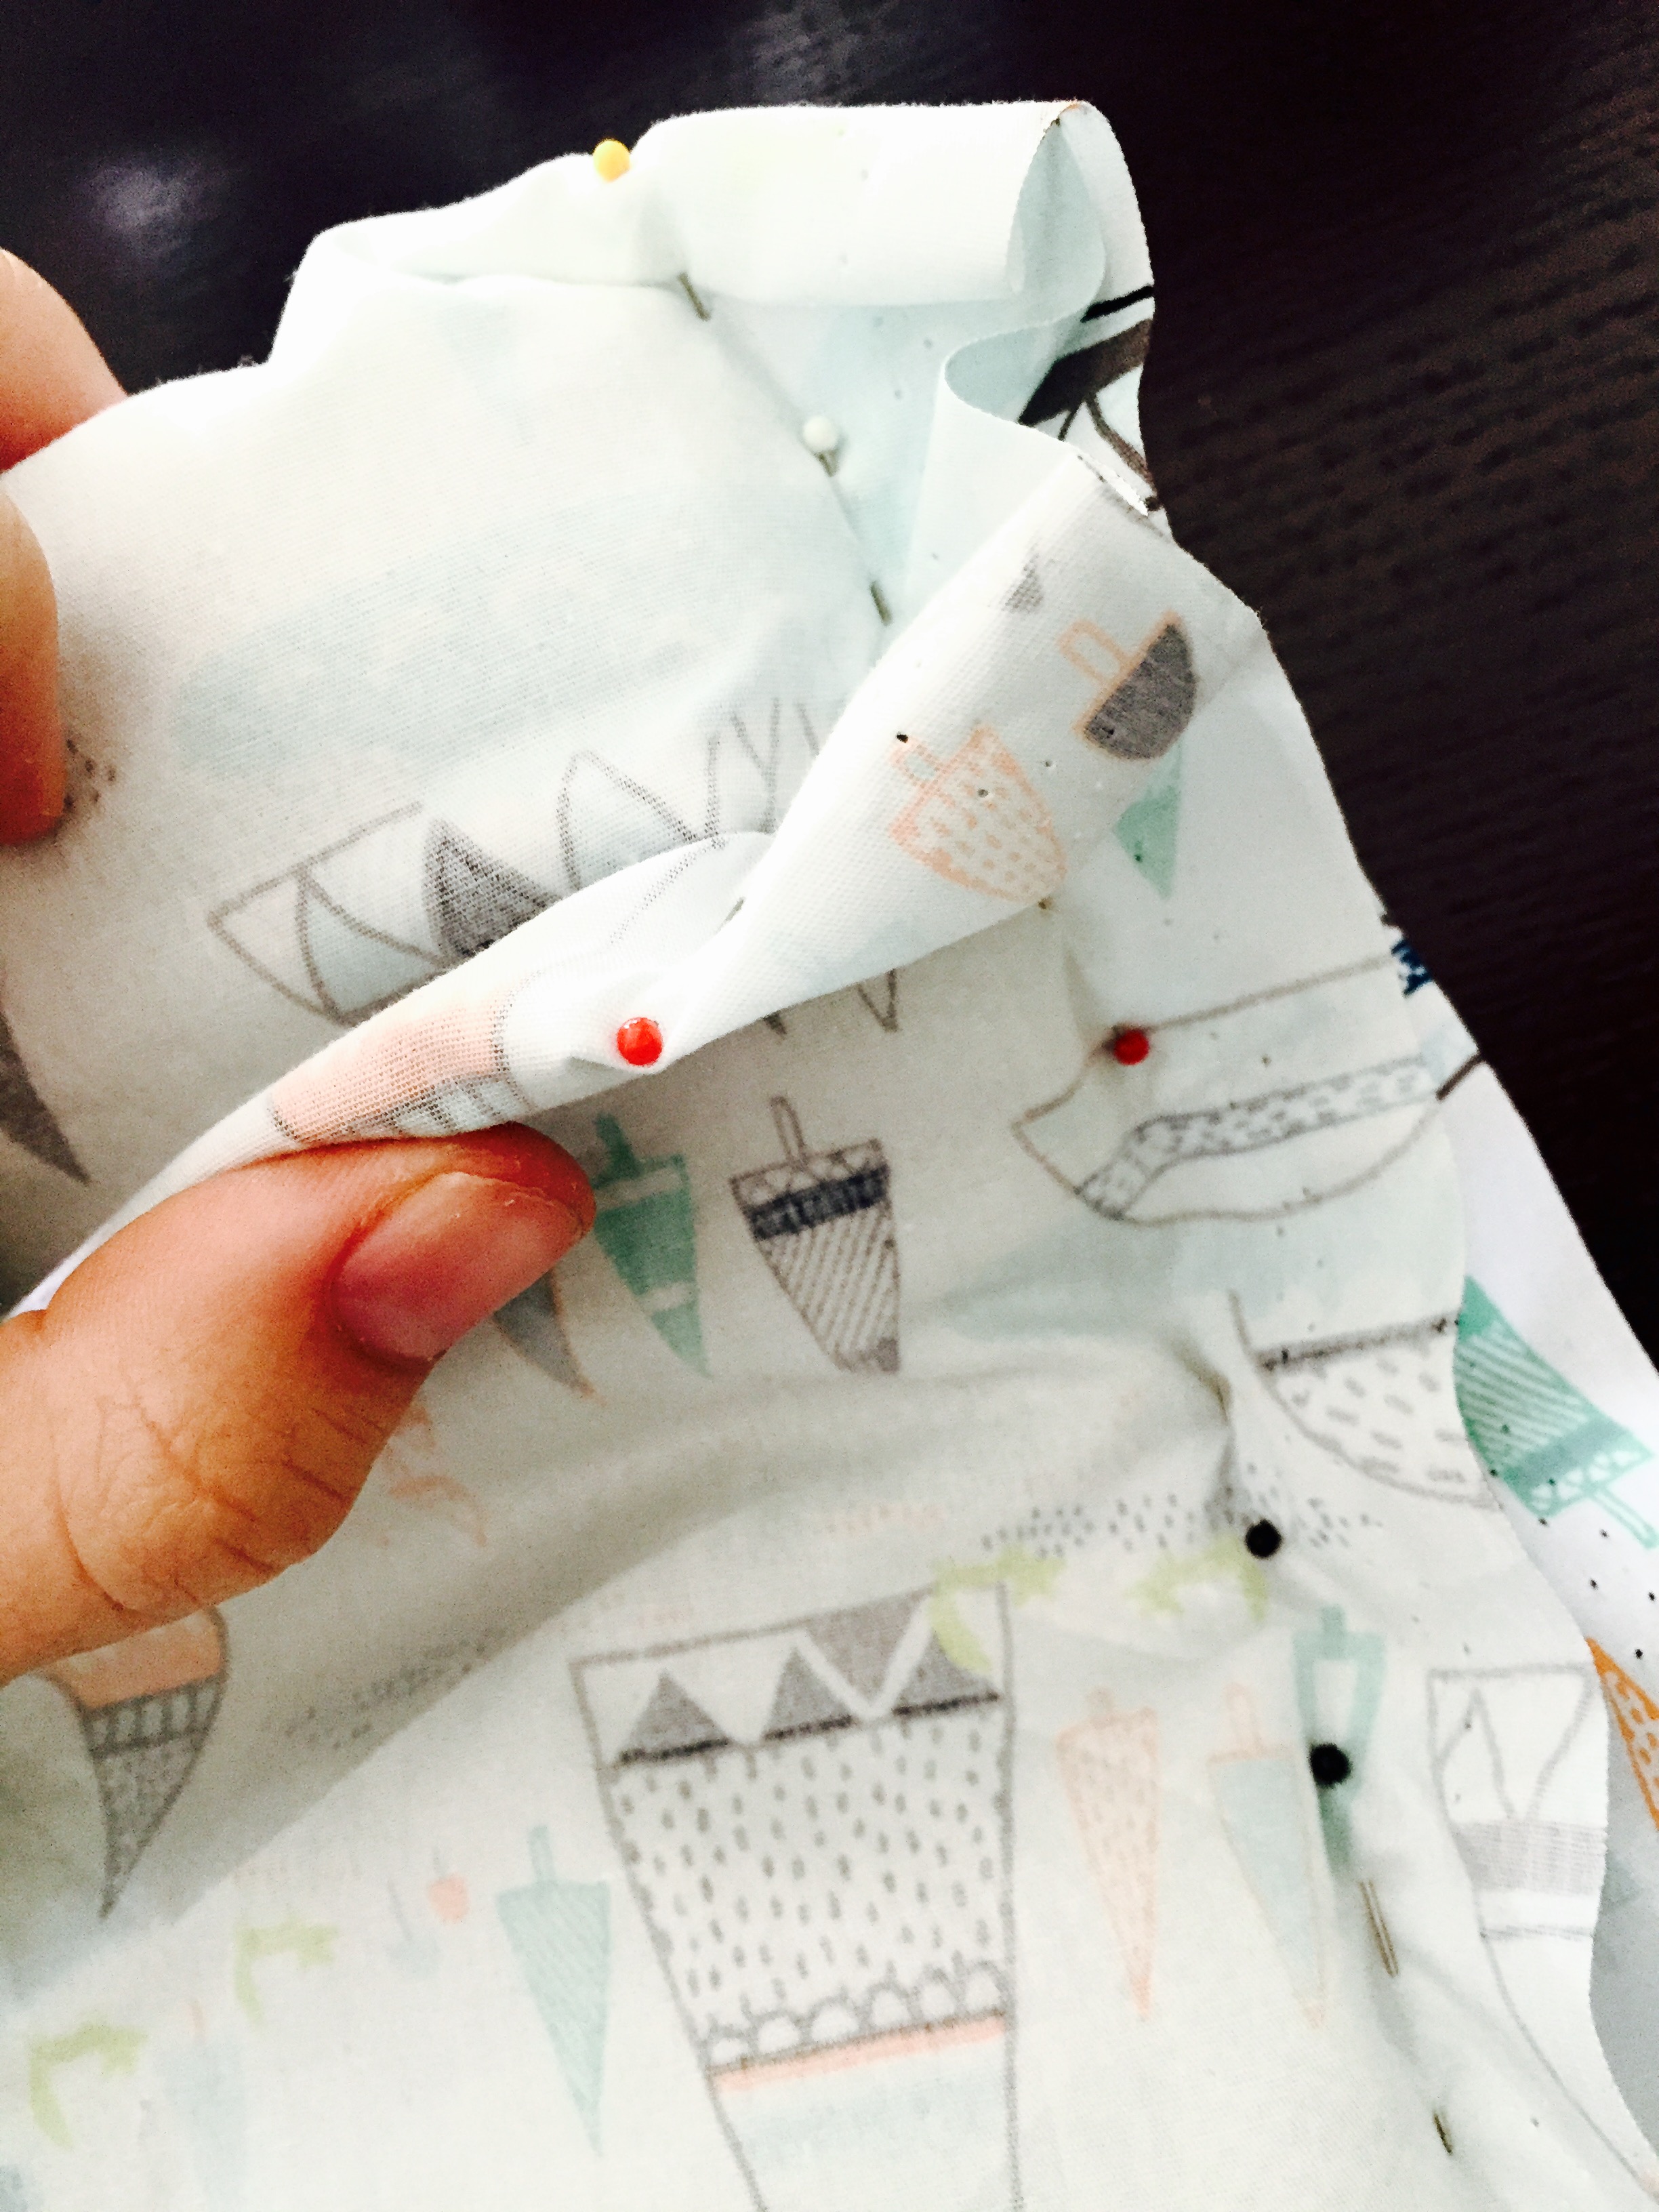
- First, I put my new fabric on top of the arm cushions RIGHT SIDE IN (wrong side out, facing you).
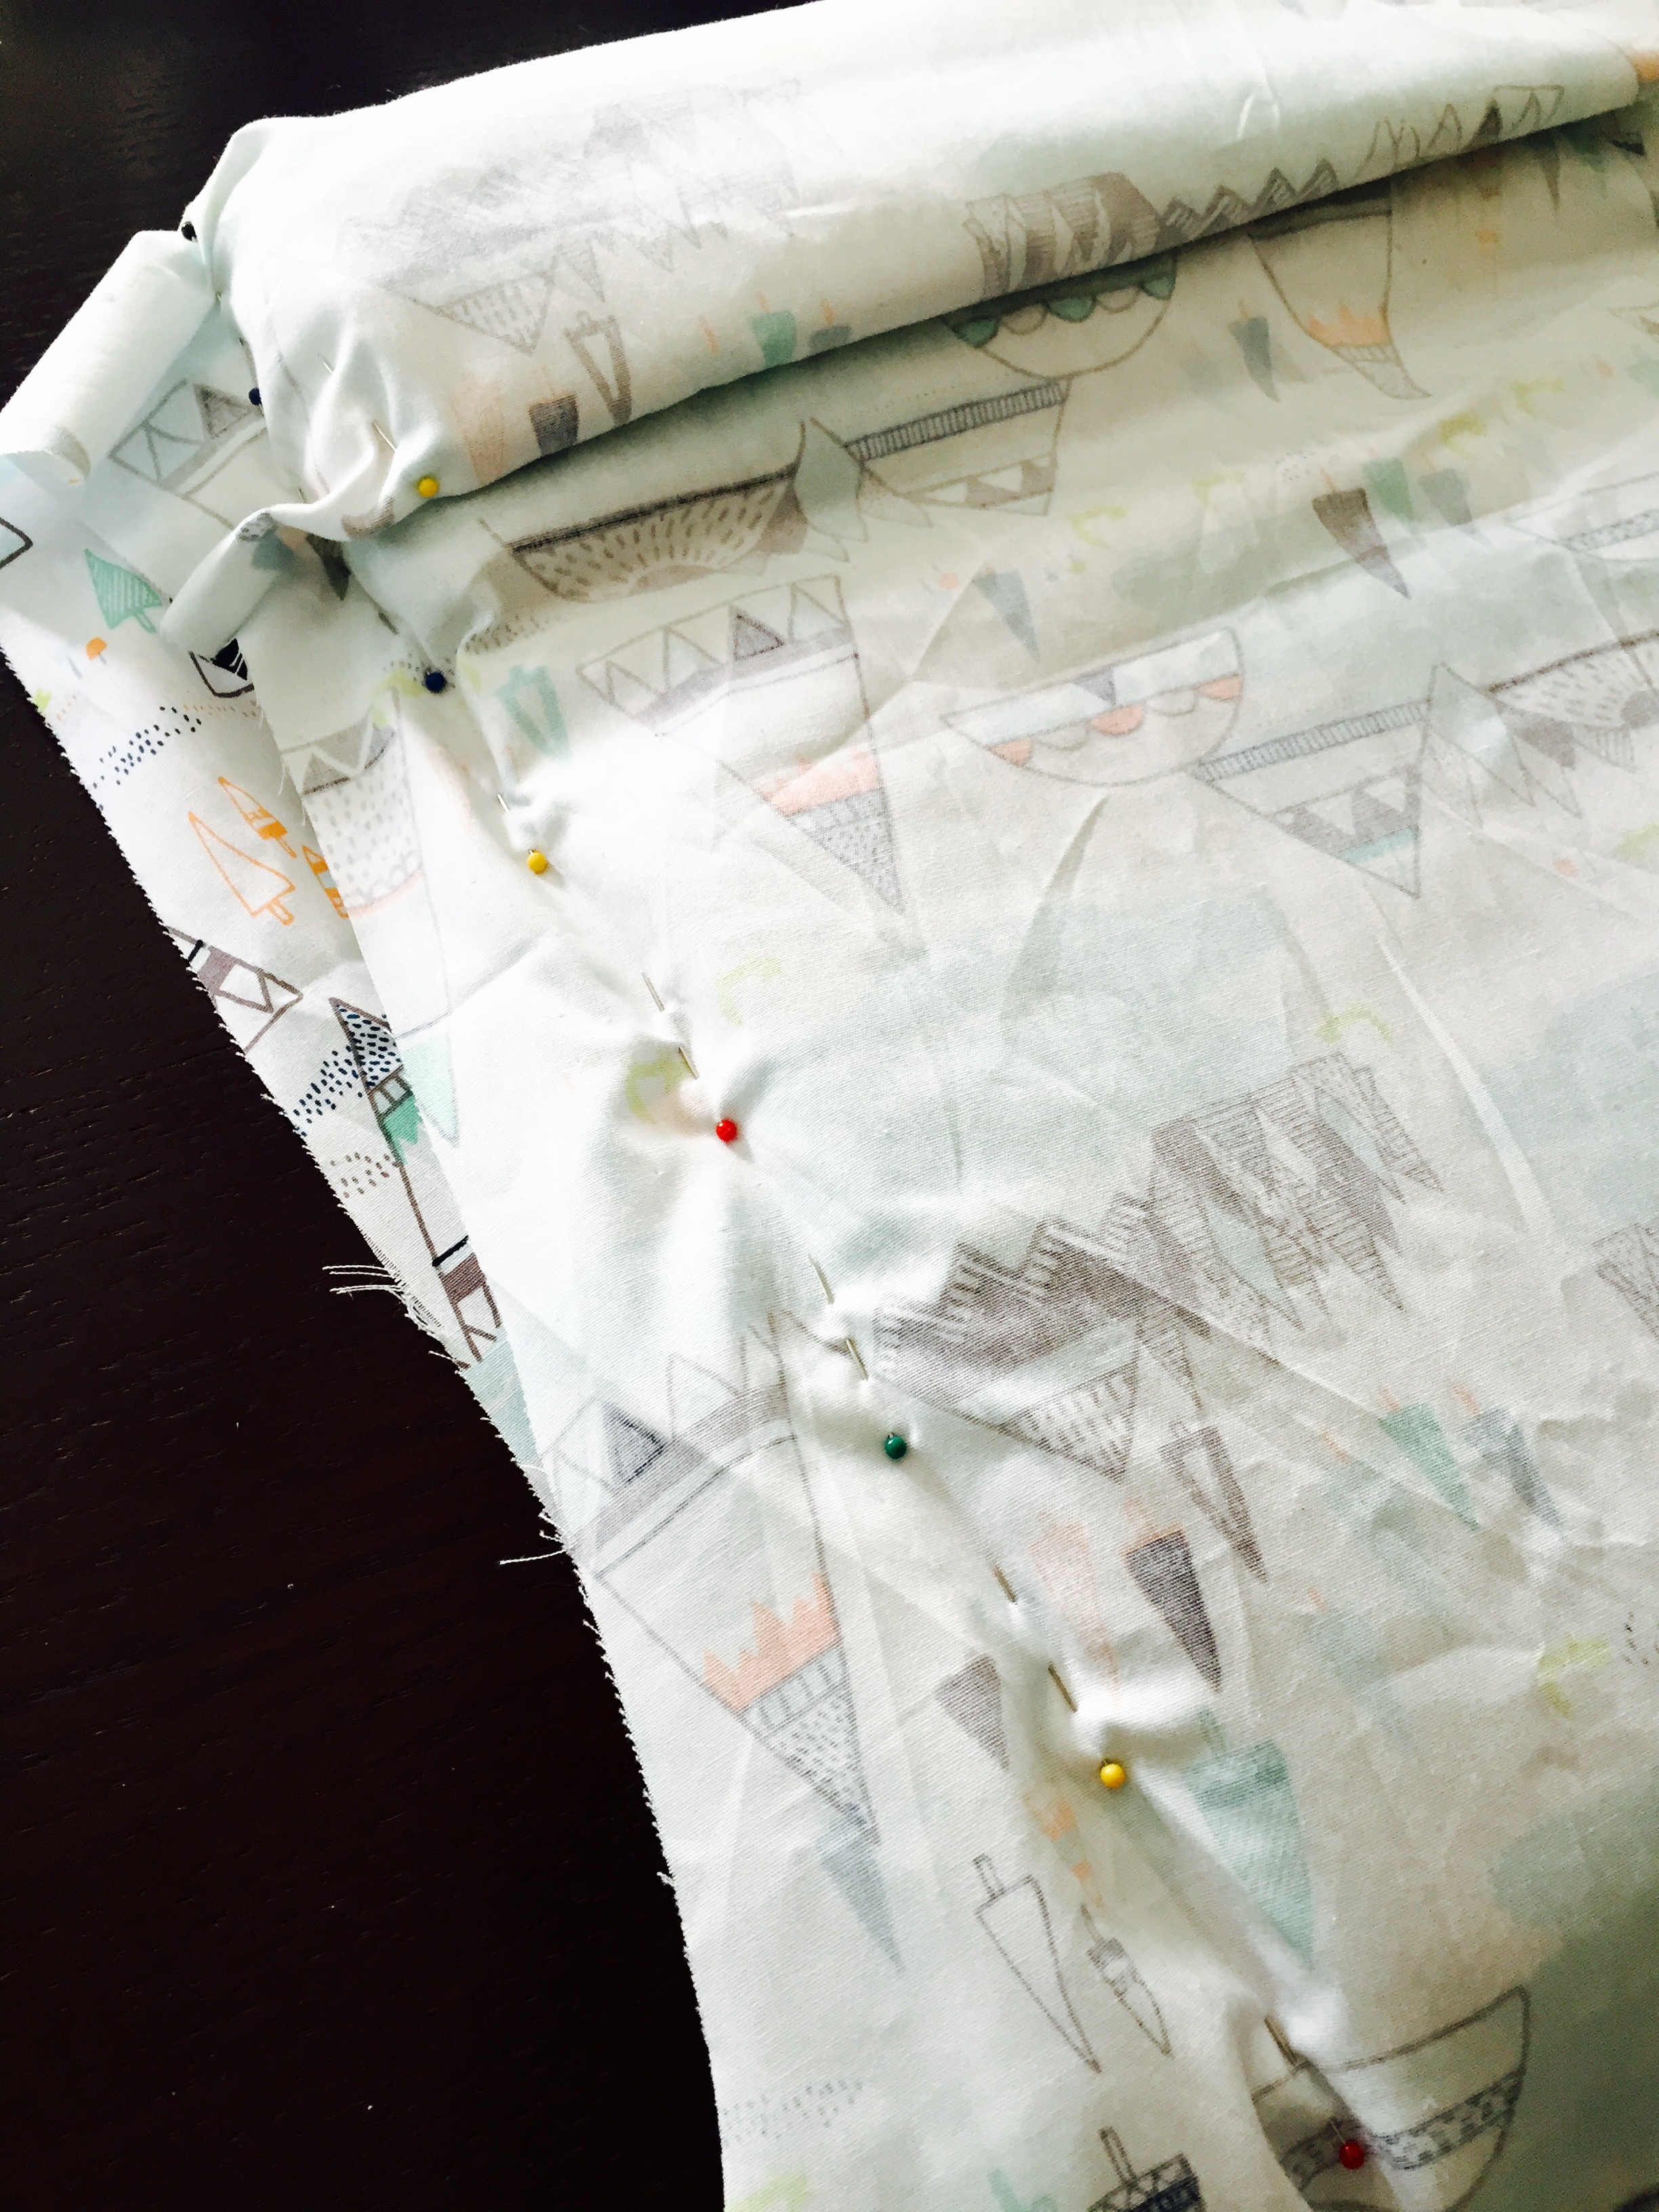
- Then, I used my sewing pins to pin along the edges of the cushions, as well as the sides of the lip (see pictures above for clarification).
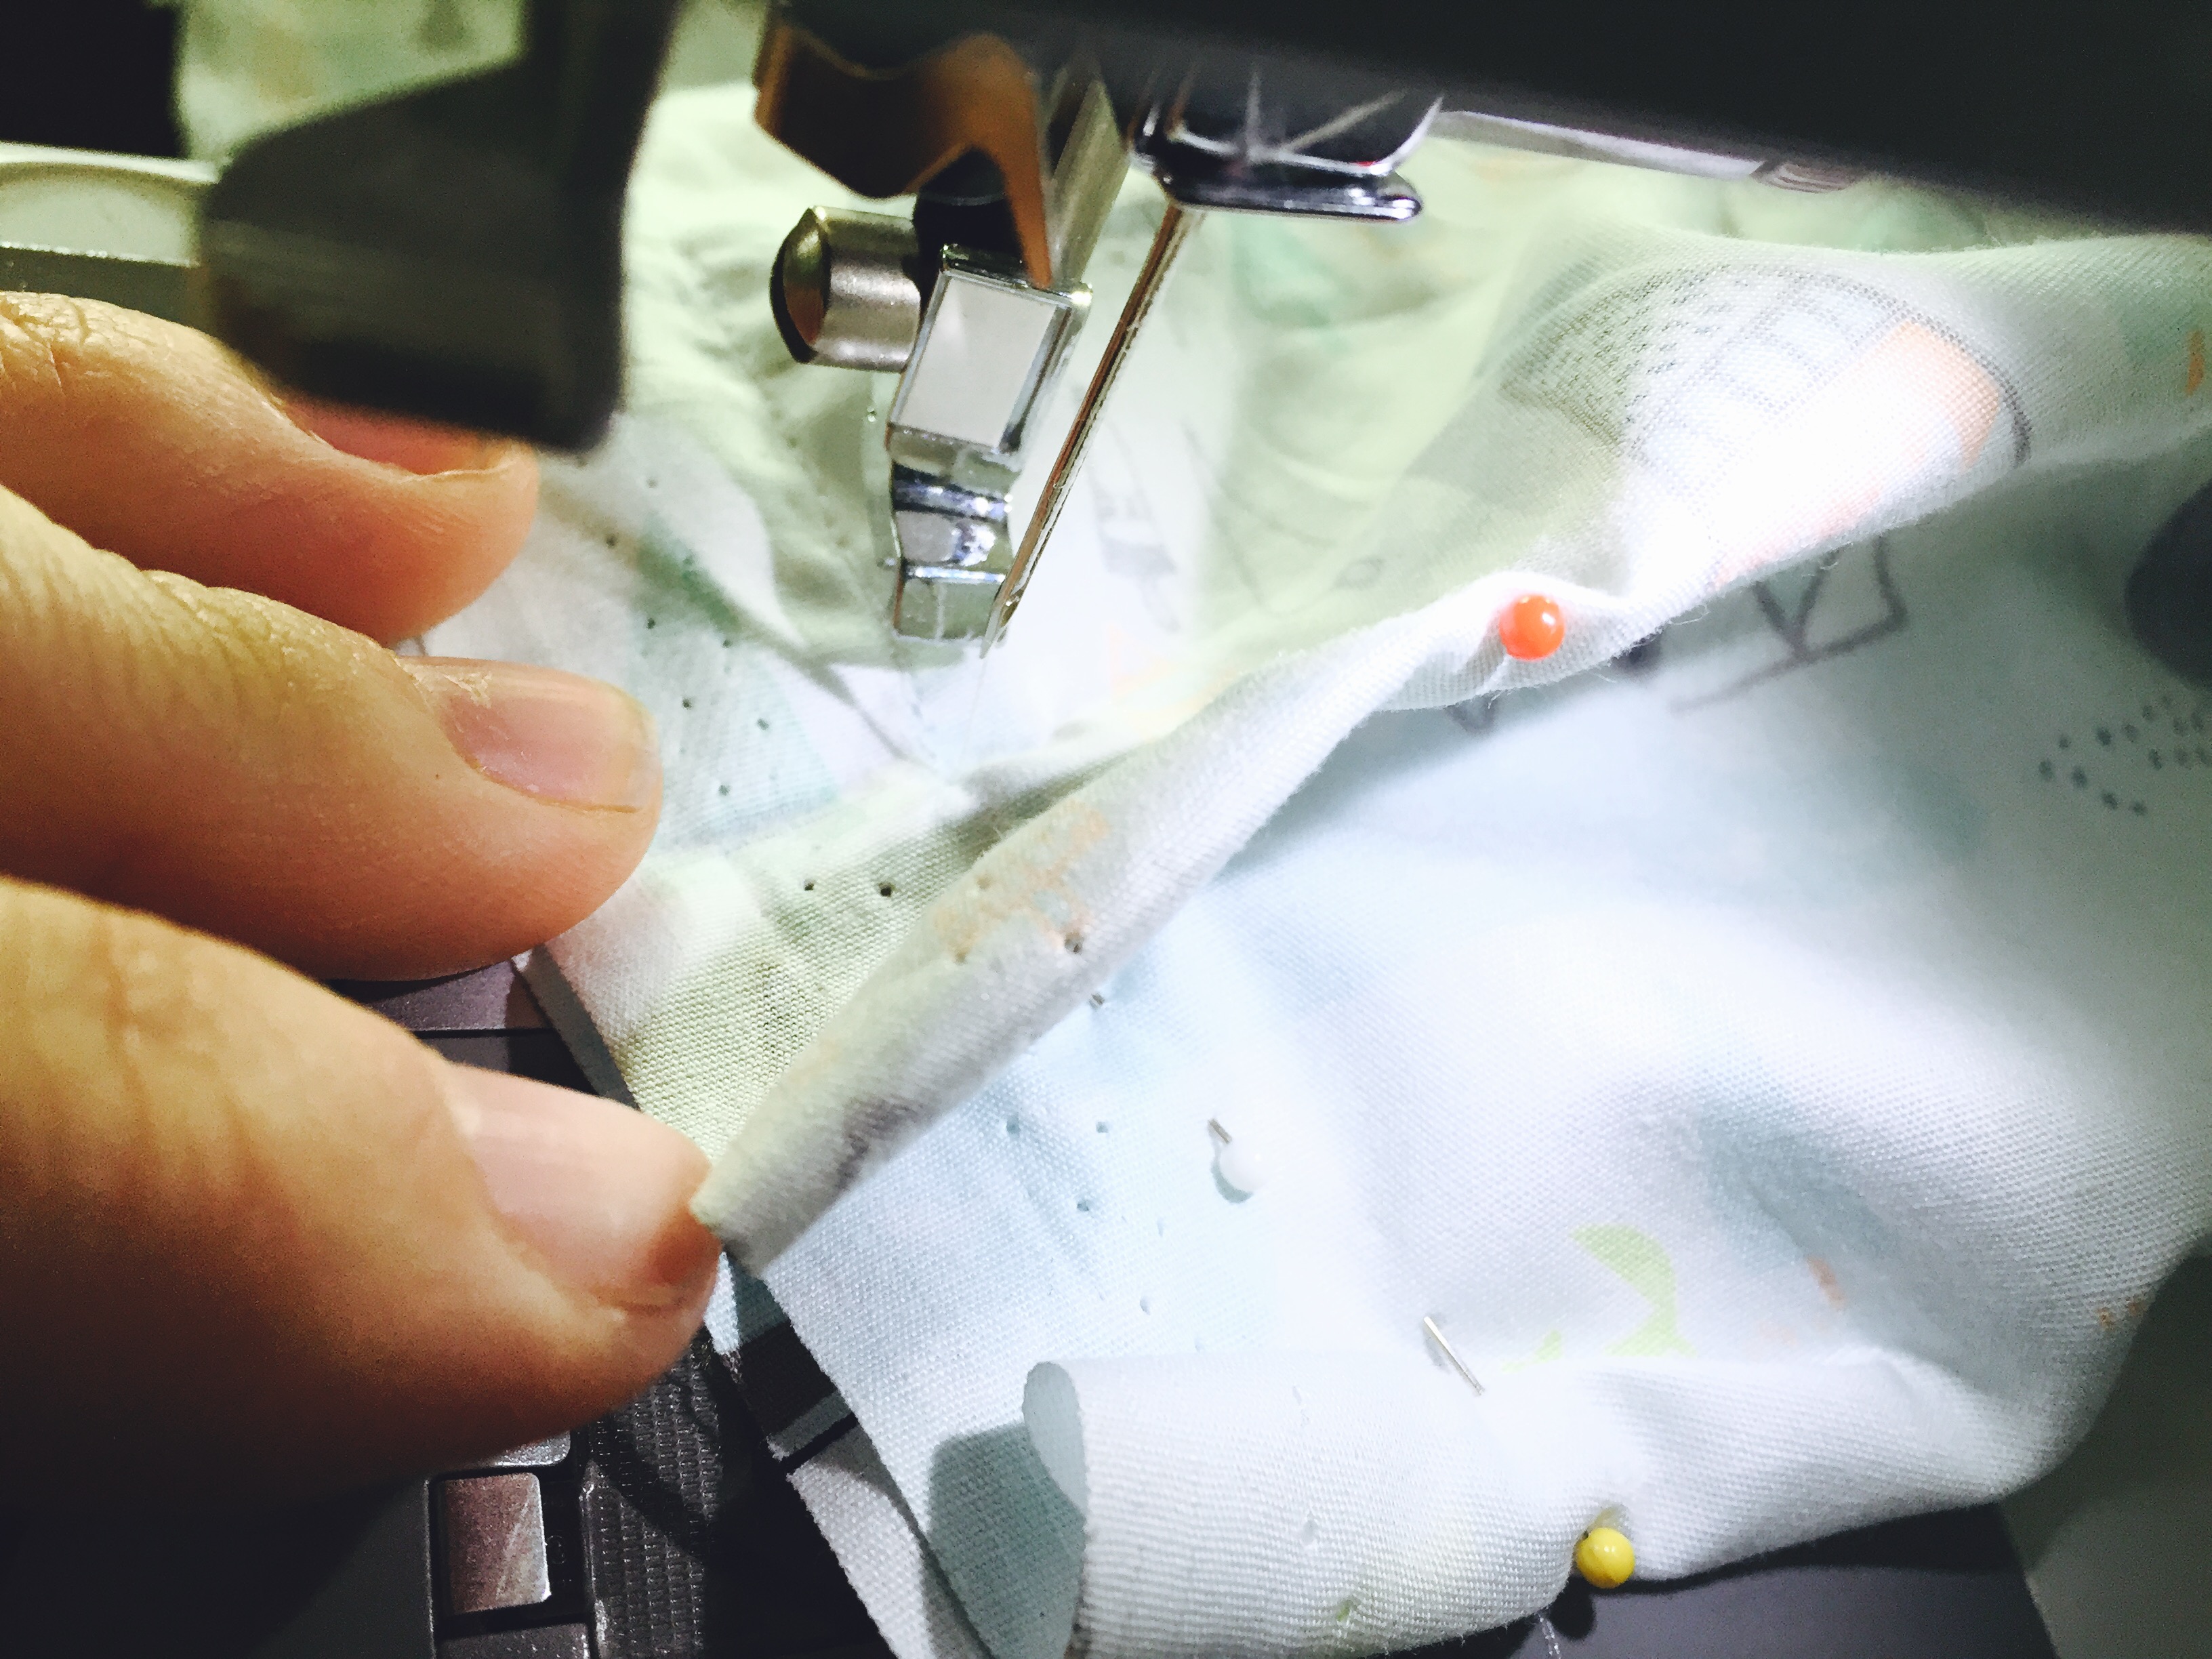
- Once everything was all pinned (minus the bottom), I removed the cushion from the new cover, and ran the edges through my sewing machine (just as I did for the previous cushions).
- You’ll need to sew all the way from the bottom of the cover UP to the lip. Then, from the top of the cover DOWN to the lip. Then, finally, the lip edge itself. All edges will meet in one spot (where the lip meets the rest of the cushion).
- Do this for each side of each arm cushion cover.
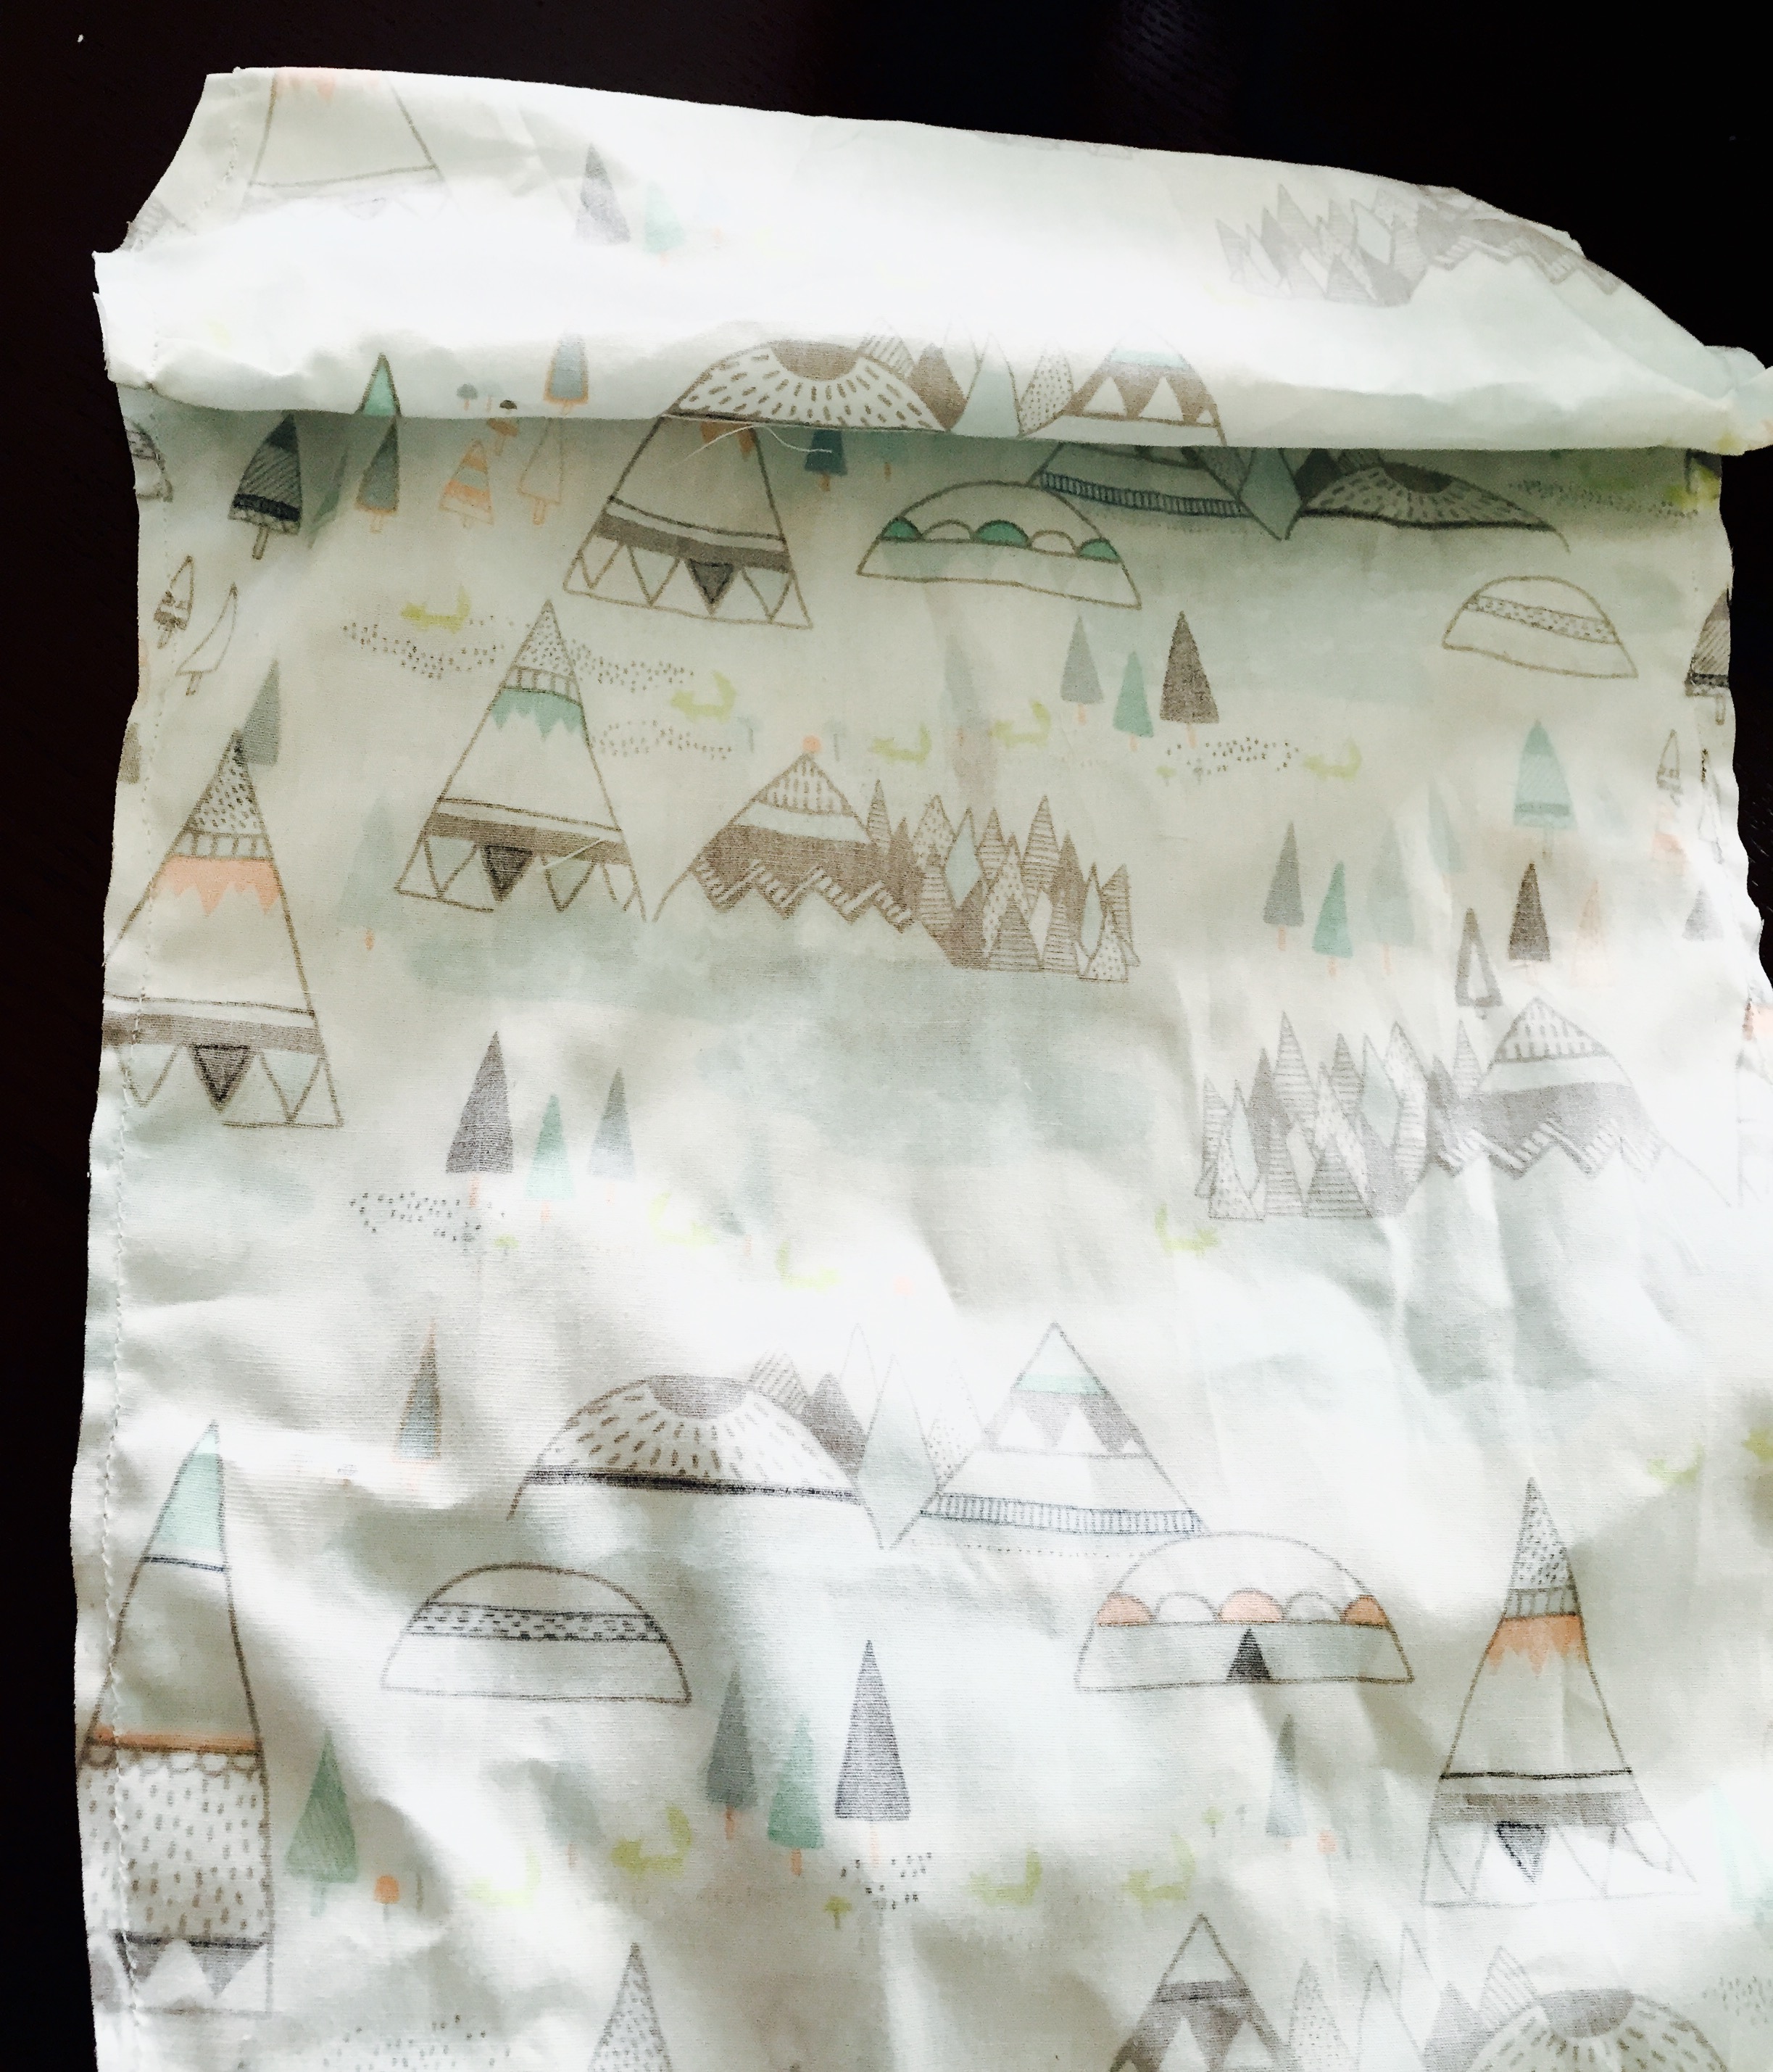
- Once all the sewing is done (minus the bottom), turn your cover right side out, and put your arm cushion into the new cover.
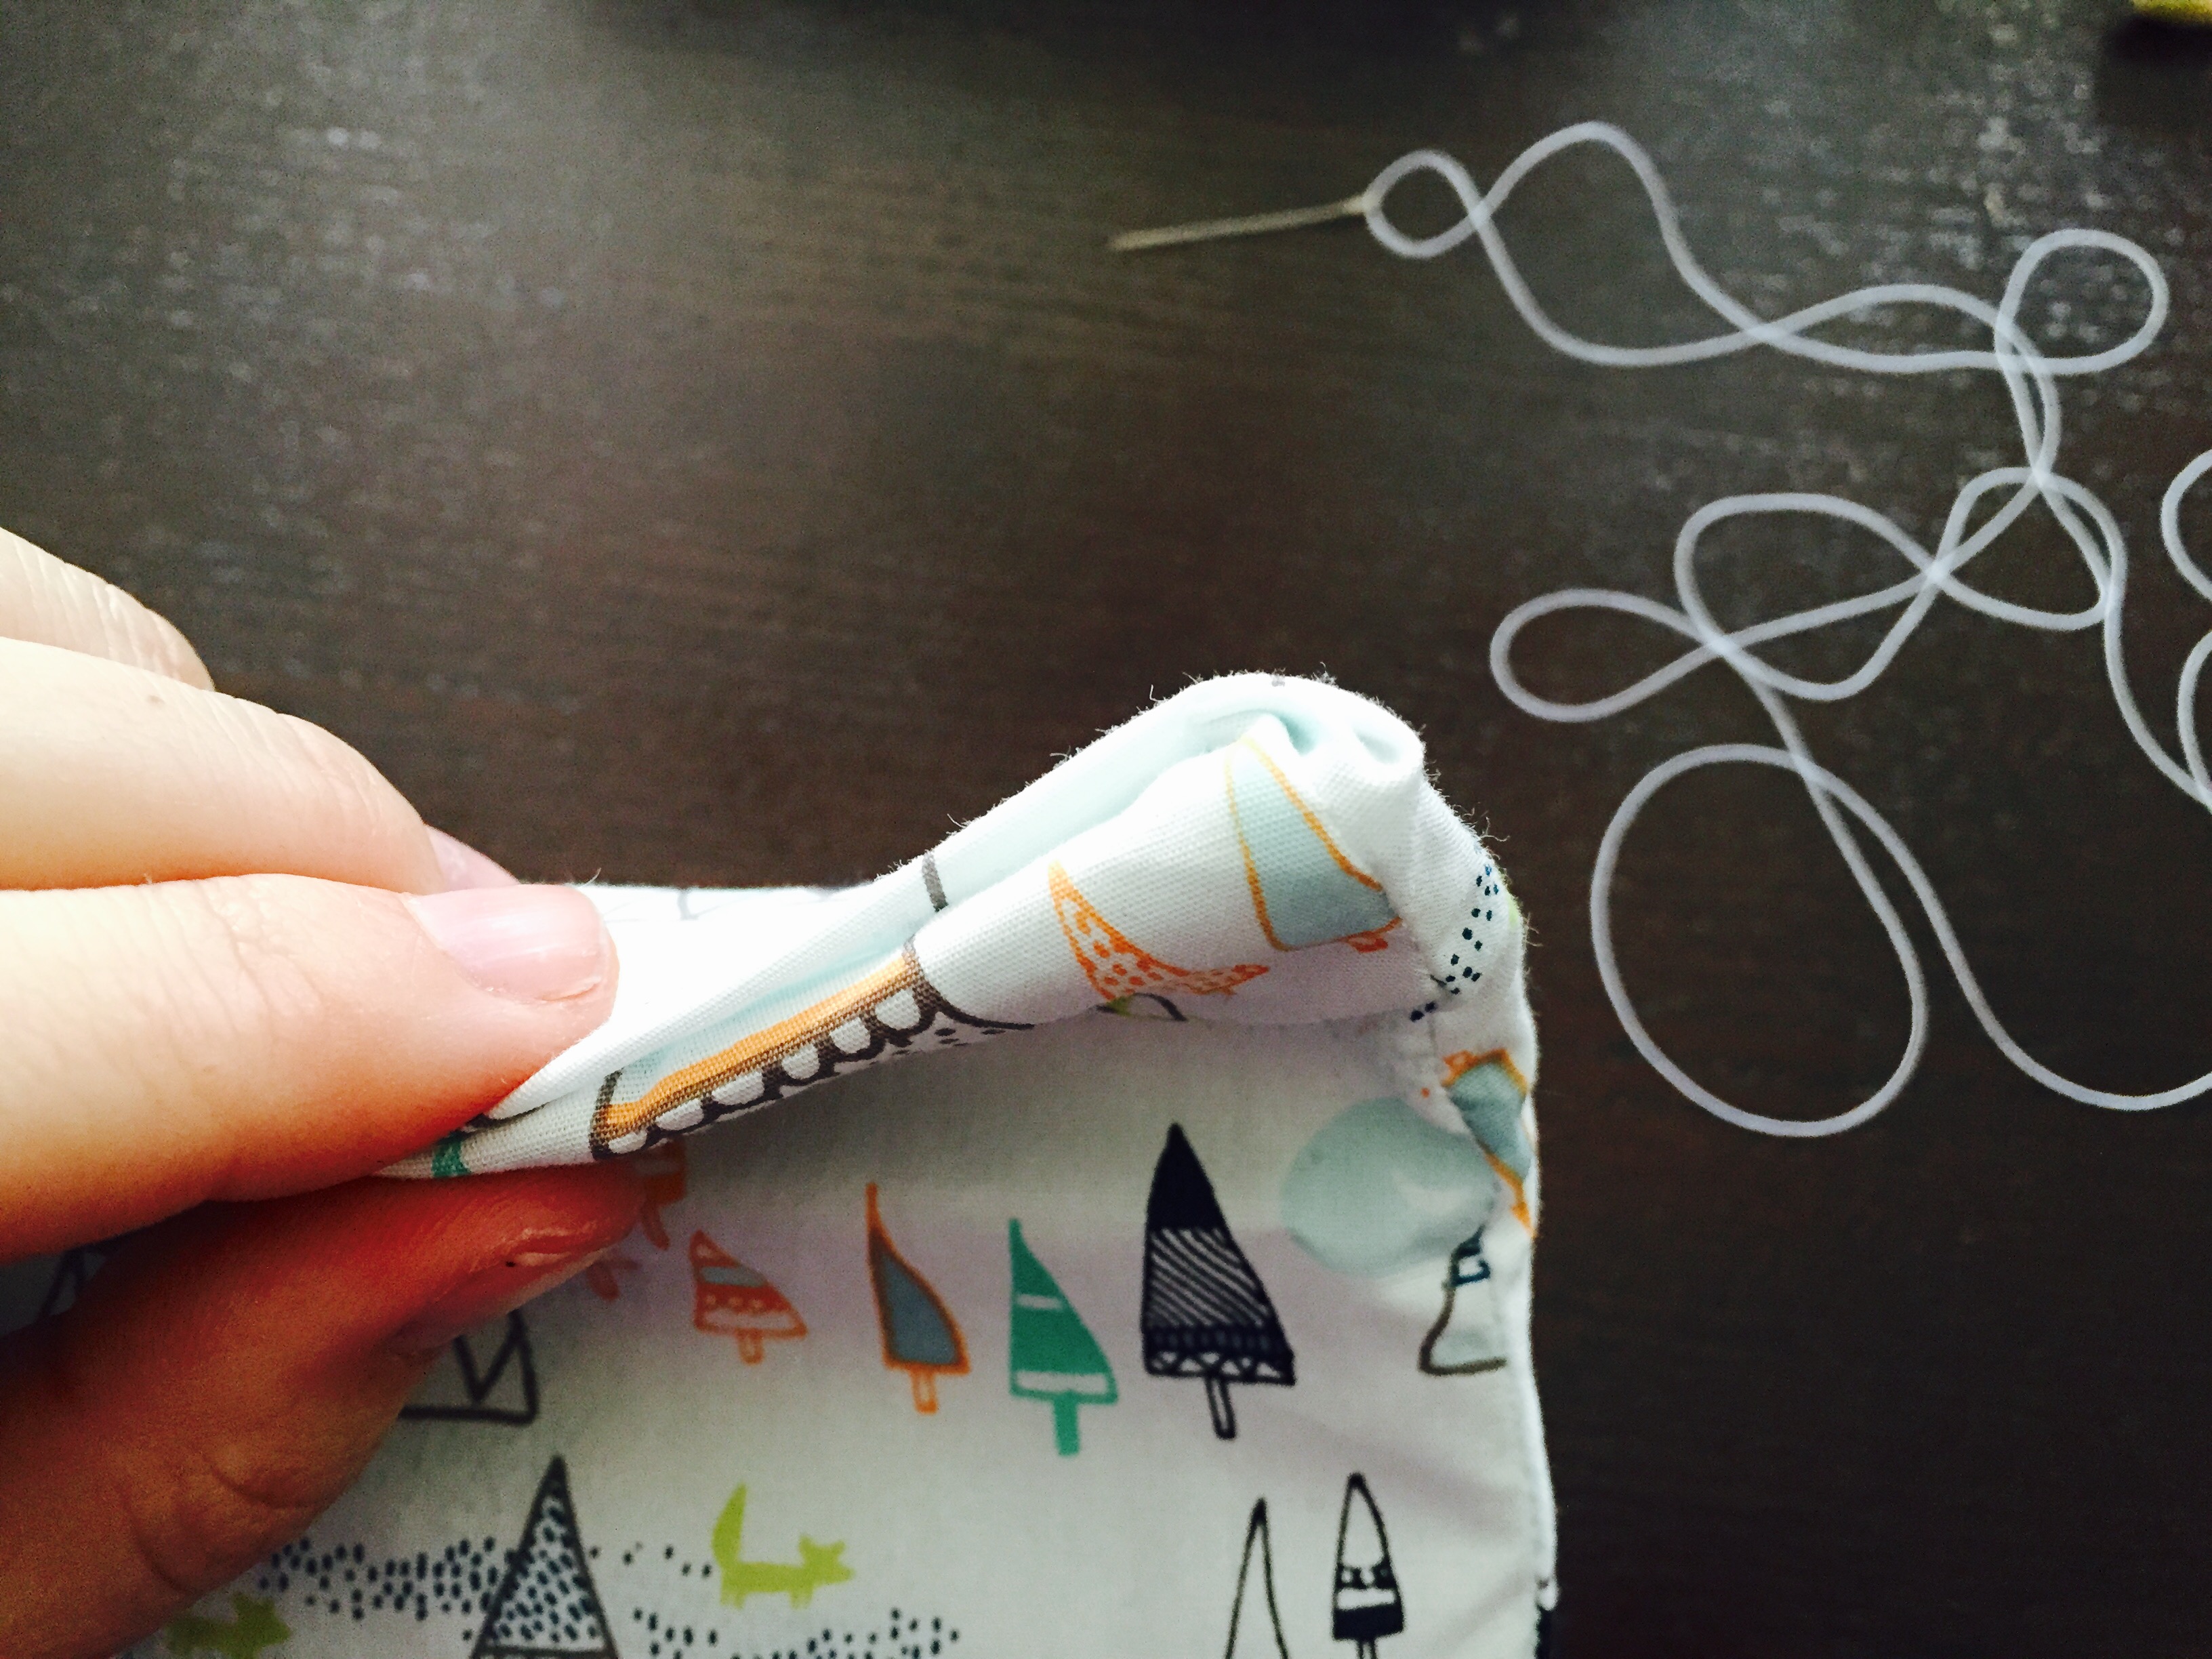
- Again (just as you did with your other cushion covers) fold the bottom edges inside to make a nice seam at the bottom.
- Then, with a needle and thread, use a ladder stitch to hand sew the bottom shut.
Step 7: Pop Snaps out of New Fabric and Sew into Place
You can skip this step if you sew ties into your covers instead of using the old snaps.
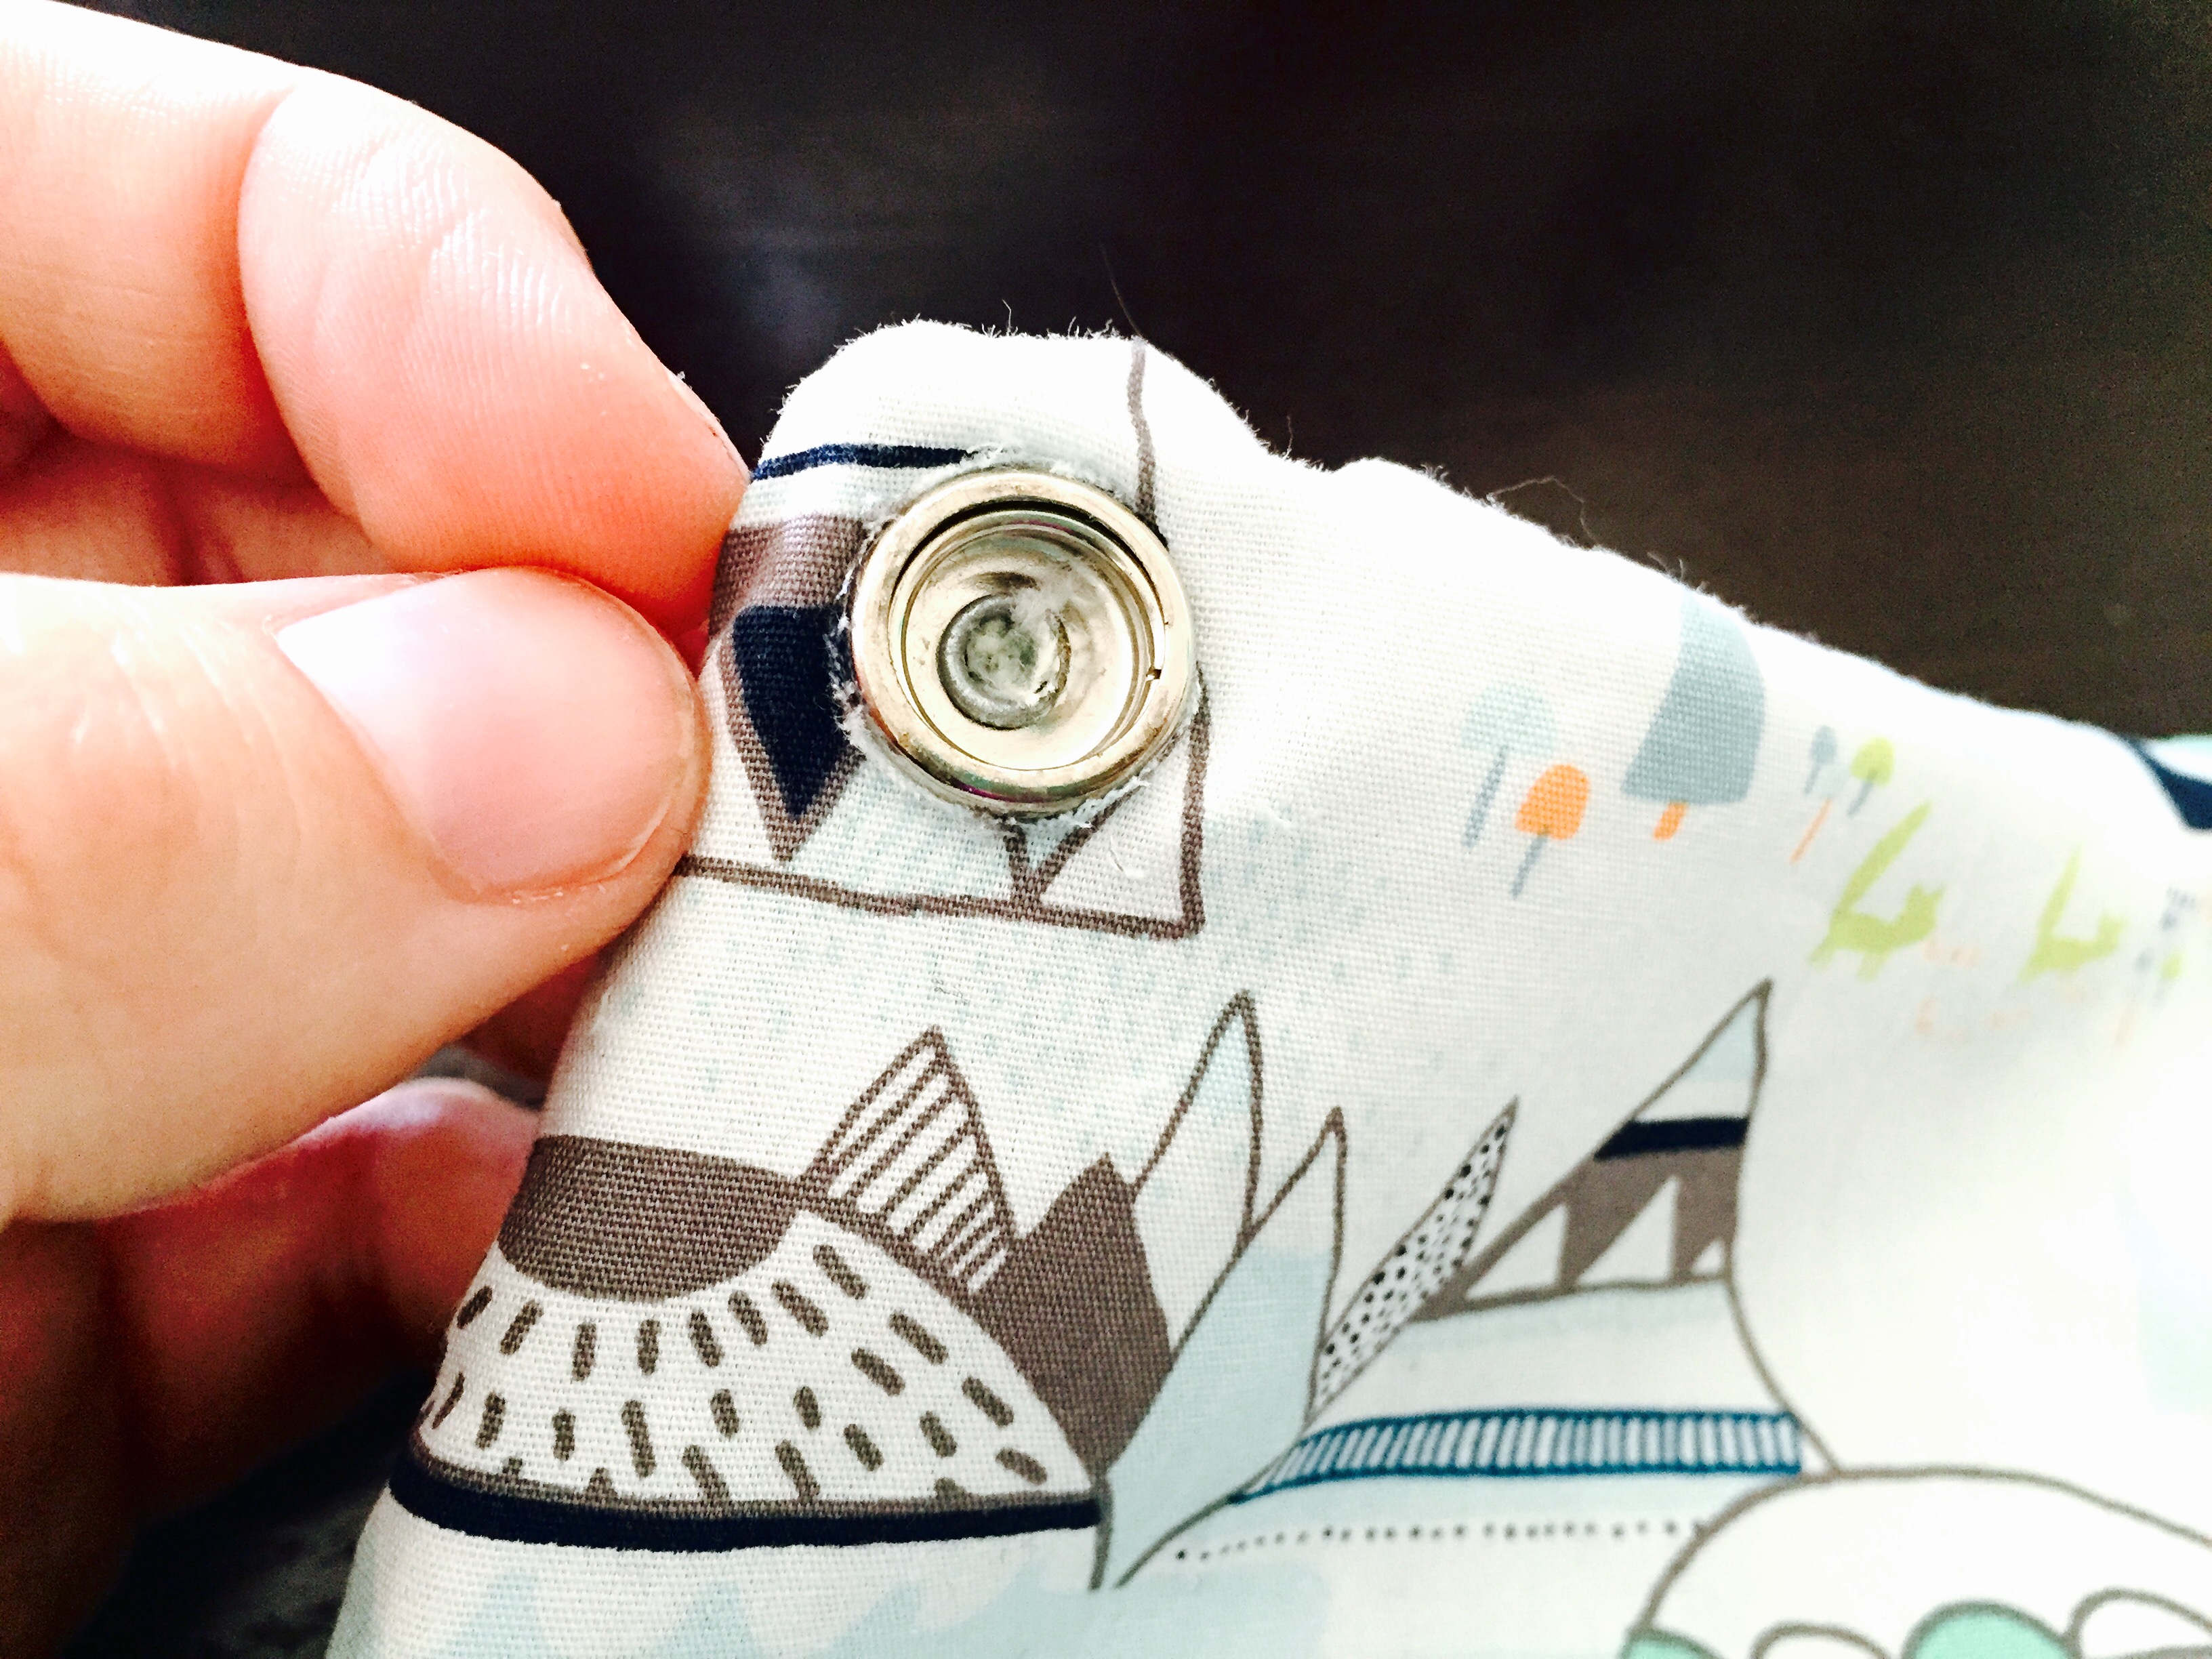
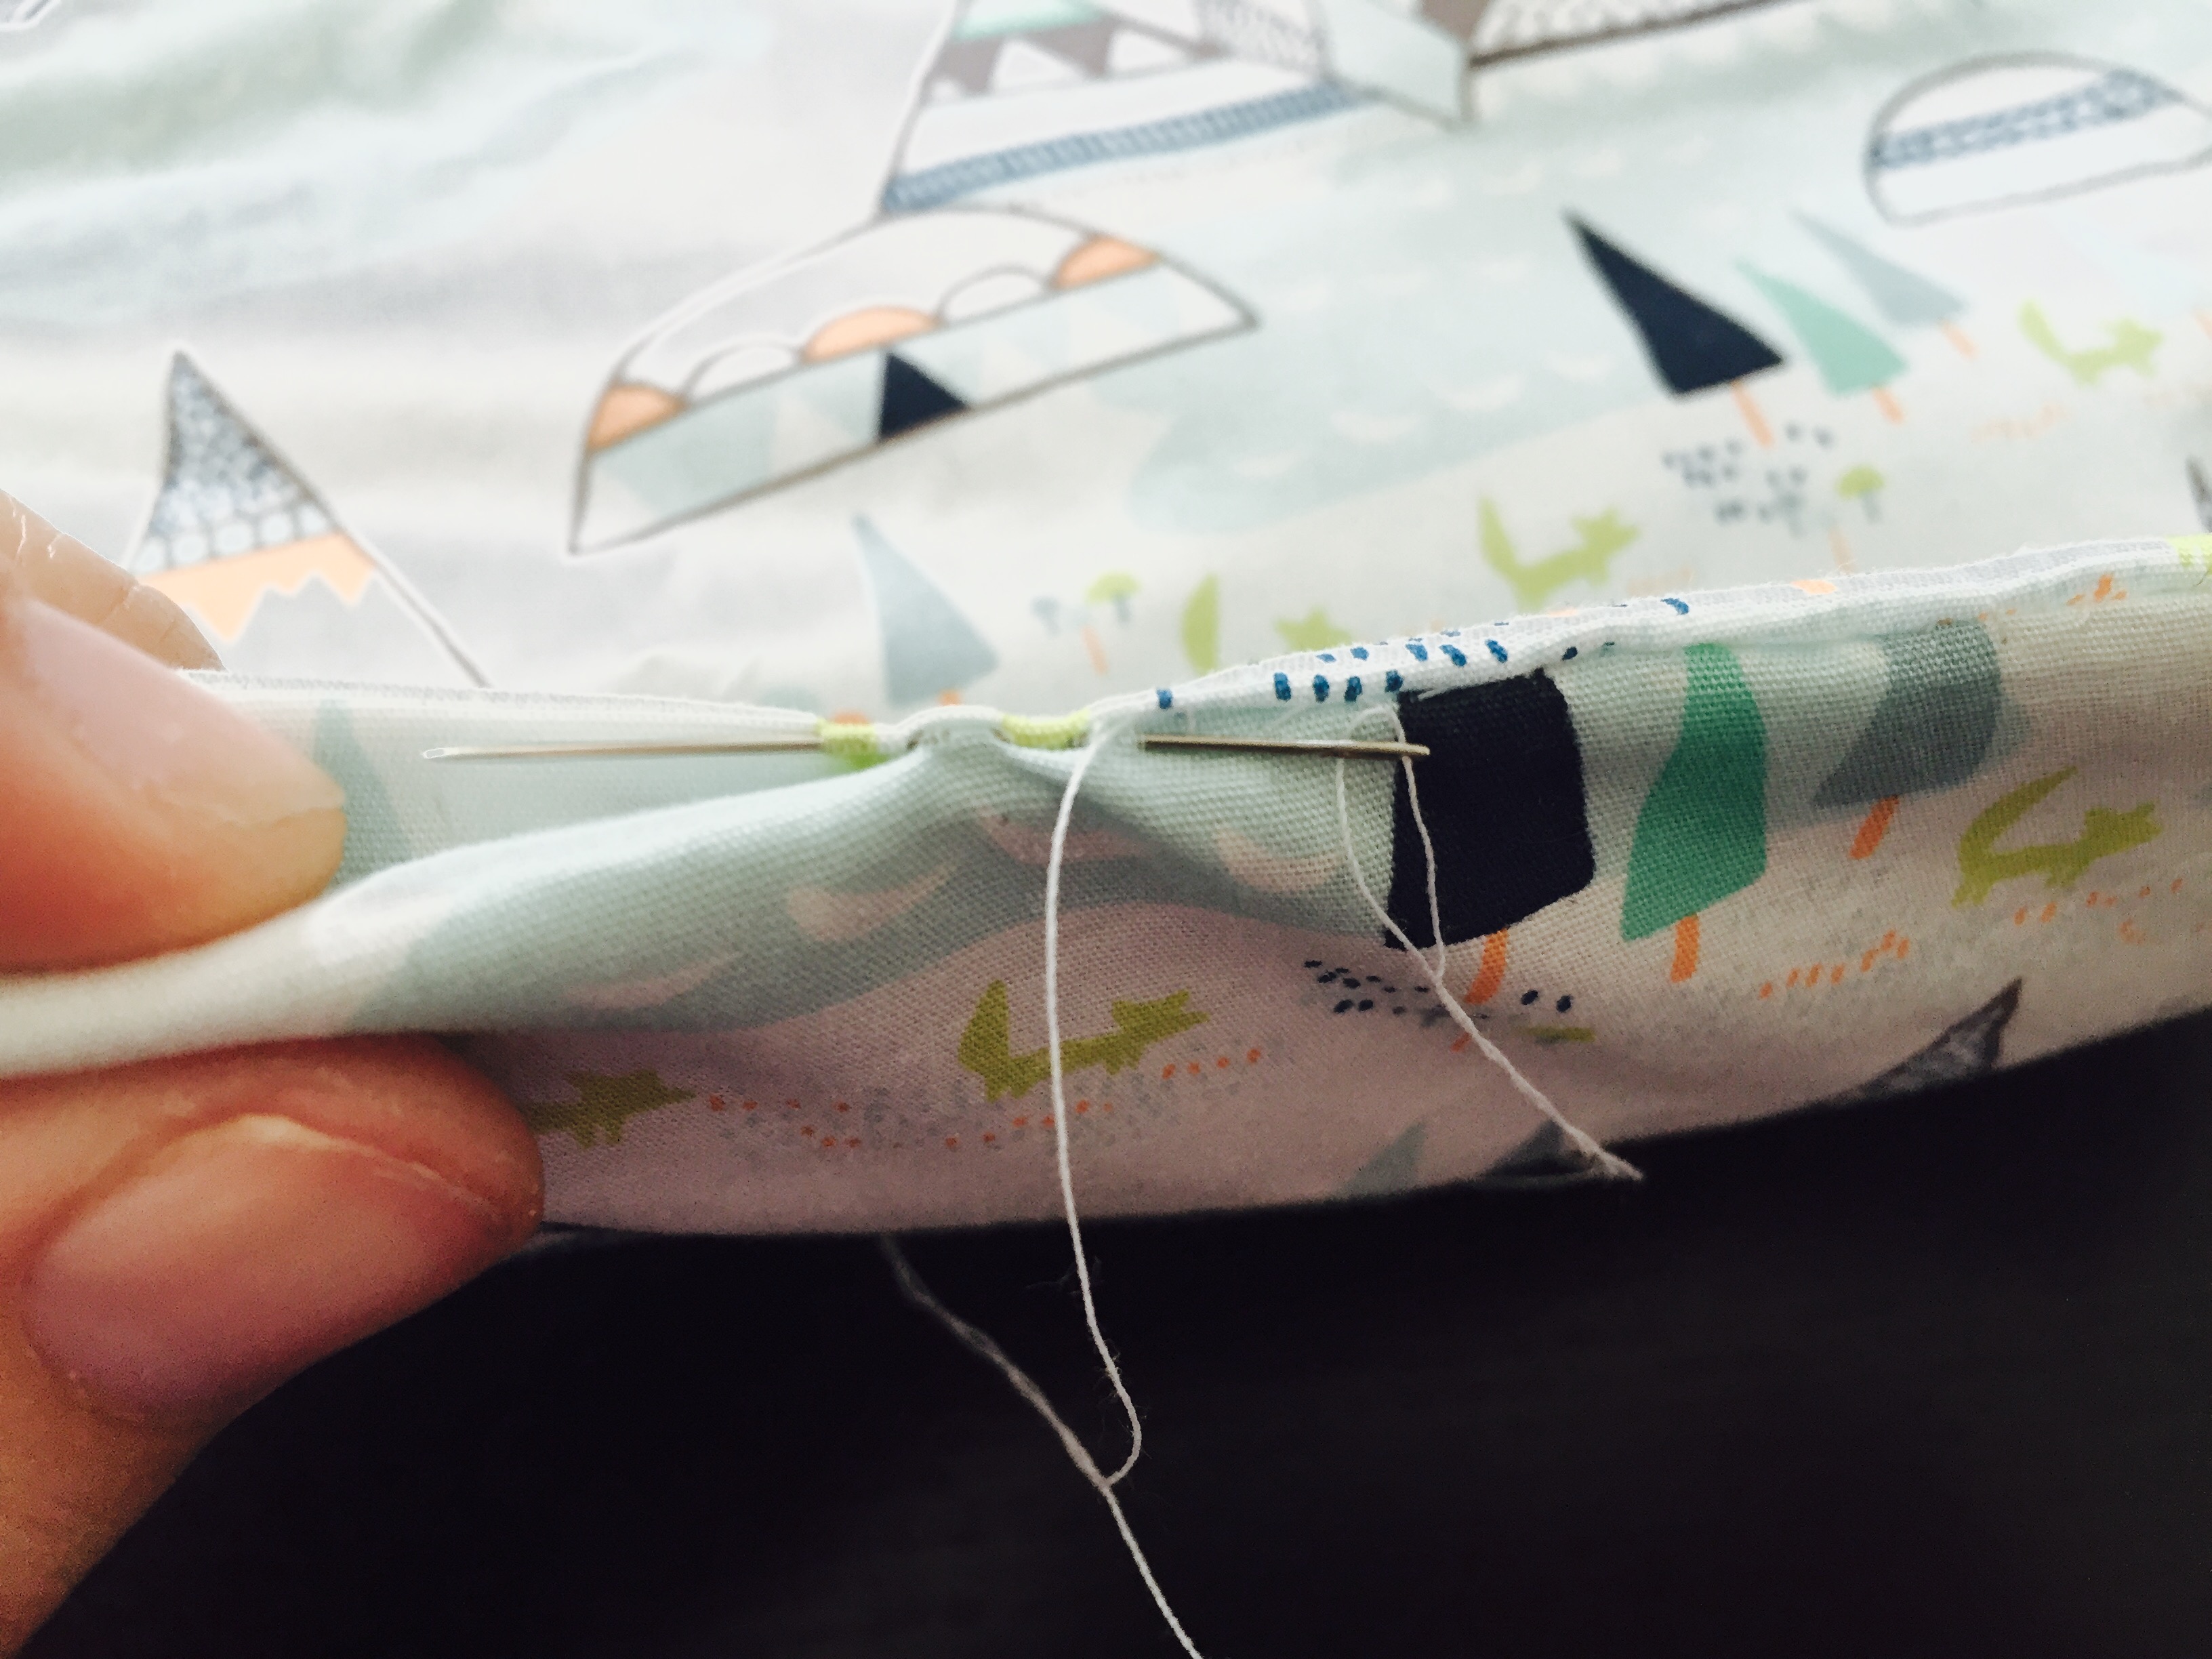
- Now, just like you did with the screw holes for the foot cushion, feel through your fabric to see where your snaps are.
- Cut tiny holes JUST big enough so you can push your snaps through.
- Then, push the excess fabric underneath the outer edge of the snap.
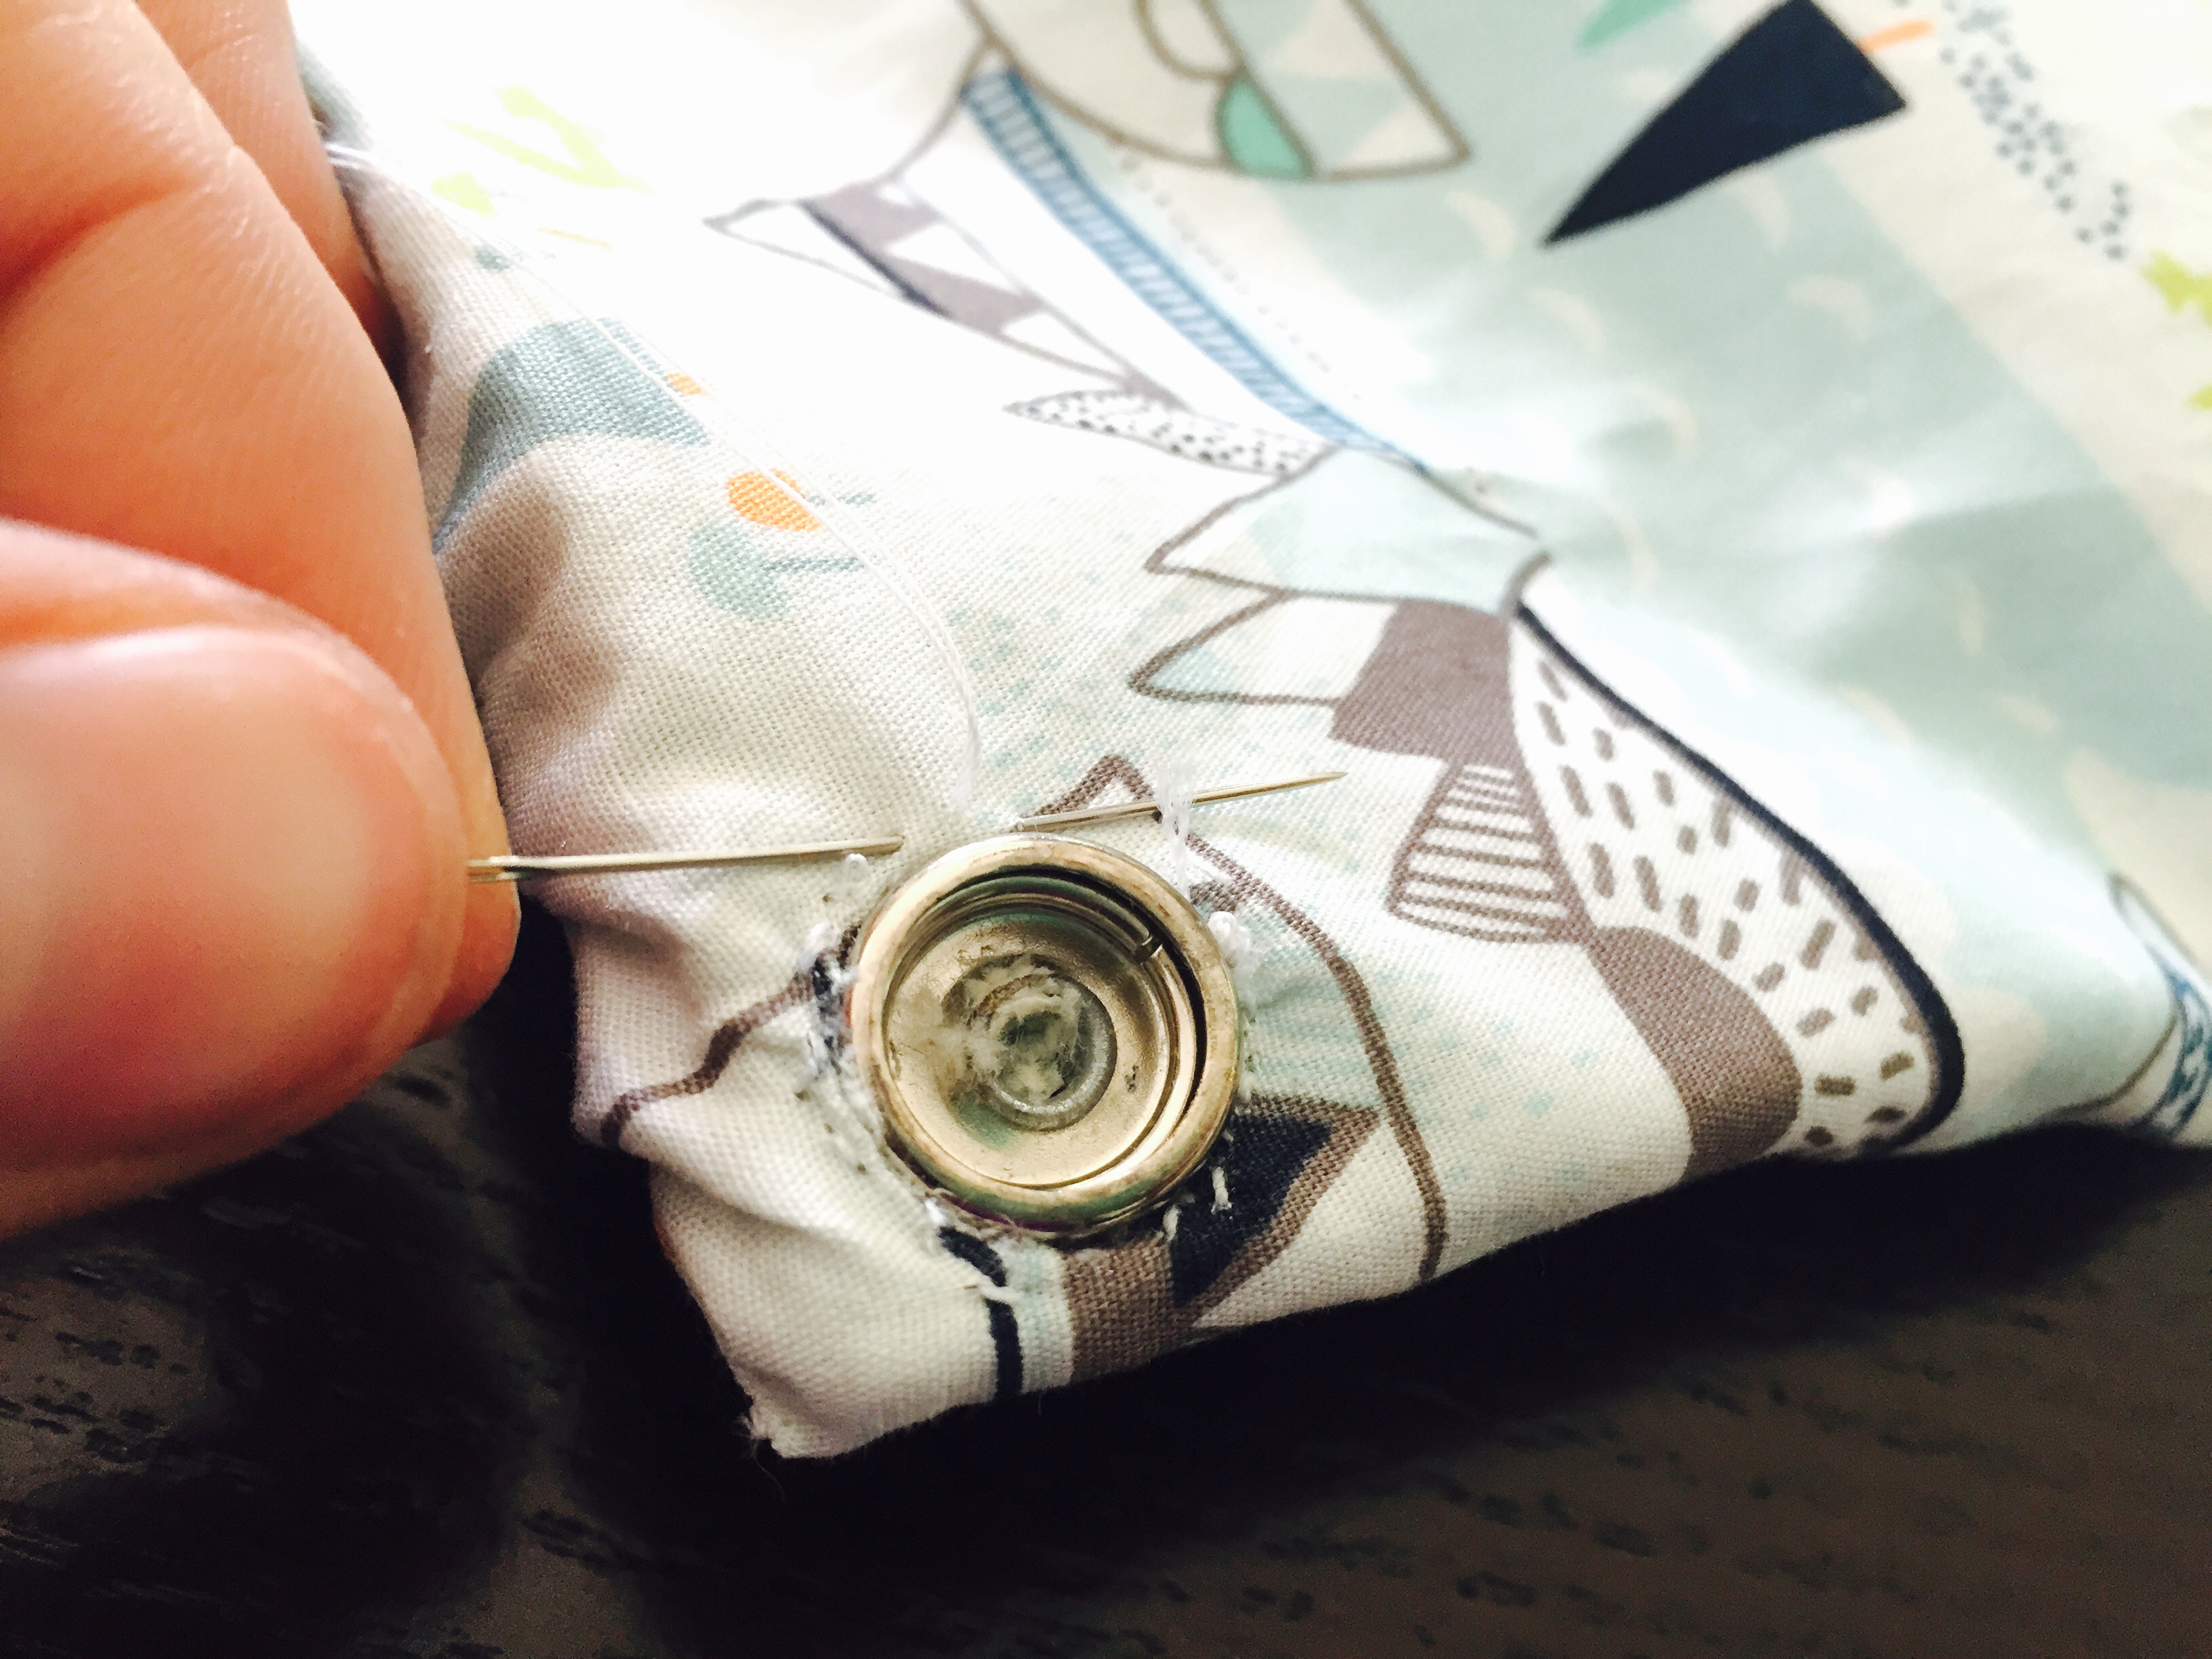
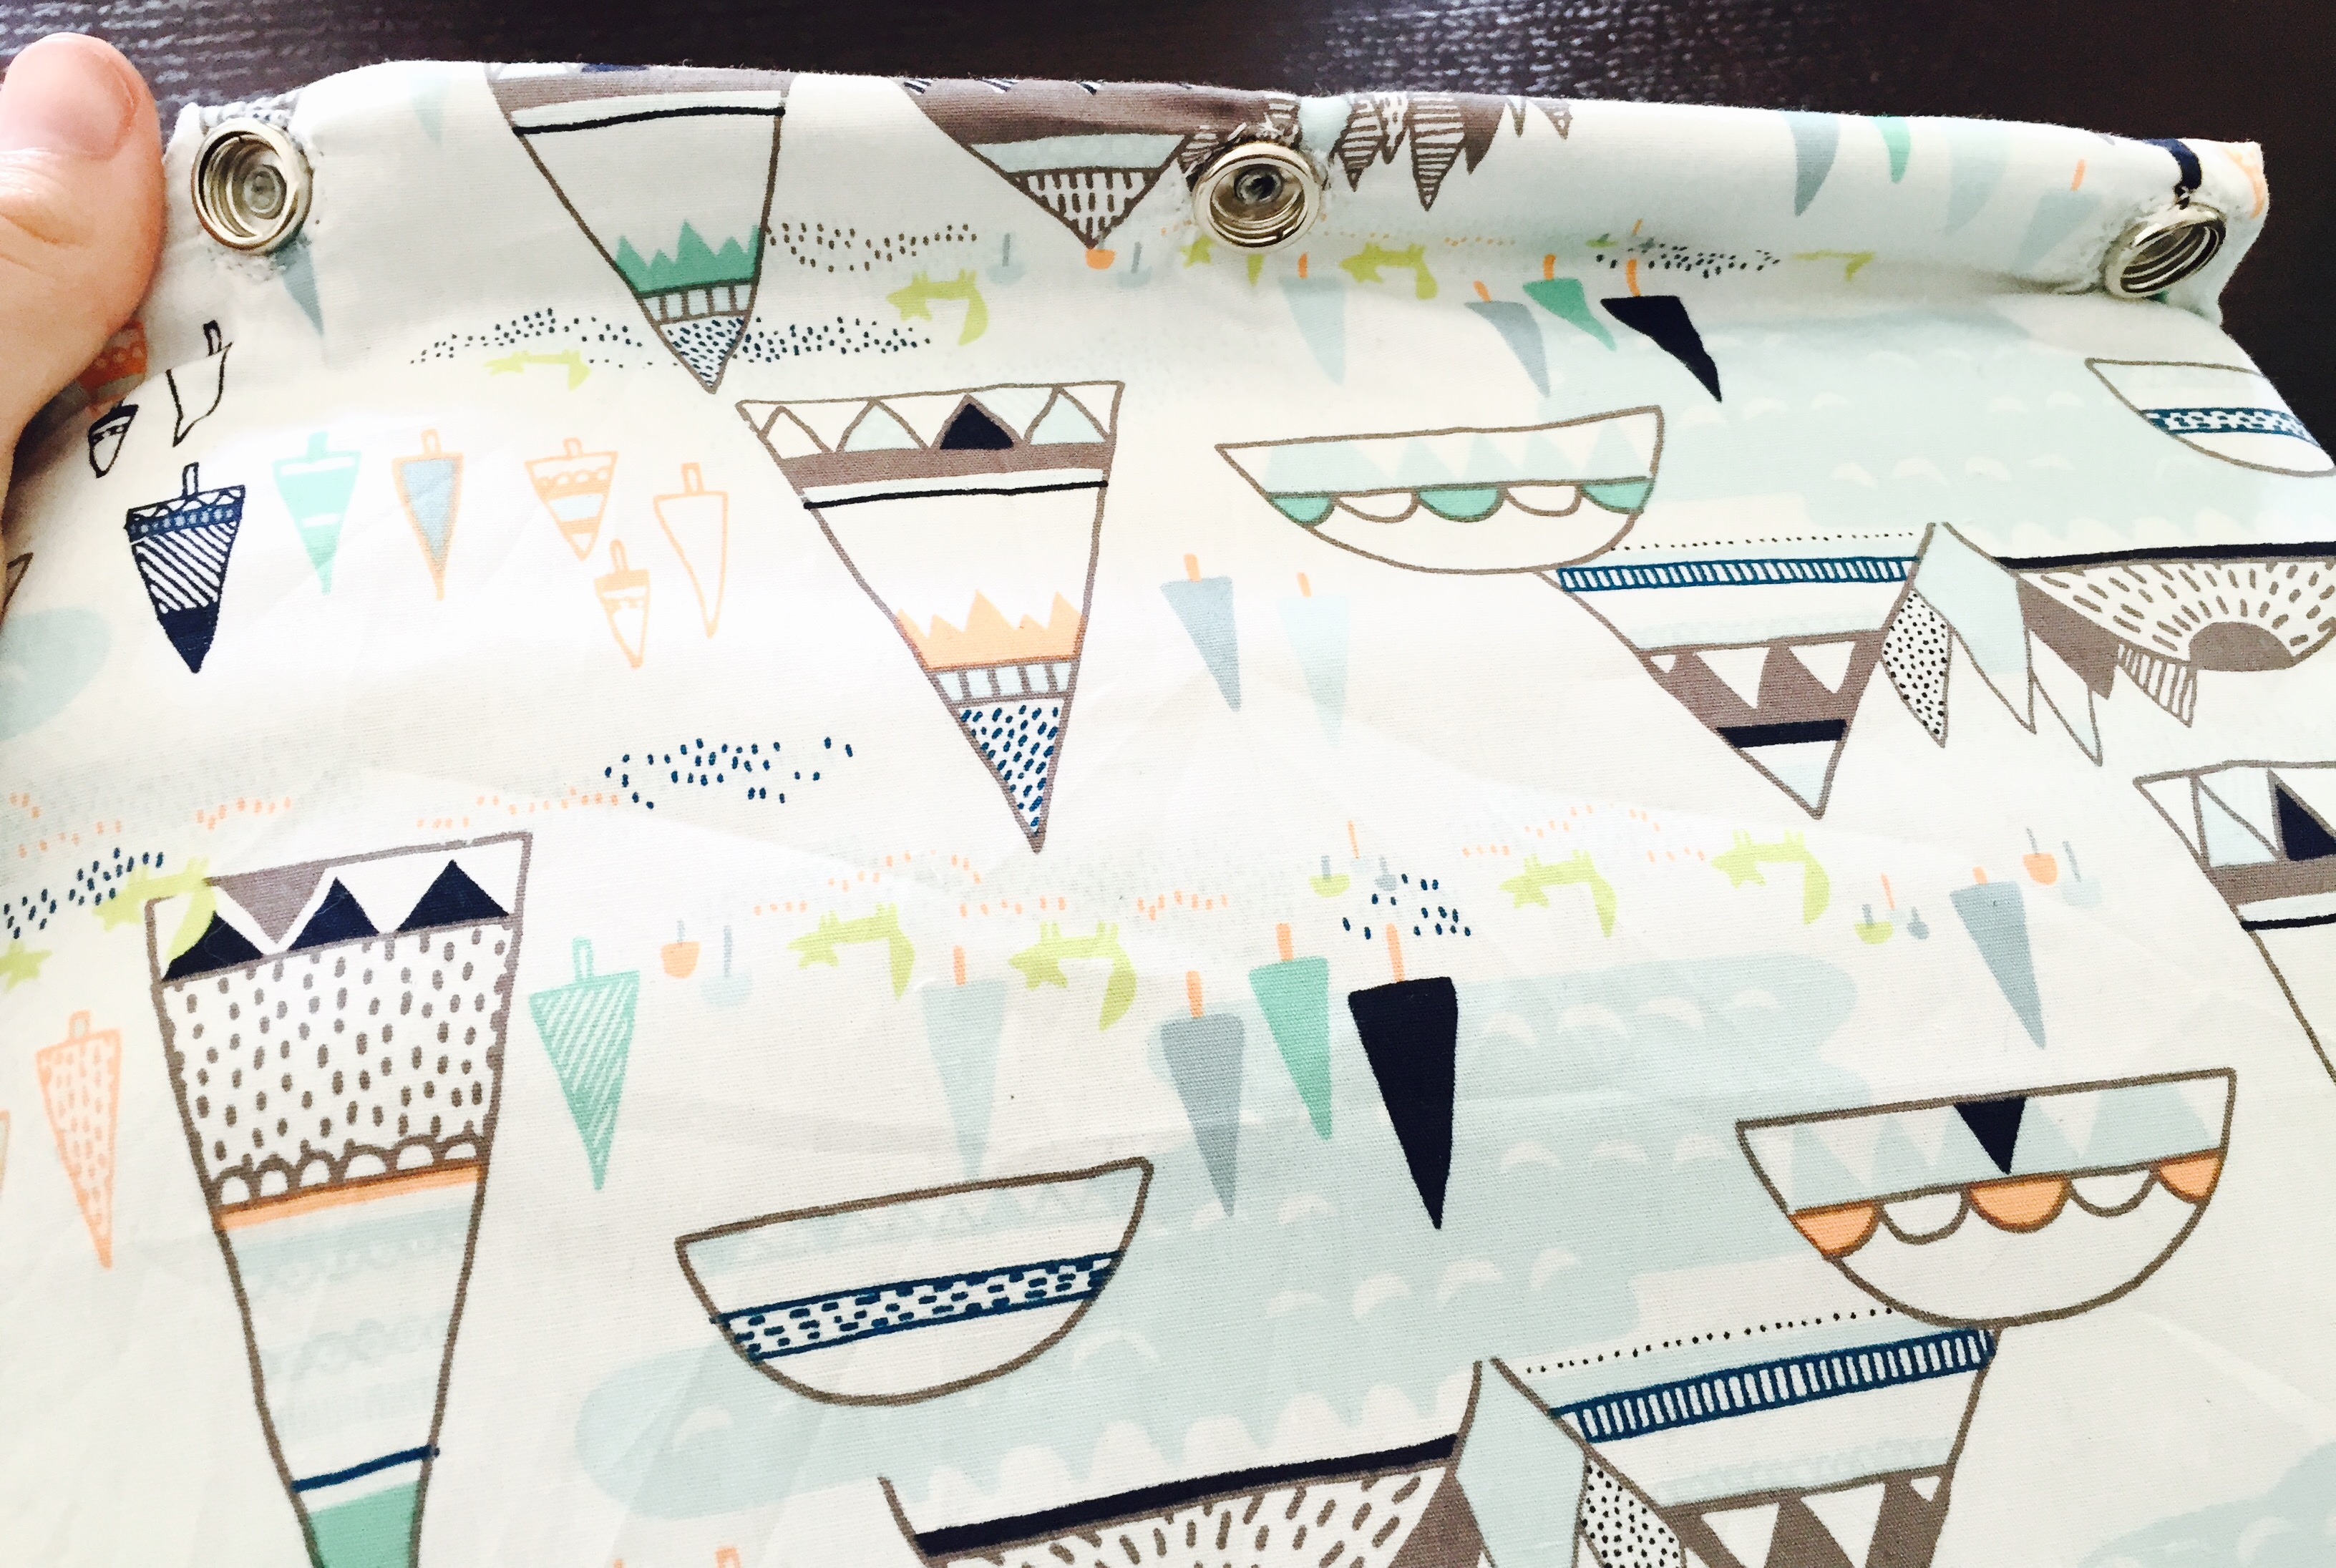
- Finally, just sew (by hand) around the outer edge of the snap, making sure you’re sewing your new fabric cover tightly to the fabric the snap is attached to.
- This will not only keep the snap in place, but it will keep the fabric from moving or fraying around the edges of the snap.
Voi La!
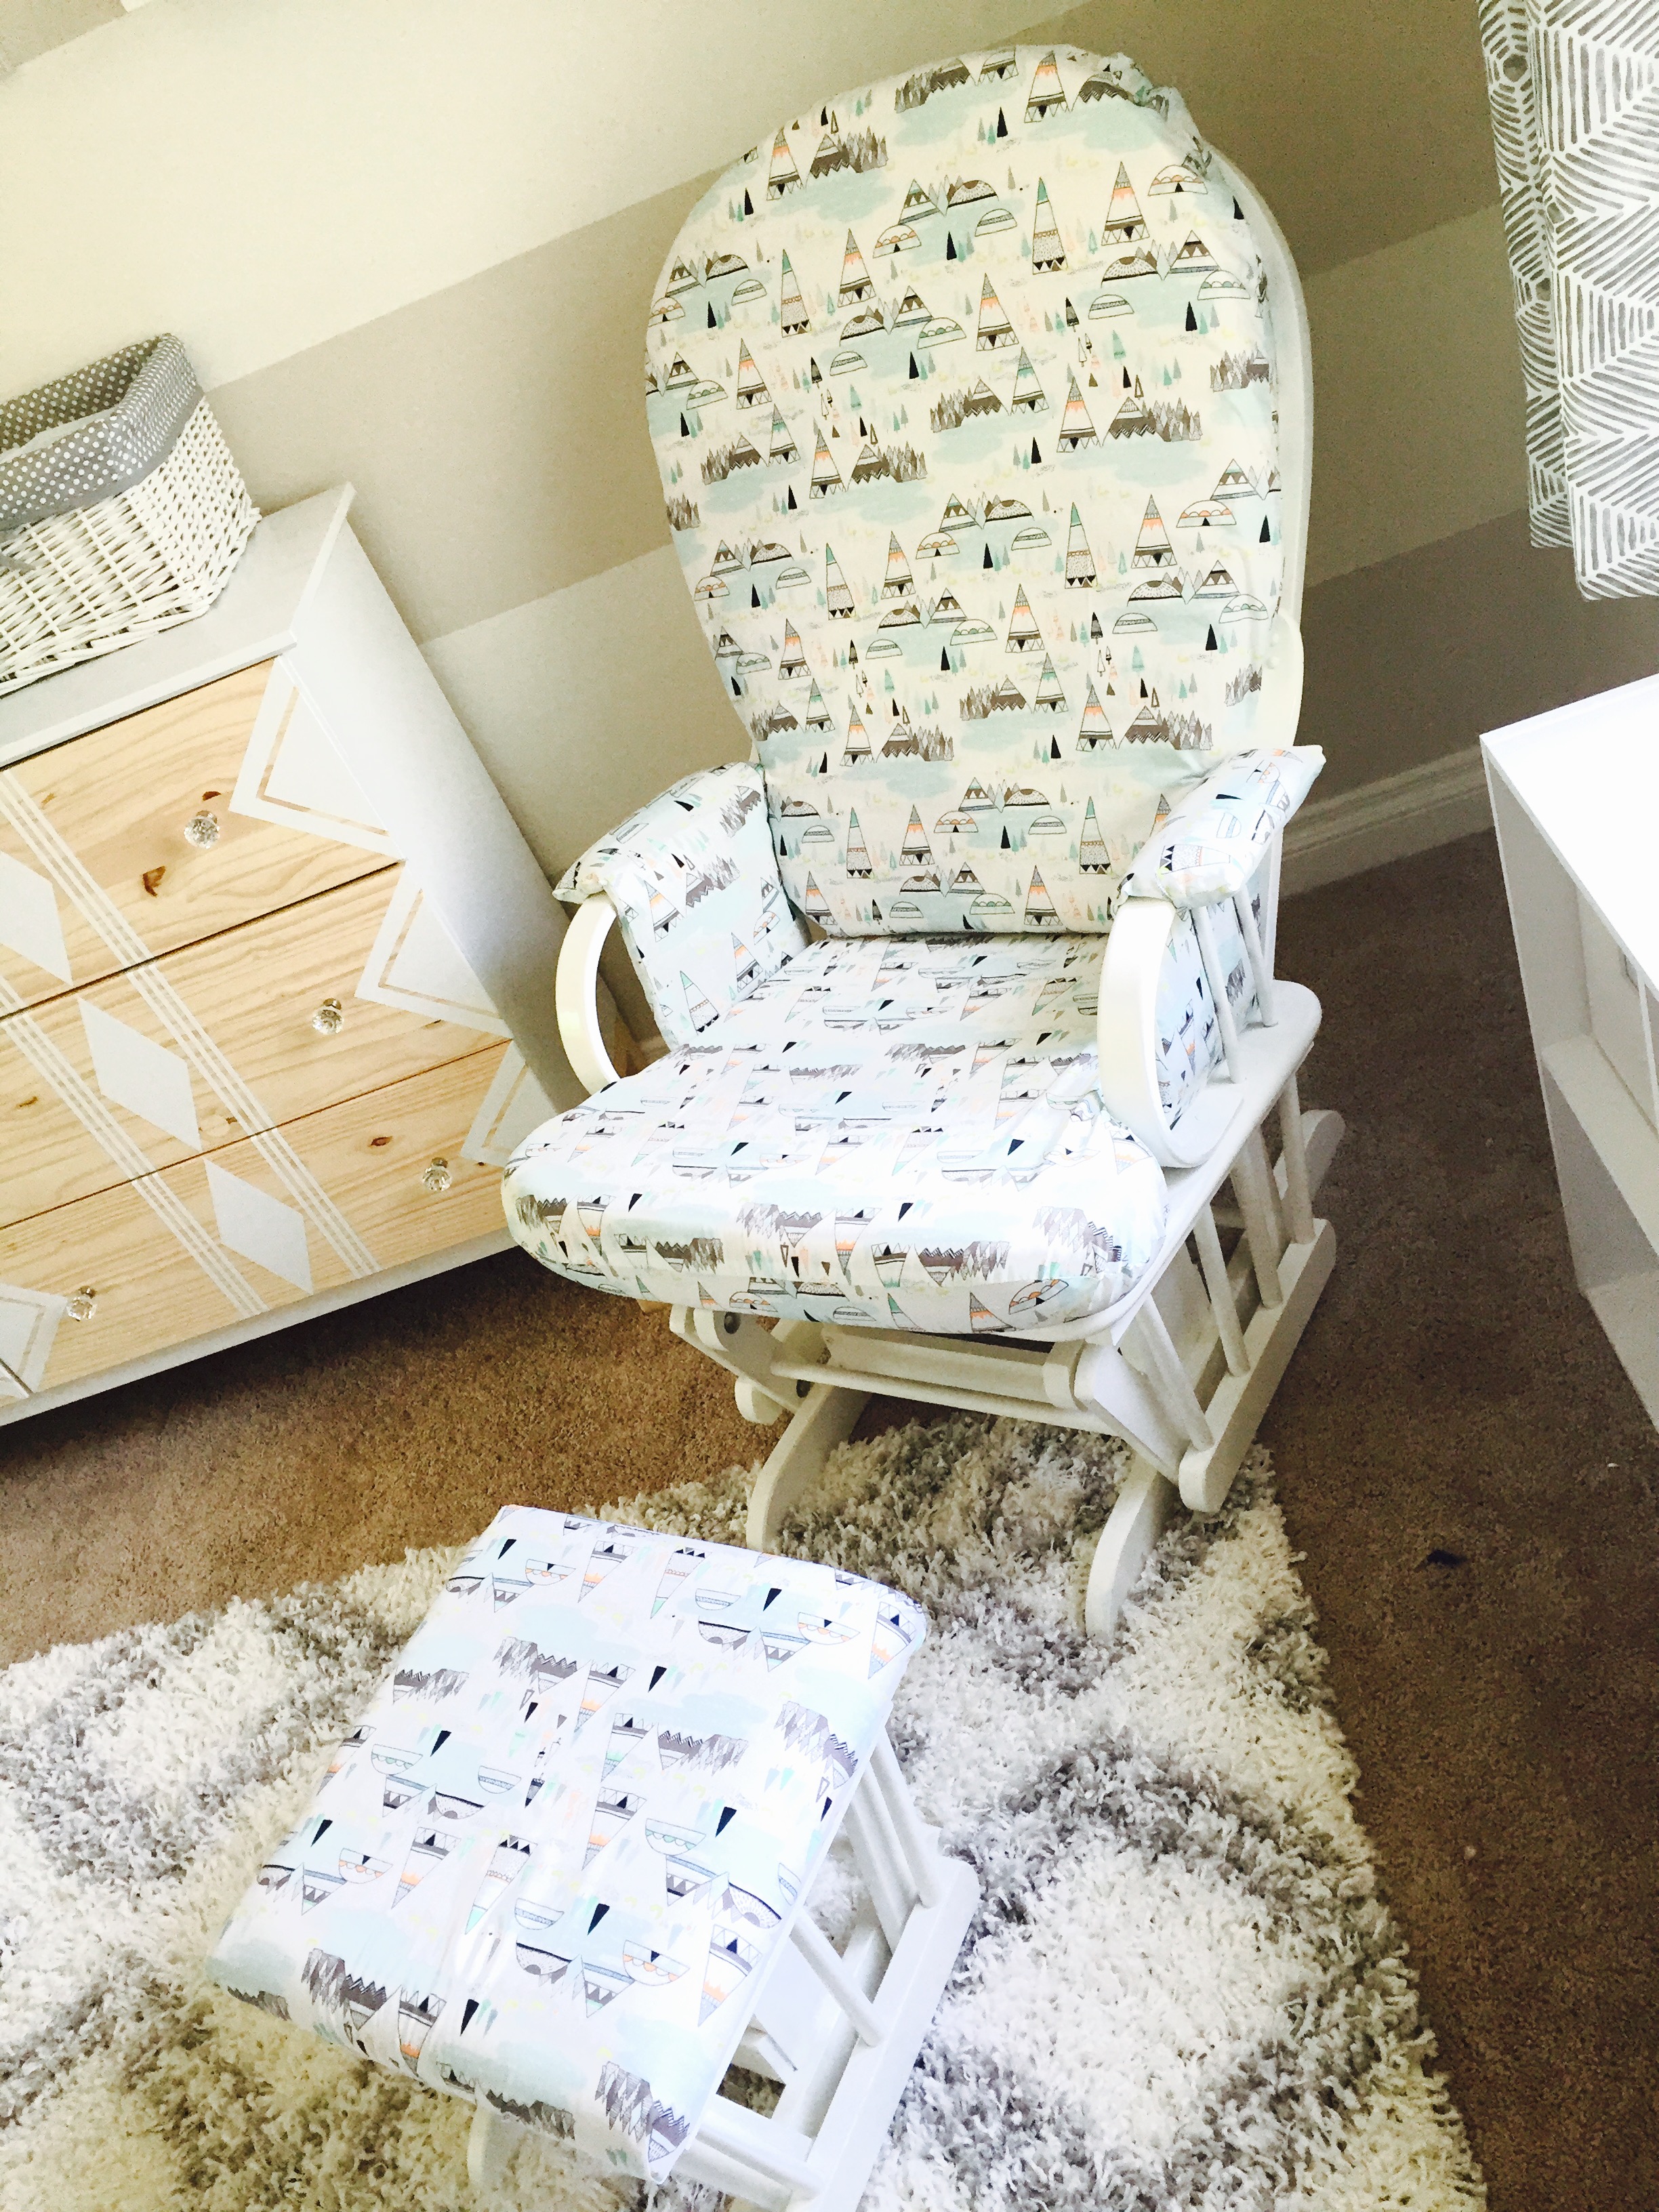
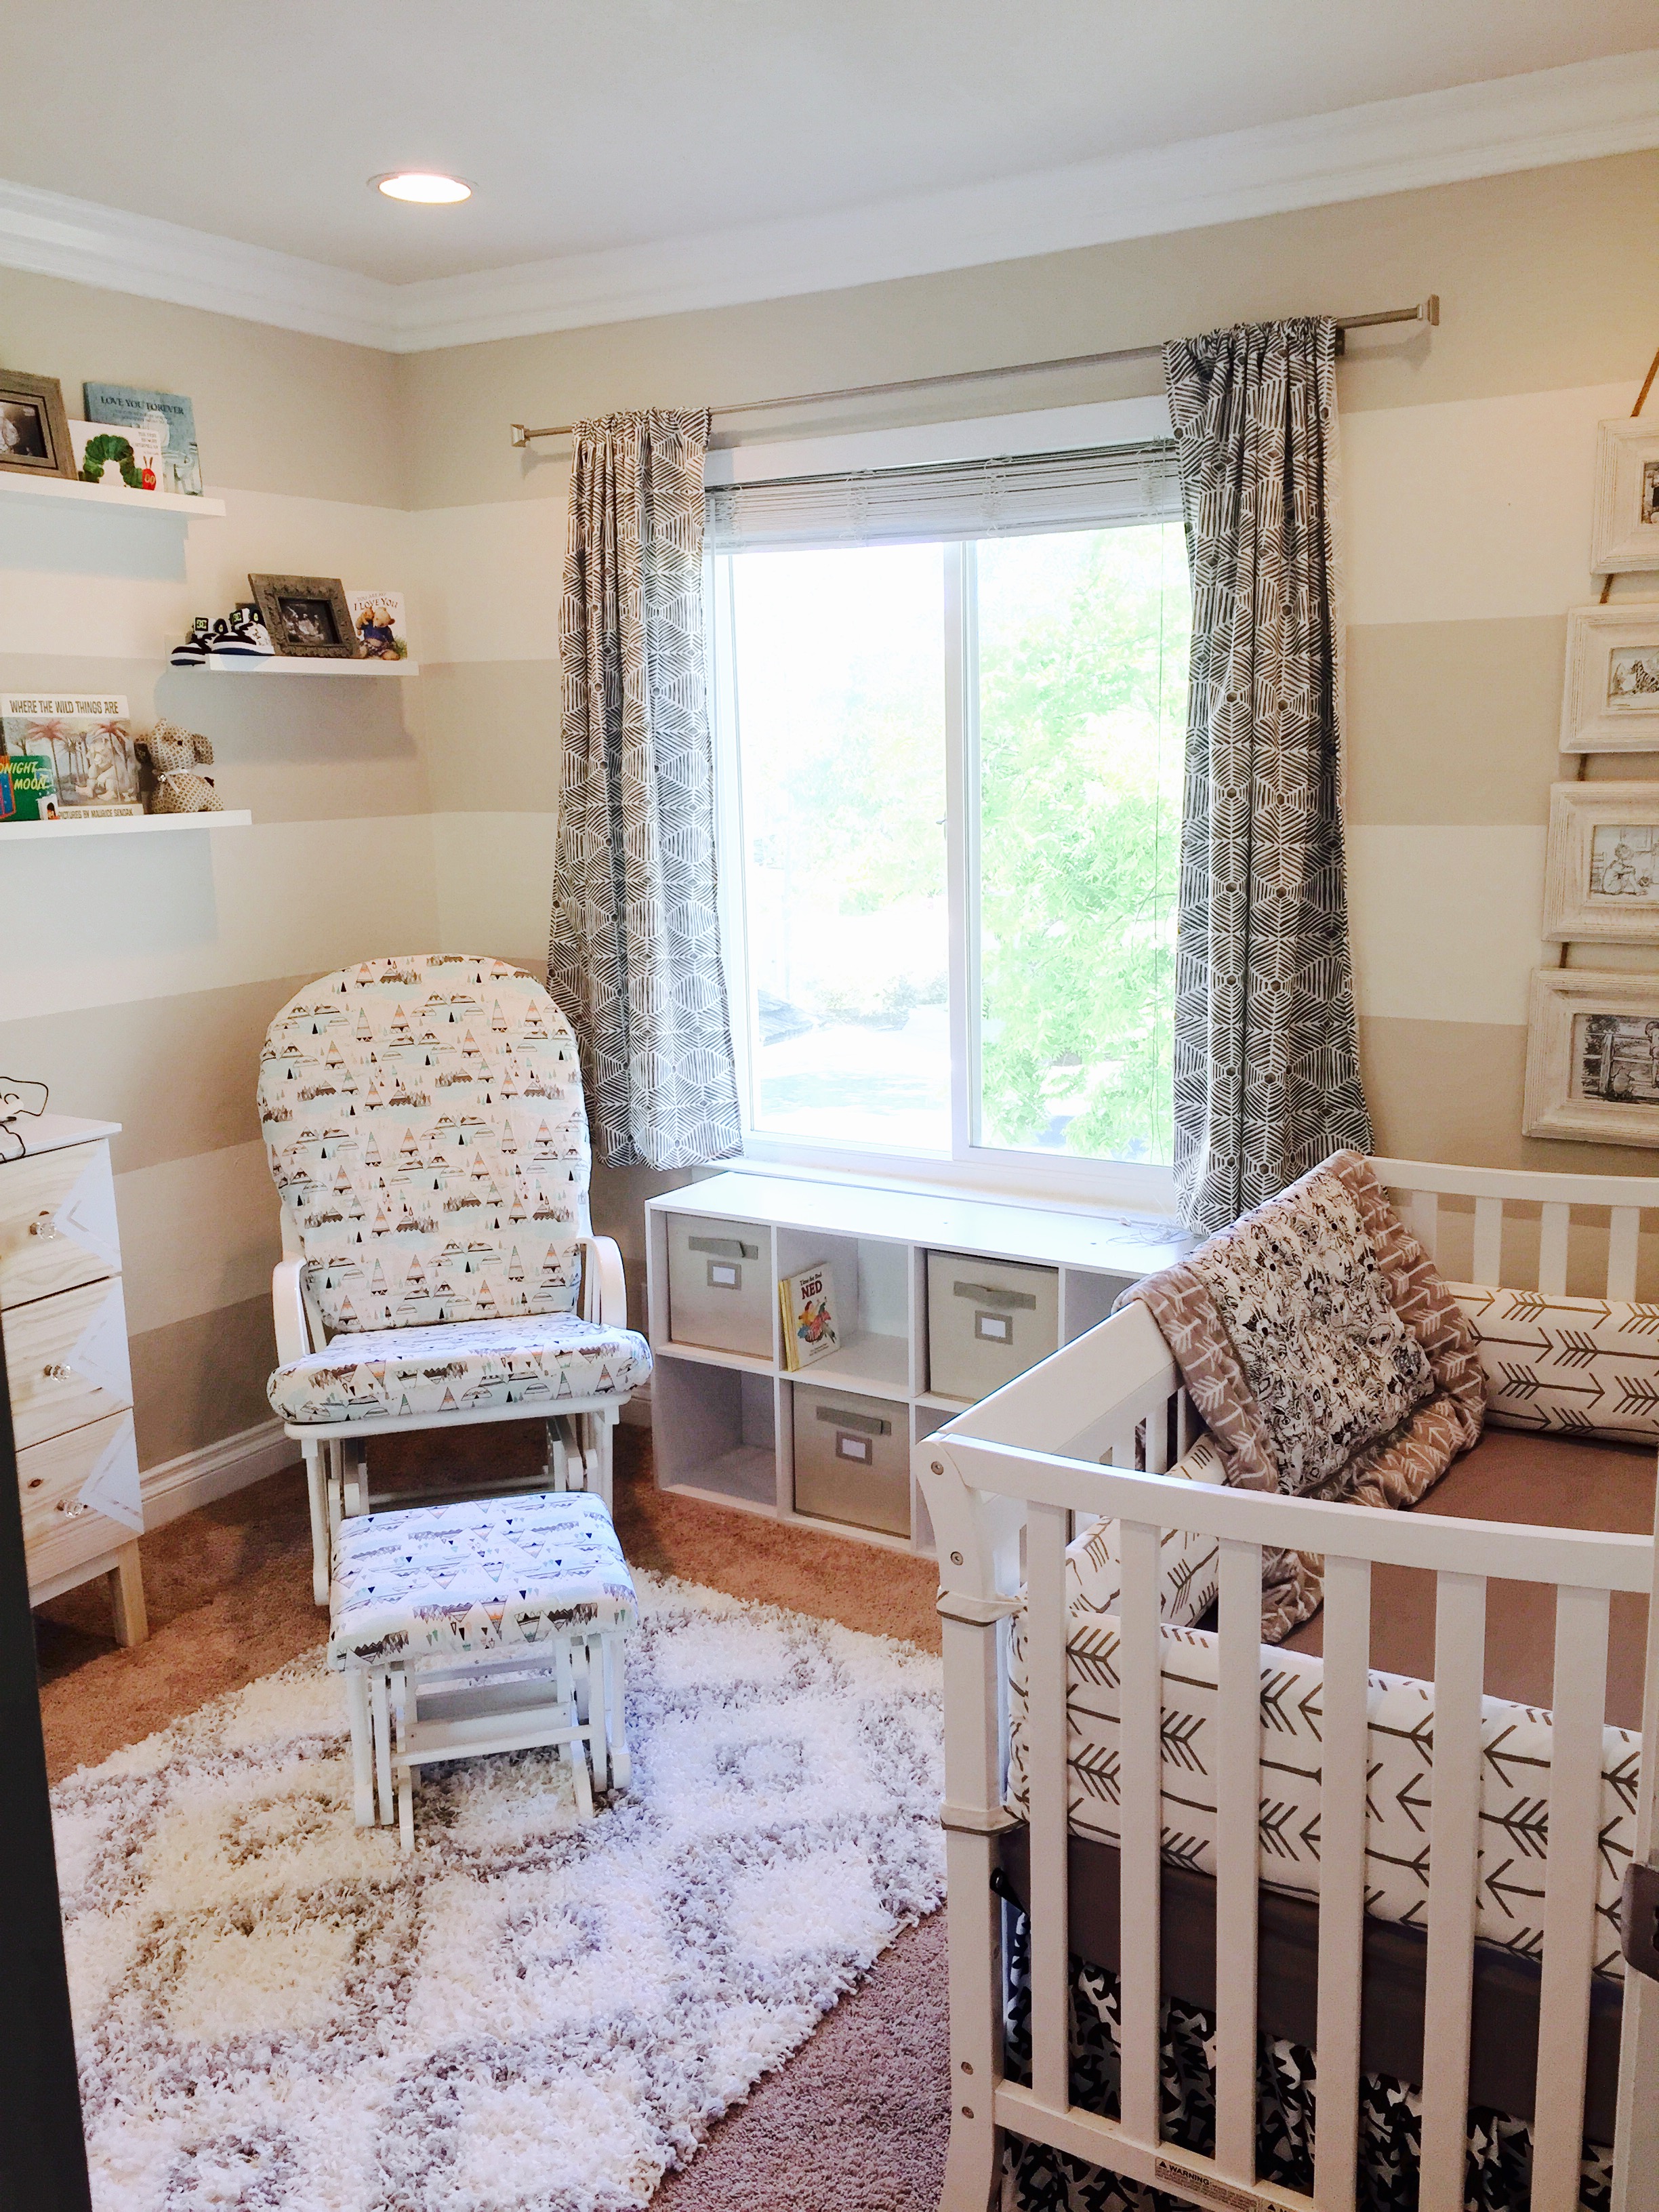
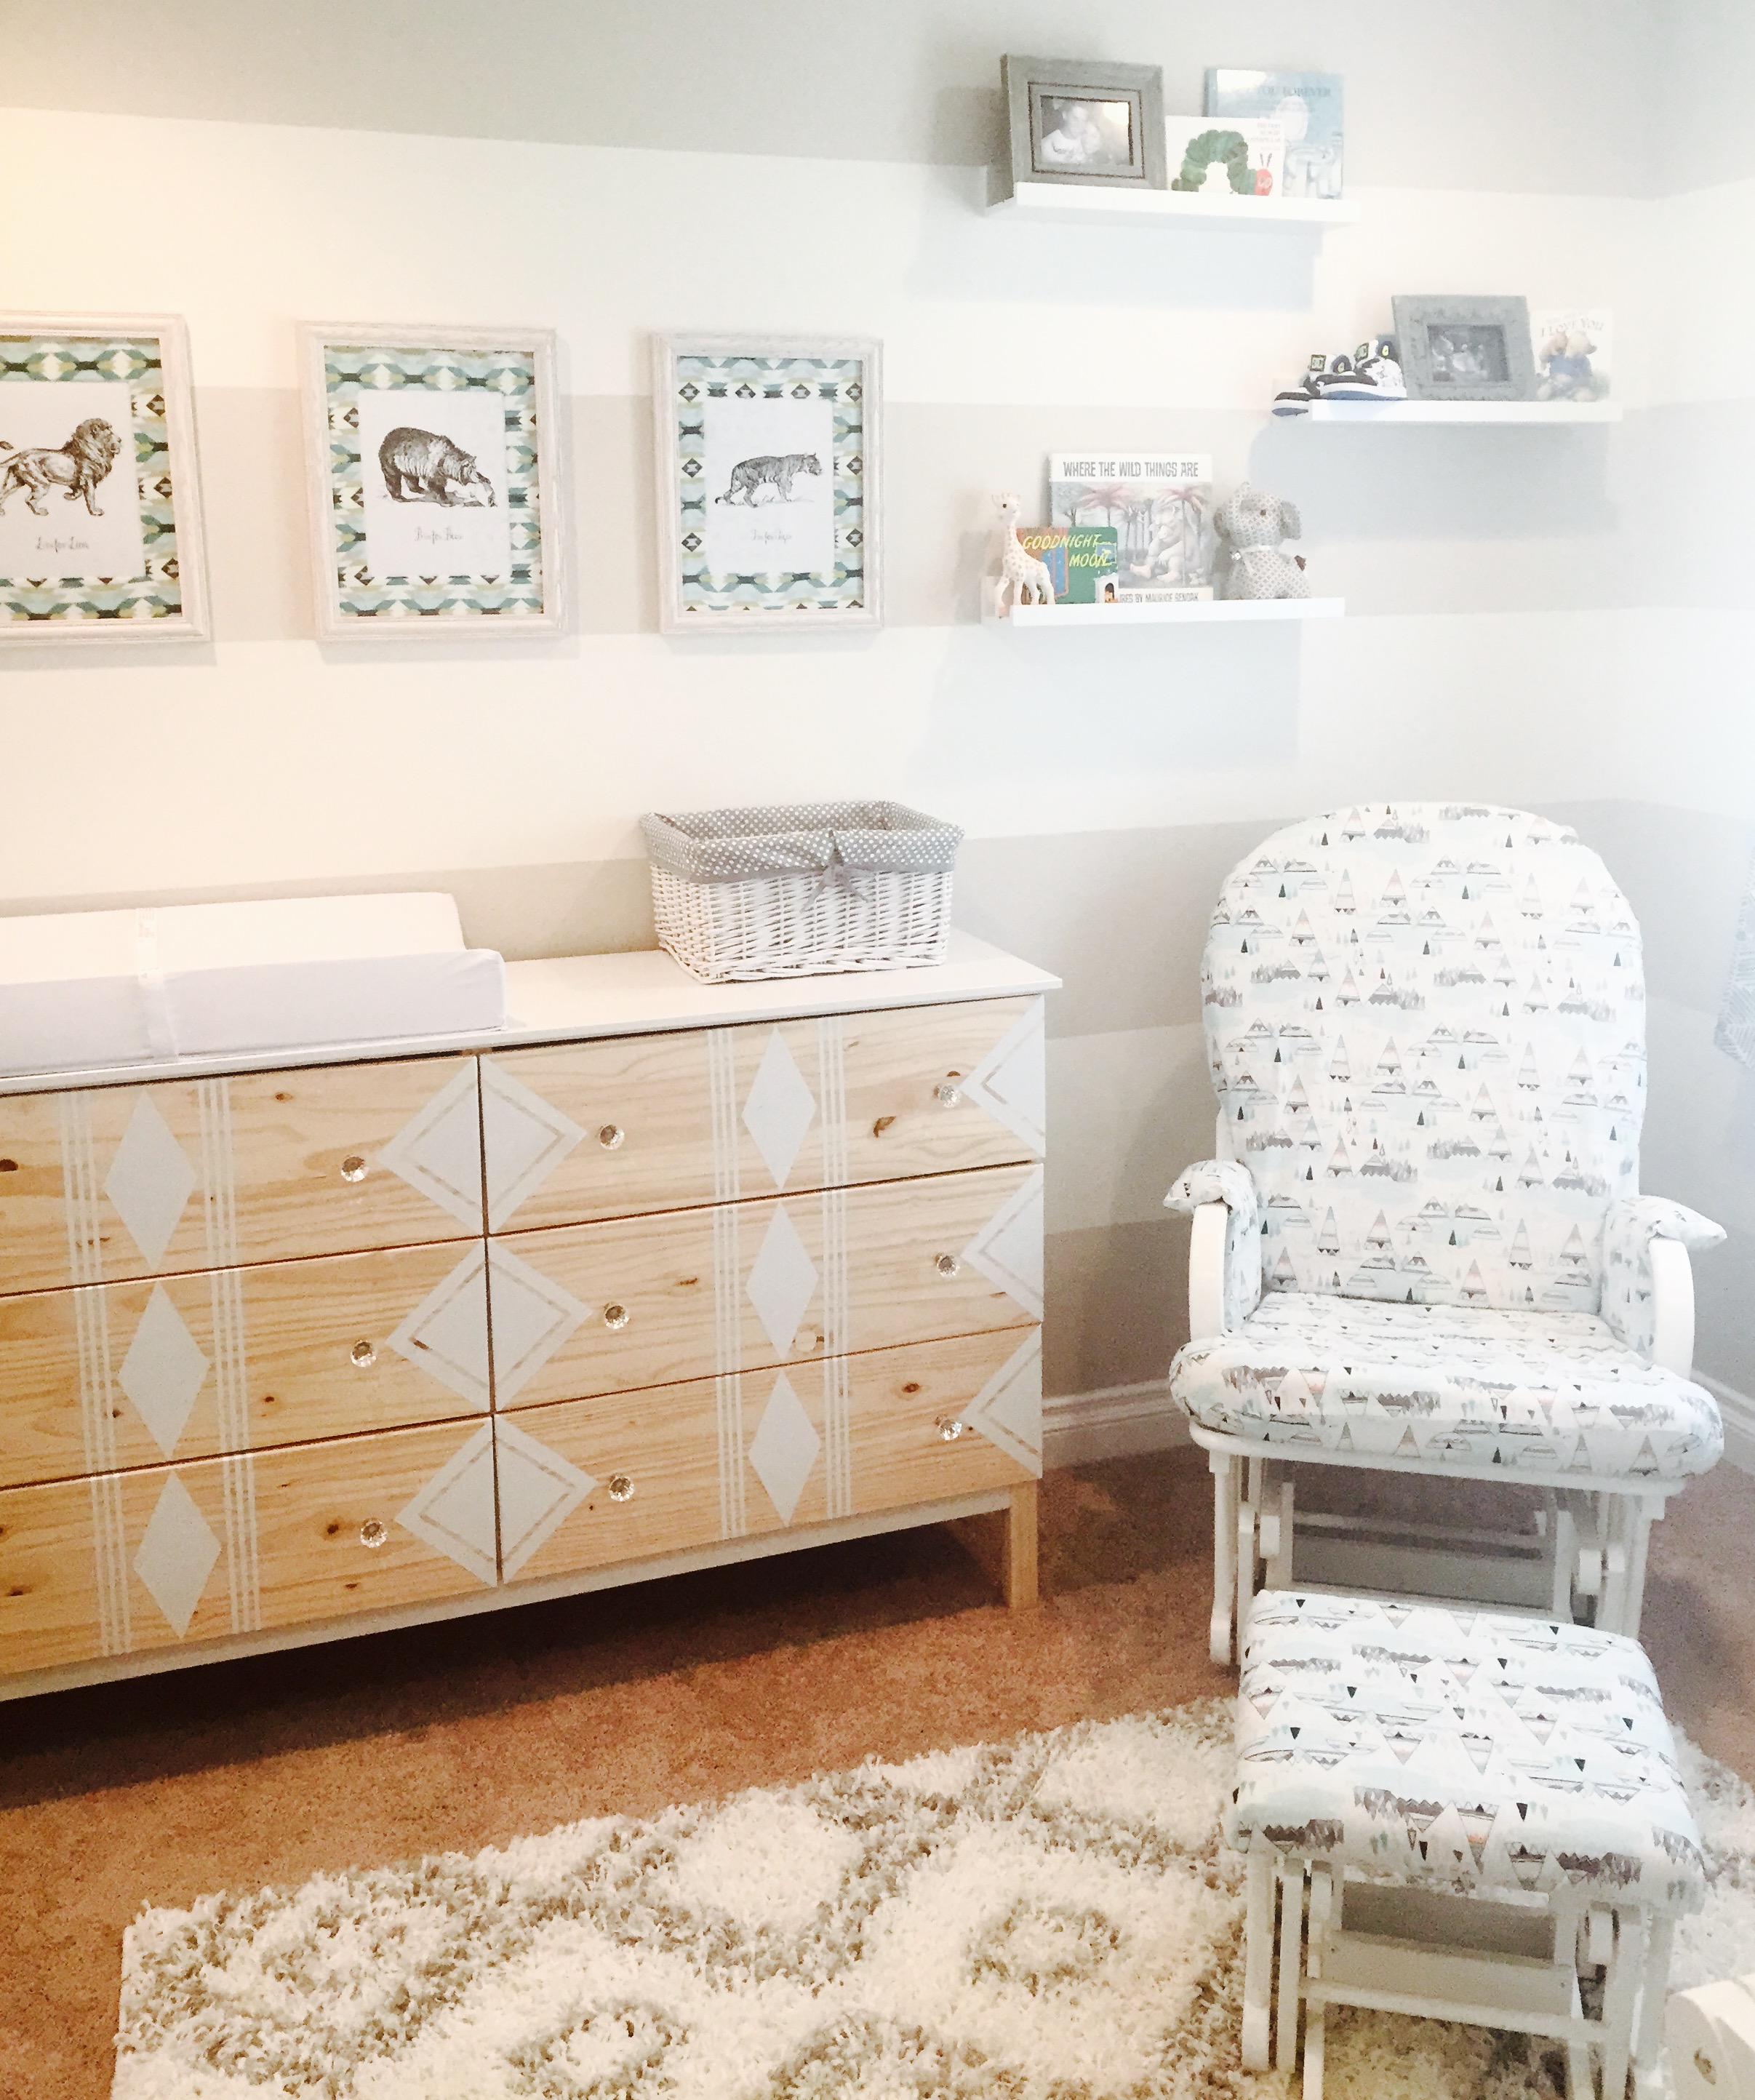
Pretty crazy, huh? It’s not the quickest, or easiest project, but they never really are. But it is oh so cute. I’m obsessed. And my hubby likes it because it helps add a “pop of color” into the mostly-neutral toned room. I love my neutrals! I just can never seem to get enough.
Again, you can make things a lot easier on yourself by just buying the chair cushion pattern, foam, and making your cushions from scratch. Total DIY rocking chair status there. BUT, you’ll spend a lot more money (foam is not cheap). Just depends on what is most important to YOU!
But if you’re ready to rock and roll with my tutorial above, kudos! Here’s a recap of everything you’ll need to get the job done…
The Necessary Supplies:
- Glider Chair (the one I originally registered for)
- I got mine for $60 off Craigslist. But if you can’t find a good one, you can get an inexpensive one here, and just re-cover it with the fabric of your choice.
- 4 yards of fabric
- I used “Art Gallery Indian Summer” from Fabric.com
- Sewing Machine
- Needle and Thread
- Air erasable marking pen
- Sewing pins
- Scissors
- Screwdriver
- Staple remover
- Staple Gun and staples
- Ribbon (optional – for tying cushions onto chair instead of using snaps)
- Chair Cushion Pattern (and foam) if making cushions from total scratch without re-using old cushions.
HAPPY CRAFTING!
Leave a Reply