When you’re looking to spruce up your living space, one of the easiest things you can do is add some drapery to your windows. Whether they already have blinds or not, curtains are always a good idea. Why? Well, for starters, did you know that curtains make your windows/doors look wider than they really are? Yep, they absolutely do. Your eye is drawn to the entire space, including the drapery, tricking your mind into thinking the window is larger than it is and giving your space a much more open feel.
Secondly, curtains allow you to add your own personality into a room, without doing anything permanent or extensive. Have you seen those amazing geometric patterned curtains they sell at West Elm?
No need to paint walls or add decor. These simple patterned curtains give you the flair in your space without having to overdo anything.
So, why am I writing this post? Well, to SAVE YOU MONEY of course. Yes, the West Elm curtains are to die for. But did you know that you can get the same look, for less, if you just knew how to hem curtains yourself? Yep, it’s true. If you can hem curtains, you can go to Ross and get great knock offs, that aren’t necessarily the size you need, and make them fit any space.
How do I know? Because this is exactly what I did for my entire house.
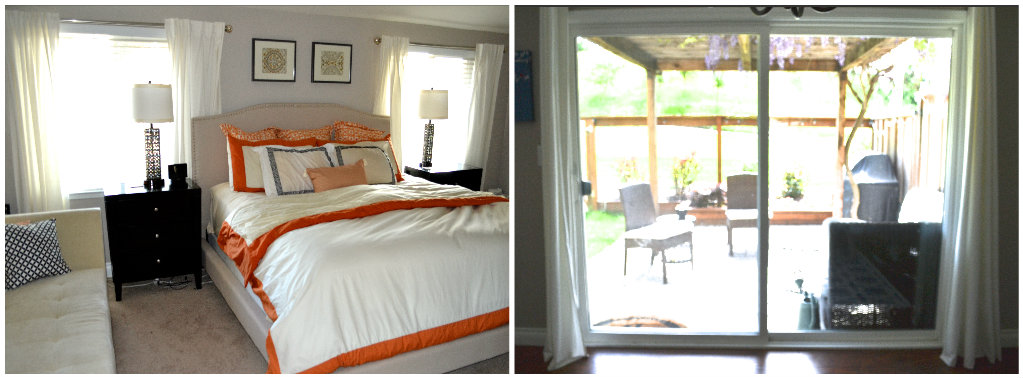
When Travis and I first moved into our home, I had an idea in my head that I wanted clean, crisp, white drapes for both our living room and our bedroom. White, after all, is the color that brightens up a room the most. Our home isn’t the biggest thing in the world, so I wanted to make every space look as bright and big as possible.
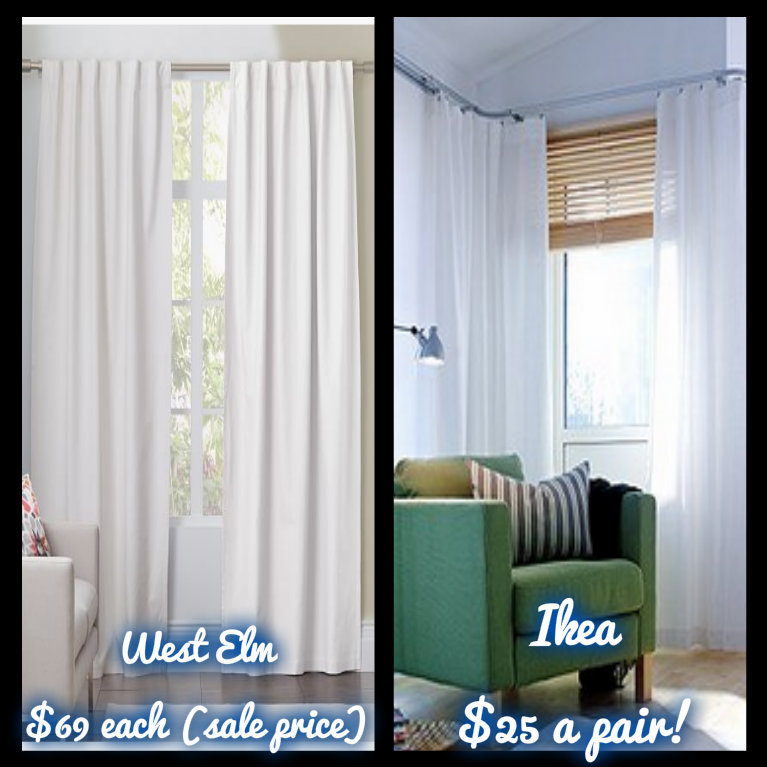
I looked at West Elm and Pottery Barn first. Of course, they had perfectly beautiful curtains that I pined over. But they ranged from $39 to $99 EACH! And I would need 2 for each window, with 3 different windows to cover. Yikes! I thought that was a bit pricey, so I kept searching.
I finally found perfect, simple, white curtains at Ikea. They would work perfectly! And at a price of $25 for a PAIR, I was sold. But the problem was, they were 98″ long. I needed 84″ curtains for my living room, and 64″ curtains for my bedroom.
So the natural solution was to buy the Ikea curtains, and hem them myself. I’d save money on the expensive curtains, I’d save money on a seamstress, and I’d have the exact look I was going for. Done and done.
And if you think you can’t sew, or would have no idea how to hem curtains yourself, you’re wrong. This is probably one of the easiest and most simple projects ever to do. Below, I give you the easy step-by-step tutorial how to hem curtains like a pro, and save yourself a ton of cash!
Steps to Hem Curtains Yourself
The Necessary Supplies:
- 2 Panels of curtains (these are the white ones I used)
- I recommend checking Ikea, Amazon, and Overstock if you’re looking for something else.
- Sewing Machine (any introductory machine will work)
- Thread
- Scissors
- Sewing Pins
- Ruler or Tape Measure
- Air Erasable Marking Pen (optional)
TO DO A “NO SEW” HEM:
- If you’re not a sewer, just use heat transfer tape and iron the seams together when I instruct you to use a needle and thread or sew anything in this tutorial. All the stitches are linear, so if you press the fabric together (with the heat transfer tape in between) you’ll get the same result!
Step 1:
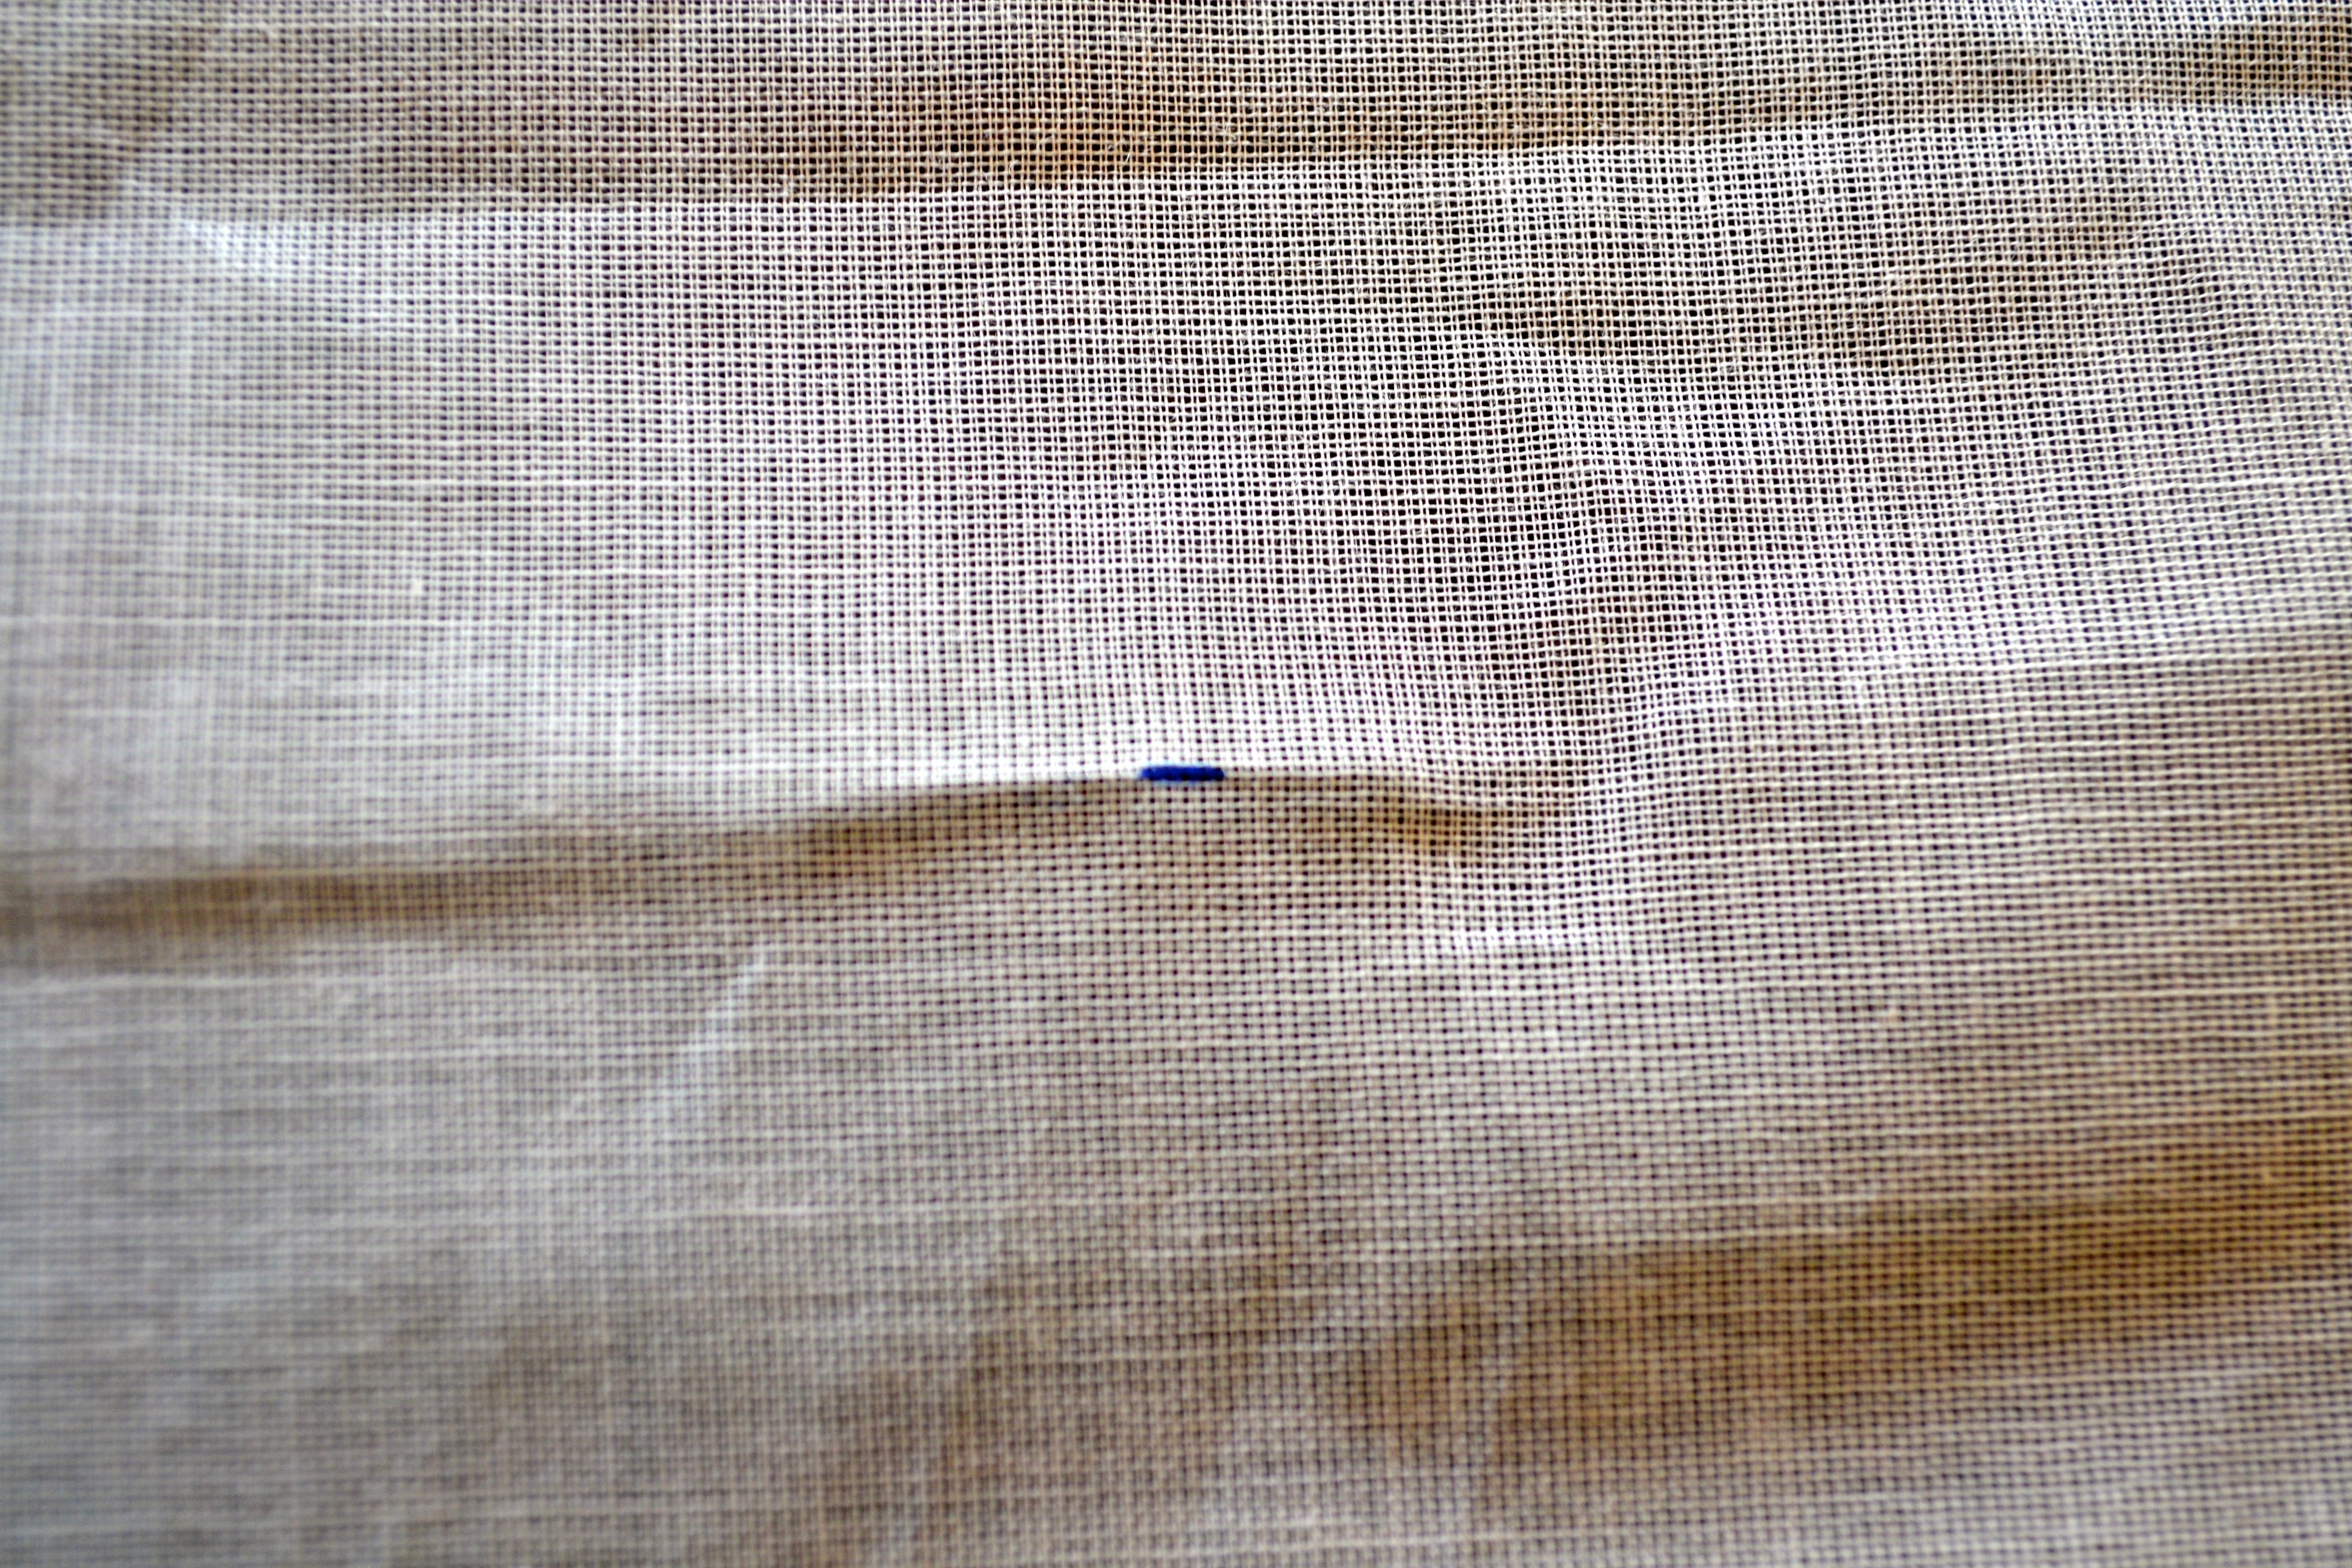
- Hang one panel of your curtains on the curtain rod you have in place. Place a small mark at the point of the curtain where you would like the curtain to end. Then, remove the panel from the rod.
Step 2:
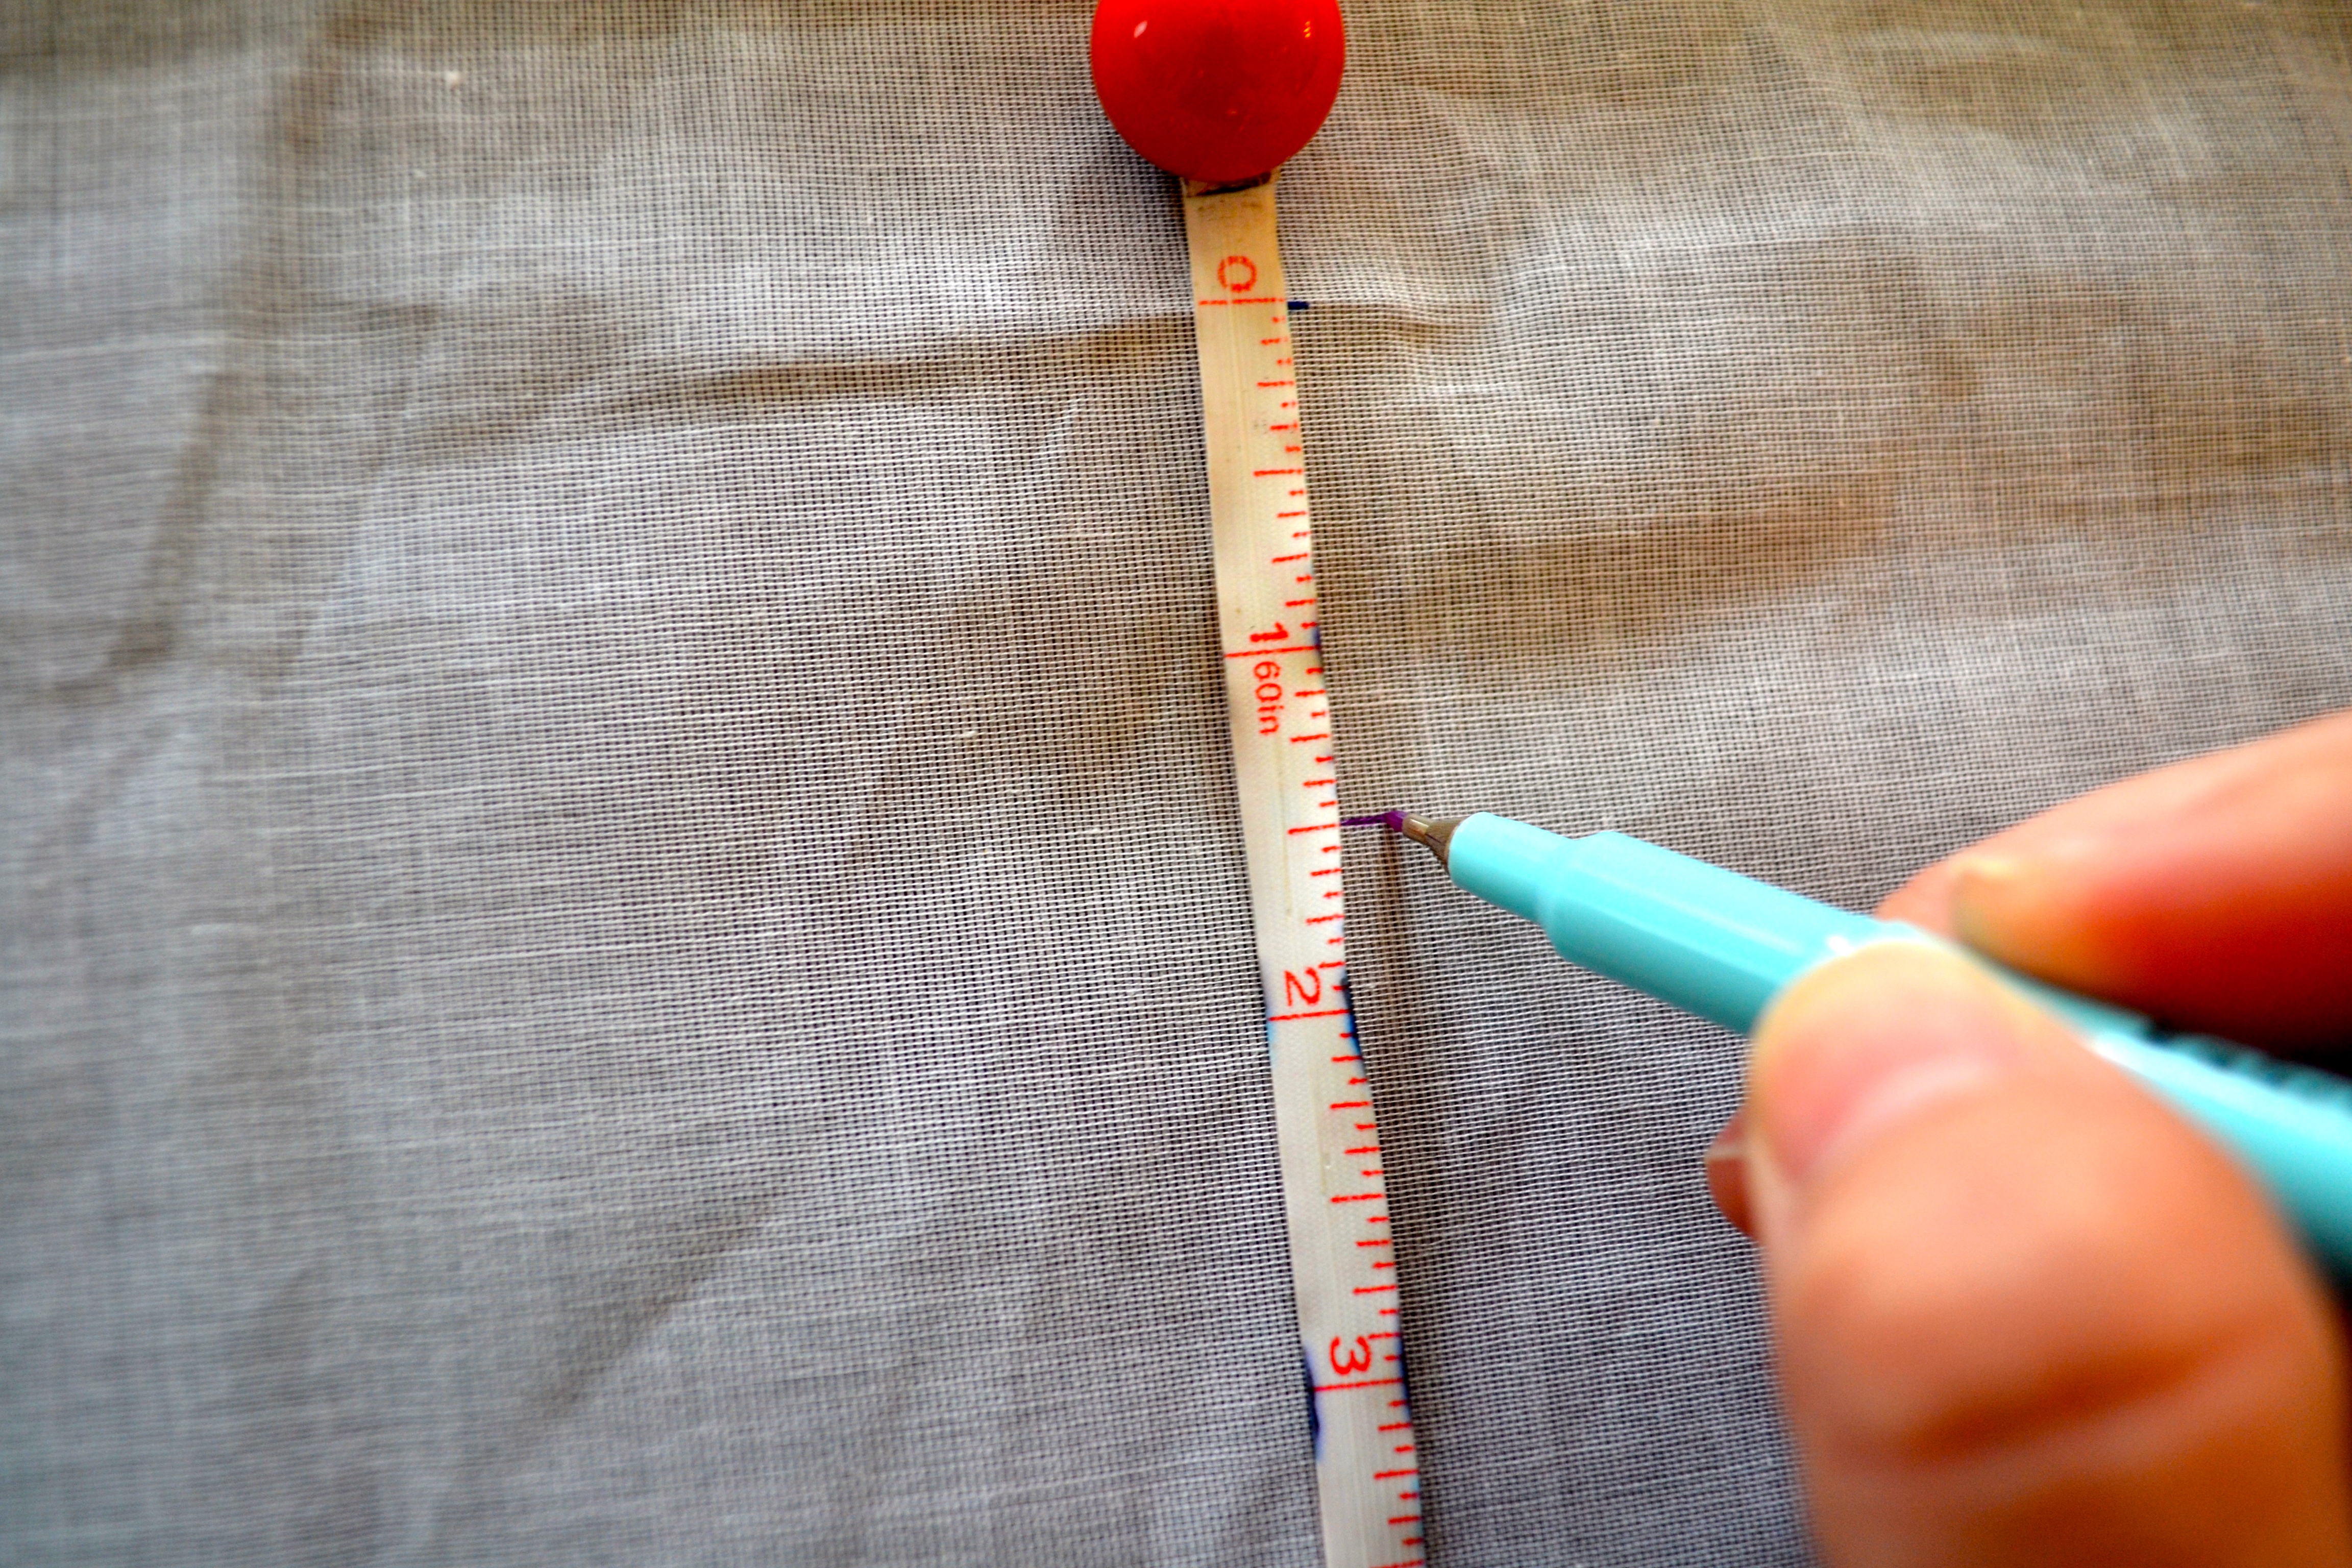
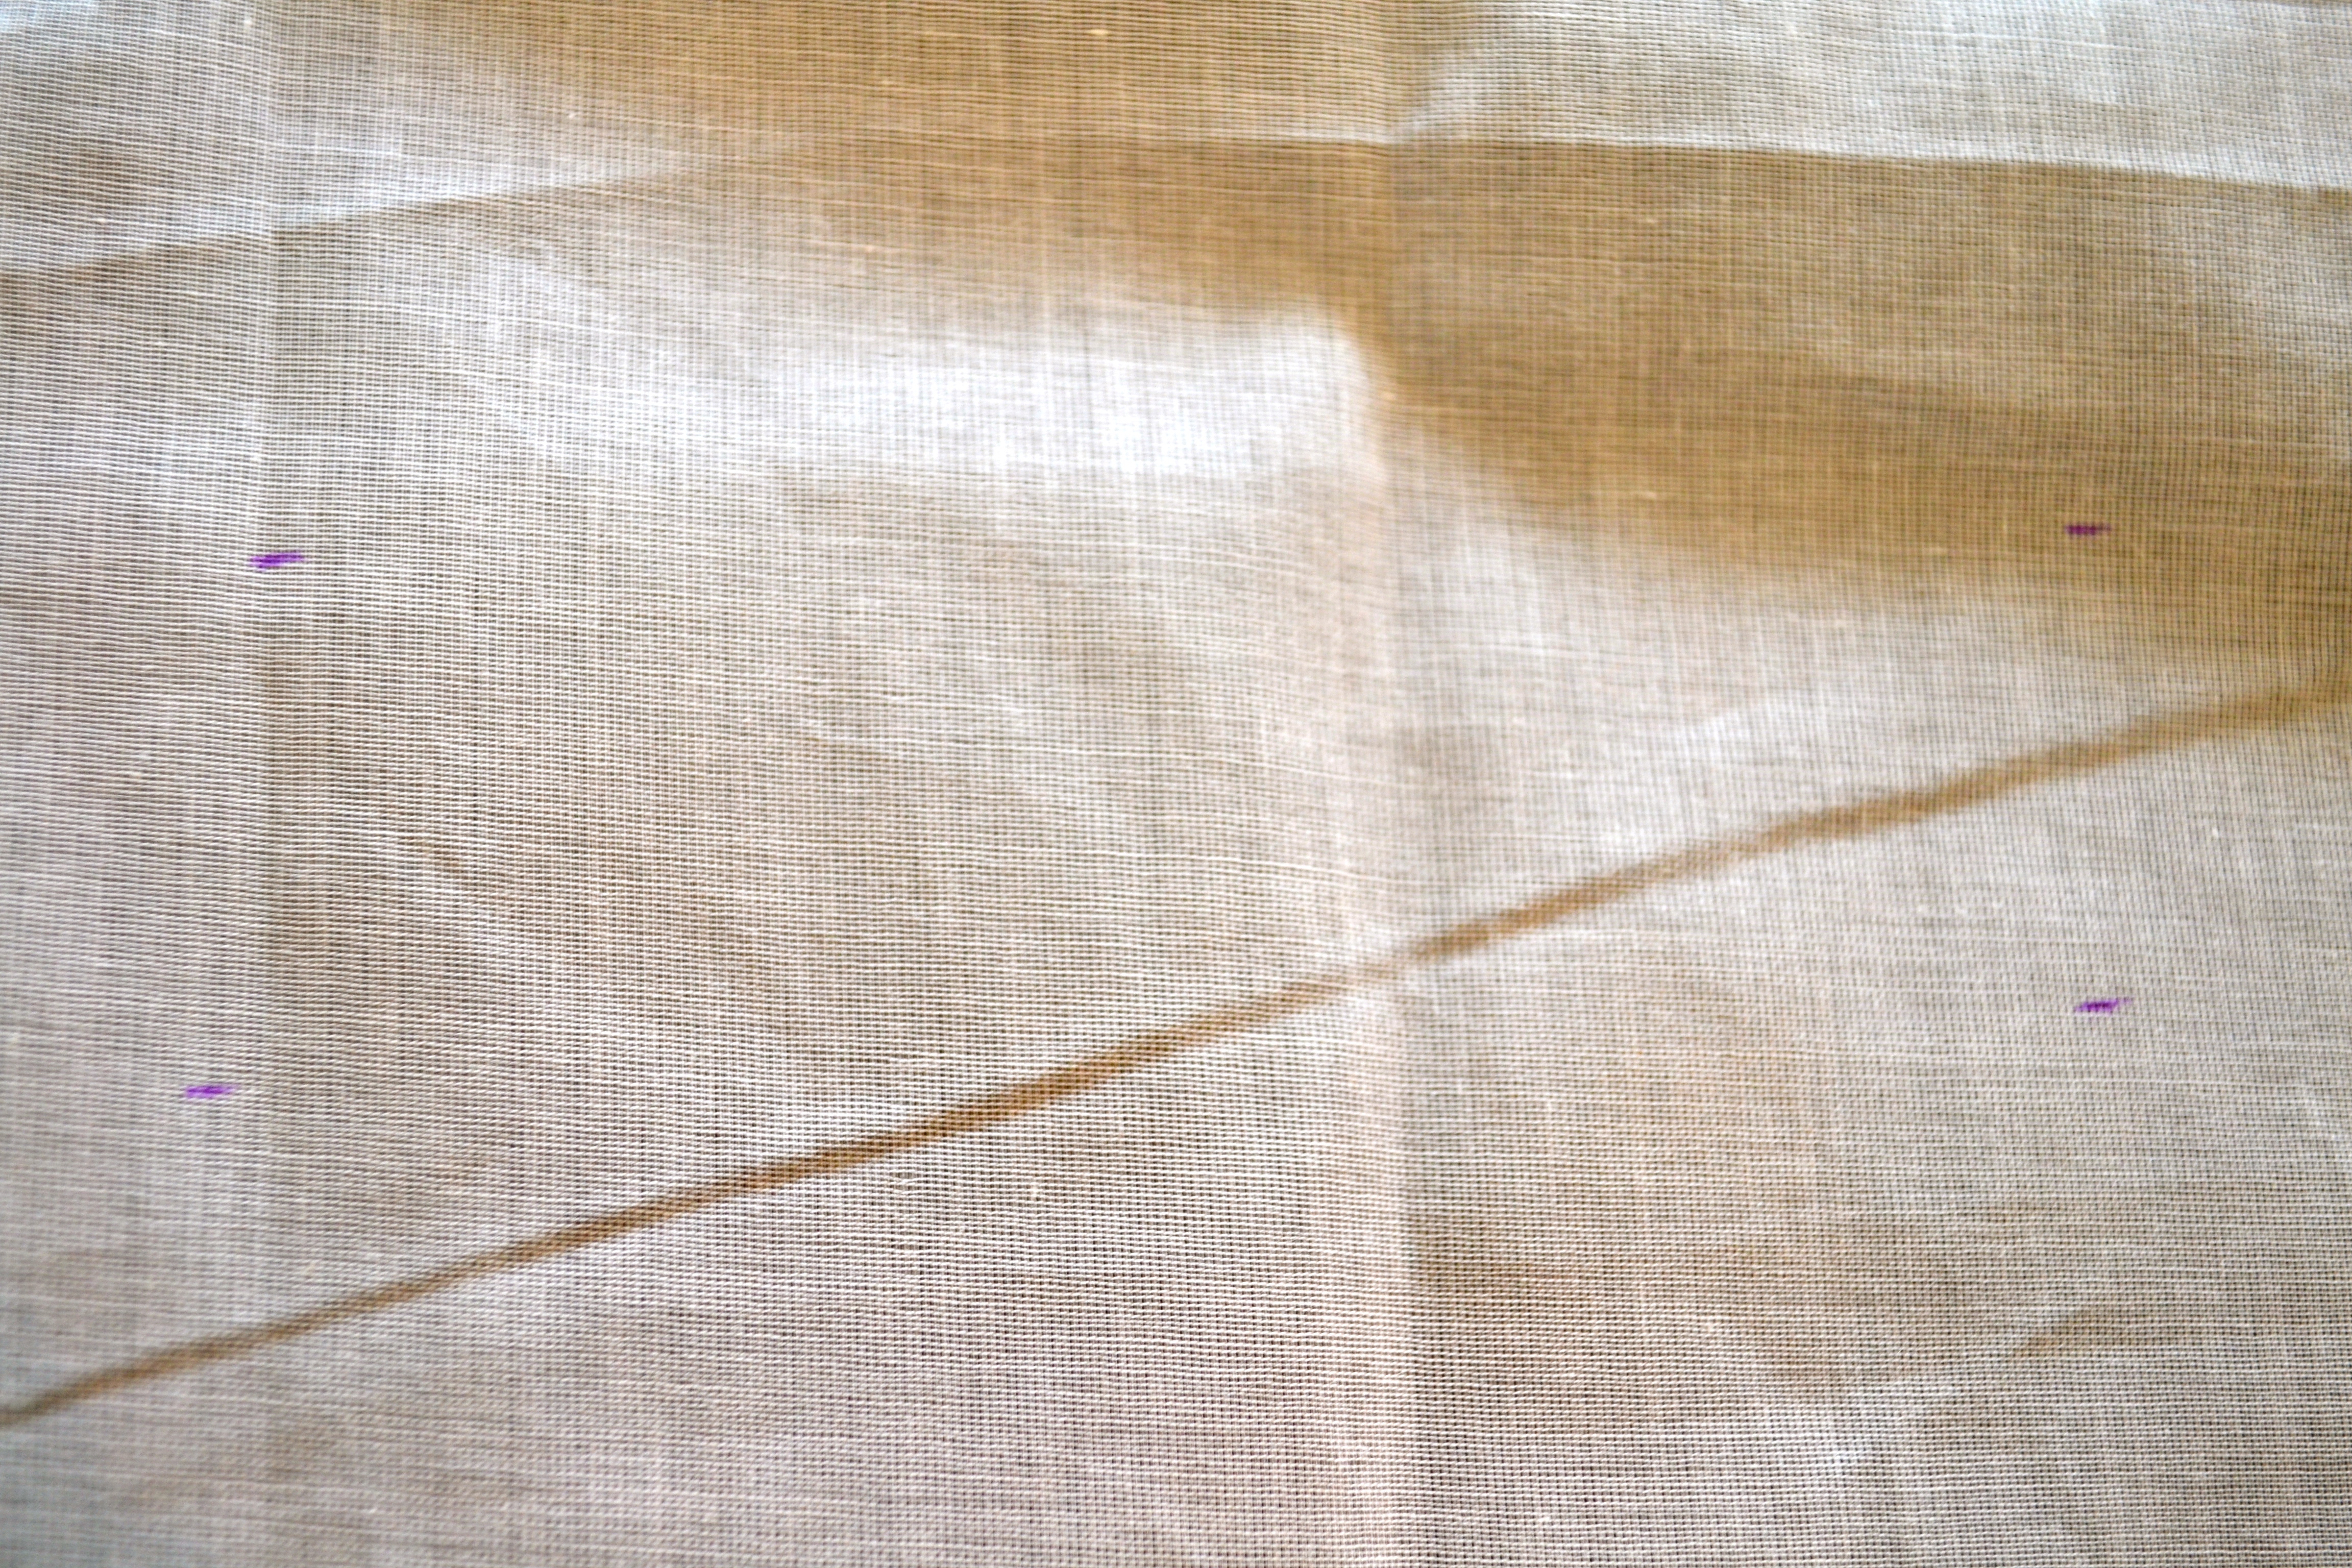
- Place your curtain on a flat working surface. Find the mark you made. Measure 1.5-2″ below that mark (1.5-2″ more towards the bottom of your curtain), and make another mark.
- Now, make markings in those exact lengths across the width of your curtain.
Step 3:

- Take your scissors, and cut your curtain width wise across the BOTTOM MOST markings.
- Save the excess fabric you cut off, you’ll need it later!
Step 4:
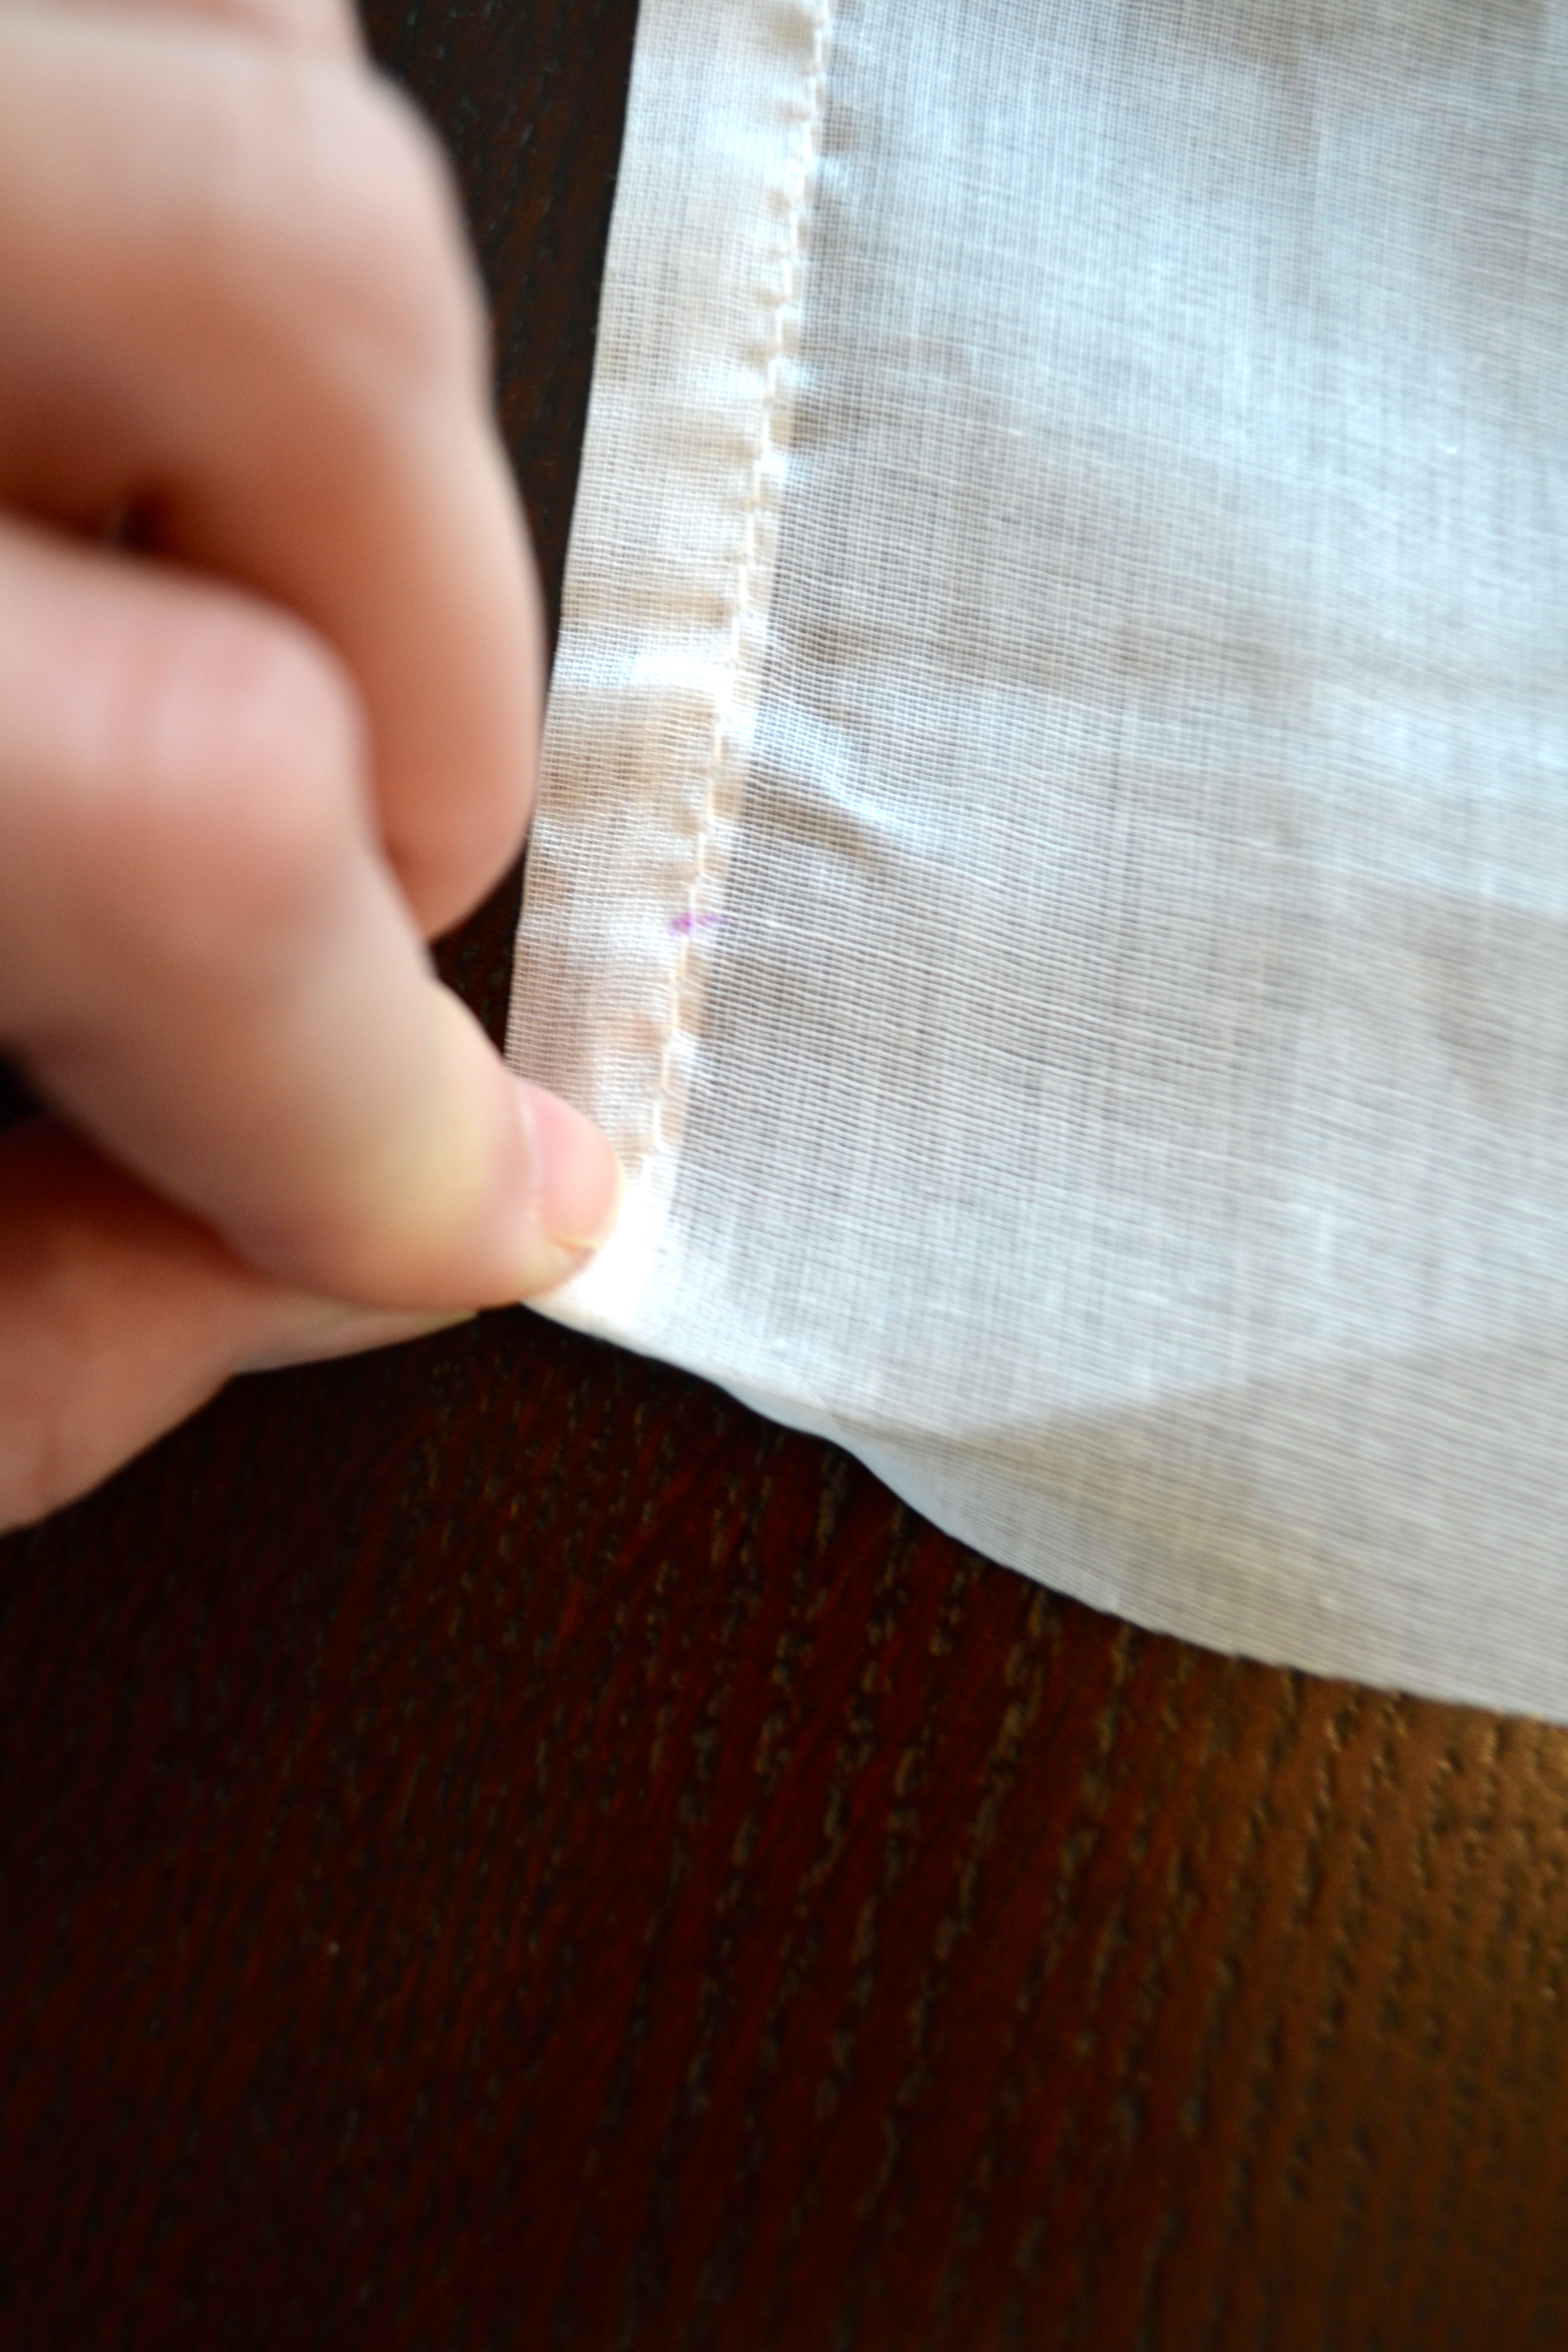
- Take the new bottom of your curtain, and fold about 1/4″ of it towards the back.
- With certain curtains, it helps to have an iron handy and to iron this seam back so it stays in place while you’re working.
Step 5:
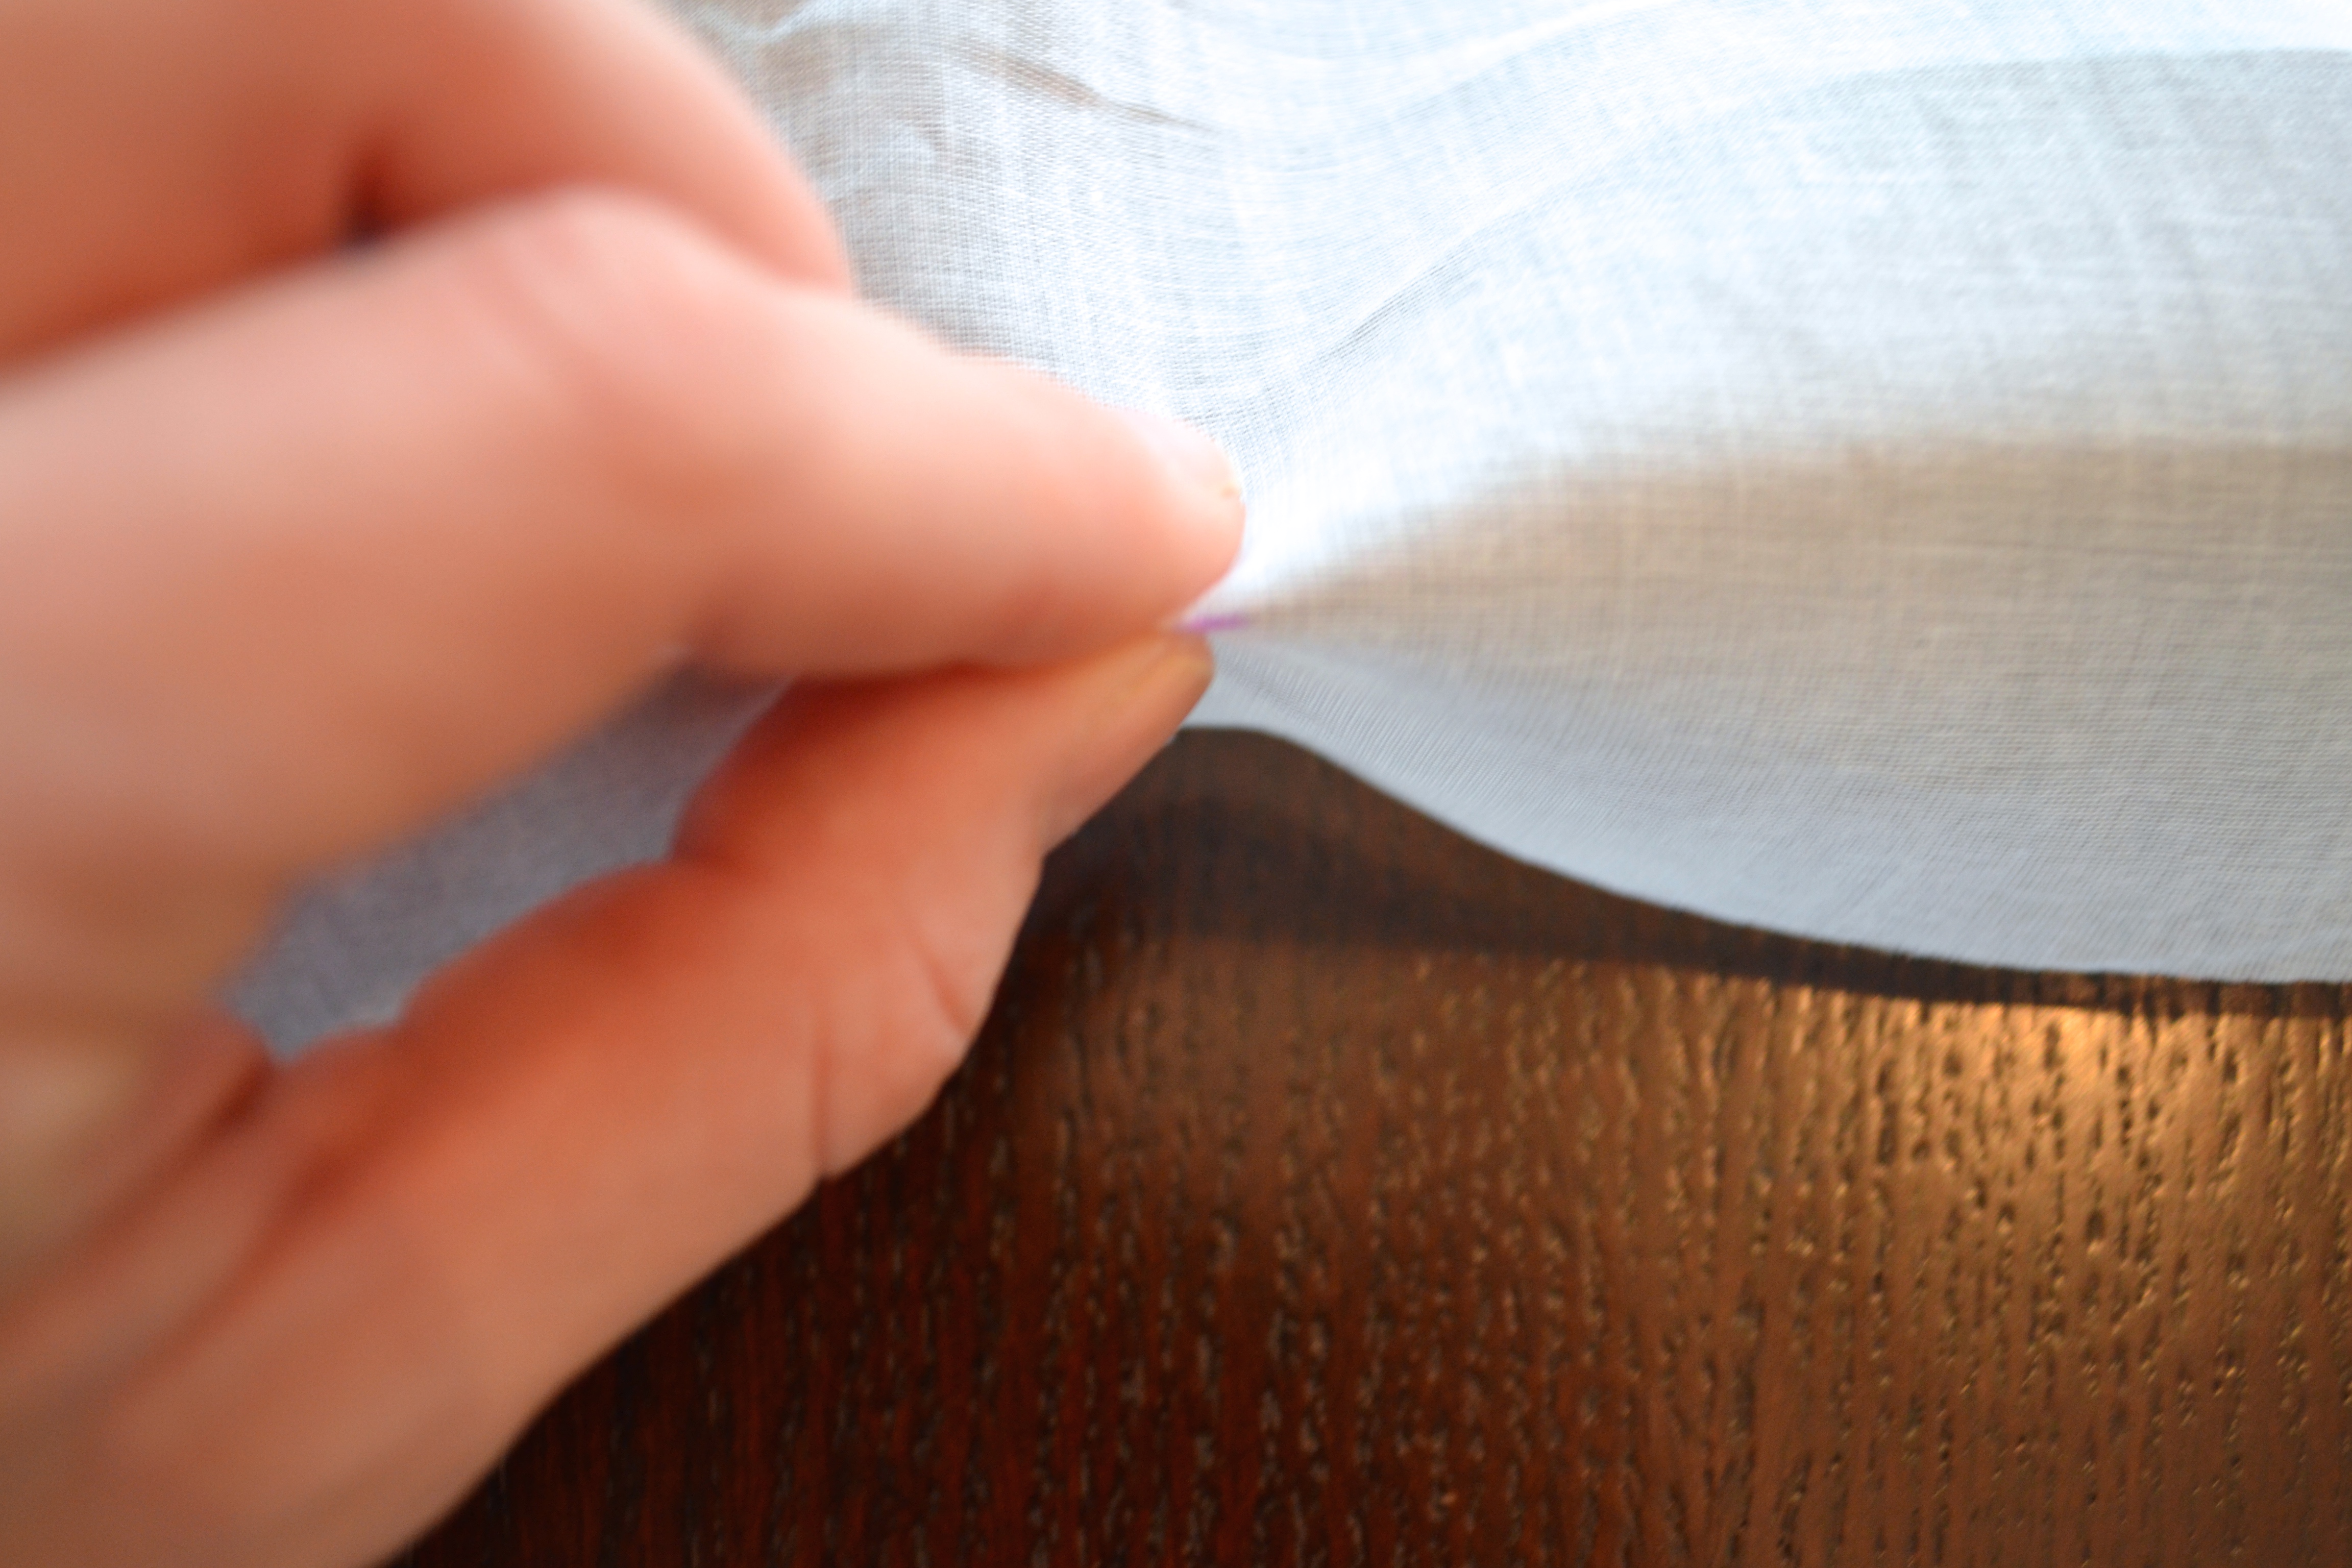
- Now, fold the bottom of the curtain ONCE MORE up to the first line of markings you made (so that the markings are on the bottom of the fold you are making). This is where you want your curtain to fall (the original mark you made while the curtain was hanging)
- Again, you may want to iron this crease so that it stays in place while you’re working.
Step 6:
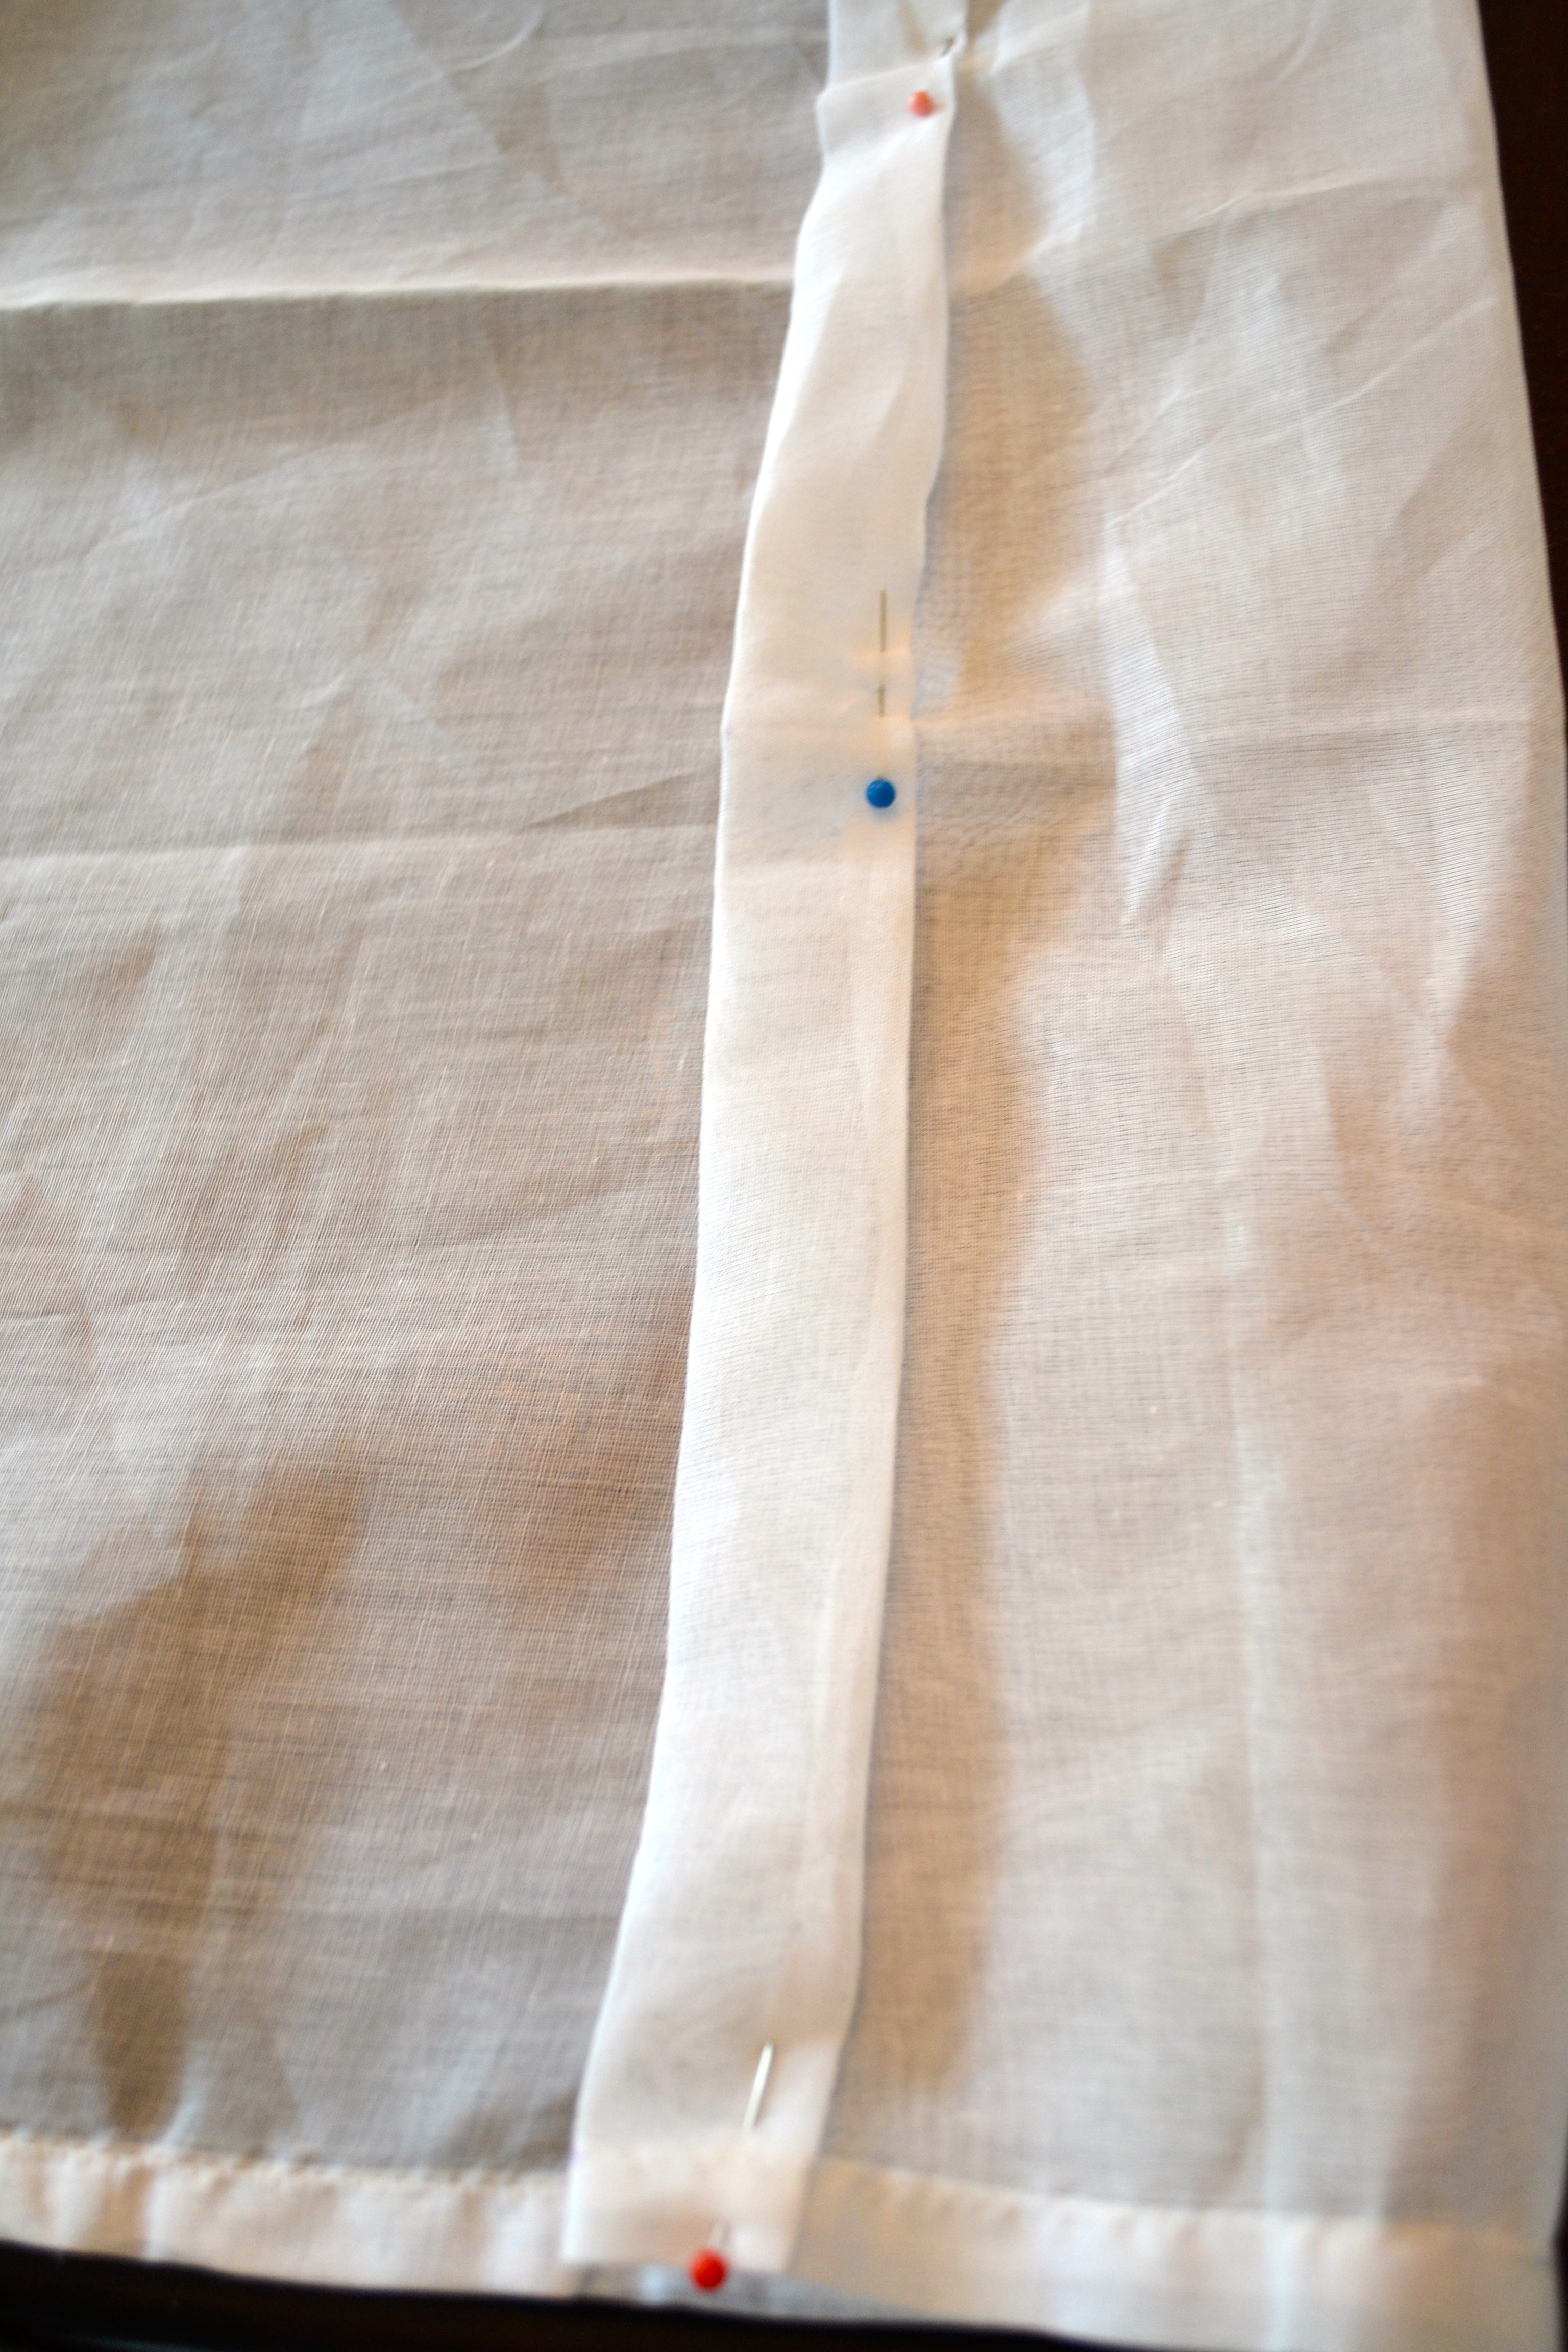
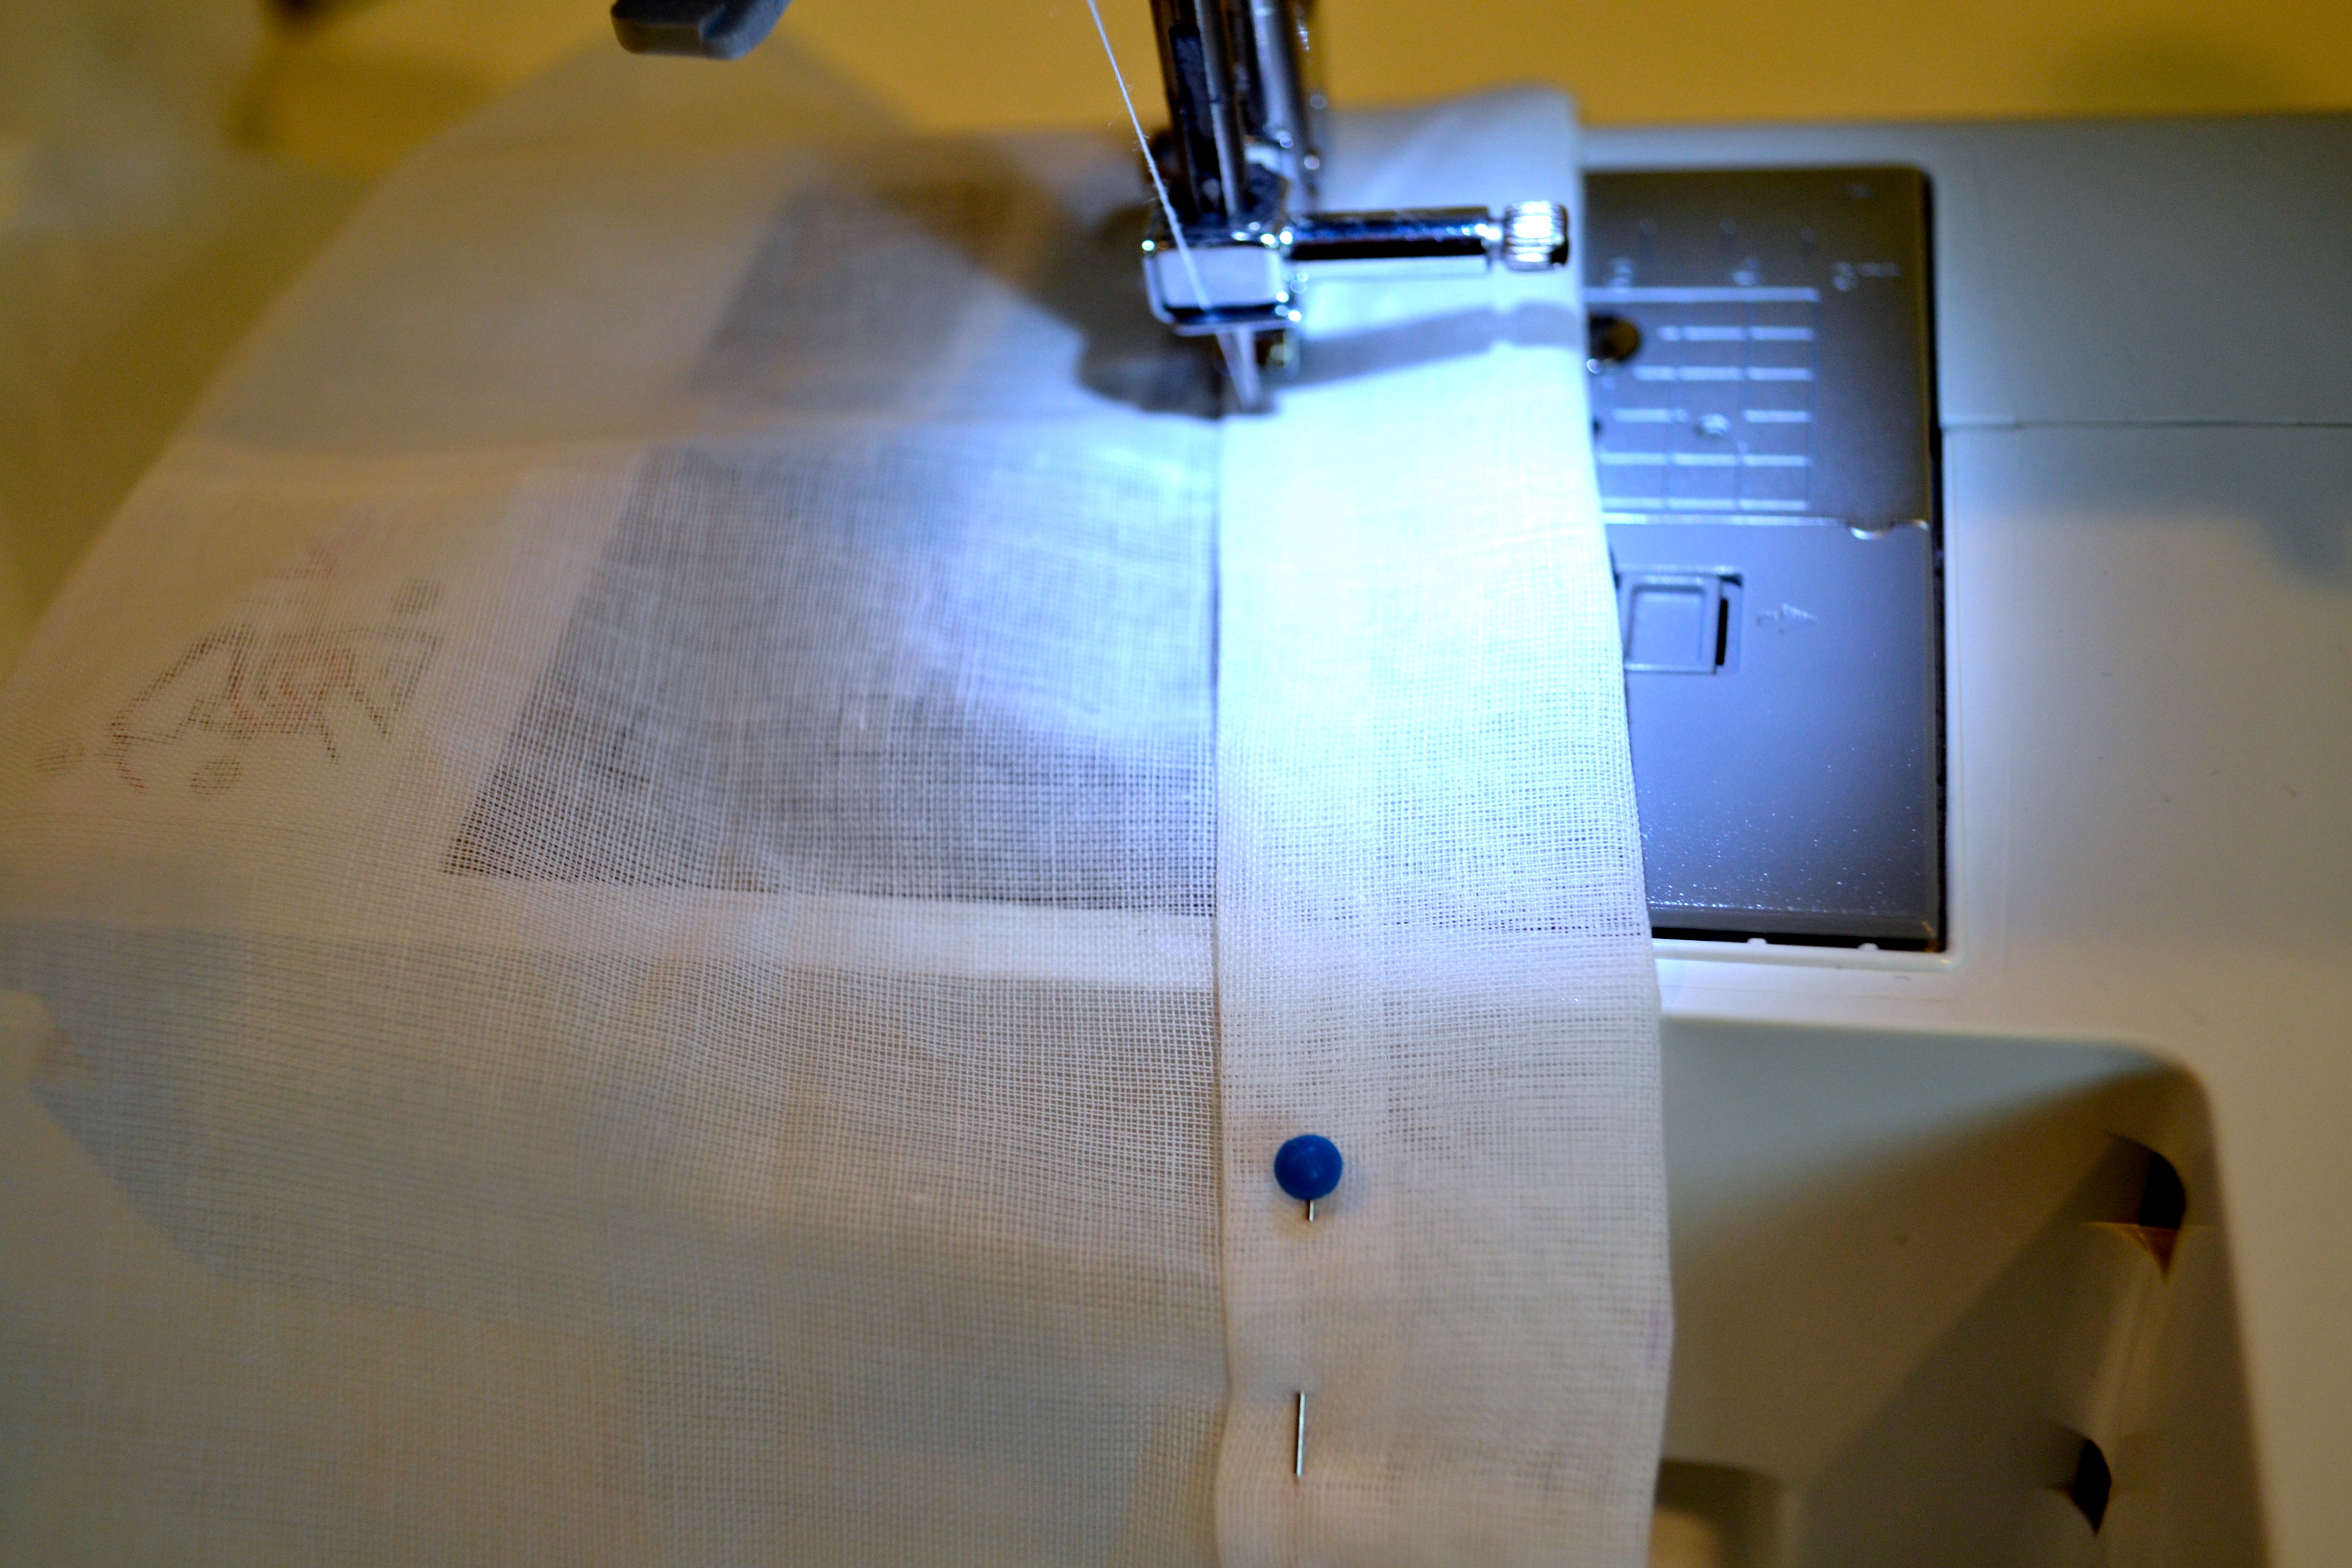
- Place sewing pins across the top of both folds to hold the hem in place.
- Then, place into your sewing machine and sew a straight line across the top of the hem.
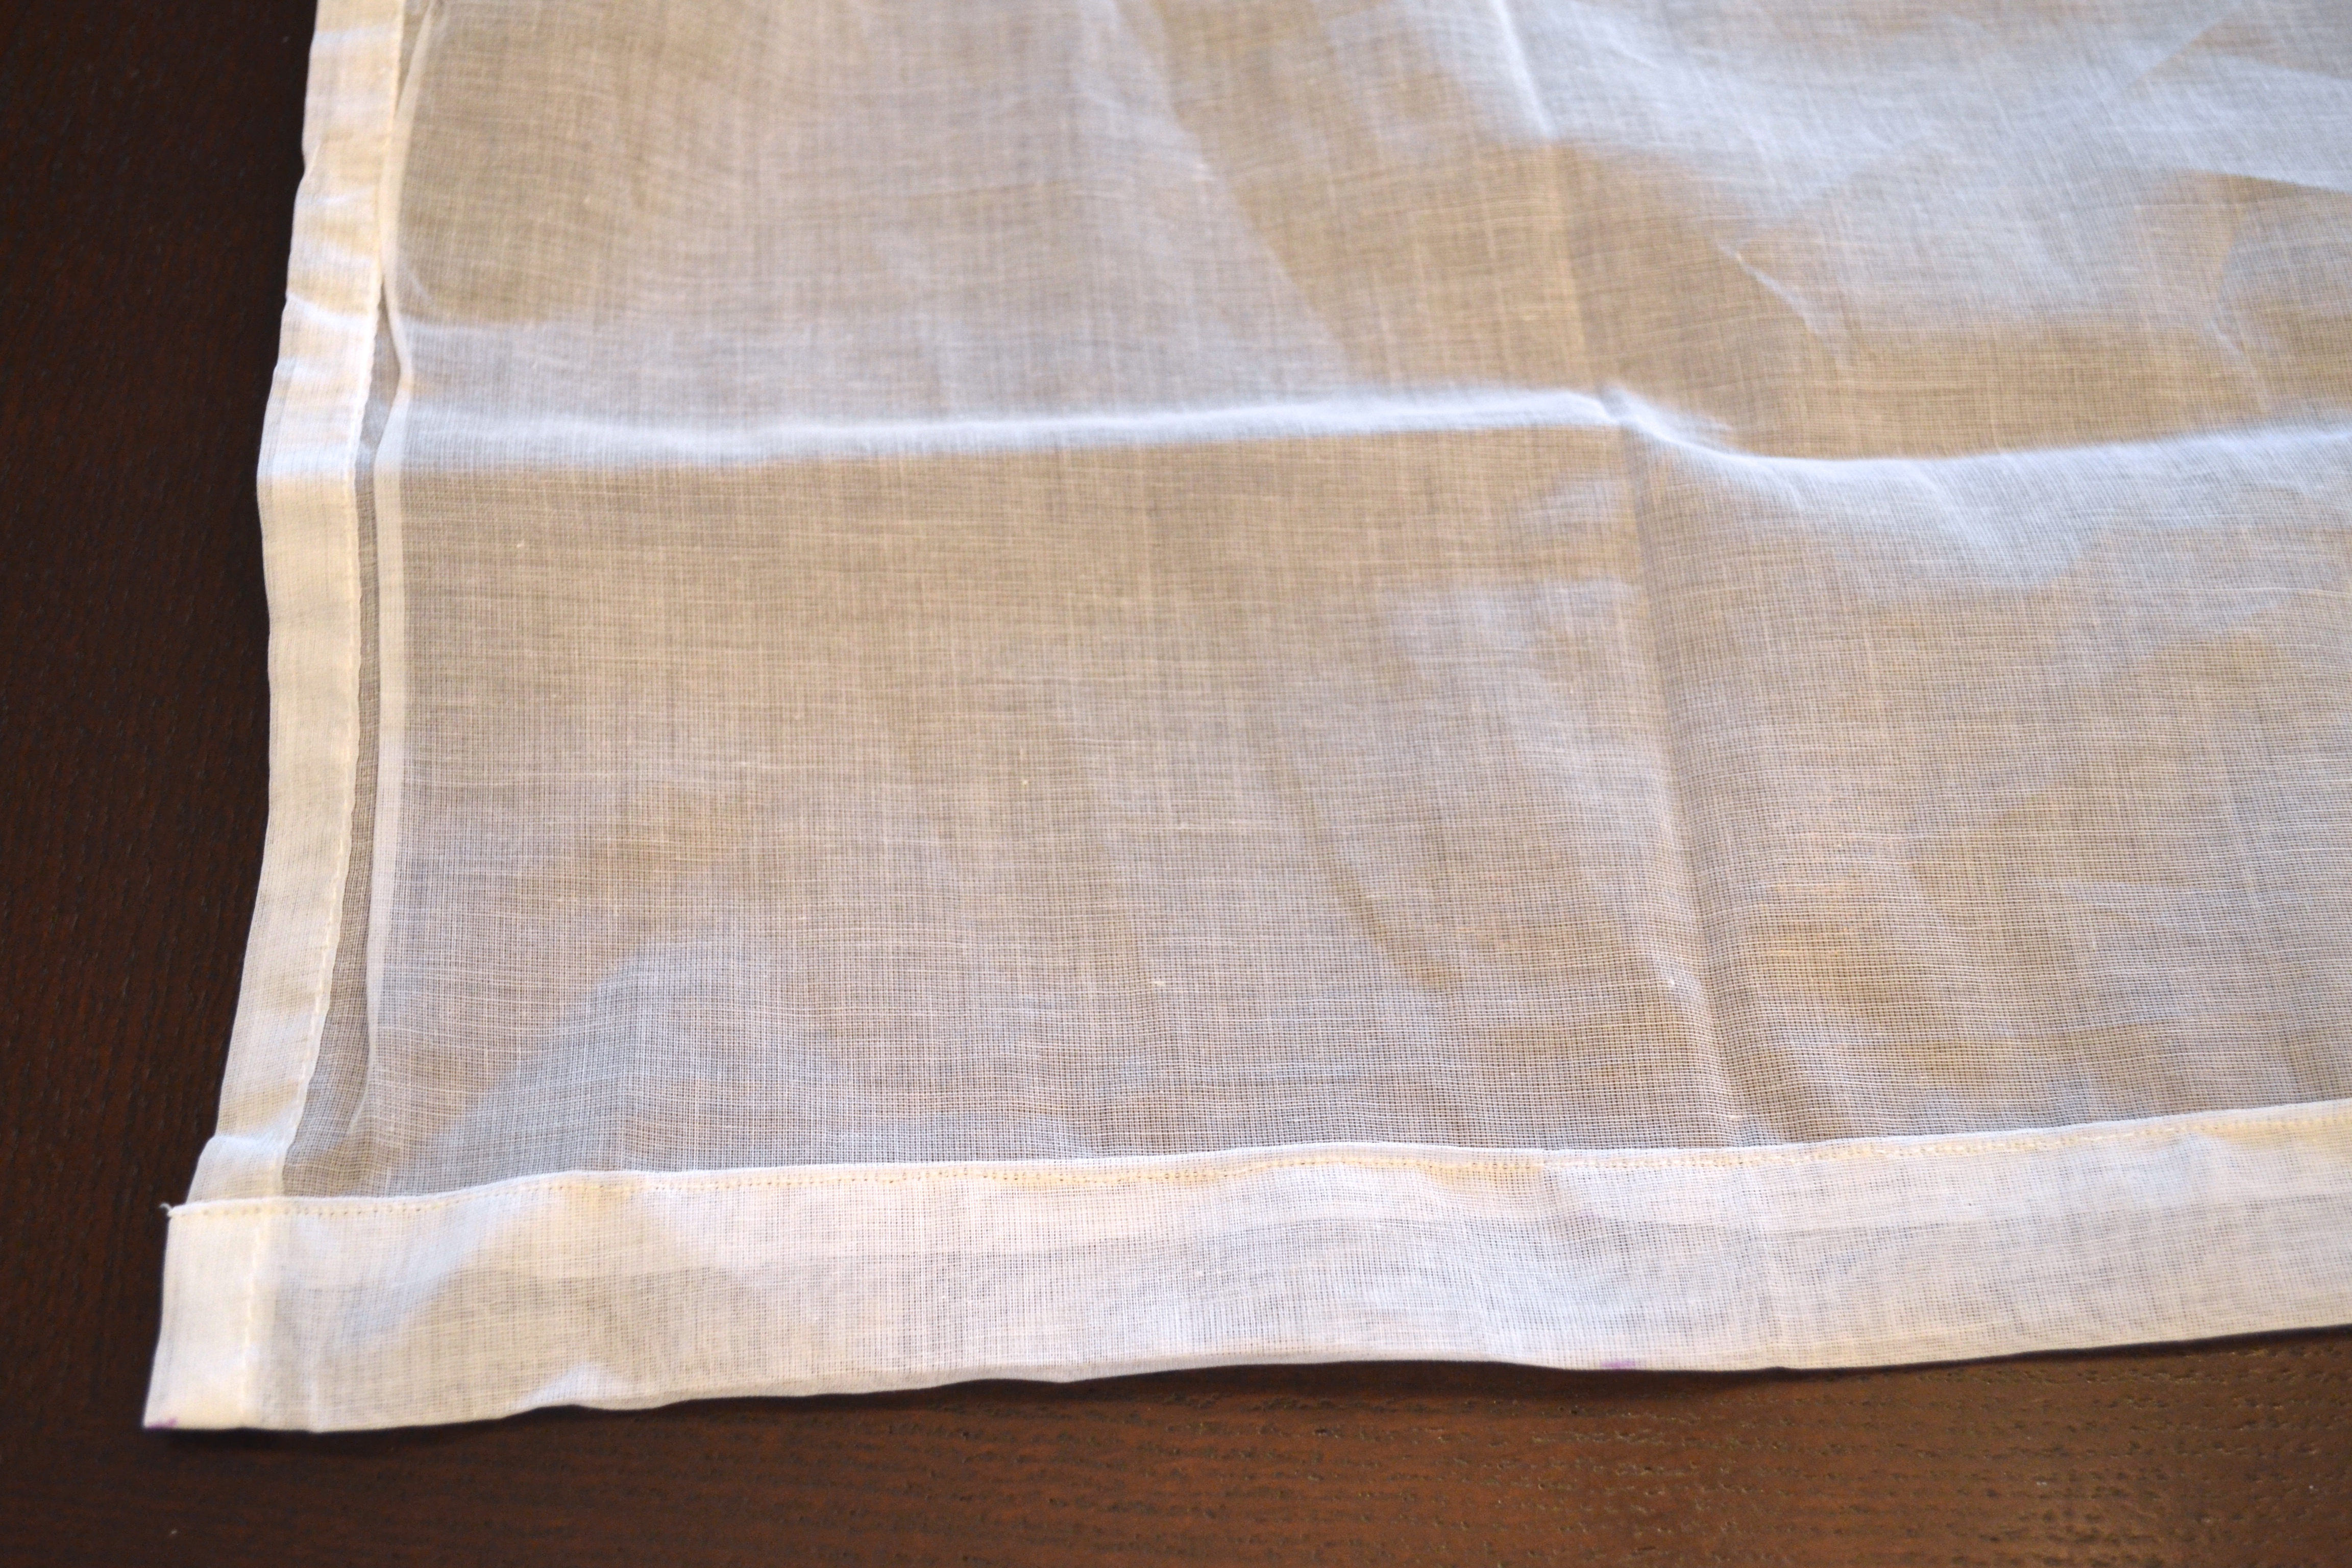
Voi la! You have officially hemmed one curtain panel! Hooray!
Hemming Multiple Curtains the Same Length
If you have more than one panel per window (or multiple windows needing the same length curtain) take the excess fabric you cut from the first panel, and place it on top of the bottom of the second panel. Make markings across the width of the panel where the top of the excess fabric ends.
Then, take your measuring tape and measure 2″ above those markings. Again, make markings across the width of the curtain 2″ above the first markings. Then, repeat steps 3-6 above. Easy as pie!
The picture below is of the 6 Ikea curtains I hemmed. Look pretty legit, huh? And they just ass a simple touch to help both soften and brighten up my rooms. I could have got single, white curtain panels ANWHERE- and probably wouldn’t have had to hem them. But I paid less than HALF of retail, and got the SAME result. I’d say that’s a big win in my book.
This technique can be used on ANY type of fabric, for ANY type of curtain. And even if you’re not a sewer, sewing a simple linear stitch is something even the non-crafter can do. Investing in a $60 sewing machine for this project alone will pay for itself. Then, you can use your machine to make throw pillows and other fun accessories for your living space.
If you’re looking to spruce up where you live, on a budget, this project is a GREAT way to start. You’ll thank me later 🙂
And just in case you’ve forgotten, here’s everything you’ll need to DIY:
- 2 Curtain Panels (these are the white ones I used)
- I recommend checking Ikea, Amazon, and Overstock if you’re looking for something else.
- Sewing Machine (any introductory machine will work)
- Thread
- Scissors
- Sewing Pins
- Ruler or Tape Measure
- Air Erasable Marking Pen (optional)
- Heat transfer tape and iron for a “no sew” hem
geat idea, thanks!
Lucy
This worked perfectly. I bought IKEA drapes without thinking about length — until I went to hang the rod. YIKES! I googled ways to fix the problem and yours was the first one I found. I measured carefully, cut, pinned, and hemmed by hand. Time consuming but worth it. Thank you!
As long as you have curtain rod level… And your floor is level… Using the scrap to mark the other panels is fine. Otherwise mark each one individually. ?
Best tutorial ever…thank you SOOOO much..worked great!!!
I ran into a little problem the IKEA drapes were not the same length. The two panels in the package were one half inch different in length. Thank goodness I did not cut them.
Check, check, check.
Hi. Just letting you know that you wrote “ass” instead of “add”, here: And they just ass a simple touch to help both soften and brighten up my rooms. I’m informing you only because I wish someone would do that for my when I have typos. No need for my comment to be posted 🙂